


Easy DIY Wire Trellis Wall


The more projects I complete, the more I find myself saying “I’ve wanted to do this since moving into the house 2 years ago”. I’ve had a lot of plans for this house from the beginning. This trellis wall is one of them. However, the plans for it have transformed massively since the original idea. I wanted to create a sort of privacy wall. Also, I wanted it to be a slat wall that I could grow vines up. I still love that design plan, but there were two things that went into my decision to change the design.
- The area that I wanted to build the slat wall is on the other side of the breakfast nook which means it would minimize the natural light coming in the already dim room.
- It wasn’t going to be an expensive project, but it was definitely going to be more expensive than the wire that I decided to use. The project went from costing at least a couple hundred dollars, to less than $30.
Let’s get into this awesome project that I swear I’m going to do at every opportunity going forward.
SUPPLIES:
- Multipurpose Wire
- Screws or eyelets
- Needle nose Pliers
- Measuring Tape
- Drill and Driver
- Concrete anchors (if you have a brick or stone surface)
PROJECT PLANS
Just like the beginning on any project, deciding the the actual design of something is almost the hardest part. So I decided on the wire but now what pattern: triangle, diamond, square? I absolutely loved the trellis’ from Vintage Revivals and from Galey Alix so those were my top two contenders. Usually I go for a little bit more modern take on things. So, that made me think square like Galey’s, but I also really loved the more transitional style of the diamond pattern that Mandy put on the wall at the Merc (if you don’t know who either of those people are, I put links to their pages, just click on their names above).
Well, I ended up being so in love with the diamond pattern so that’s what I decided on.
STEP 1: MEASURE AND MARK SPACING
Now to actually plan out the pattern. I started by measuring the height and width of the area where the trellis would be going. So, for sake of ease, let’s say the height of the space was 6’ and the width was 8’. For the pattern to be a diamond and not just a sideways square, you want the height to be double the width. Meaning that if I want the height to be 12”, then the width should measure 6” (the height and width can be whatever you want it to be, just so the height is greater than the width).
So, on each side I measure out where each of my hooks would go by the measurements I calculated above. I marked every 6″ along the top and bottom and I marked every 12″ on either side. A mistake I initially made in this step, was that I didn’t put a hook in any of the corners. So, it caused the shape of the pattern to be off. So, about half way through tying off the wire strips, I figured out that this was wrong. This is the reason why you should measure the wire out. Then loosely tie them to the two hooks they should attach to. AND make sure your pattern is correct…but I’ll get to that in a bit.
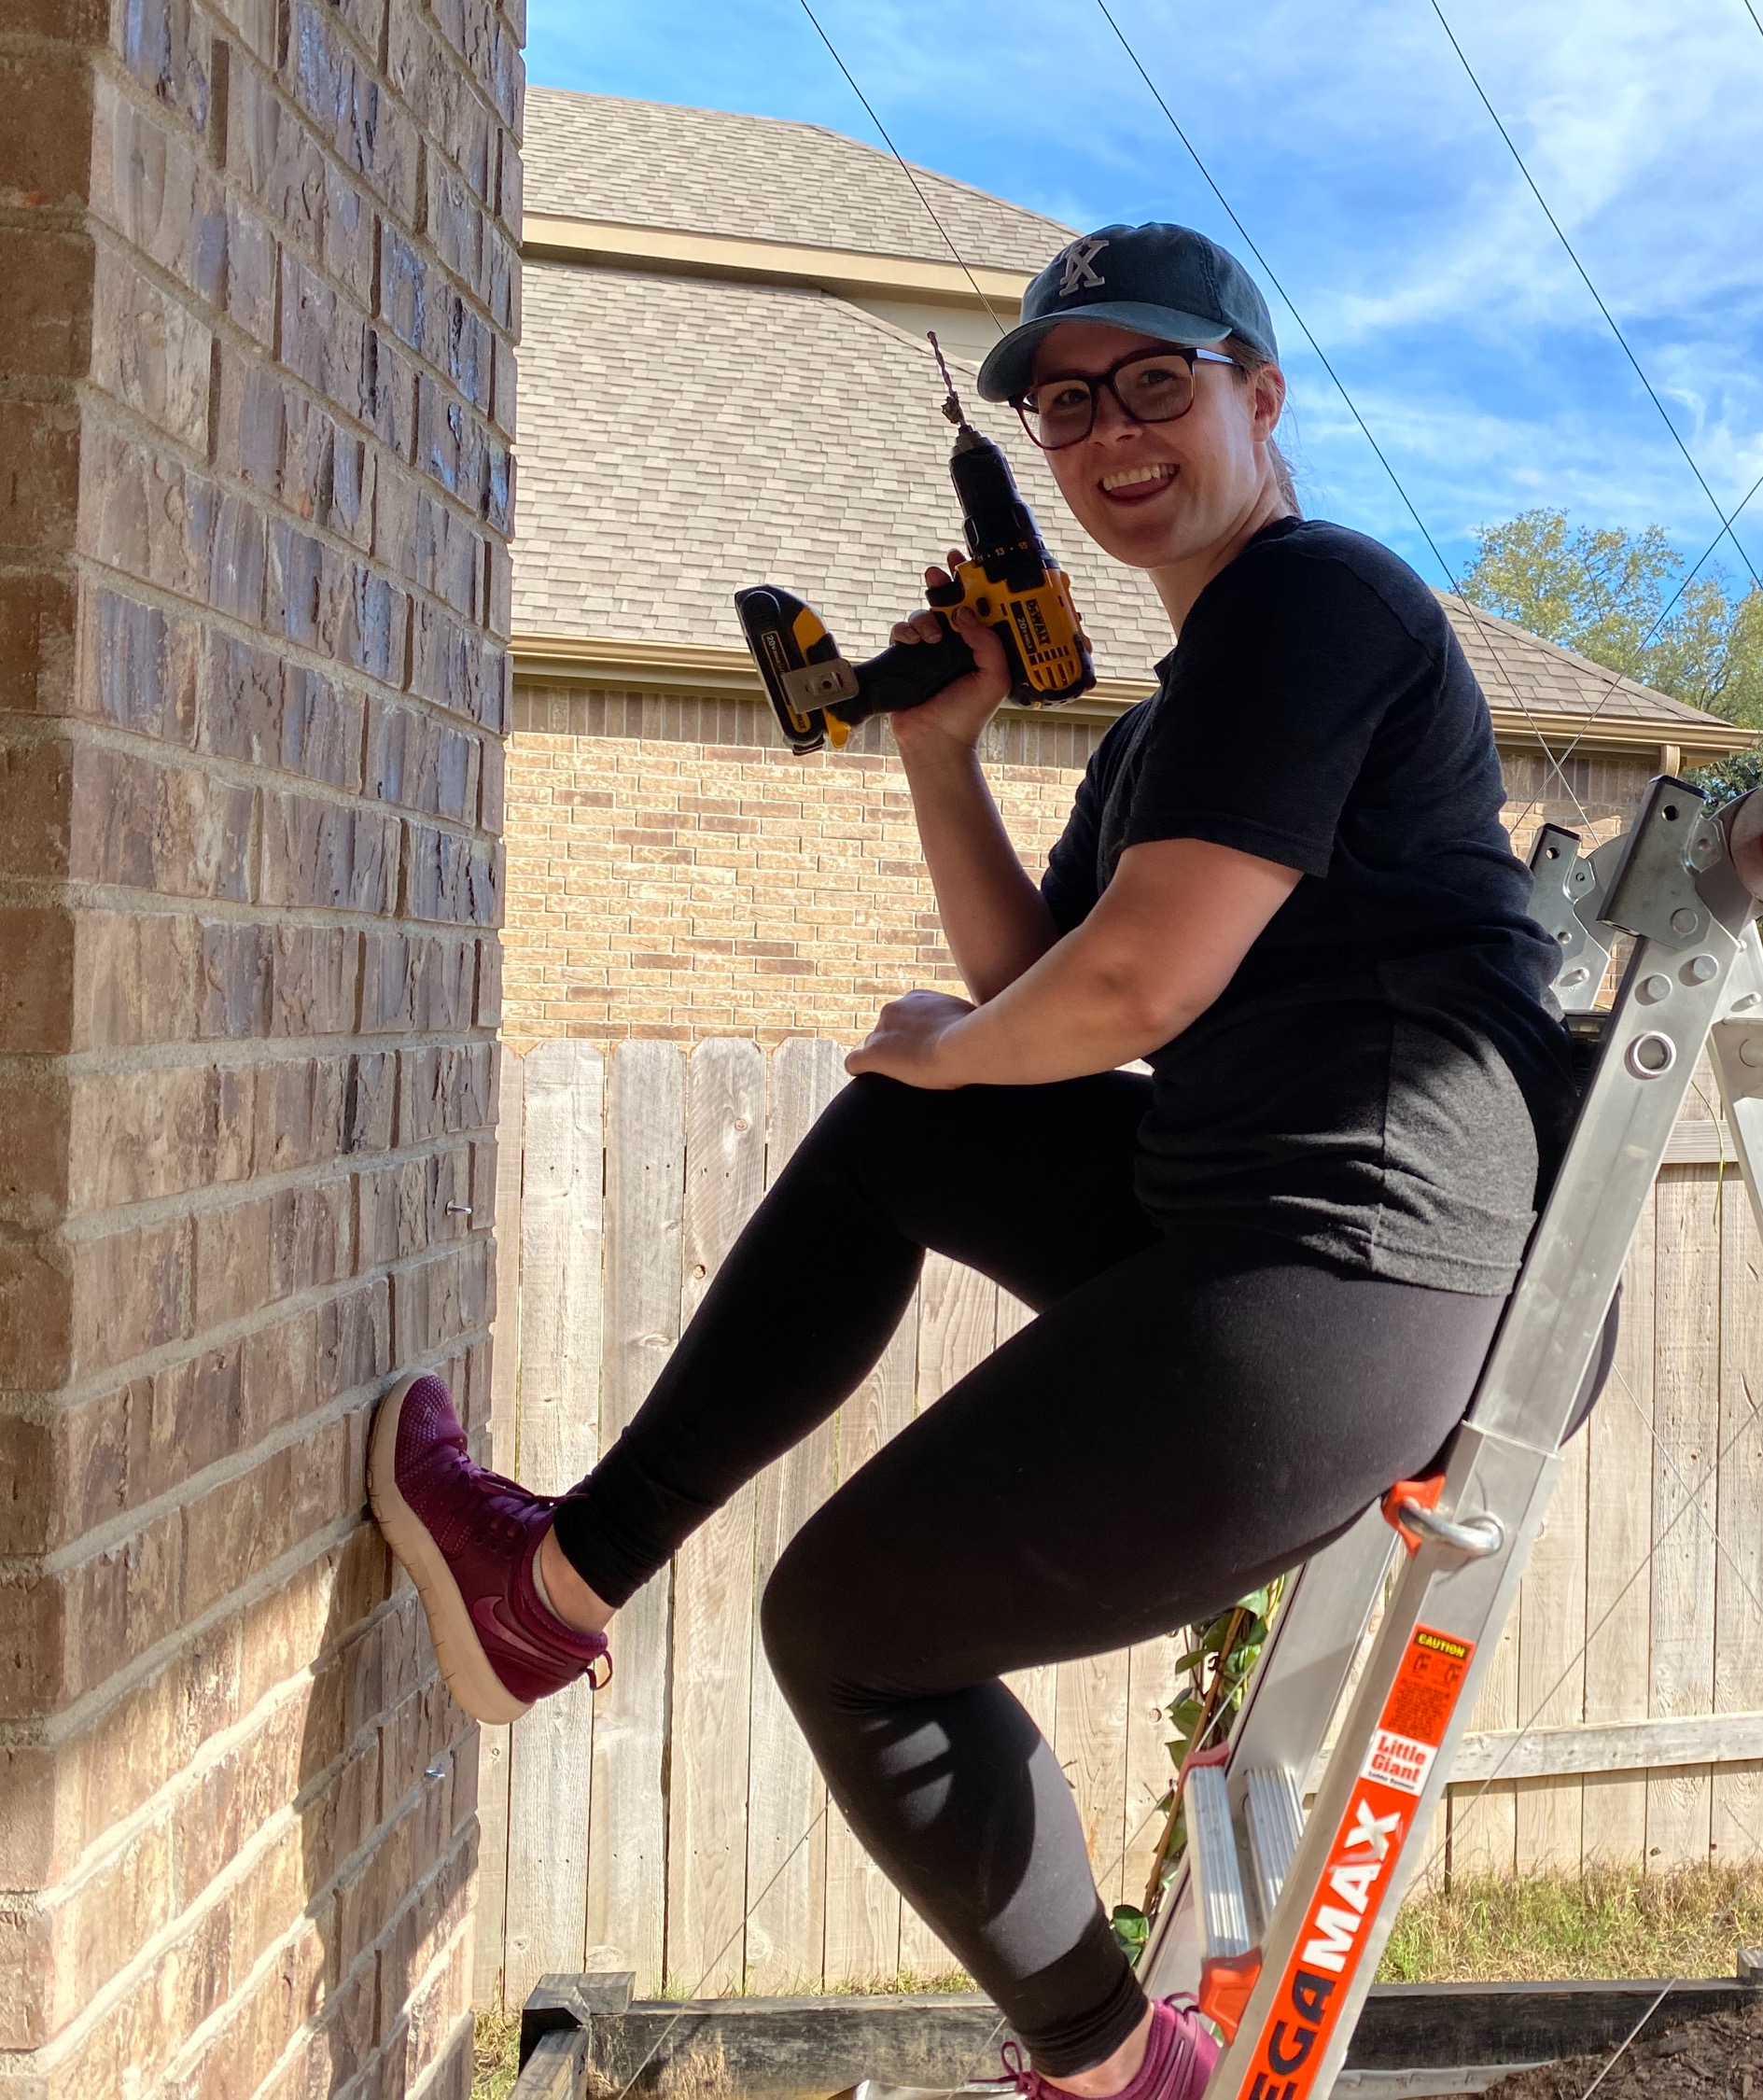
STEP 2: ATTACH SCREW HOOKS
Three of the four sides of my area are wood so I just drilled a small pilot hole to screw the hook into (if you need any more detail on that, leave me a comment below). The fourth side is made of brick so I still needed to drill a pilot hole but I now need a bigger one because it has to be large enough for the anchor to fit into. There are drywall anchors that also work on masonry and I just used some that we had on hand. Now you should have drilled your larger pilot holes and fit the concrete anchors into them, so you can screw in the hooks on this side.
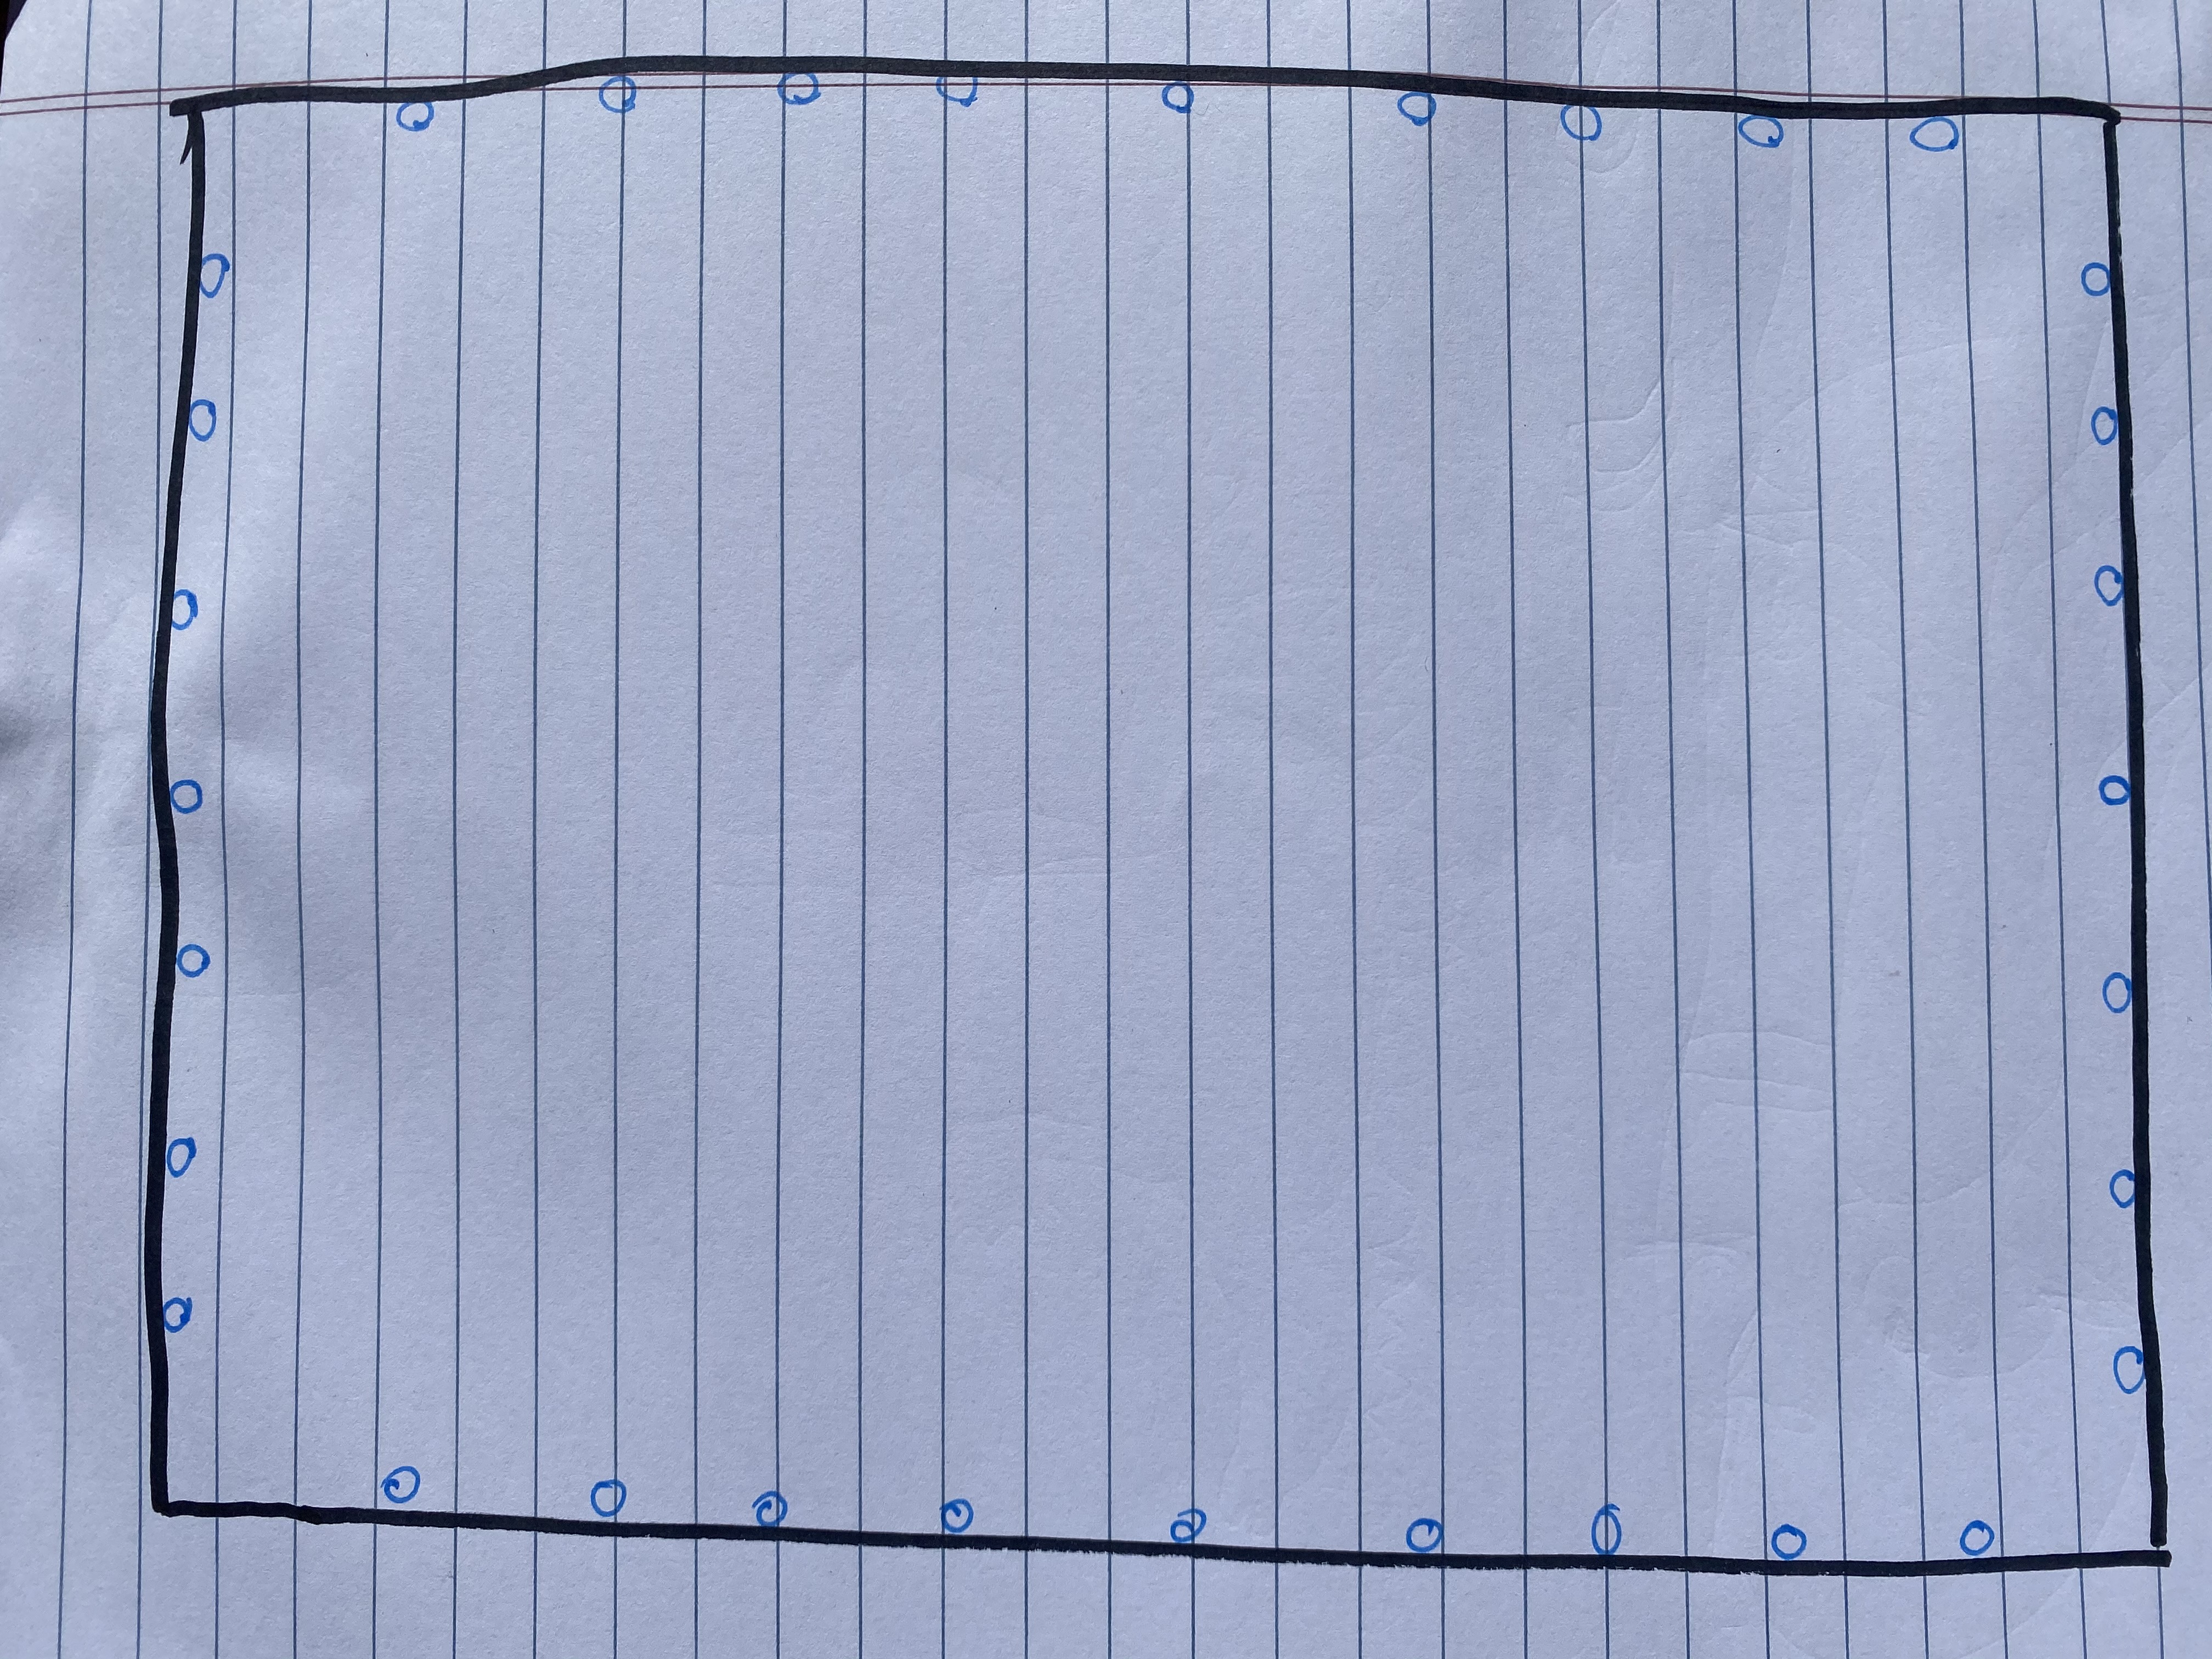
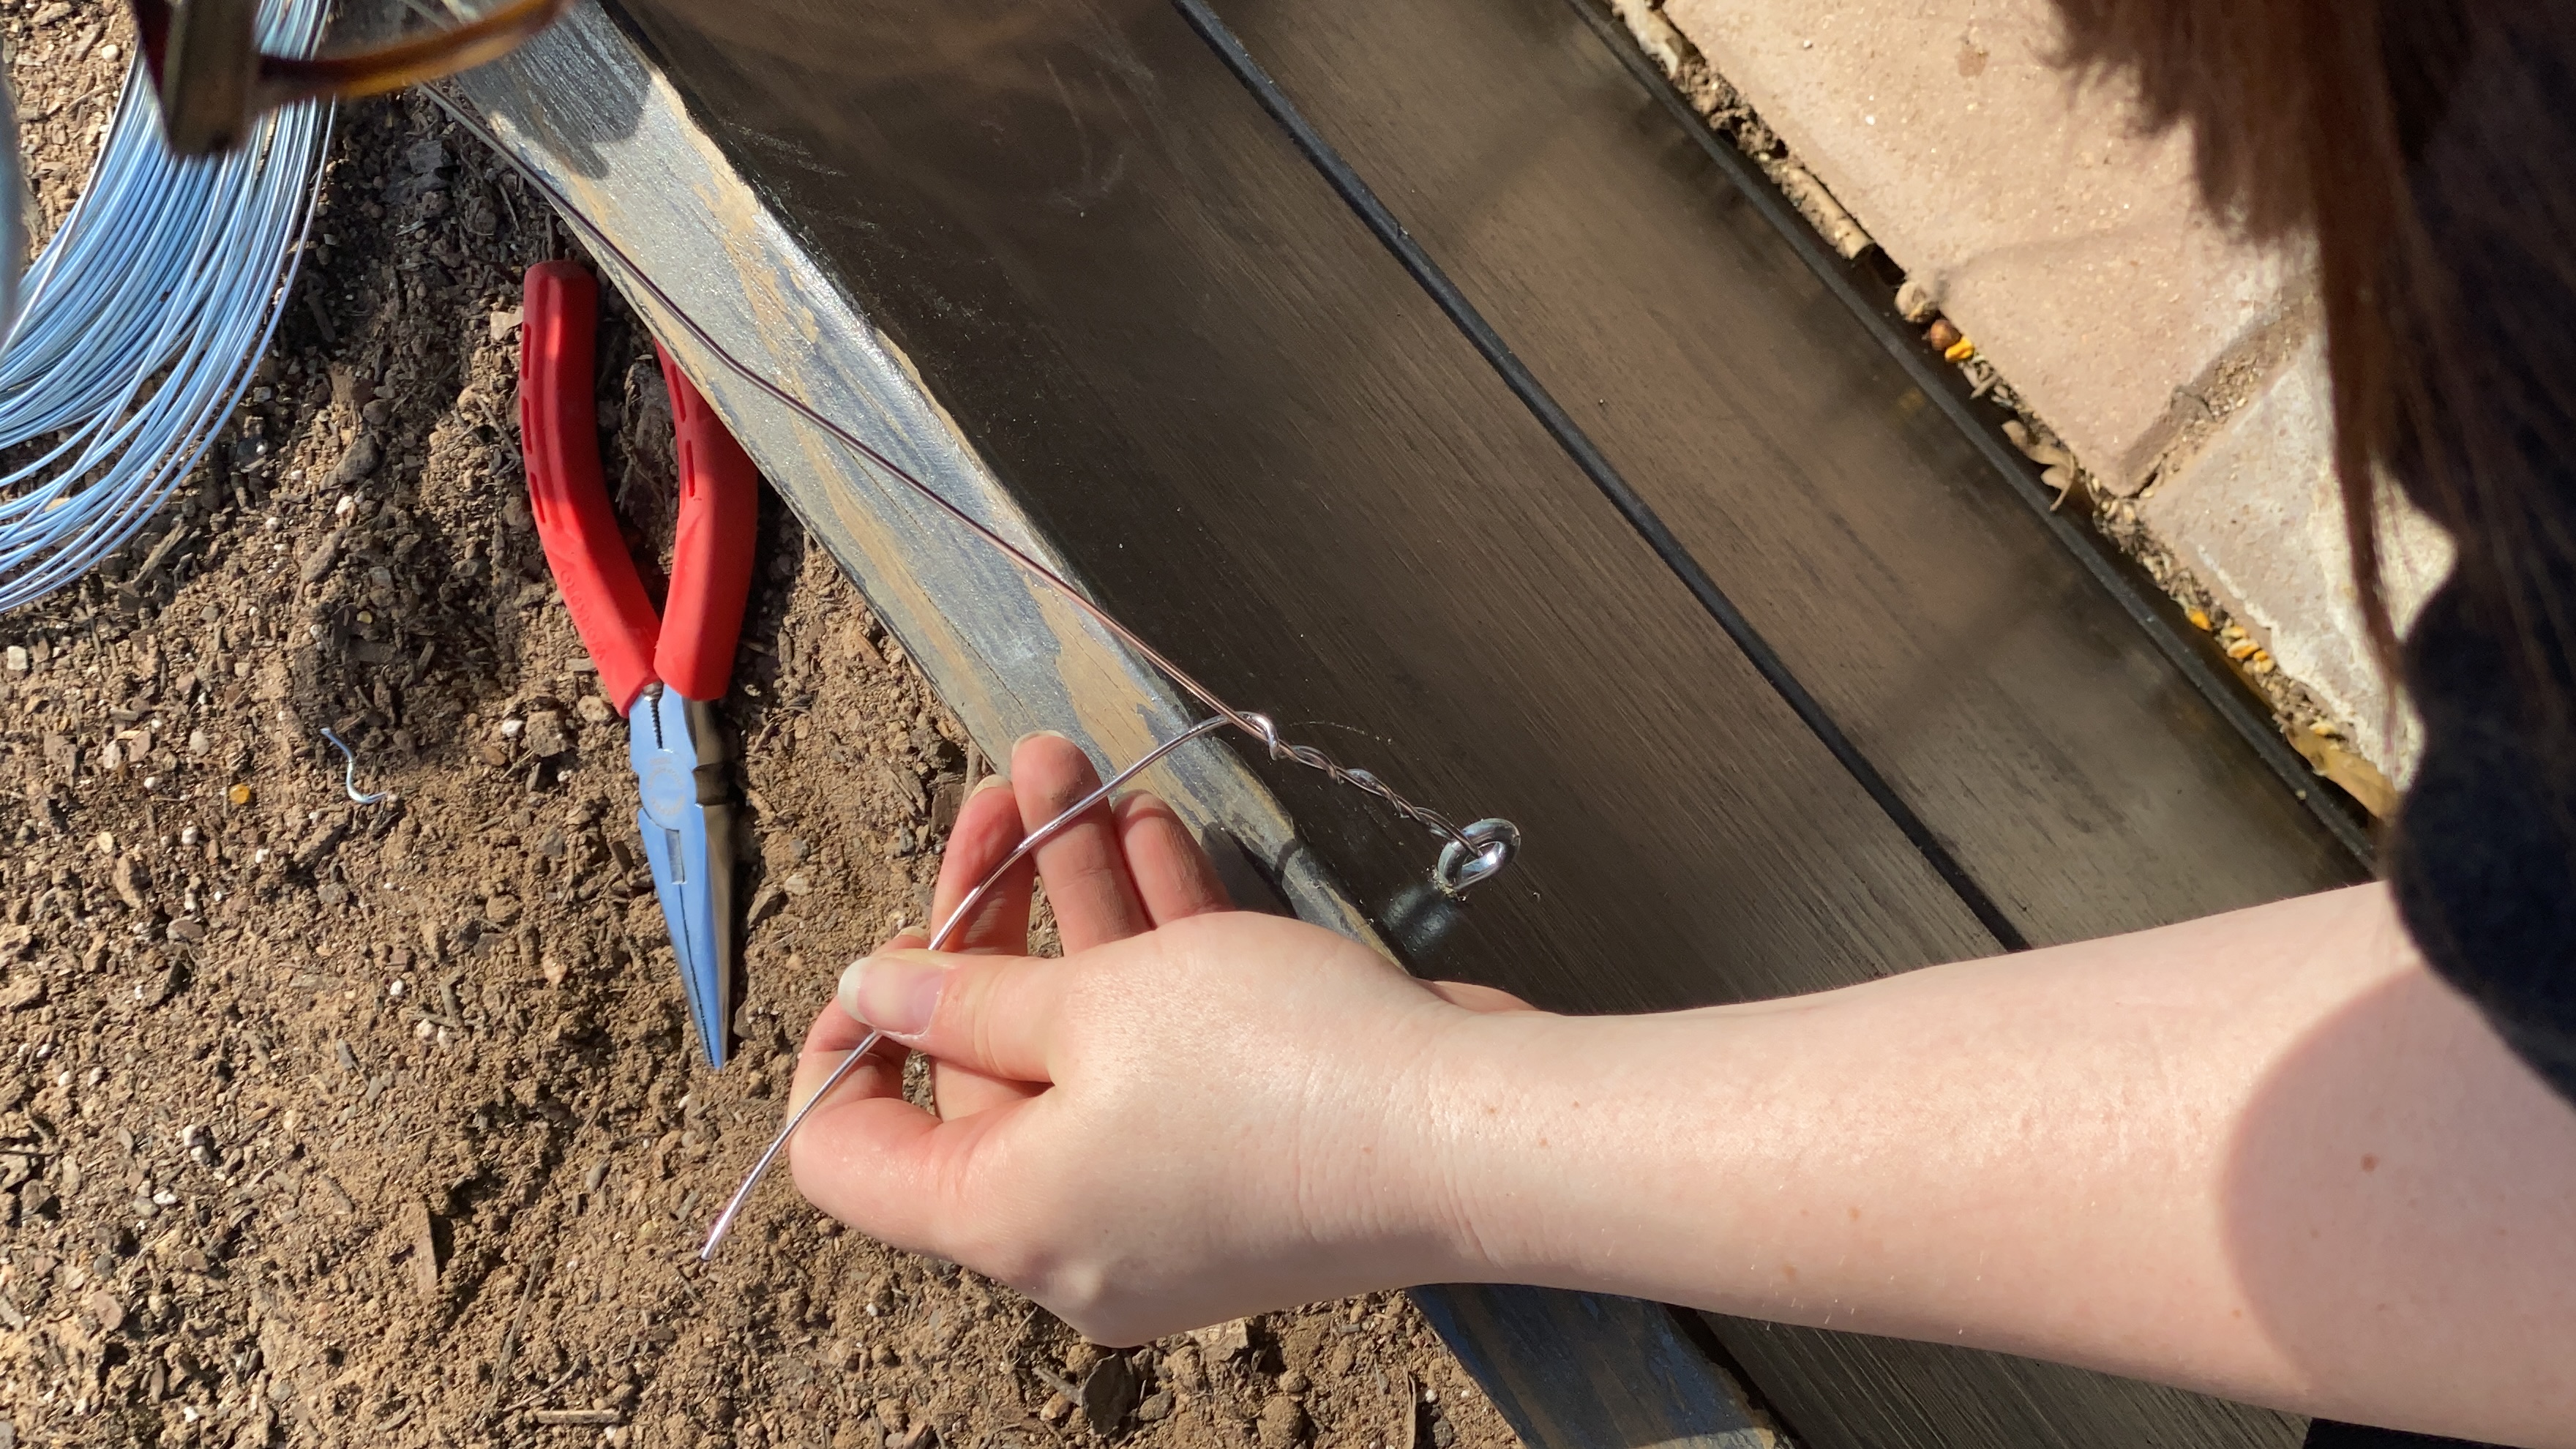
STEP 3: PRE-MEASURE AND CUT WIRE
This step is where I started measuring the wire out but I also started attaching it to the hooks already. When I finally realized that my pattern was off, I had to go back and re-do almost half of the wires. I bent the wire over the hook to hold it in place with about 4-6 inches in excess on each end before attaching them. See the drawing below of how I started my pattern. Once you have the first connection, just keep following that pattern for the rest.
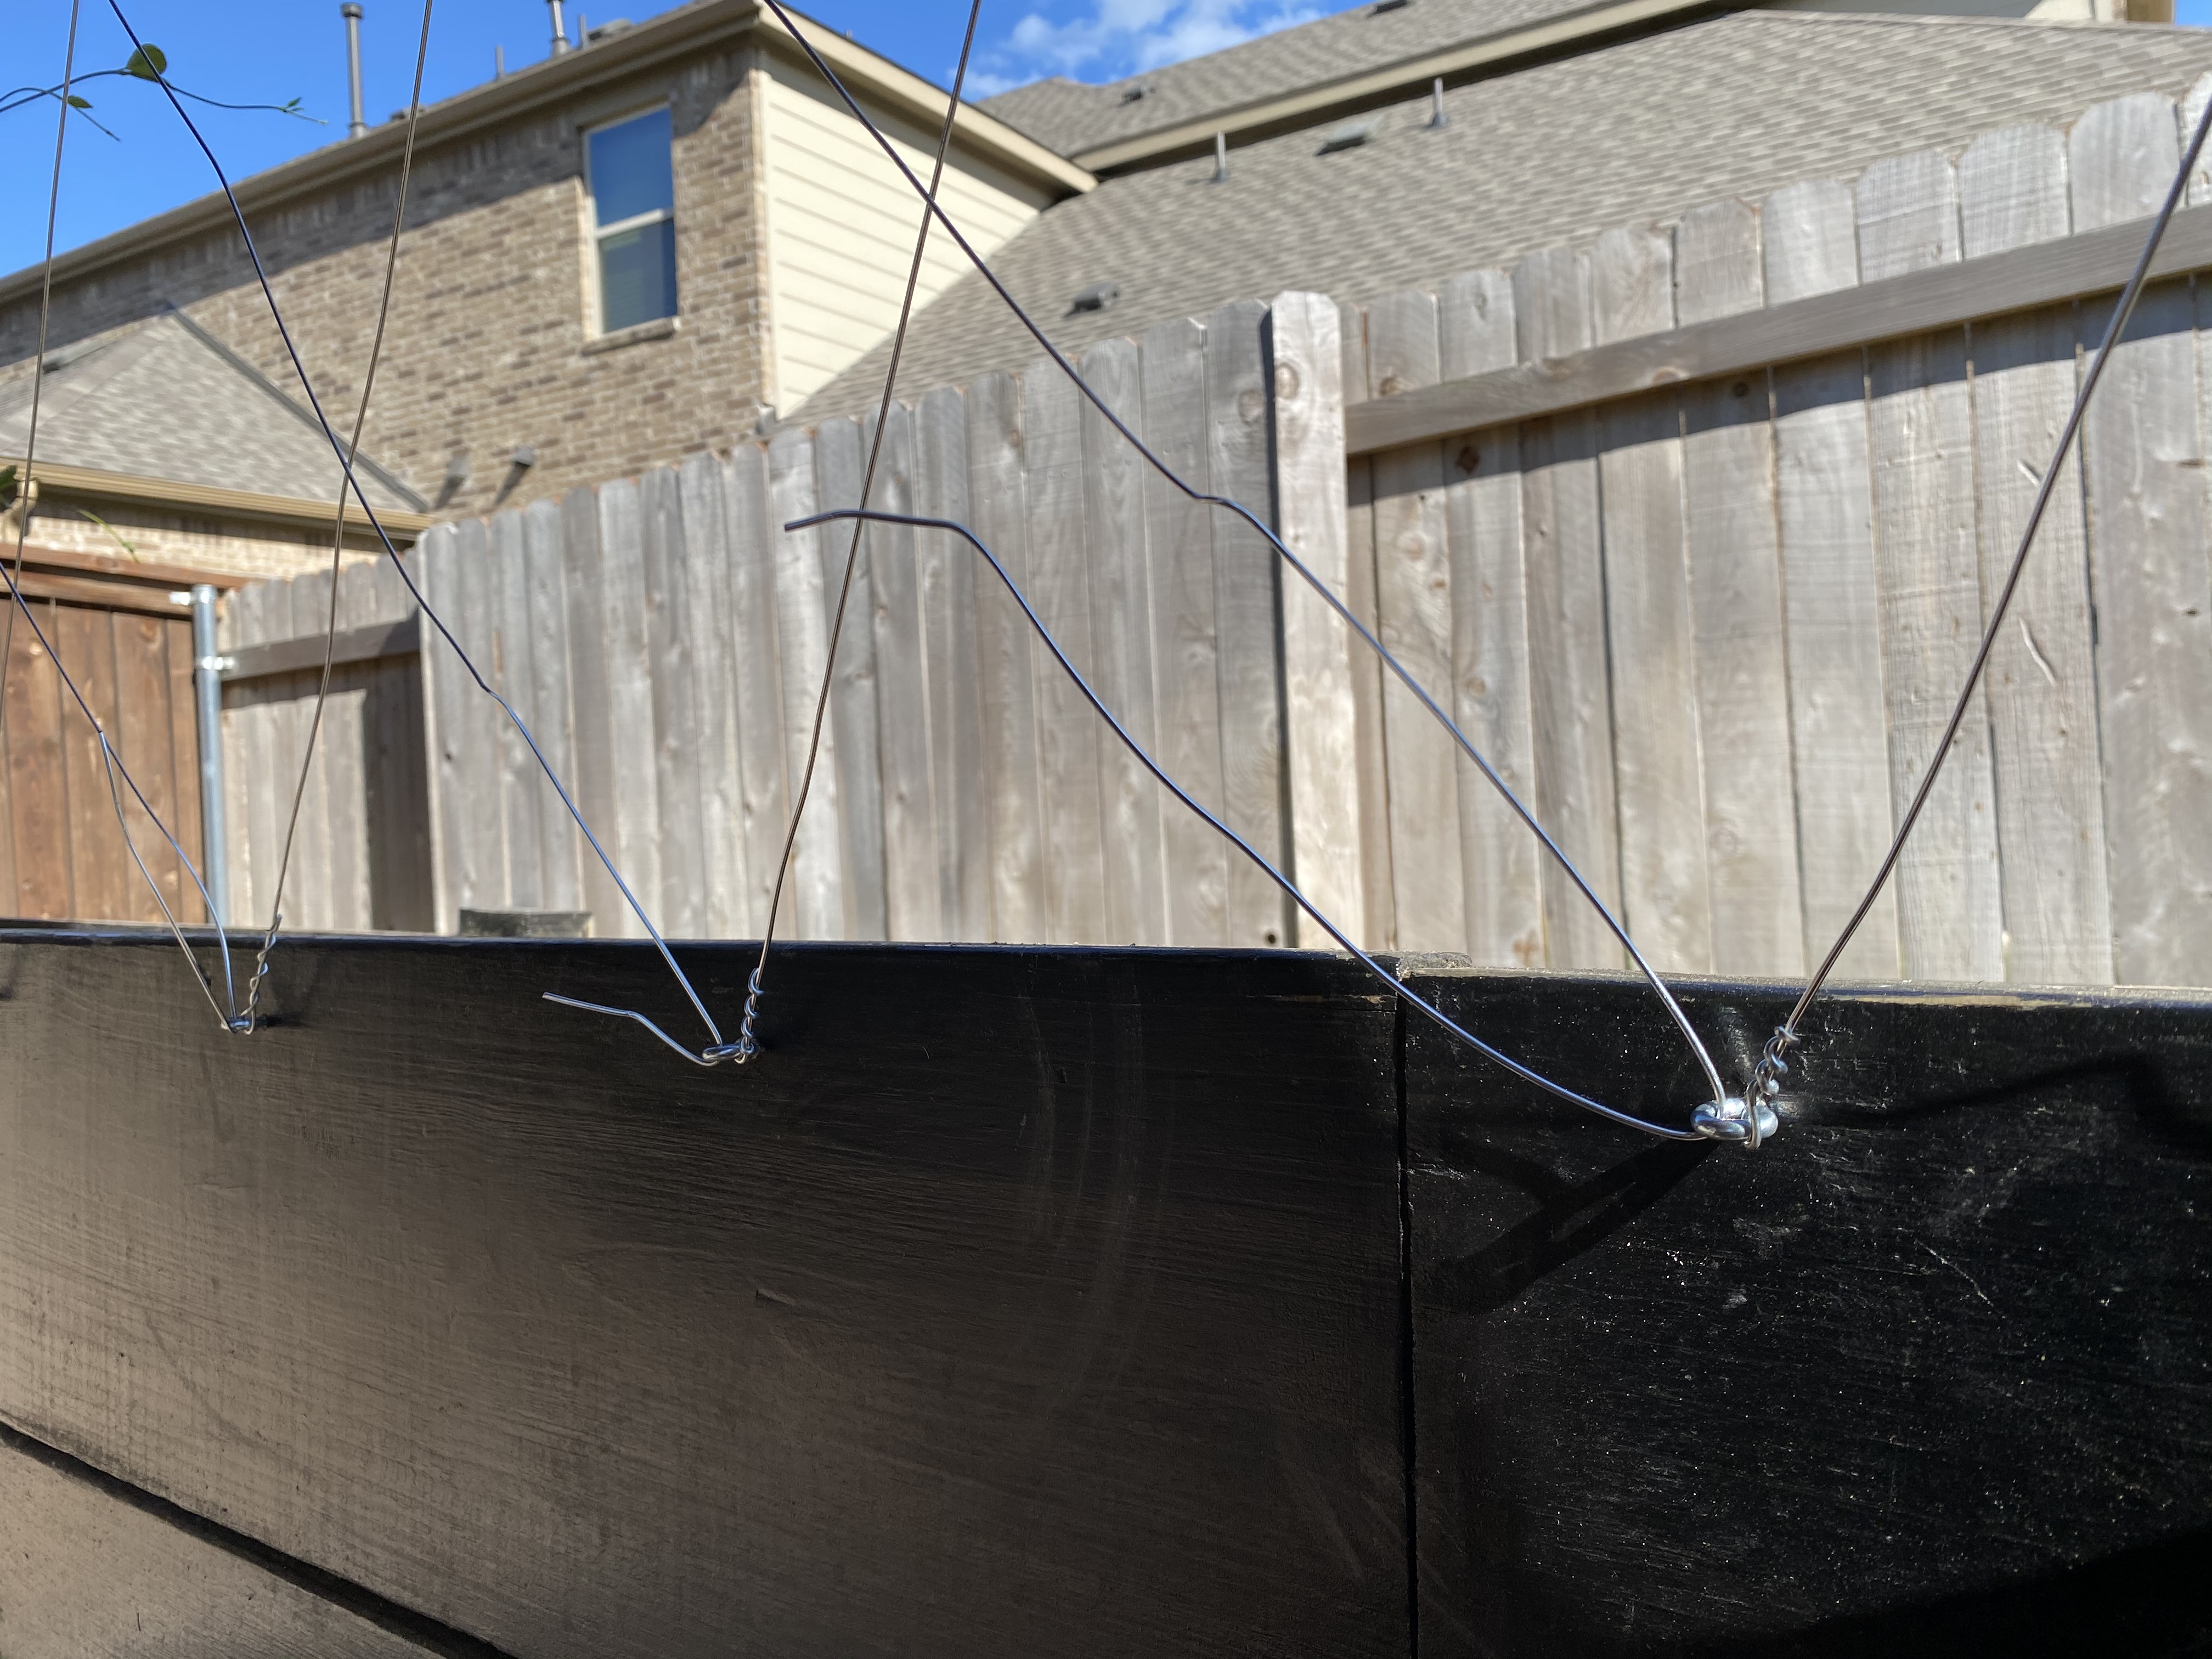
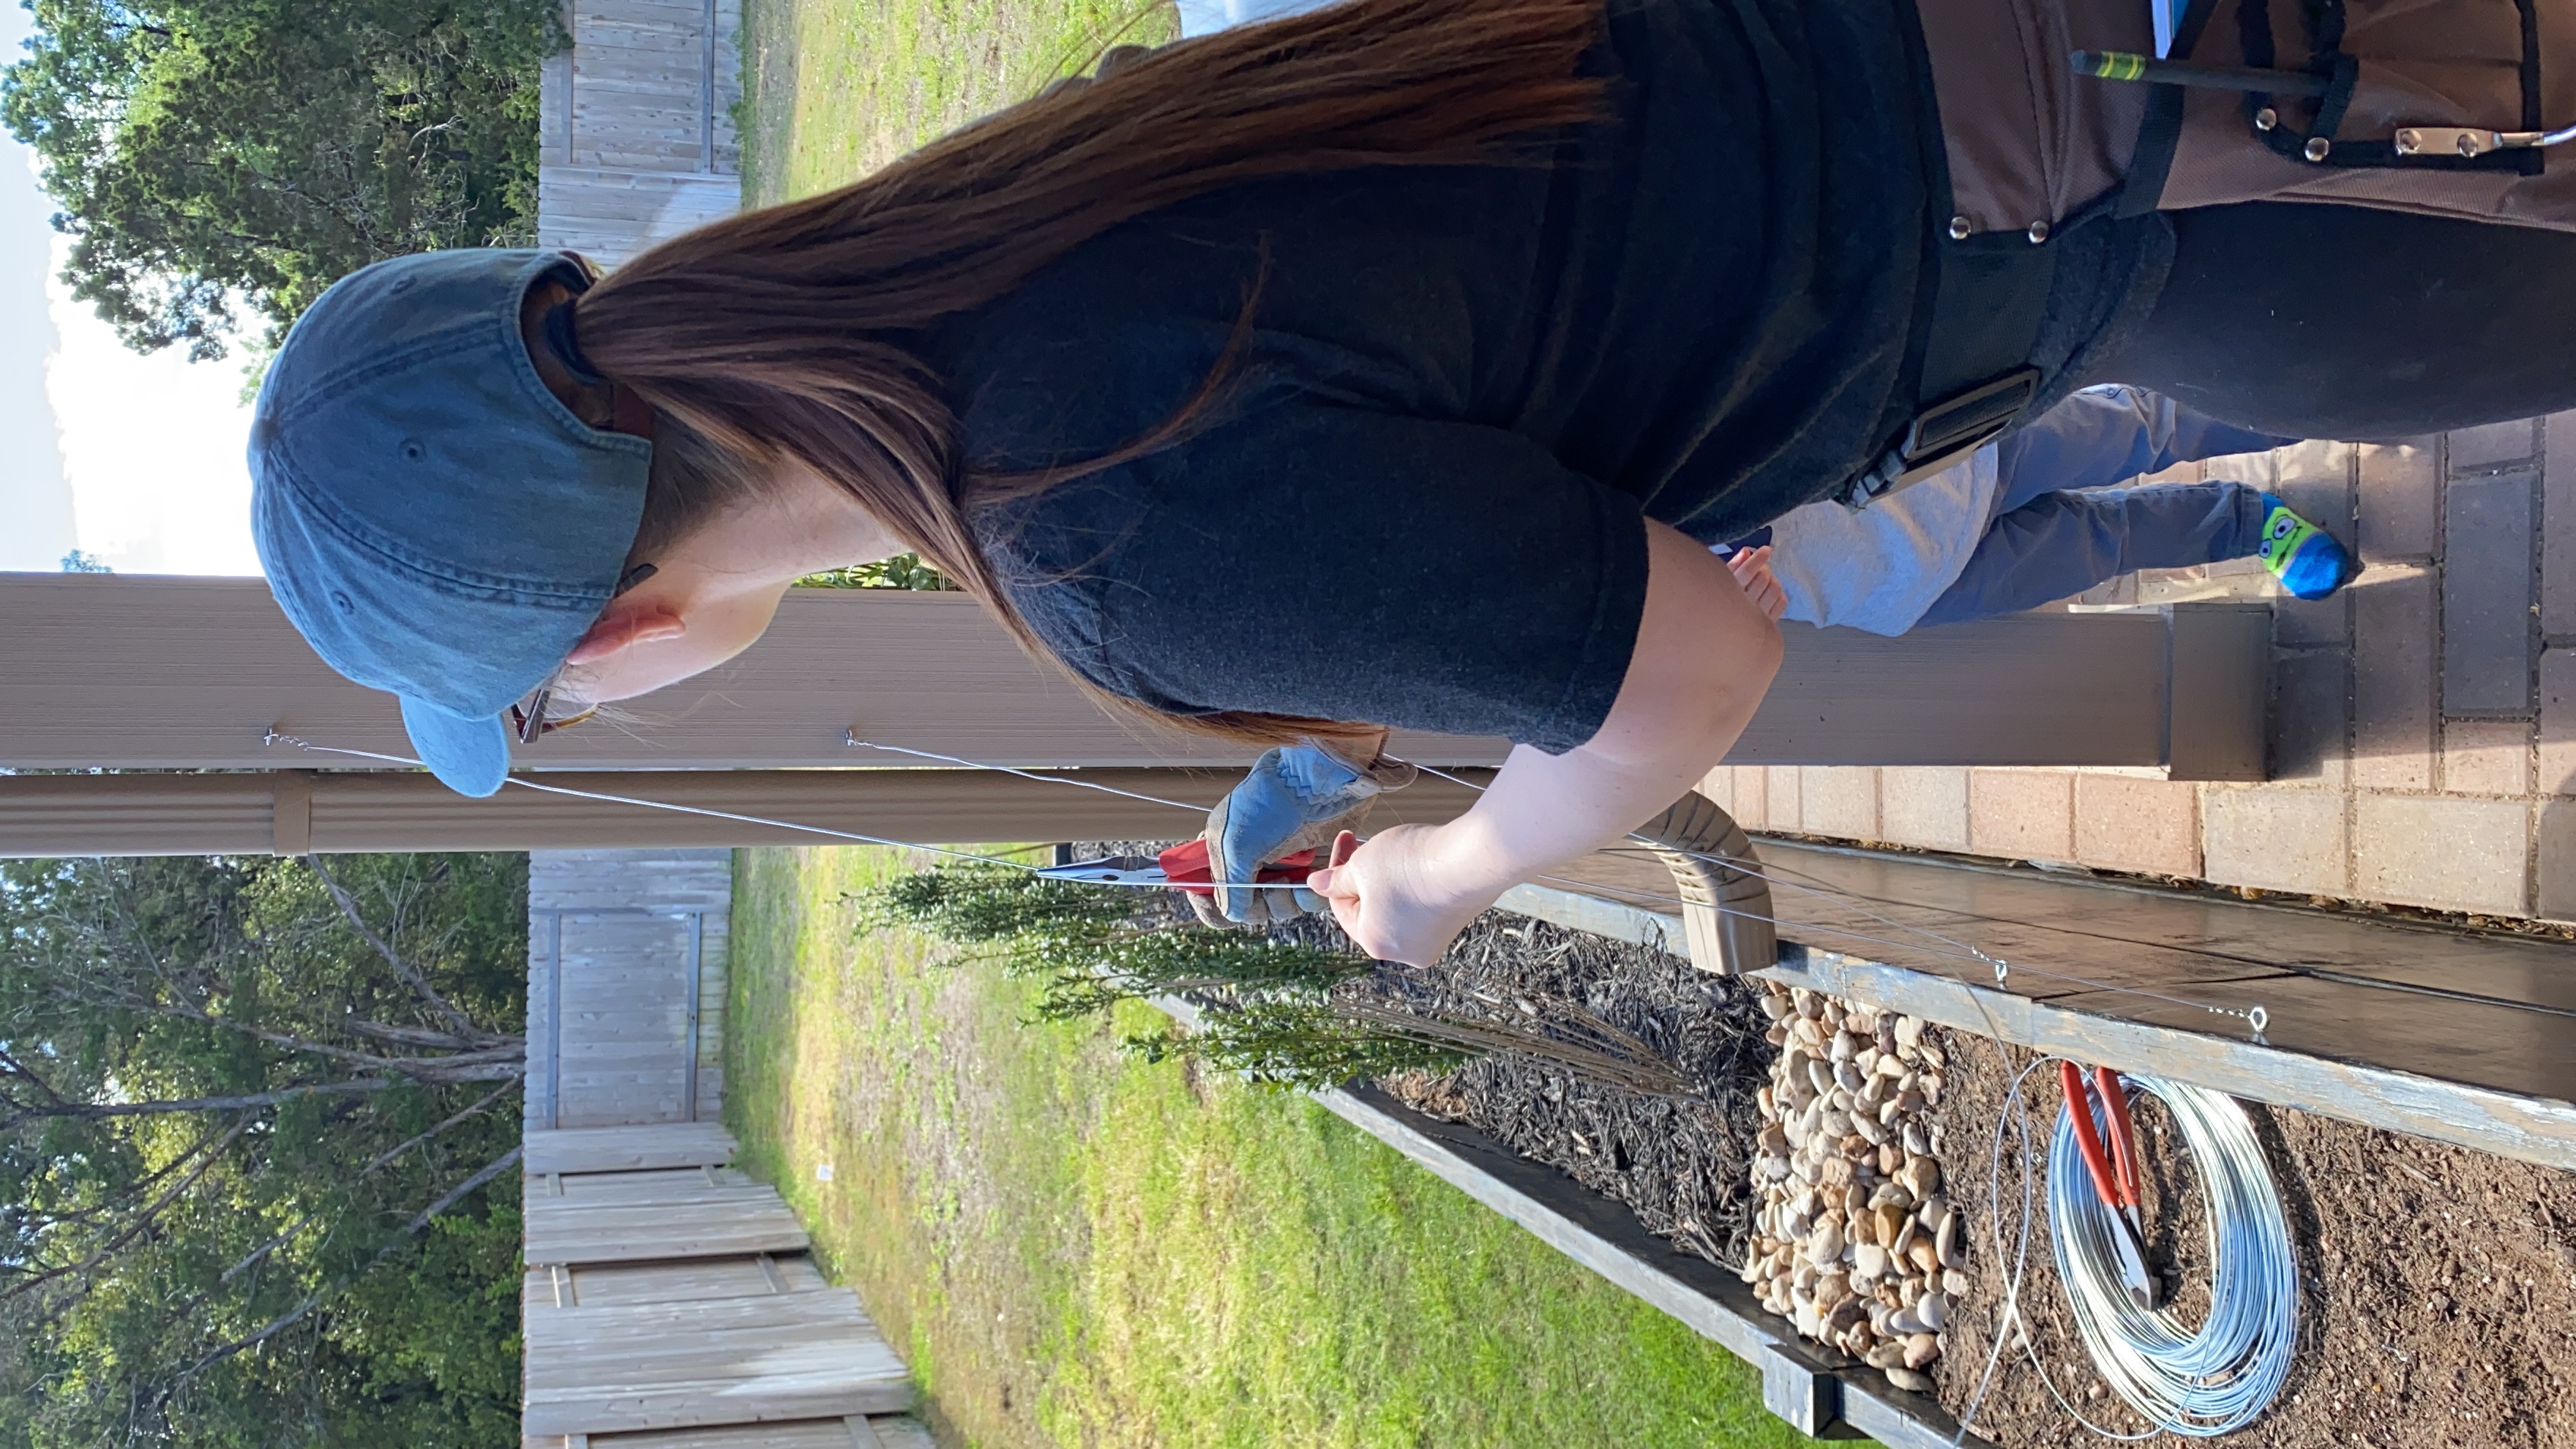
STEP 4: ATTACH WIRE TO HOOKS
Once you’re happy with your pattern, you can attach the wires to the hooks at this point. I used the multi purpose wire that is a pretty thick gauge and doesn’t have much give. I attached one side by wrapping the wire around itself with some needle nose pliers and then pulled the wire taught to the other hook and twisted it around itself again.

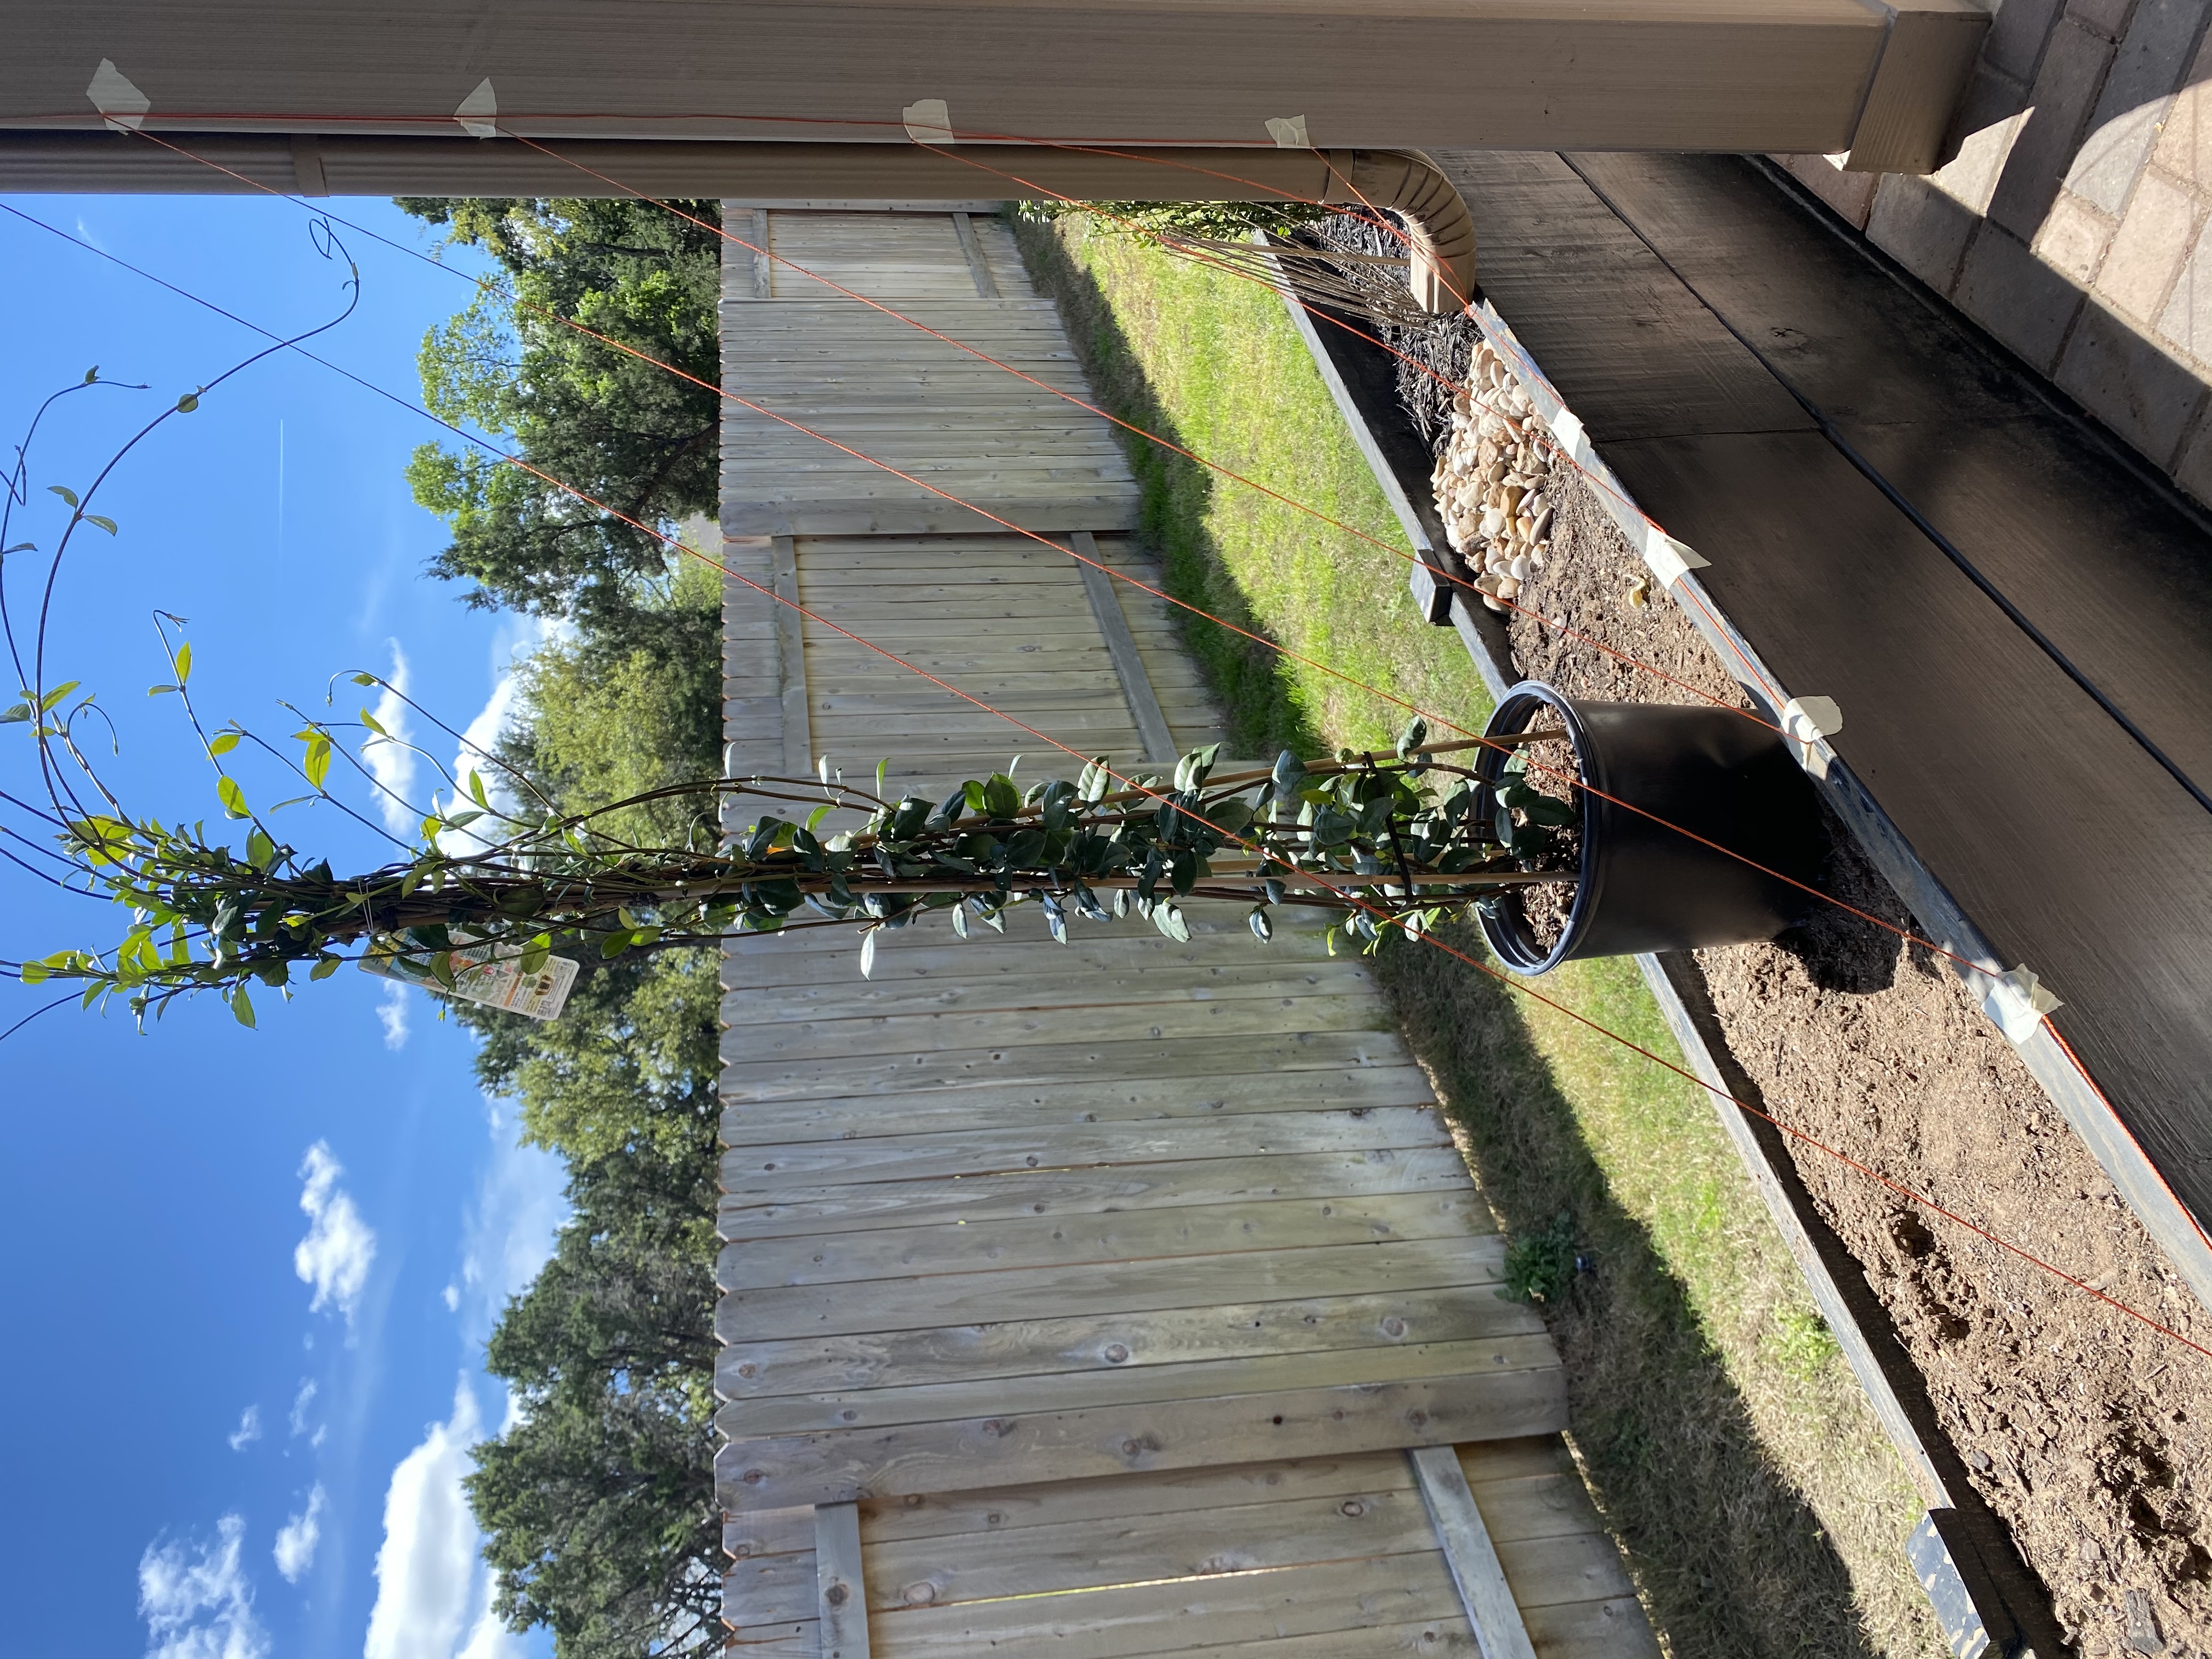
STEP 5: WRAP YOUR VINES
Vining plants usually come wrapped around pieces of bamboo. Remove the ties holding the vines to the stick and wrap each individual strand around the wire going up your pattern (not all in the same spot, spread them out). I chose Star Jasmine because it does well in Central Texas, it’s an evergreen, and has beautifully fragrant white blooms.
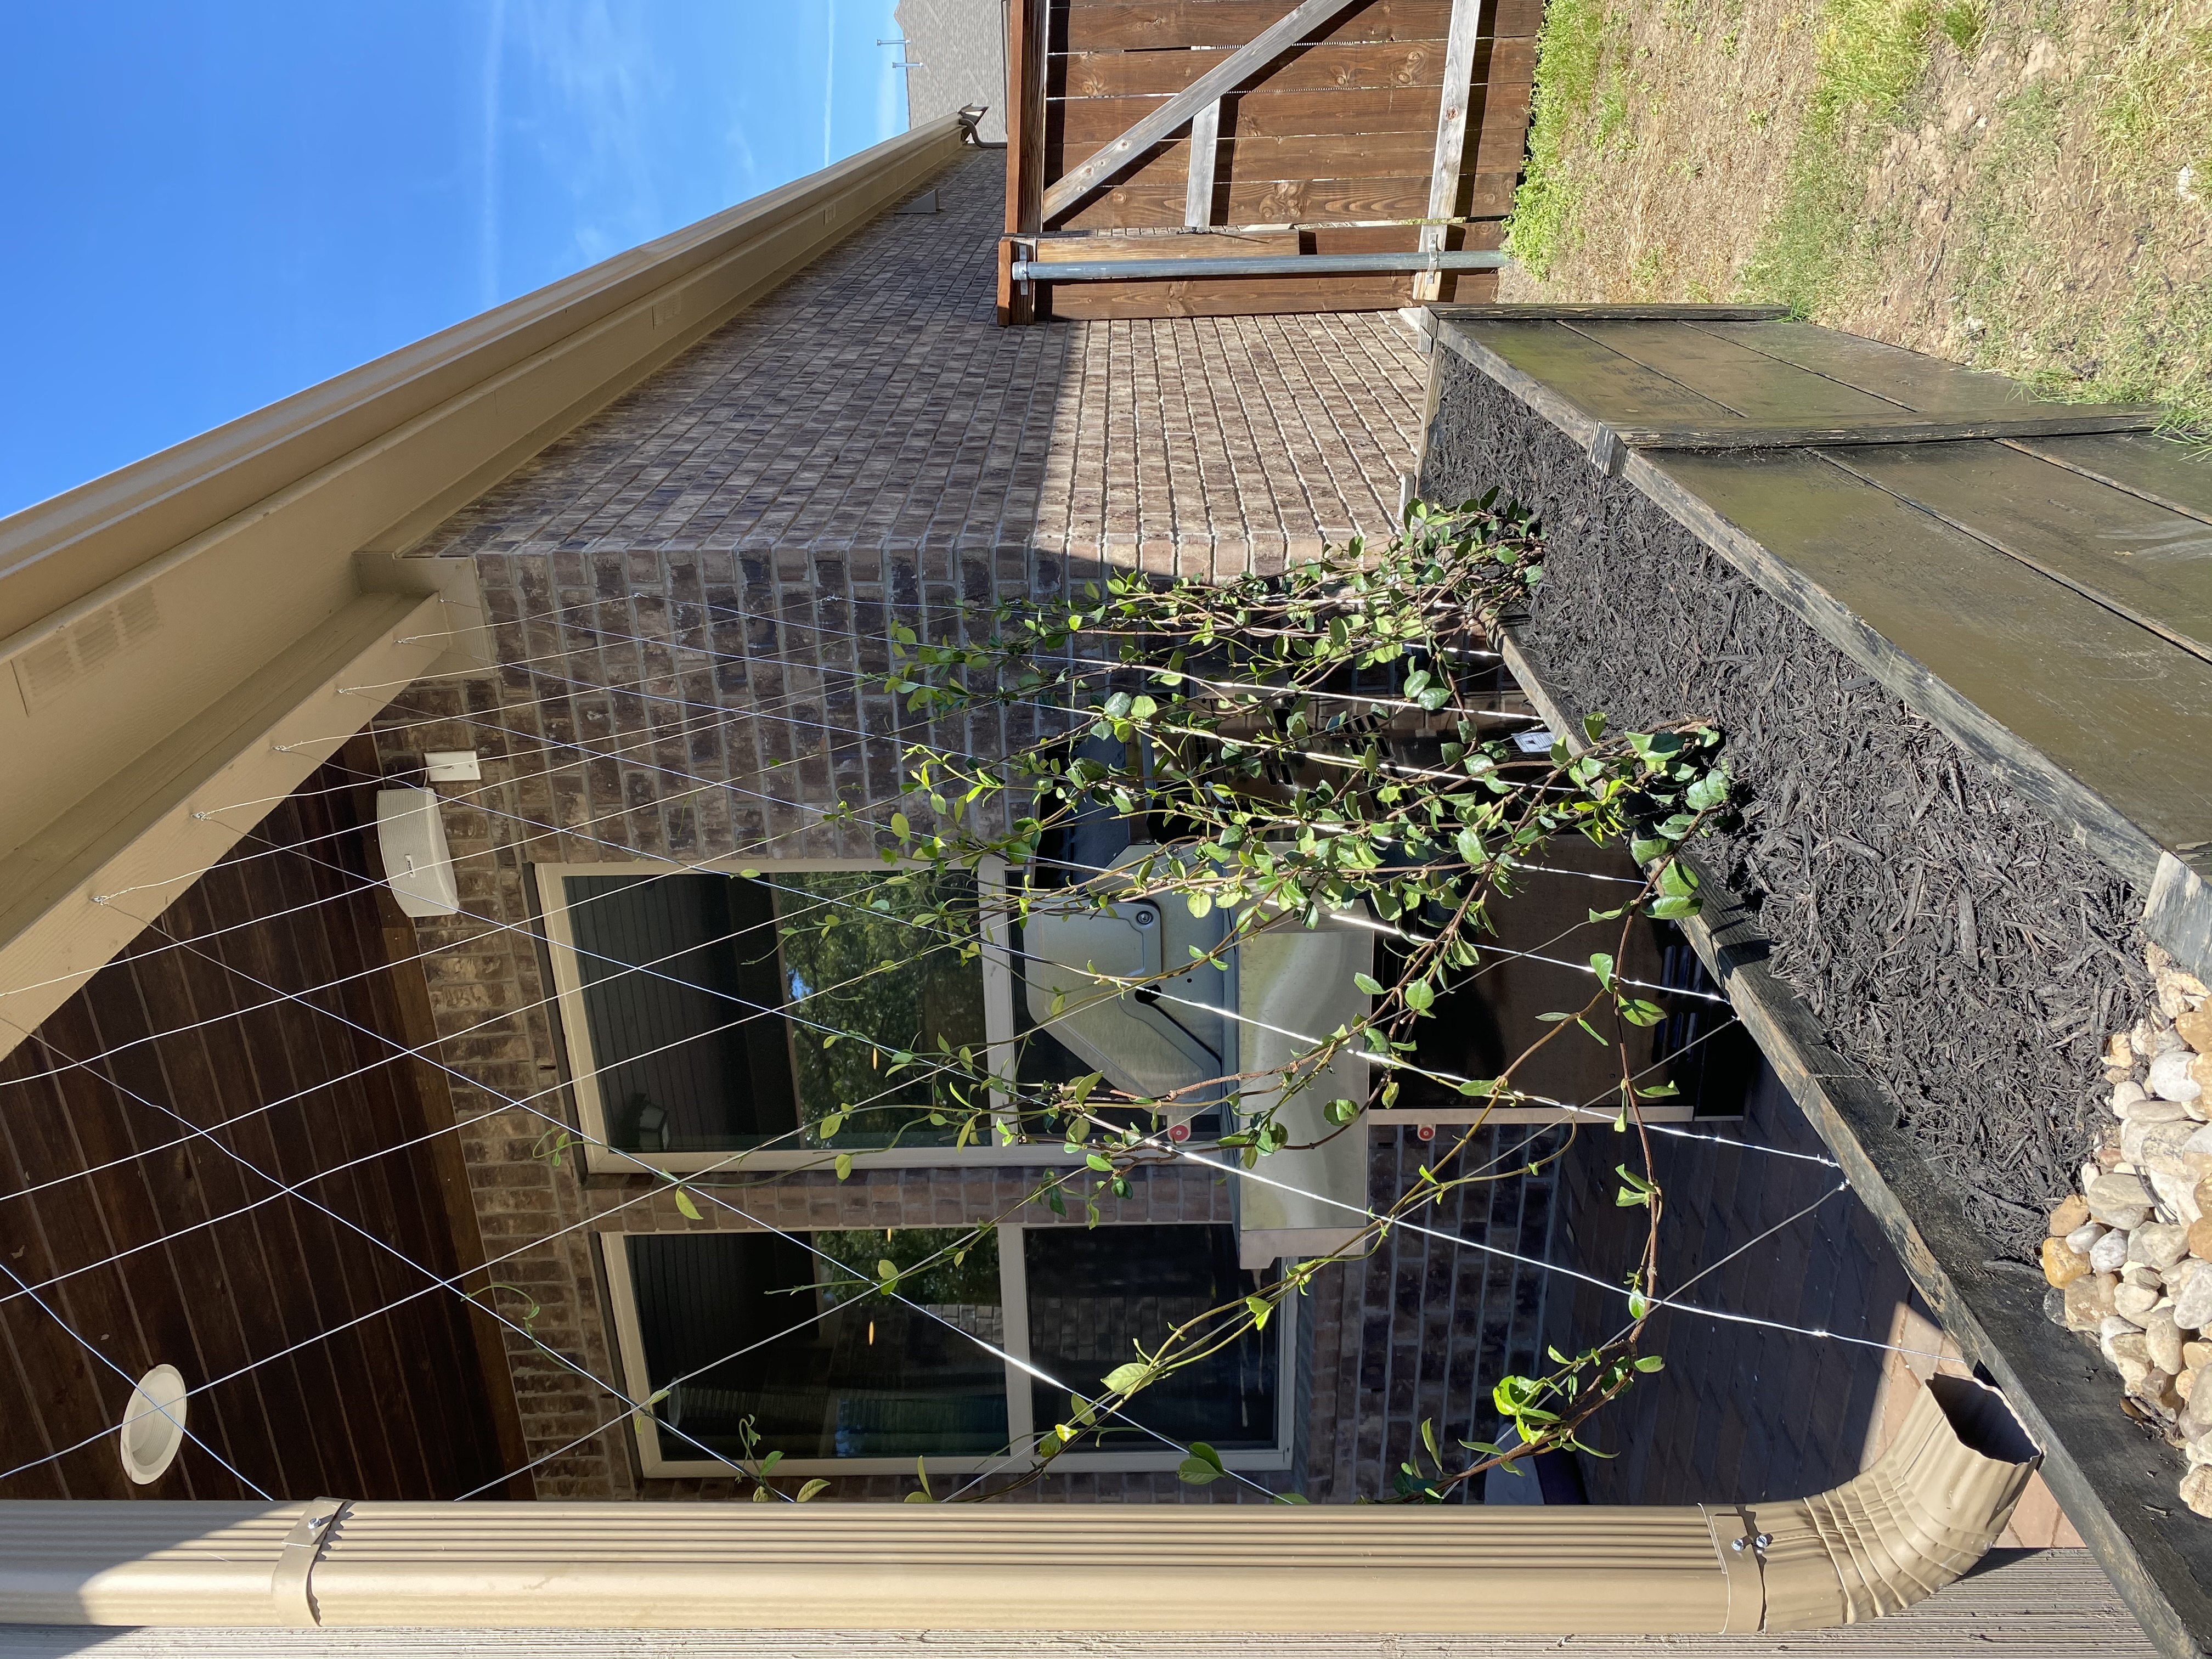
This is an easy, inexpensive and impactful project that I’m absolutely in love with! I feel that it’s baffling that I put off this project for so long but really, it wouldn’t have turned out like this had I done it sooner. I would have ended up with a slat wall covering this area. Although it would have still be beautiful, I didn’t want to block so much light from this area because it probably would have made it a struggle for the plants in my breakfast nook to stay alive because it’s already such dim lighting to begin with.
Make sure to follow along with our projects on instagram and don’t forget to like this video (to see what this has grown into today) and subscribe to our YouTube channel!
Find us on social HERE!


