


DIY Floating Shelves


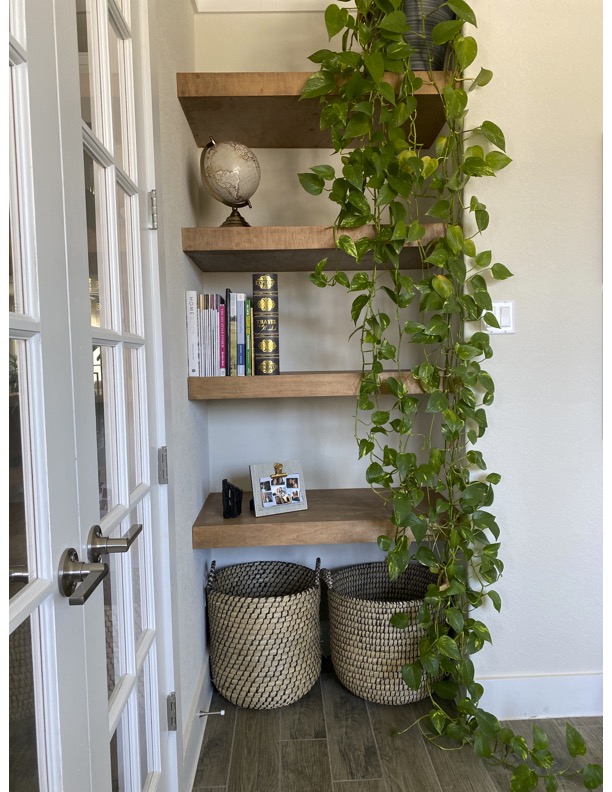
Floating shelves are just so seamlessly beautiful, I mean look at them. They make a good accent to fill a space as a decorative piece or even a useful storage area. Since they can cost an arm and a leg for custom ones, let’s create our own. DIY custom floating shelves coming at you.
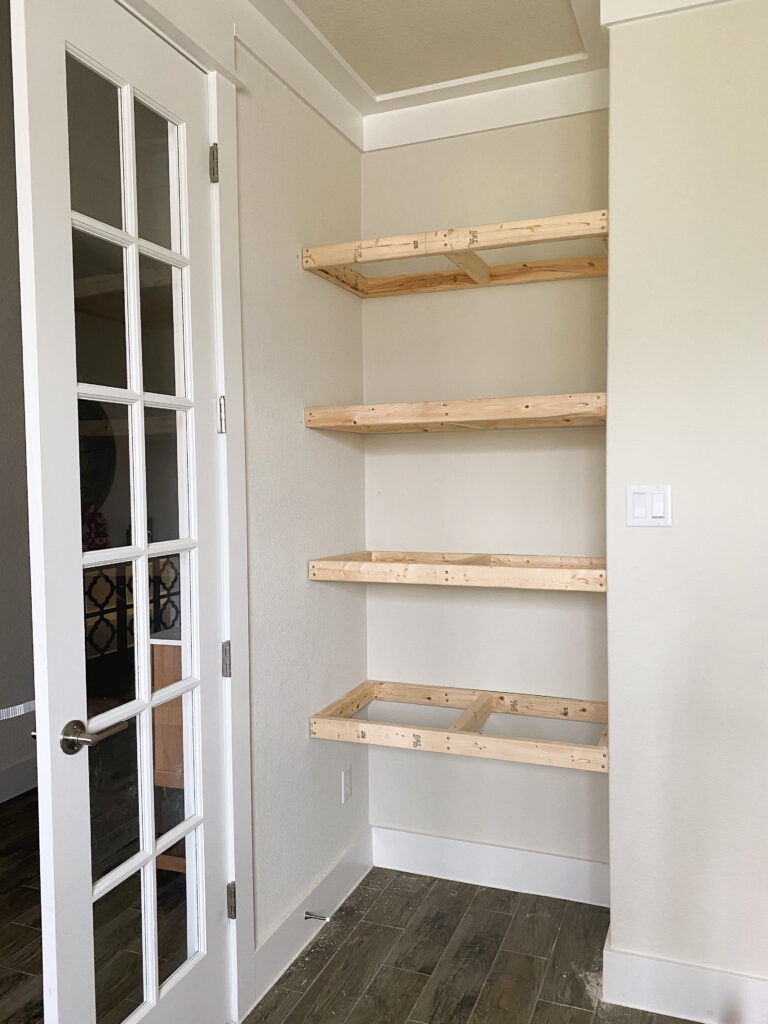
I had a little nook area in our office that served absolutely no purpose. So, what better way to fill that space than with some custom floating shelves.

Measuring the Frame
Make sure to measure the area the shelves will be going. That a major first step.
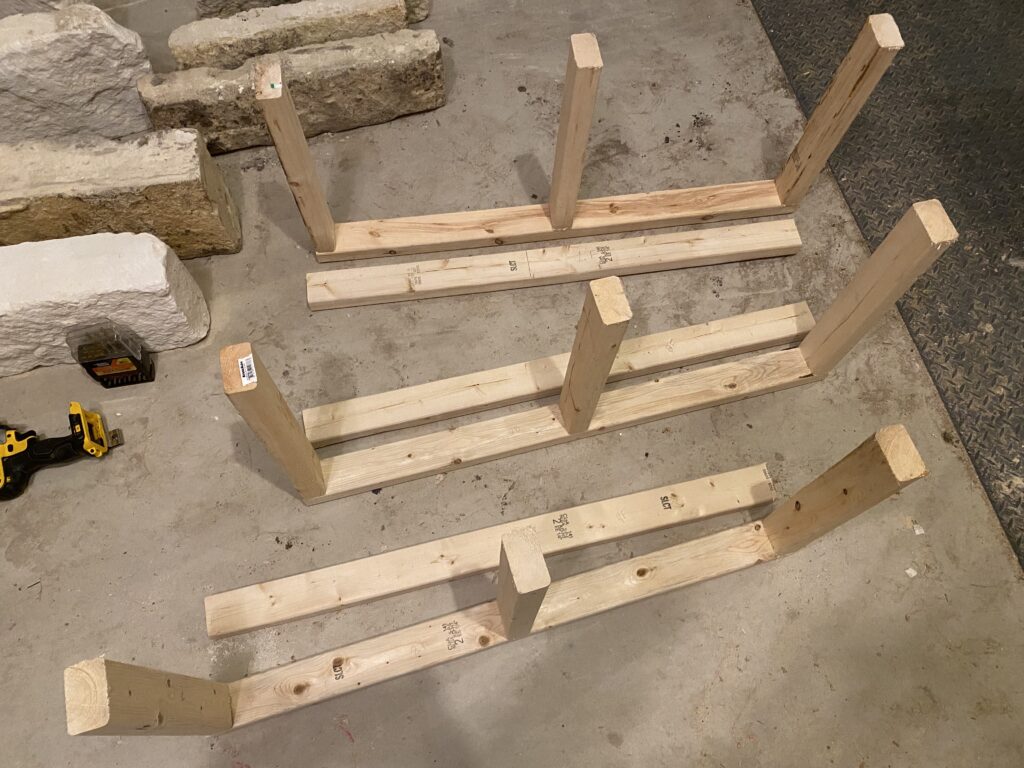
We cut one piece of wood the length of the back wall. Then we cut one piece of wood the front of the shelf length. Then we cut 3 pieces of wood the depth of the shelves. This will build a frame for the floating shelves. This assembly will get you one shelf, so you would need to cut these pieces of wood for each shelf needed.
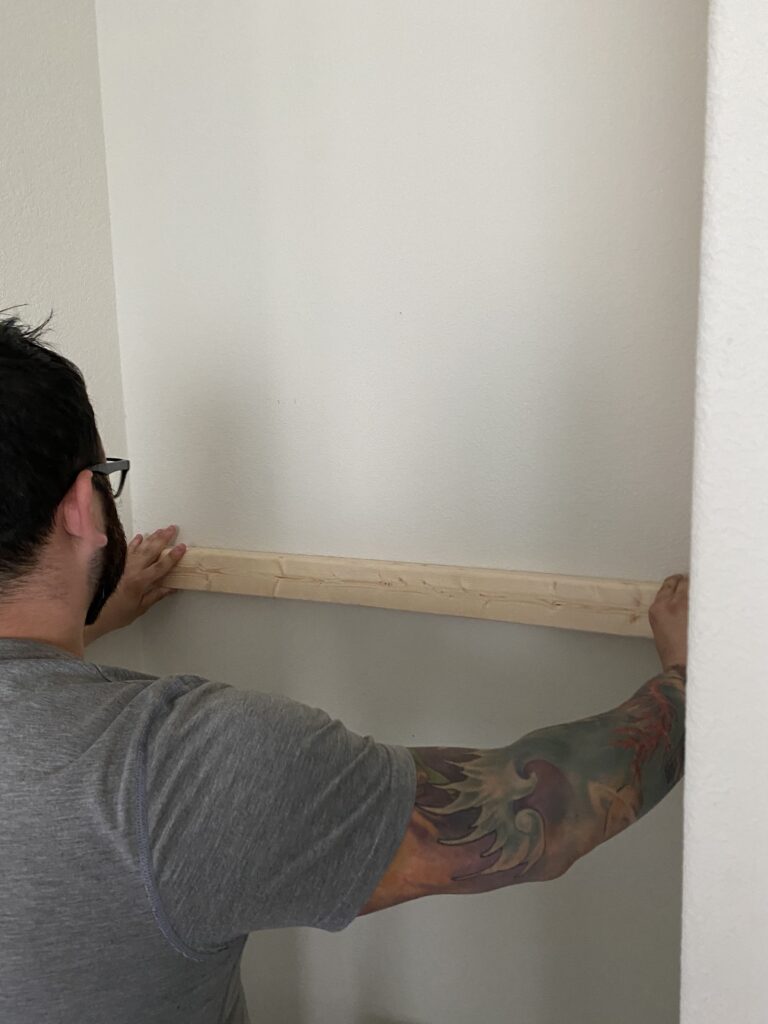
Attaching the Frame
Once the frame is built then you where you want in and insert it in there. I just drilled it in with some screws.
If I ever were to do this again anywhere else, I wouldn’t build the frame first. I would’ve built it on the wall as I went. It was very difficult to fit it directly in there and have it be level.
Last thing to do is to attach the front piece of the frame.

Pilot holes are nice to drill in before putting a screw in because they will guide the screw perfectly into the wood. Just another tip for you!
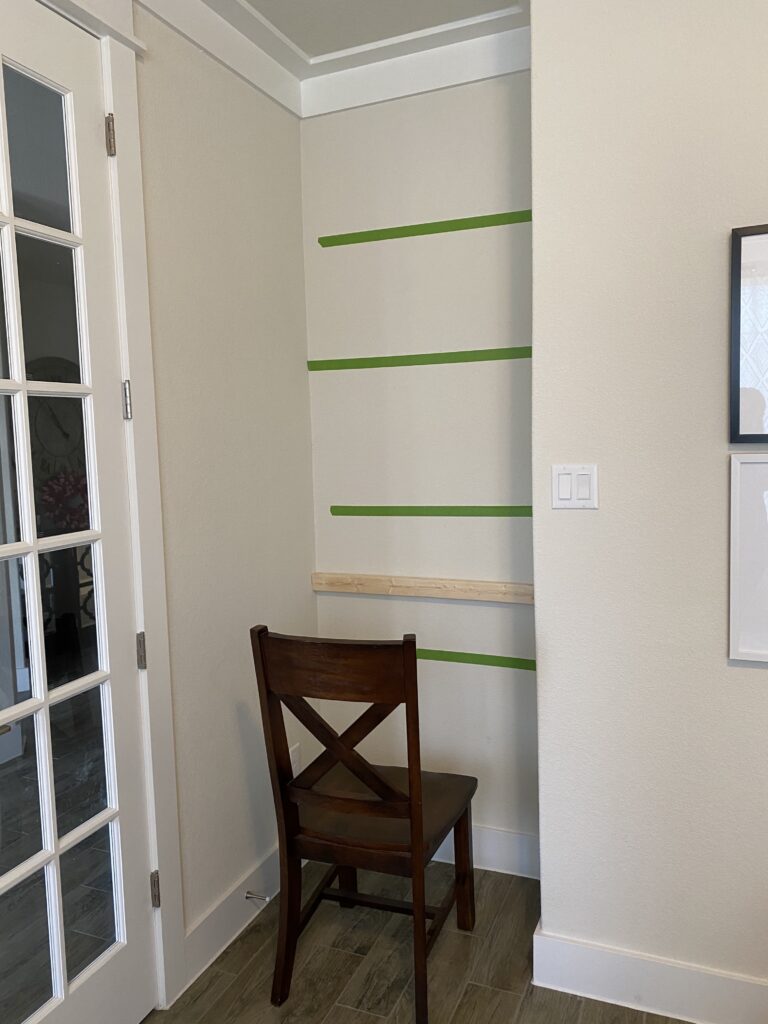
Repeat this process for as many shelves you need. In our case we did 4 shelves. We did work from top to bottom so there was the most accessibility while putting in the other shelves.
Turning them into Floating Shelves
Now that we have the frame built and secured into the wall, we move on to turning these frames into a floating shelve. This is the fun part!
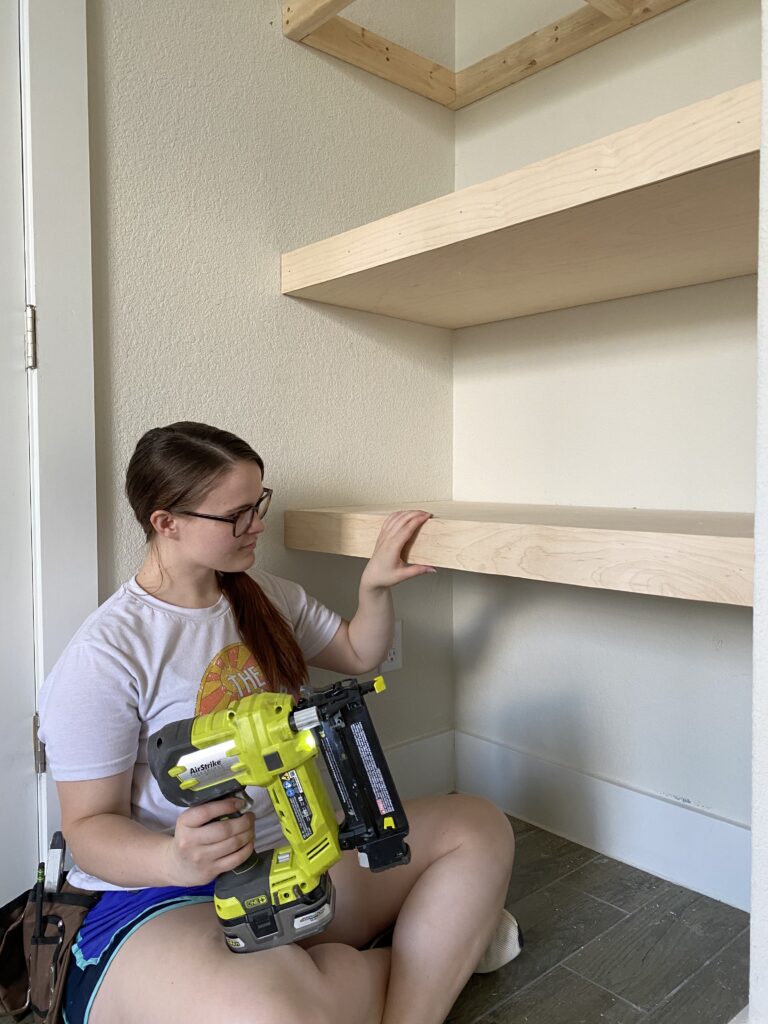
We used 1/8th inch plywood for the tops, bottoms, and fronts of these shelves. First we measured them to fit the exact size of the shelf so it was a super snug fit. Then we used some constriction adhesive where the plywood would meet the frame. Then all you got to do is put in a few brad nails and there you have floating shelves. You just need to be super precise with your measurements so everything is easy and seamless.
Finishing Touches
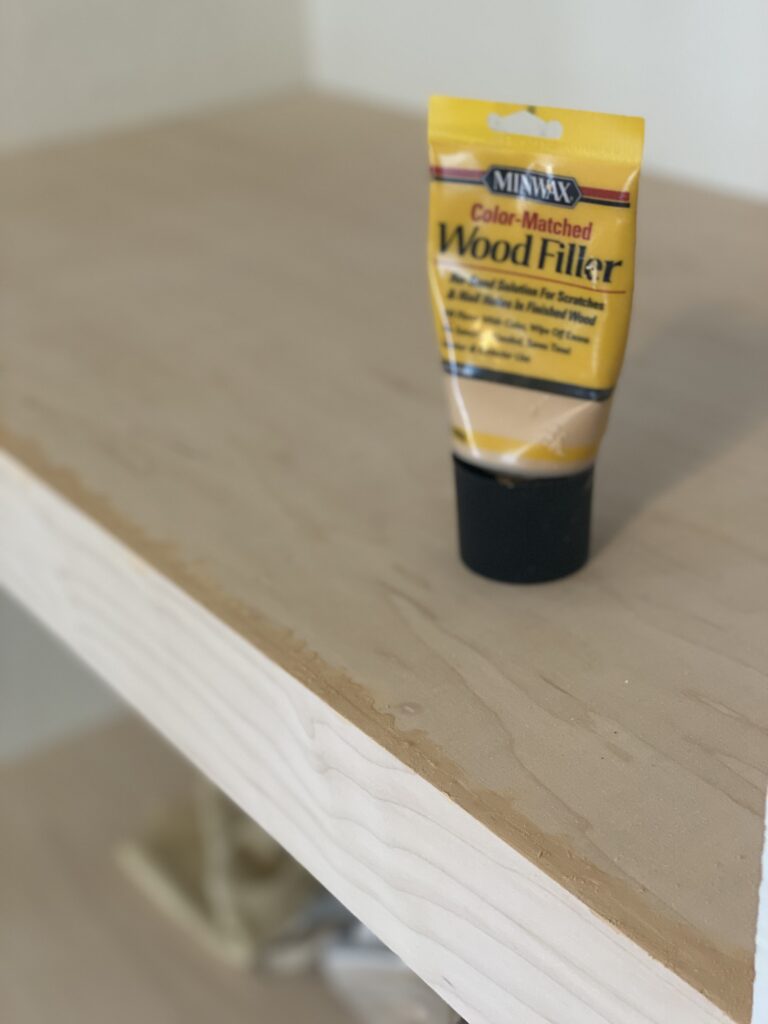
For a seamless look I wood filled all the cracks, crevices, and nail holes. Then you want to either use a hand sander or a power sander to sand down all the wood filler so just the holes and cracks are filled. I did start off using a hand sander, but it was just taking a long time and kind of made my wrists hurt. So id recommend a power sander for sure. Work smarter not harder!
Then lastly to do is stain it. I used my current favorite combo of stain which is Early American and Weathered Oak. I first put a light coat of Early American on then wipe it off. Then I put a light coat of Weathered Oak then wipe that off and there you have my favorite stain combo EVER!
Floating Shelves are Complete
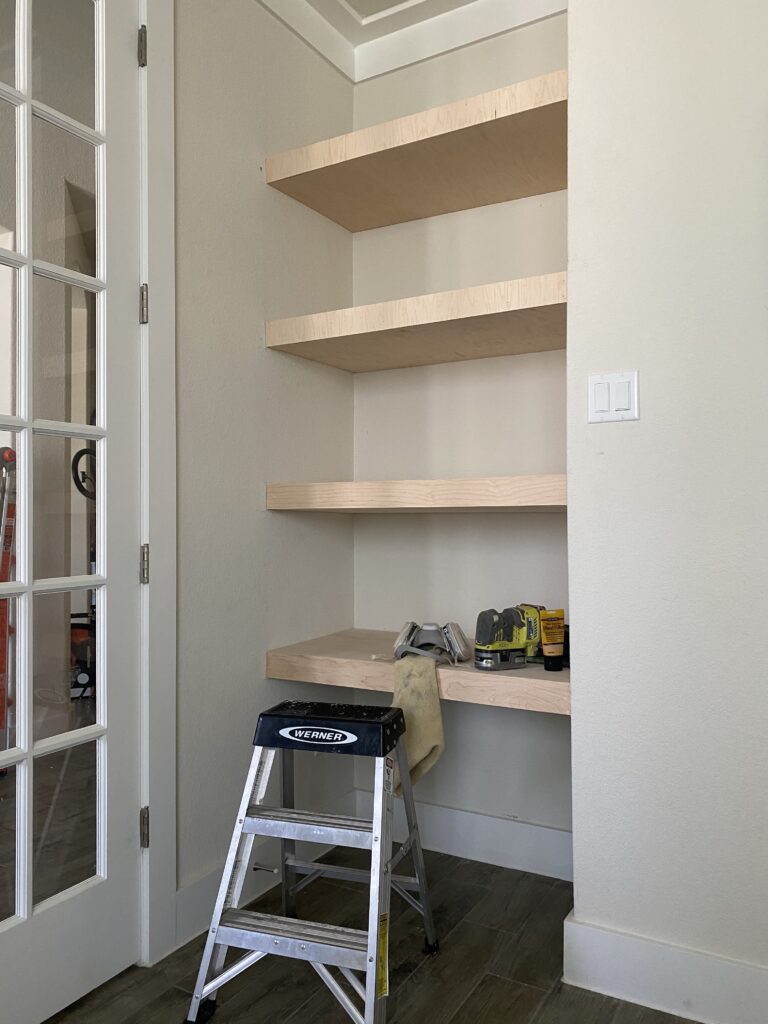
Well, there it is. A simple way to dress up a bare area in the house such as this little nook I had. Floating shelves add such an amplified look. These shelves look like they belonged here all this time. I am so happy with this outcome and can’t wait to do A LOT more projects around our house. Keep checking in for all the new DIY things we are doing. I have so many in mind!
Shop our favorites HERE!
Find us on social HERE!


