


DIY Workbench with IKEA Cabinets


I spent about two weeks creating this amazing DIY workbench with IKEA cabinets. I’ve been customizing it to be an incredible miter saw workbench for lots of projects.
DIY Deep Counters
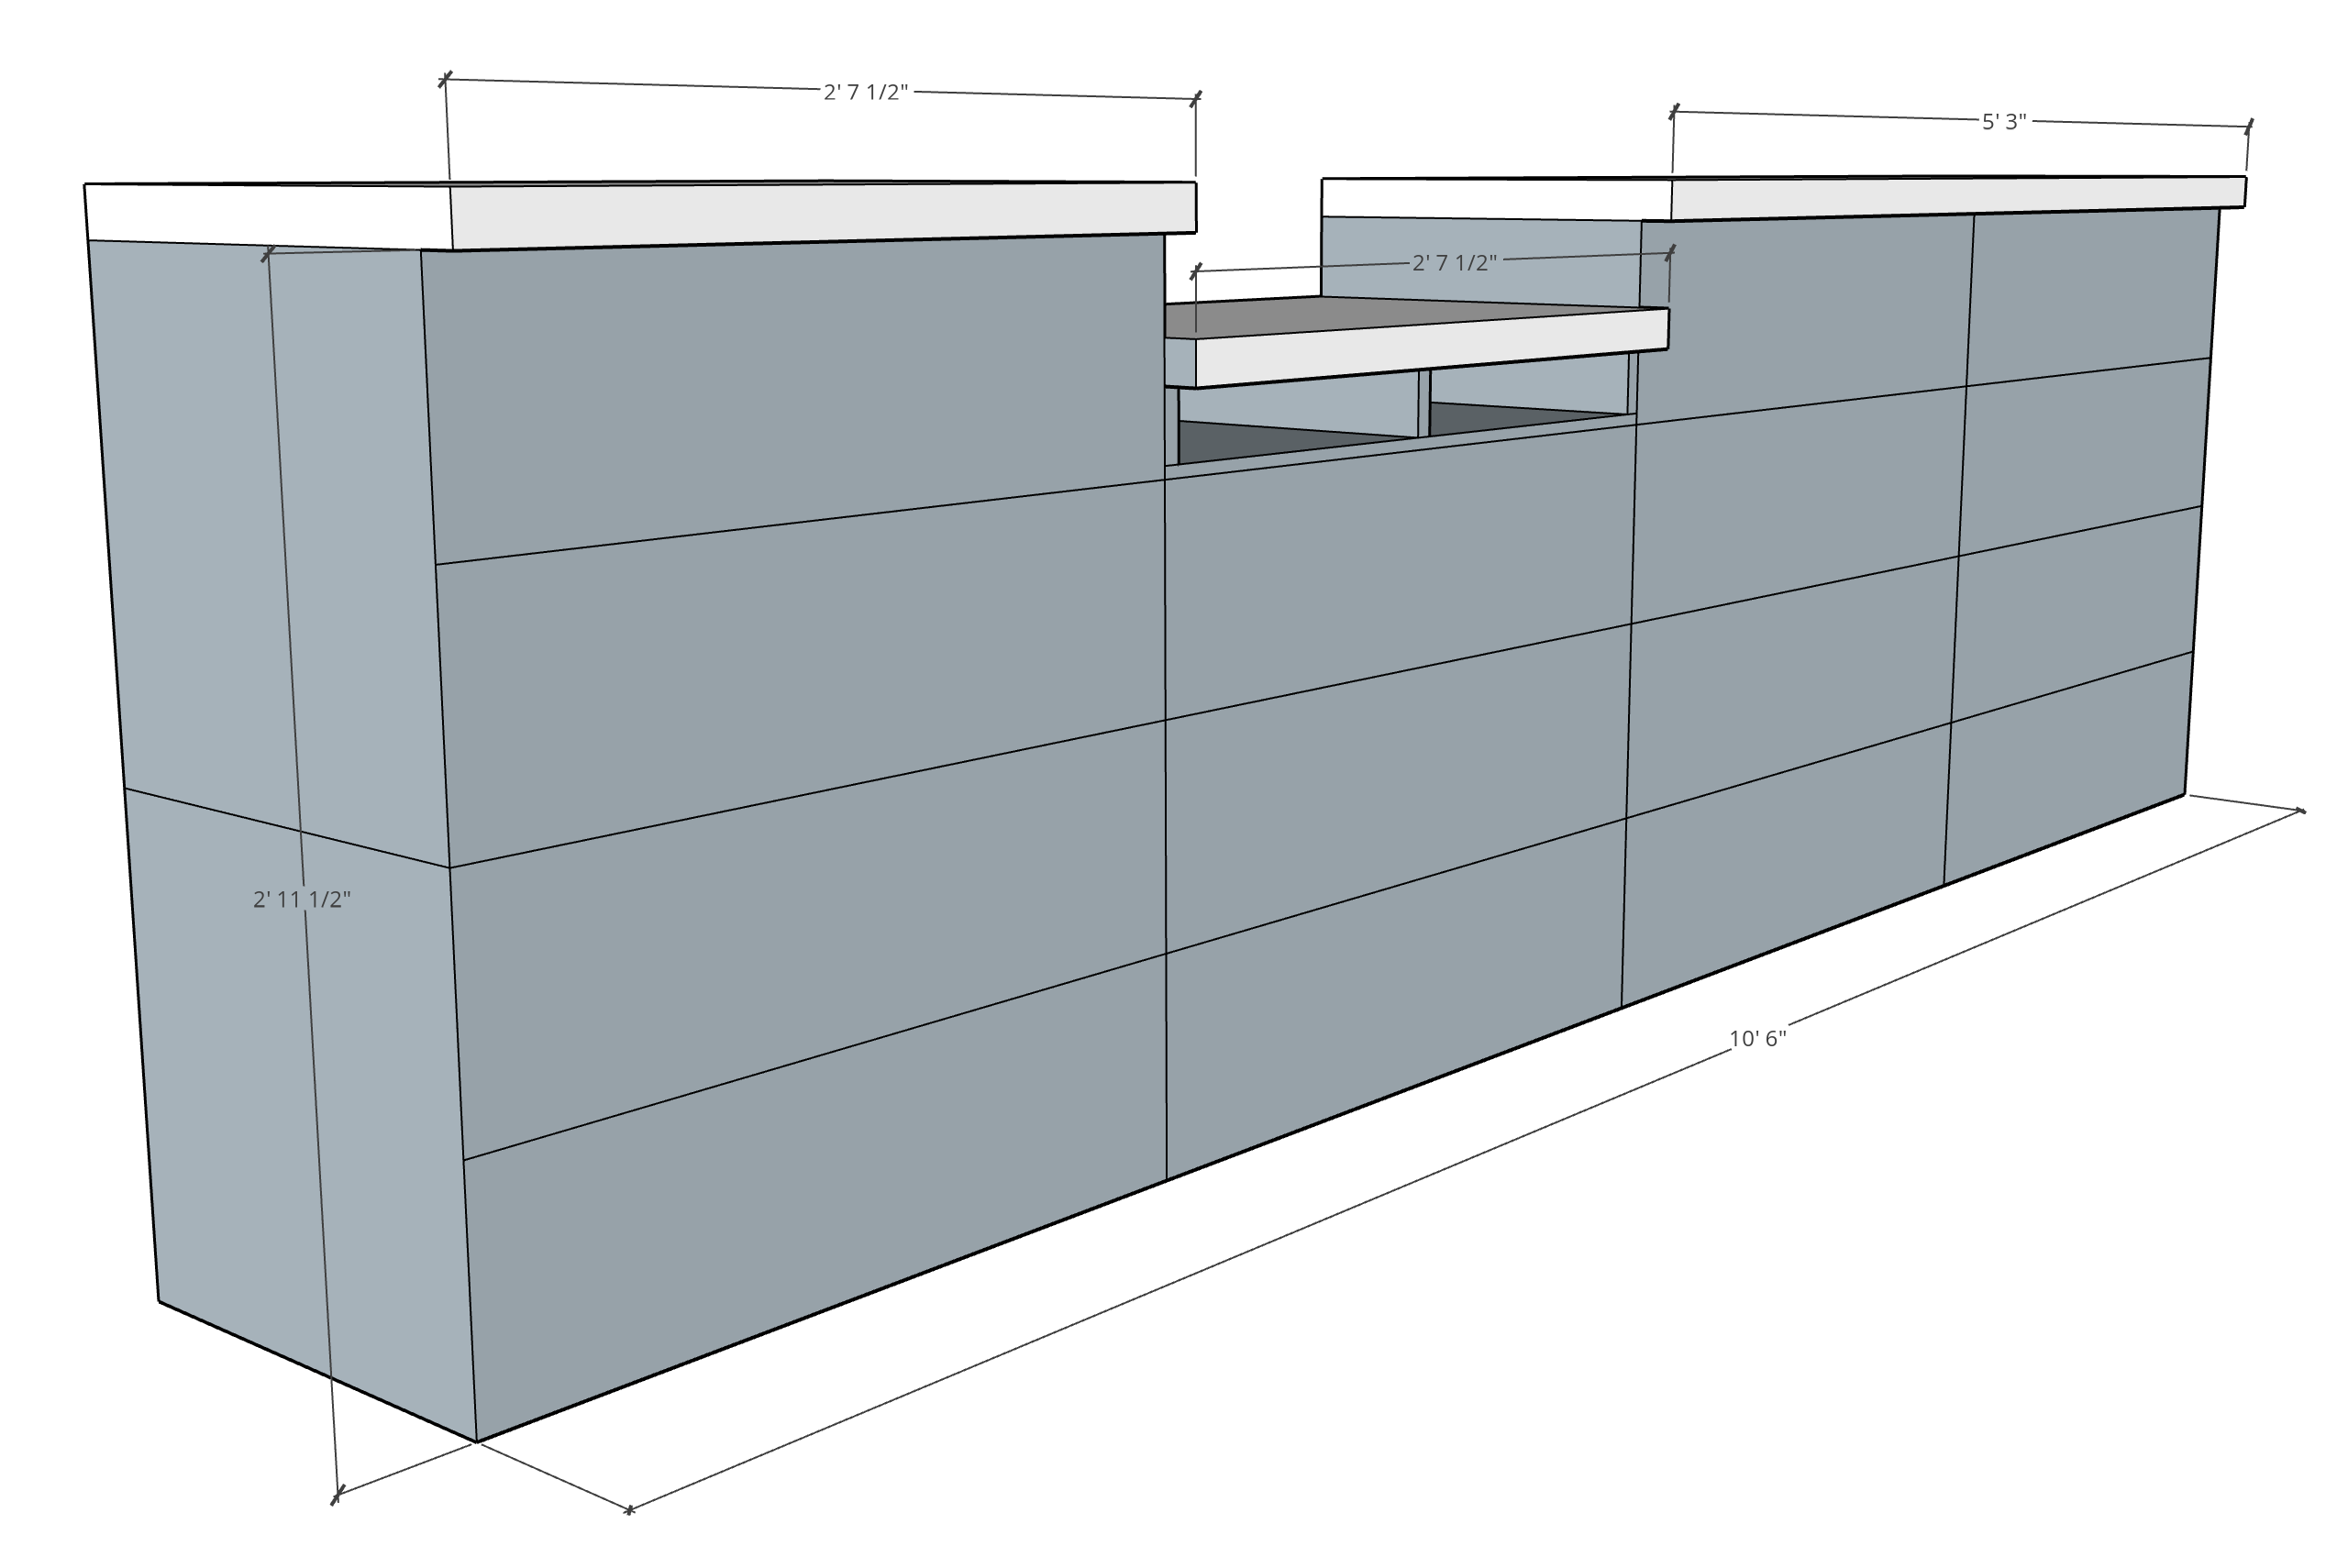
These rough plans were created for anyone to be able to create this DIY workbench with IKEA cabinets in their own space too! The biggest customization is going to be the depth. I created mine to be extra deep because of our miter saw being enormous. We made our counters 32″ deep and the butcher block we purchased for the countertops was 25″ deep. To get them the right depth, we glued an extra 7″ of butcher block on the end. (More to come on the miter saw functionality and customization soon!)
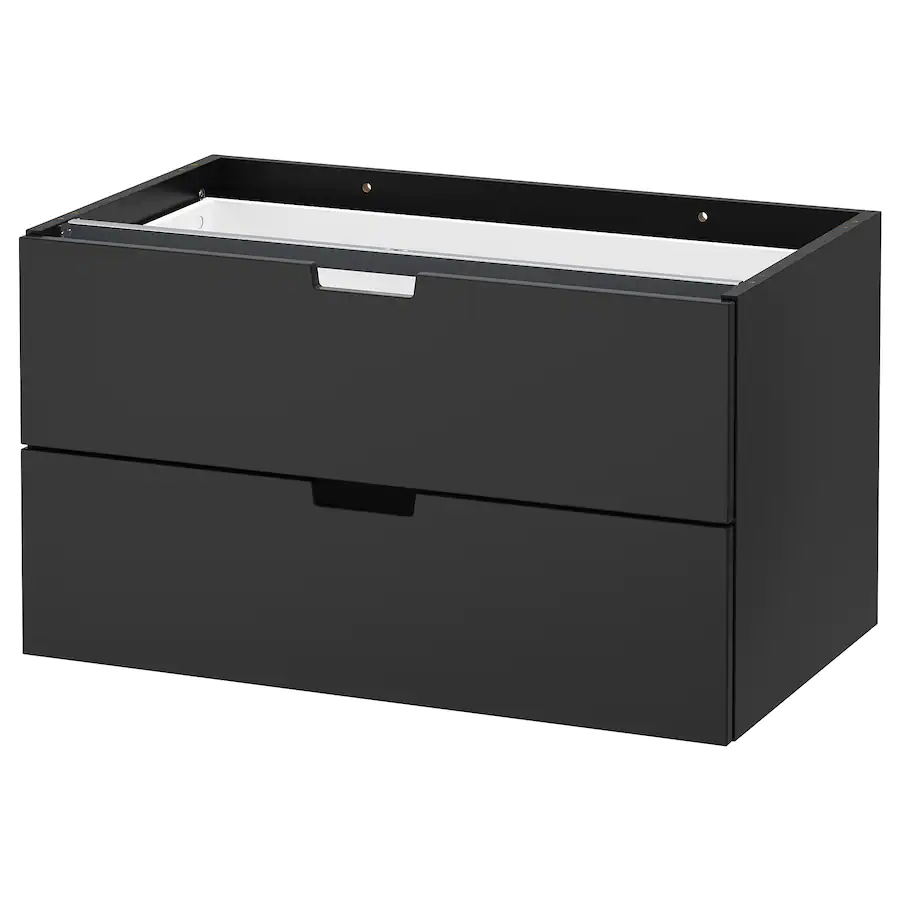
Originally, I was planning on doing the 3-drawer IKEA cabinets and building a base for these all to sit on. The more I calculated and figured out what I wanted, I realized, the 4-drawer option would be best. Of course they don’t have a 4-drawer option so I decided to make it into 4 drawers. It’s a hack in itself because you get an extra drawer with two of the 2-drawer chests since it’s the exact same price as the 3-drawer option. Plus, I figured out how to easily attach the two drawer sections together (keep reading).
IKEA Cabinet Assembly
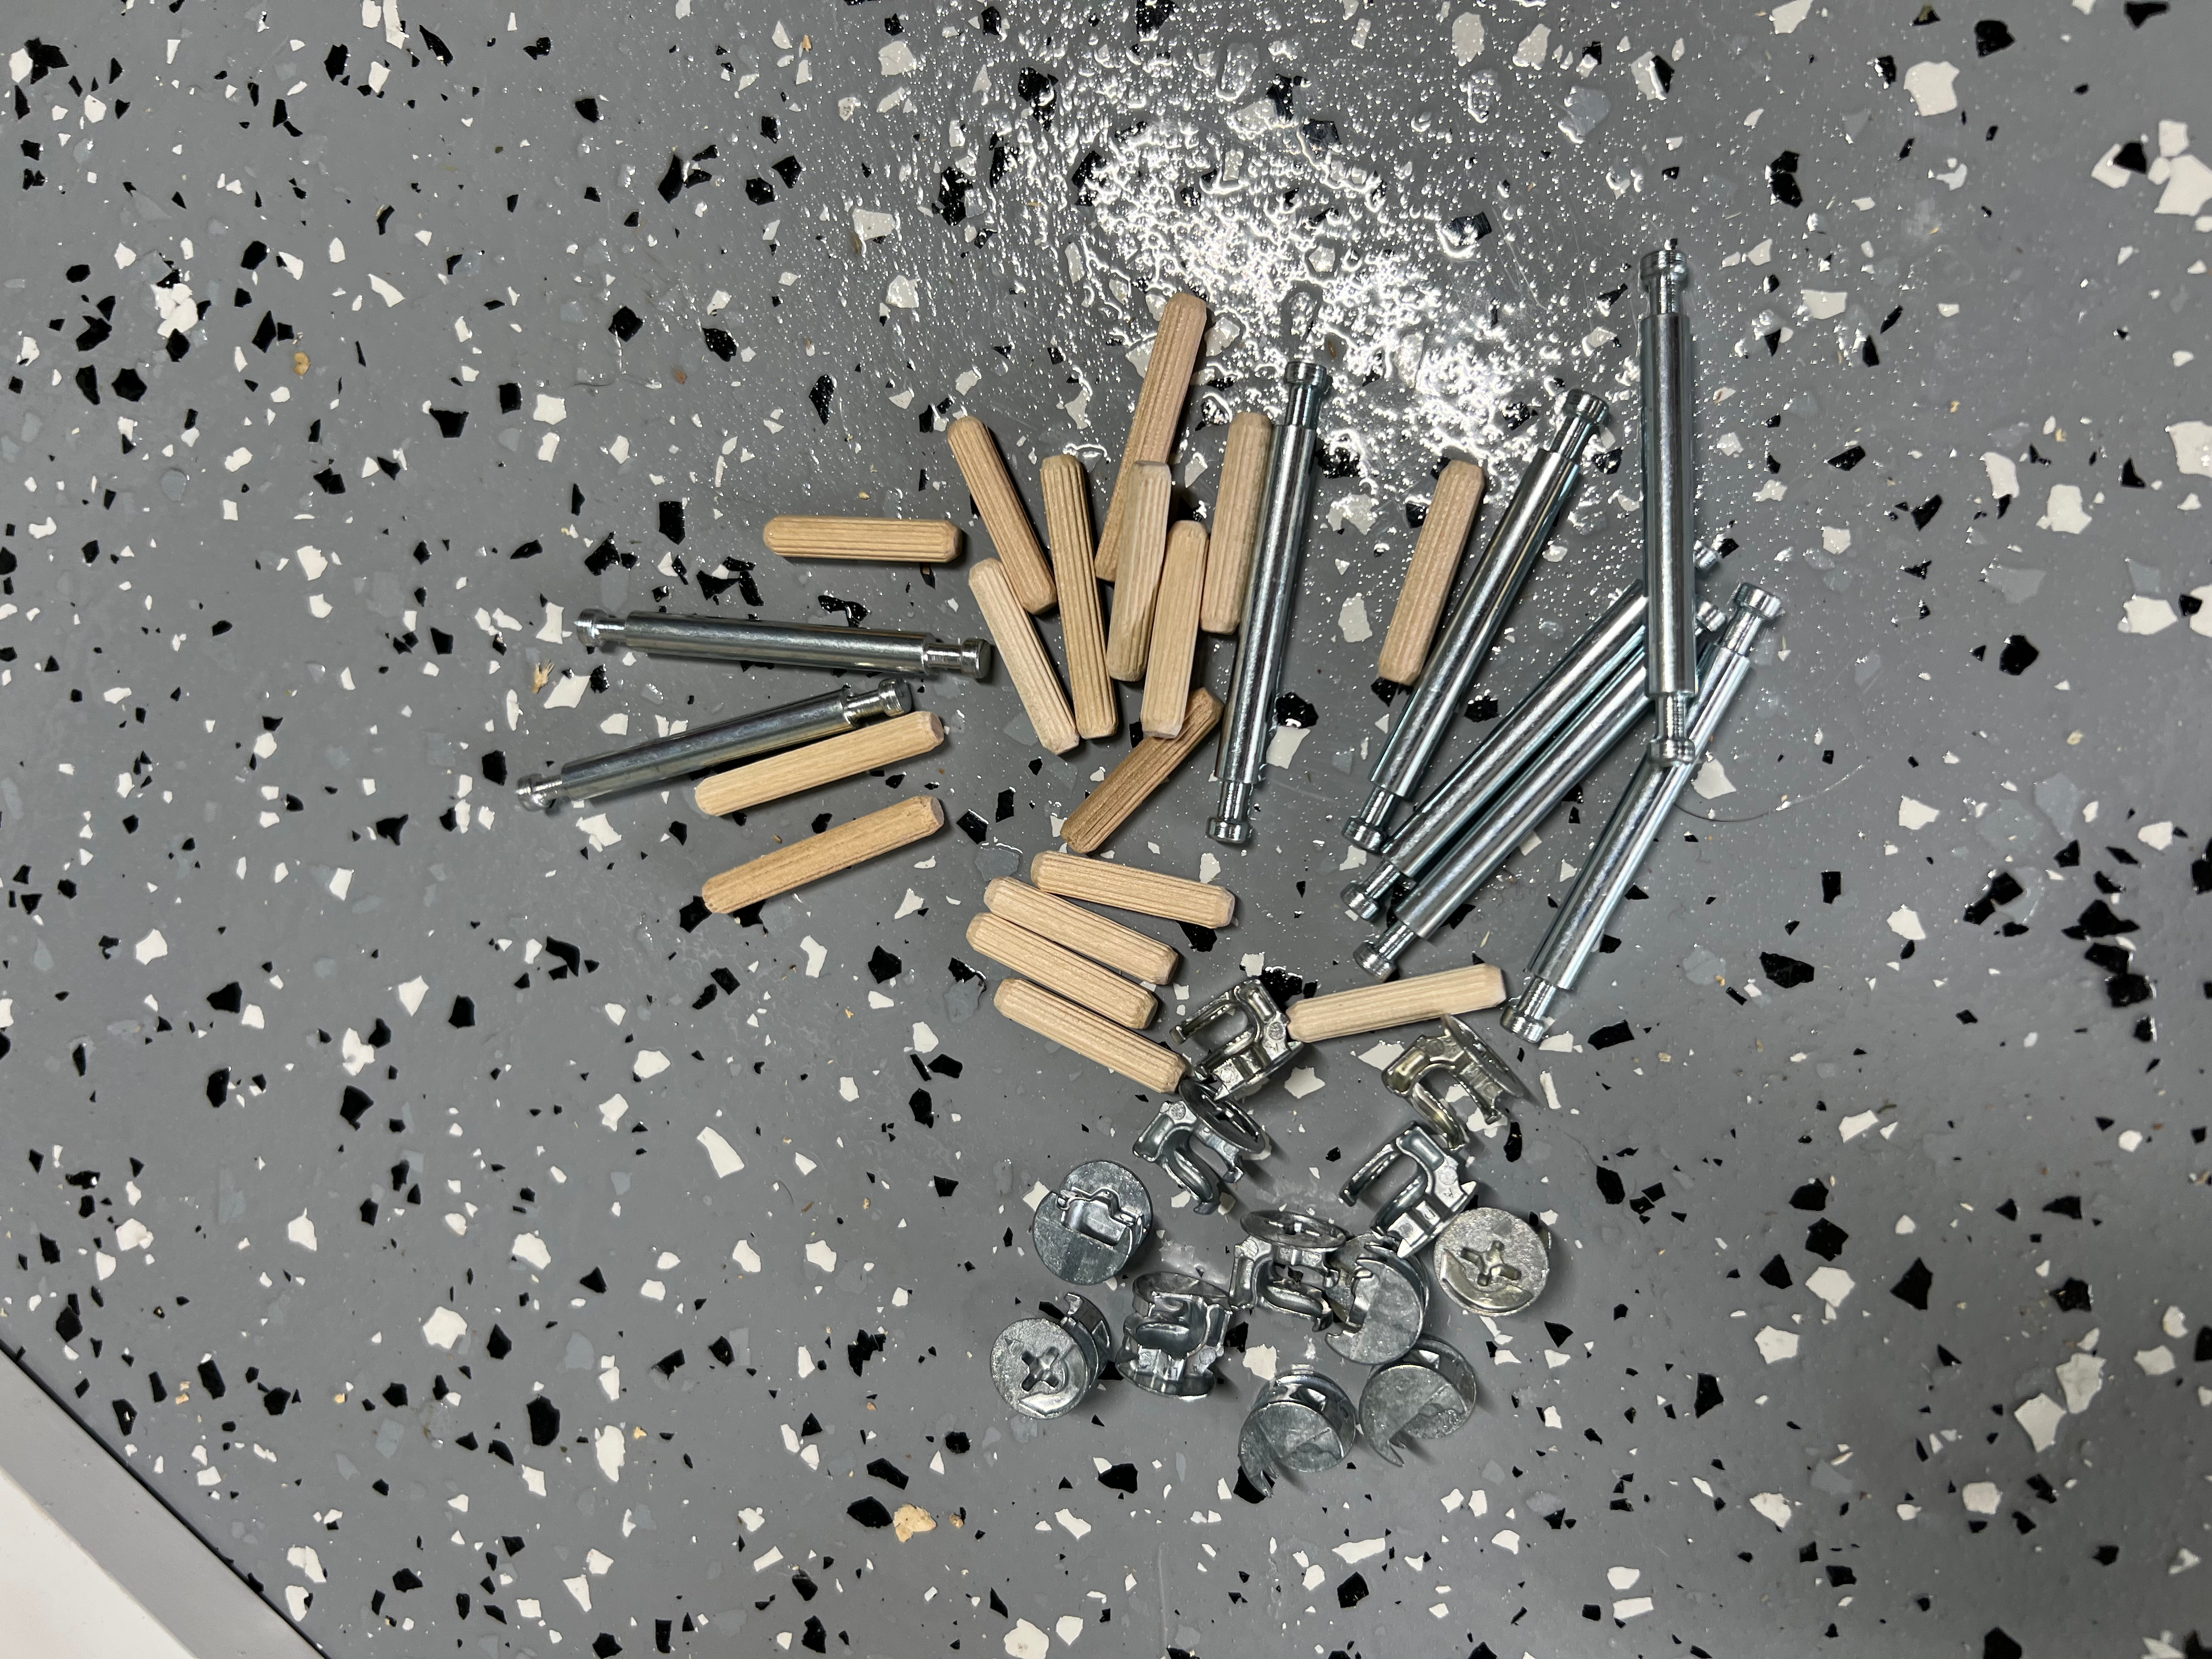
After assembling the chests, there was an entire bag of hardware leftover. This is the hardware you can use to stack the two chests.
Before stacking the 2-drawer cabinets, finish the bottom to make it easier to tip over and back up. I laid out my base layer (2-3-2-2) and screwed the sides together with counter sinking screws. The frame laid on its face and I attached 1×3’s to the bottom to raise it up just enough to not drag the floor.
All of the extra hardware pieces that look like the below picture were put aside for later. These will allow you to stack the 2 drawer chests on top of one another. The metal bars sit inside the larger holes and the wood pegs wedge half way into the smaller holes. Then line up the two chests, pop in that metal screw type lock and BAM, they’re one piece now. It’s like these cabinets were designed for this DIY workbench with IKEA cabinets!
2 and 3-drawer hack
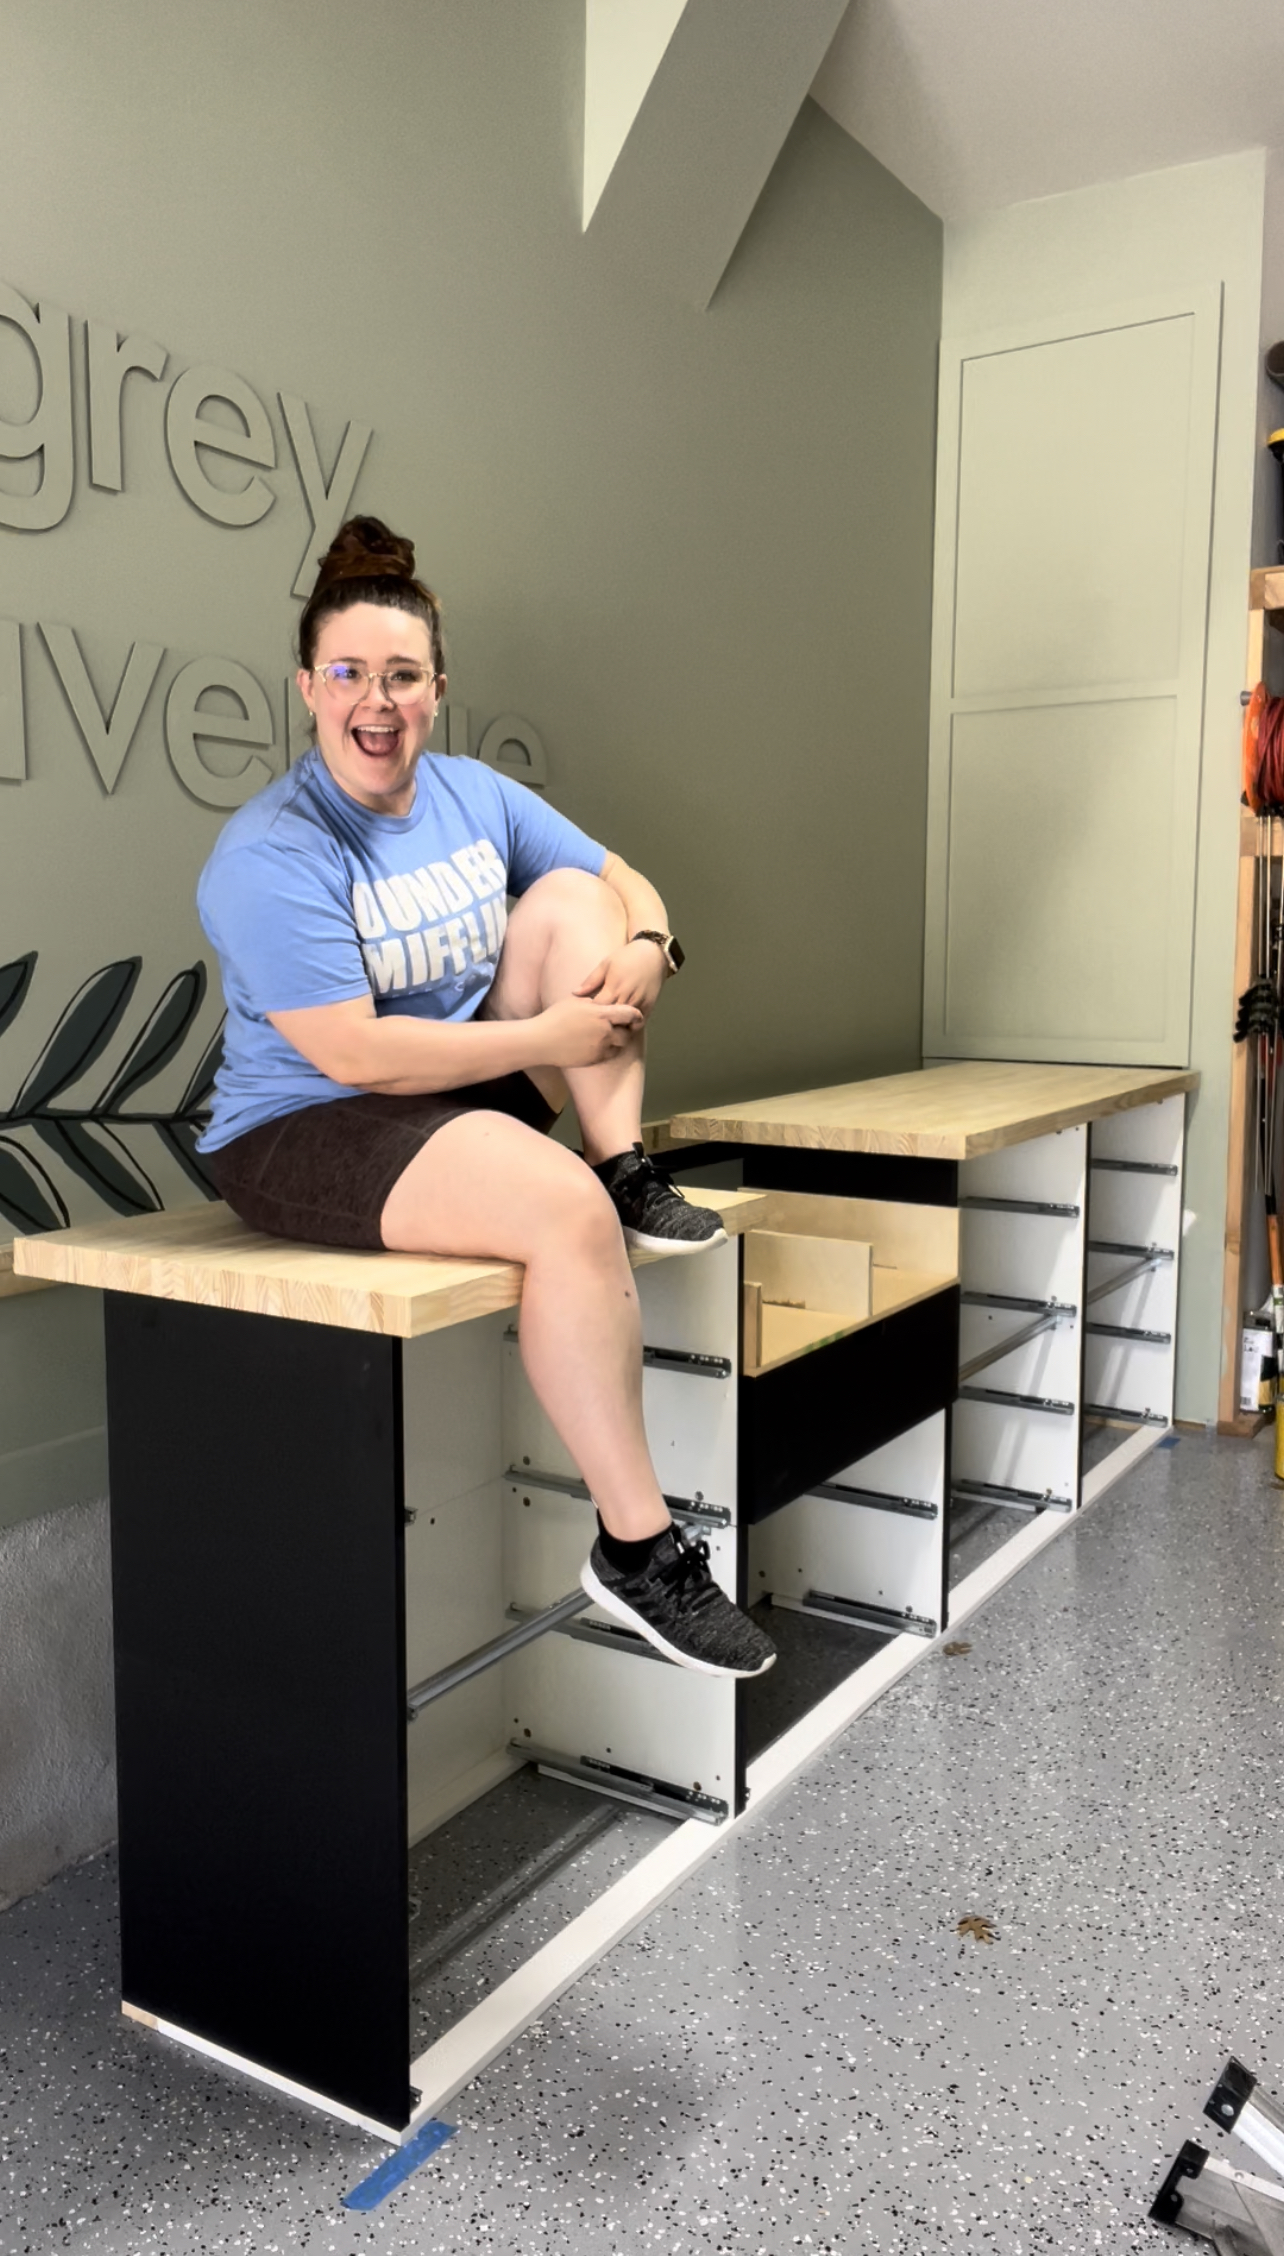
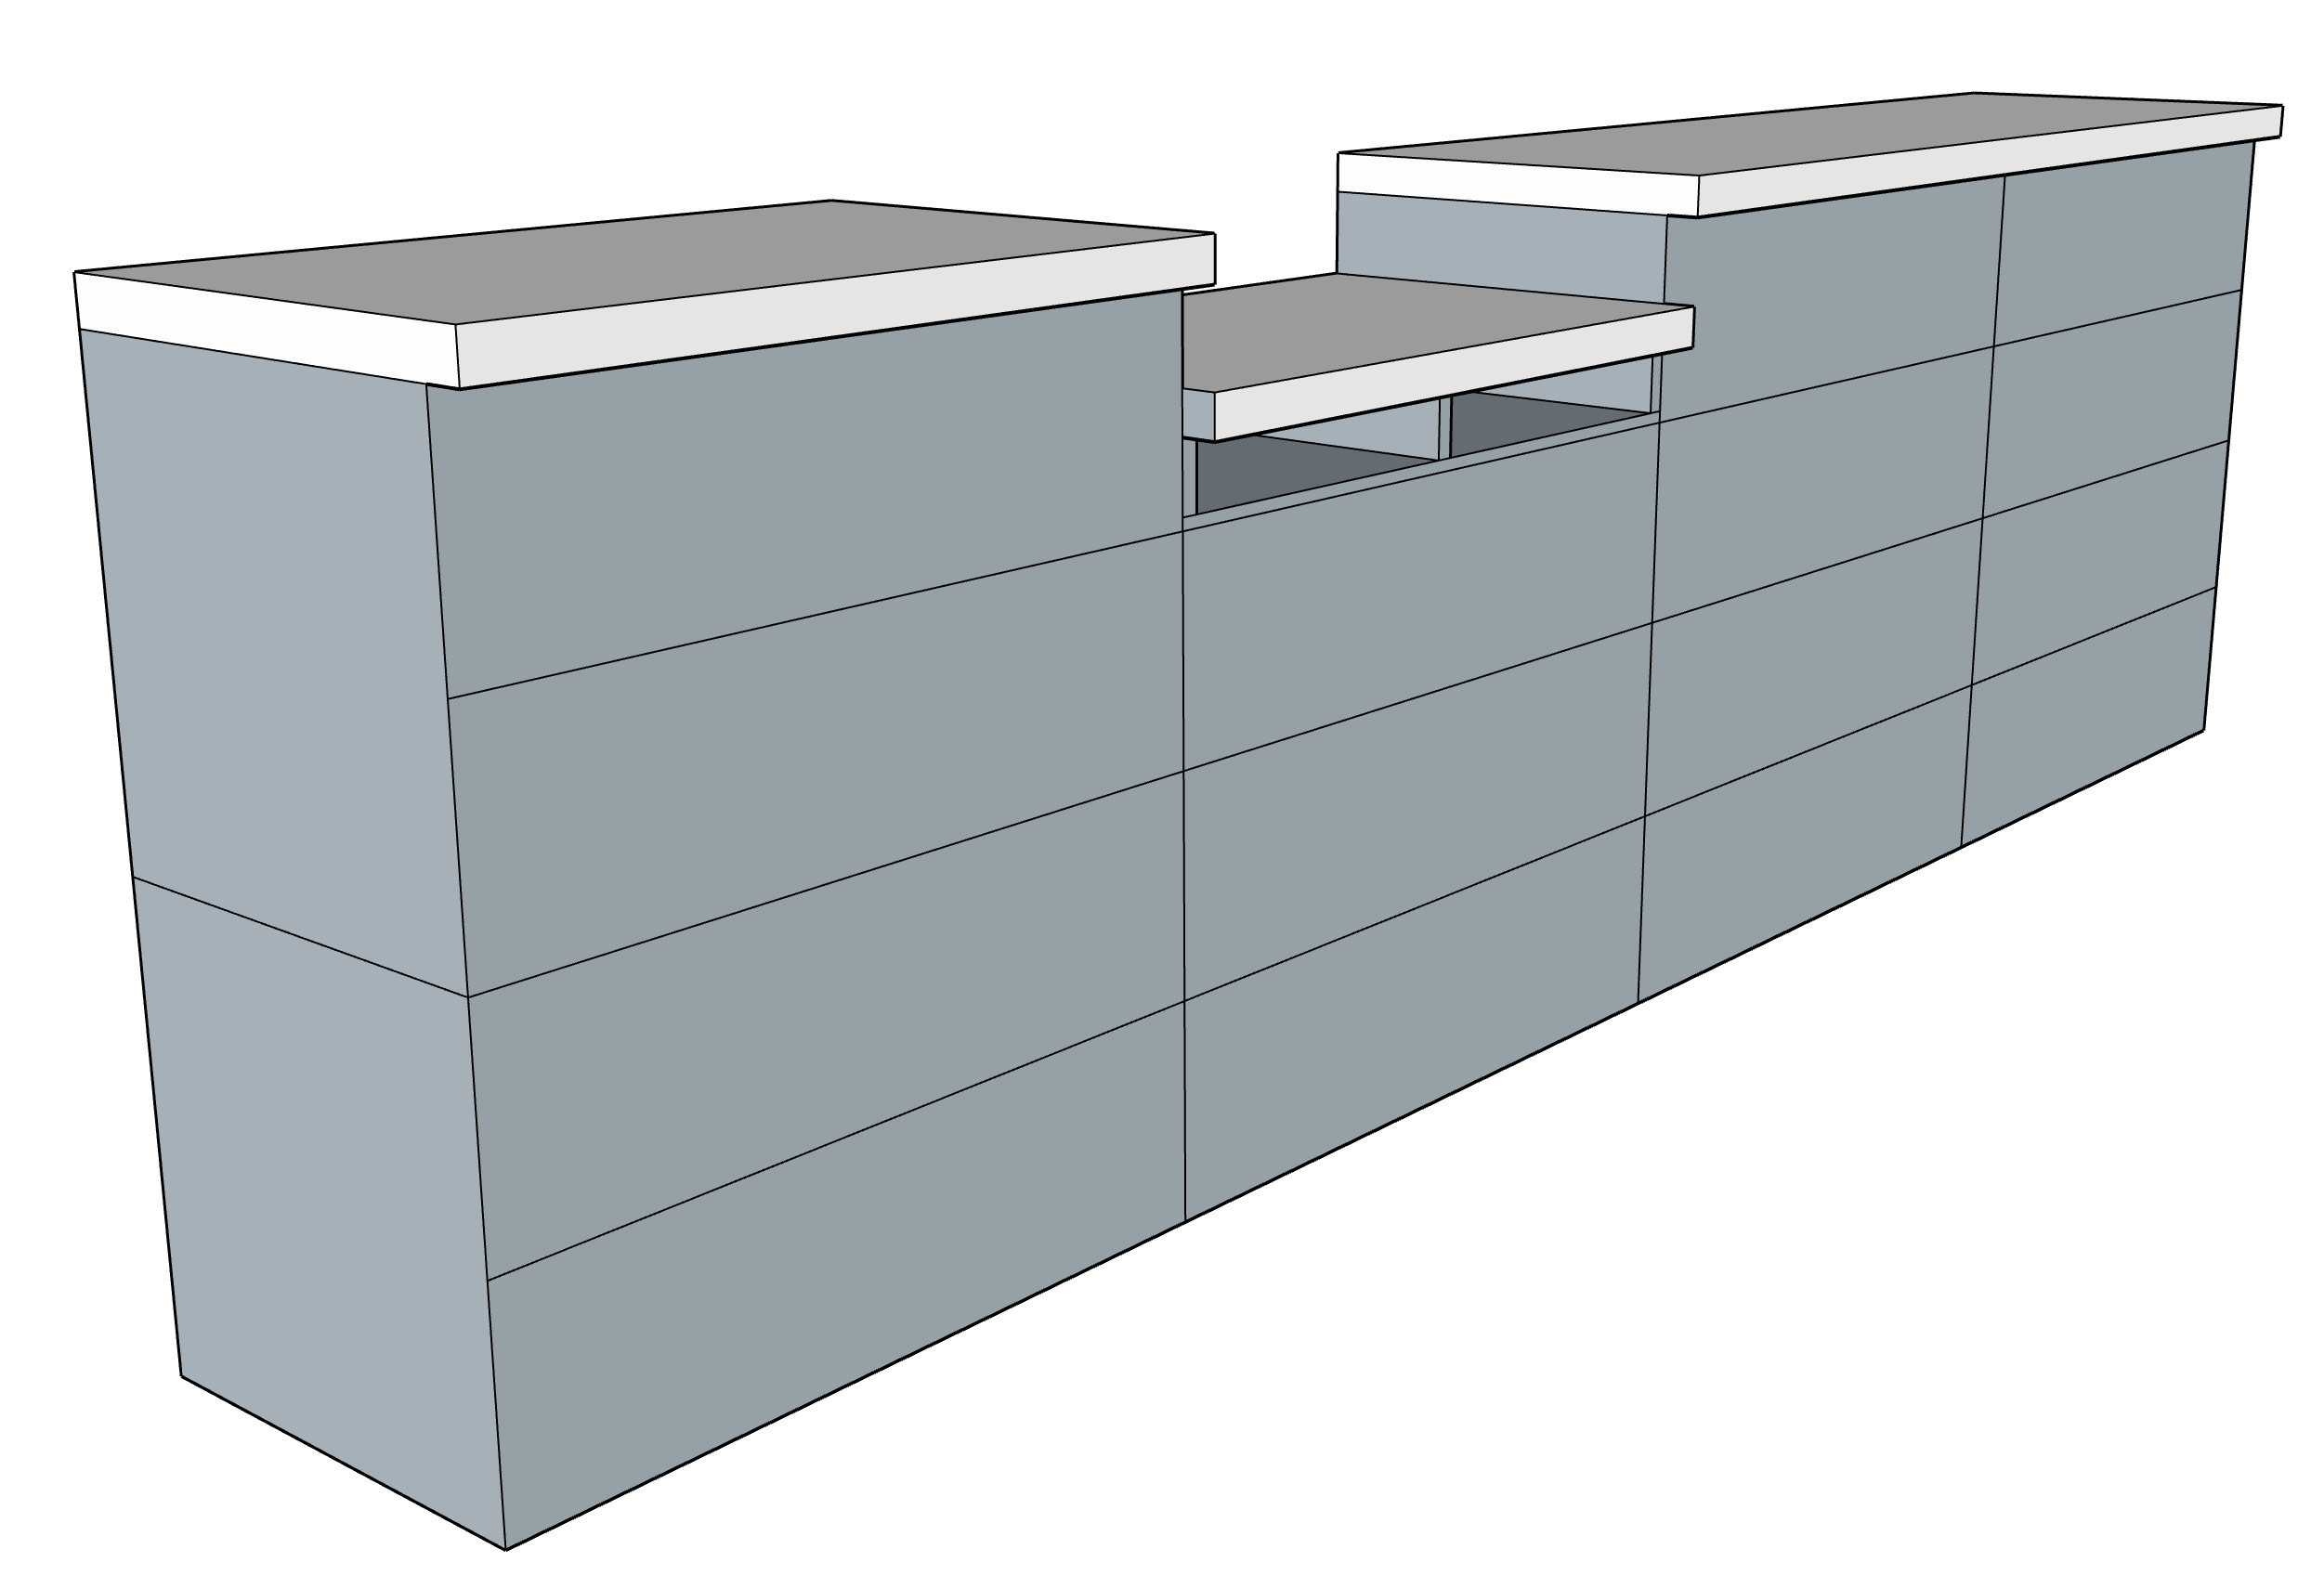
The layout of the workbench is my personal preference based on how I cut wood. The miter saw will sit on the 3-drawer cabinet and the rest of the DIY workbench has the 4-drawers. The addition to the 3-drawer chest that you’ll see below is to cover the top while also raising the base for the miter saw so that we end up with the miter saw being flush with the counter tops to either side. I built this out of scrap MDF and plywood. It’s such a small area that I’m sure a lot of you have scraps you can repurpose for something like this.
I attached the MDF to the cabinete top and then measured the height of the saw then to the top of the unfinished cabinets to get the correct measurement (assuming you’re using the same counter tops throughout).
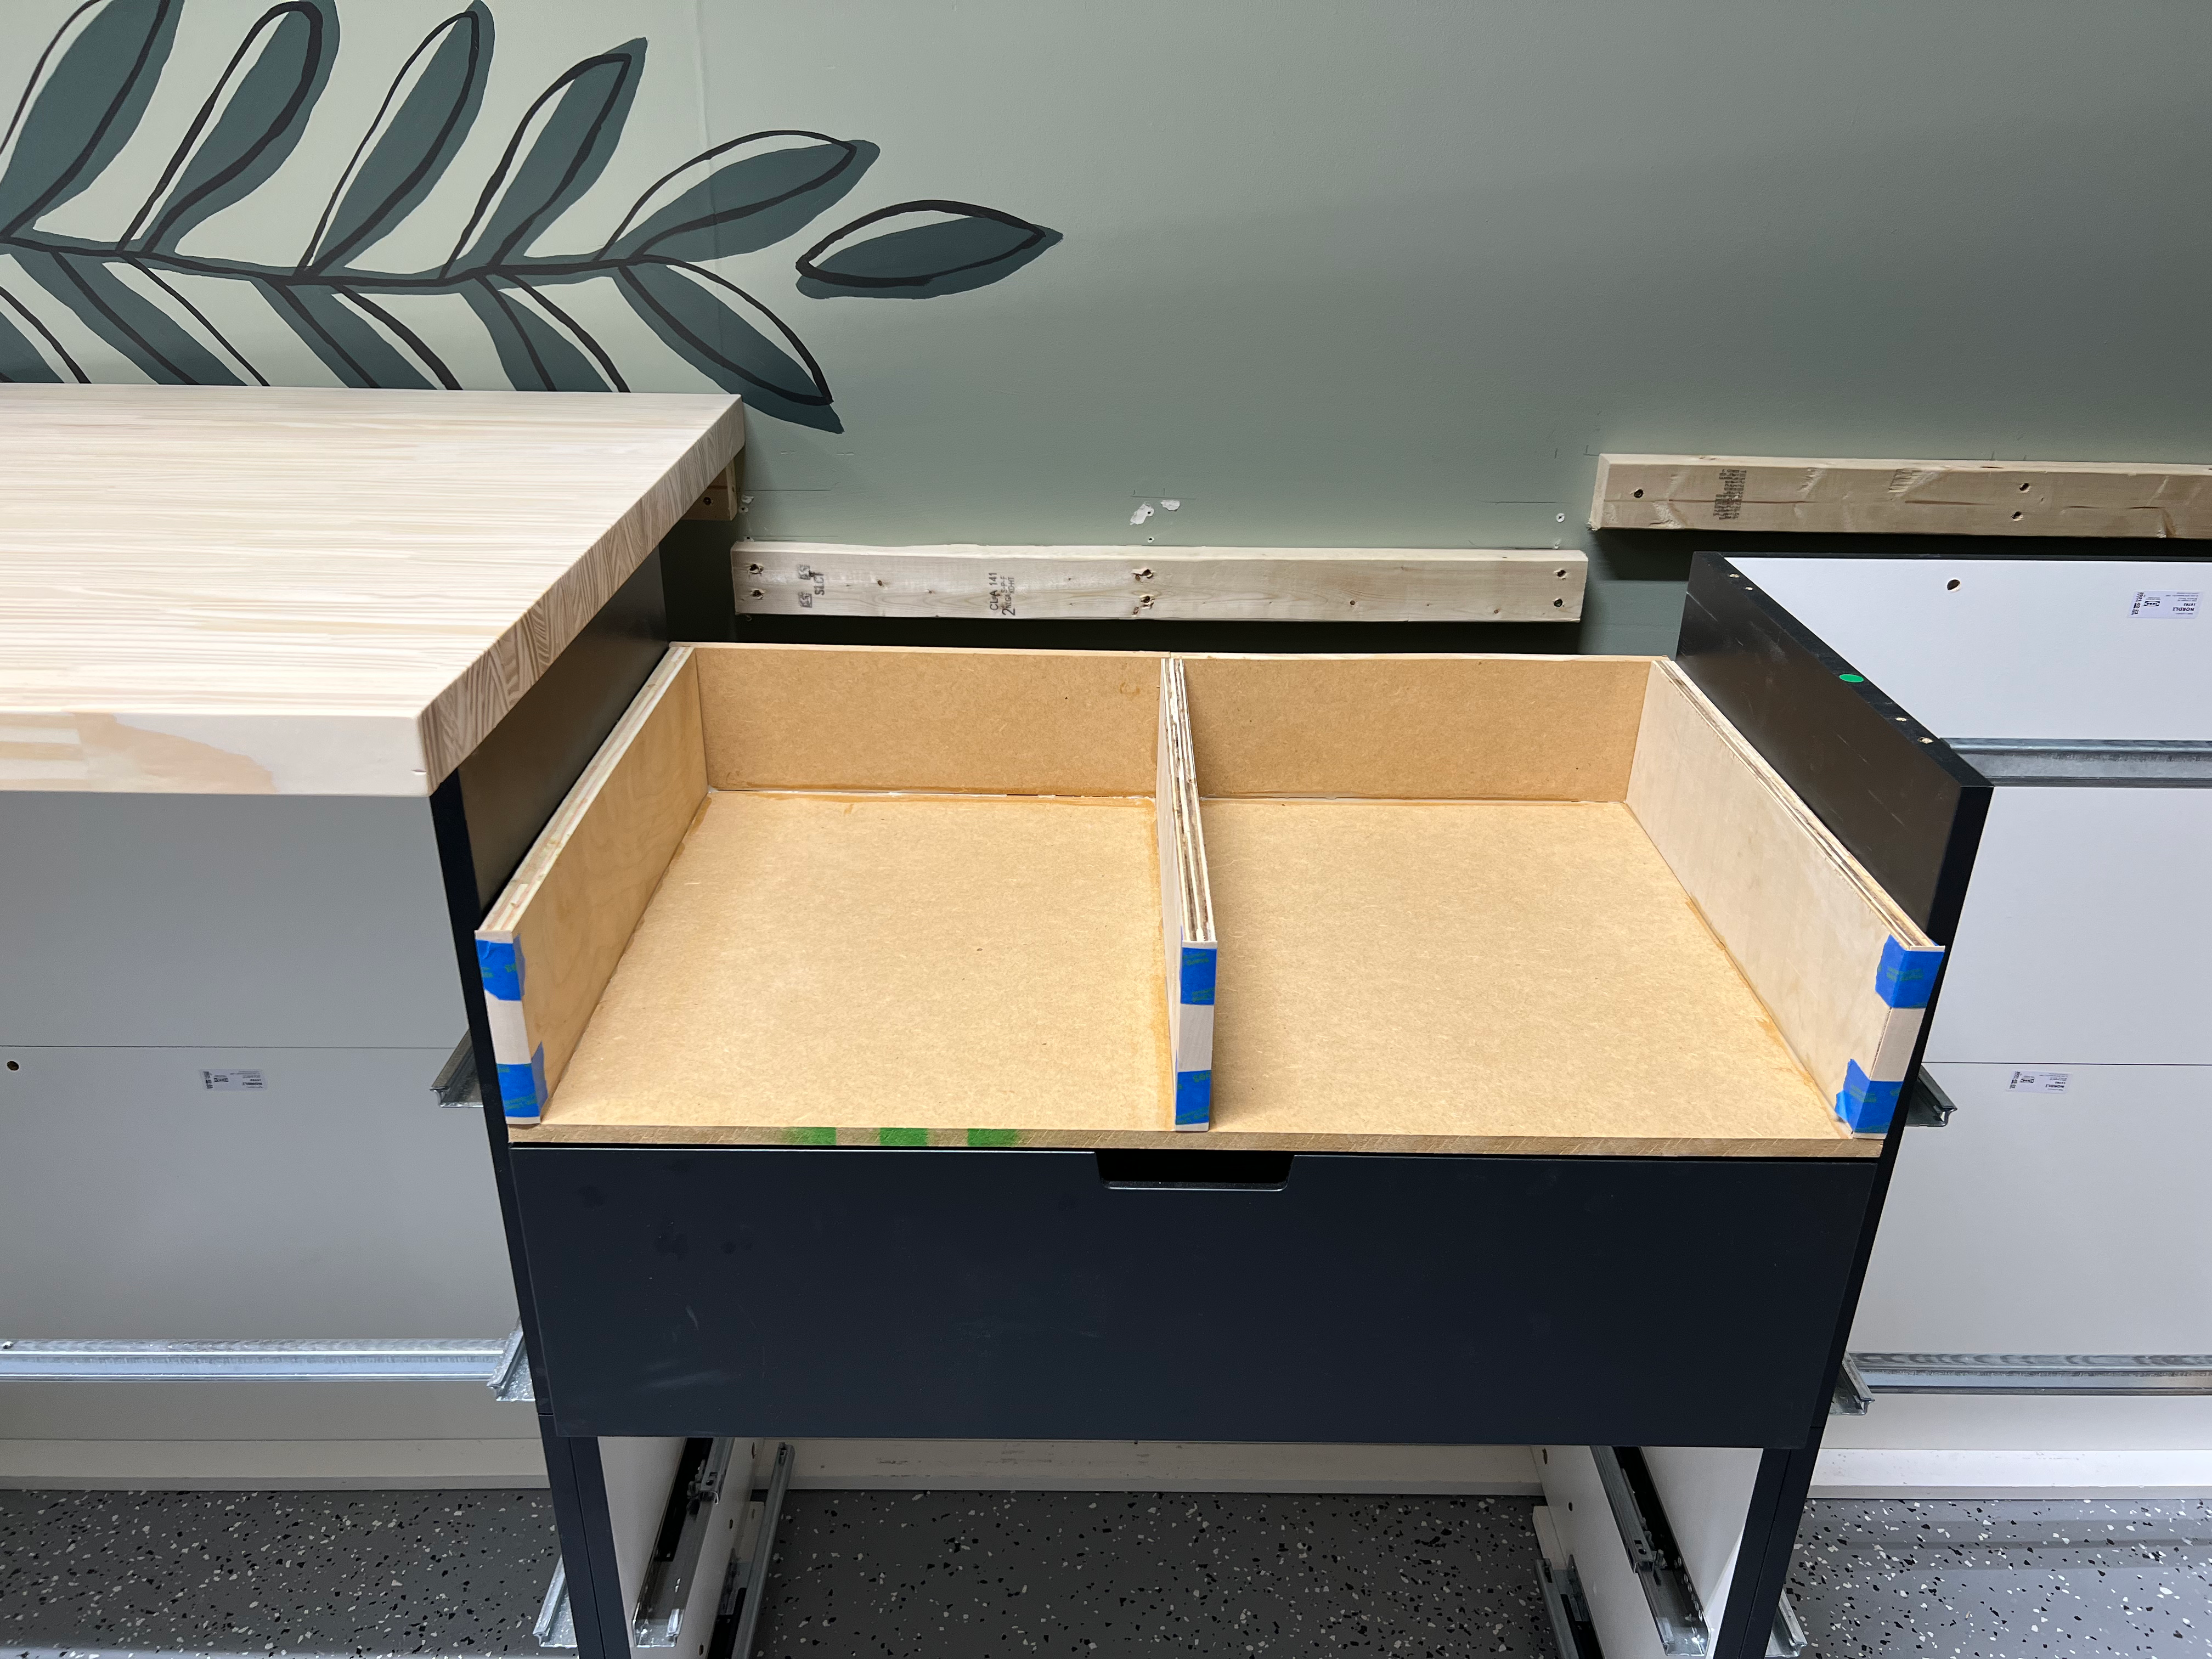
Construction adhesive was used for all the components of the shelf. To give this riser a finished look, I covered the hole face with iron-on edge banding. Before attaching the top, I caulked, primed and painted all of the raw wood/MDF.
Since our workbench sits away from the wall, I attached 2x3s to the wall just below where the butcher block will hit so that it has something to rest on.
Finally, I have some L-brackets that connected the butcher block to the top of the cabinets as well as to the wall. So, the workbench won’t be going anywhere! Check out the next post in this DIY workbench with IKEA cabinets build!
Find us on social HERE!


