DIY Doggy Door Installation


We’ve needed a doggy door in our house ever since we moved in but have a glass door so decided to put one in the side of the house. The convenience will be worth all the hard work to make this happen. We used the Freedom Pet Pass doggy door. It is an energy efficient insulated doggy door, that was a big selling point for us. Also, it has a strong magnet on the outside to make sure it stays closed. Seems like a pretty good door for our dogs and for us. Now let’s get to work!
Prep for Doggy Door Installation
First thing’s first, we chose a perfect spot for the door to be placed on the side of the house. Then we needed to measure our dogs to see their height. We measured to their shoulders which brought it in at 15″. Then you add 3″ for the door so the total measurement for us is 18″.
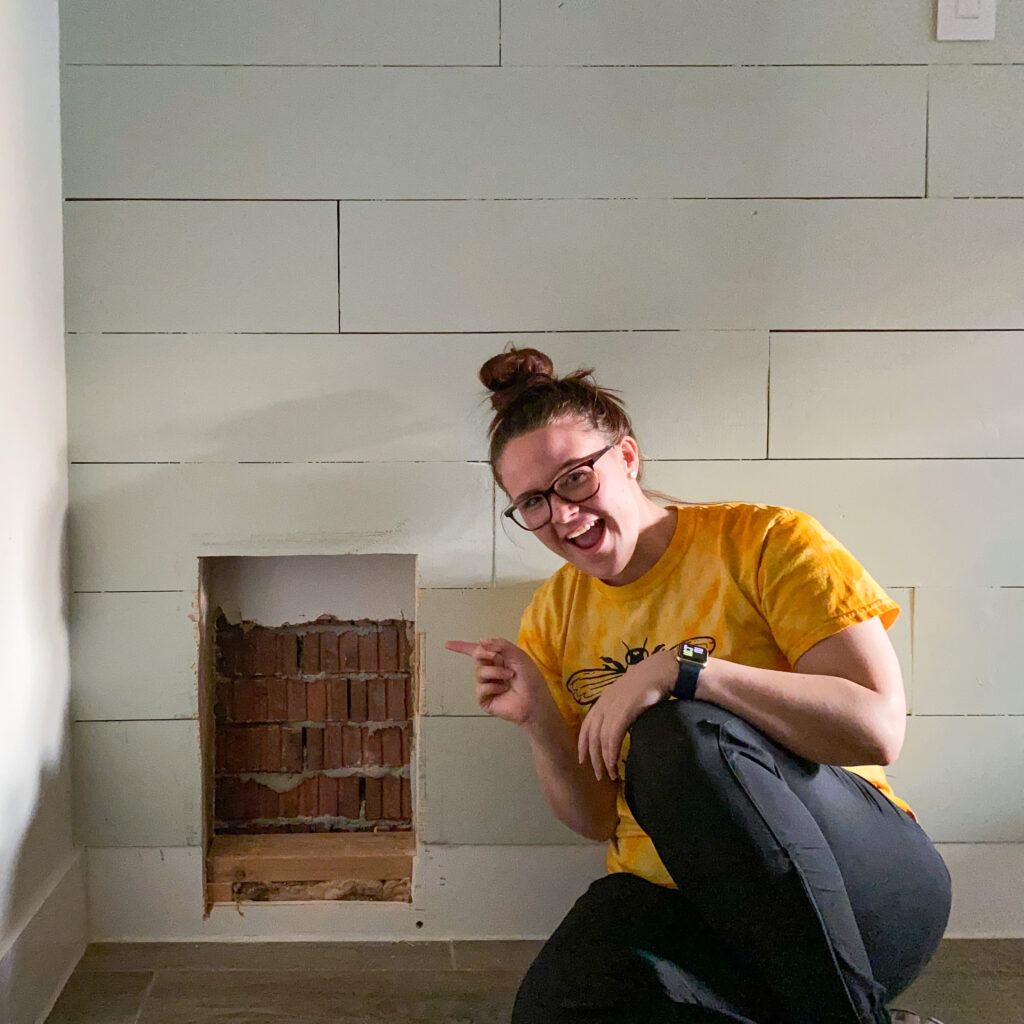
We ran into a little surprise when we opened the wall for our rough cut. We found that there was a stud at the bottom of the dry cut opening that has a huge screw which all goes into our foundation. So, a little hiccup, but we just had to move the doggy door up a little higher. Problem solved!
Thankfully we were able to use extra pieces of wood from previous projects for the frame of the doggy door. Dry fitting everything before securing everything in place is a best practice. It ensures you have the correct measurements and you can easily correct any mistakes.
We pre-drilled holes into the frame. A little tip coming at you! Before putting the header in-since you can’t guess the depth of the header in such a compact area and you really can’t see it, you would use a scrap piece of wood and put it in as a place holder for the header and it will give you the clearance you need to put the cleat on top. Then you can easily just screw it into place. So simple!

Cutting into the brick can be made easier by using a drill with a masonry bit on it. We drilled holes in each corners of the frame(on the brick). So, then we know where to cut the brick on the outside. Don’t get too close to the corners, you’d rather be safe than sorry. Plus, you can always take more off, but you can’t put it back on.
Thankfully, while cutting the brick out we don’t have to be super straight with the edges since the doggy door has a frame on it that will cover all the imperfections.
Installation of Doggy Door
While we did all that work we ran into a bigger problem. Having brick made a way bigger issue than we had imagined and hoped. There is a space in-between the actual brick and the house, so the brick is essentially floating. This was a recipe for disaster. Thankfully we are problem solvers and came up with a solution.
Solution
We took out the original frame and re-did the frame from the outside. Also, instead of using 2×4’s we used a 2×8 on the bottom and 1×8 on the top and sides to ensure it covered all the areas that were open. This frame is not going anywhere now!
Almost complete
Lastly, we got the door in and just have to put shims to level it out.
Make sure to use window and door sealant with low pressure like this Great Stuff. From the inside, after the door is all leveled off, you spray along side the door basically where any cracks and crevices are then we don’t have to worry about critters or anything else getting inside.
FINALLY! I get to pretty it up! I just cut some piece of wood and trimmed it along the inside to make a seamless appearance.
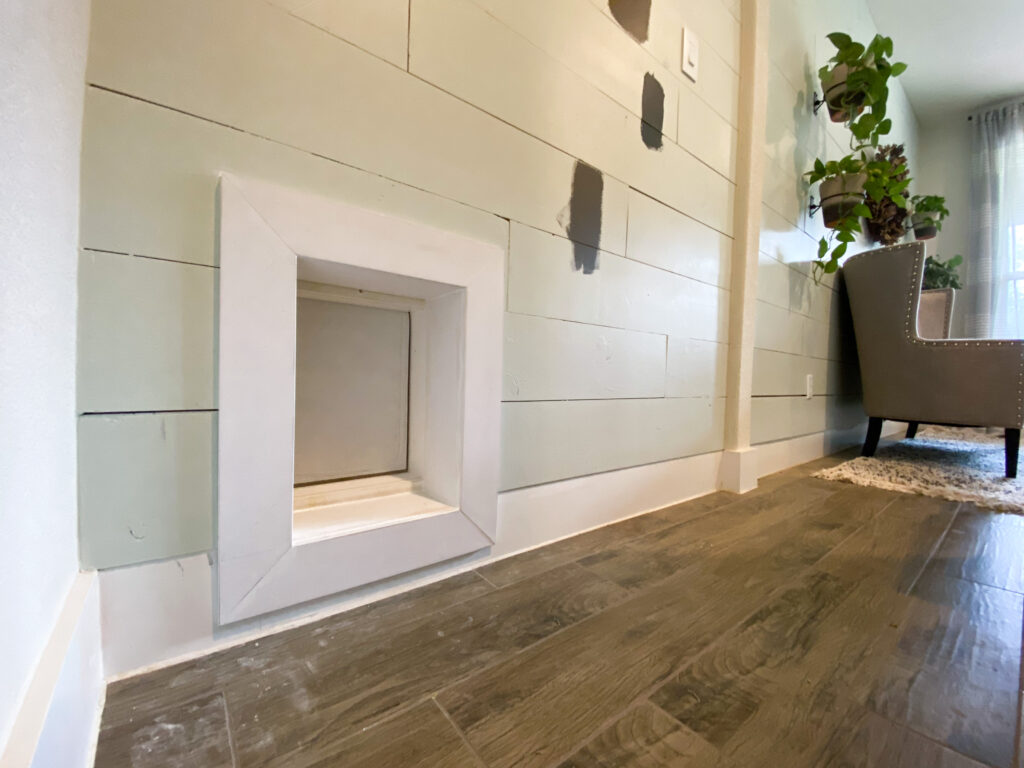
Phew, this took a lot longer and more issues than we anticipated for, but all in all SO worth it.
Oh there’s a little sneak peak you may want to see at the end of the video!
Find us on social HERE!