


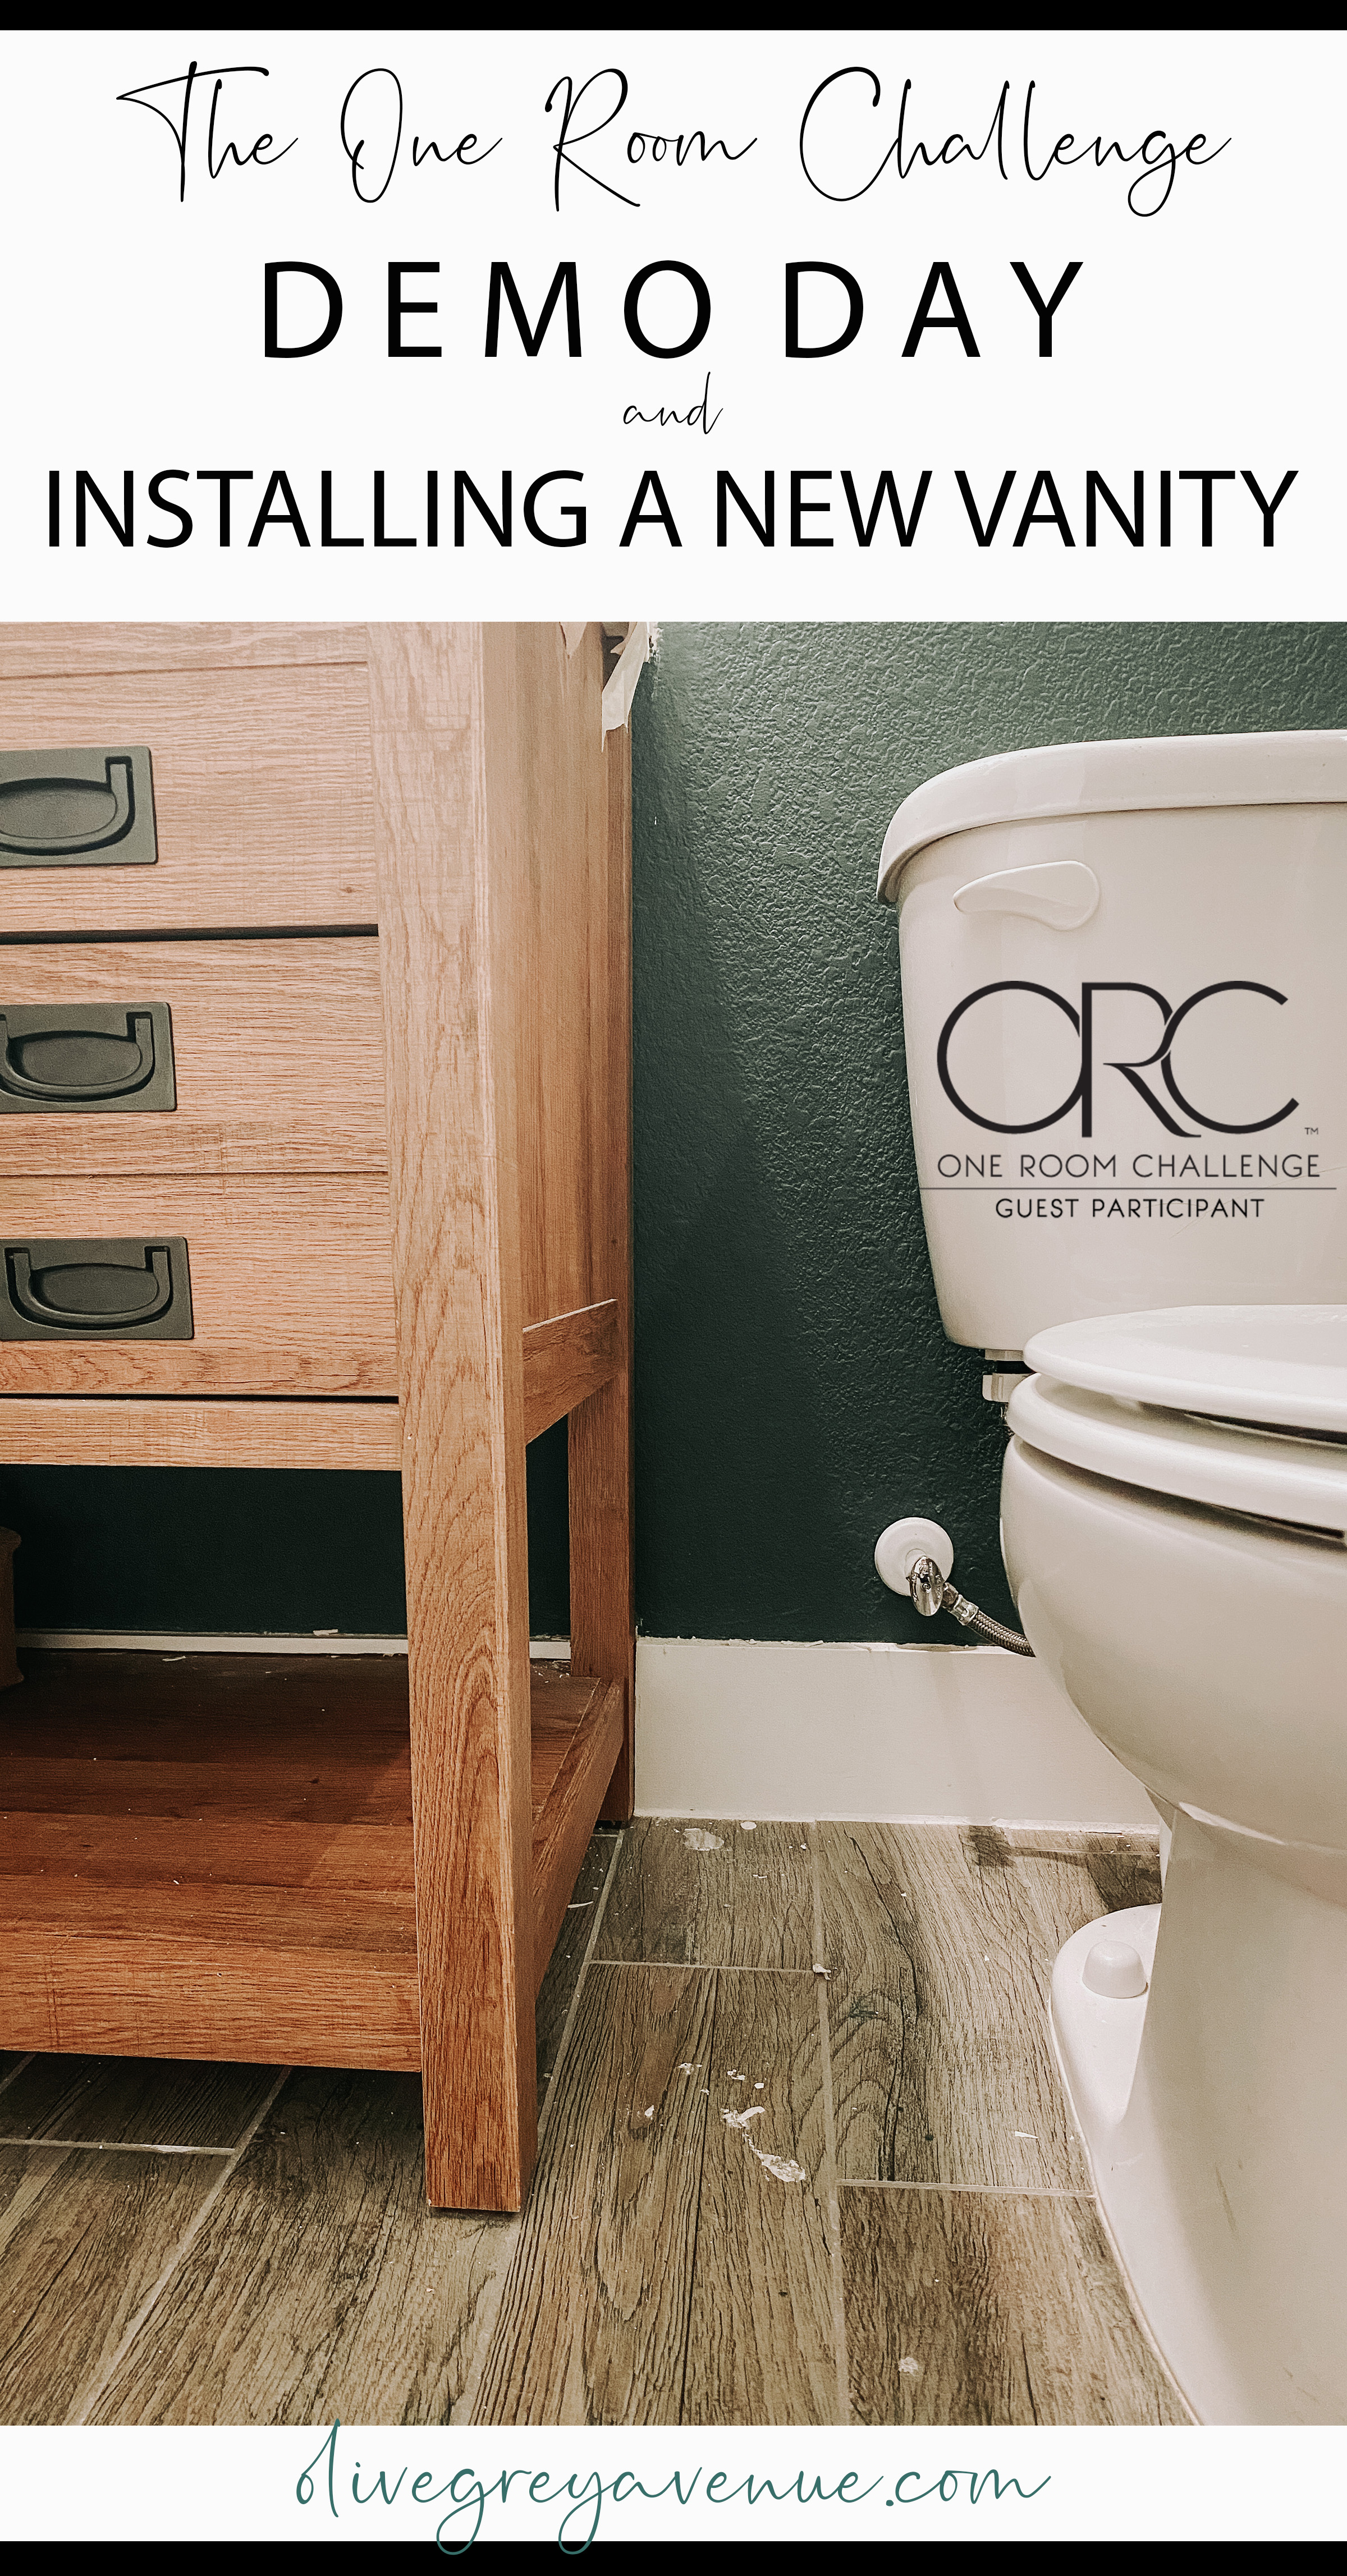
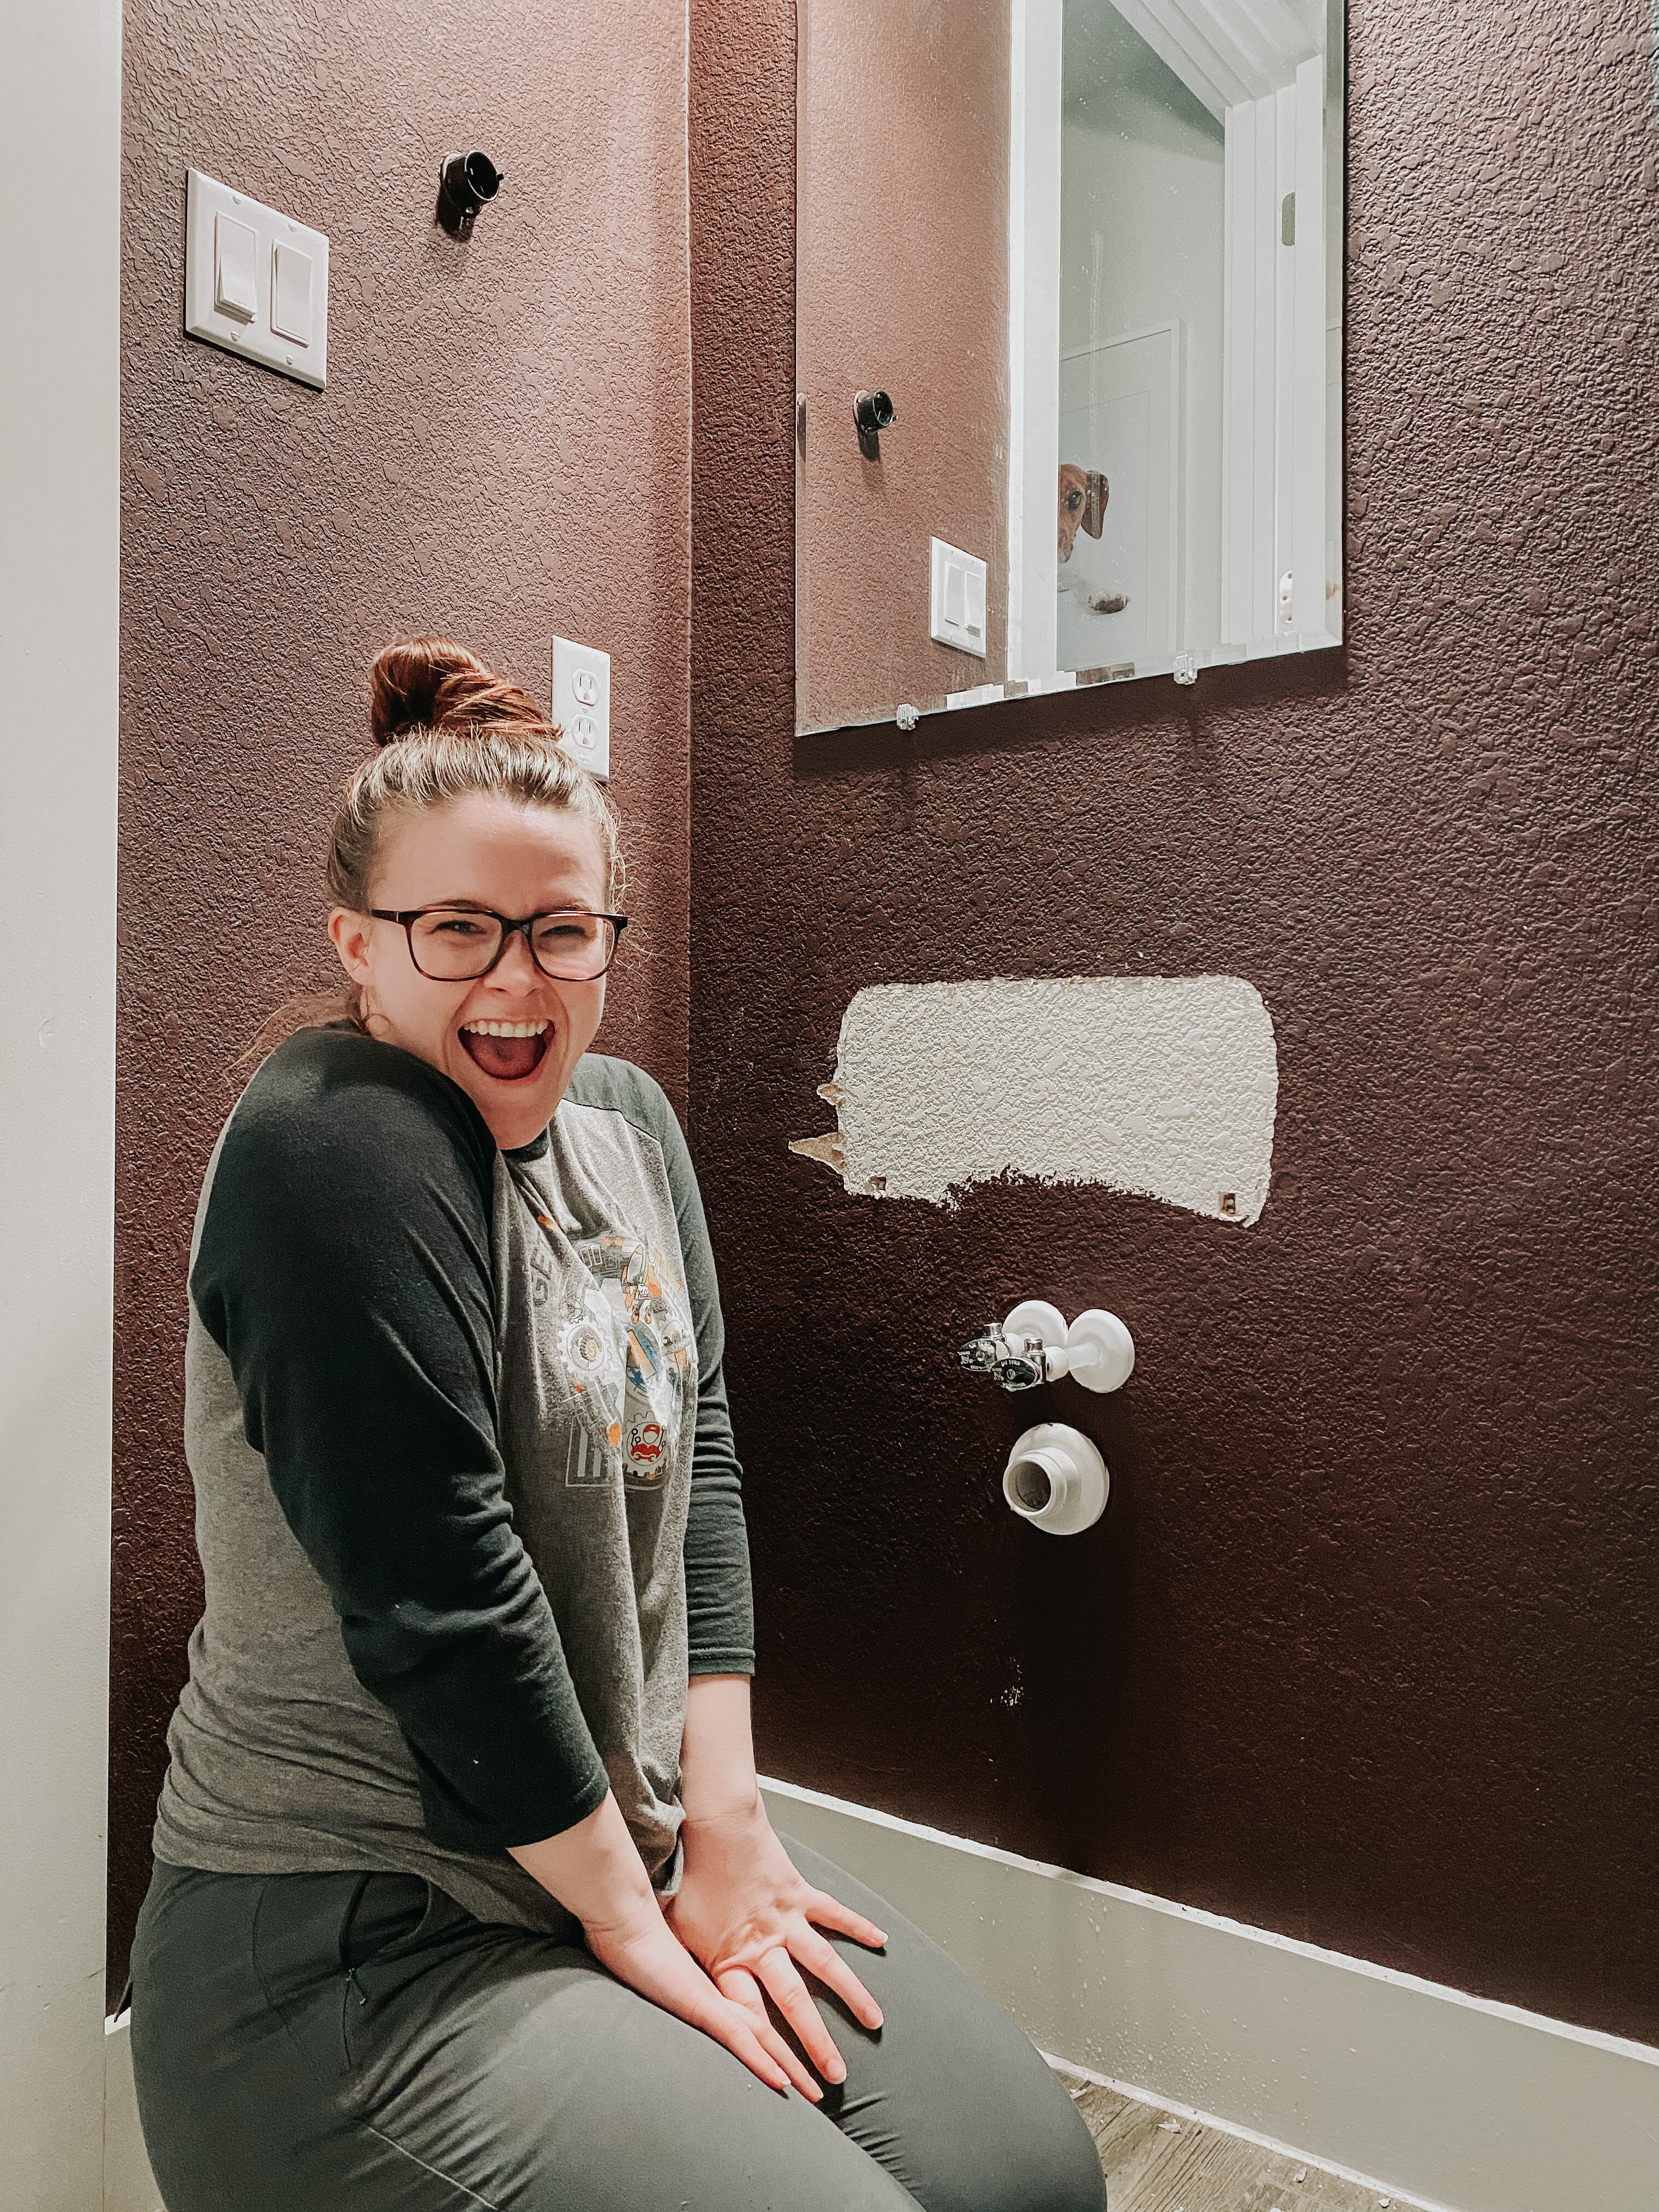
The One Room Challenge has officially begun after a slight delay due to quarantine. I am so happy to be participating in this challenge and to get to make over this half bathroom that has been eating away at me from the day we moved in. It’s Demo DAY!!
Before we dive into the demo day did you catch my design plans for this space HERE? If not, don’t miss it because I go into detail about all my exciting plans for this space.
Let Demo Day Commence
Since I only got as far as painting this room two years ago, we have a lot of work to get done over the next 8 weeks. The first thing I knew with every fiber of my being was that the builder basic, ugly pedestal sink had to go! My husband, Steve, was working and I was itching to start on this challenge so I ripped it out myself, yikes! I have a lot of confidence in my ability, but there are some things that I have never messed around with. Plumbing is definatly one of them. But since there’s no time like the present, I followed my gut and just started.
Also, head on over to our YouTube channel and subscribe so you don’t miss out on all the future videos on the ORC and all our DIYs!
REMOVING THE PEDESTAL SINK
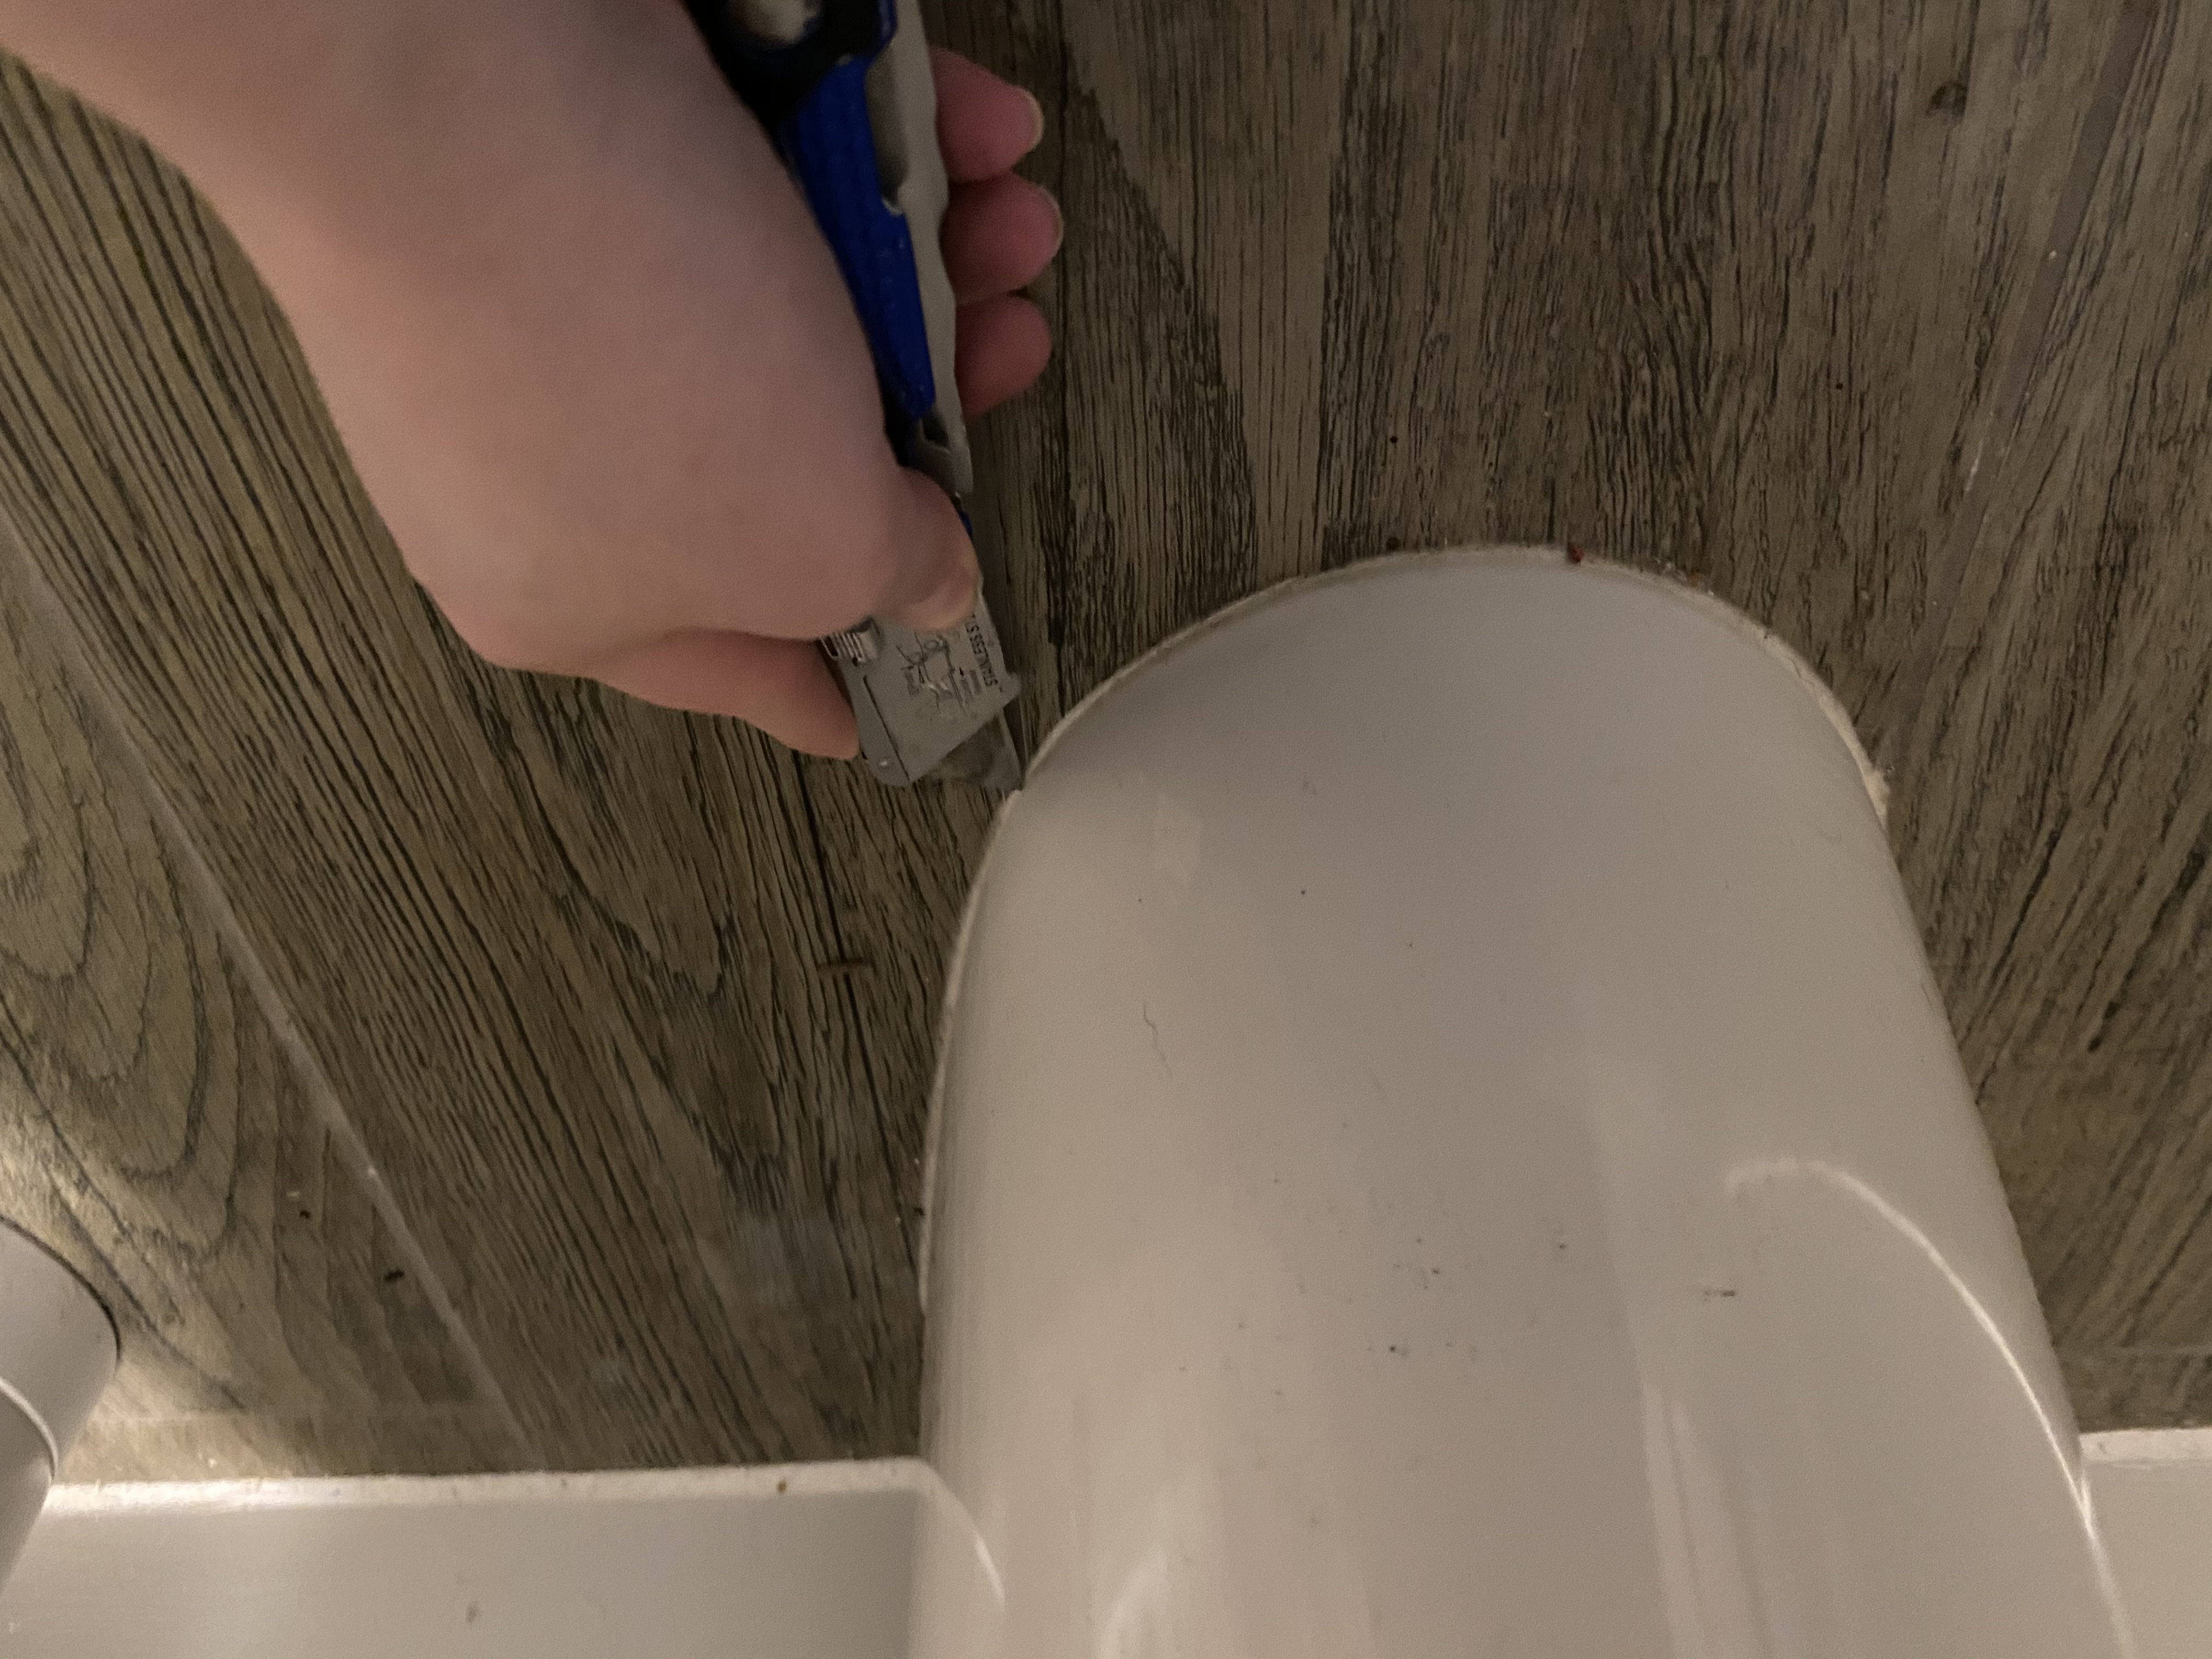
Score and remove caulk: I took a box cutter and scored the caulk where the sink met the floor tile. Also along the back of the sink. These are the only two places that it was caulked and touched the wall so I started there.
Turn off water and disconnect piping: I think most homes have two water lines going into their vanity. One for hot water and one for cold. Turn those to cut off the water to the faucet. Try turning on the faucet and if nothing comes out, you did it right! If water still comes out, keep turning until it doesn’t anymore.
To disconnect the piping, I got a bucket to put under them as I detached them. This is for excess water that will come out. Honestly, I had no idea what I was doing but I just started unscrewing pipes until they all came apart.
Word from the wise: like I mentioned, I disconnected all of the piping from the pedestal sink but I didn’t quite remember how the pieces went back together for the new vanity. So take pictures, videos and or label the pipes so they go back the way that you found them. Luckily Steve figured it out like he does everything, that’s why I wasn’t too worried!
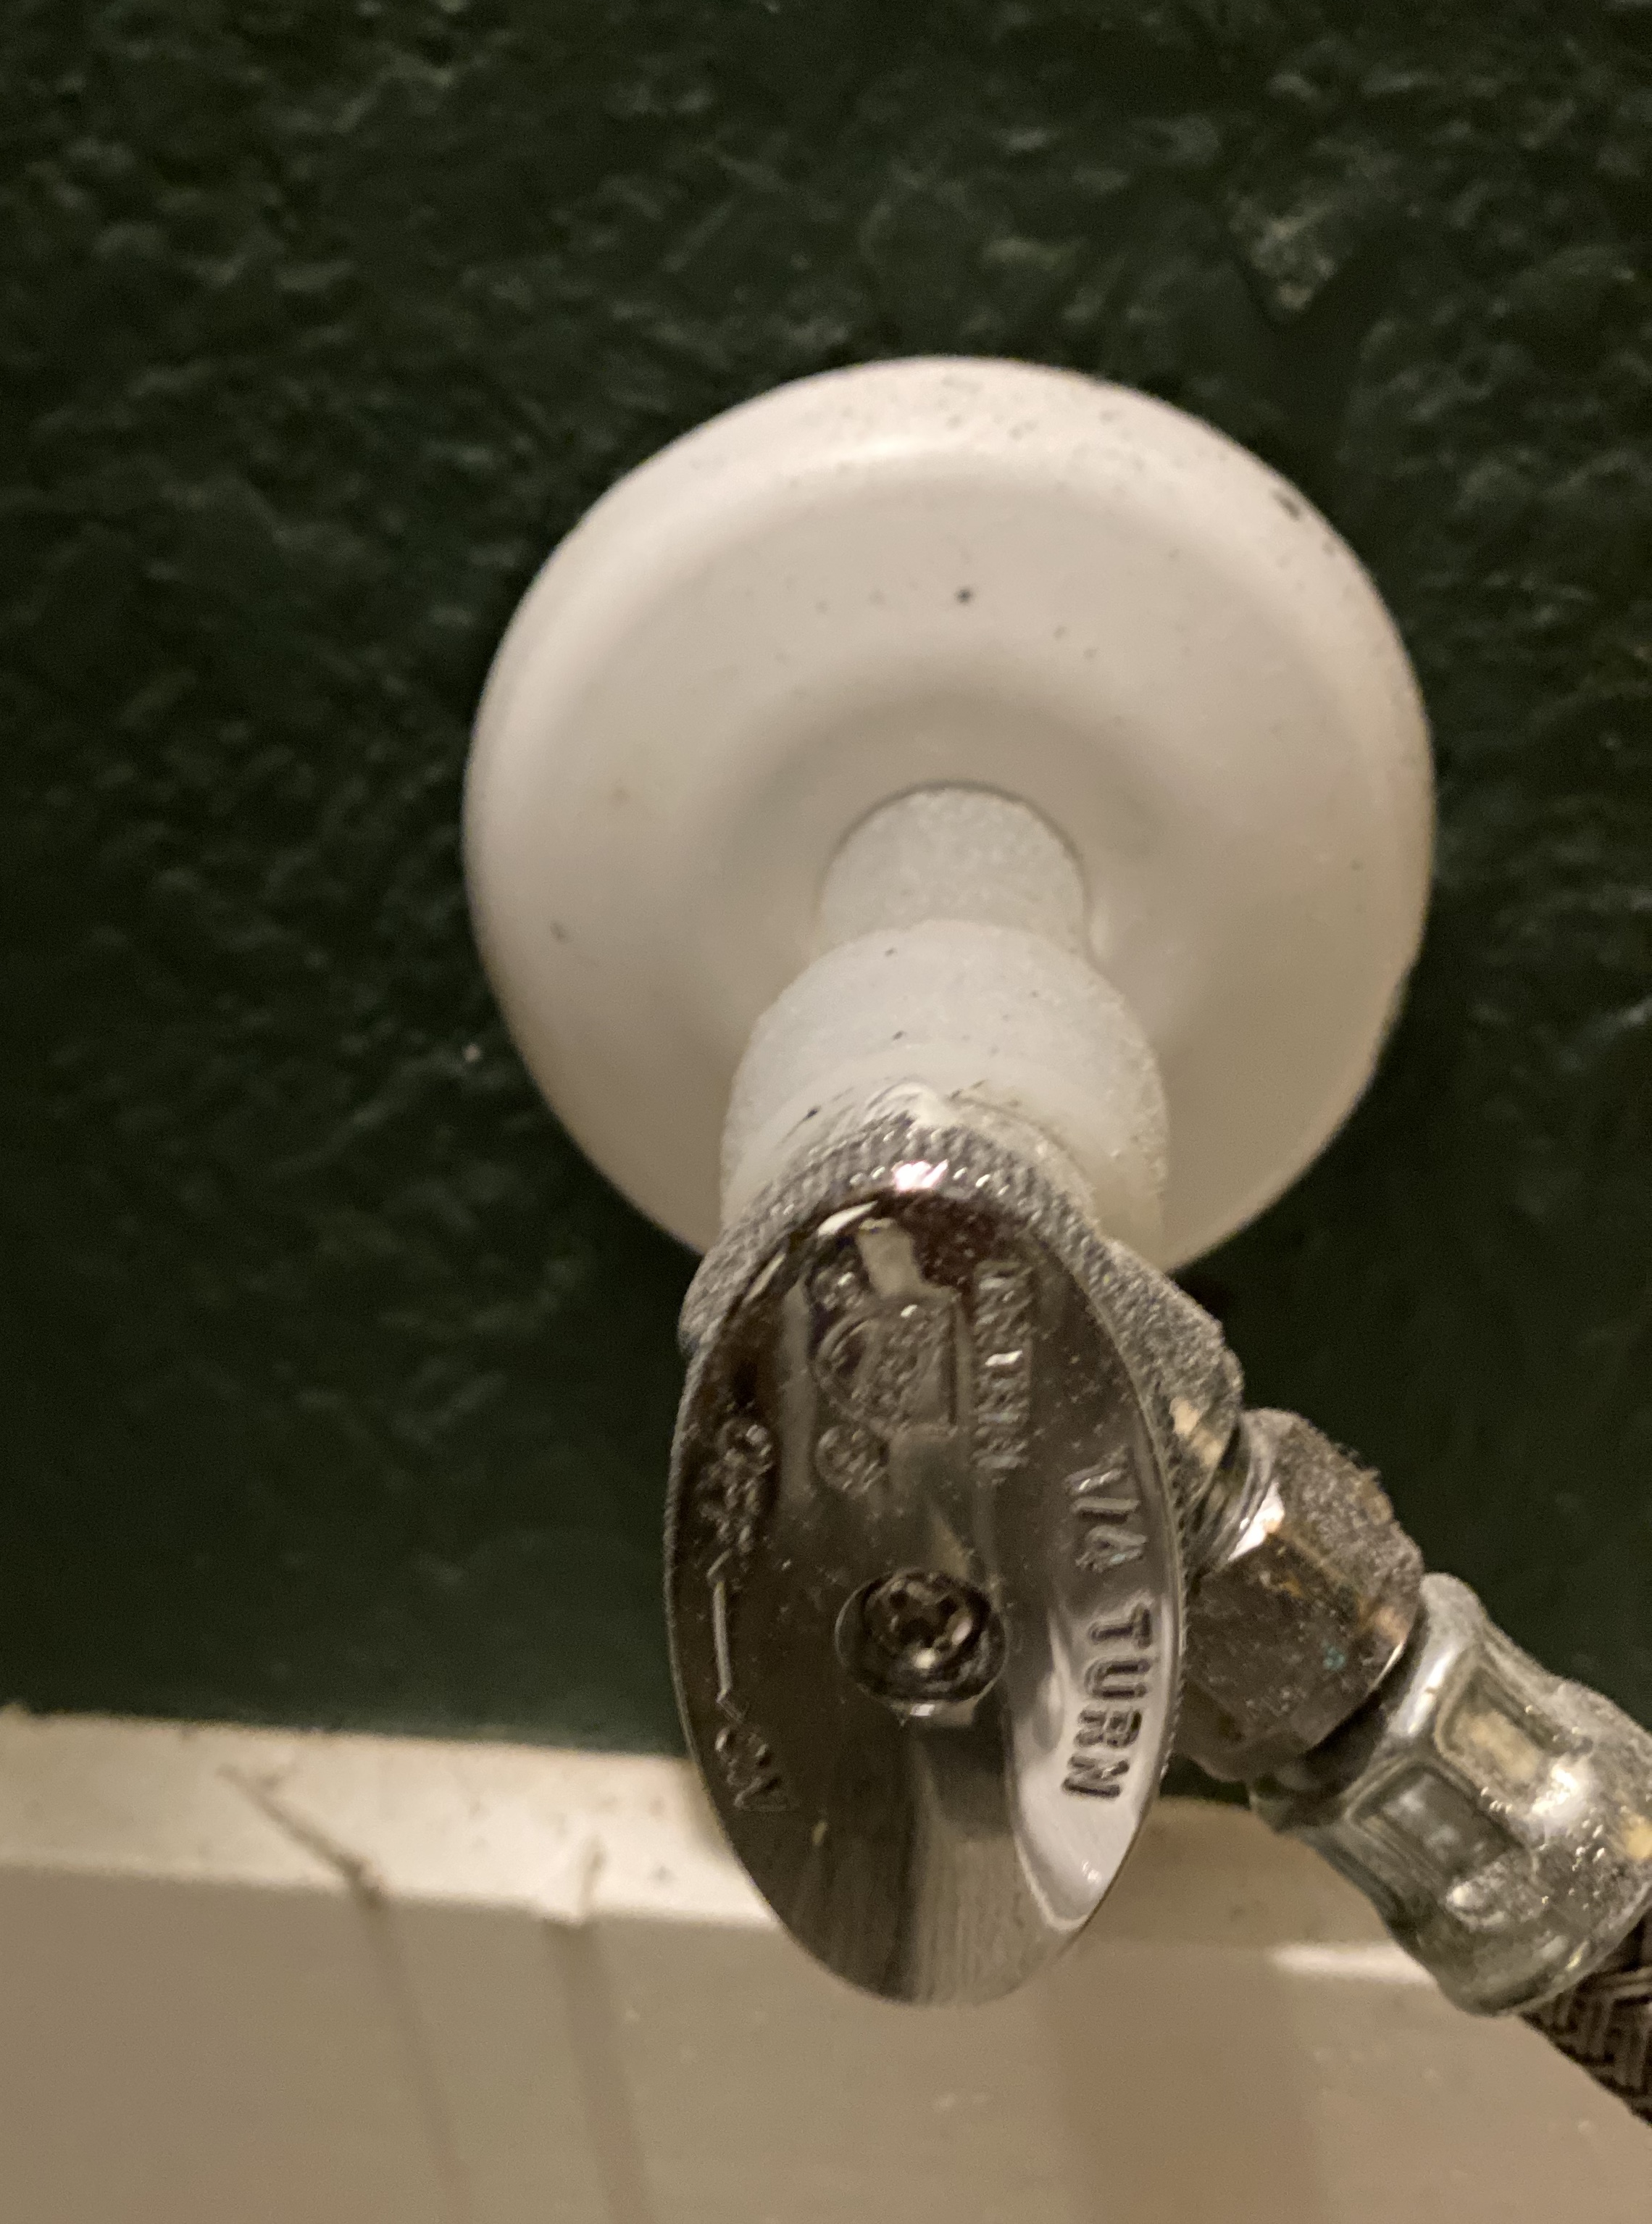
The knobs to turn off the water look like this
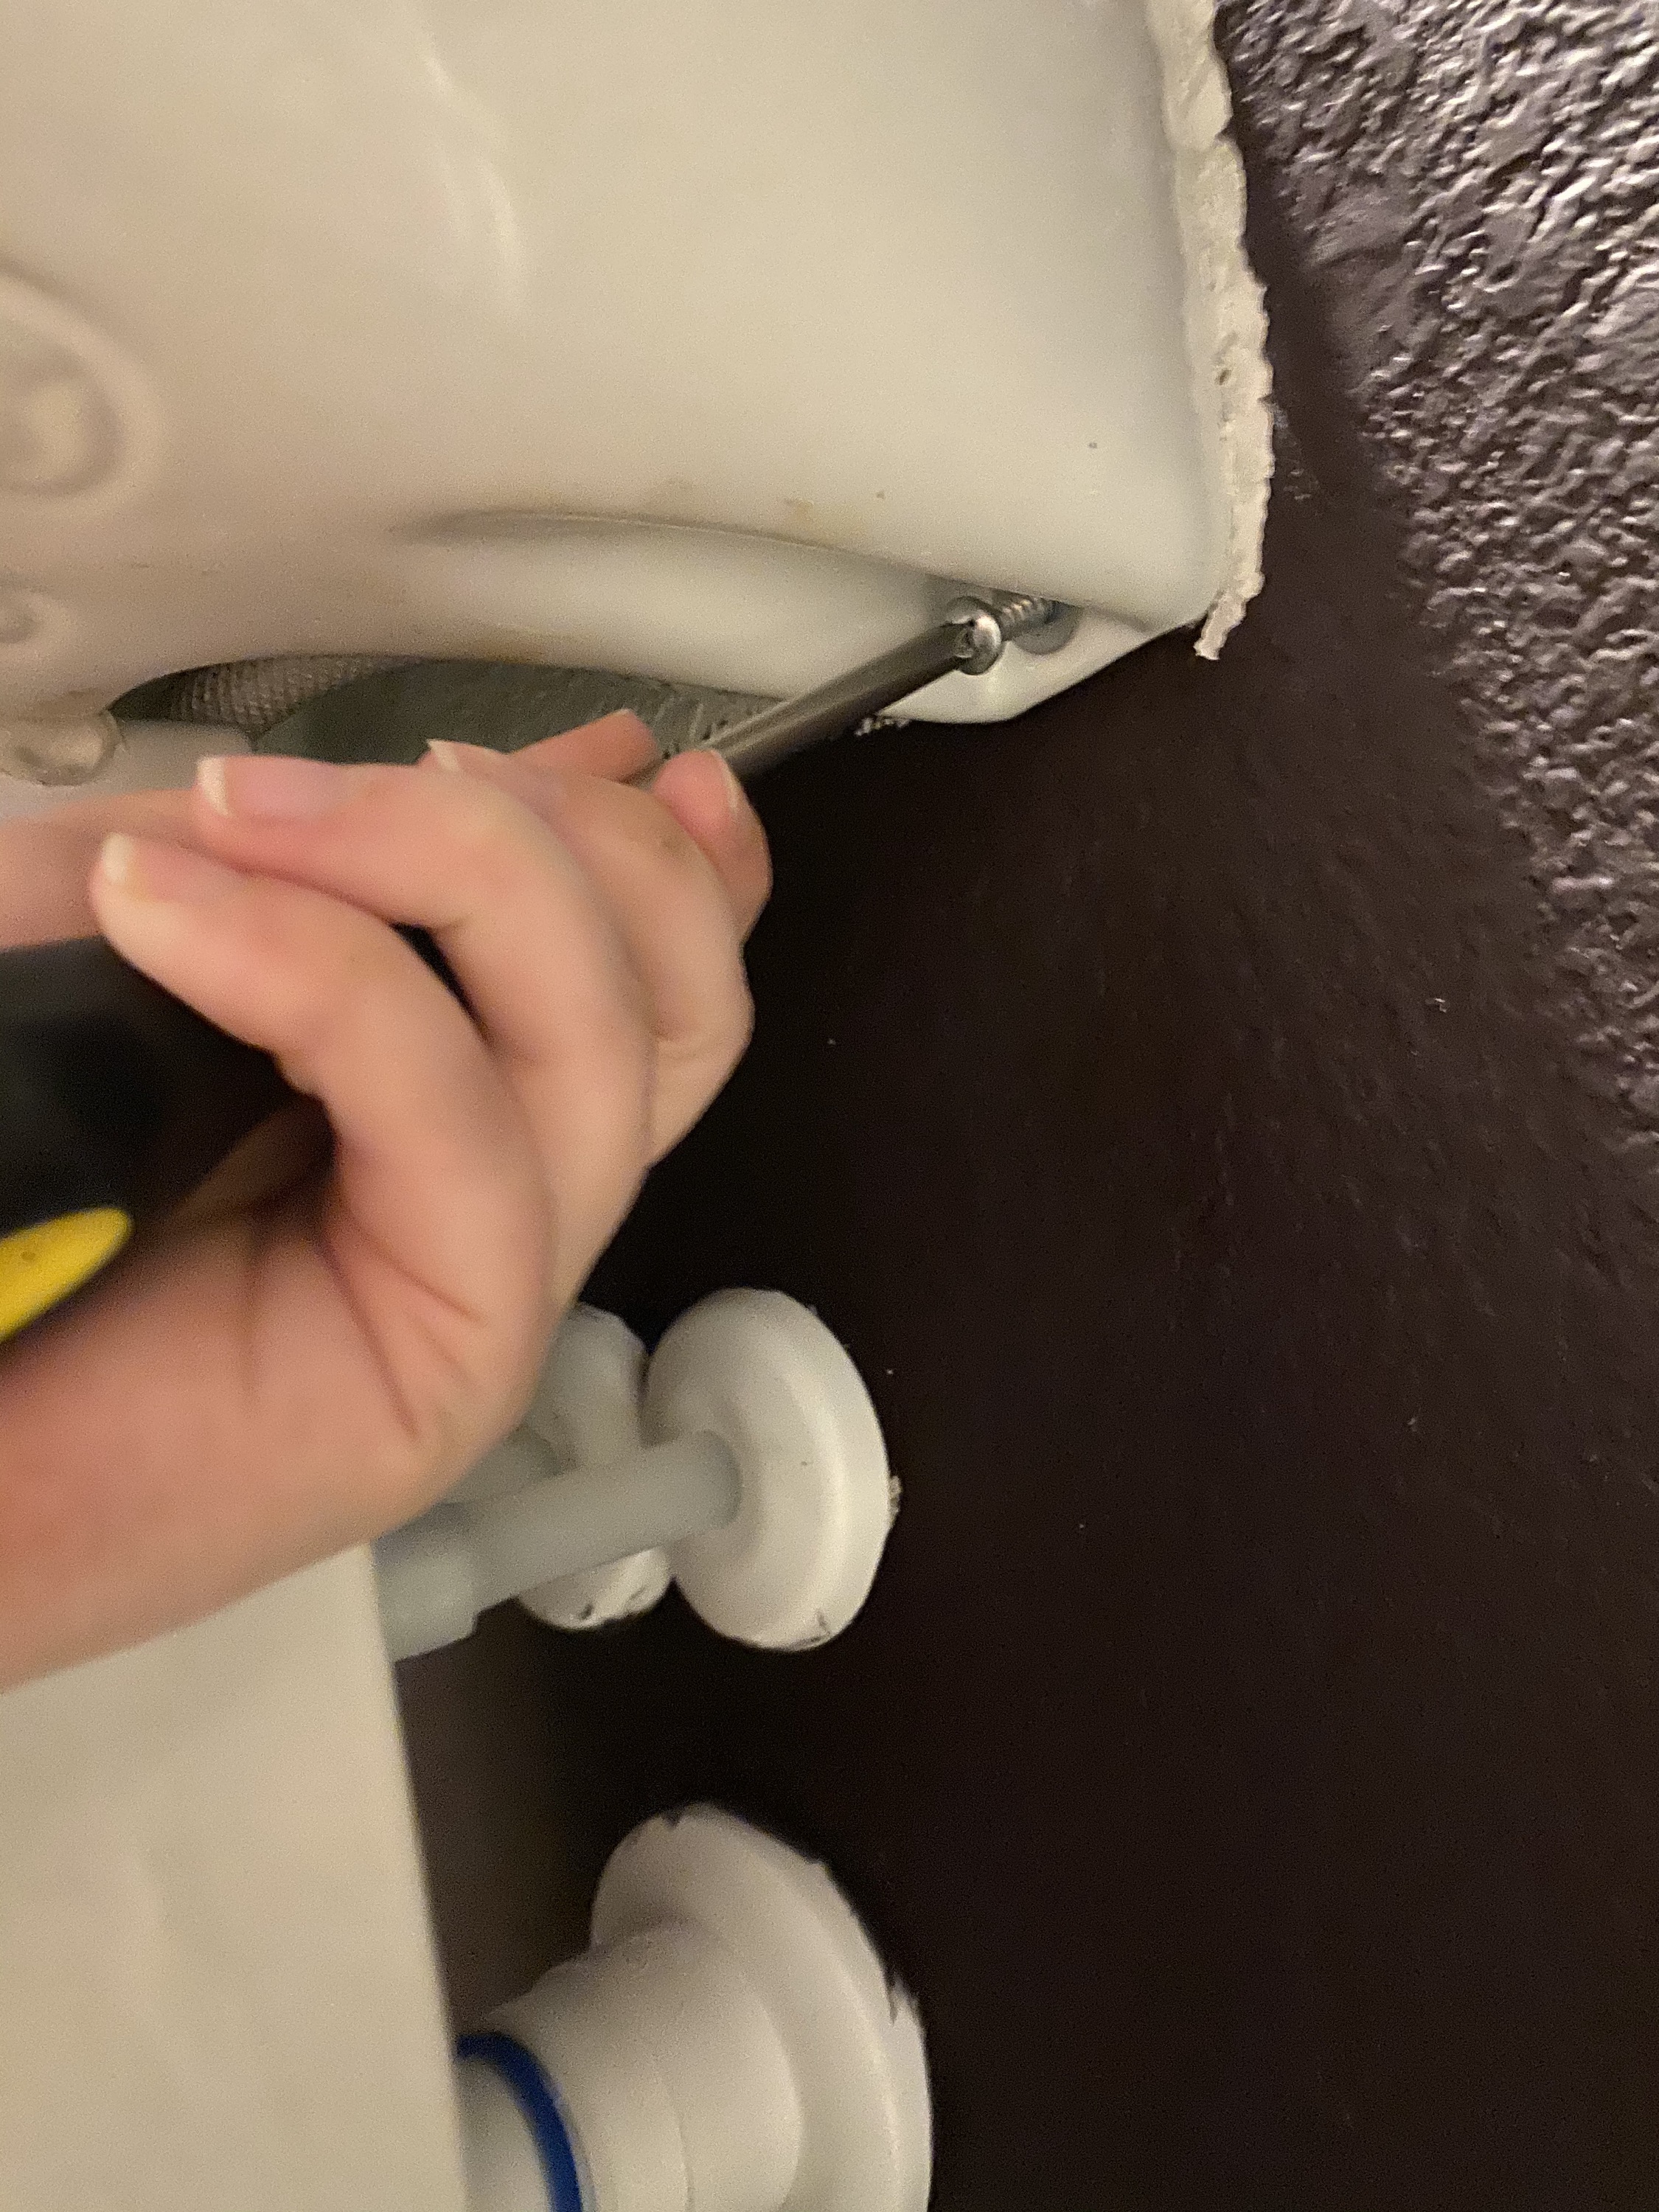
Unscrew the sink from the wall: I really wasn’t sure of how the sink was attached to the wall or even if it was for that matter. It took me a little longer than I’d like to admit to figure this out. Turns out it was actually screwed into the wall. That makes total sense, but I was pulling on it for a few minutes before Steve came by and showed me the screws. Oops! No harm no foul (except a little to my ego).
I also removed all of the other little accessories in this room like the toilet paper holder and the hand towel holder. I knew I wanted to replace these things and wasn’t quite sure what I wanted yet. So, I just used some spackle to patch over the holes. This makes it easy so I’m able to paint over them. Also lets me decide where to put the new accessories later.

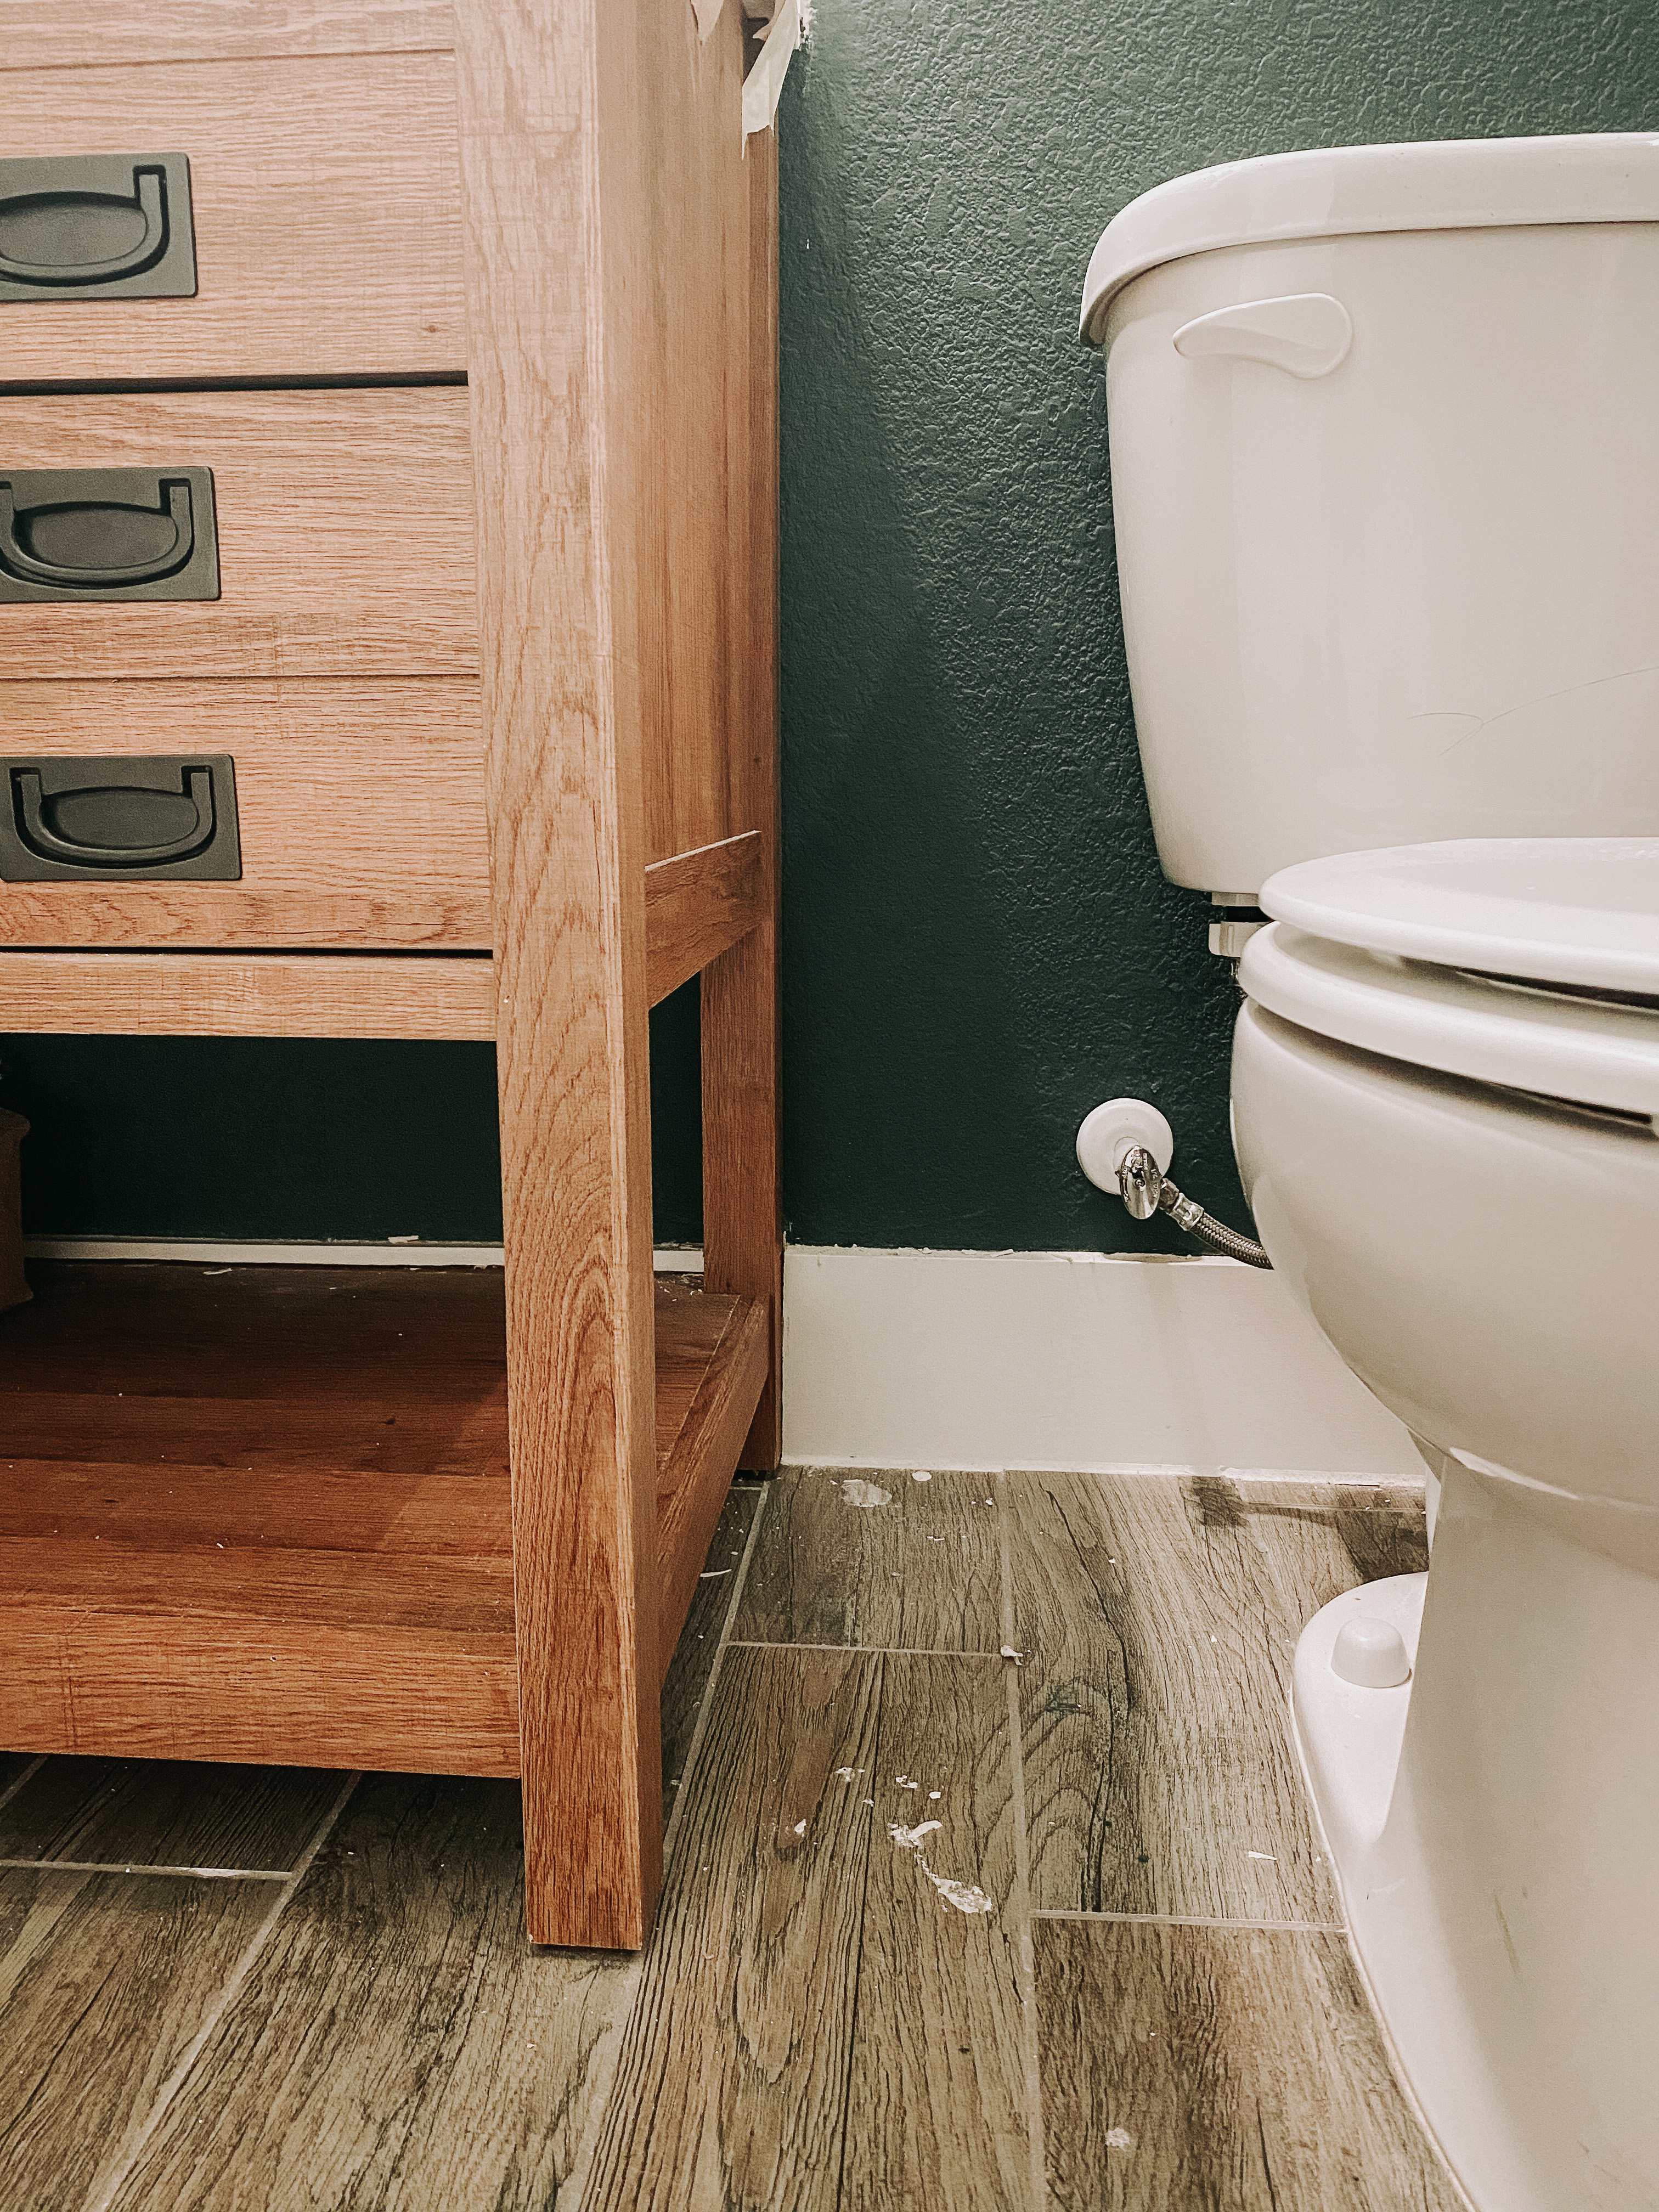
INSTALLING THE NEW VANITY
Installing a new vanity is legit the easiest thing. I seriously can’t believe we waited so long to just do it!
Dry fit the vanity: Before doing any permanent installations. We did a dry fitting for the vanity to make sure everything would fit snug and how we wanted. An issue that we found when dry fitting it was how far away from the wall that it sat. With a bathroom vanity, you don’t want gaps between it and the wall. I am planning on tiling up the wall on the two sides of the vanity that touch the wall. We have a little issue though. The vanity sat too far away. Even with the tile, there would still be a gap and that would just look terrible!
What to do if your vanity doesn’t fit: So we recently invested in a multi-tool (something I’ve been wanting for a while but we normally by tools as needed). We wanted to try it out so the perfect opportunity presented itself. In order to get the vanity snug against the wall, we needed to cut out the baseboard. While we had the vanity where we wanted it against the baseboard, we traced around the legs so we could cut it out with the multi-tool. We could have just made one simple cut on the far side of the leg. Steve decided to try and cut it out exactly so the vanity just sat perfectly into the baseboard. And it worked!!
The multi-tool is really nice because it lets you do plunge cutting, meaning that you can plunge the blade straight into the baseboard and, with a steady hand, you’ll have a nice clean cut.

This is the trace of what needs to be cut out for the new vanity
It did take a couple tries and just a little extra shaving off of the baseboard to get the vanity sitting snug against the wall but it was all super easy with the multi-tool.
Unlike the pedestal sink, the vanity doesn’t have places to screw it into place against the wall. I think this is mainly because the vanity is stabilized on its own while the pedestal sink could easily tip over. If you want the extra security to ensure the vanity doesn’t move you can easily get screws that are long enough to go through the legs or the back of the vanity. These would ideally need to hit studs to actually provide that stability. Before you secure the vanity permanently, make sure of one more thing.
ATTACHING THE PIPES
Remember the pipes you took off your old sink and labeled because I told you to be better than me? Now is their time to shine. Reattach everything the same way they came off.
If the pipes don’t fit: Ours didn’t fit. Surprise, surprise. The issue was that the pipe that connected directly to the sink pipe, curved and came down too low so it was running into the bottom of the vanity. This means more cutting.
Steve looked up options for getting a different pipe but basically because of the shape we would need, we couldn’t. So, more multi-tool cutting! He marked exactly where the pipe hits the vanity bottom and measured out enough to allow the pipe to nicely sit inside the vanity bottom. It’s not a nice looking now as it would have been if the pipe fit but what can you do, besides moving the pipes in the wall, not an option we wanted to consider.
Normally at this point, after installing a new vanity, we would now install the faucet. We aren’t going to do that yet because we have more to do that will be more difficult with a faucet installed. Can you guess what it is? That’s right, tiling! We are going to be focusing on tiling the backsplash over the next week so follow along on instagram to see the progress and come back here next week at the same time for the final reveal!
Find us on social HERE!


