


Wood Slat Feature Wall


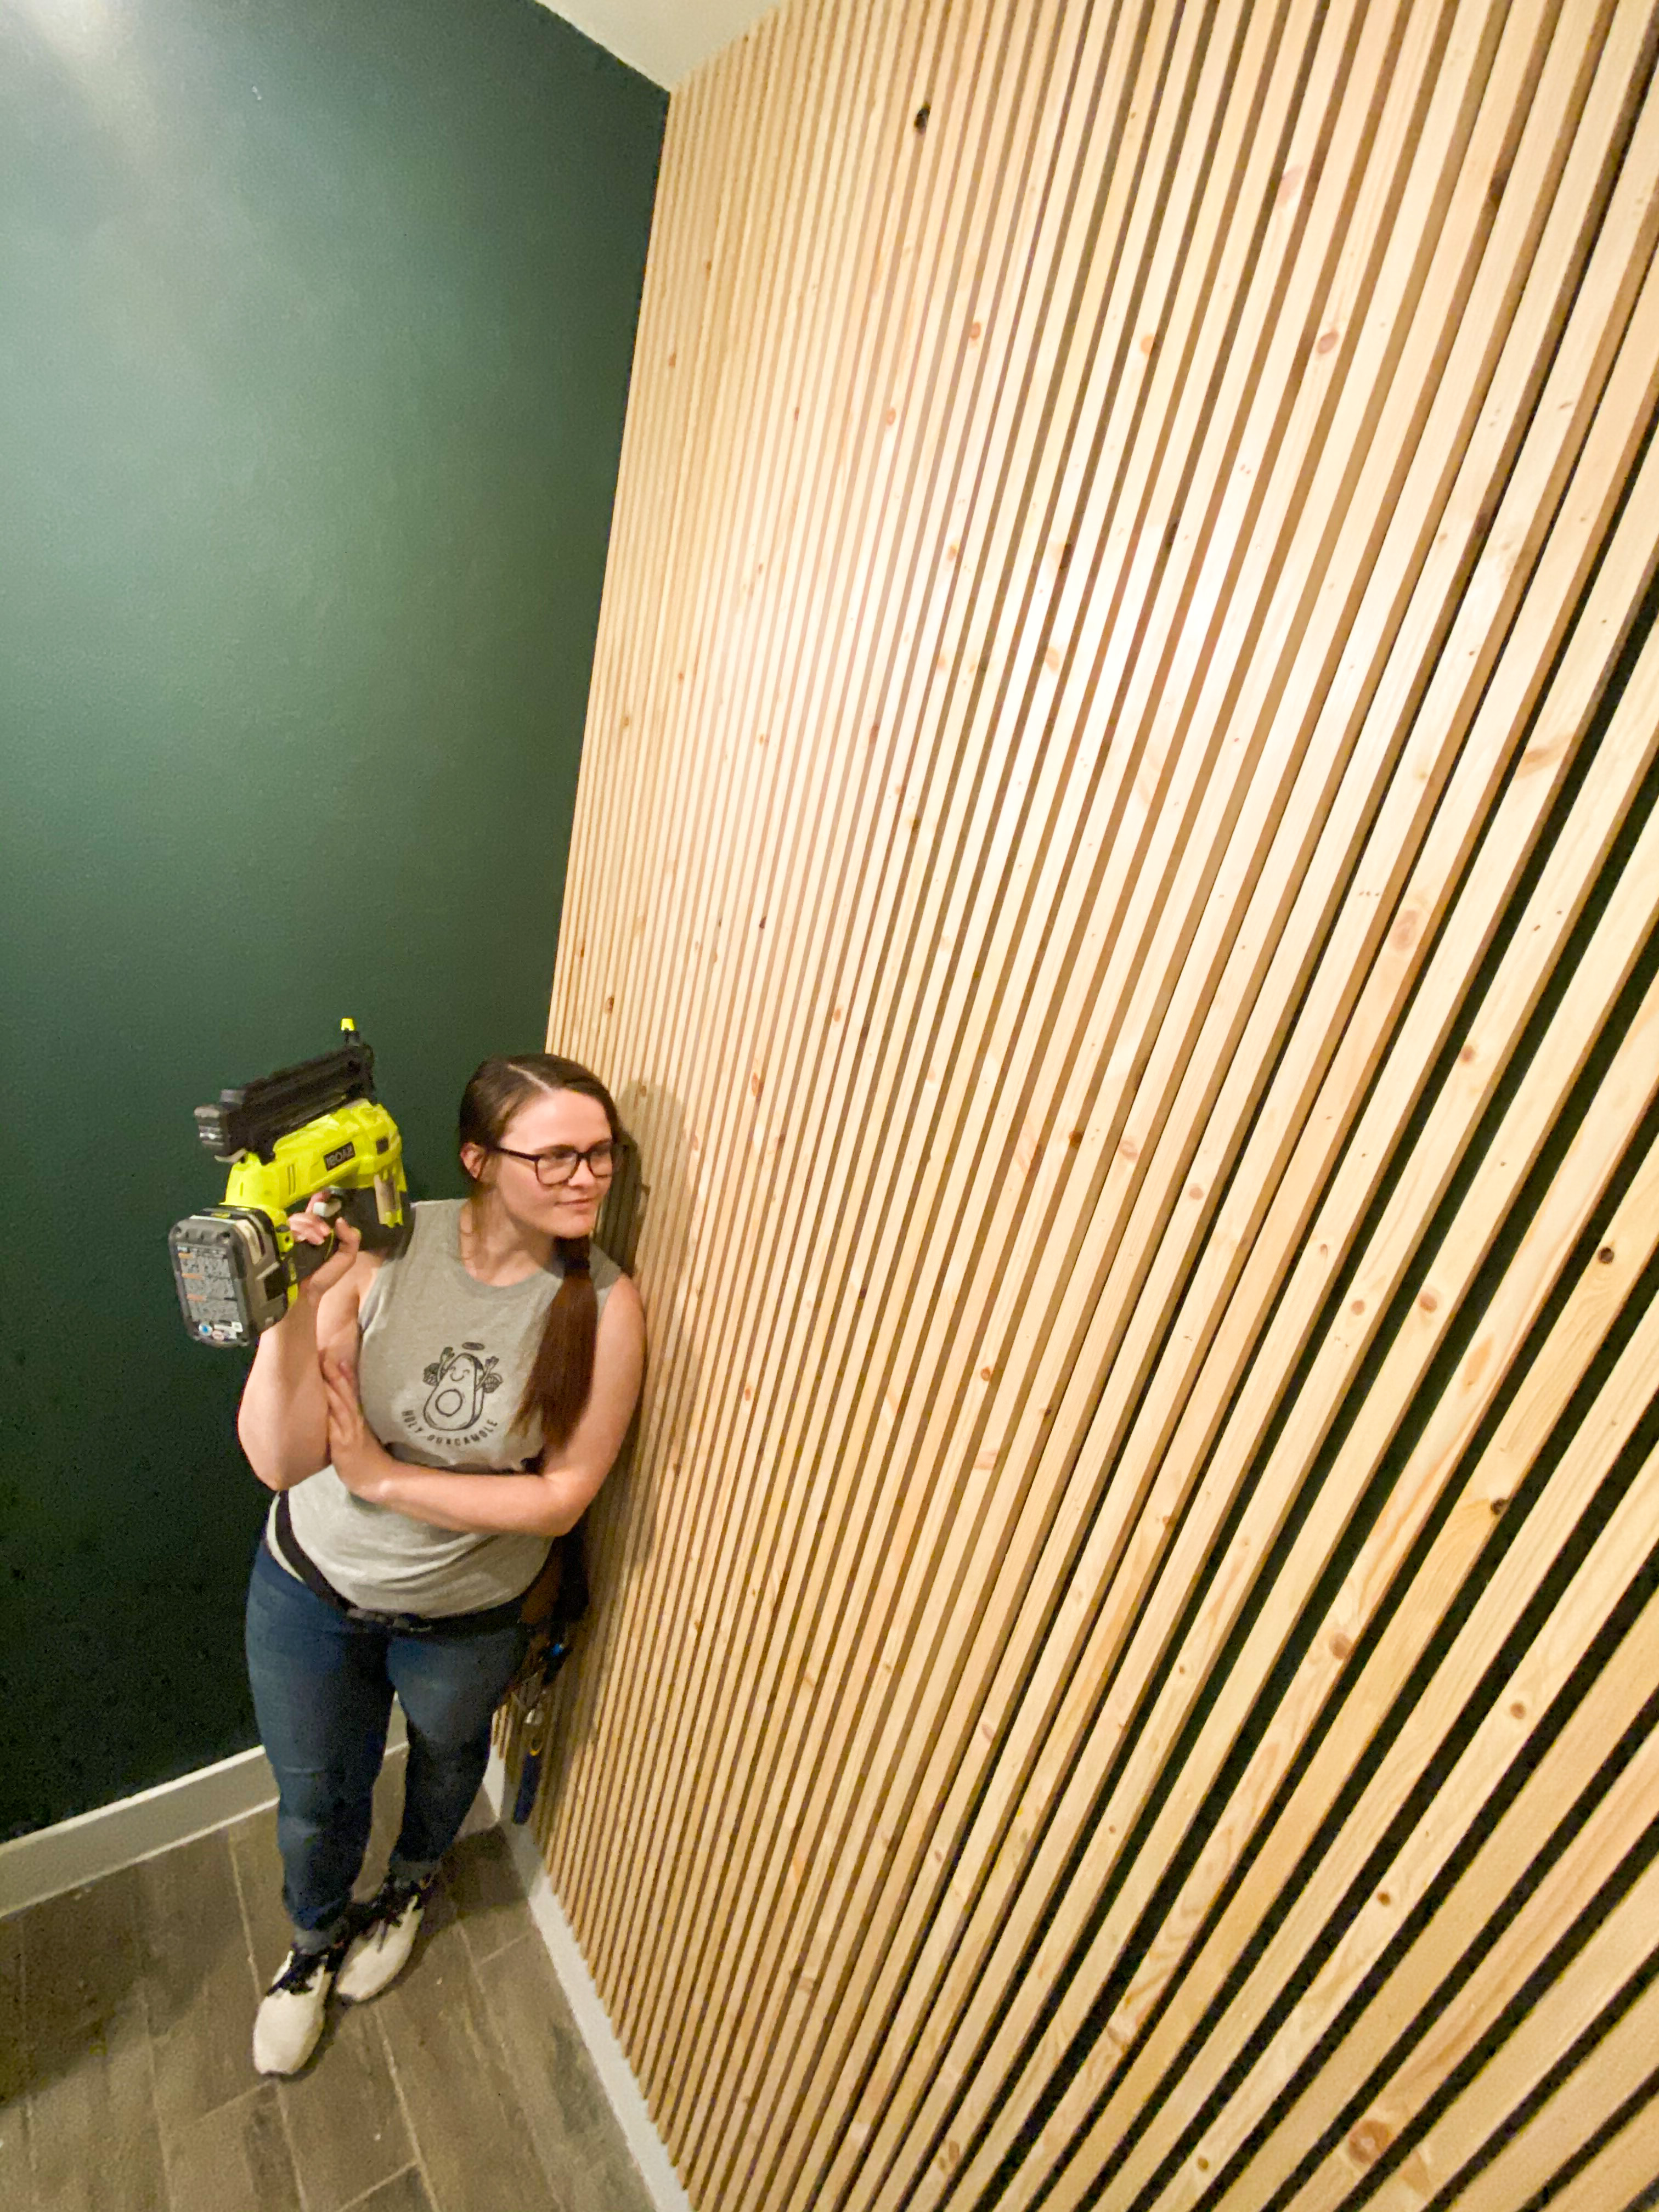
Last week was supposed to be week 5 of the One Room Challenge, but in light of the state of the nation, it was cancelled so we could all listen, learn and love all humankind. Now we’re on to week 6 of the One Room Challenge diying a wood slat wall. This really flew by for us and we got one of the largest design elements done! From day one, we’ve beed dreaming of two things: 1. replacing the pedestal sink and 2. creating a feature wall.
If you remember from the plans we detailed in week one, I had originally dreamt of creating a mercury mirror wall. Well, that wasn’t going to be cost effective. Since we started planning for the One Room Challenge, I have loved the idea of a wood slat wall style. We decided that this would be a perfect opportunity to create this.
A wood slat wall is both super simple and difficult at the same time. If you follow my instructions and directions, it will be super simple. You also won’t have to deal with the difficulties I experienced.
SUPPLIES:
- 1″x6″ pine boards (My ceilings are 9′ tall so I bought 10′ boards)
- 2″ Brad Nails
- Brad Nailer
- Wood Filler
- Sandpaper
- Table Saw (and Circular Saw if you have one)
- Construction Adhesive (optional)
- Nail Punch
- Level
- Ladder
STEP 1: MEASURE YOUR SPACE
My wall dimensions are 9′ (from floor to ceiling) and 62″ wide. I tried to make the math as simple as possible. In order to determine the size of the slats and the distance between them.
I first determined that I wanted my slats to be 3/4″ x 3/4″. My idea was to make both the slats and the space between slats a full inch. So, if the slat is 3/4″, then the space would be 1/4″. The only flaw in that plan is that there would be an even amount of slats and spaces. You want a slat on each side of the wall so I will have one more slat than space. This means I would need to add a slat or take a space away. I decided to use 56 slats. So, now that my measurements aren’t as easy as 1:1 and a 1/4″ space, it’s still simple.
Now that I know I am going to use 56 slats at 3/4″ each. Next I need to determine how much space that takes up. I simply multiply 56 x 3/4″ = 42″ which means that I have 20″ of total spaces. So if I have 56 slats and 55 spaces you take 20″/55 spaces = 0.363 inches.
Now that I know all of the measurements and how many slats I will need. I can finally determine what size of board and how many I need. You can buy 1x1s, but it is more affordable to buy larger boards and rip them down on a table saw. If you take the width of the board (a 1×6 is 5-1/2″) and divided that by 3/4″ then you would get 7.3333 pieces out of each board. But since there will be waste when cutting, figure that you will get 6 pieces out of that side board.
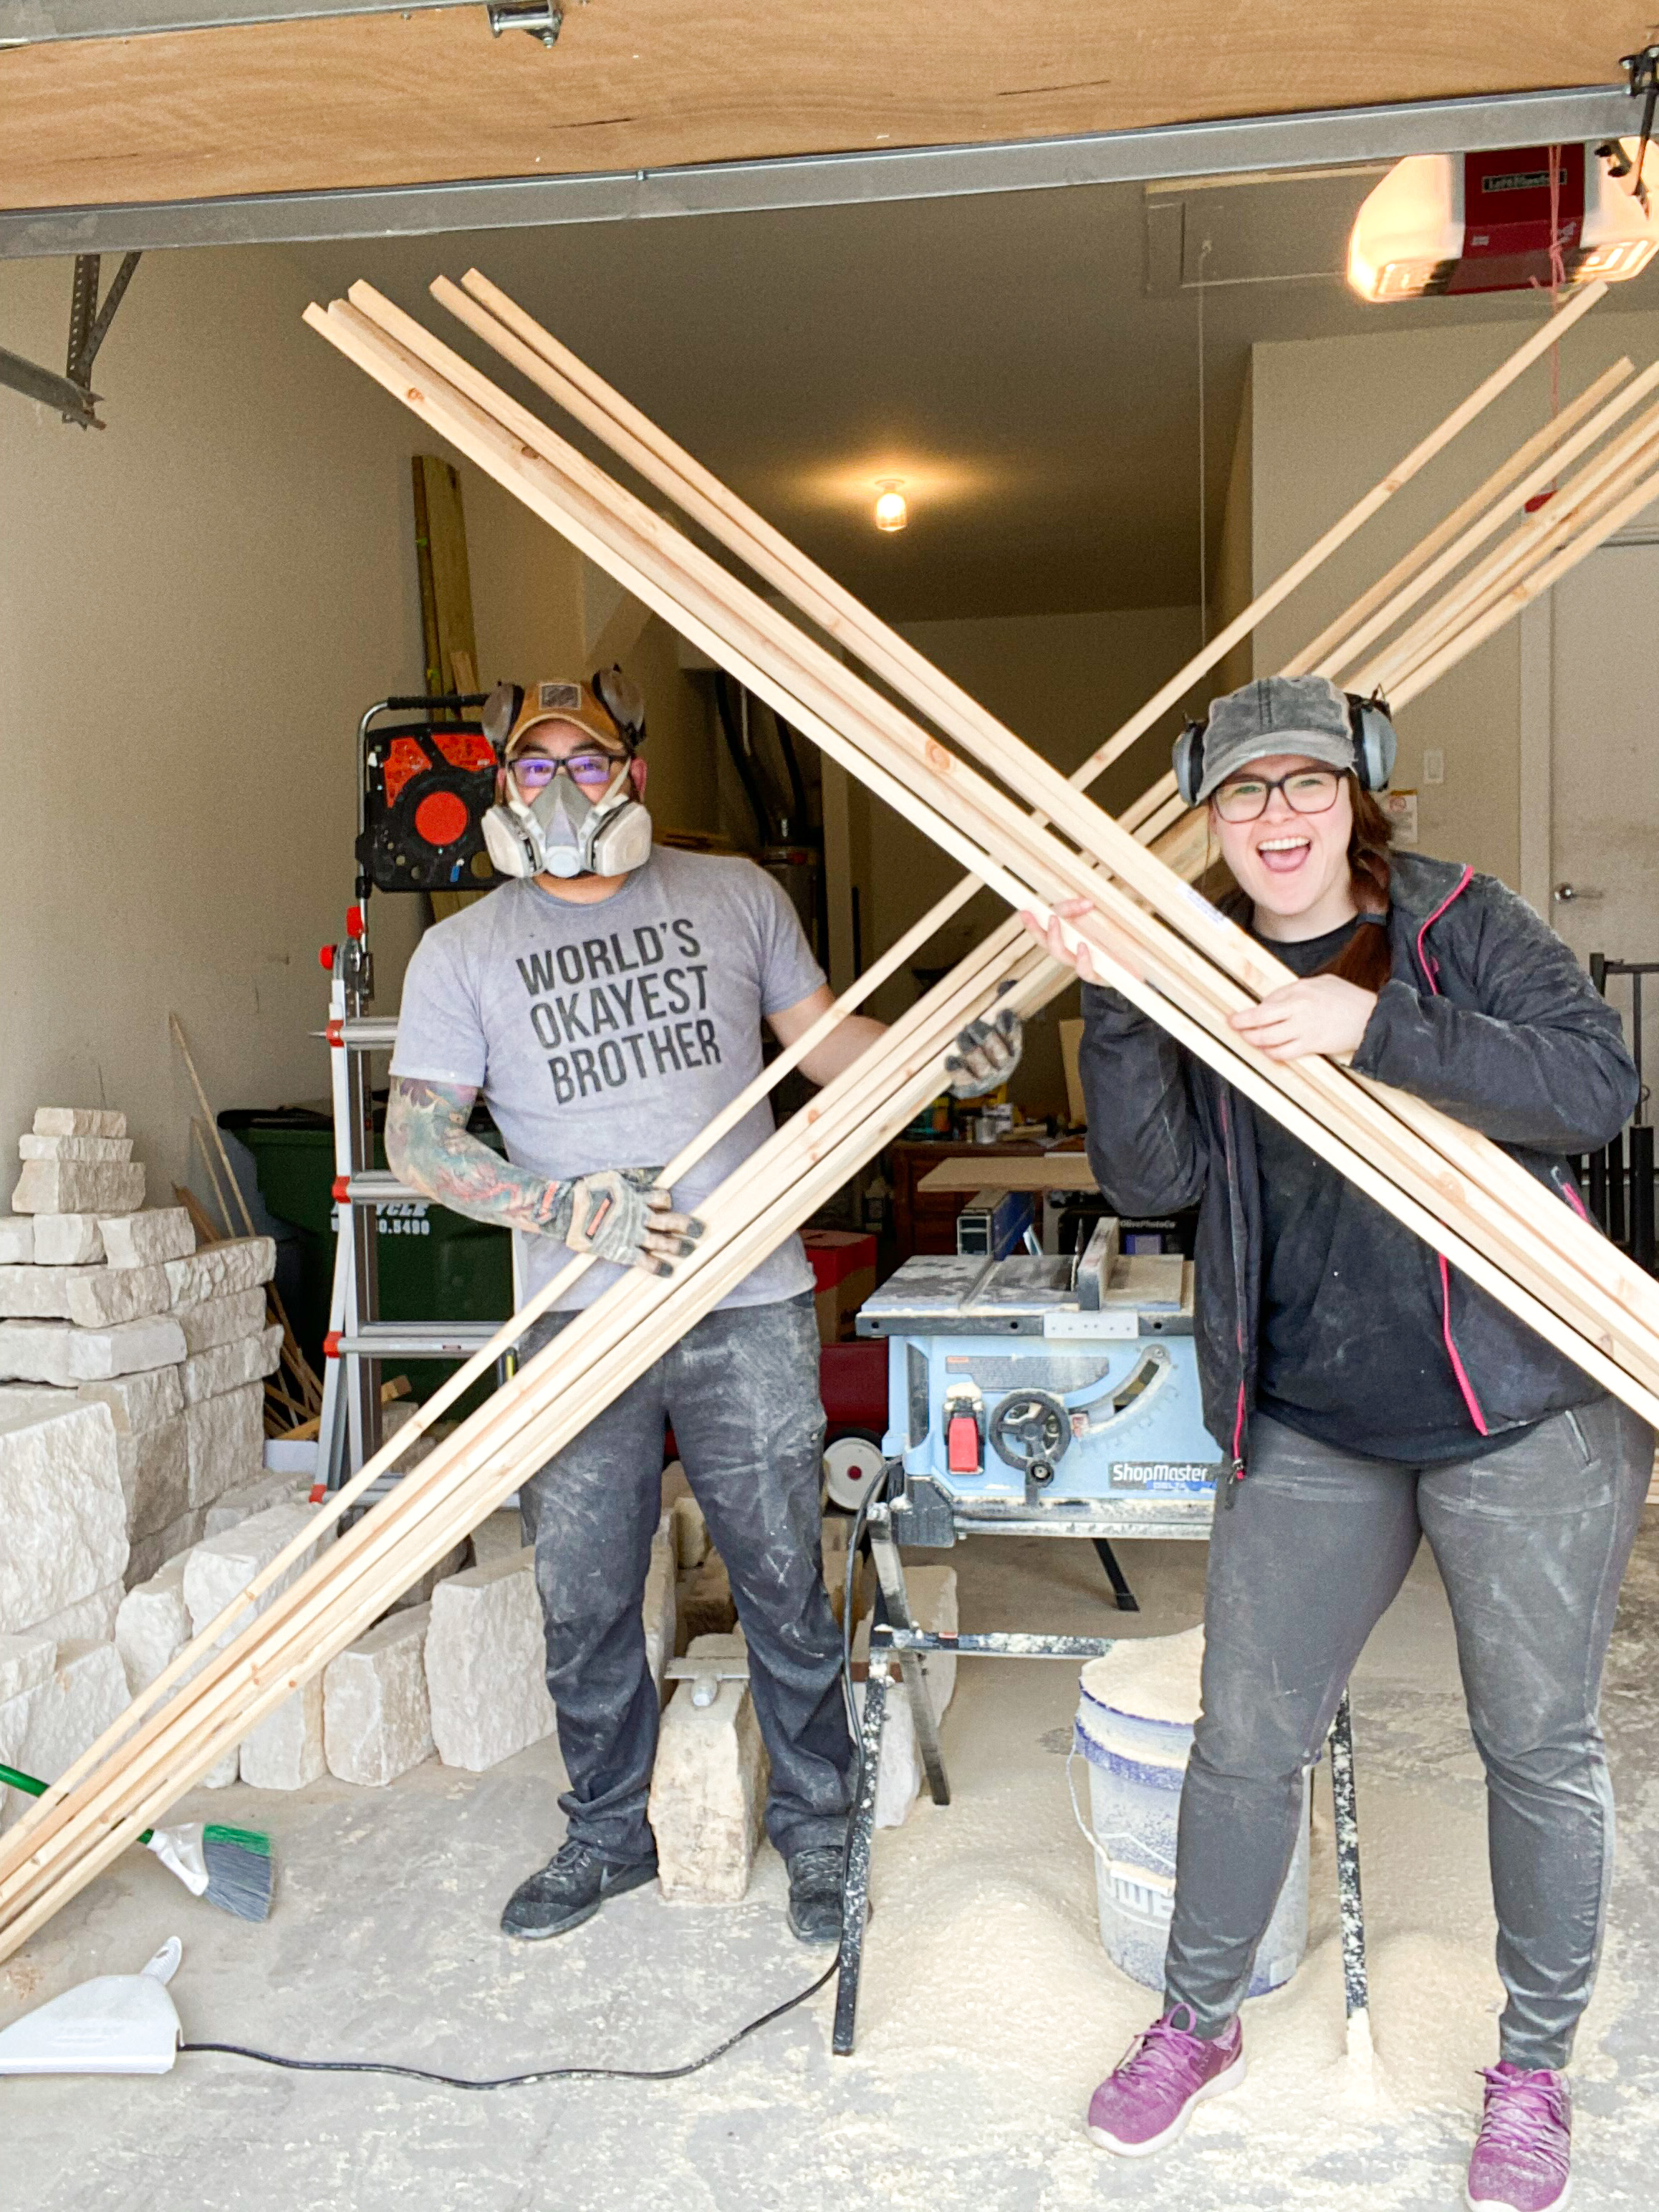
STEP 2: RIP THE WOOD
This step is repetitive but easy. If you are ripping boards like I decided to do, you will need a table saw with a fence. Set your fence to your desired board width, ours is 3/4″, and run each board along the fence until all the boards are cut.
You can also set your fence to the desired spacer distance and cut either blocks or a long strip to ensure proper spacing. I had a small block, but I think a full length spacer (the length or close to the length of the boards would make things easier.
STEP 3: CUT STRIPS TO LENGTH
My initial thought was to cut all the boards to the proper length before ripping them, and you can do this, but decided to rip them as-is and cut them to length as I went. The reason I decided to cut them as I went is because no wall is going to be perfectly one length the whole distance. So, I took a measurement of the wall for where I was beginning and cut about 4-6 boards to that length and then measured again.
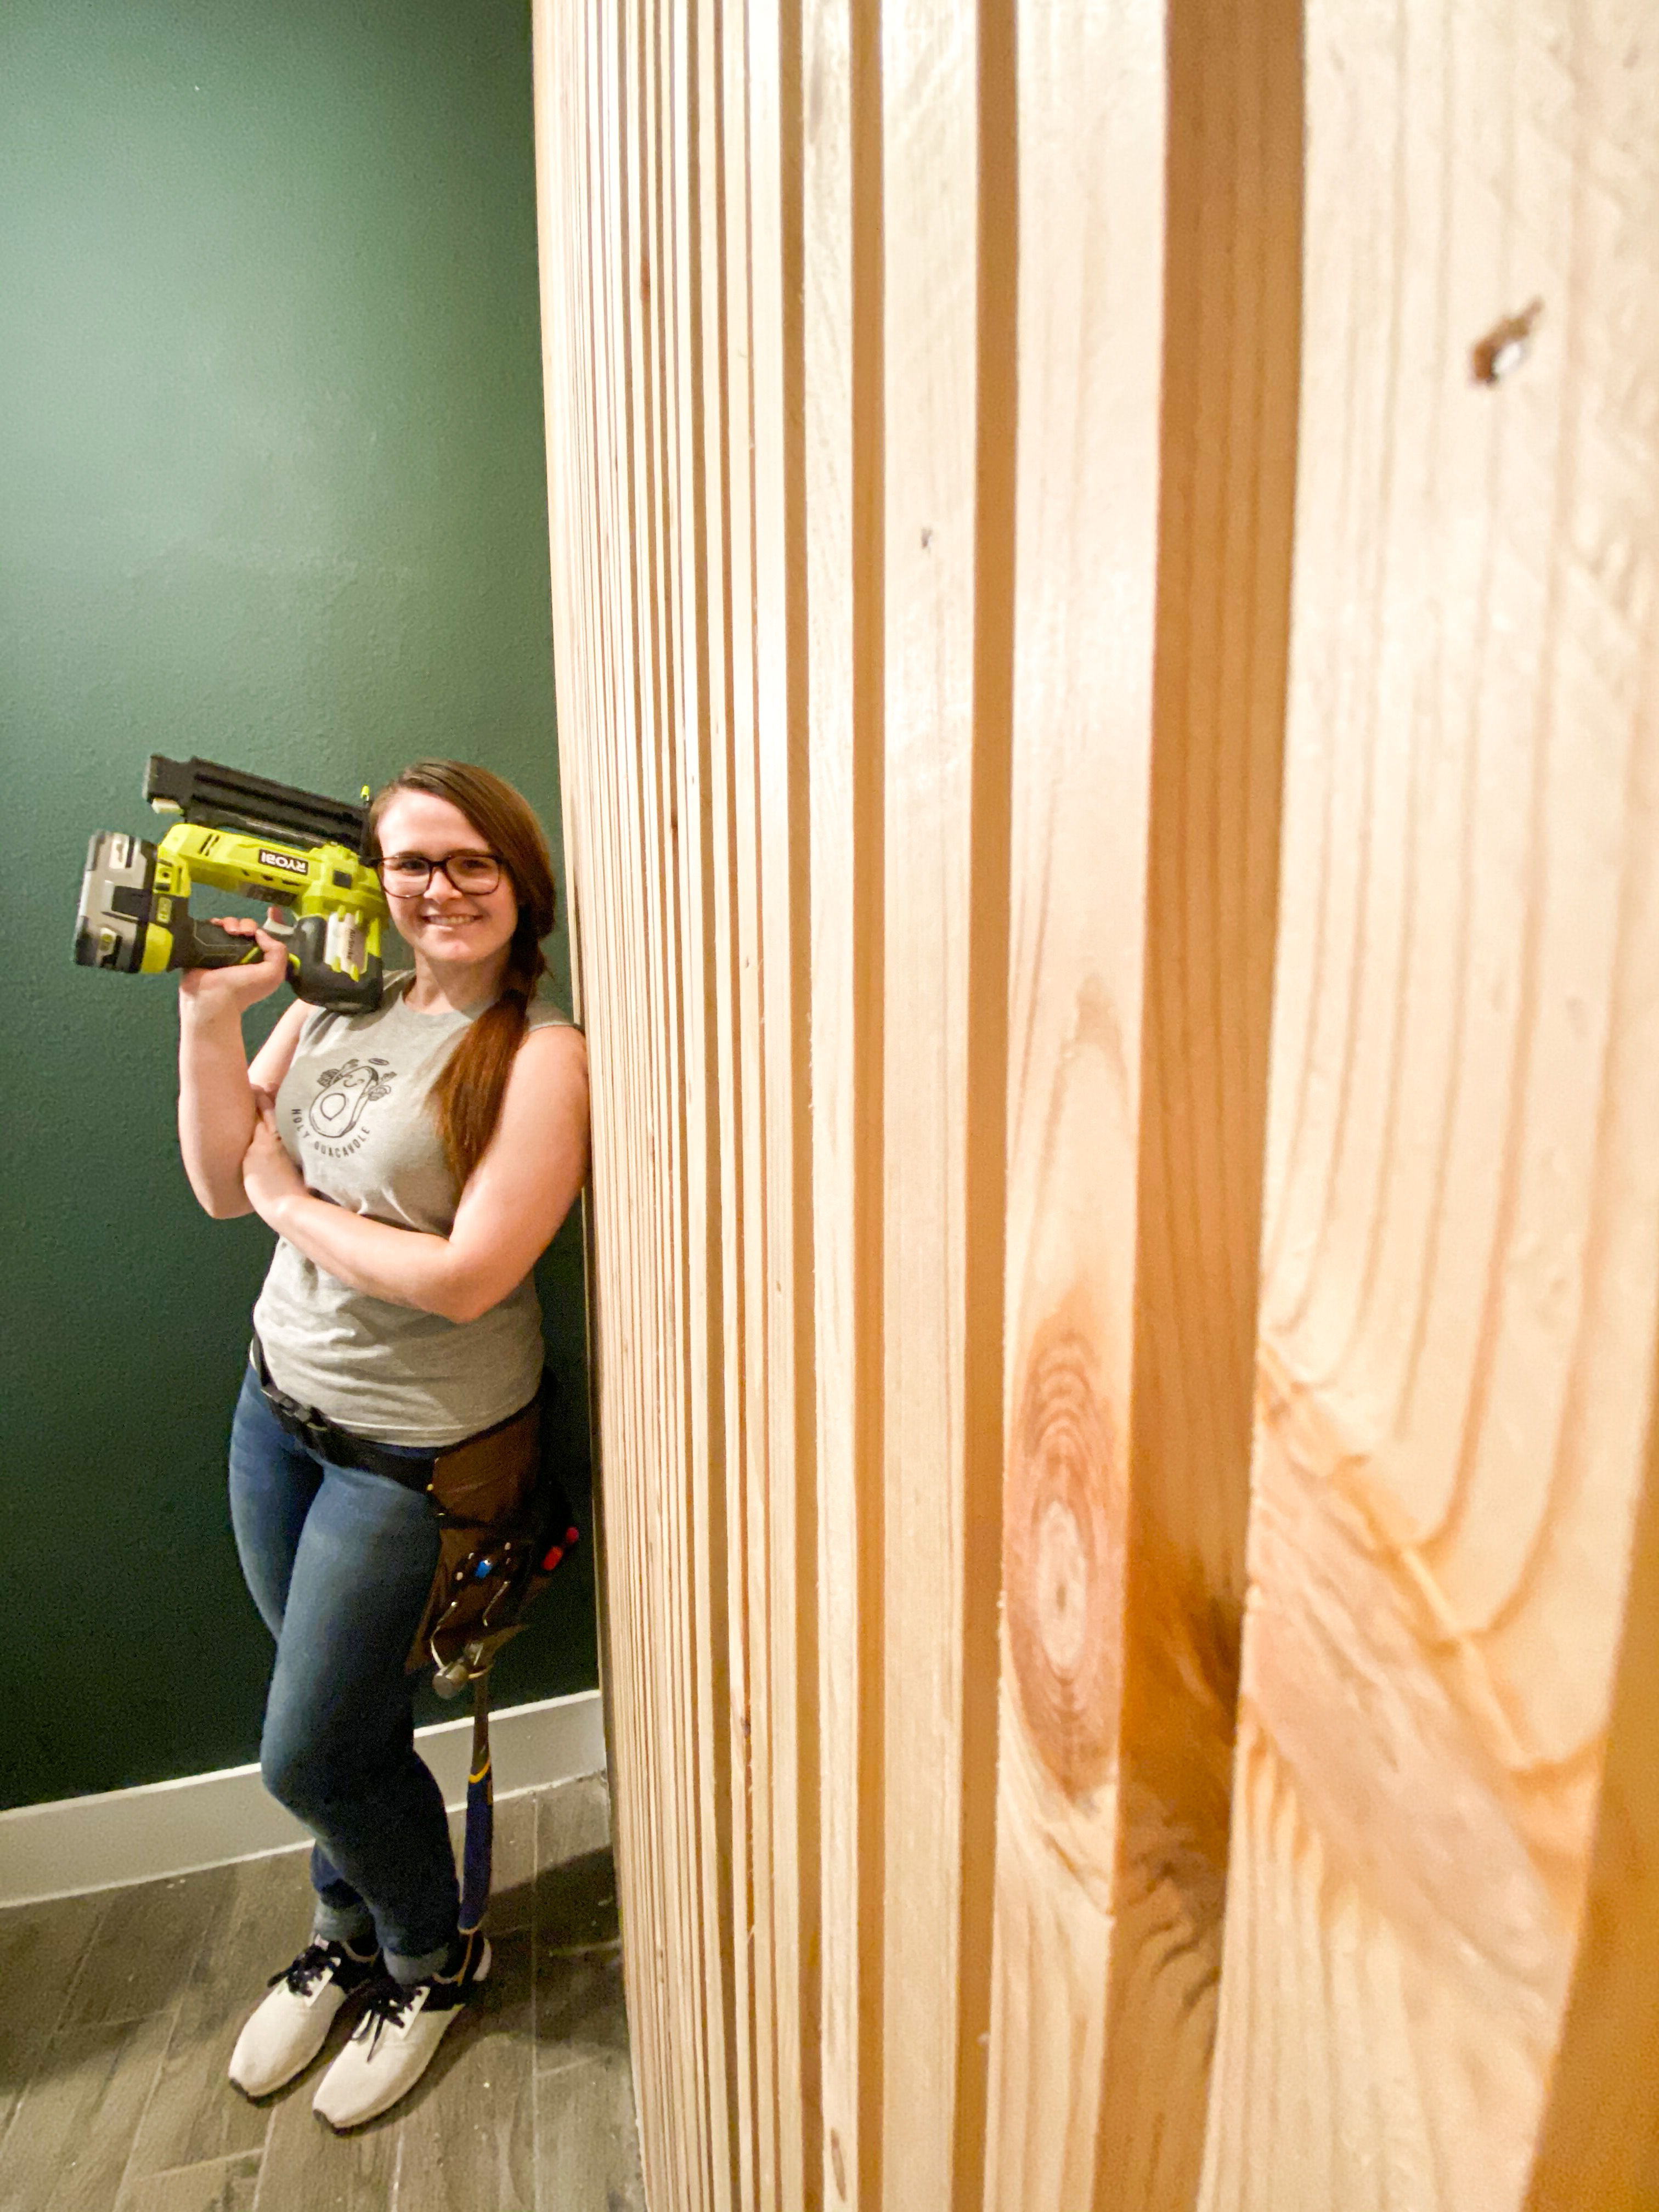
STEP 4: ATTACH SLATS TO THE WALL
Choose the side of the wall that you want to start on. I would choose the most noticeable part of the wall, what you see when you first enter the room.
Place your first wood slat against the corner and ensure that it’s level so that you don’t have to level every single board. I would still check that you’re level every few slats to make sure that you aren’t drifting.
Place your spacer against the slat you have attached to the wall and the next slat against it. Hold them all flush together and take your brad nailer to nail in the next slat. If you are not nailing into a stud, you may need to cross the nails for a firm hold. If you do need to cross them, all you need to do is angle your nail gun to the right and left (or up and down) the point is that the nails go in opposing directions so they will create tension to hold the slat against the wall. Be sure that you angle across the slat so the nail doesn’t come out the side of the slat instead of into the wall.
A lot of times, for me at least, there’s always at least a couple nails that don’t get sunk all the way into wood so you need a little help. For this, I use a little tool called a nail punch. All you do is align it over the head of the nail sticking out and hit the end of the nail punch with the hammer. It’ll put that nail right where you initially intended for it to go.
STEP 5: WOOD FILL & SAND
With the wood filler, fill all of the nail holes you created with the brad nailer. Make sure the filler completely covers the hole you created. I didn’t read the instructions on the wood filler I bought so I didn’t realize that I bought a “no-sanding” filler. If you choose this wood filler, you can push the filler into the holes and wipe off the excess immediately. If you have regular wood filler (or if you don’t read instructions on the no-sanding filler) make sure there is a little excess filler left on the hole to ensure full coverage. Once it’s dry, come back with sandpaper and sand the little spots you covered.
After everything is sanded, there will be lots of sawdust. So, I took an old vacuum I have to clean it up. A tip though…you should use a shop vac and vacuum in-between and around the slats to clean up all the mess easily and quickly.

Originally I had considered staining the slats (which would have needed to be done before attaching them to the wall). I decided not to and leave it as raw wood. Eventually I may put a wood conditioner or wax on it. I didn’t find it to be essential to do in this space. Even though it’s a bathroom, it’s only a half bath and water shouldn’t come near this wall.
TIPS FOR SUCCESS:
1. Cut your wood slats when you are planning on completing your wall, at least within the same weekend. We cut the slats and I intended on completing the wall the next day, but other things came up and it delayed me from completing it. The slats we very close to perfectly straight when we cut them but after waiting for over a week after they were cut, a lot of them warped badly. This was my biggest mistake because it made the whole slat installation much more difficult than it needed to be.
2. If you need to store your wood, you can store it inside. Ideally with the same climate as the room you will be installing it. I haven’t tried this myself, but I have heard from other reputable DIYers that this can help your wood from warping really badly with the extreme temperature changes in the garage.
See, didn’t I tell you how easy it was? It gets more tedious the larger the wall. Thankfully this size of wall was absolutely perfect to create this type of feature wall.
I feel the need to mention that when I point out mistakes I’ve made, it’s not to call attention to it for attentions sake or to put myself down. I point it out so that you don’t make the same mistakes and if you do, I can explain how to fix it. Sometimes you best learn how to do something by learning how NOT to do it.
As always, thank you for reading and don’t forget to SUBSCRIBE to be the first to hear of all things new! You can also follow us on Instagram and YouTube.]
Follow us on social HERE!


