


Dresser Flip with Concrete Top


Can you believe that we’ve finally made it to the last two weeks of the One Room Challenge dresser flip? First it was extended from 6 to 8 weeks and then postponed completely due to Covid-19. The world has changed so much in the past 3 months. My life looks completely different now than it did in the beginning of March, as I’m sure it does for many of you too. I’m getting a little off topic before I even get on the right topic. I just feel that it does us good to look at our lives from time to time to appreciate our blessings. Also, recognize where we are falling short or need to make a change.
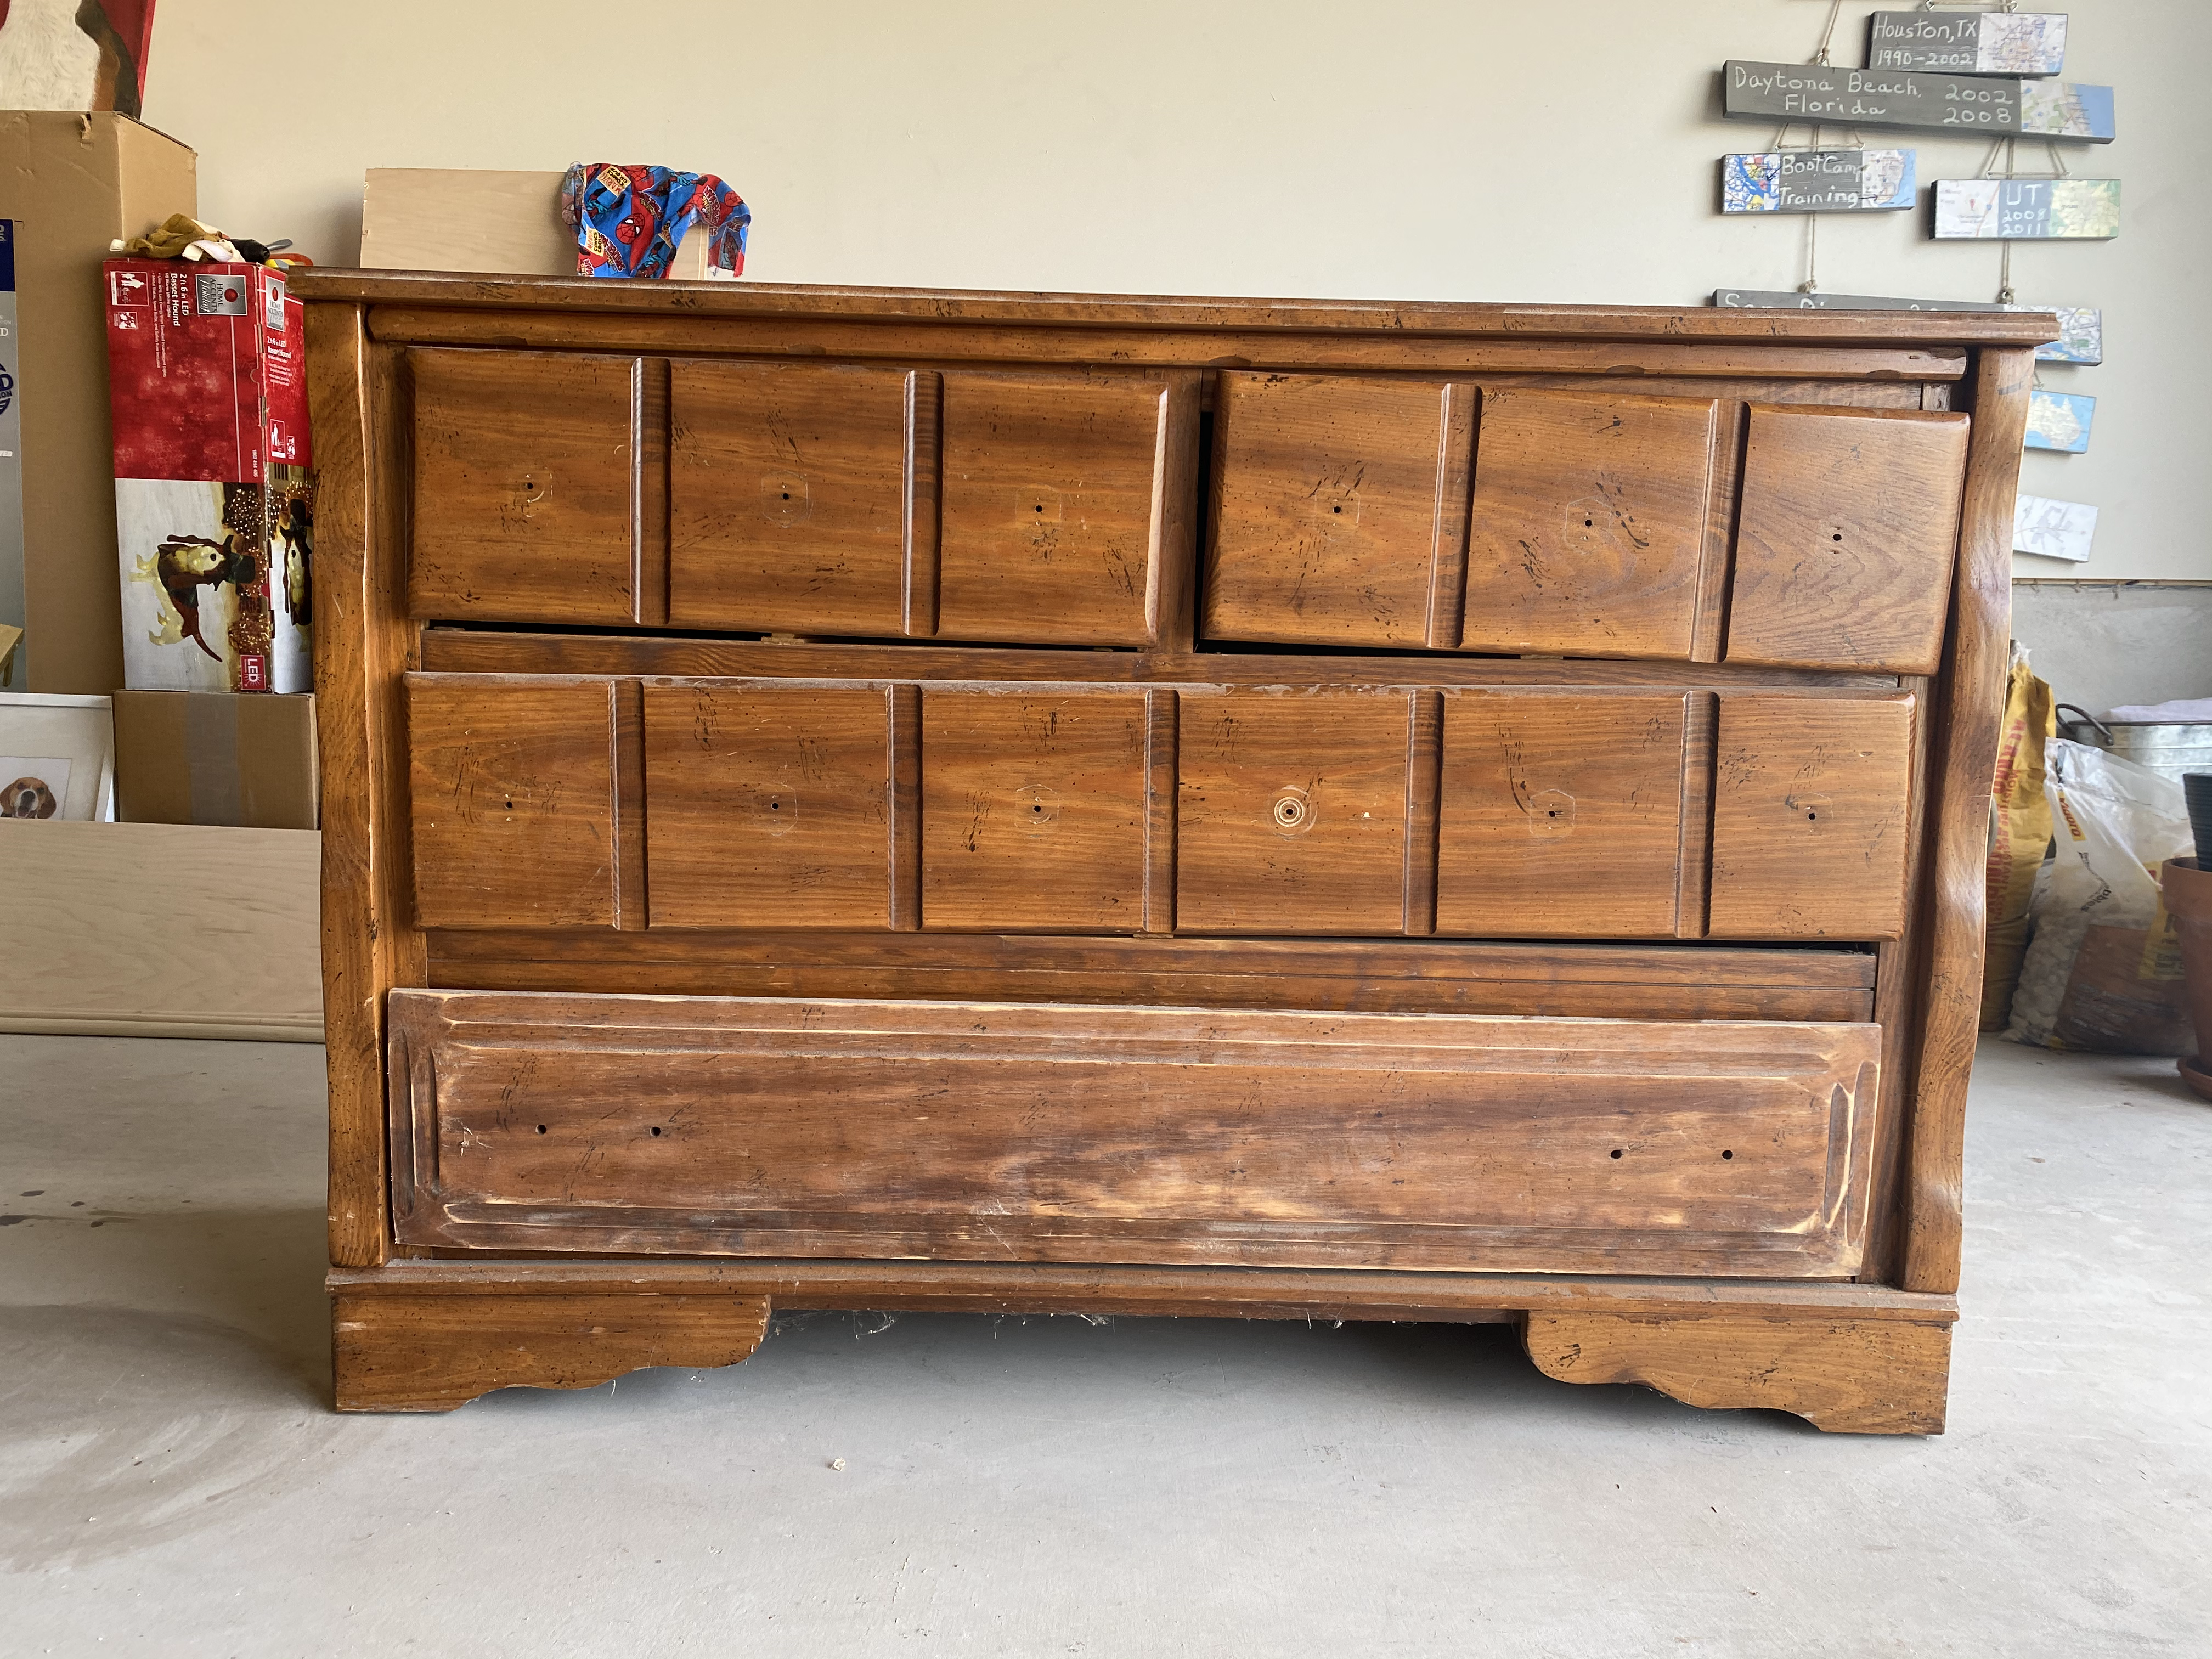
On to week SEVEN: this week we focused on the refinishing of a dresser that I purchased off of Craigslist for this space almost a year ago. Yes, I did say a year and no I’m not proud of that fact.
Last June/July I found a dresser that was just the perfect dimensions to fill the unused space in this bathroom. I had every intention of refinishing it right away. I guess life and other things got in the way because I worked on it all of one night. From starting to sand the bottom drawer and removing the awful cabinet pulls that were original to this piece. This was so long ago that I would actually have to sift through thousands of pictures to find the real original photo of this dresser when I first got it. Since then, this has sat in the garage acting as a work/clutter collecting table.
DRESSER REFINISH
Here’s the plan: sand the dresser, paint the dresser, add new hardware, remove the dresser top and create a new one.
DRESSER SUPPLIES:
- Dresser of choice to refinish (solid wood or mostly solid)
- Electric Sander
- Handheld Sander
- Sandpaper (lower grit like 60 grit)
- Any tools to make necessary repairs to the dresser and to remove the dresser top
PREPARATION: REMOVE THE HARDWARE
Before sanding, remove the hardware from the dresser drawers. I decided to keep the existing layout and size for the cabinet knobs so there was no need for moving those. If you wish to add hardware (like pulls) that are larger or smaller than your existing holes. Then you would fill the holes with wood filler and let dry before sanding.
SANDING
This isn’t a project that has a lot of steps. It’s going to be pretty simple but I want to touch on a couple things and why we did them.
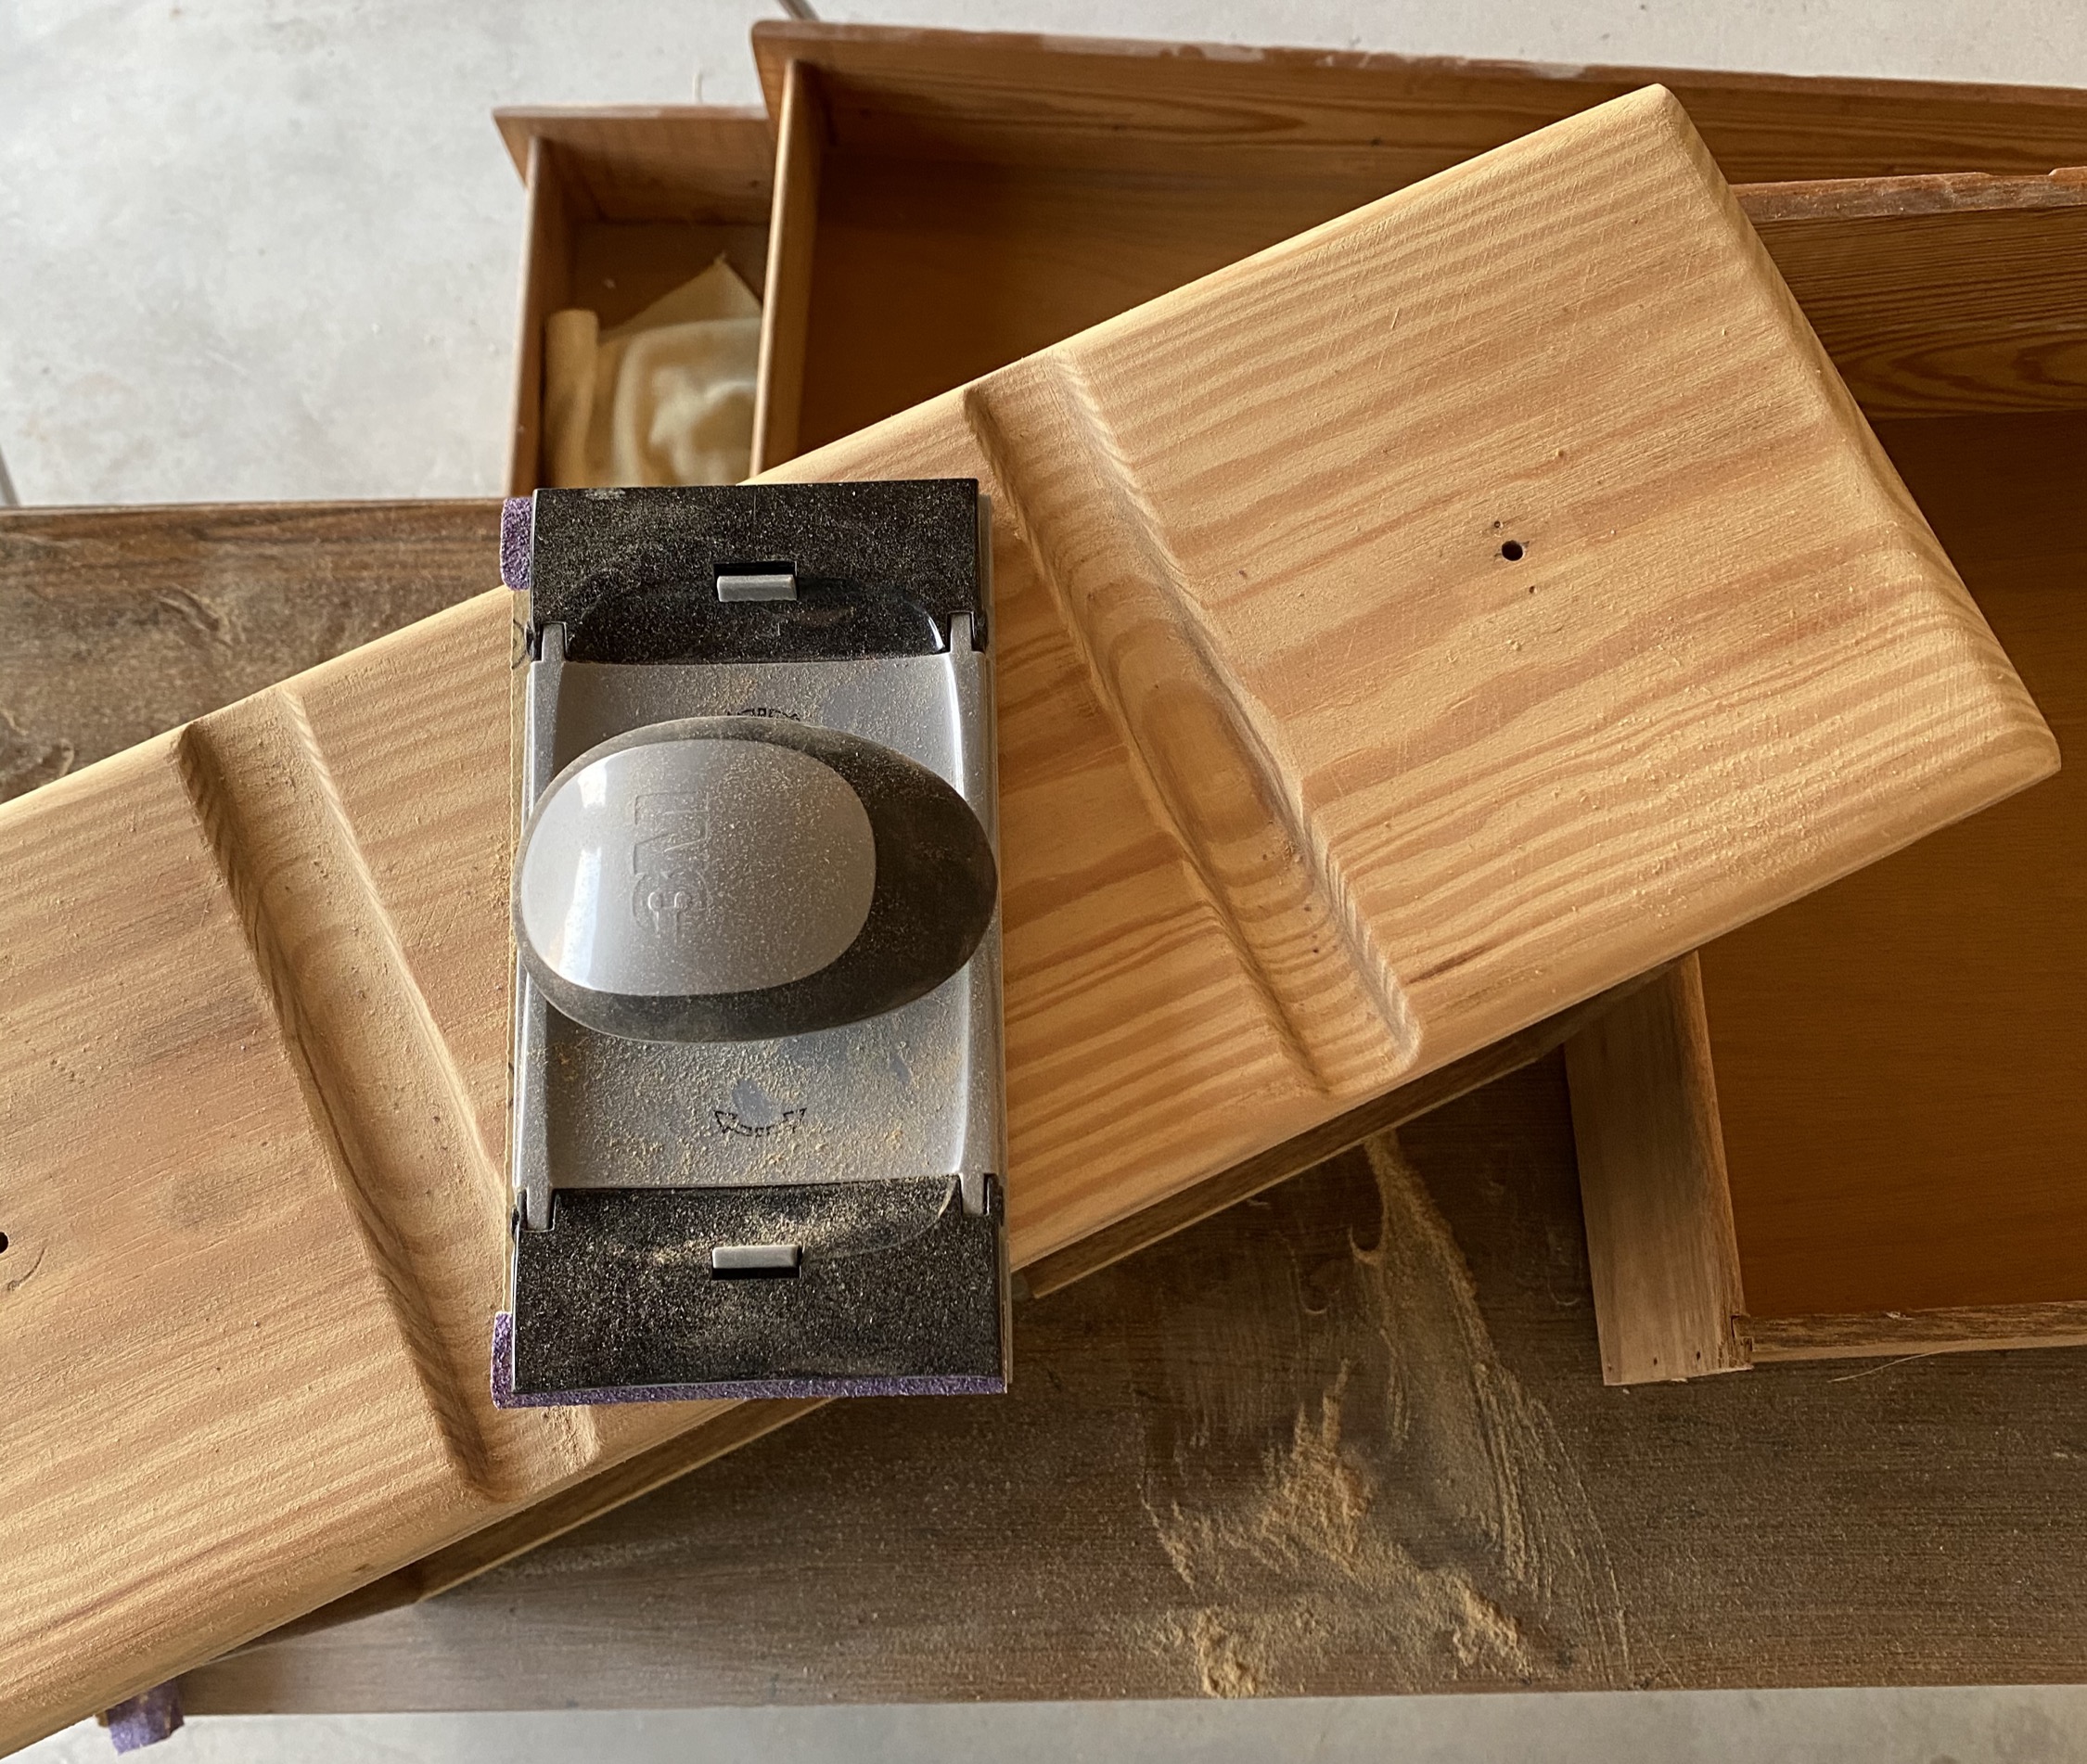
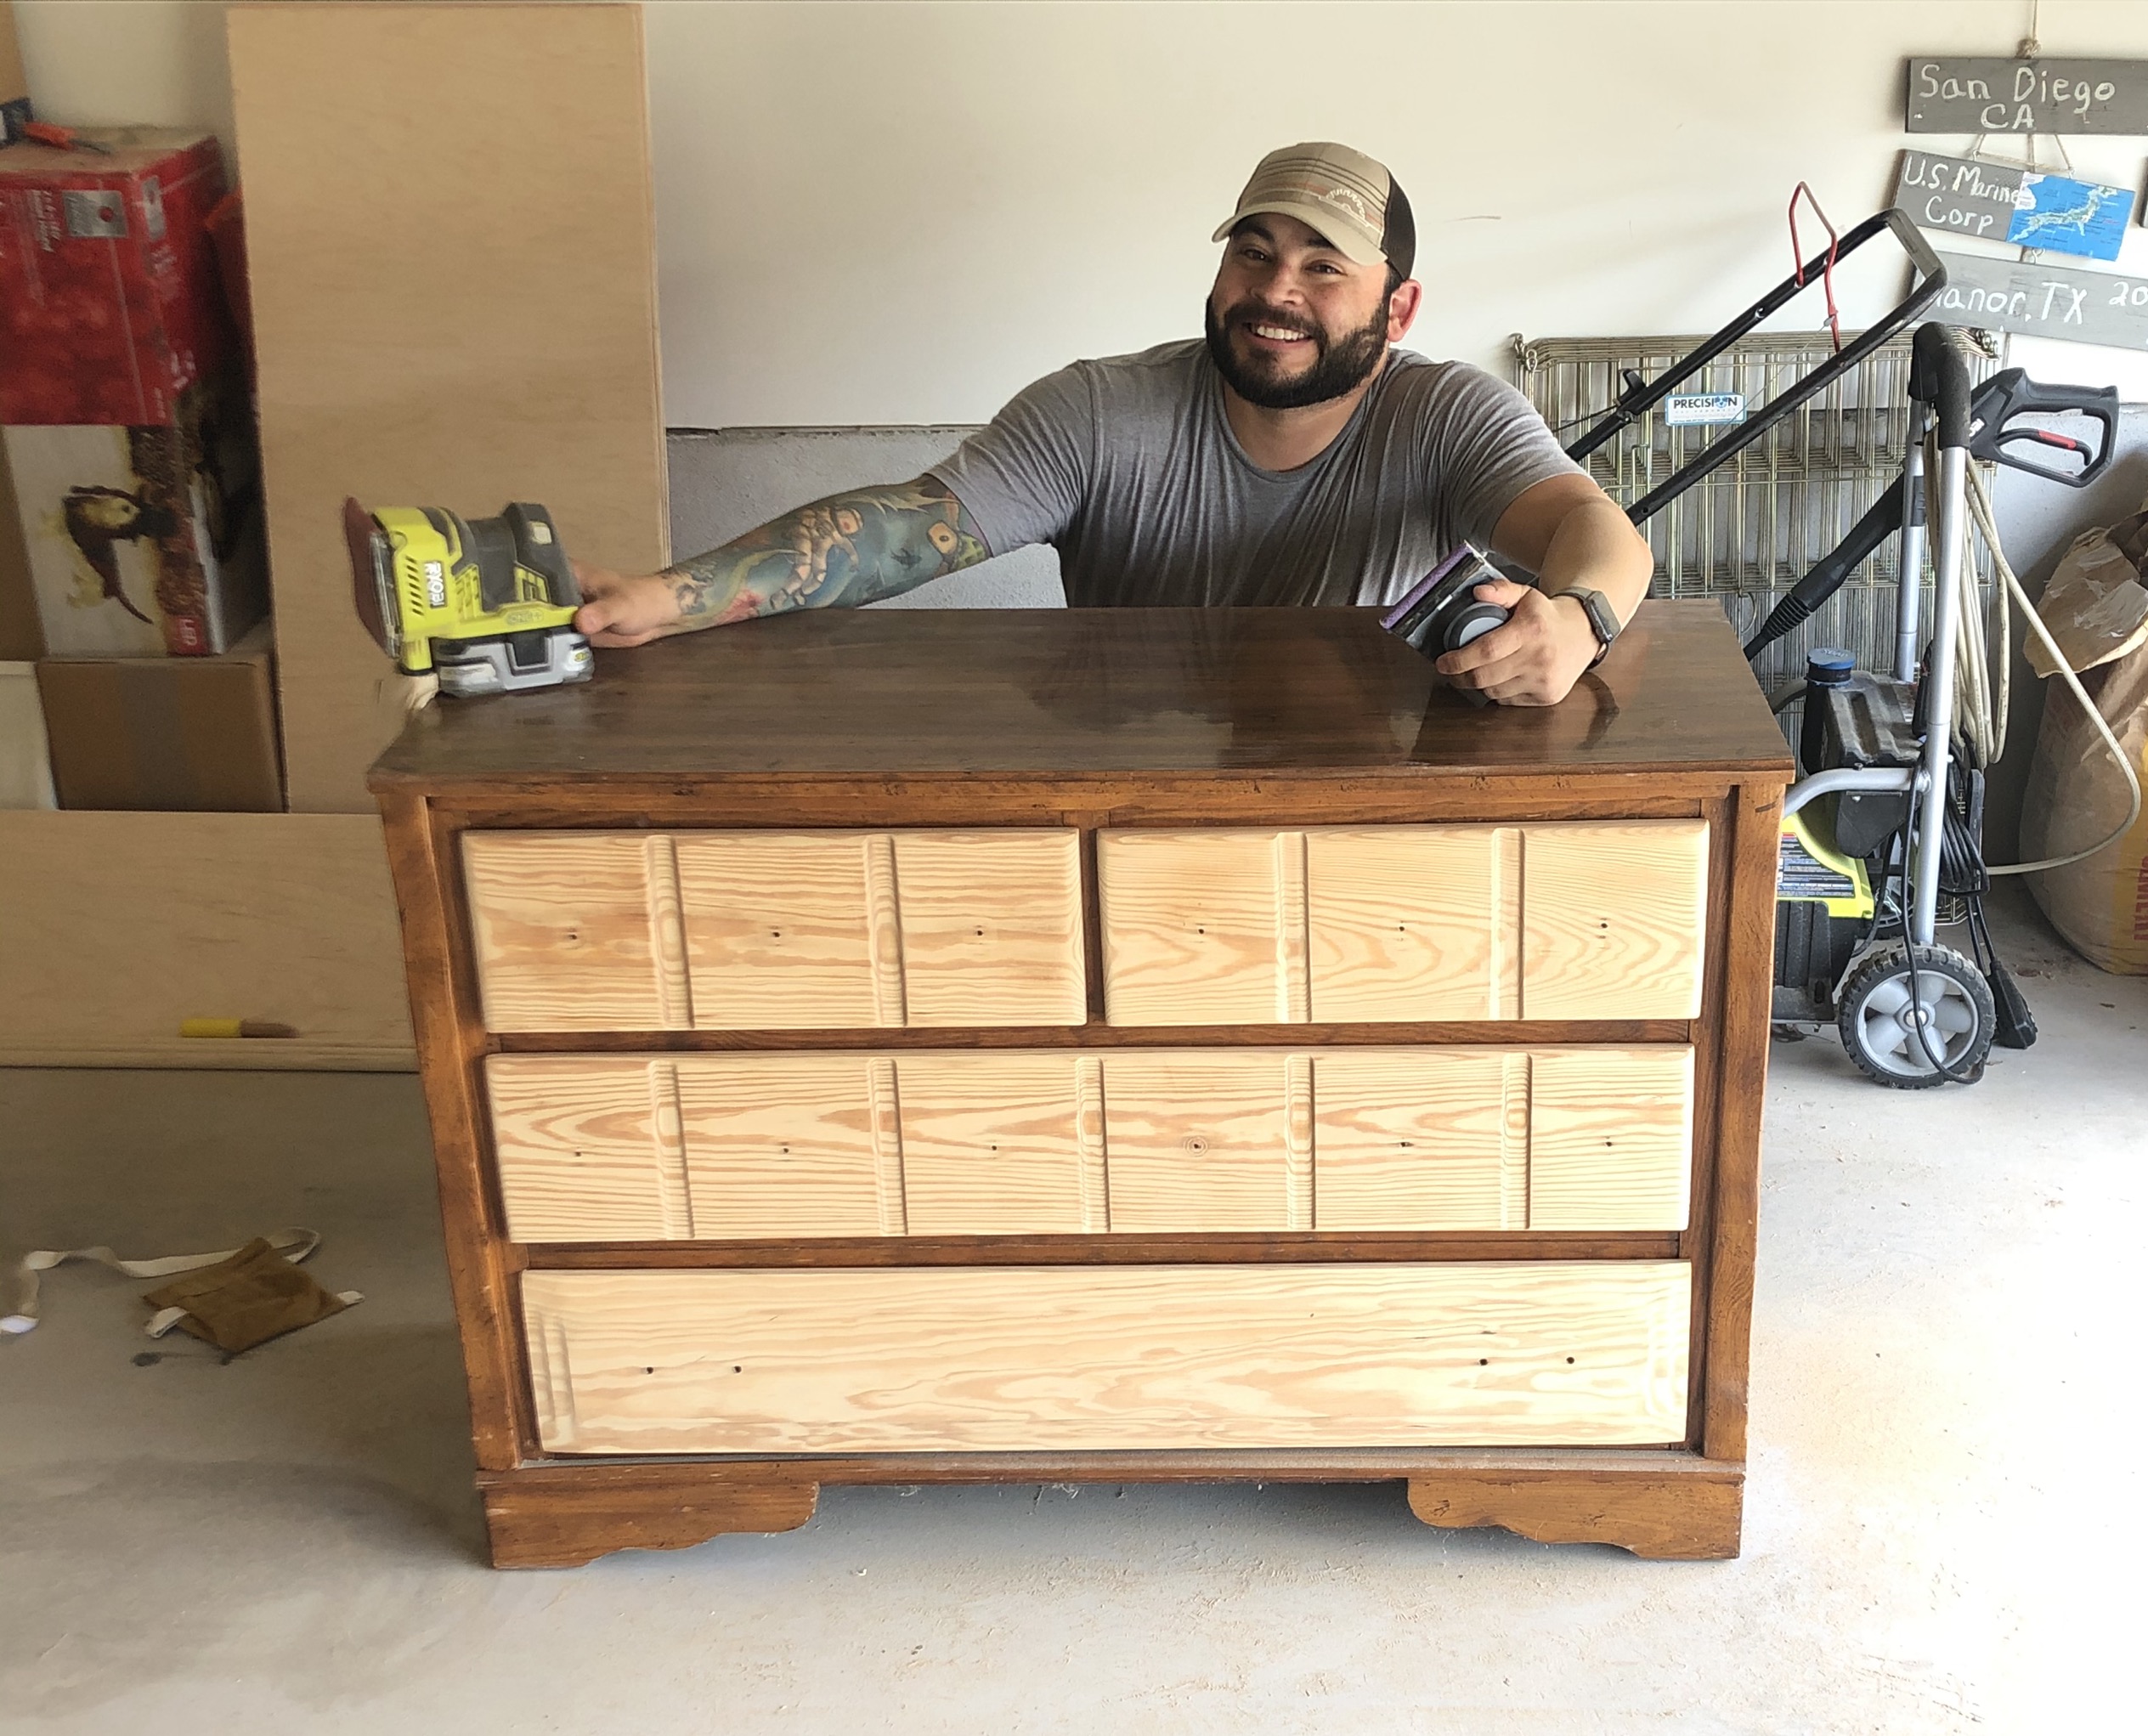
Often times, dressers are built out of a combination of real wood and some sort of composite materials. On our dresser, The drawer faces are wood, part of the top of the dresser is wood and the bars that the drawers rest on are all wood. The top and the sides are some sort of MDF boards. So when Steve was sanding the dresser, he was easily able to sand the pieces that are real wood. Sadly the MDF wasn’t so happy about being sanded.
Luckily, the only pieces that were like this are the sides (won’t really be seen in the room) and the top (removing to make a new top). Thankfully I am just going to paint the dresser so really you don’t have sand all of the stain off. Steve decided to sand it down completely to show the nice woodgrain. Which is a good choice because the paint I got will show a little of the grain. If you get a full coverage paint or add more layers, this won’t really matter so you can just rough up the surface.
If you want a really smooth and fine finish, go back over the dresser with a finer grit sandpaper. This can be anywhere from 120-220. I do suggest doing this extra step although I hardly ever do it because I’m impatient and hate prep work!
Once all the sanding is complete, make sure to wipe everything down with a tack cloth or something similar to get all the dust off.
PAINTING WITH MILK PAINT
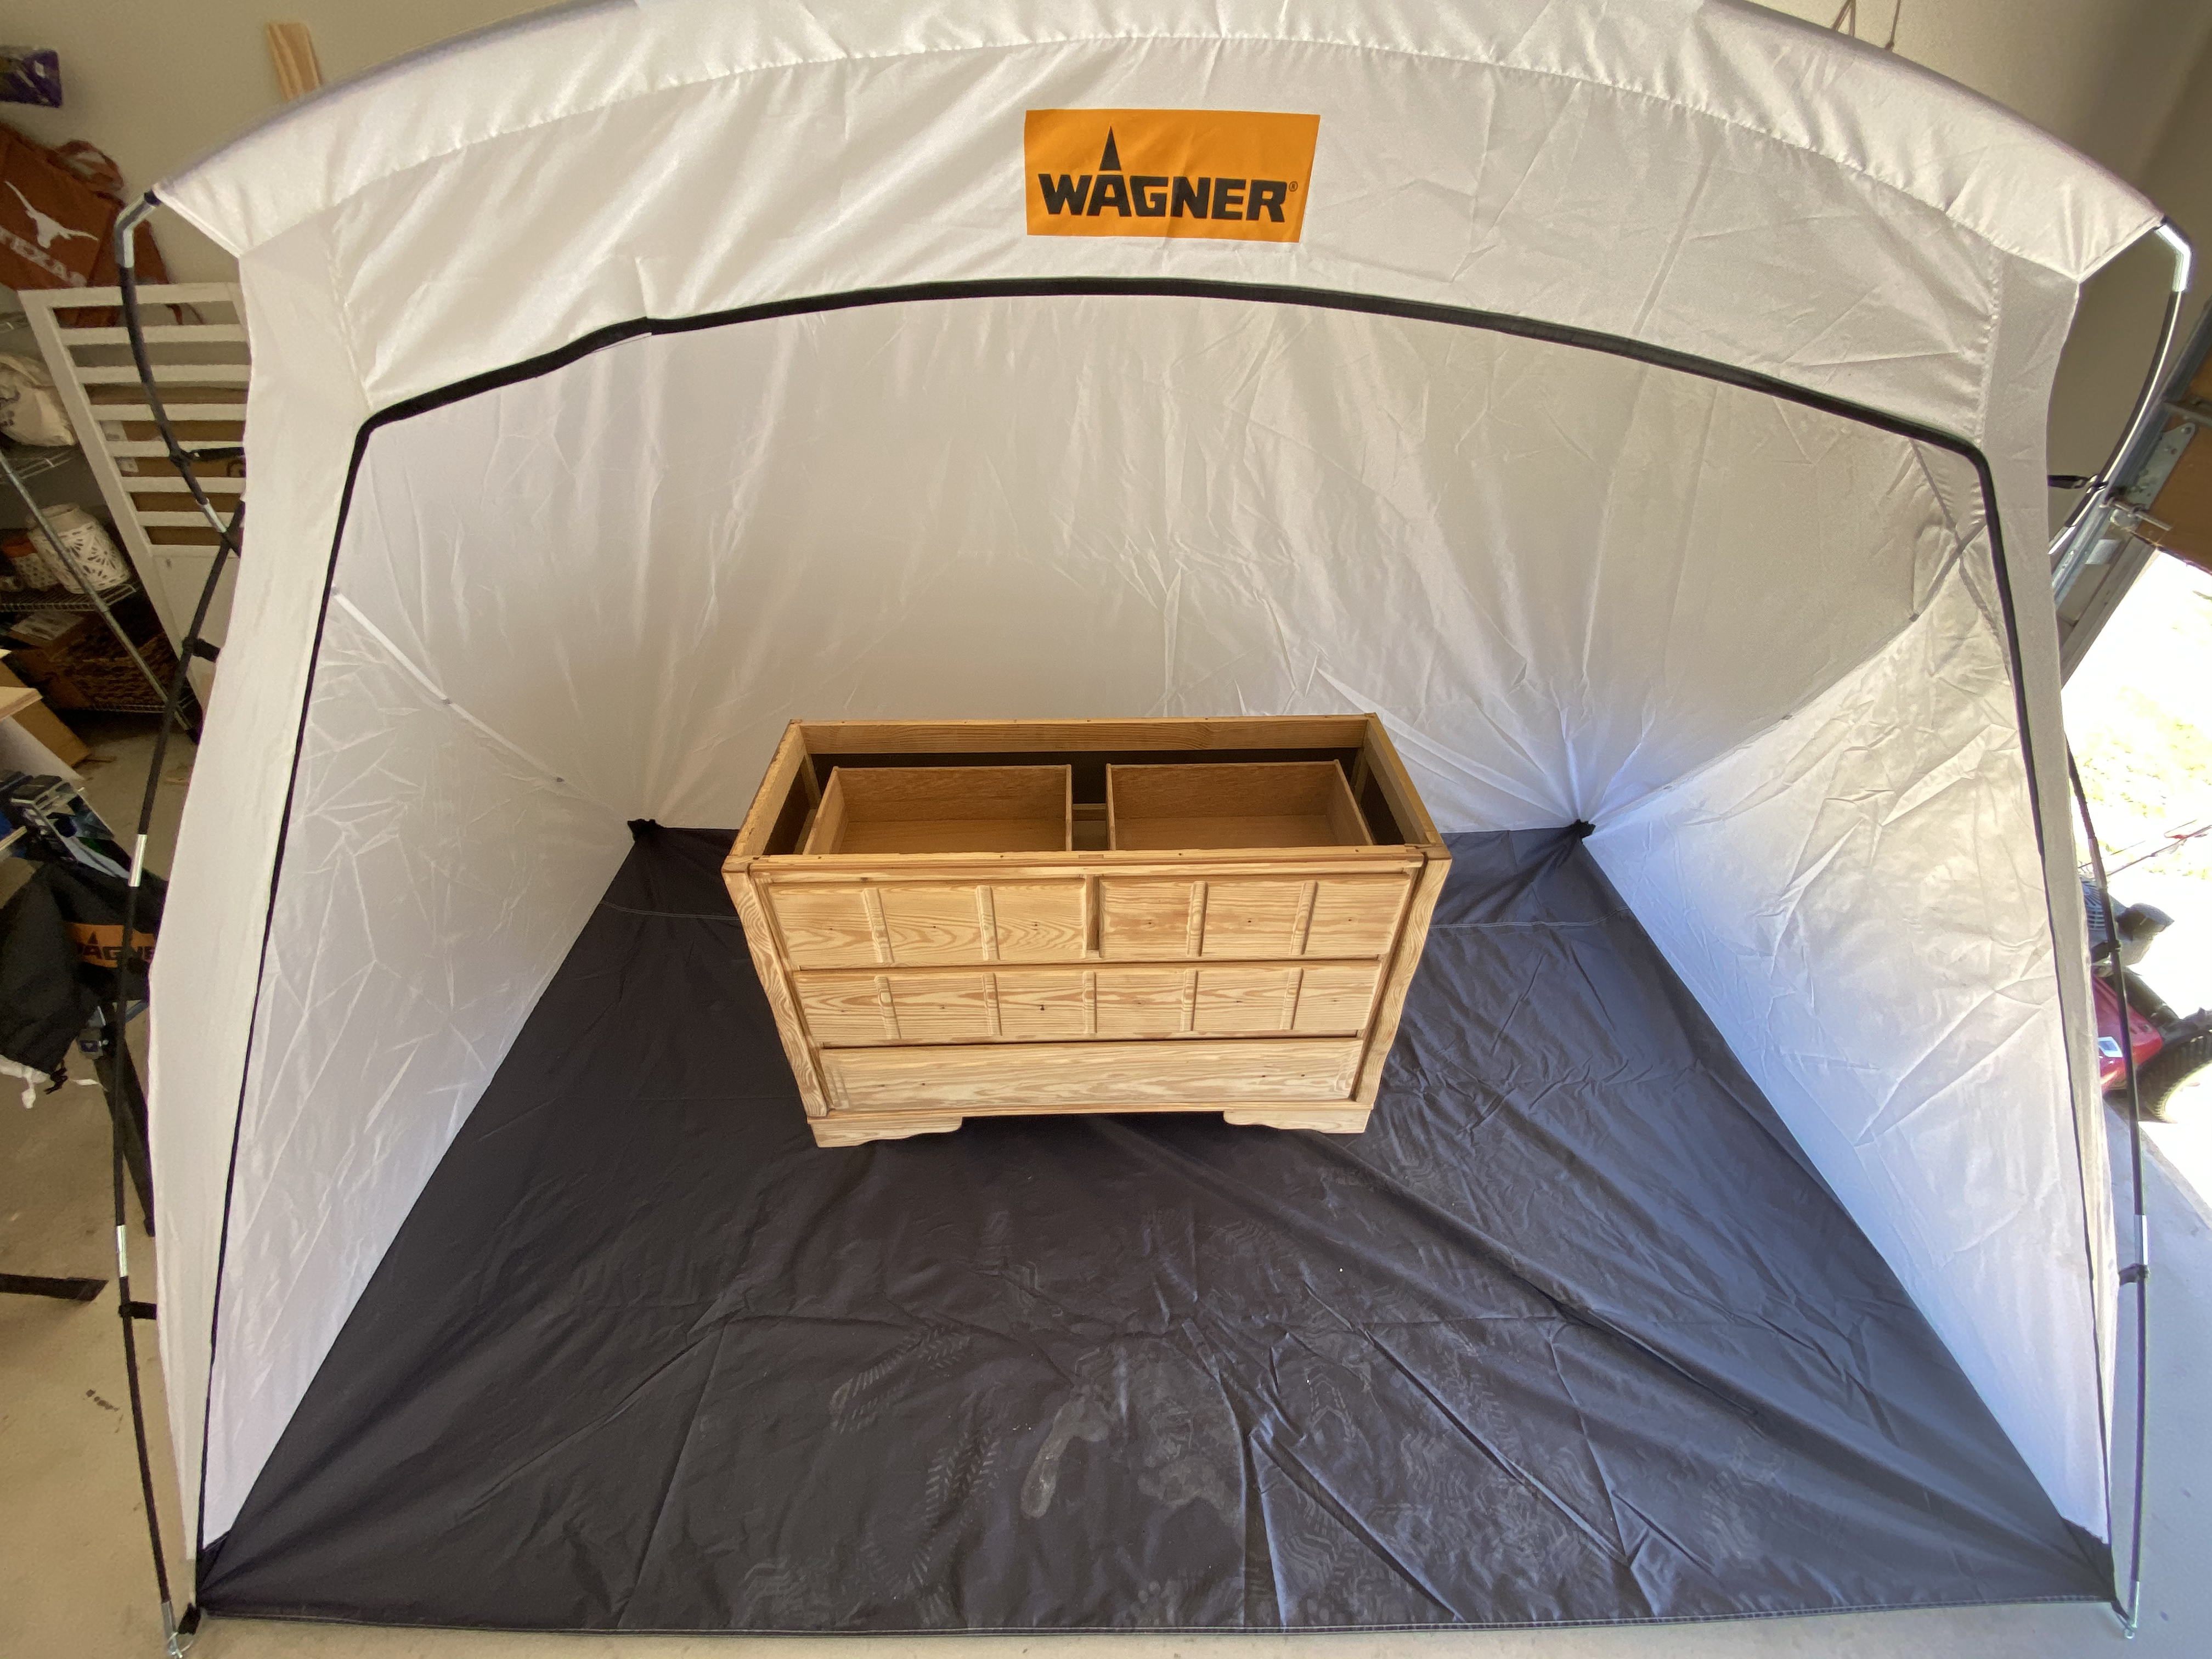
I find that spraying is the easiest and quickest way to paint. Sadly I haven’t had a place to do it. Until now! In anticipation of this project I reached out to Wagner about their spray tent. They were able to get it here in time for this project! I’ve never done furniture refinishing but this will make the options limitless with my Wagner Sprayer and tent.
I bought Black Milk Paint for this project. Simply because I didn’t want to have any paint mixed and this was the only black paint I could find. However, I’m so pleased with my selection. I did have some concerns about whether the Wagner Sprayer would be compatible with Milk Paint. Actually I did some searching about whether or not it would work or if I needed to thin out the paint. I couldn’t find anything about this. So, what did I do? I just went for it. If it didn’t work, I would have another tip for you.
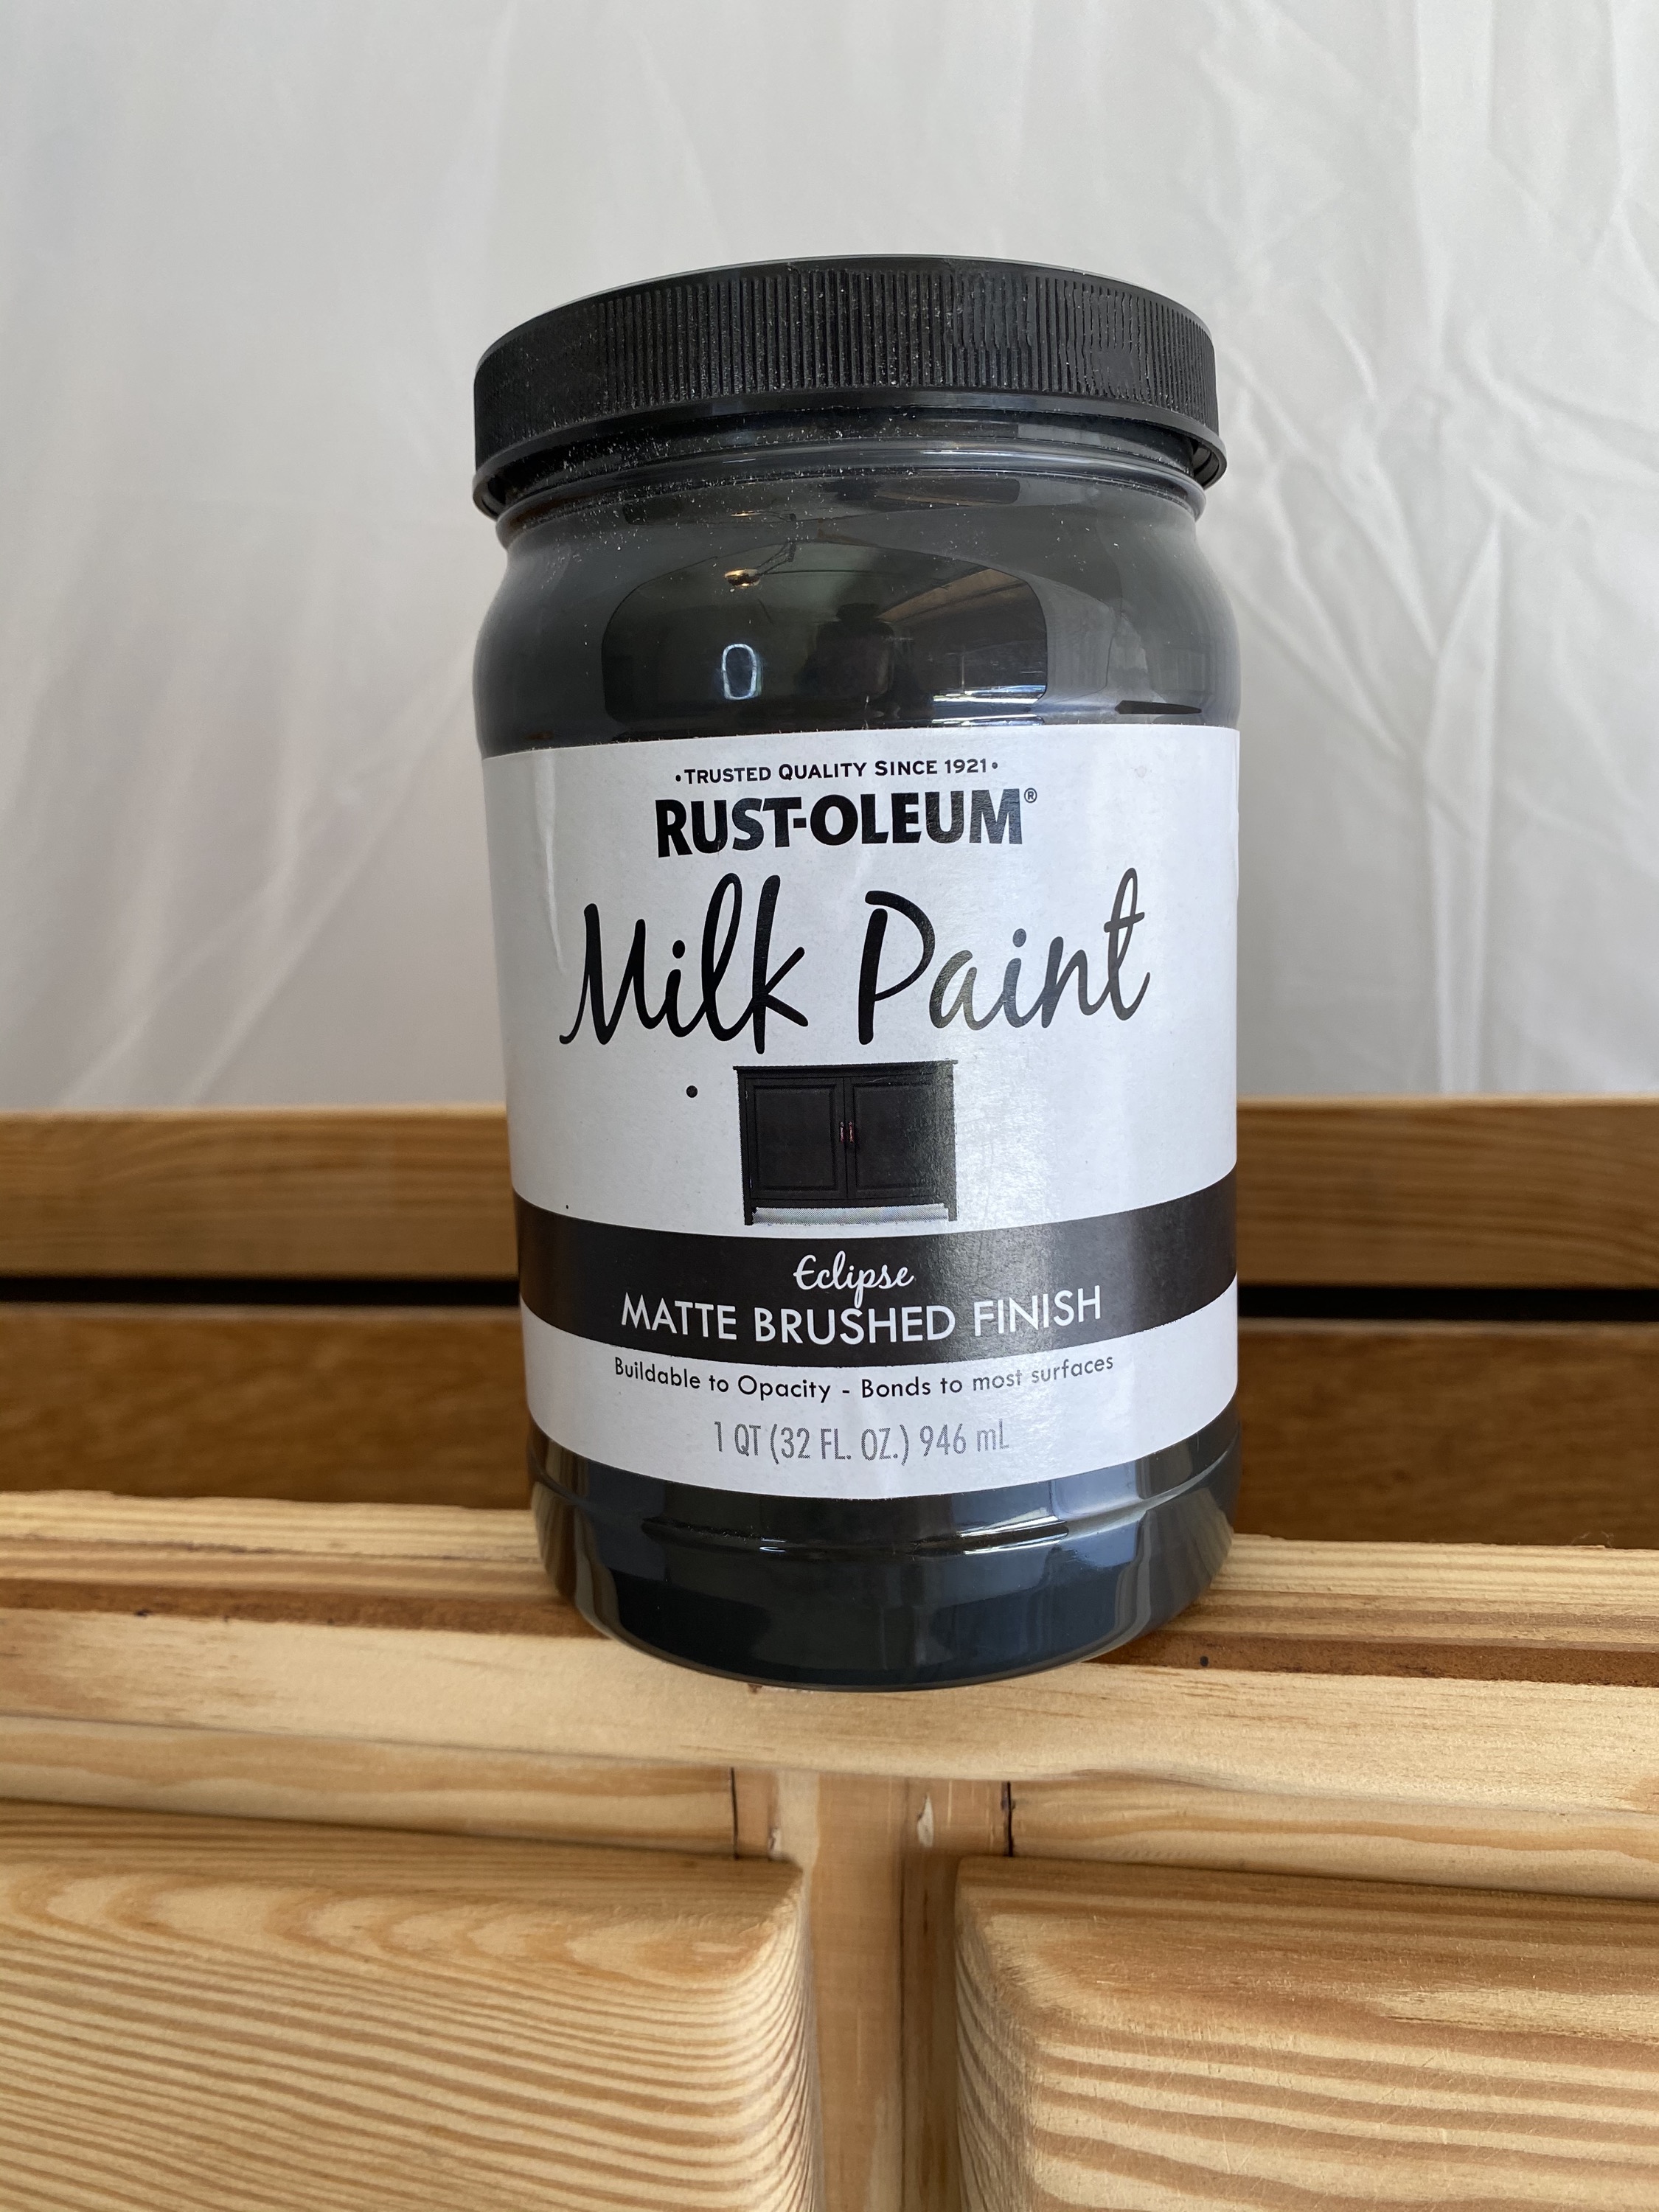
It turns out that it worked perfectly! I used the detail canister for the paint, I didn’t have to thin the paint at all and it sprayed just fine. I did 2 coats of paint all over the dresser. The thin layers of paint was enough coverage to be fully black but also show the wood grain through the paint.
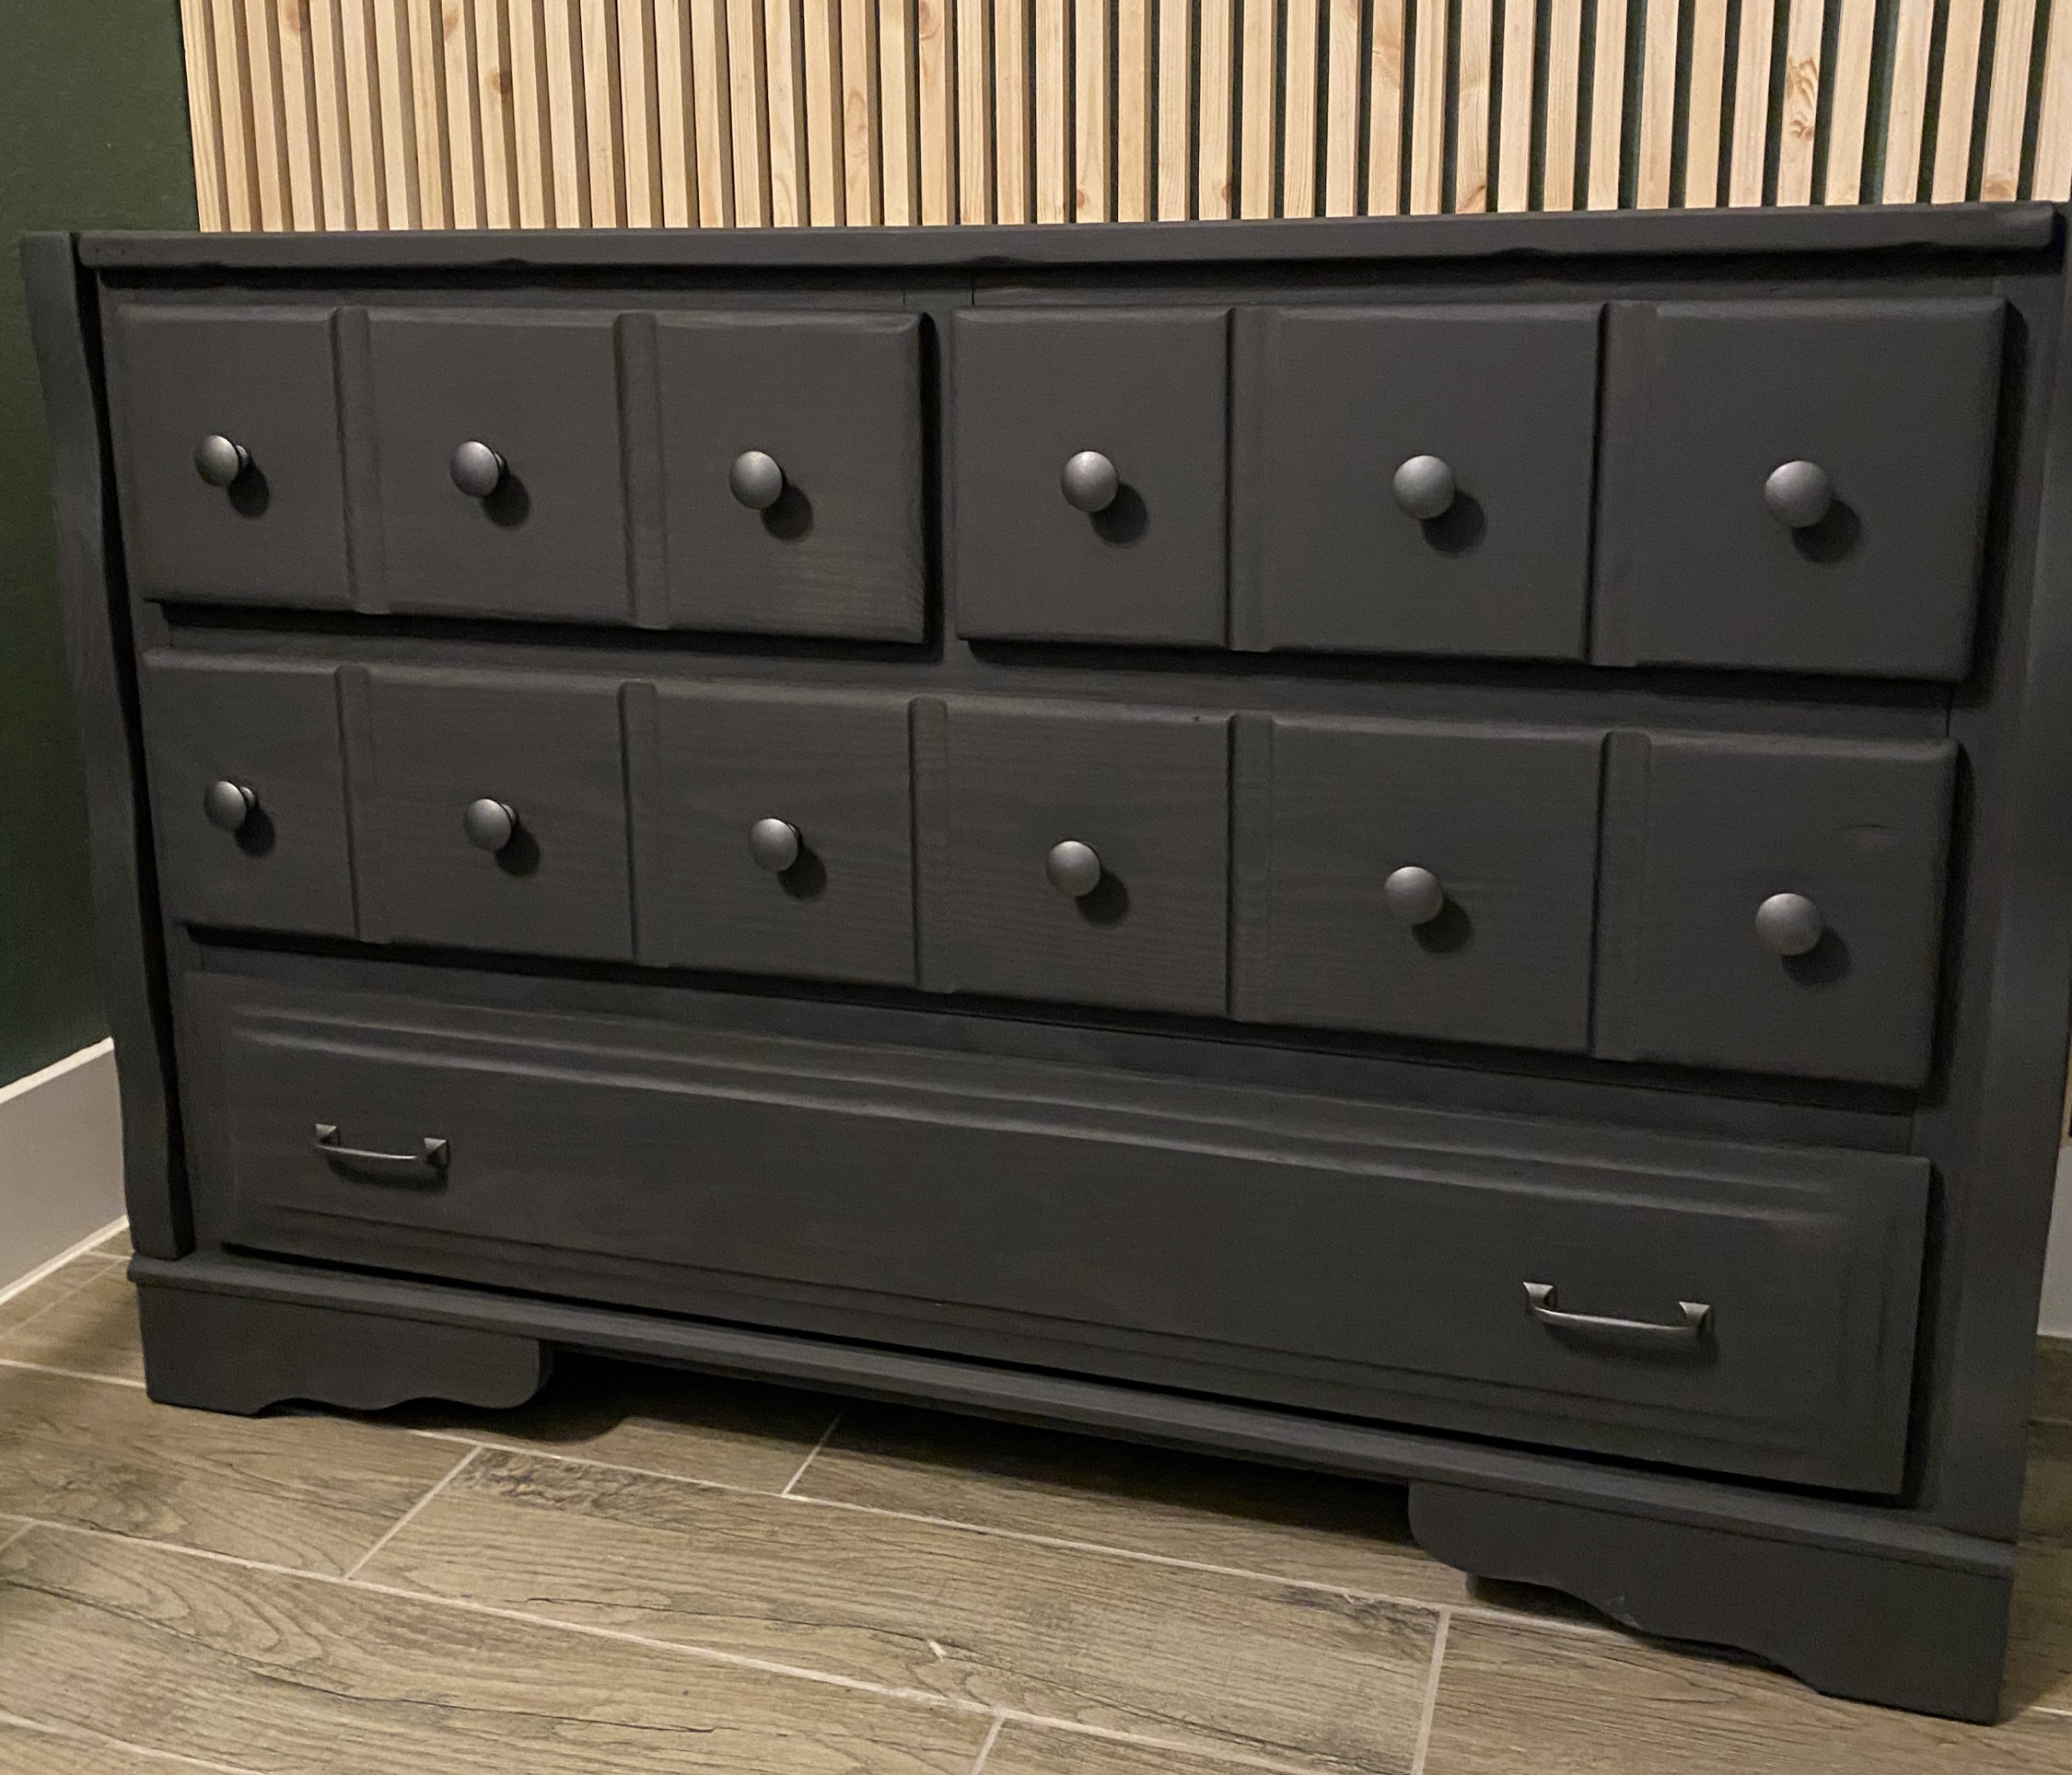
After it was fully painted and dried, I attached the new knobs. My original plan was to find gold knobs but I couldn’t find any that I loved for this dresser and ended up purchasing iron knobs that gave the perfect monochromatic look to the dresser.
CONCRETE COUNTER TOP
Are you ready for my favorite part of this refinish?! I love concrete and wanted to incorporate it into this room. I was planning on refinishing the top of the dresser until I found out that it was a wood composite so it wouldn’t sand down like I wanted with real wood grain. So, I decided to completely replace the top with none other than a concrete top!
I watched a video on YouTube on how to make a concrete counter top in just over an hour so that’s what we decided to follow.
CONCRETE SUPPLIES:
- Melamine Maker Board
- PVC board
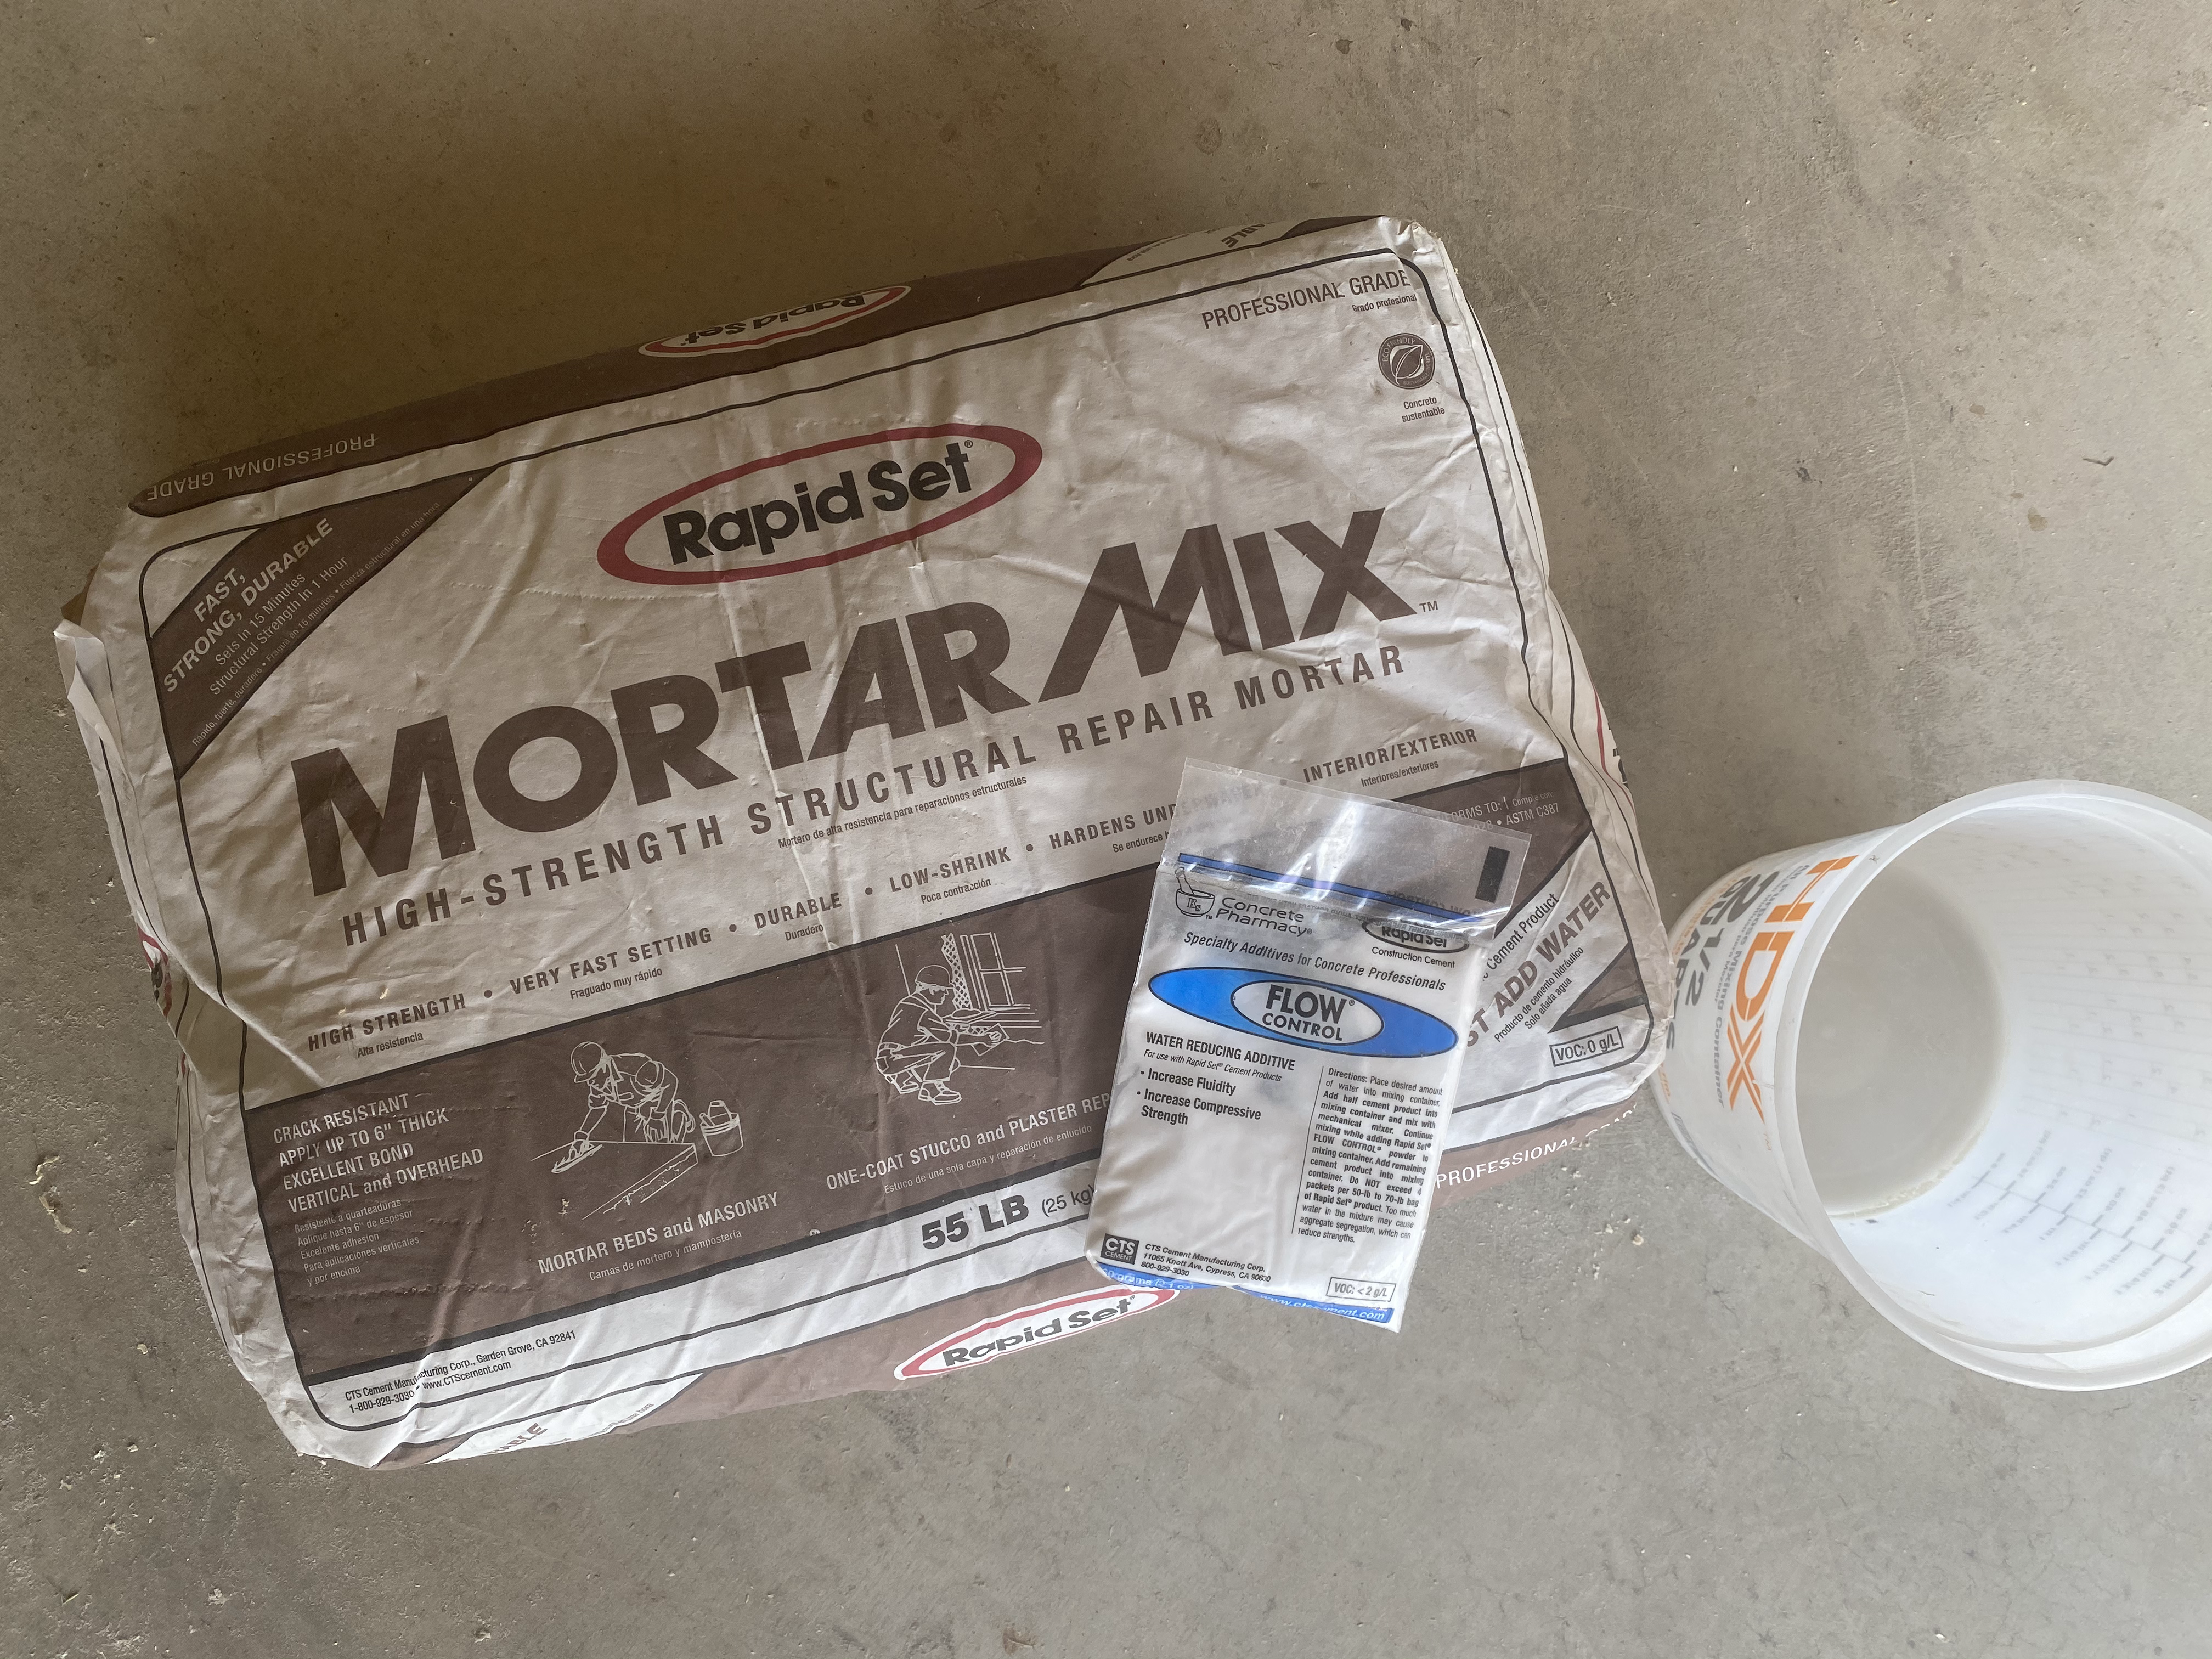
- Mortar Mix
- Flow Control
- Screws & Drill
- Brad Nailer & Nails
- Silicone Caulk
- 5 Gallon Bucket
- Mortar Mixer
- Construction Adhesive
STEP 1: MAKE THE FORM
Determine the size of your counter top. I wanted ours to hang off the edge of the dresser by 1 inch on each side so our measurements were 46″ x 18″. The Maker Board is large enough for this form to fit on so we cut the PVC boards to the following measurements: (2) 47-1/2″ and (2) 18″. If you’re wondering why you make the side boards 1-1/2″ longer, it is because that is the width of the board so the 18″ boards will fit inside the side boards. We also ripped the side frames so they will be 2″ deep.
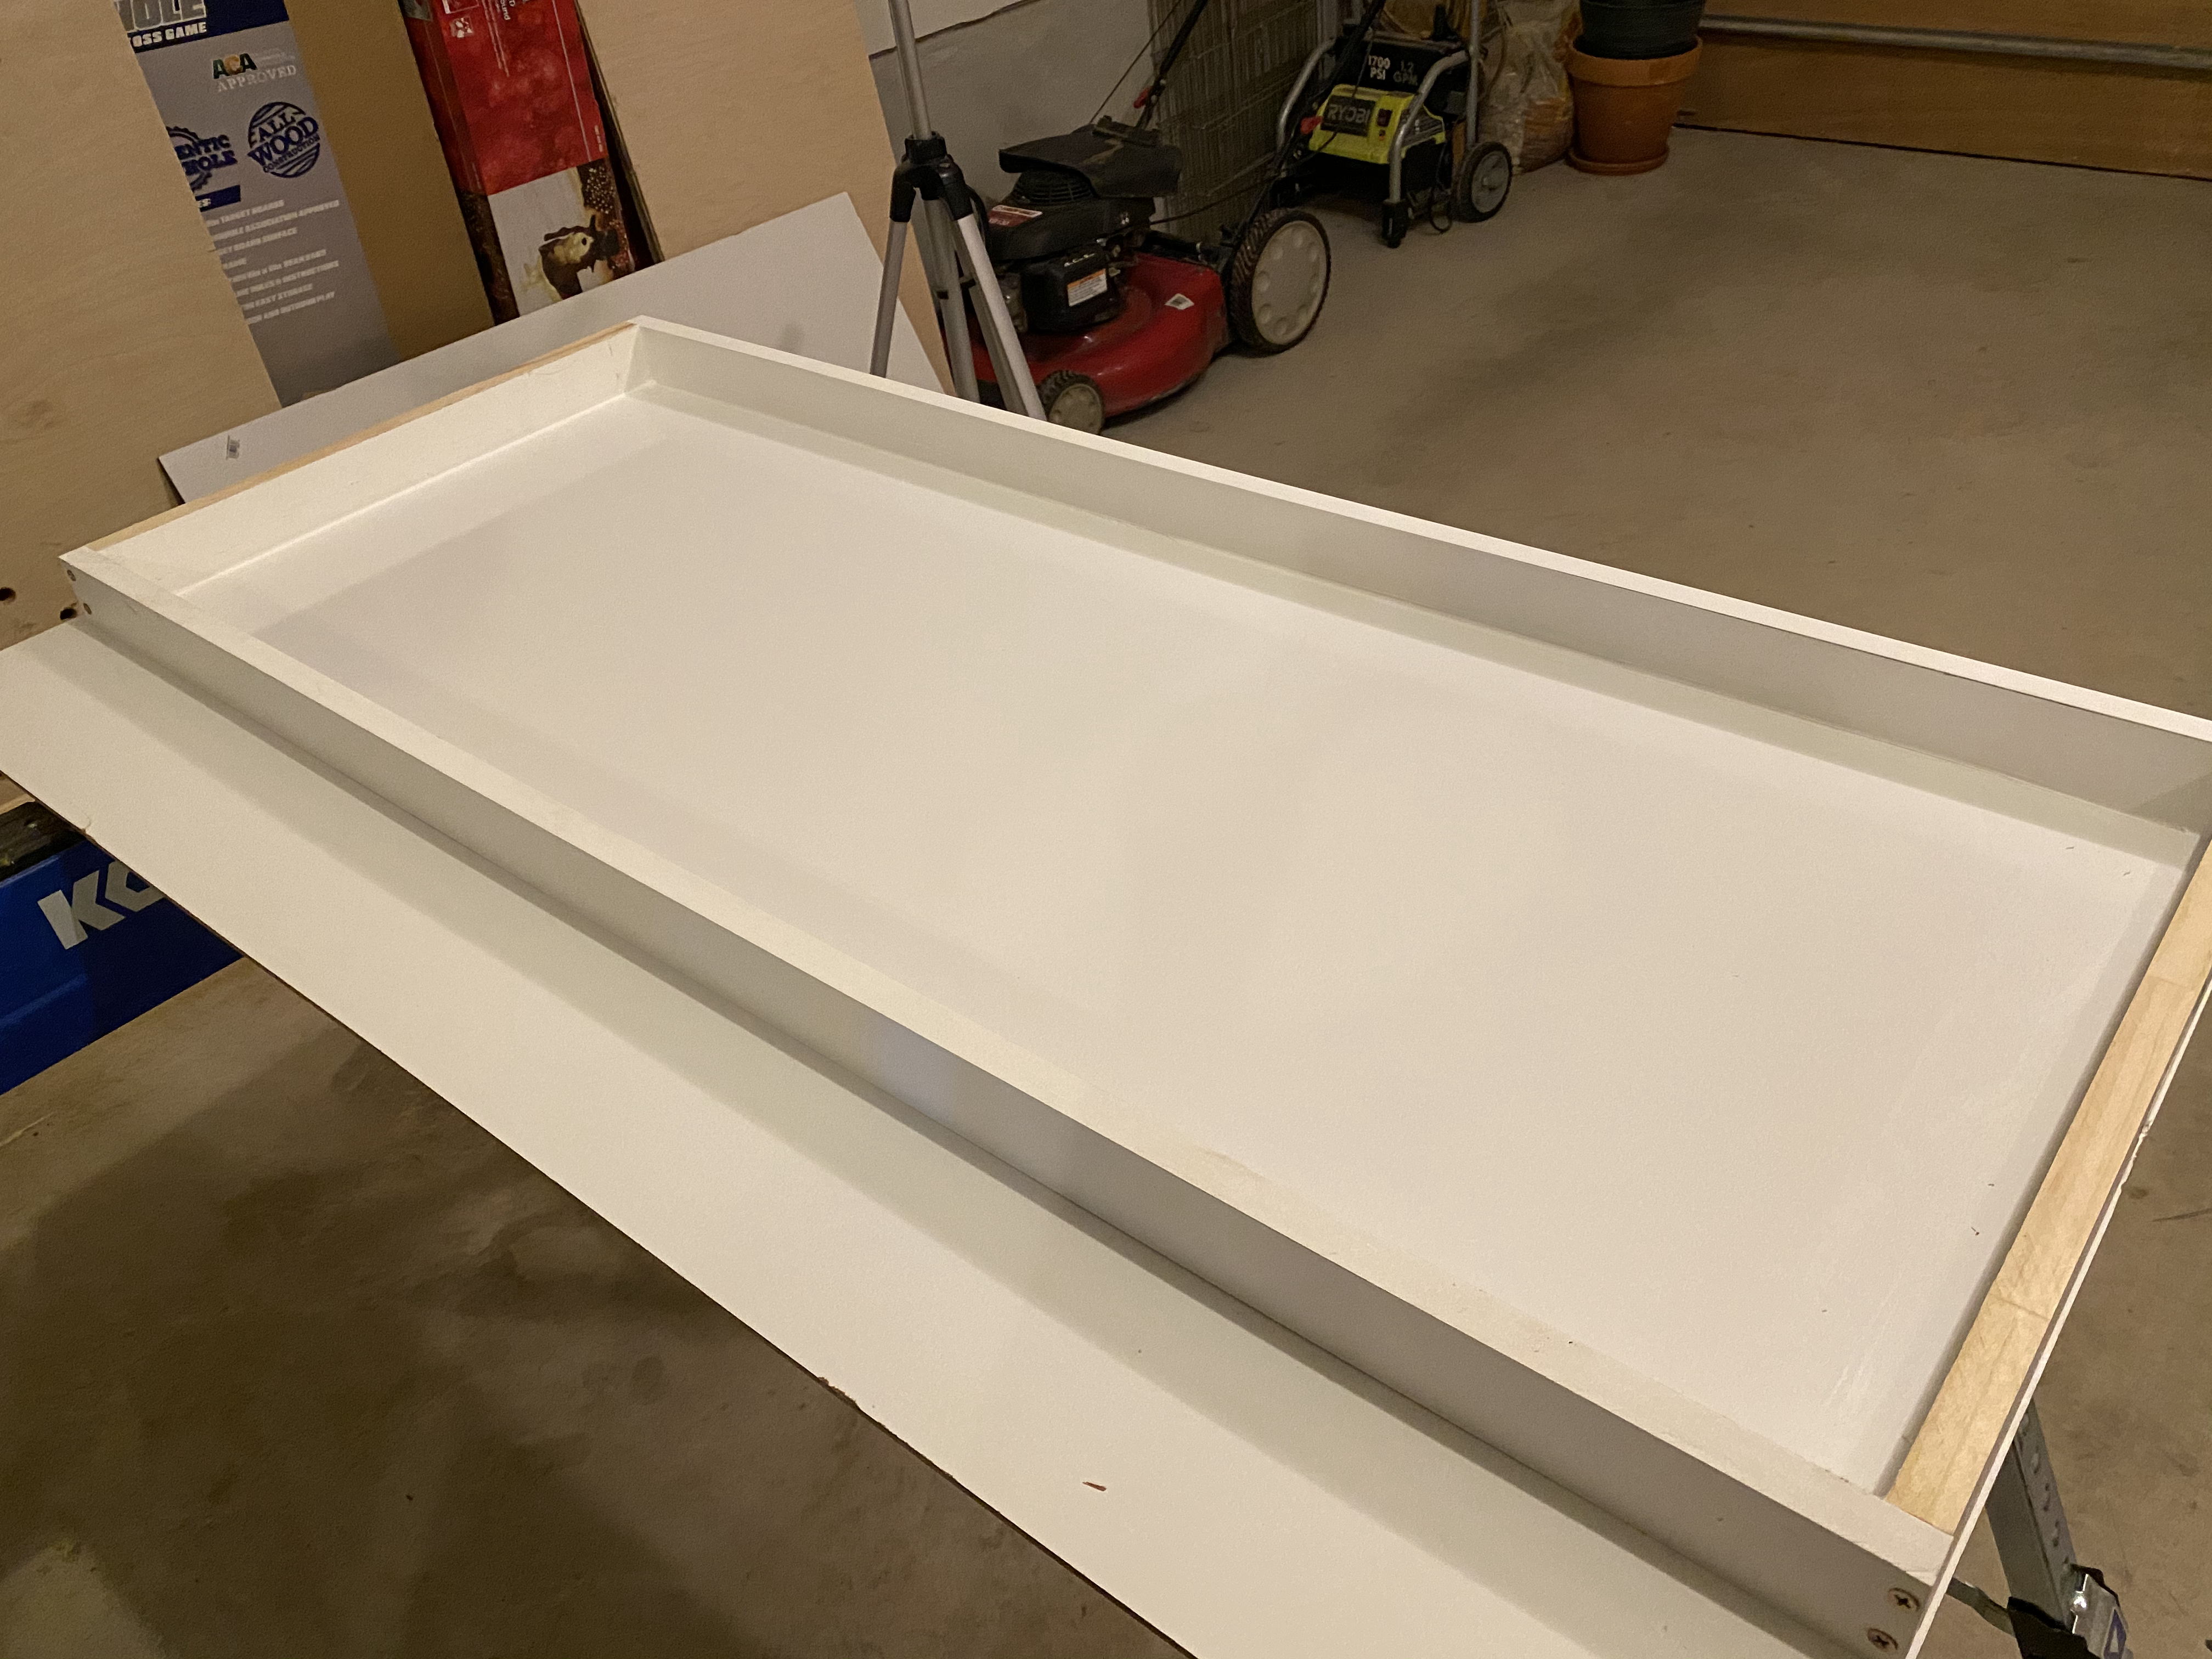
Screw the 4 sides together and line up the frame with two sides of the maker board on the bottom of the board and trace the form on the board. Now you can move the frame below the board so its on the white shiny side and you can screw in the maker board to the frame from the bottom with the trace you just made to ensure you’re in line.

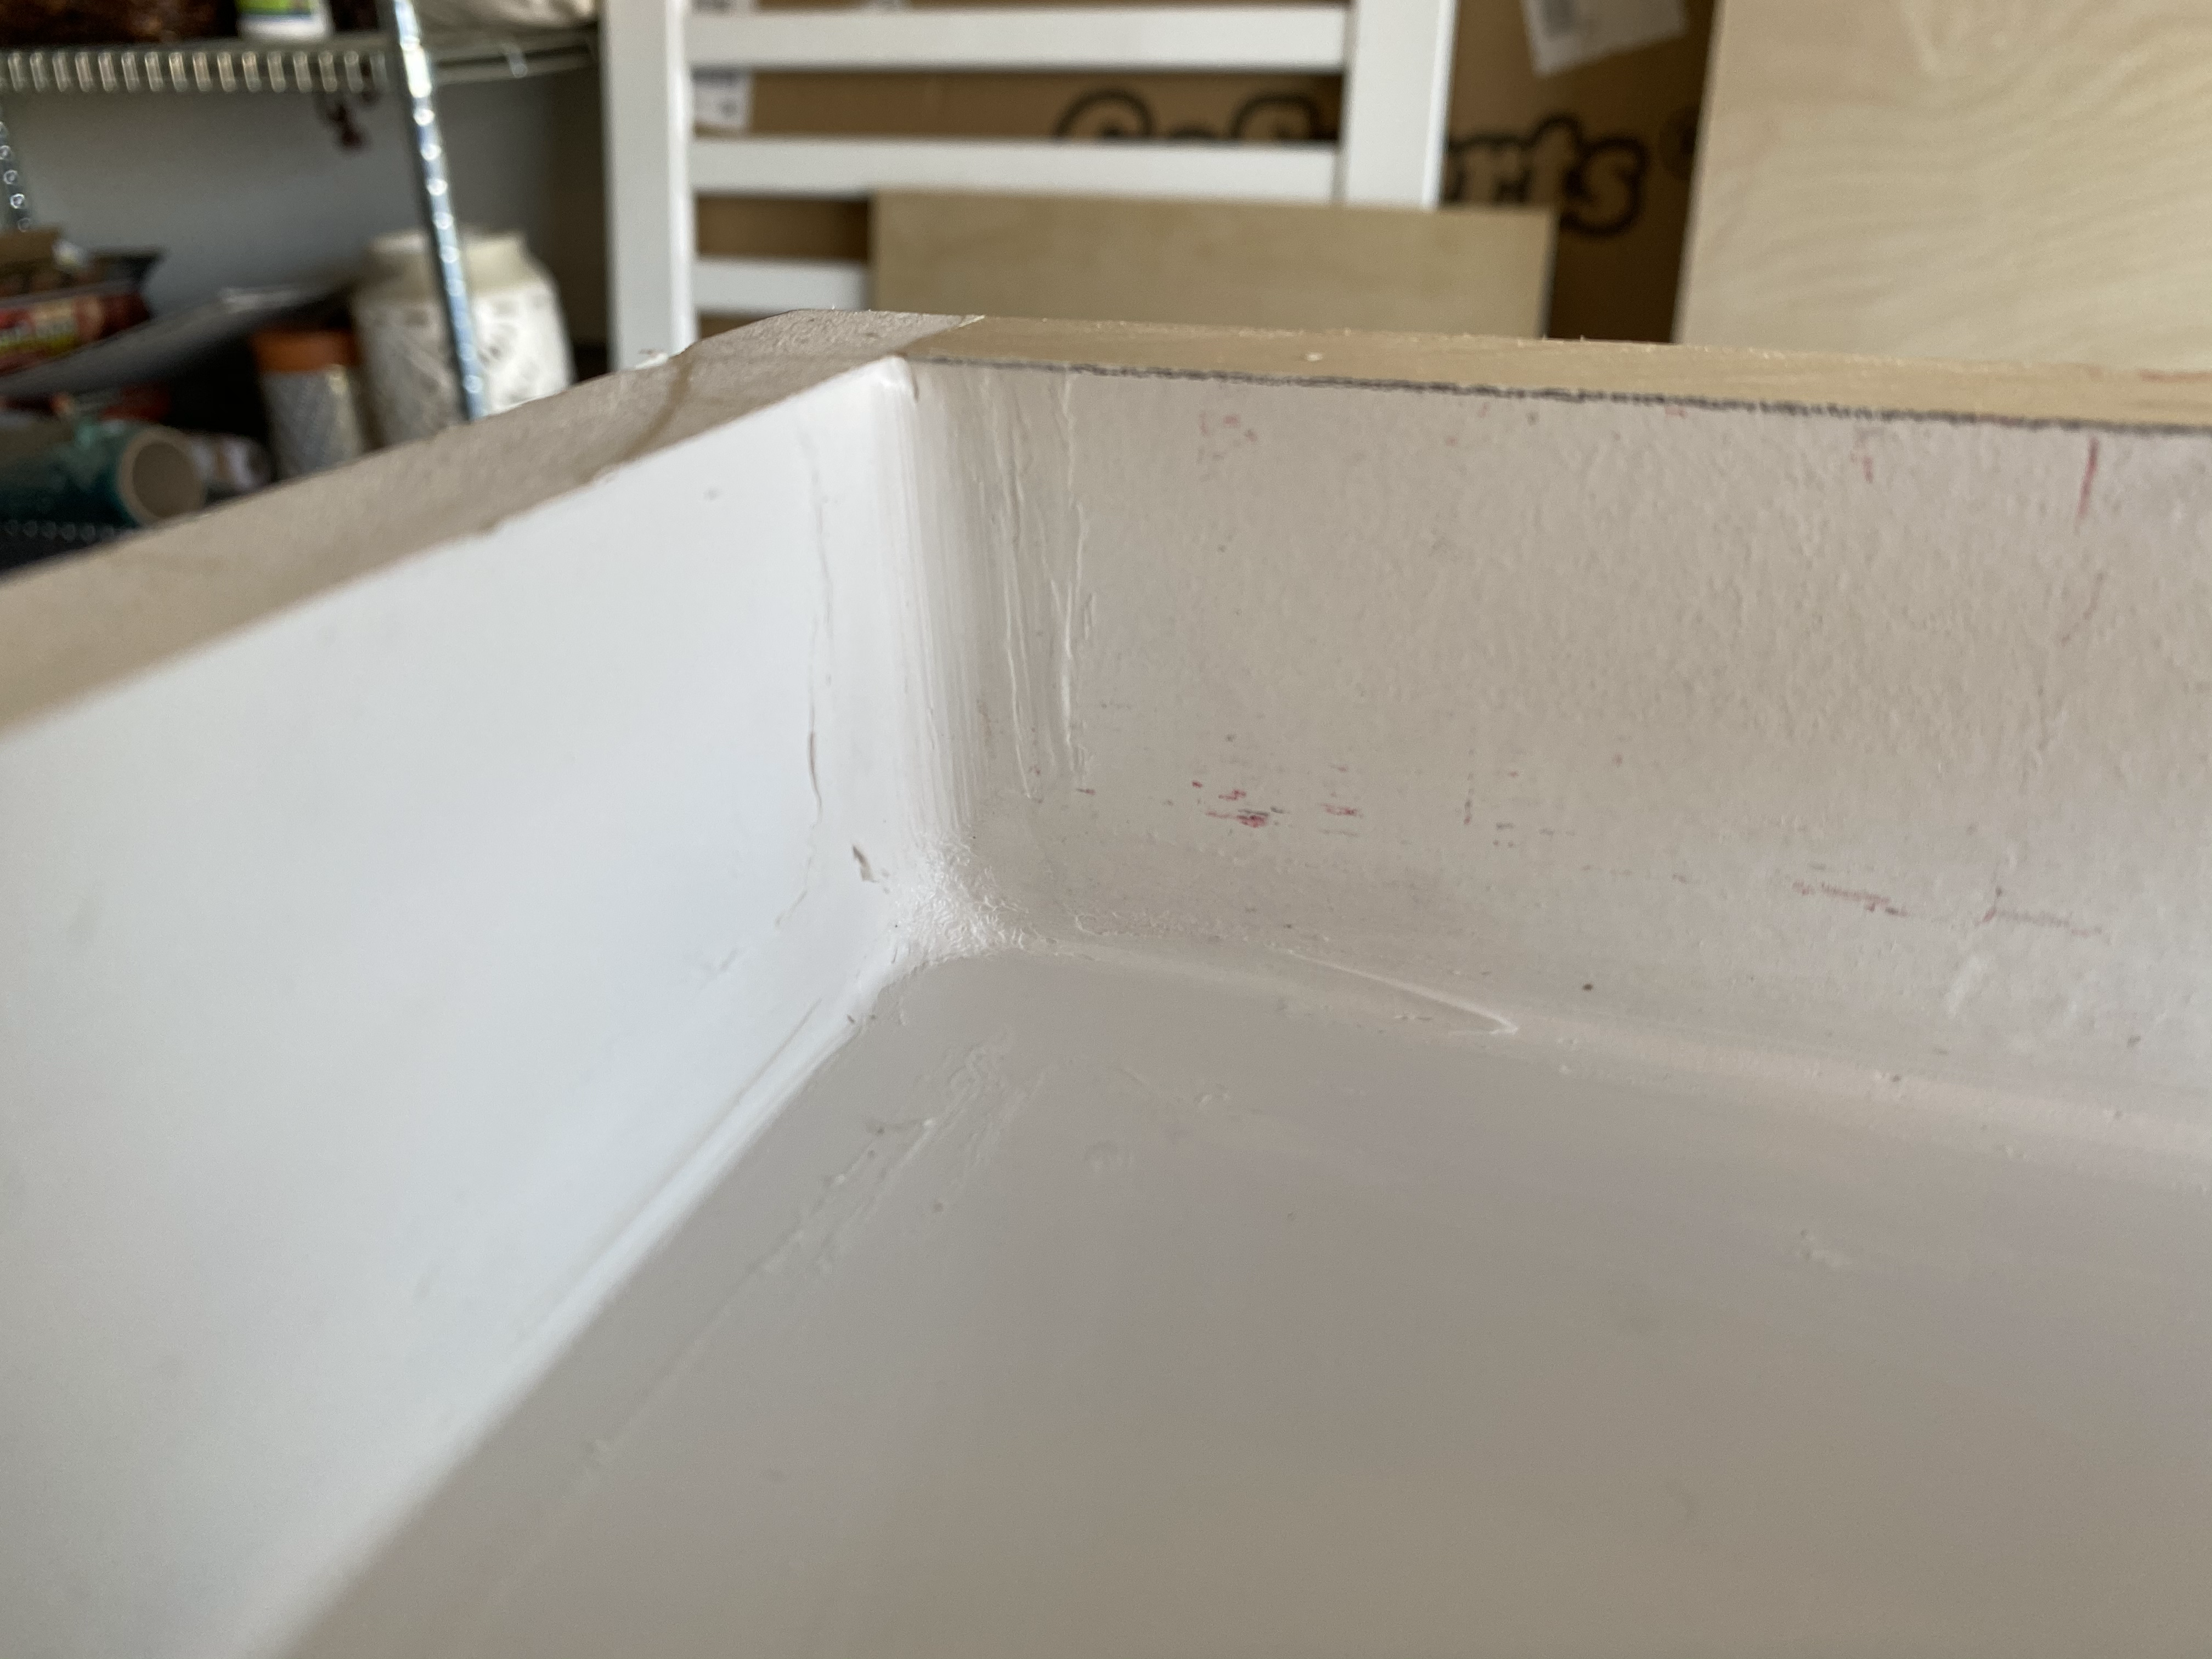
Once it’s all assembled, caulk the interior seams to seal the cracks so you will have a perfect slab.
STEP 2: MIX CONCRETE
This is a delicate process. Imagine you’re making a cake. First, you will fill your 5 gallon bucket with 5 quarts of water and then you will gradually and quickly add an entire bag of mortar mix, mixing as you add the dry mortar mix. After it is all mixed completely to a consistency of thick, chunky peanut butter. At this point, add in the flow control to the mixture and mix until thoroughly thinned.
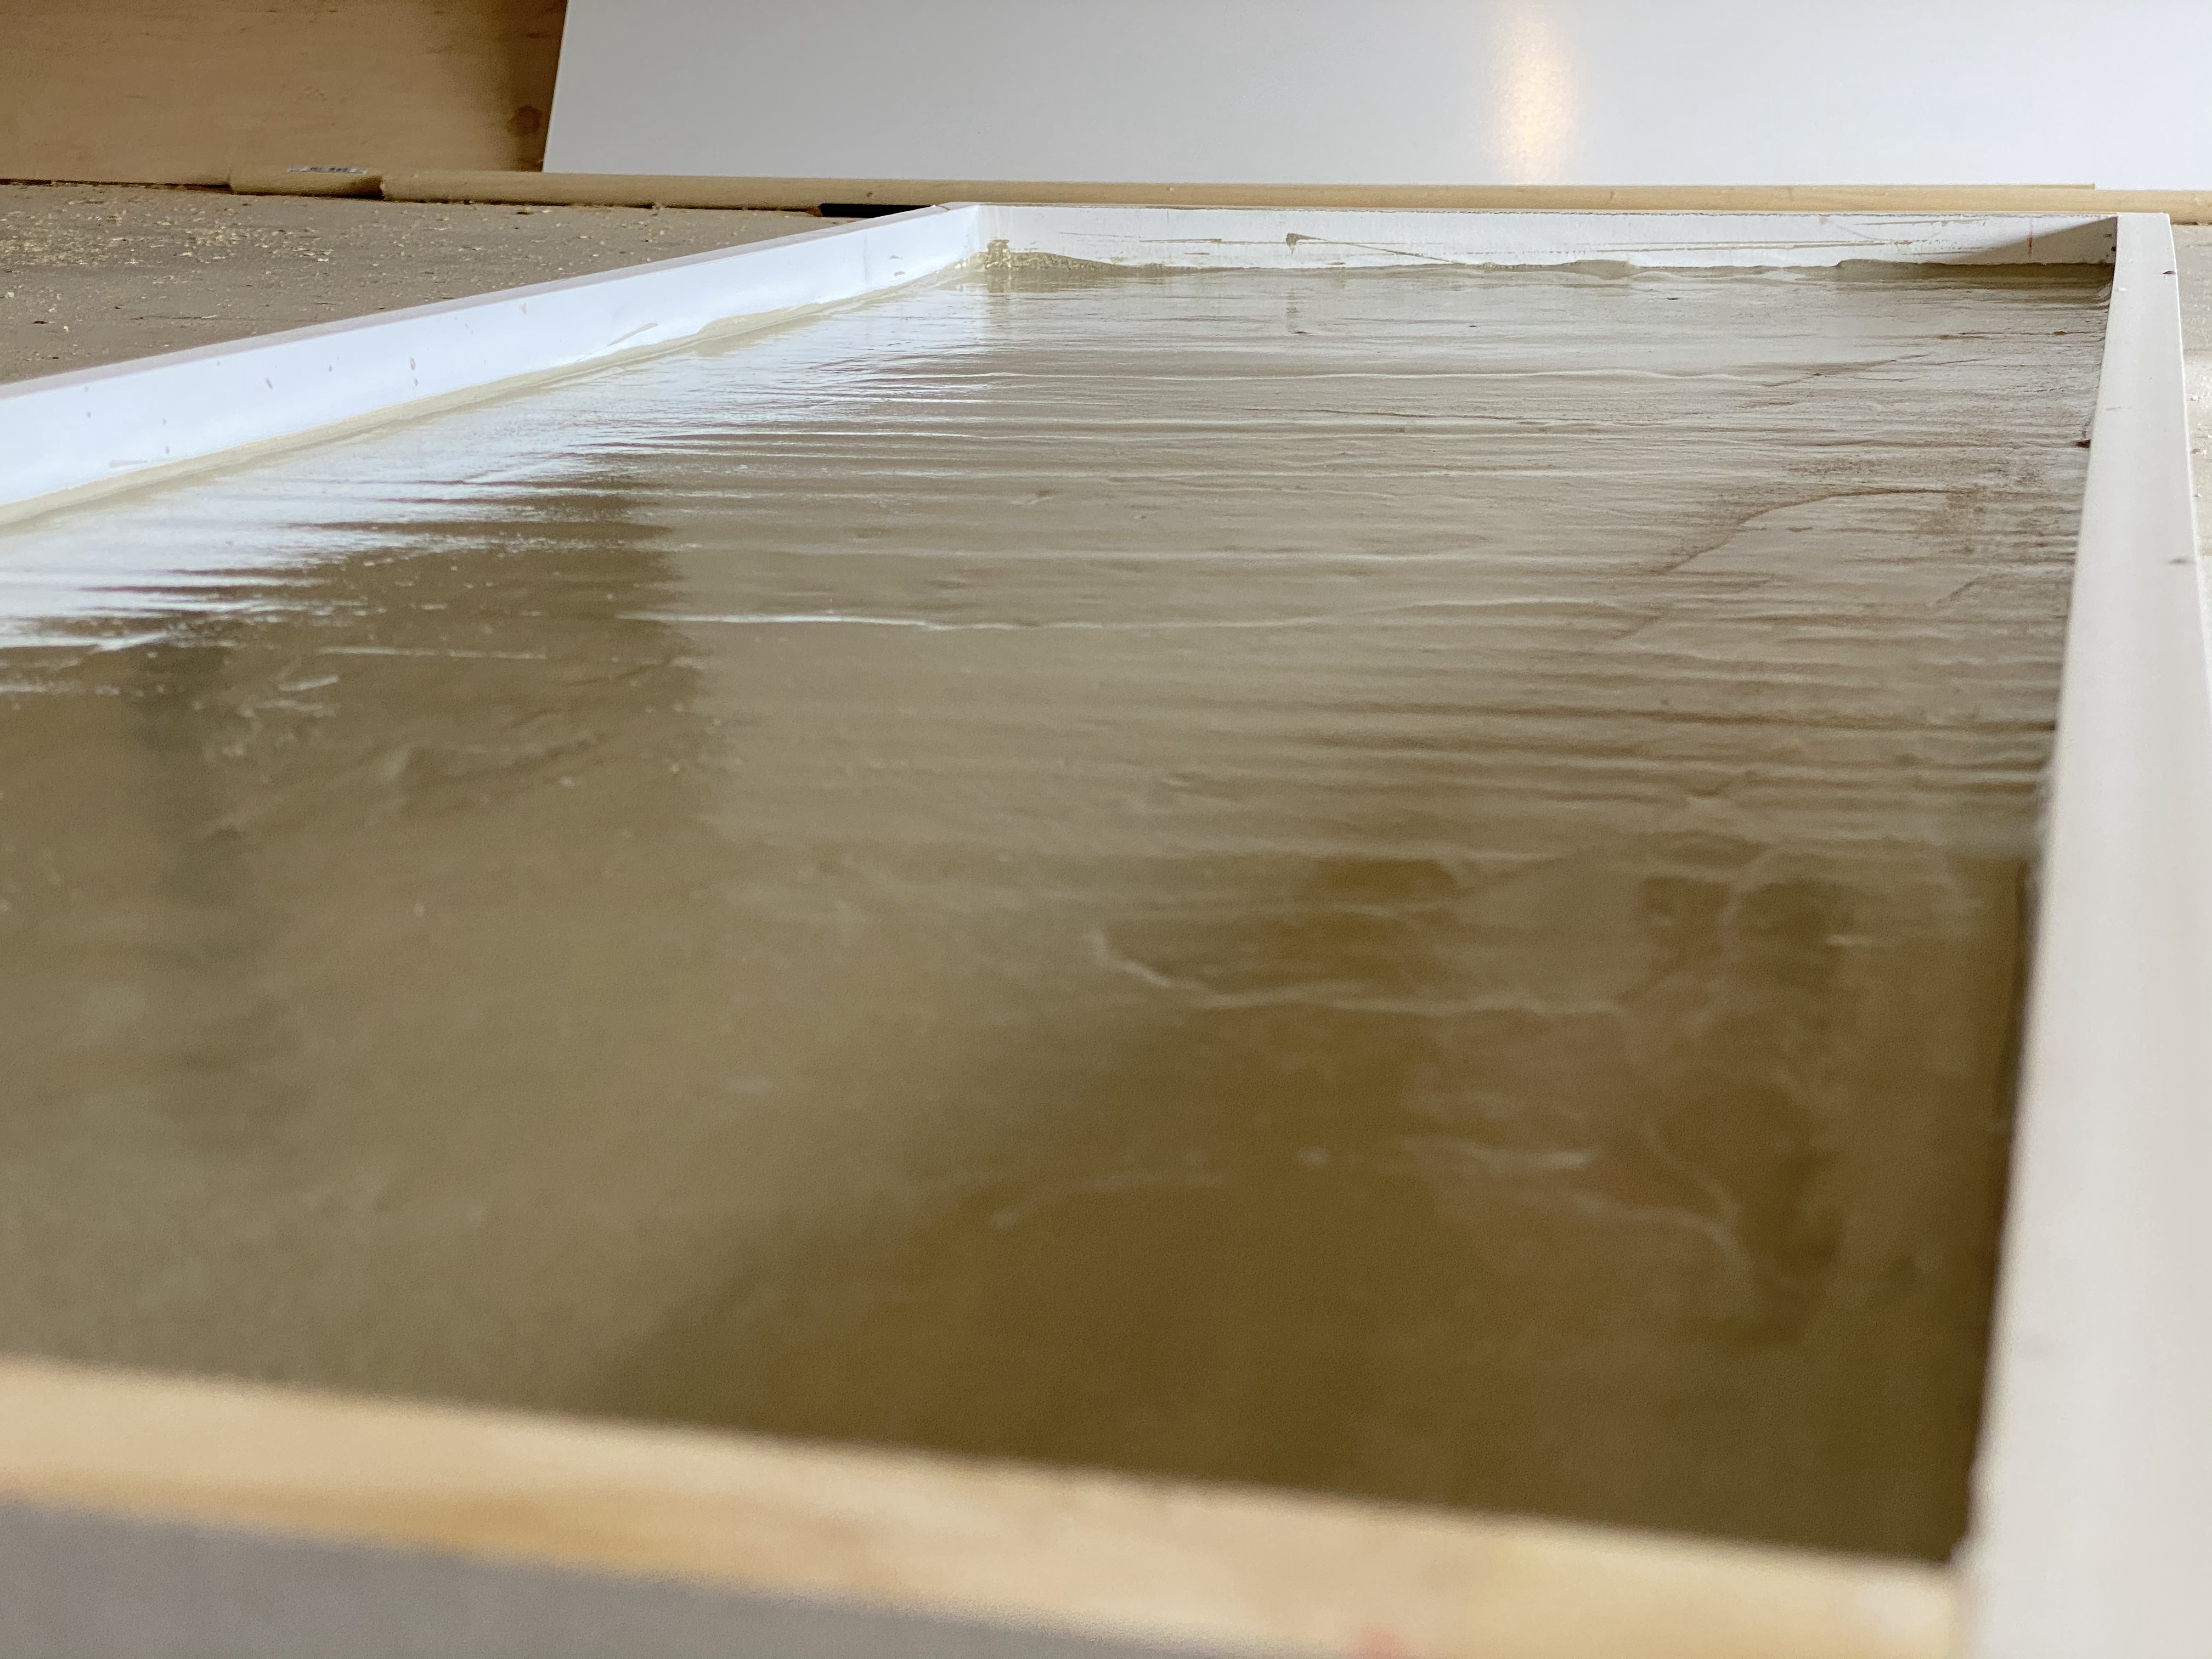
Pour the mixture into your concrete form. Hit the sides of the forms with a hammer or mallet or vibrate a sander on the sides to get rid of any bubbles in the mixture. Although it is self-leveling, you can also take a trowel to smooth the mixture. You don’t have to worry too much about getting it to be perfect because this will be the bottom of your counter top. Let it set for 1 hour.
NOTE: We had a mishap when trying to mix the first bag because I dumped all of the water and mortar mix together at the same time. It literally hardened in the bucket within a few minutes and the whole bag was wasted. So, I intended on having enough mix to make the counter 2″ deep but since I only had one bag now, it turned out to only be about 1″ thick.
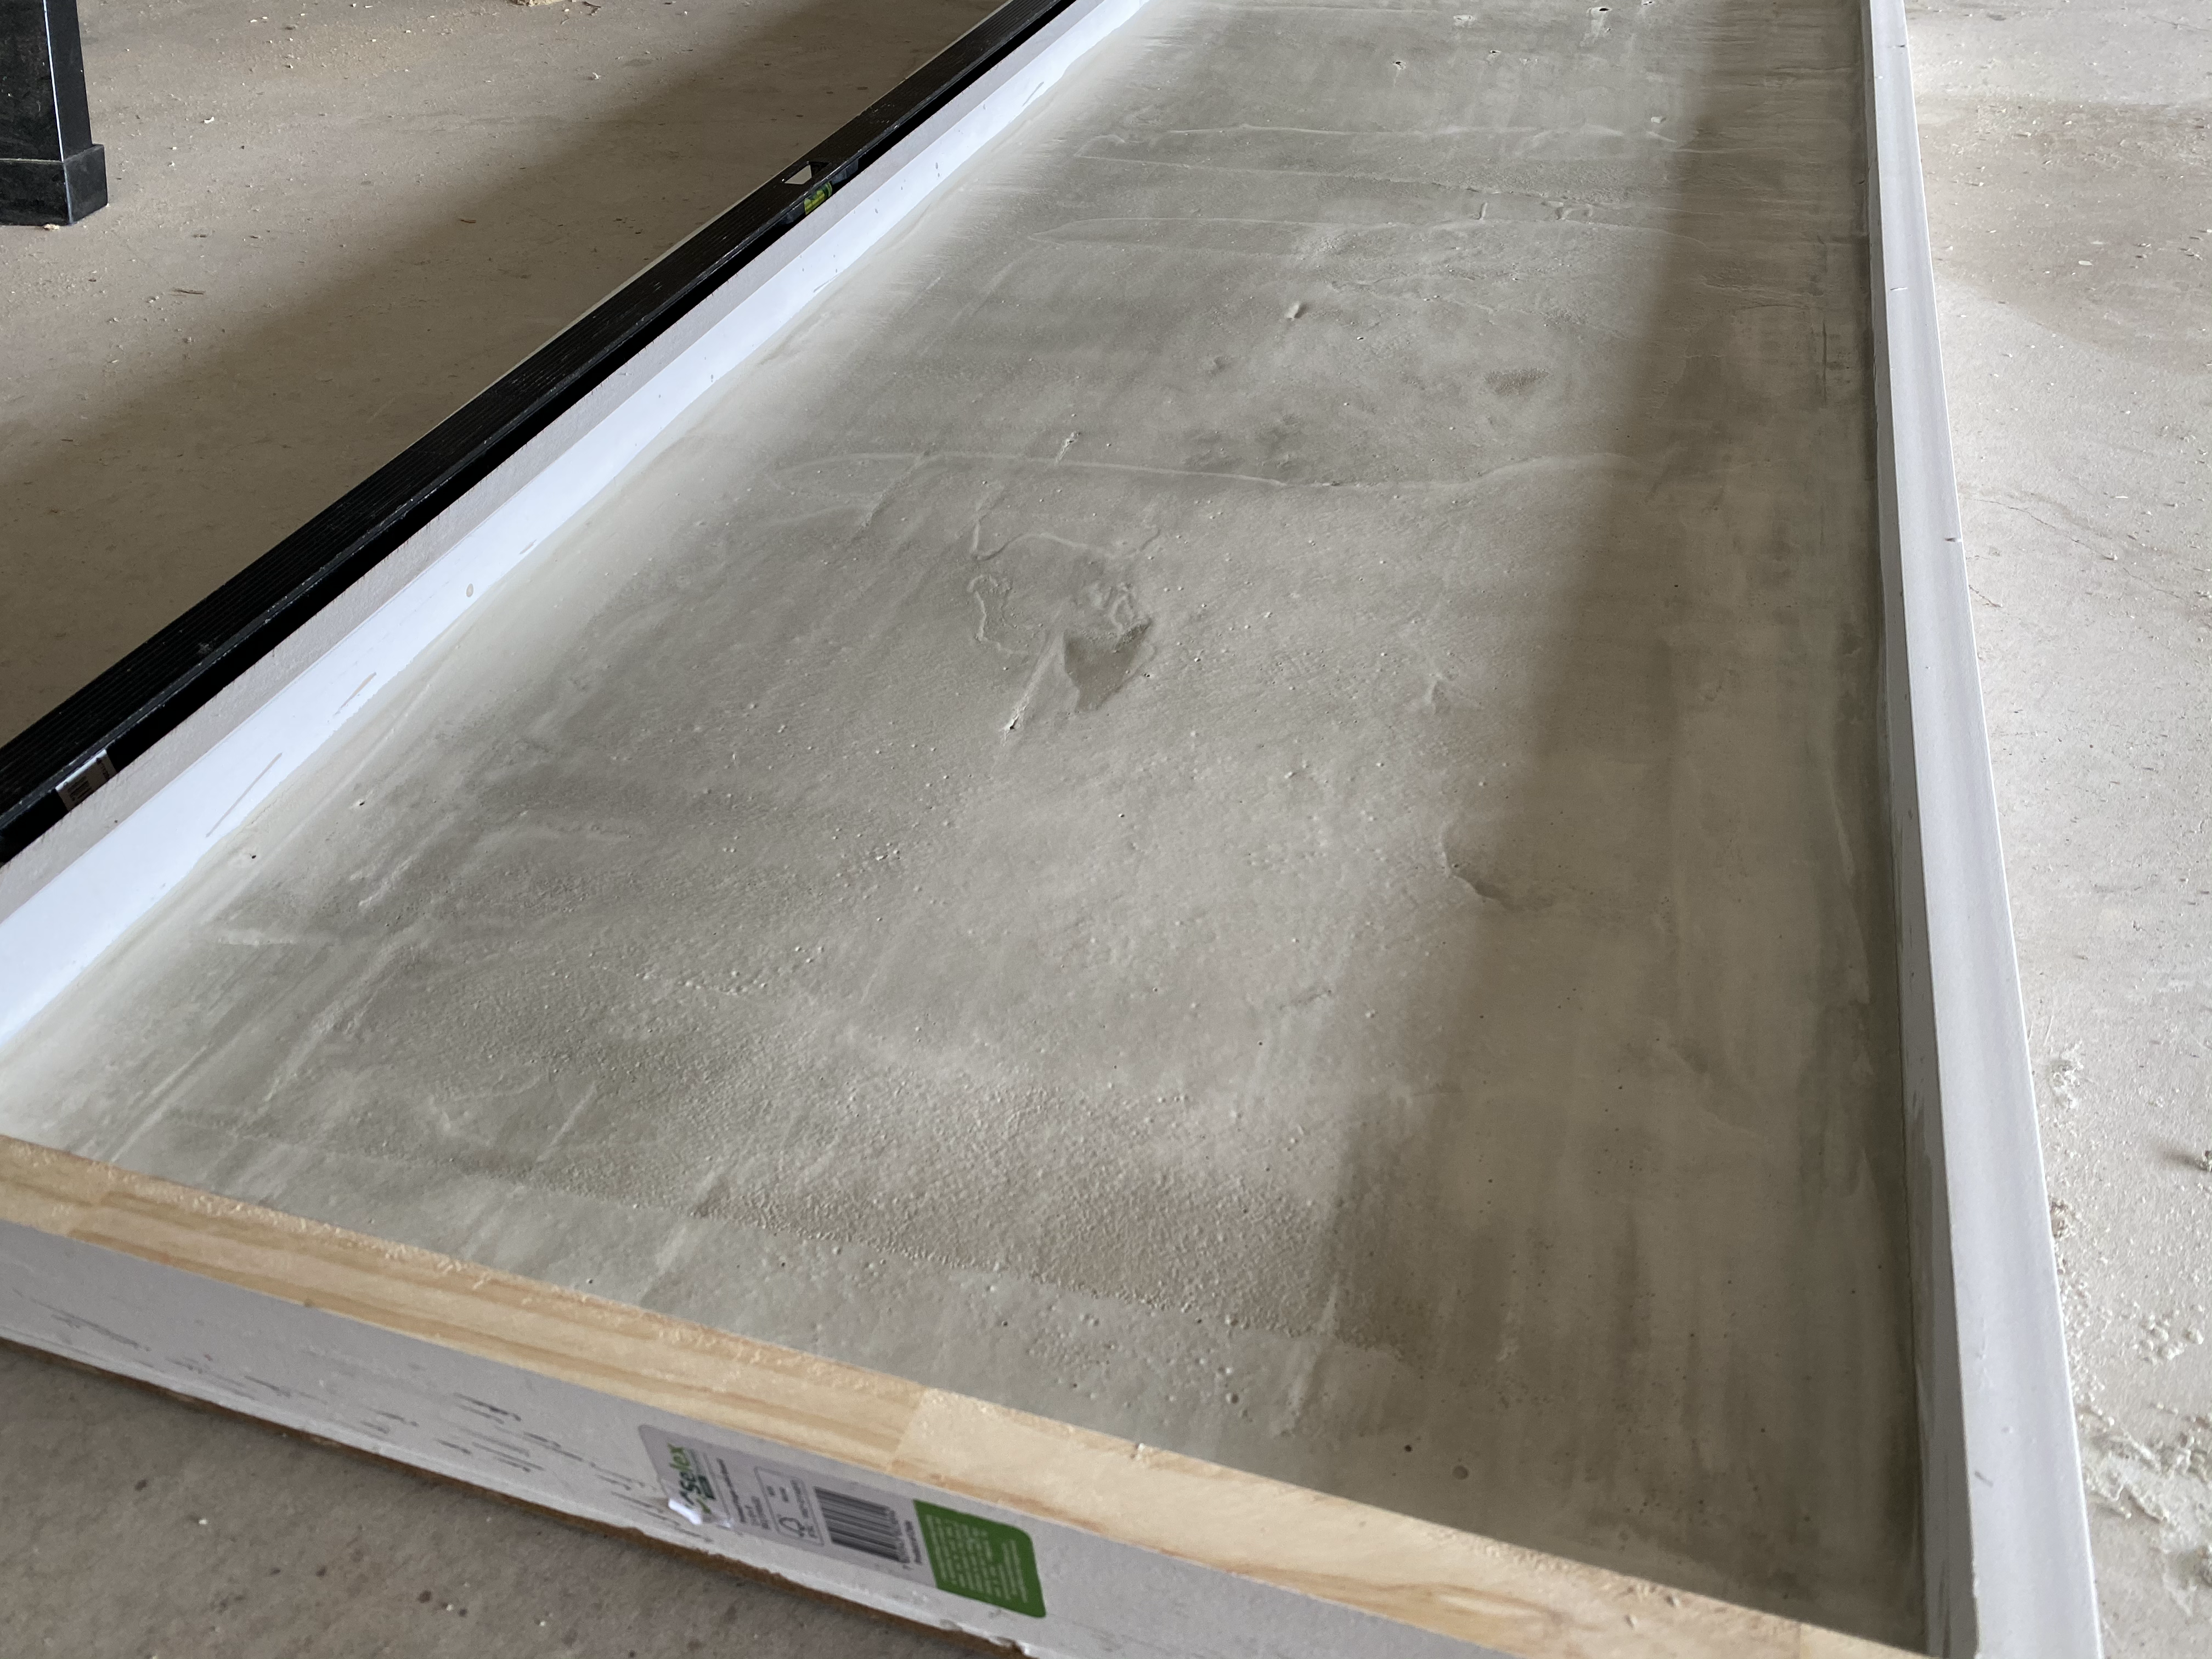
After the hour, flip the mold upside down and remove the forms. We used a combination of screws and brad nails so we removed the screws and then the forms were easily pulled apart. You’ll be left with a silky smooth top!
STEP 3: ATTACH TO DRESSER
Once the concrete slab is complete you can attach it directly to the top of the dresser. We removed the actual dresser top so that the slab will sit on the dresser frame. We spread construction adhesive along the edges to the dresser that the top will touch and centered the slab over the dresser when setting it on top of the construction adhesive.
Let the construction adhesive dry before trying to move the dresser. We moved the dresser into place before attaching the top so we didn’t have to move it all together.
Now, after a year of this dresser sitting in the garage, it’s finally complete and in its home! I hope you enjoyed this week of the One Room Challenge because next week is our final room reveal! We have lots left to finish up in this room and can’t wait to give you a tour of everything we did and how it all will tie together!
Make sure to follow us on Instagram and YouTube, as well as subscribe to the blog so you are the first to see the progress we’ve made.
Follow us on social HERE!


