


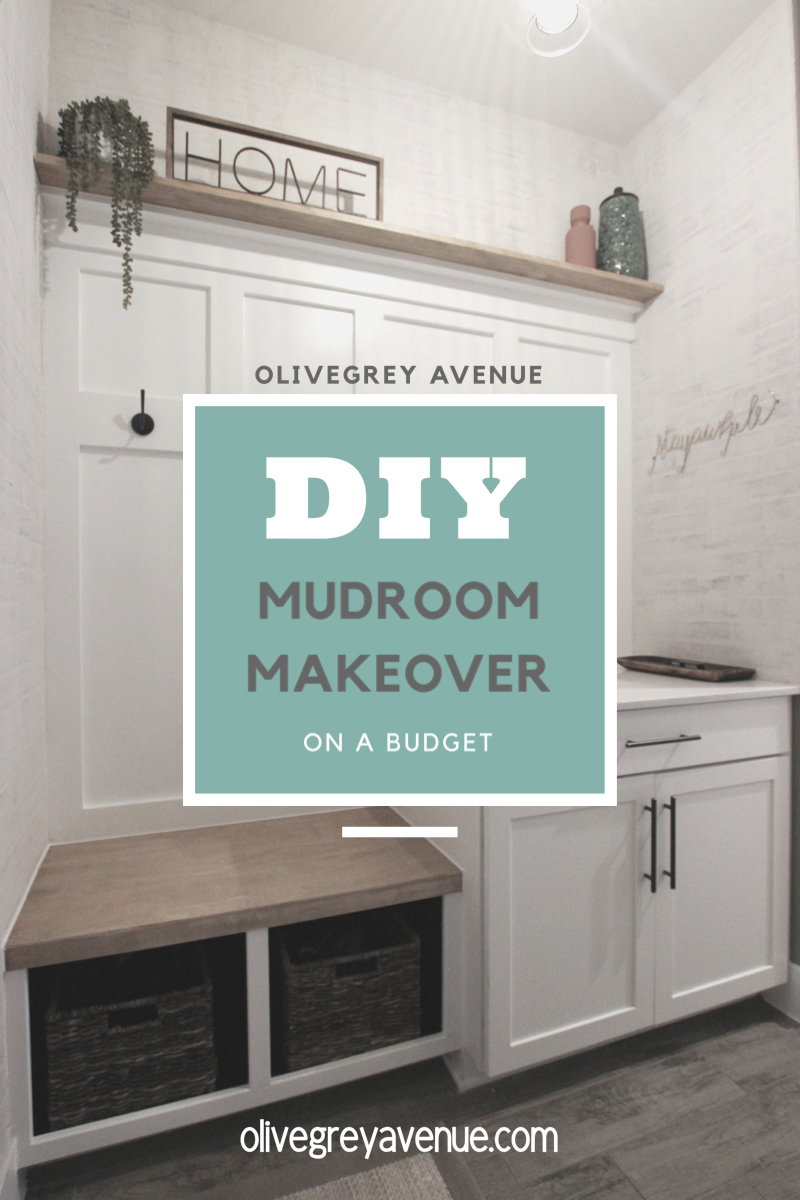
Mudroom Makeover on a Budget


The mudroom transformation really evolved over the few weeks that I was thinking about it and planning the details of the design. I was originally planning on adding design details on one wall of the room and just painting the other walls. My ideas kept growing and growing until it enveloped the entire mudroom. It’s not that big of a space but it still created a lot more work for this project.
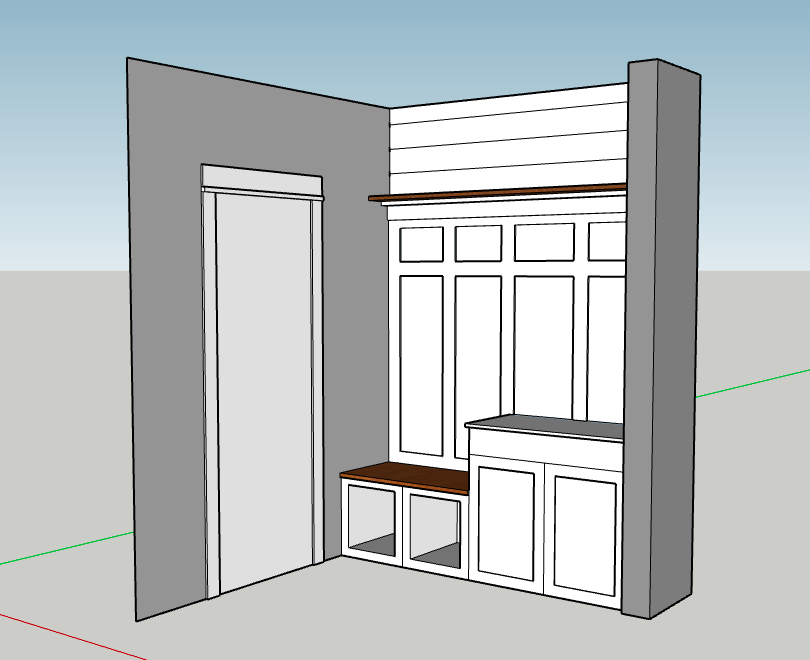
Initial Plan for the Mudroom
My original idea was to just extend the white board and batten across the wall it was already on. Then install some sort of wall treatment (brick or shiplap) above that area with a shelf. I also was planning on covering the bench with plywood. I actually repainted this whole space the same grey as in the kitchen because that was my intention, to just do the brick above the bench.
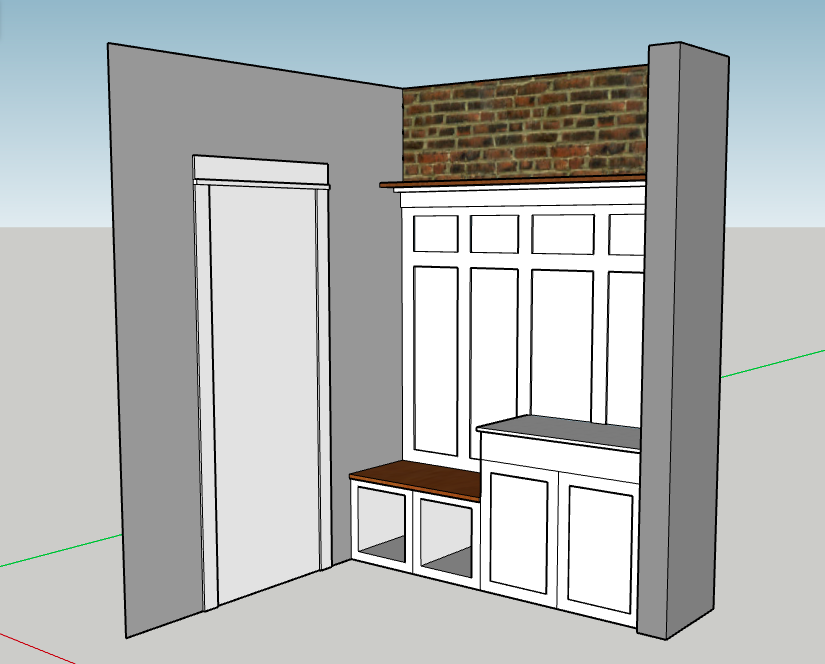
The more I thought about the brick, the more of it I wanted. If I do more than just above the board and batten, then I should do it everywhere. Go big or go home!
SUPPLIES For Mudroom:
– 1×4 primed pine boards
– Wood filler
– White trim paint
– Black chalk board paint
– Caulk
– Circular saw
– Brad Nailer
– Coat hooks
– Motion sensing light switch
– Can light conversion kit
– Pendant light
(Faux Brick and German Schmear supplies listed HERE.)
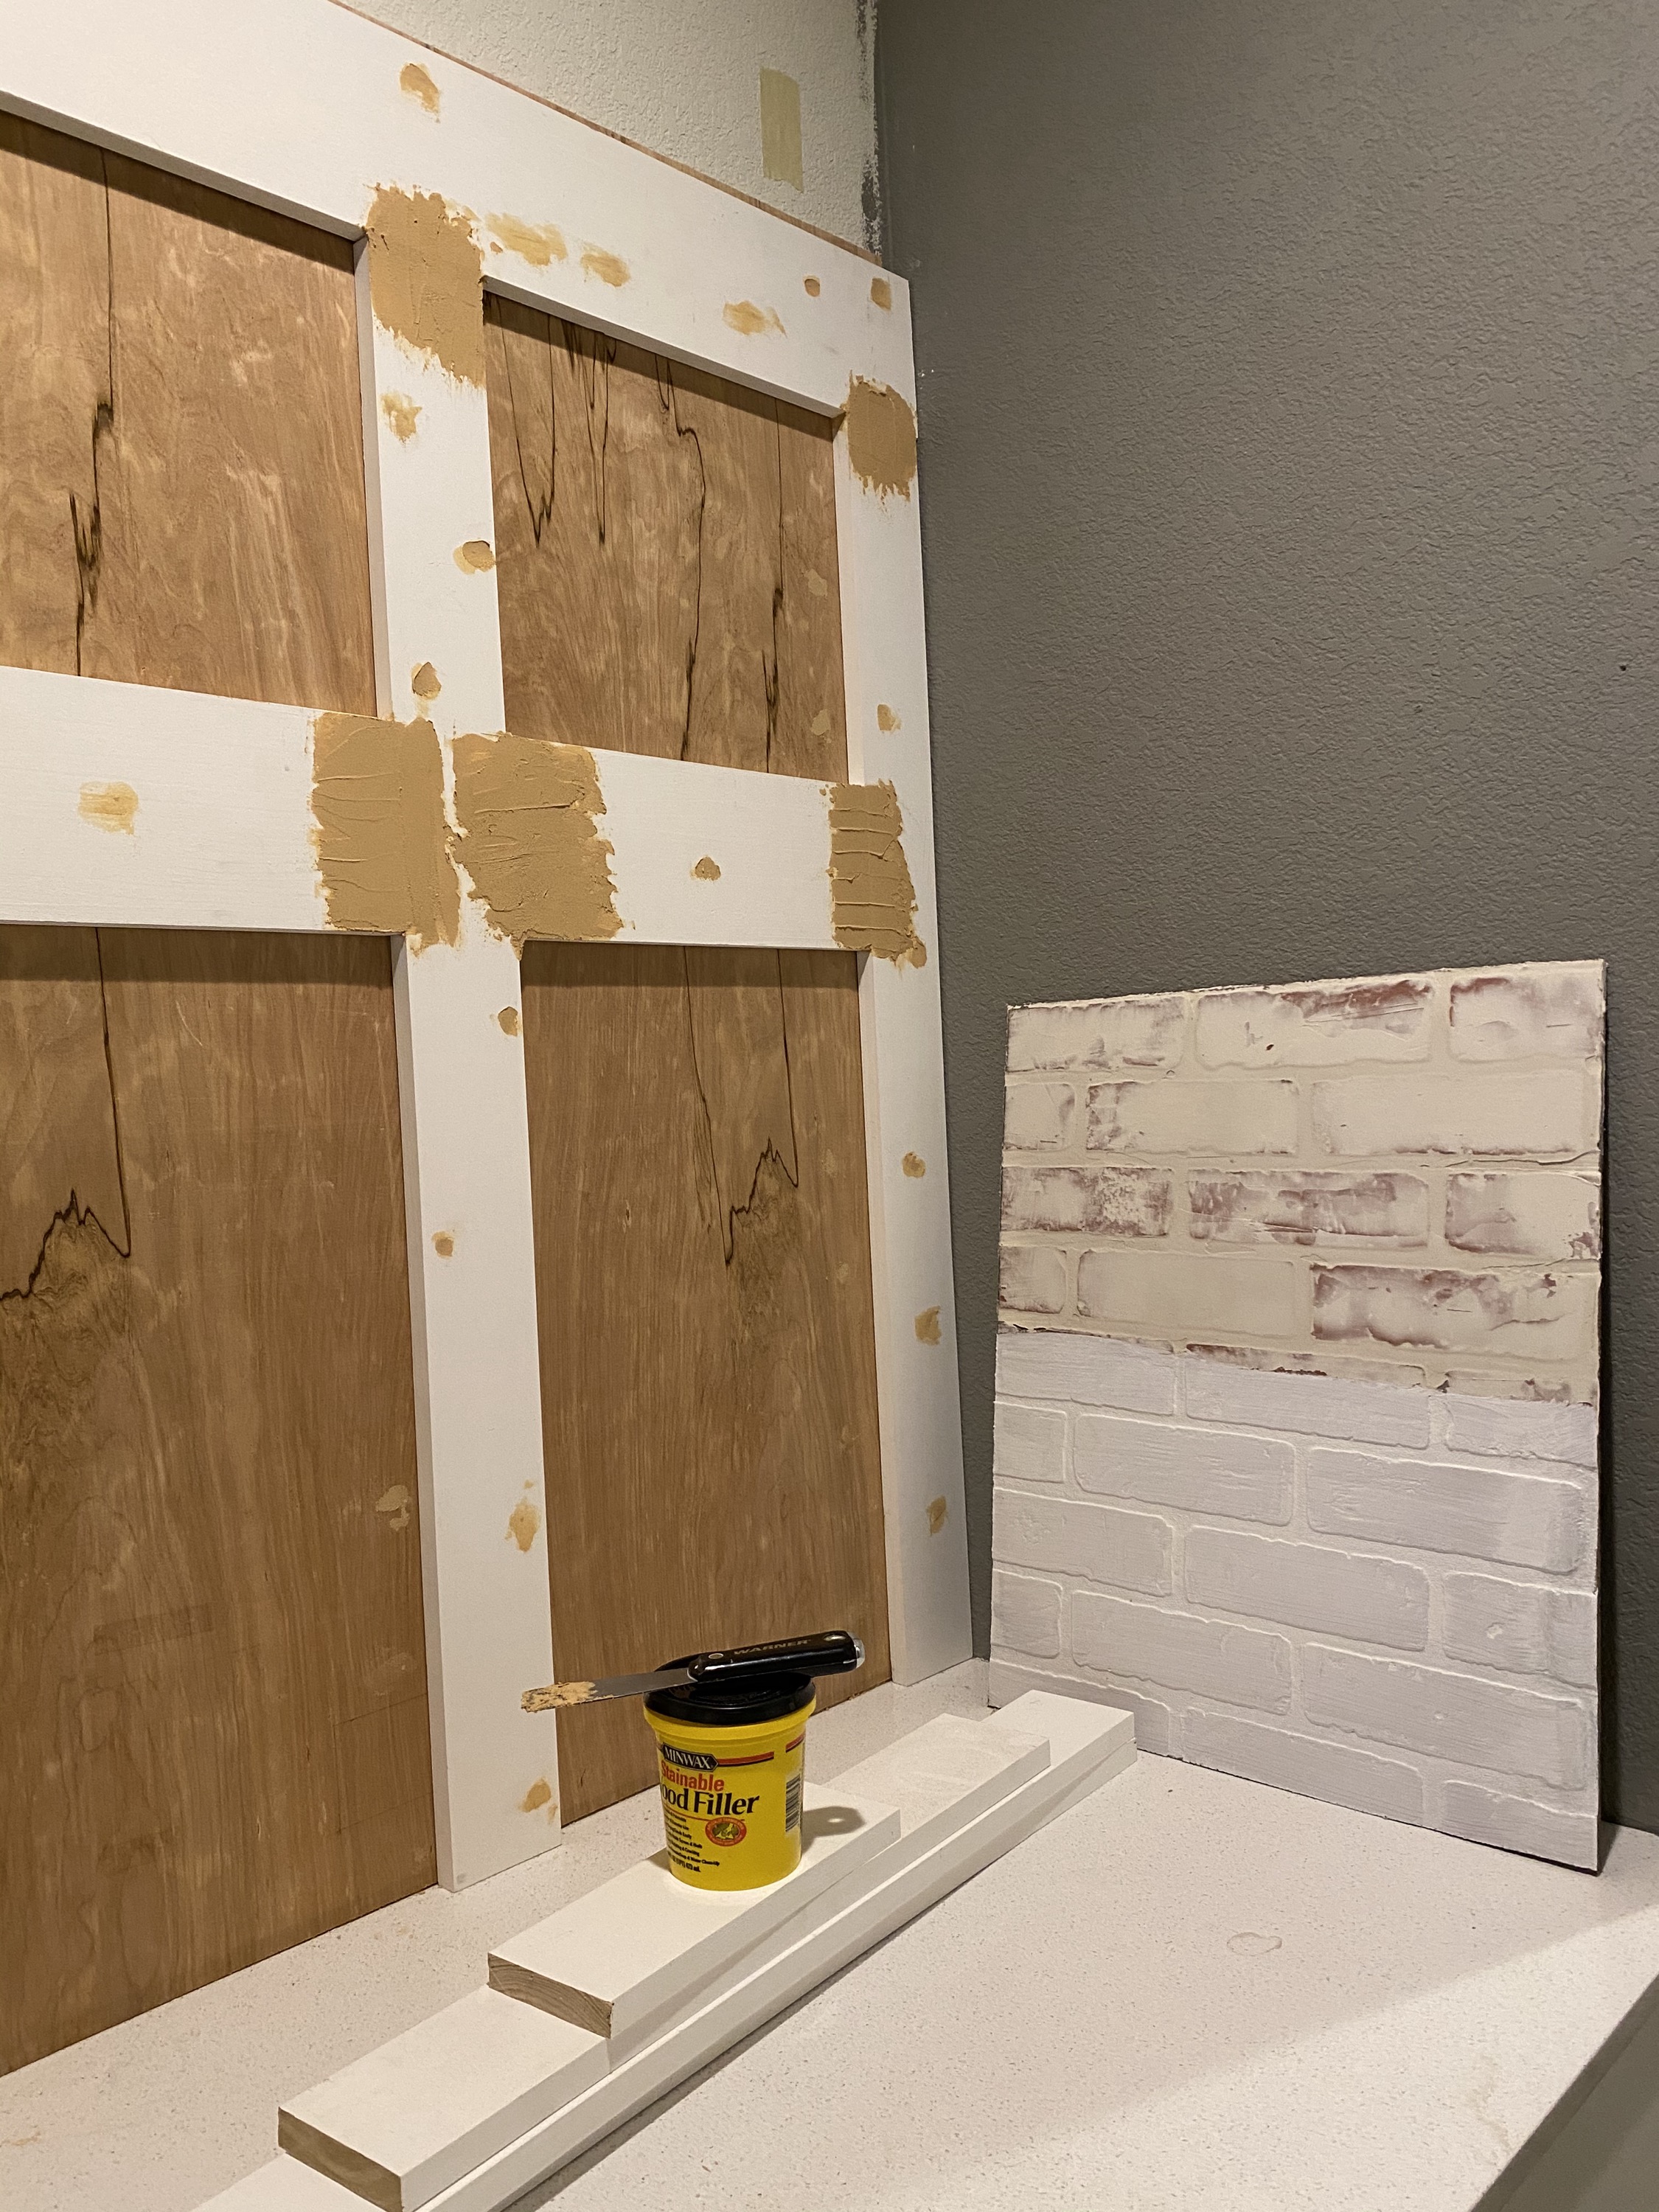
FAUX BRICKS WITH GERMAN SCHMEAR
The faux brick walls were the biggest undertaking of this project. They sell the faux brick panels in large sheets so its easy to cut to size and add to the wall. Just incase you missed it, check out the details of how I created this wall here: DIY FAUX BRICK GERMAN SCHMEAR. I go over the details that make the walls look seamless and perfect!
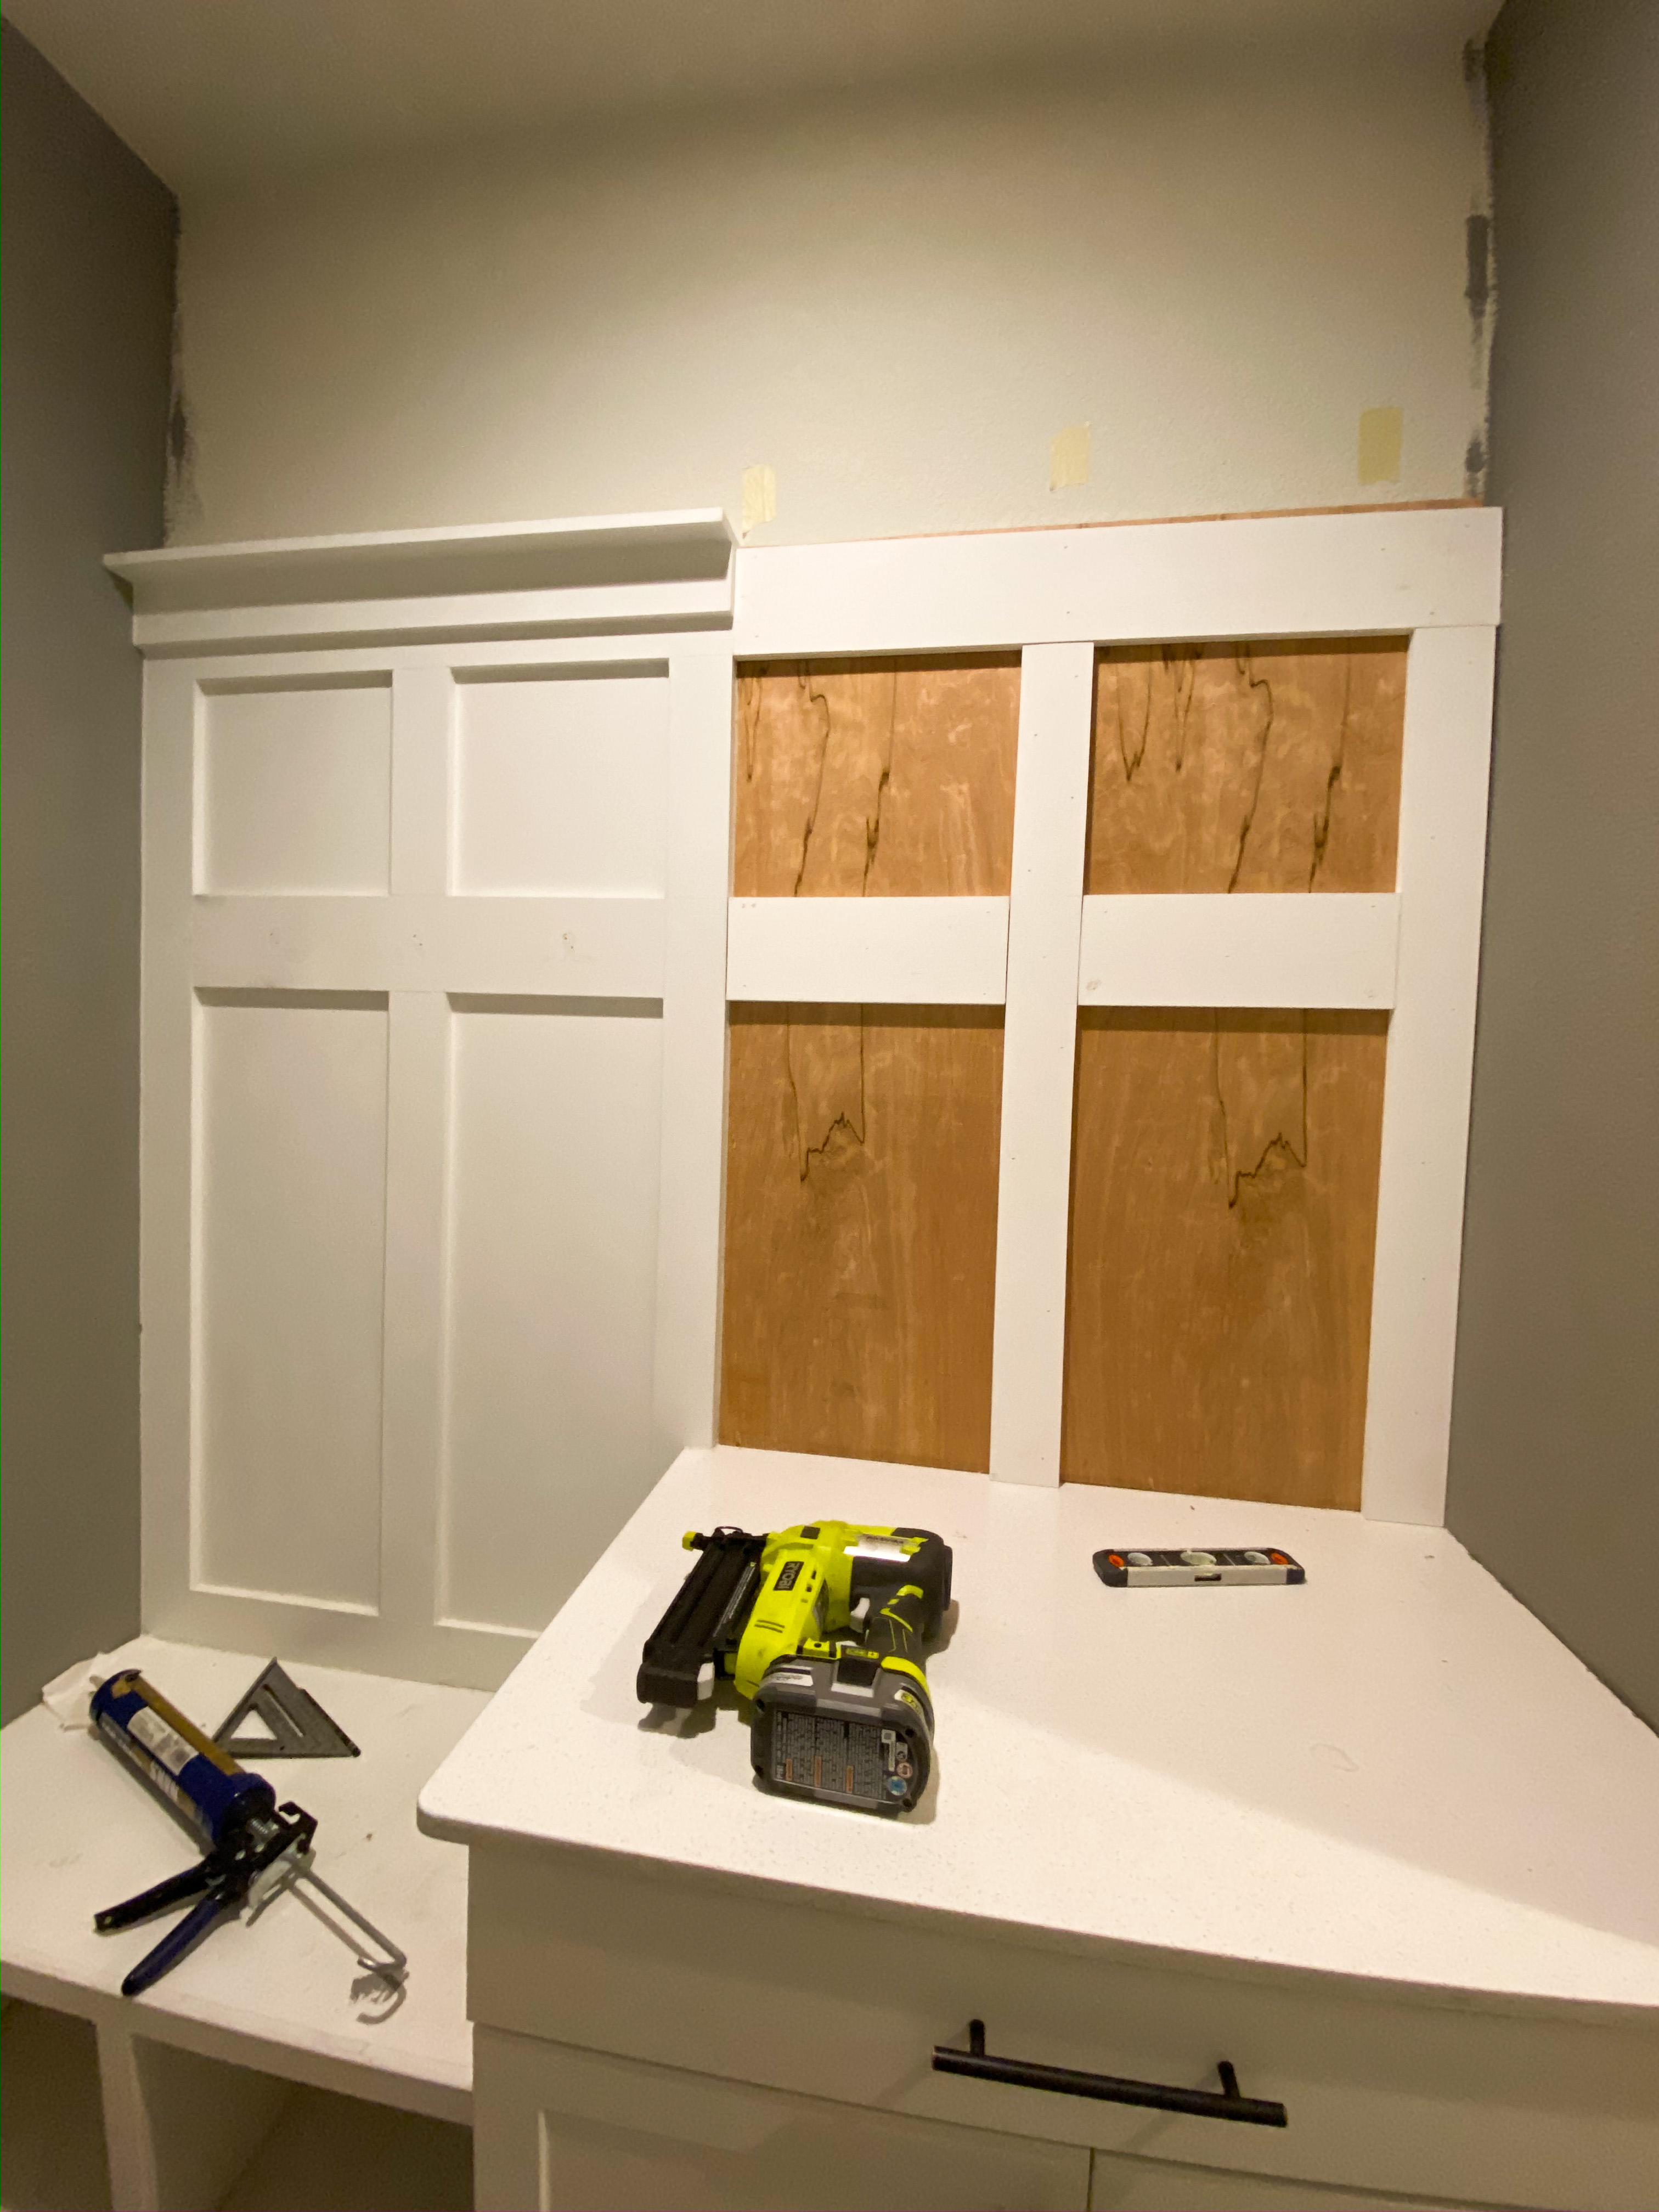
RECREATING THE BOARD AND BATTEN
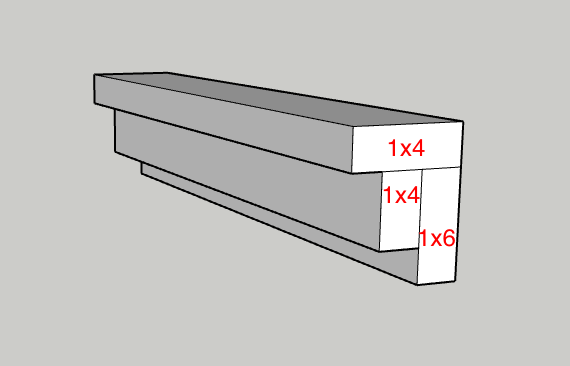
The existing mudroom area had board and batten, and a bench but it just felt cut off, boring and small. To recreate the board and batten the rest of the way across the wall, I used the same sized boards (after examining how they created the current trim) to replicate the design across the remainder of the wall. That was the best part, that I didn’t have to remove the trim to refresh and redo this room, I just had to add to it. I sanded down the previous trim so I could wood fill, sand and repaint the trim as a whole. Below is a diagram of how the top of the board and batten was created and what I used to recreate it.
For the rest of the wall, I used 1/8″ plywood as the backing to create a smooth look and surface then used 1×4 boards for the middle and outer vertical pieces continuing the pattern. Once all of the board and batten pieces were in place, I filled in all of the nail holes with wood filler.
Check out my post about the board and batten above my fireplace for a detailed look into how you can create a board and batten wall.
WOOD SHELF
Another thing I did to take this space to the next level was to add a beautiful wood shelf that was just a bit wider than the top trim piece. So, since the top trim piece was a 1×4, I used a 1×6 poplar board so it would show just a little bit more. I wanted to be sure that the shelf didn’t overwhelm the space or create a big shadow. This size was perfect for my space.
Poplar is an inexpensive hardwood that I decided to use to fancy it up instead of using common pine. You can use which ever wood species fits your style best here.
I first cut the shelf to size and then stained it. I used a popular stain combination on my piece of poplar wood: Early American and then Weathered Oak on top. For a beautiful light color, you put the stain on and wipe off right away. Wax on wax off!
Once the trim and bricks were both complete, the shelf was the last thing to go in. From the beginning of the project, I marked and kept track of where the studs were. This came in handy when I was putting up the shelf because, there isn’t anything heavy going up here. I definitely don’t want it to ever fall on anyones head. On the top, backside of the shelf, I drilled pocket holes, one at each stud location. I didn’t worry about filling these holes because no one will ever see them unless they’re looking for them.
WOOD BENCH FASCIA
Again, there was already a bench here, but I didn’t like the all-white because it got so dirty and just looked bad. I wanted to create a butcher block look for a thick wood bench seat without ripping out what was currently there or putting one on top of it.
Creating this wood bench fascia was very simple. I cut down a piece of 1/4″ plywood to the dimensions of the bench seat (plus I added 1/4″ to the depth of the seat so the front piece will be covered. That covers the top of the bench, now I cut another strip of 1/4″ plywood to the width of the bench seat and the height of the front of the bench (from the top to the opening of the cubbies). I used the same stain method here as I used on the shelf.
To attach the plywood to the bench, I spread construction adhesive all over the underside and stuck it directly to the bench, finally securing with brad nails in each corner. Repeat with the front piece, lining it up with the top. You can wood fill the crack between the two pieces of plywood, I didn’t do that because it was a pretty good fit and I already stained the plywood so I didn’t want to have to go over it with stain again. I did have to shave off a little of the top plywood to meet the plywood on the face perfectly, I used a wood chisel to do this.
CUBBIES
To finish off the bench area, like I said the bench was totally white. I like white but in this space and for this function, it just wasn’t completely working. I wanted to keep most of the white but I needed to break it up with more texture and colors, hence: brick wall and stained wood accents. The other way I broke up all the white was by painting the interior of the bench cubbies.
I was thinking of building doors to cover the cubbies but decided to just go with a simple and impermanent change, paint! My safe choice was grey, like my walls and cabinets and 50% of my clothes but I loved the idea of a bold pop of color, so I went with black. I absolutely adore it! It’s just enough to add depth to the cubbies, hide some of the dirt of a mudroom and still fit in with my overall style.
FIXTURES
In a lot of new construction or builder grade homes, you’ll have very basic fixtures. An easy way to make a huge impact in any space is by changing up fixtures. There were 3 ways I did this here.
Hooks: The standard hooks they included in my mudroom were brushed silver, basic hooks. I wanted something more bold but still modern and timeless. So, I chose classic matte black hooks. They would also function better for us with longer hooks to fit backpacks and other things on them.

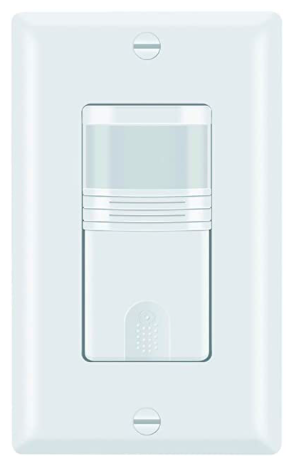
Light Switch: There wasn’t anything wrong with the light switch but the nice thing about DIY and home improvement is doing the small things that just make your life easier. Such as, replacing the light switch with a motion sensor one. Something I found with the normal switch was that the light was hardly ever turned on. This is because we’re usually passing through this room to and from the garage and not spending any significant amount of time in it. Most light sensor switches can be customized for sensitivity. Also timed so we save energy and it only turns on when necessary. Now we can see where we’re going and are able to appreciate our new beautiful space.
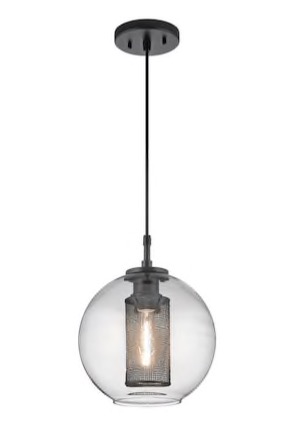
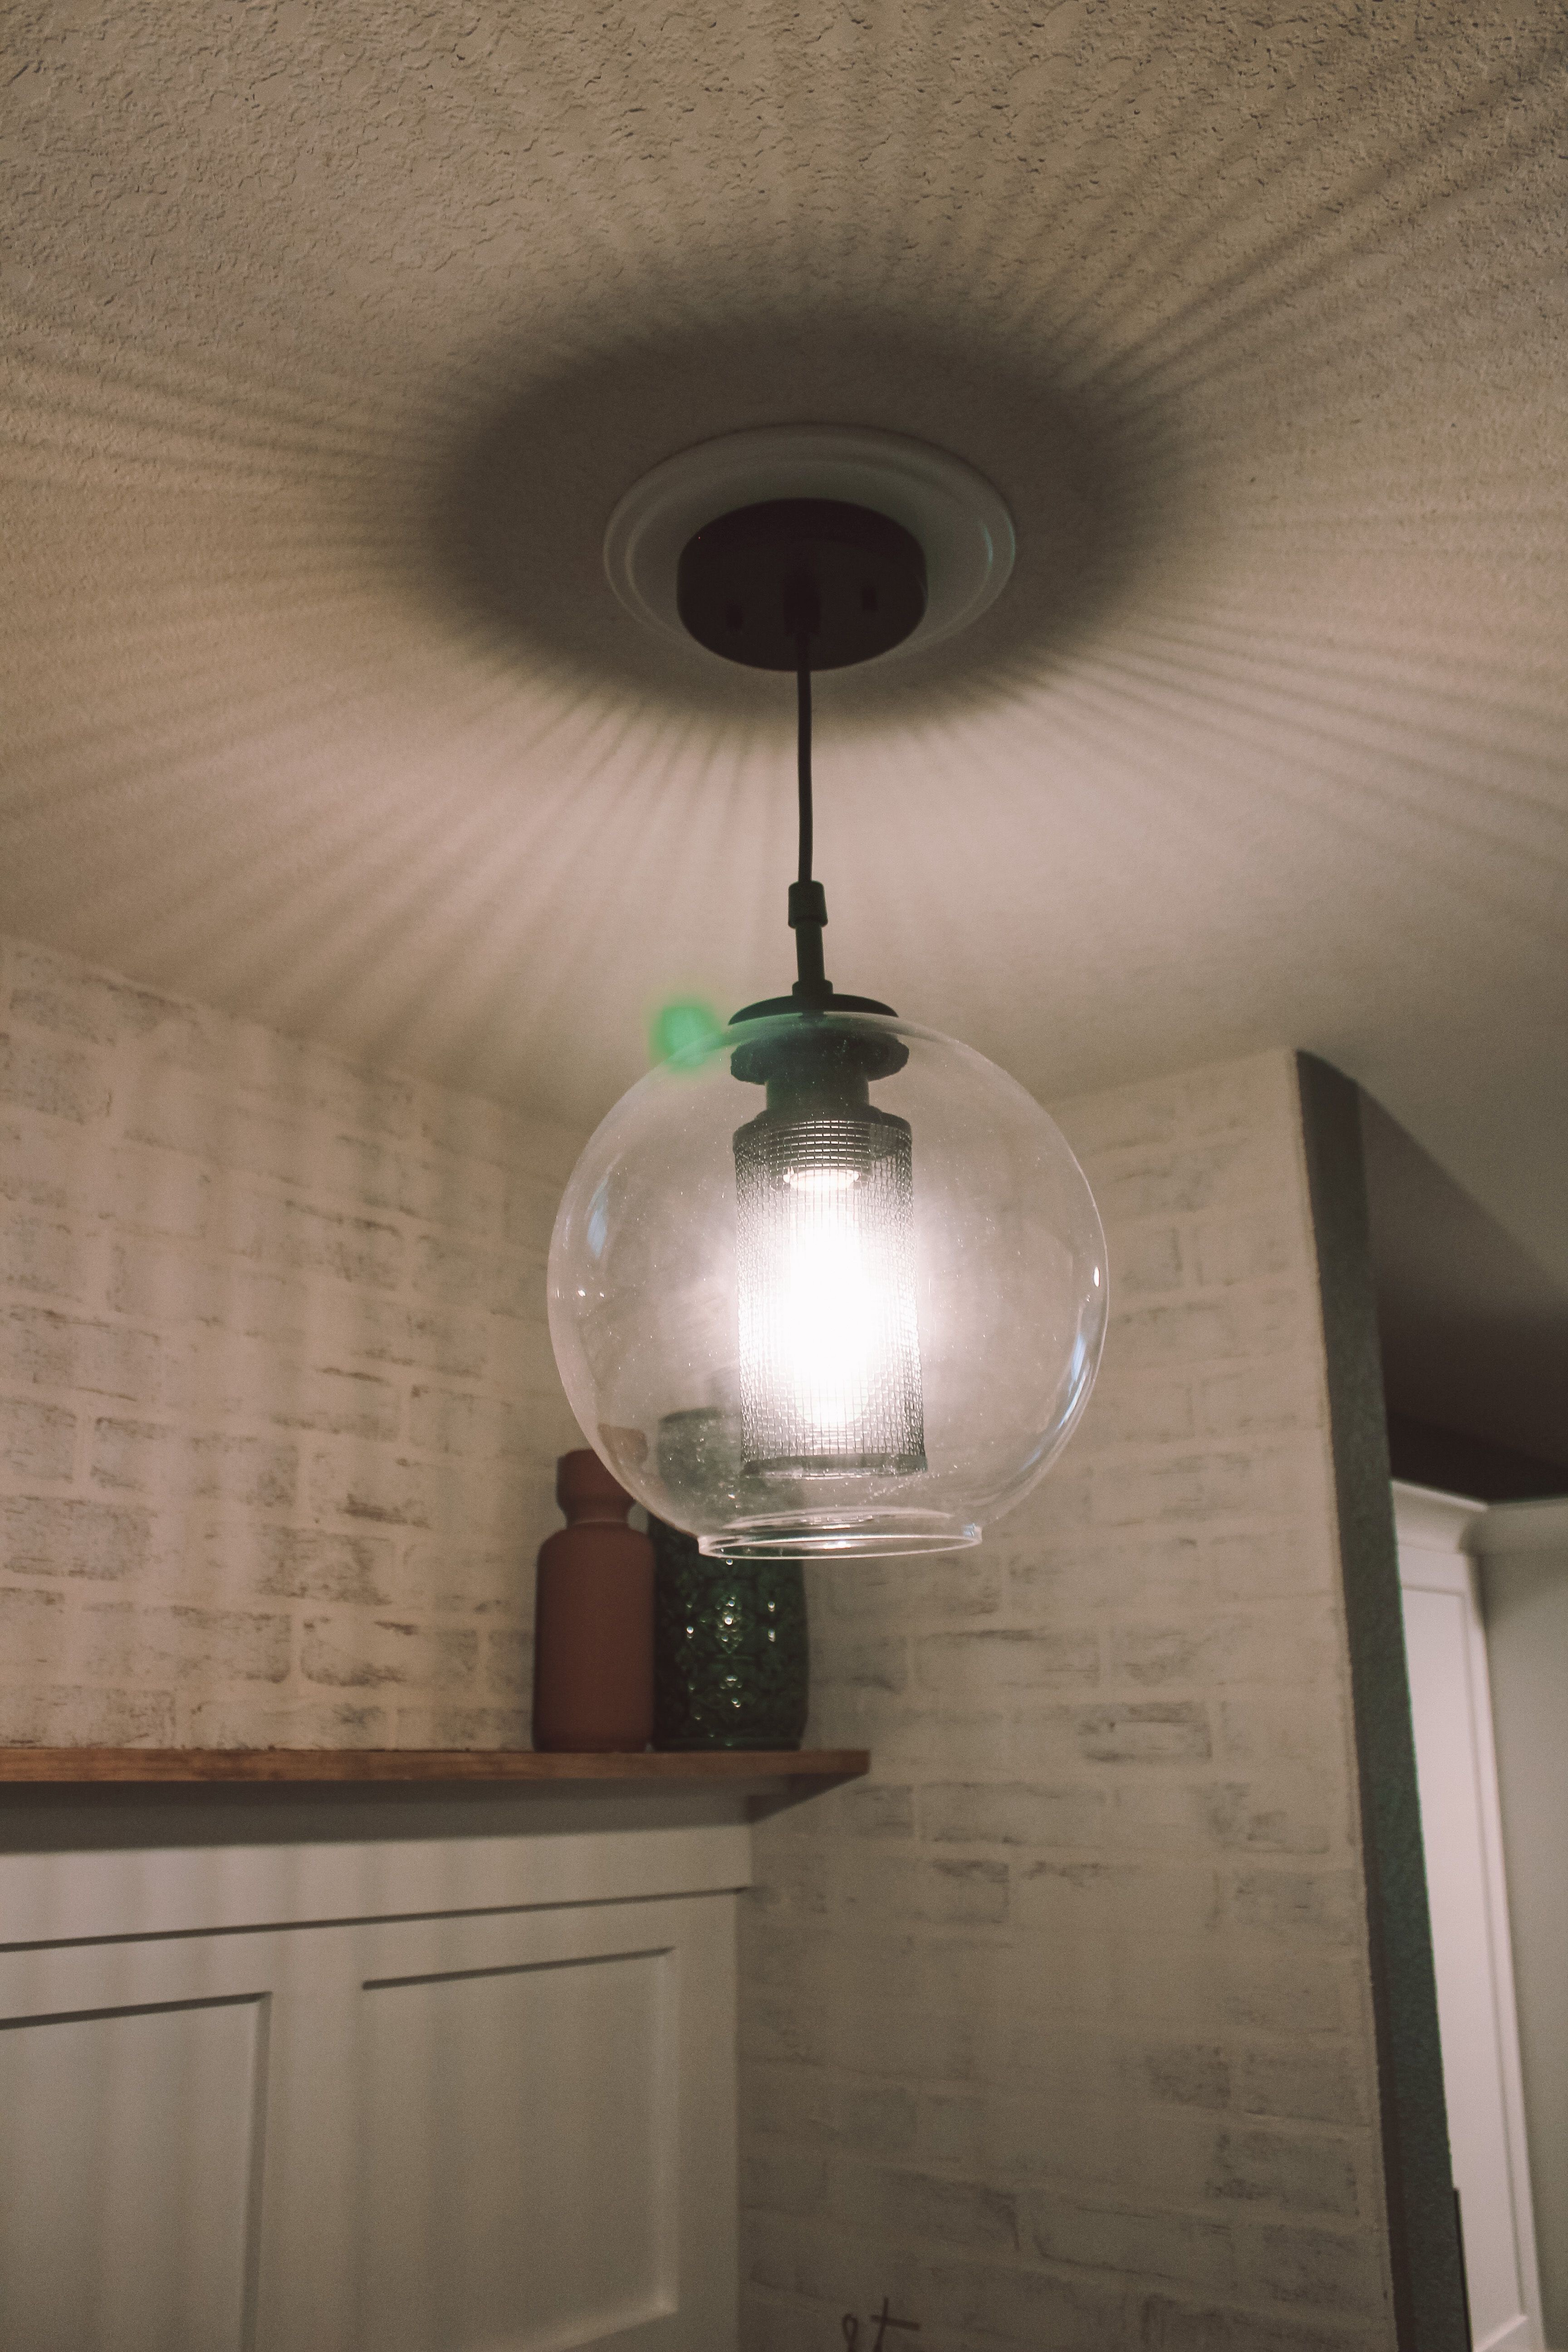
Light Fixture: This is my number 1 for the easiest way to change the look of a space. I wasn’t really sure what I wanted for this space. In the end I knew I wanted to convert our can light into a pendant light. If you’ve never done this before, it’s much easier than you think! All you need is a can light conversion kit like this one:

I actually bought this conversion kit for another light but it wasn’t the right weight limit so make sure to check the weight limit and application before you buy the conversion kit. Simply follow the instruction that come with the kit and VOILA! Once you install the conversion kit, you can hang your pendant light. If you are not comfortable working with electricity please be safe and hire an electrician. The light I chose was actually on clearance at Lowe’s so I snatched it up since I hadn’t chosen a light yet. It is a beautiful mix of glass and metal to compliment the other lights in our home without being “matchy-matchy”.
Although my intentions were to do a quick and easy upgrade in this room and the brick German Schmear added a lot of time and a bit more cost to it, I’m so happy that I did exactly what I wanted in this space. The mudroom is the first room that we enter into when coming home every day and it’s just such a welcoming space now. It’s my first “room” that is 100% complete and it feels SO GOOD!
Cost Breakdown:
– Wood, paint, and accessories: $170
– Faux Brick and German Schmear supplies: $128
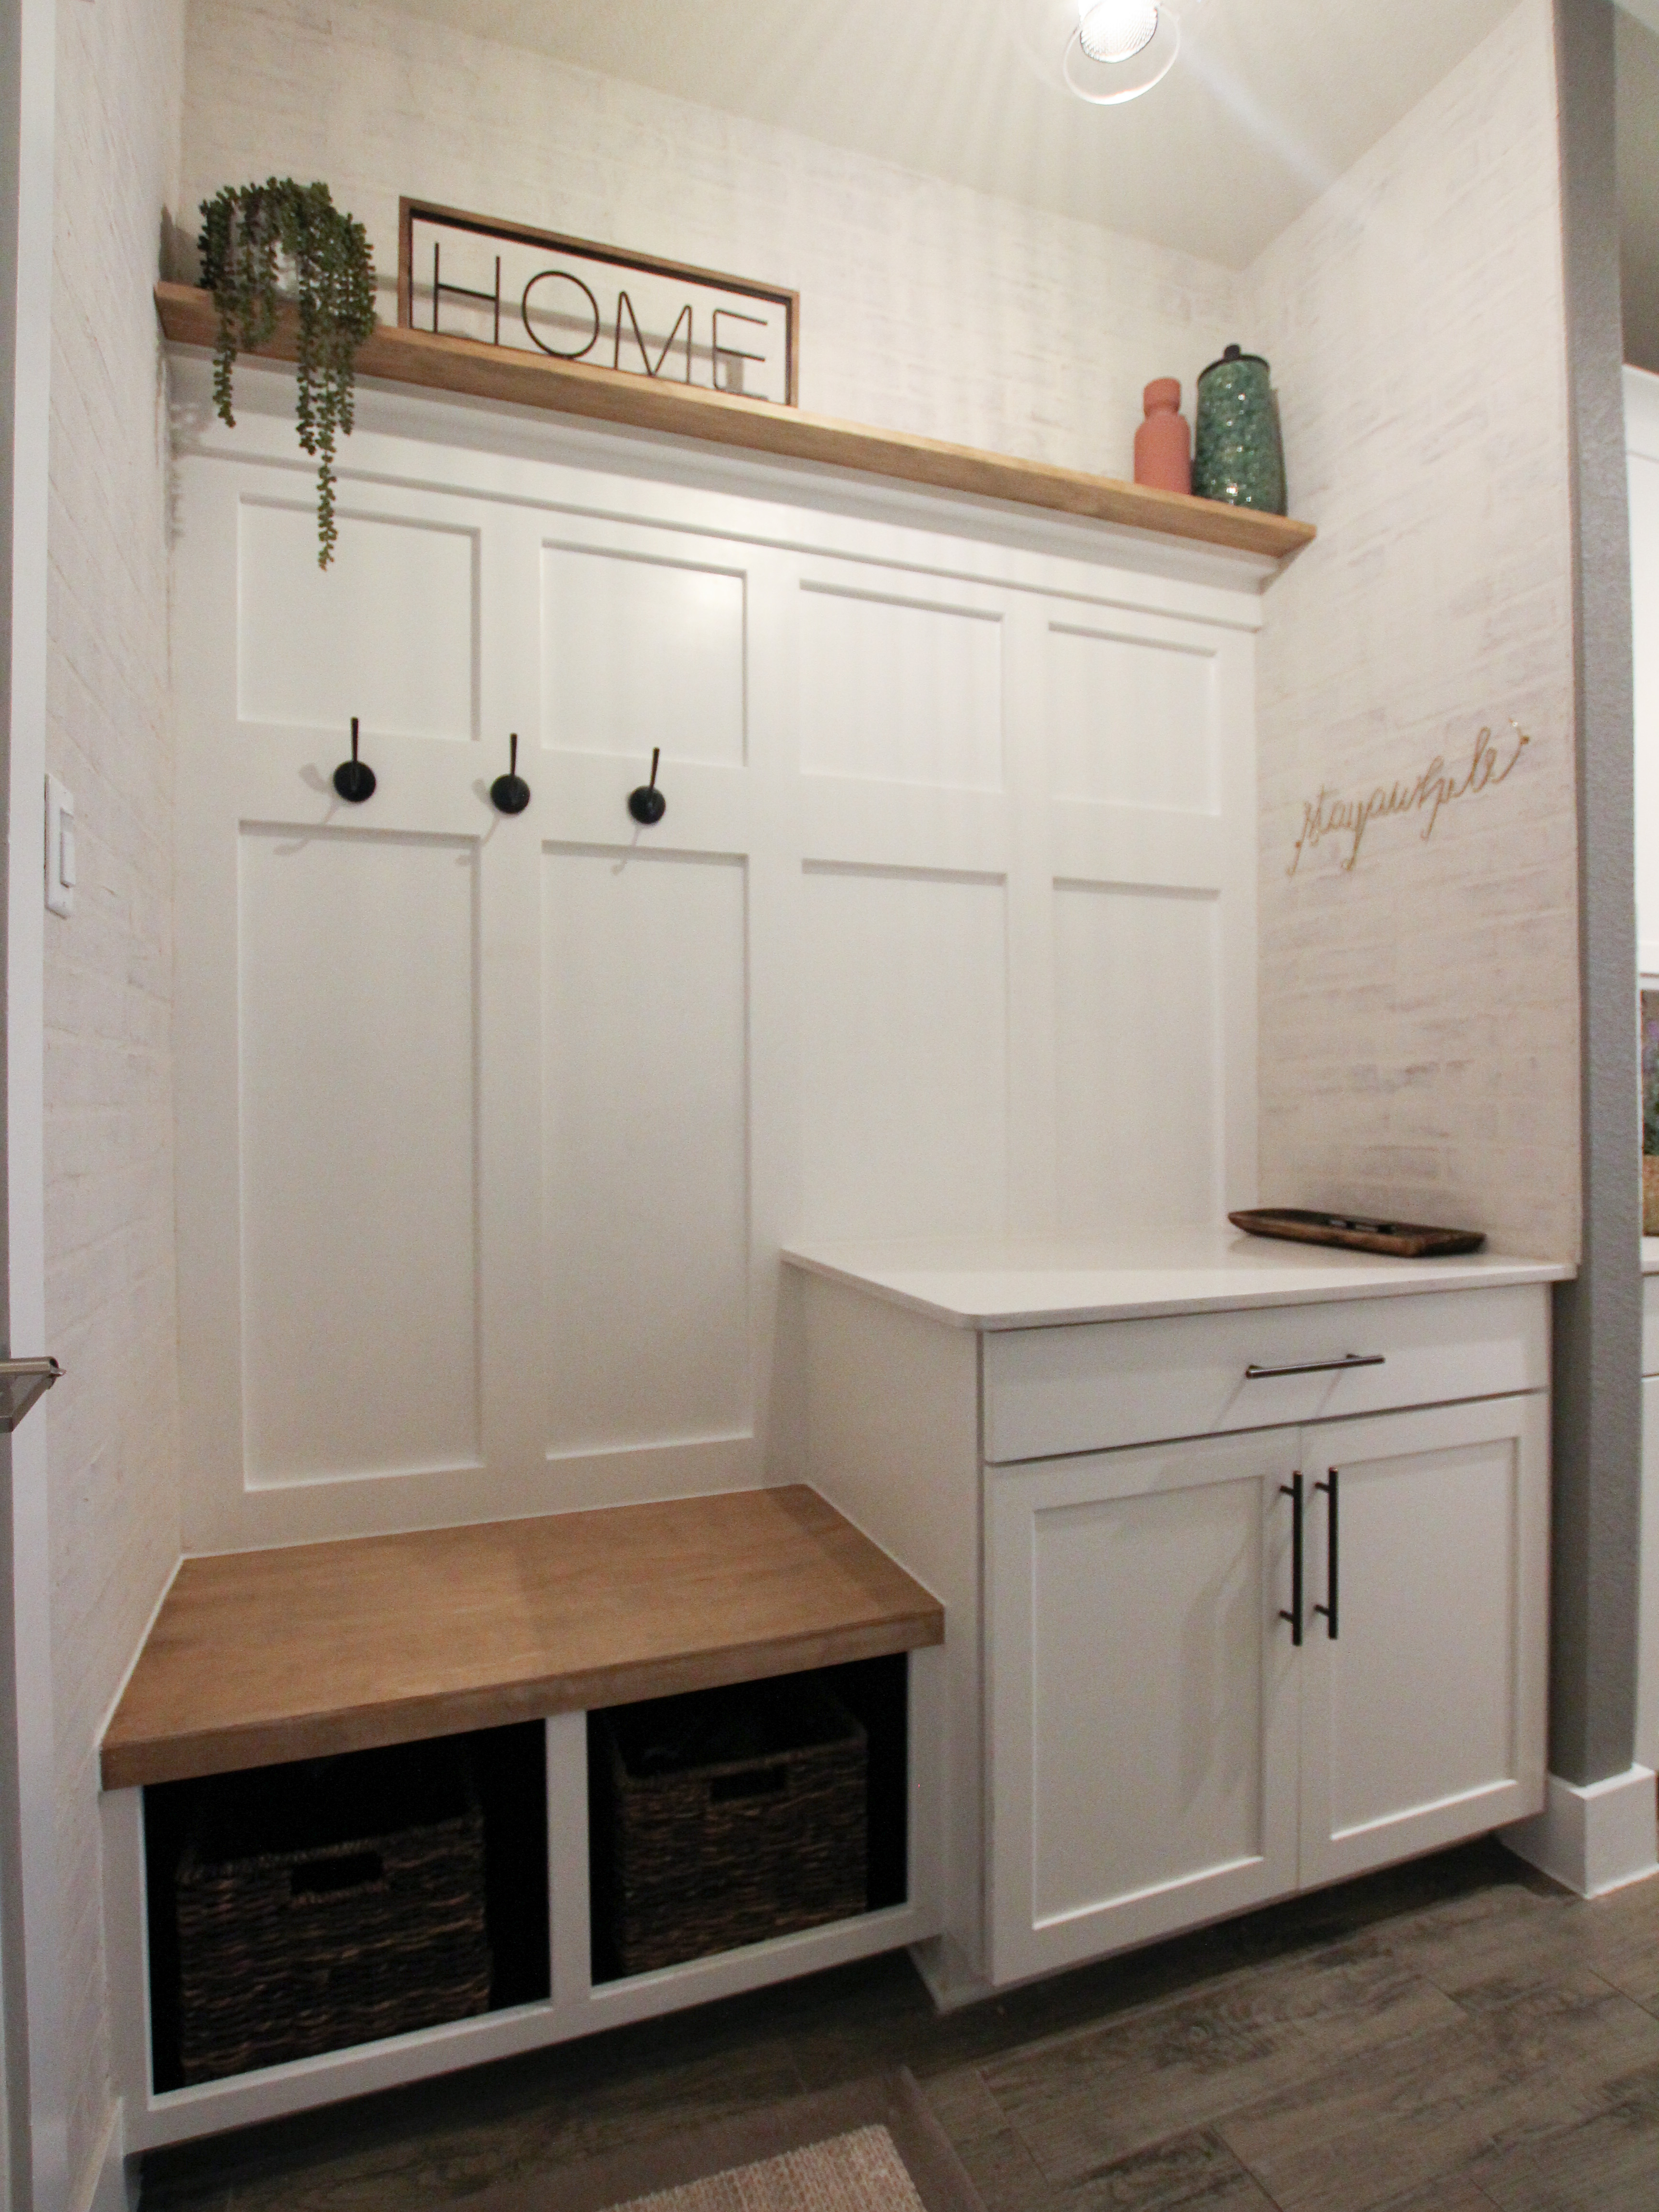
We refreshed our mudroom by extending the board and batten, adding faux bricks with german schmear, a butcher block bench, an accent poplar shelf, and a pendant light! Thats a great value at a TOTAL ROOM COST of $298!

Follow along at @olivegreyavenue for my next project and subscribe for first access to new blog posts!
Find us on social HERE!


