


How to make a Moss Bowl for $40


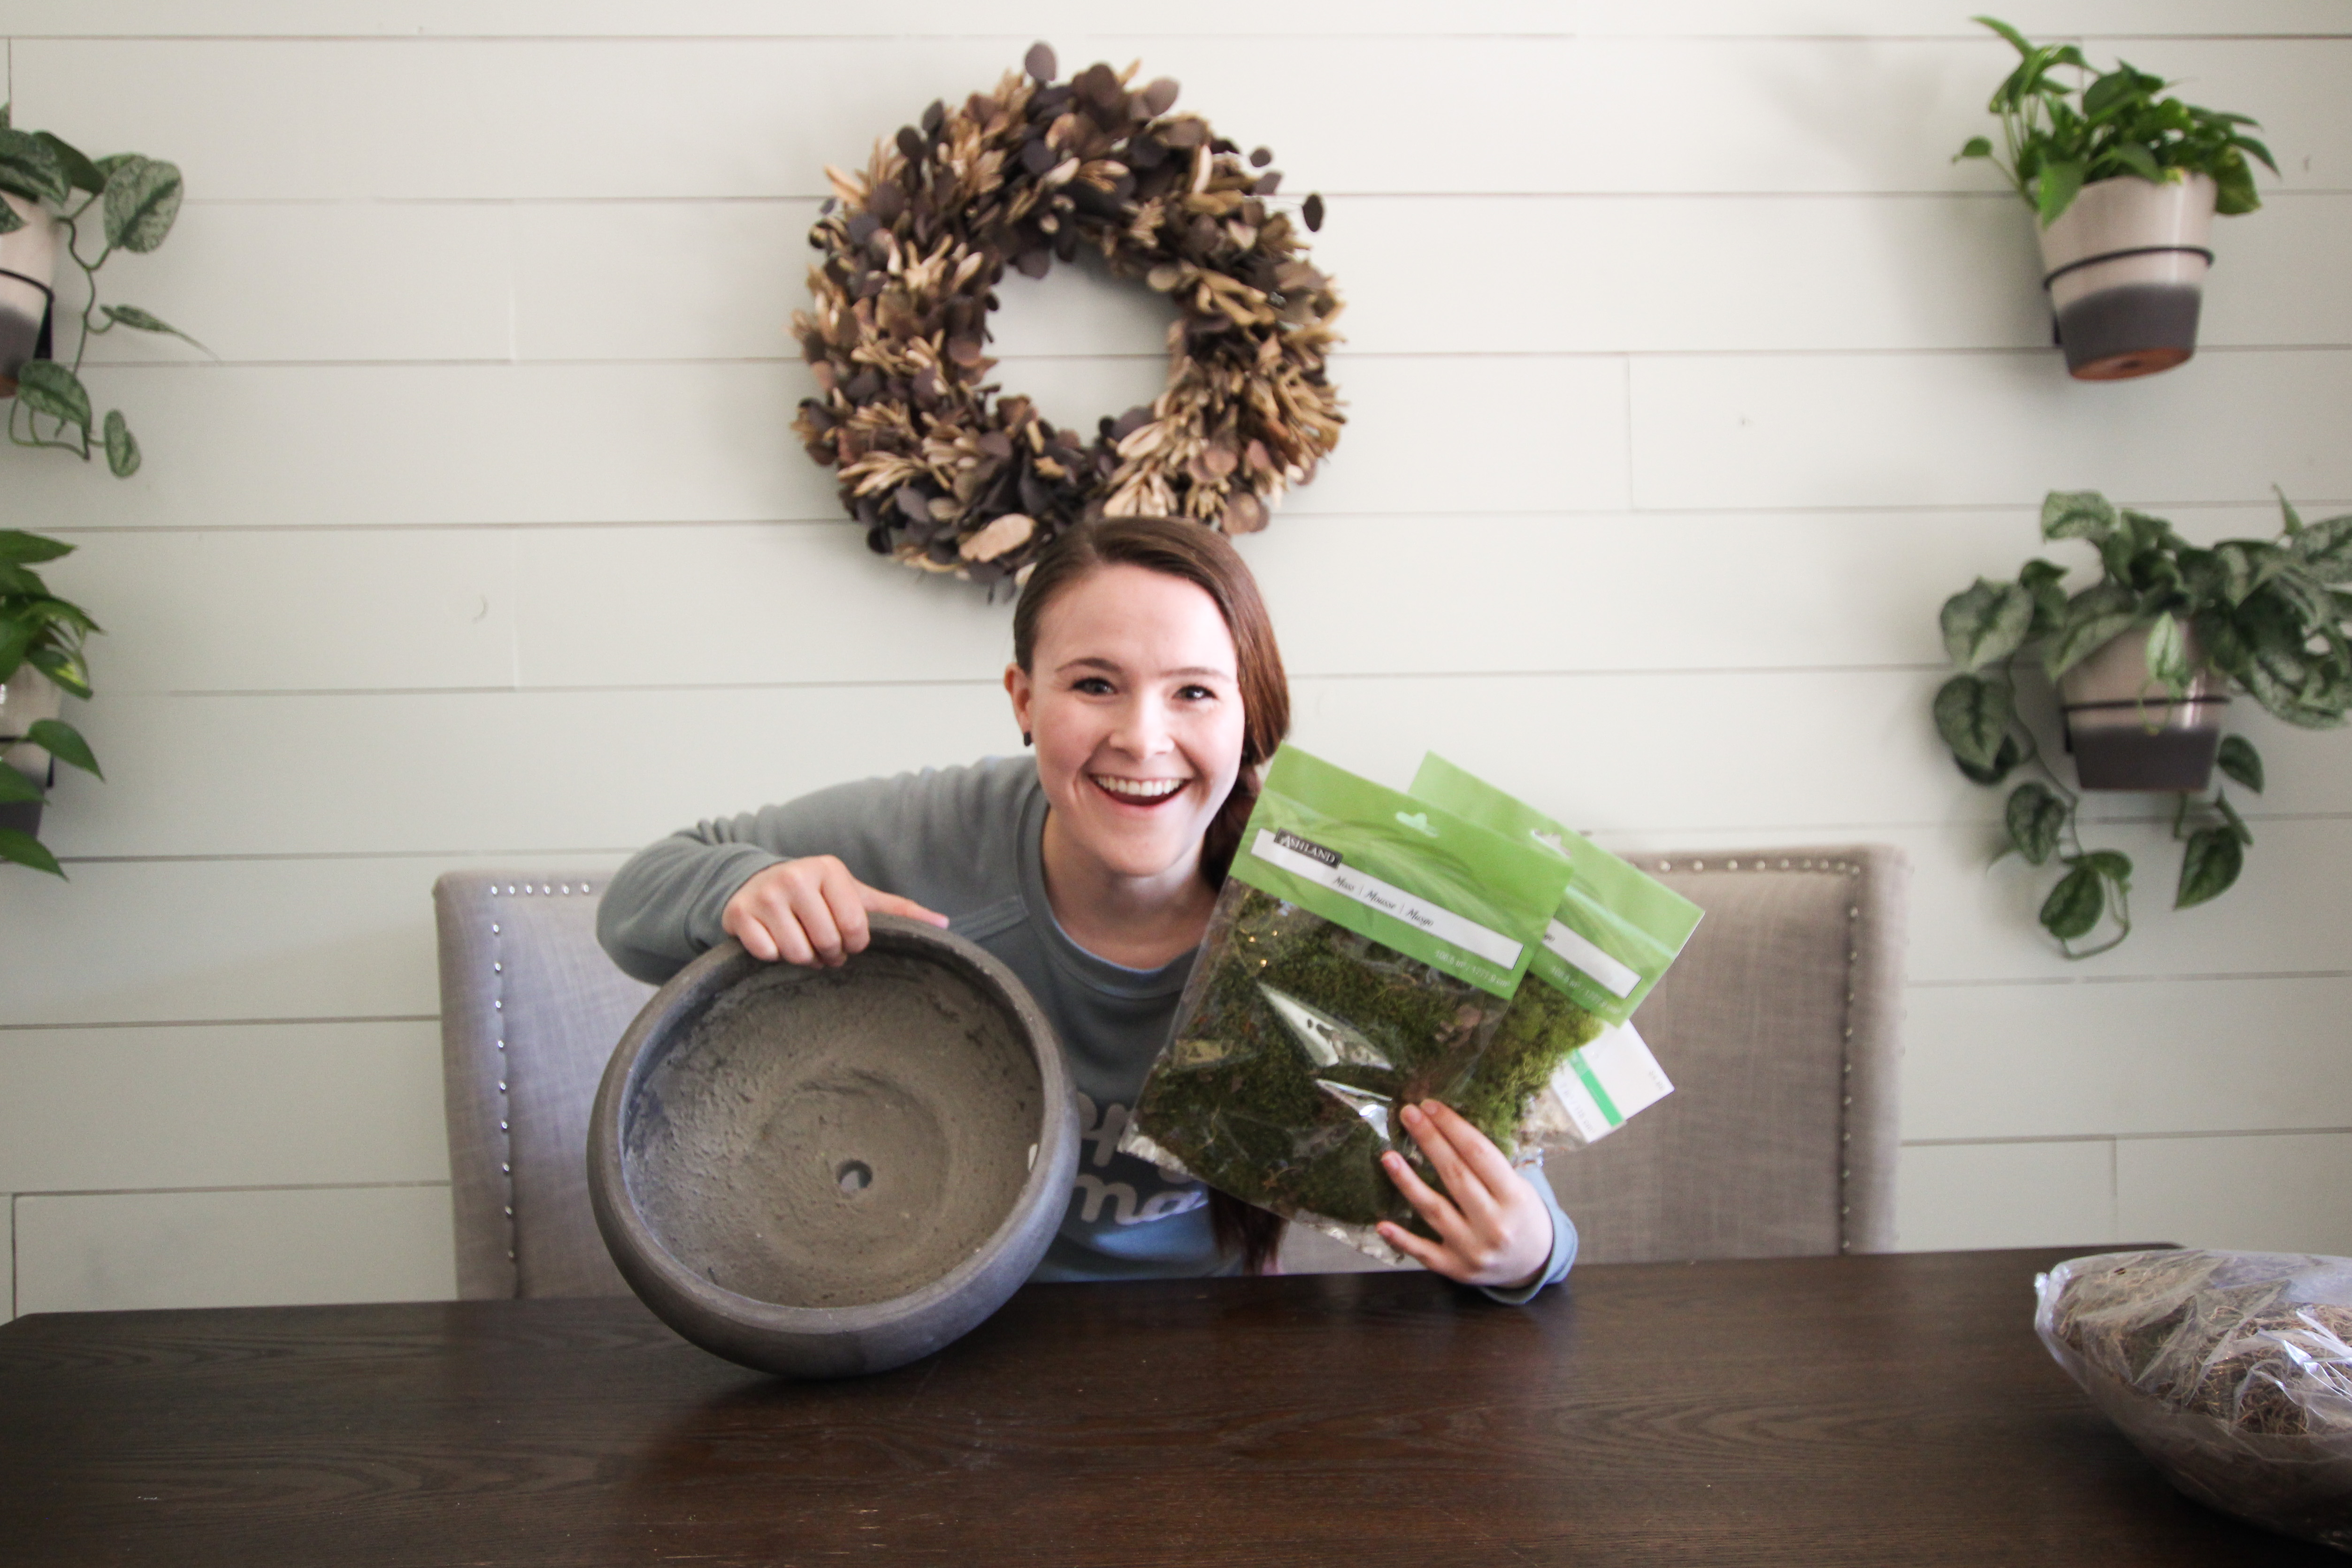
STEP 1: Create the base
I took 3 cubes of the floral foam (enough to cover the inside of the bowl) and cut down the edges so that they fit into and covered the opening of the bowl. Then I used a filet knife but any sharp knife will work just fine. I set the blocks on top of my bowl opening and followed the curve of the bowl as I cut the floral foam until it fit into the opening nicely.STEP 2: Shape the Base
I was anticipating the foam to rise above the opening of the bowl so that I could carve the foam into a slight mound shape. Since it was close to flush, I shaved off the edges of the foam to create softer edges on the interior of the bowl. This will allow me to tuck the moss into the bowl instead of it all just sitting on top of the opening and having a harder time covering the foam completely. If you have any gaps on the interior of the bowl, fill them with foam scraps that you cut off already so that everything is secure and doesn’t have a lot of extra space to move around in.STEP 3: Dry fit the Moss
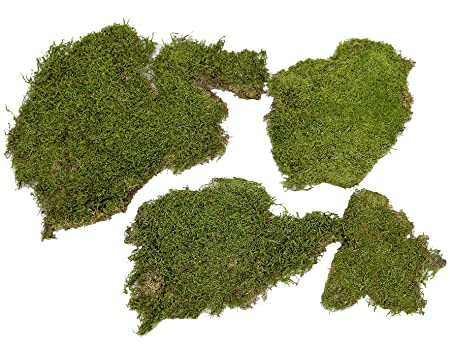
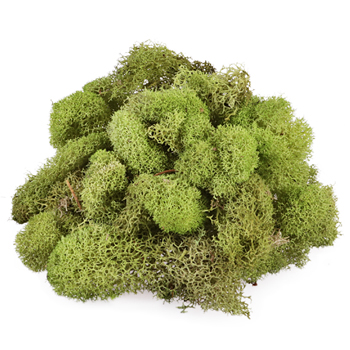
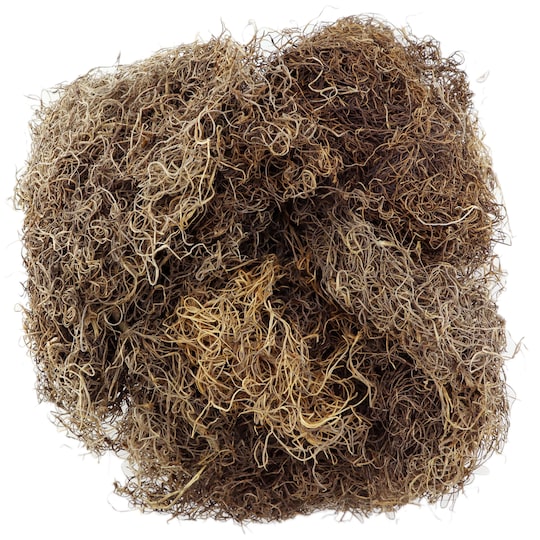
I started by placing the largest piece of moss on one side. The asymmetrical look to the bowl will give some interest to our design. Then I took a moss ball and cut it in half to give some dimension to the mound we’re making. It’s just foam so was easy to cut through. Now, just start filling in the gaps with the rest of your moss. The Reindeer moss is my favorite so that’s what I’m using a lot of. I also added another whole moss ball to prop up the large piece. It will help create that mound we’re going for. Nestle the succulent and stems into your mound (or whatever other accessories) and that’s it! There are lots of other options for what you can add to your moss mound. Full disclosure, I meant to add some river rocks had on hand but I totally forgot. I love how it turned out regardless. I then decided not to add them later, even though you can easily add things in at anytime.STEP 4 : Glue it all together
Now let’s get everything glued down. You’ll want to use a hot glue gun but be careful, it gets really hot! Just go around the bowl, glue piece by piece to the floral foam and make any necessary adjustments. You don’t need a lot of glue, we just want to make sure everything stays where it’s supposed to.

Leave a comment
Close comments


