


DIY Raised Garden Beds – Part 2


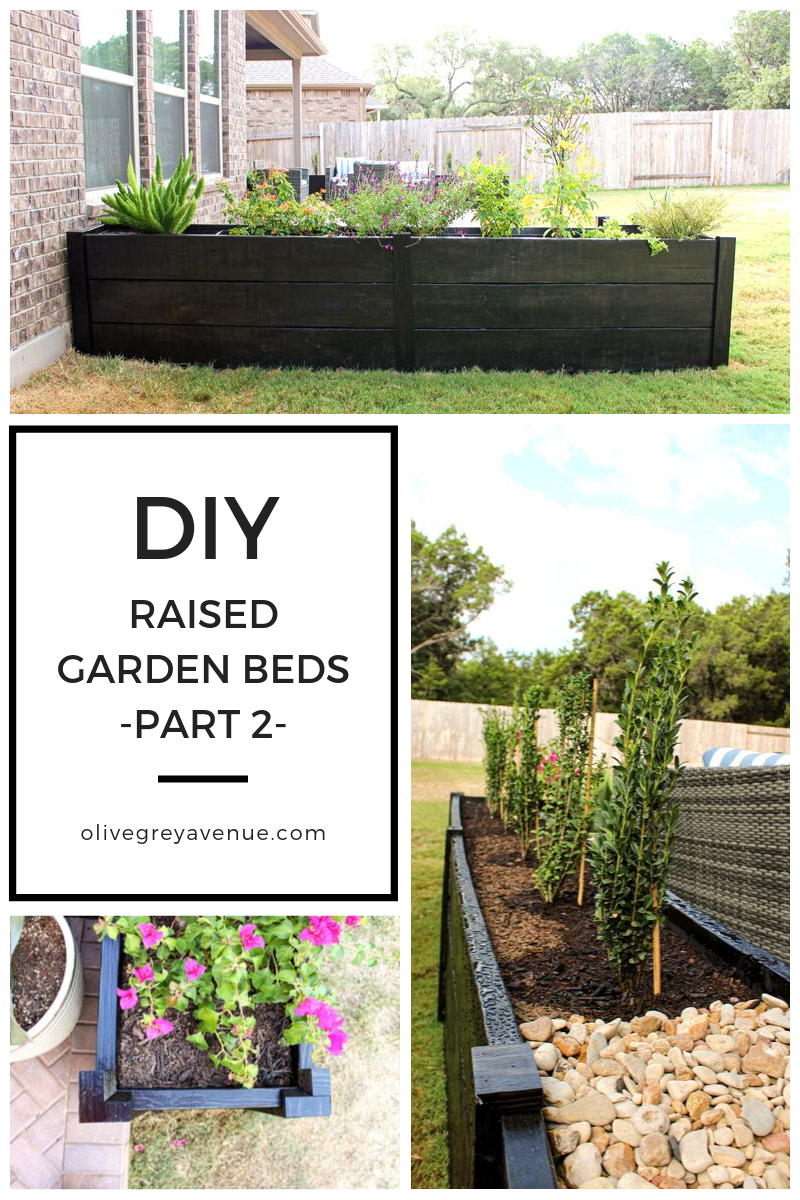
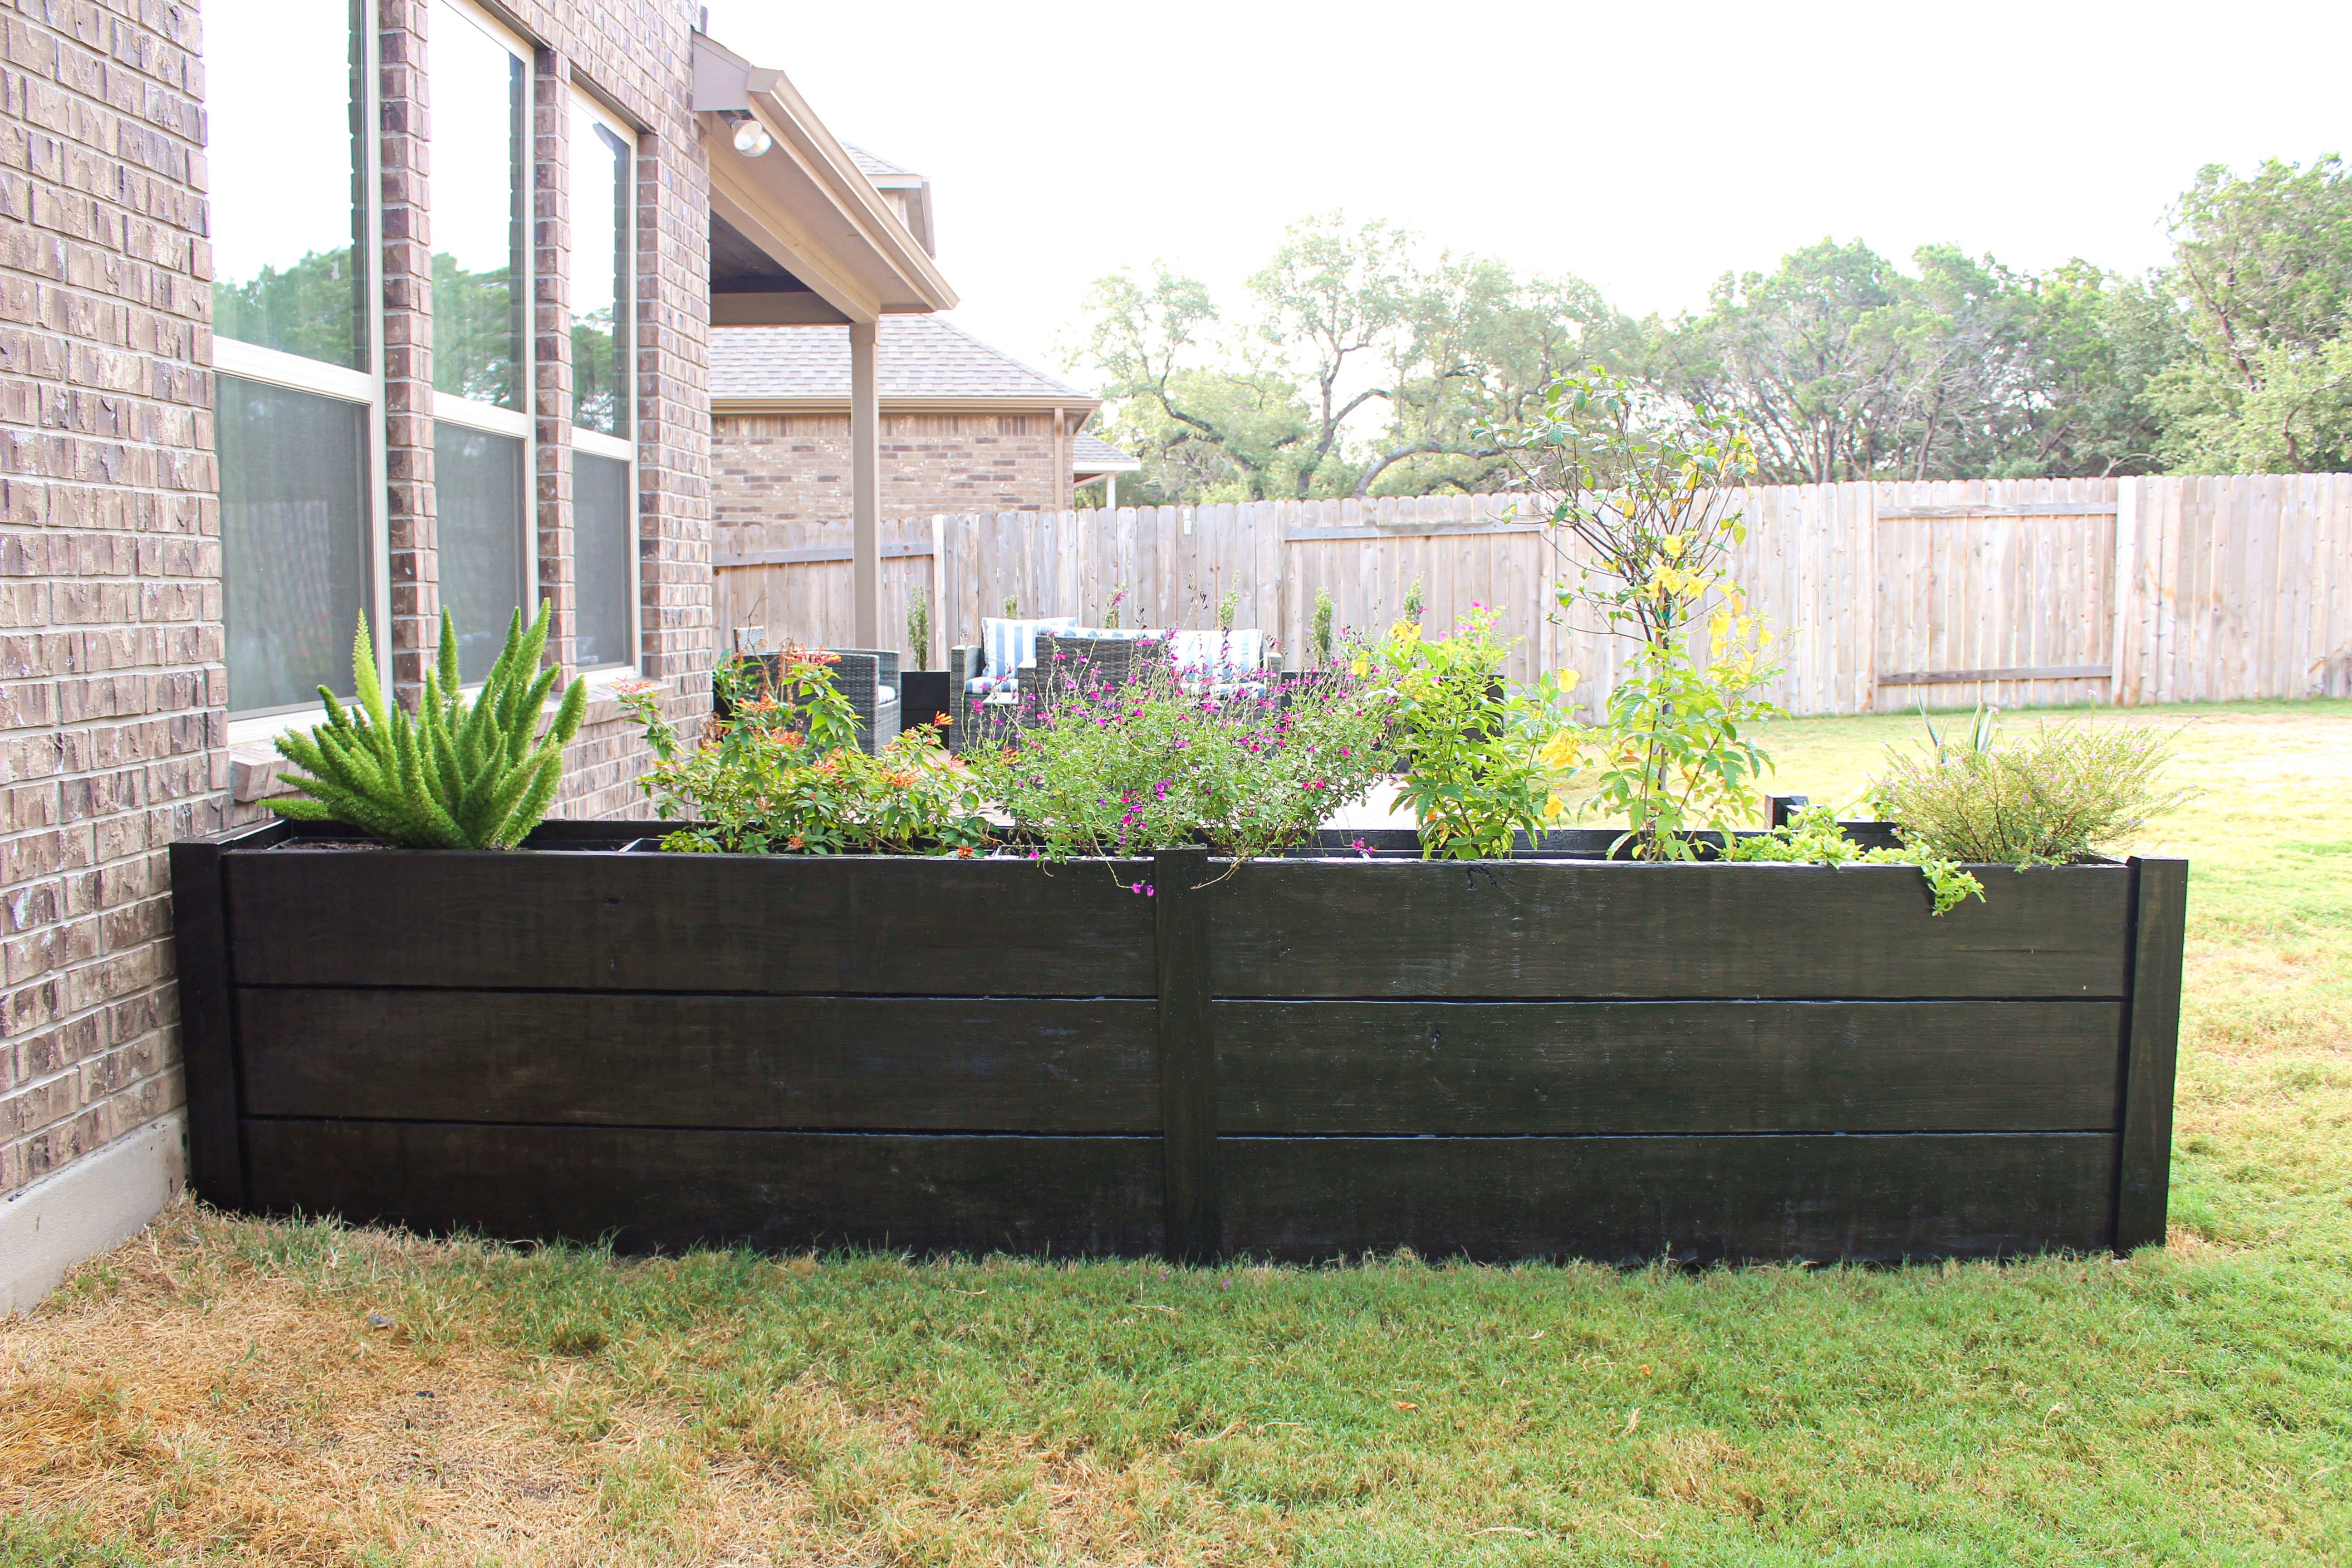
Finally! After 8 long weeks of work, the Raised Garden Beds are complete! Before we move to the next thing, let’s dig into all the details, mistakes and discouraging moments I experienced to make it to the end of this project.
Review of Part 1- Raised Garden Beds
In part one, we completed the building of the Raised Garden Beds. I thought that would be the most difficult part of this process but little did I know, it would be the most dramatic DIY project yet! (I just have to make a Bachelor Nation reference with the Bachelor In Paradise finale Tuesday night!)
The plan was simple: stain and seal the wood, add soil to the long bed to compensate for the soil compacting several inches lower than I wanted it to be.
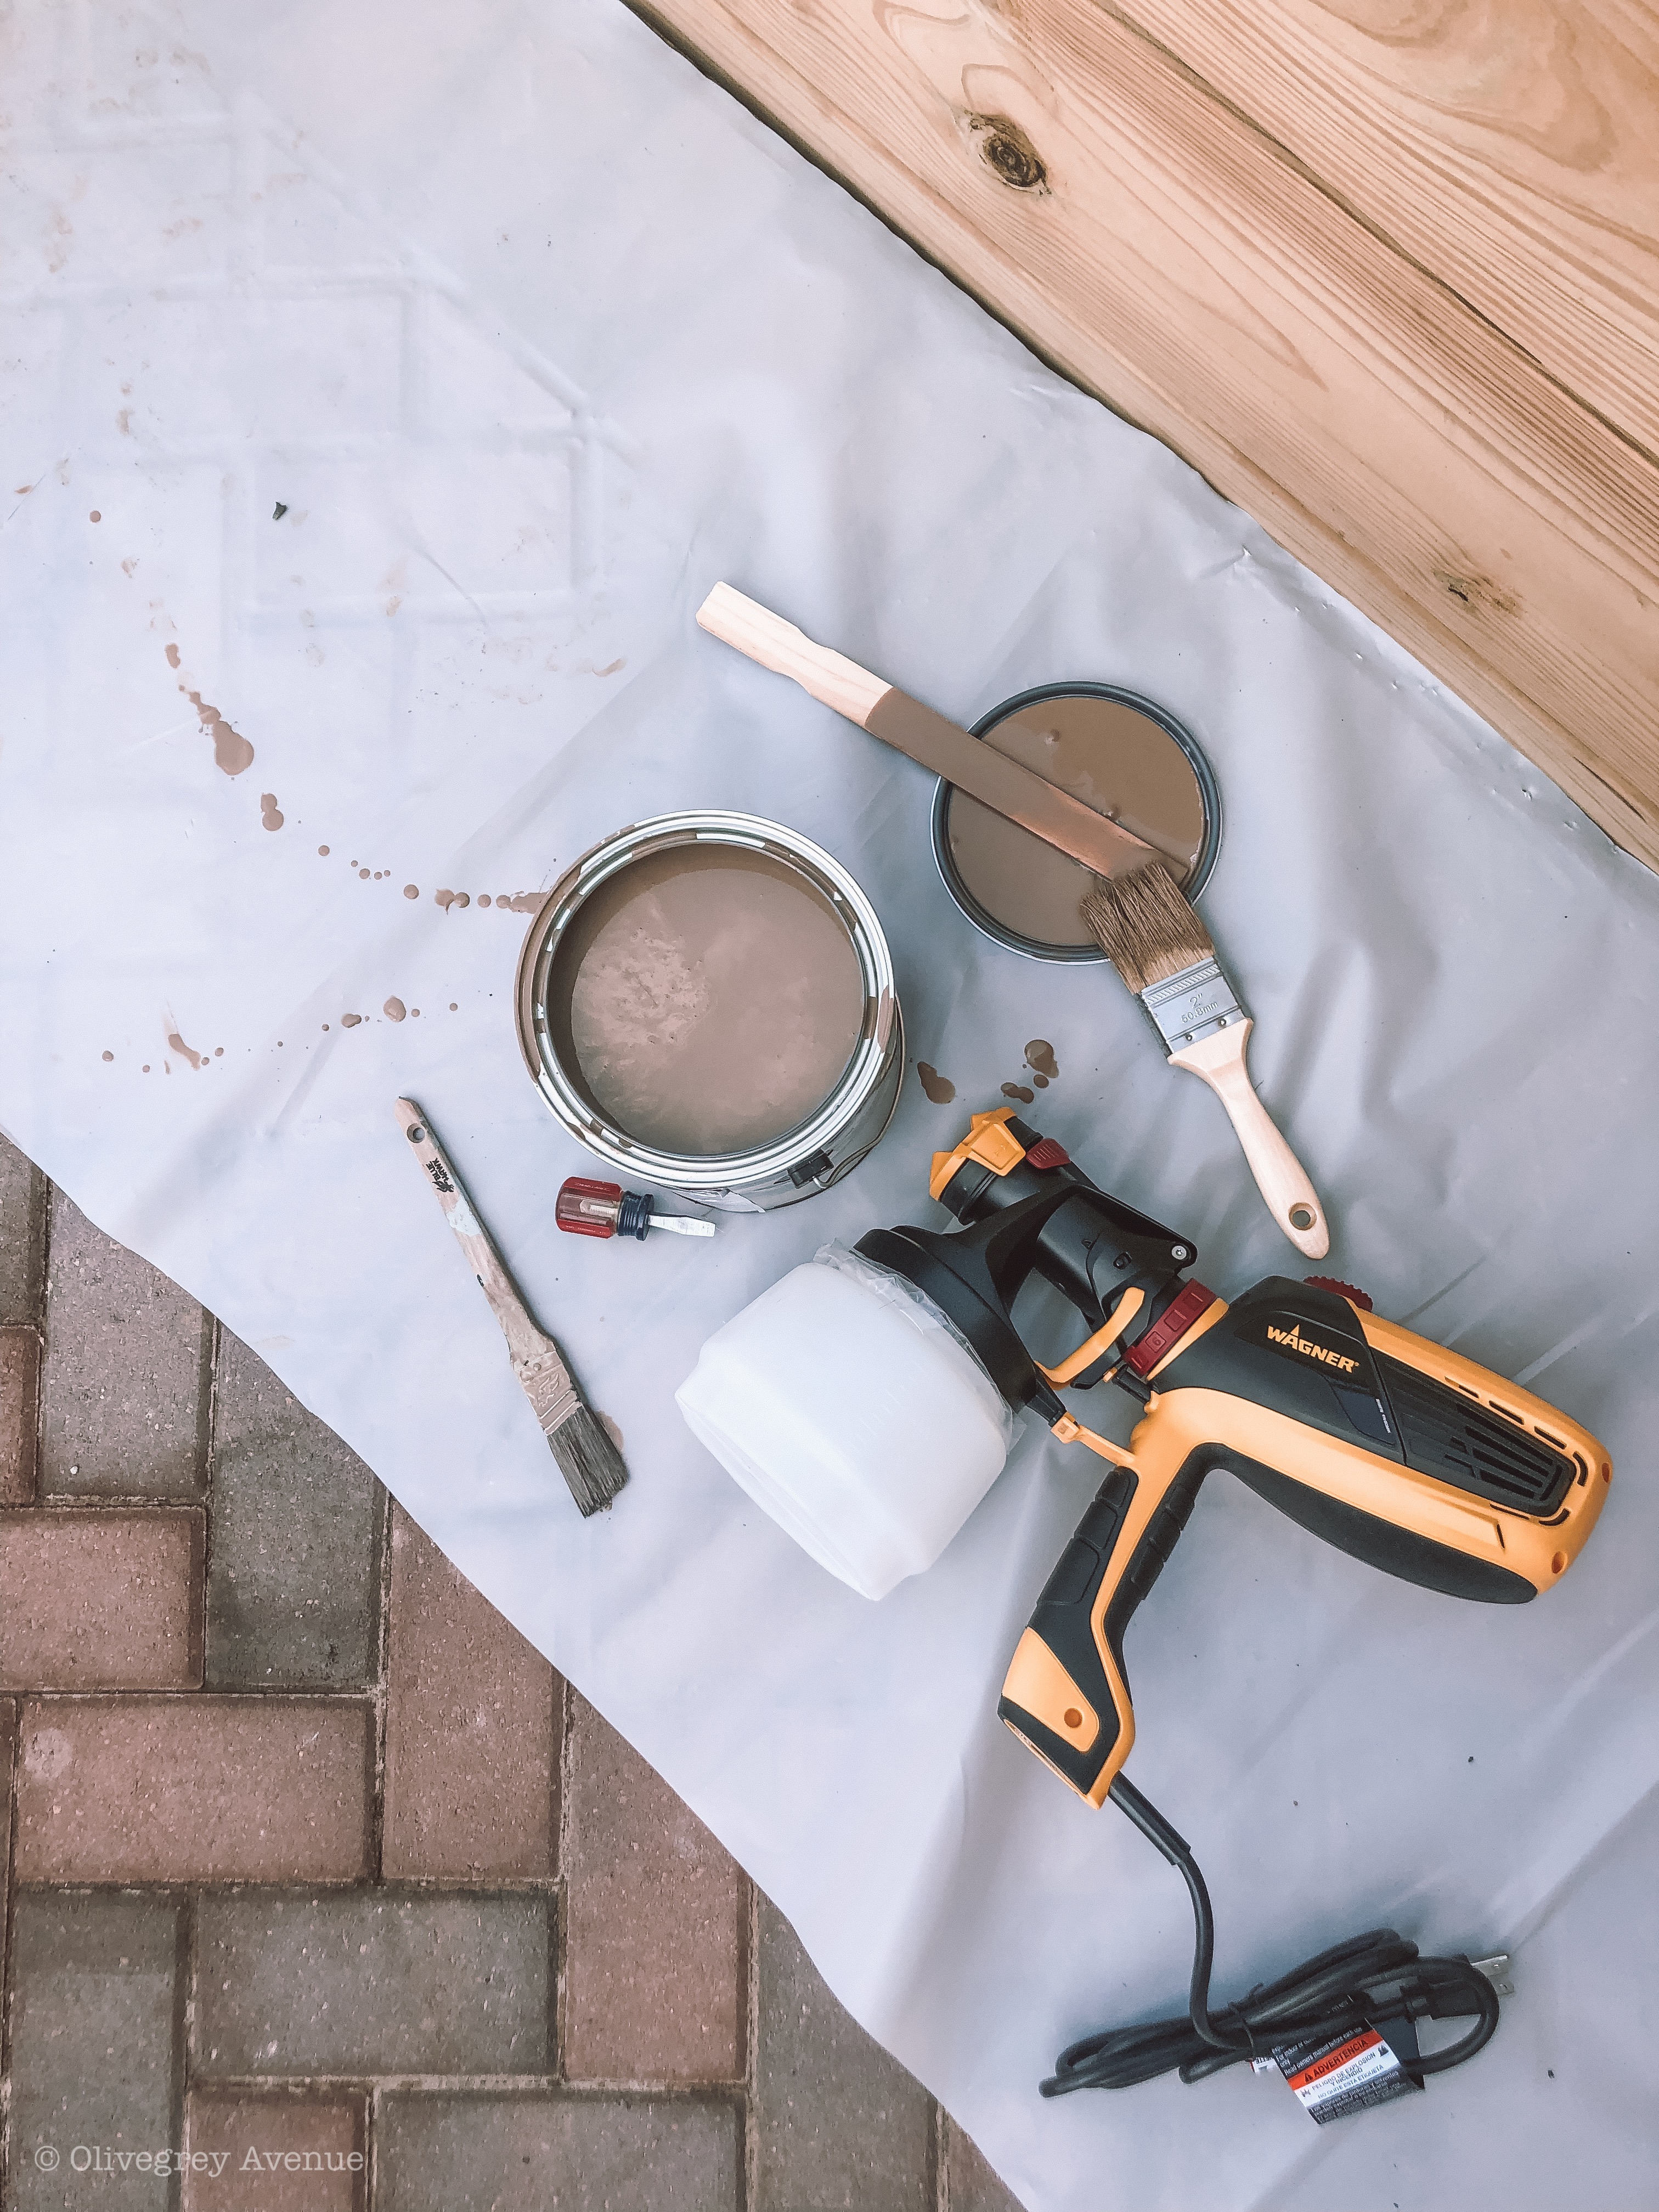
I started staining the small bed first with a semi-transparent light brown stain. I was using my new paint sprayer so I was pretty sure I would be able to complete at least the staining in one day. The sprayer worked really well and made it a super quick and easy process. I had to adjust the flow and direction of spray a couple times but overall I was really pleased with it.
Mistake?
When I finished painting that whole bed is when I realized that I don’t like this color at all! You may be asking yourself, “how do you not realize that you don’t like it before doing the whole garden bed?” I did have my doubts while staining, however I wasn’t sure I didn’t like it and a lot of the times that I feel like that, I just have to wait until I see the whole thing and then I love it. I hadn’t gotten samples to test, I just picked a color I liked at the store for what I was imagining in my head. That’s actually how I usually work and it usually works out but this was not one of those times.
Downhill
This is where things went down hill for me. I don’t like changing my mind on something after I’ve already committed to it and I really got into my head after the first color flopped. I couldn’t decide if I should just suck it up, do another coat of the color I didn’t like and move on or if I should put in the extra work and time to find a color I loved. A friend even helped me imagine it more by photo shopping the beds to be lighter and darker colors. After weeks, literal weeks, of indecision I bought two sample colors to try out. I tested both colors on scrap pieces of wood and I decided on an Ebony stain.
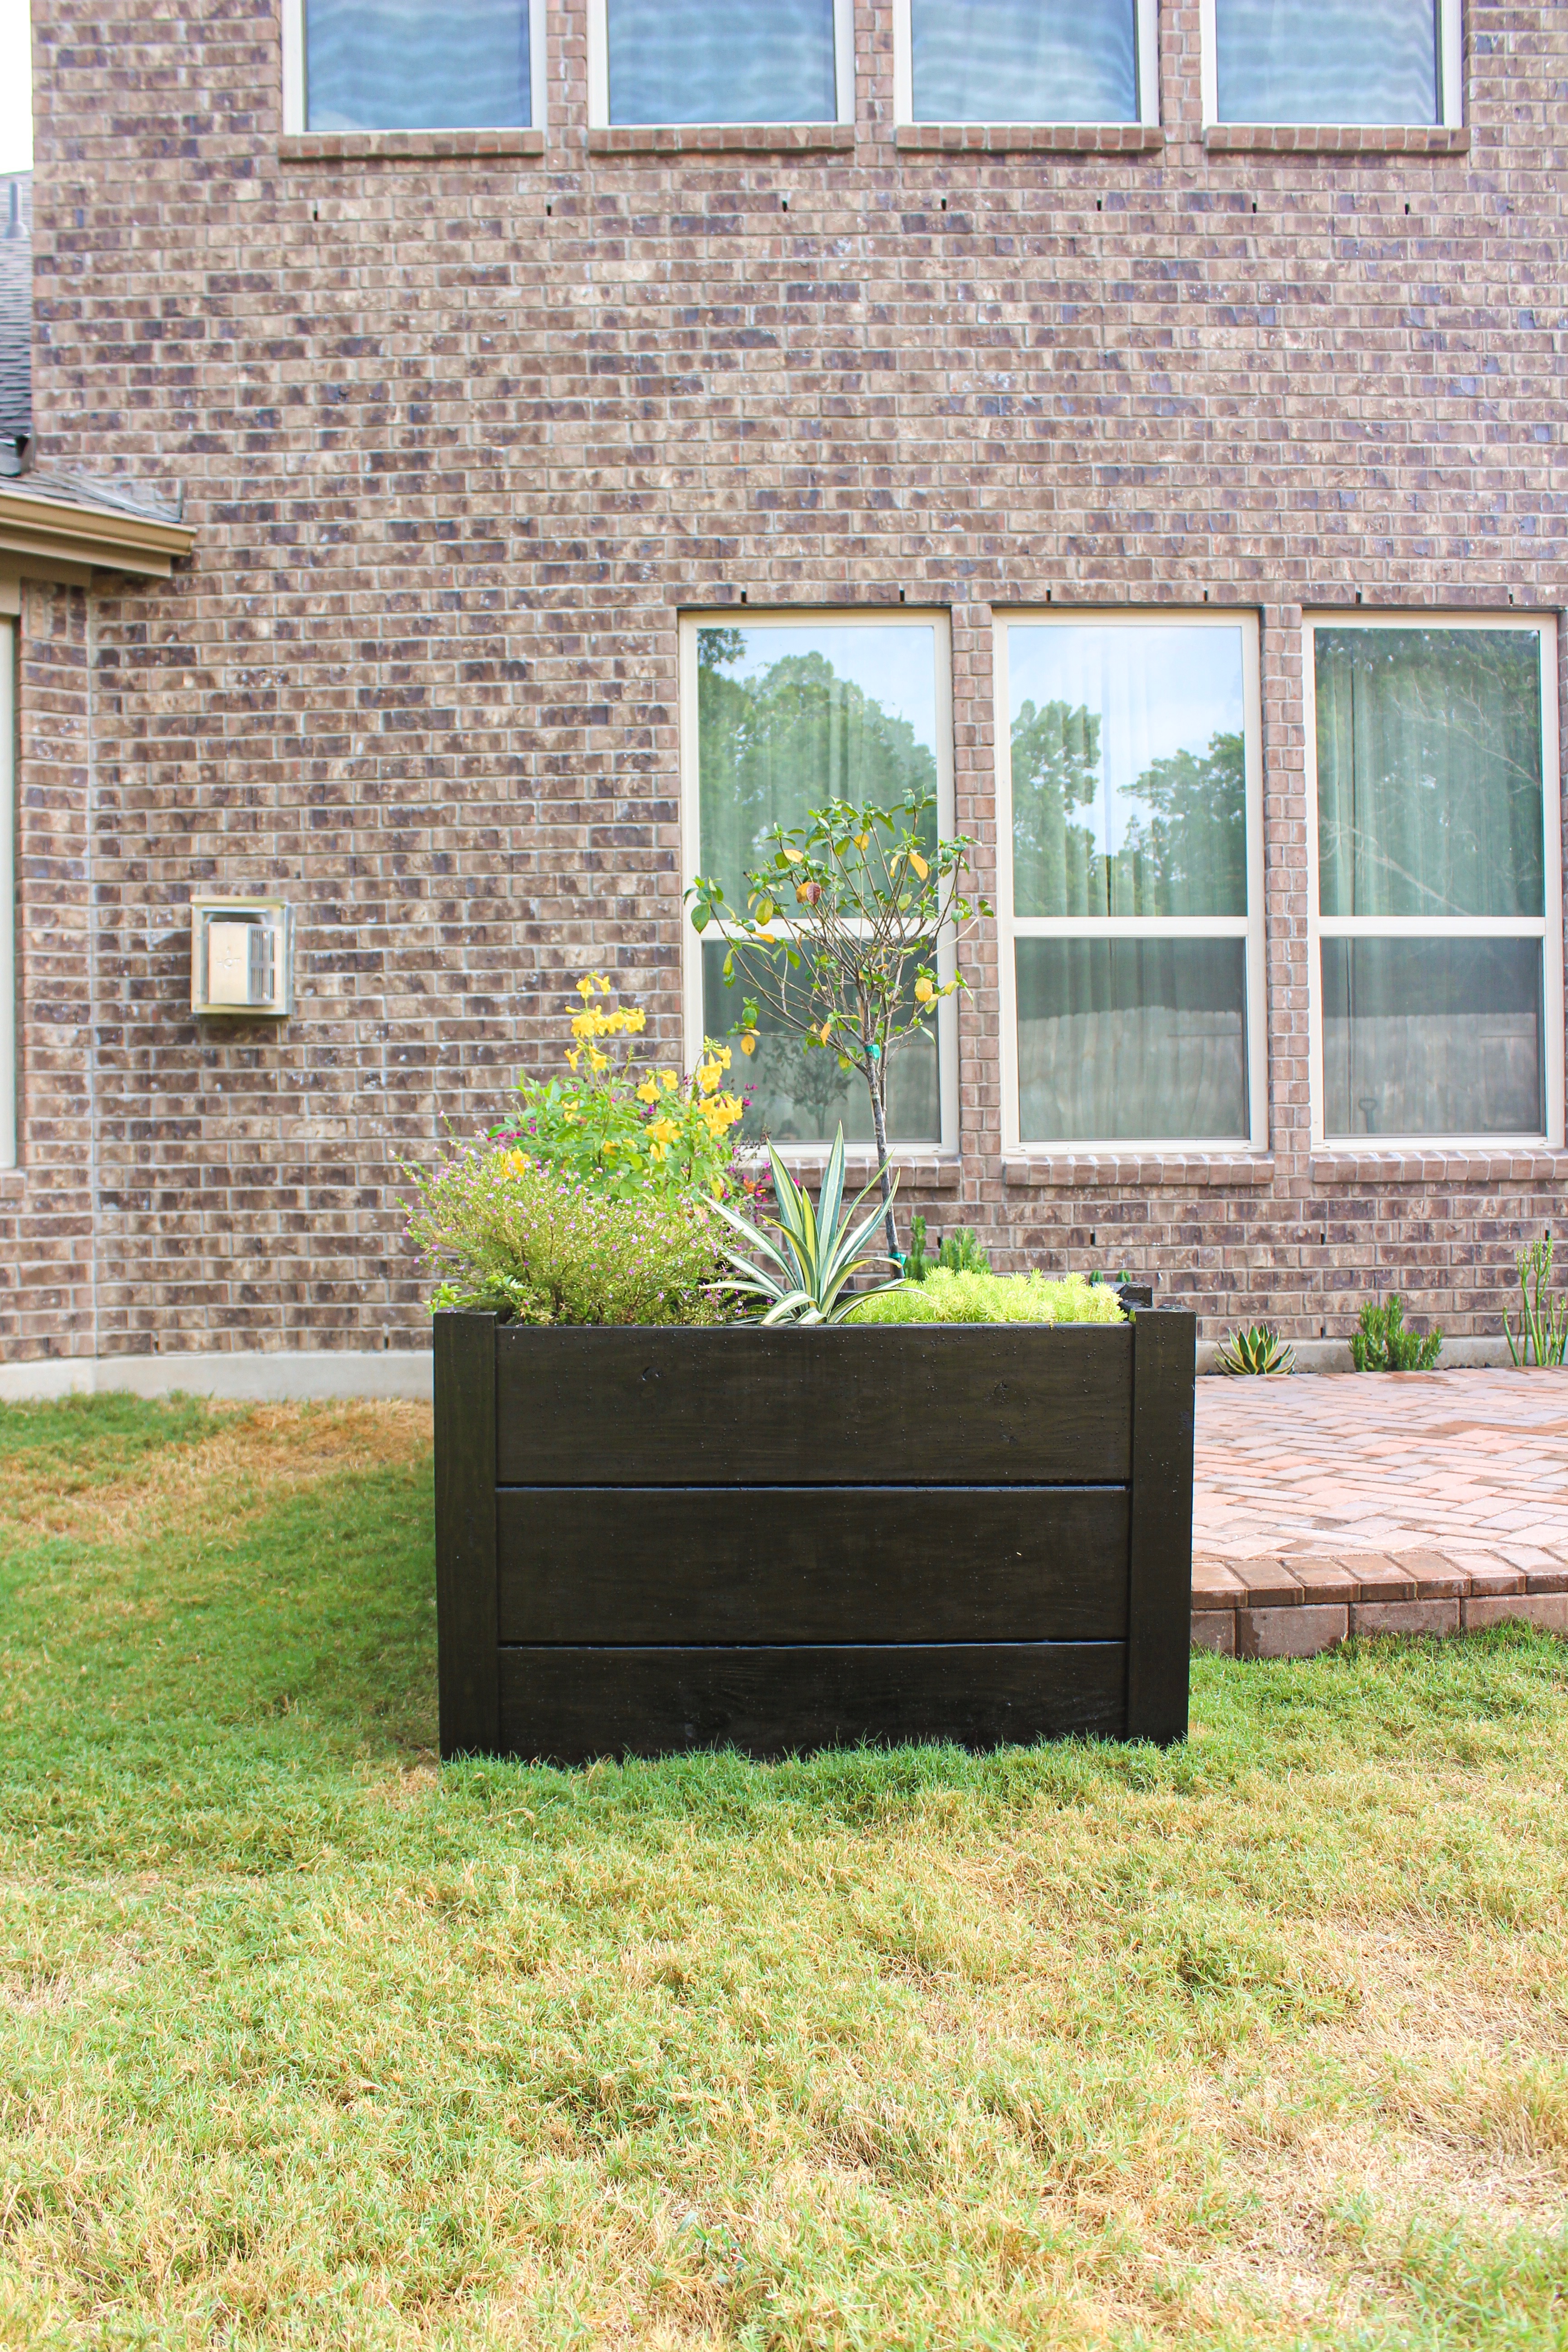
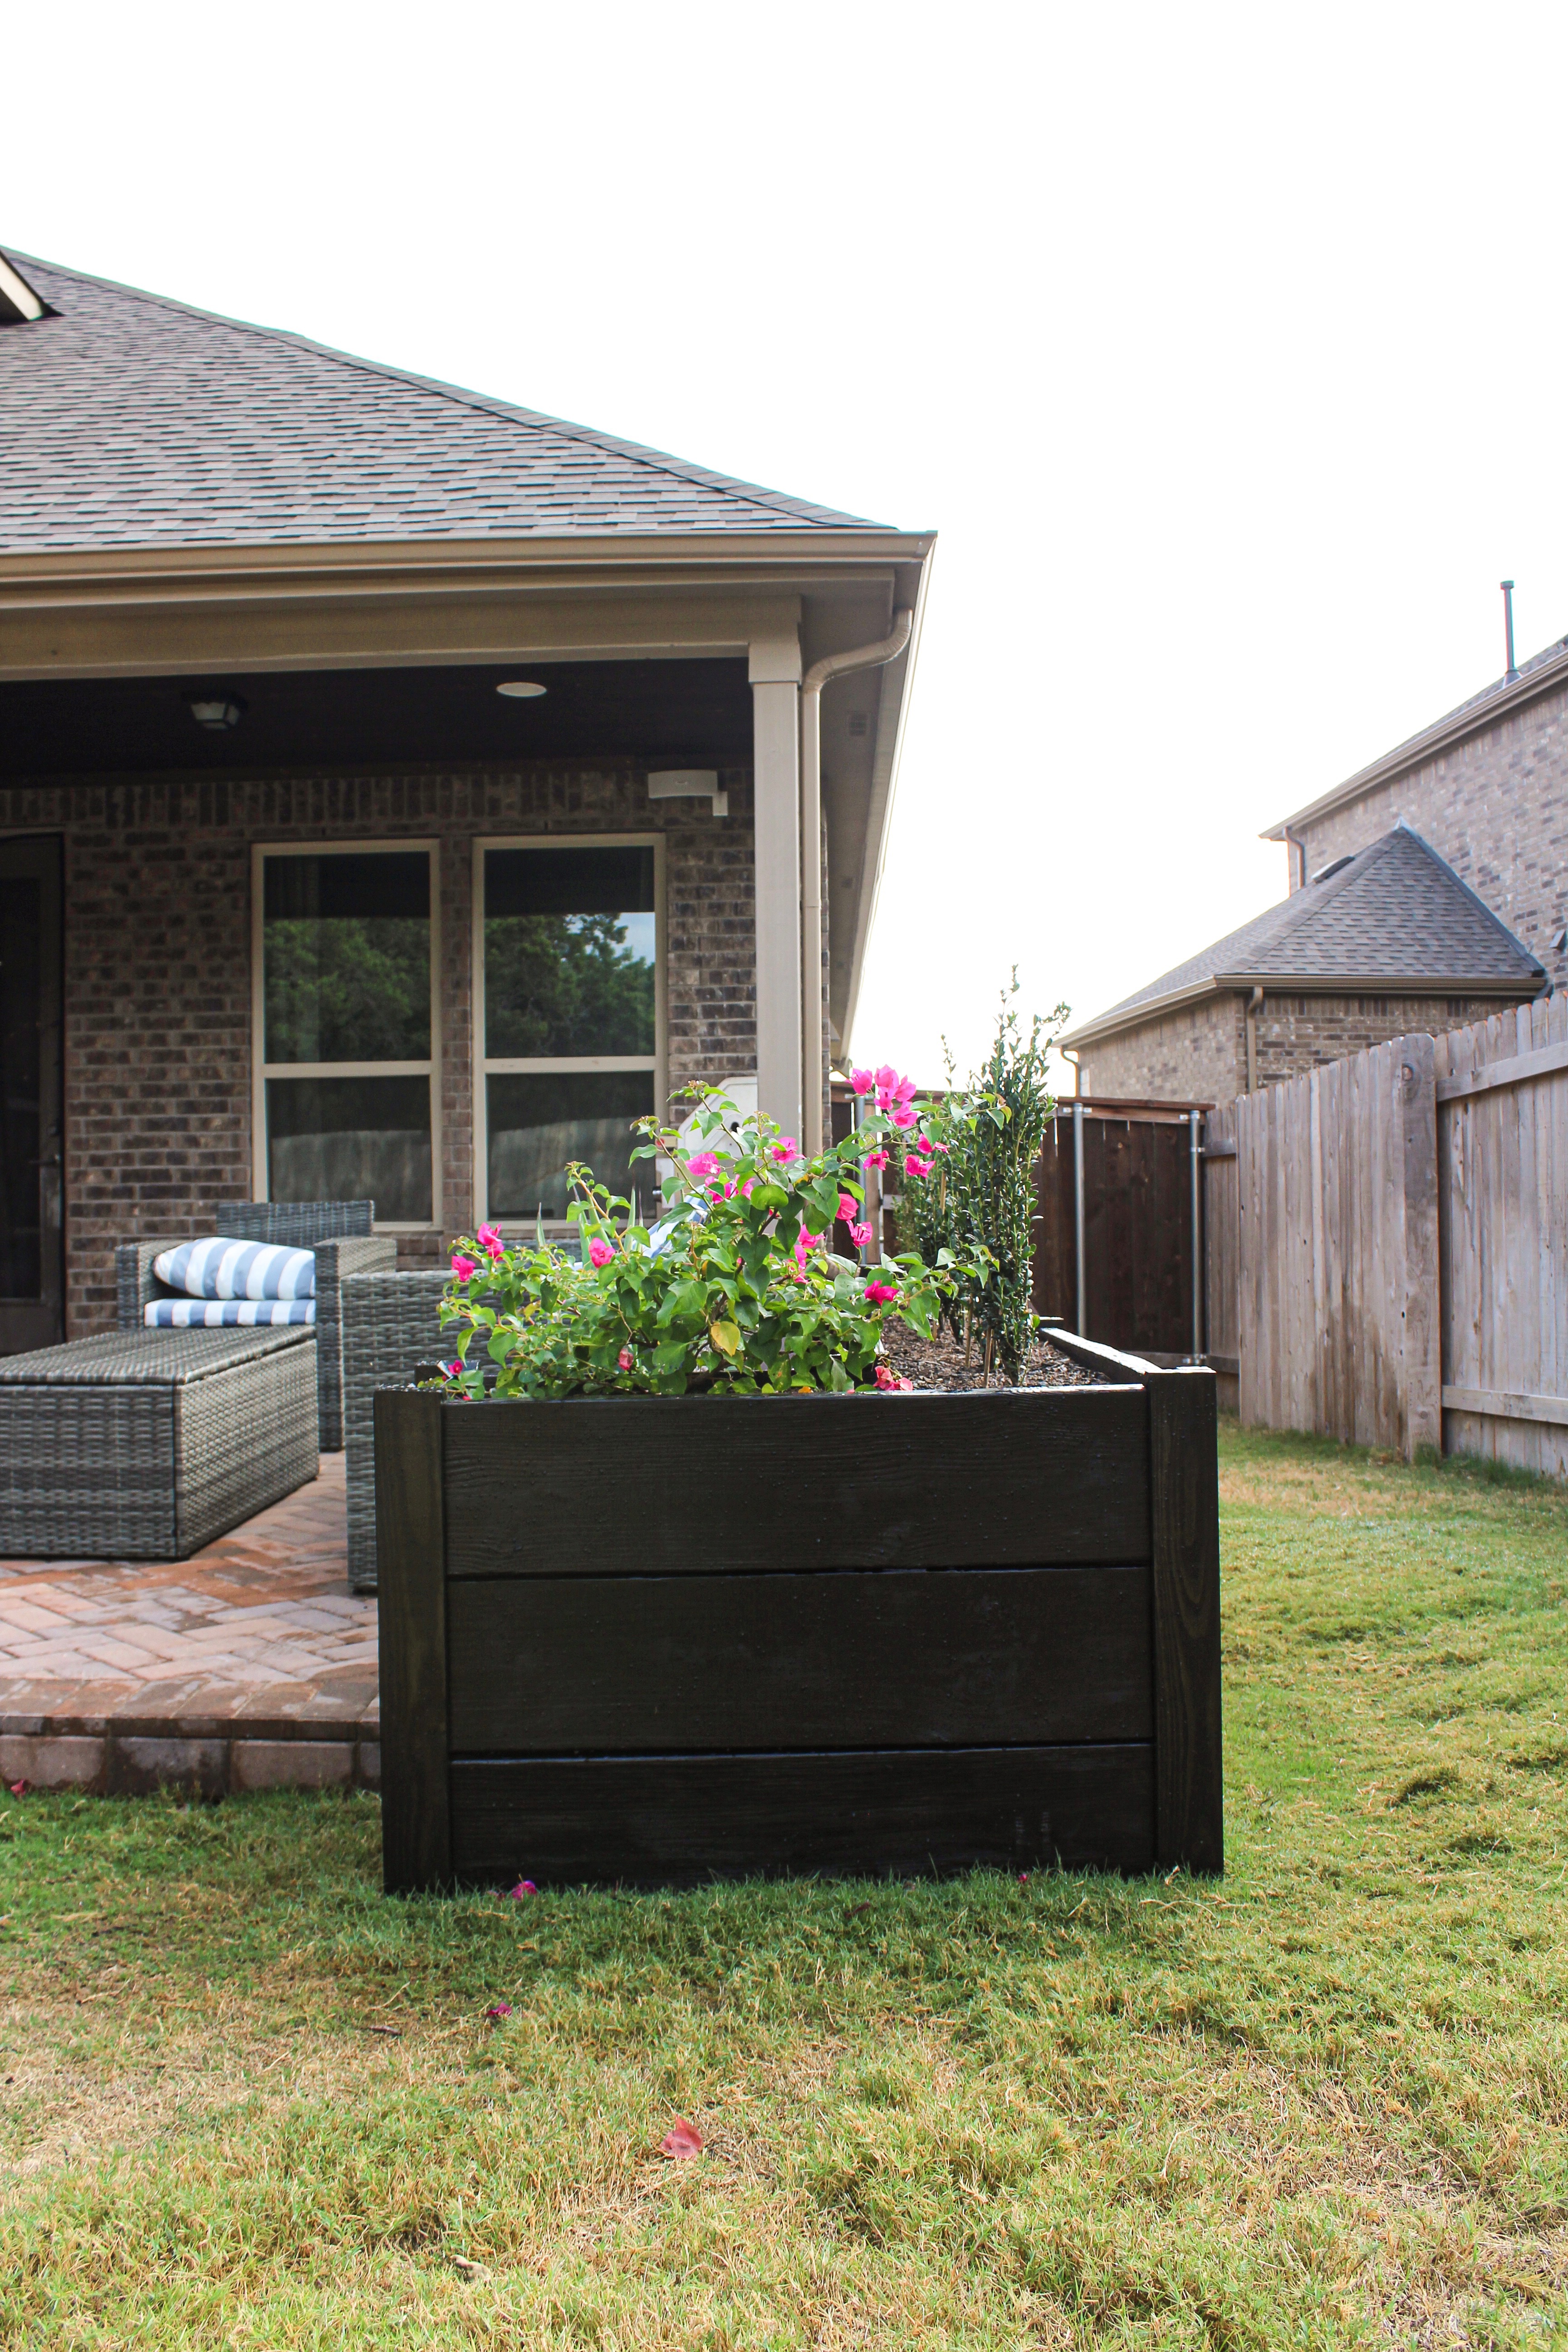
After I decided on Ebony and stained one small area of the unstained bed, I even questioned myself again if I should have picked the other color. I love the black accents in homes these days, but I was worried about going too bold. Even with my second round of indecision, I just sucked it up and moved forward with the Ebony stain.
TIPS FOR CHOOSING THE RIGHT STAIN:
1. SAMPLES!
Take the extra time and spend a couple extra dollars to get at least 3 different colors. The first 2 can be your top two choices and the third I recommend a wild card color that you like but may be outside your comfort zone.
2. BE AWARE OF TRANSPARENCY
Make sure you know what kind of transparency you want. I chose semi-transparent because I liked the color pallet at the store but I didn’t fully understand what that transparency meant. The look I wanted was with a transparent stain. To me, semi-transparent looks like a cloudy stain or a too-thin paint–not what I envisioned.
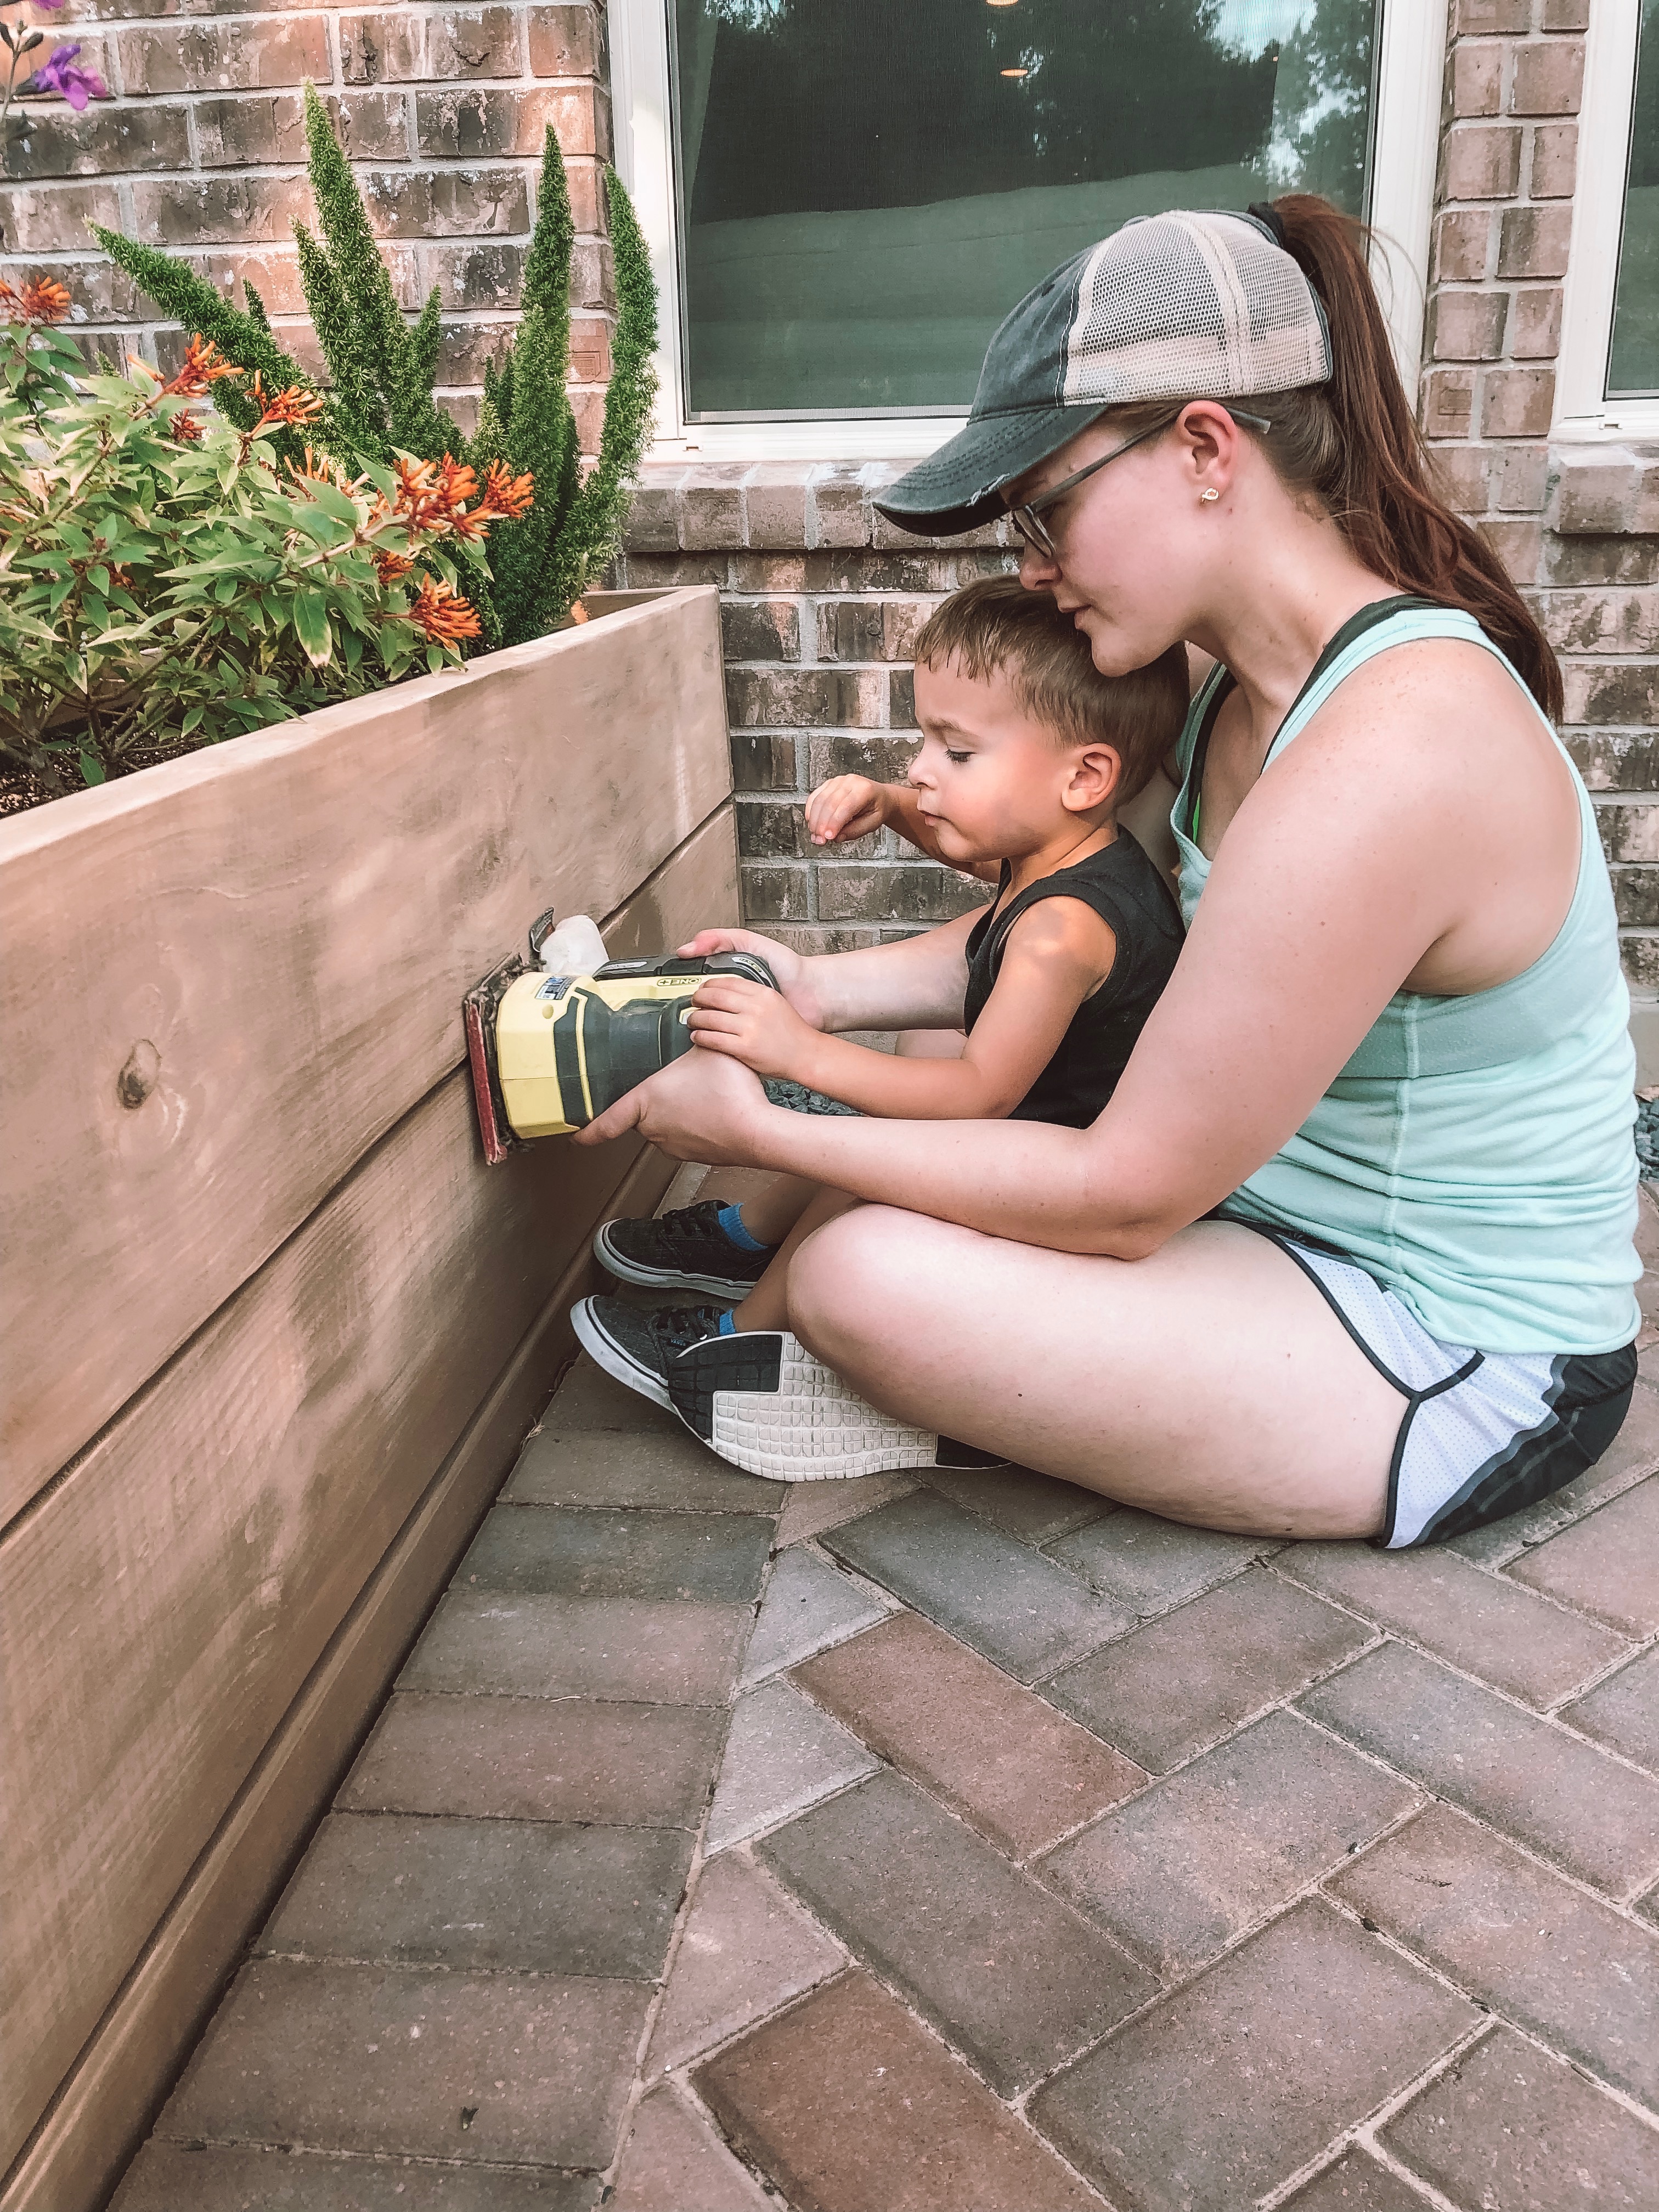
SANDING
I correct my mistake of staining the first Raised Garden Bed, I sanded the entire thing down to rough up the surface to absorb the new stain and get some of it off. Well it didn’t strip it because it was such a light color that was so close to the original color, I didn’t think it was necessary. I took 80 grit sandpaper in my Ryobi Cordless Sheet Sander and hit the whole thing. I also took my sander to the large garden bed even though it wasn’t stained. The wood itself was rougher on it so I just wanted to make it look a little cleaner.
STAINING
The second time around, I used Minwax Penetrating Wood Stain in Ebony which is only a stain so I needed a separate sealer. I decided to not use the paint sprayer again for this application, I didn’t want any more uncertainties. So, I used a simple cloth to stain everything! To better get into cracks and crevices, I also had a brush handy. It definitely took longer to stain it all this way but I felt more sure of the outcome.
The instructions on the stain say to apply the stain, wait 5 minutes and wipe off with a clean rag. I didn’t really wait 5 minutes. I would do a small section of the stain and then wipe it. Only because the sun was blazing hard while we were doing all this work. It was causing the stain to dry extremely fast. The instructions also say to let dry for 4 hours. I probably wouldn’t have had to wait that long but I did let it set overnight. These methods worked for me in these conditions but could be different depending on what you’re doing.
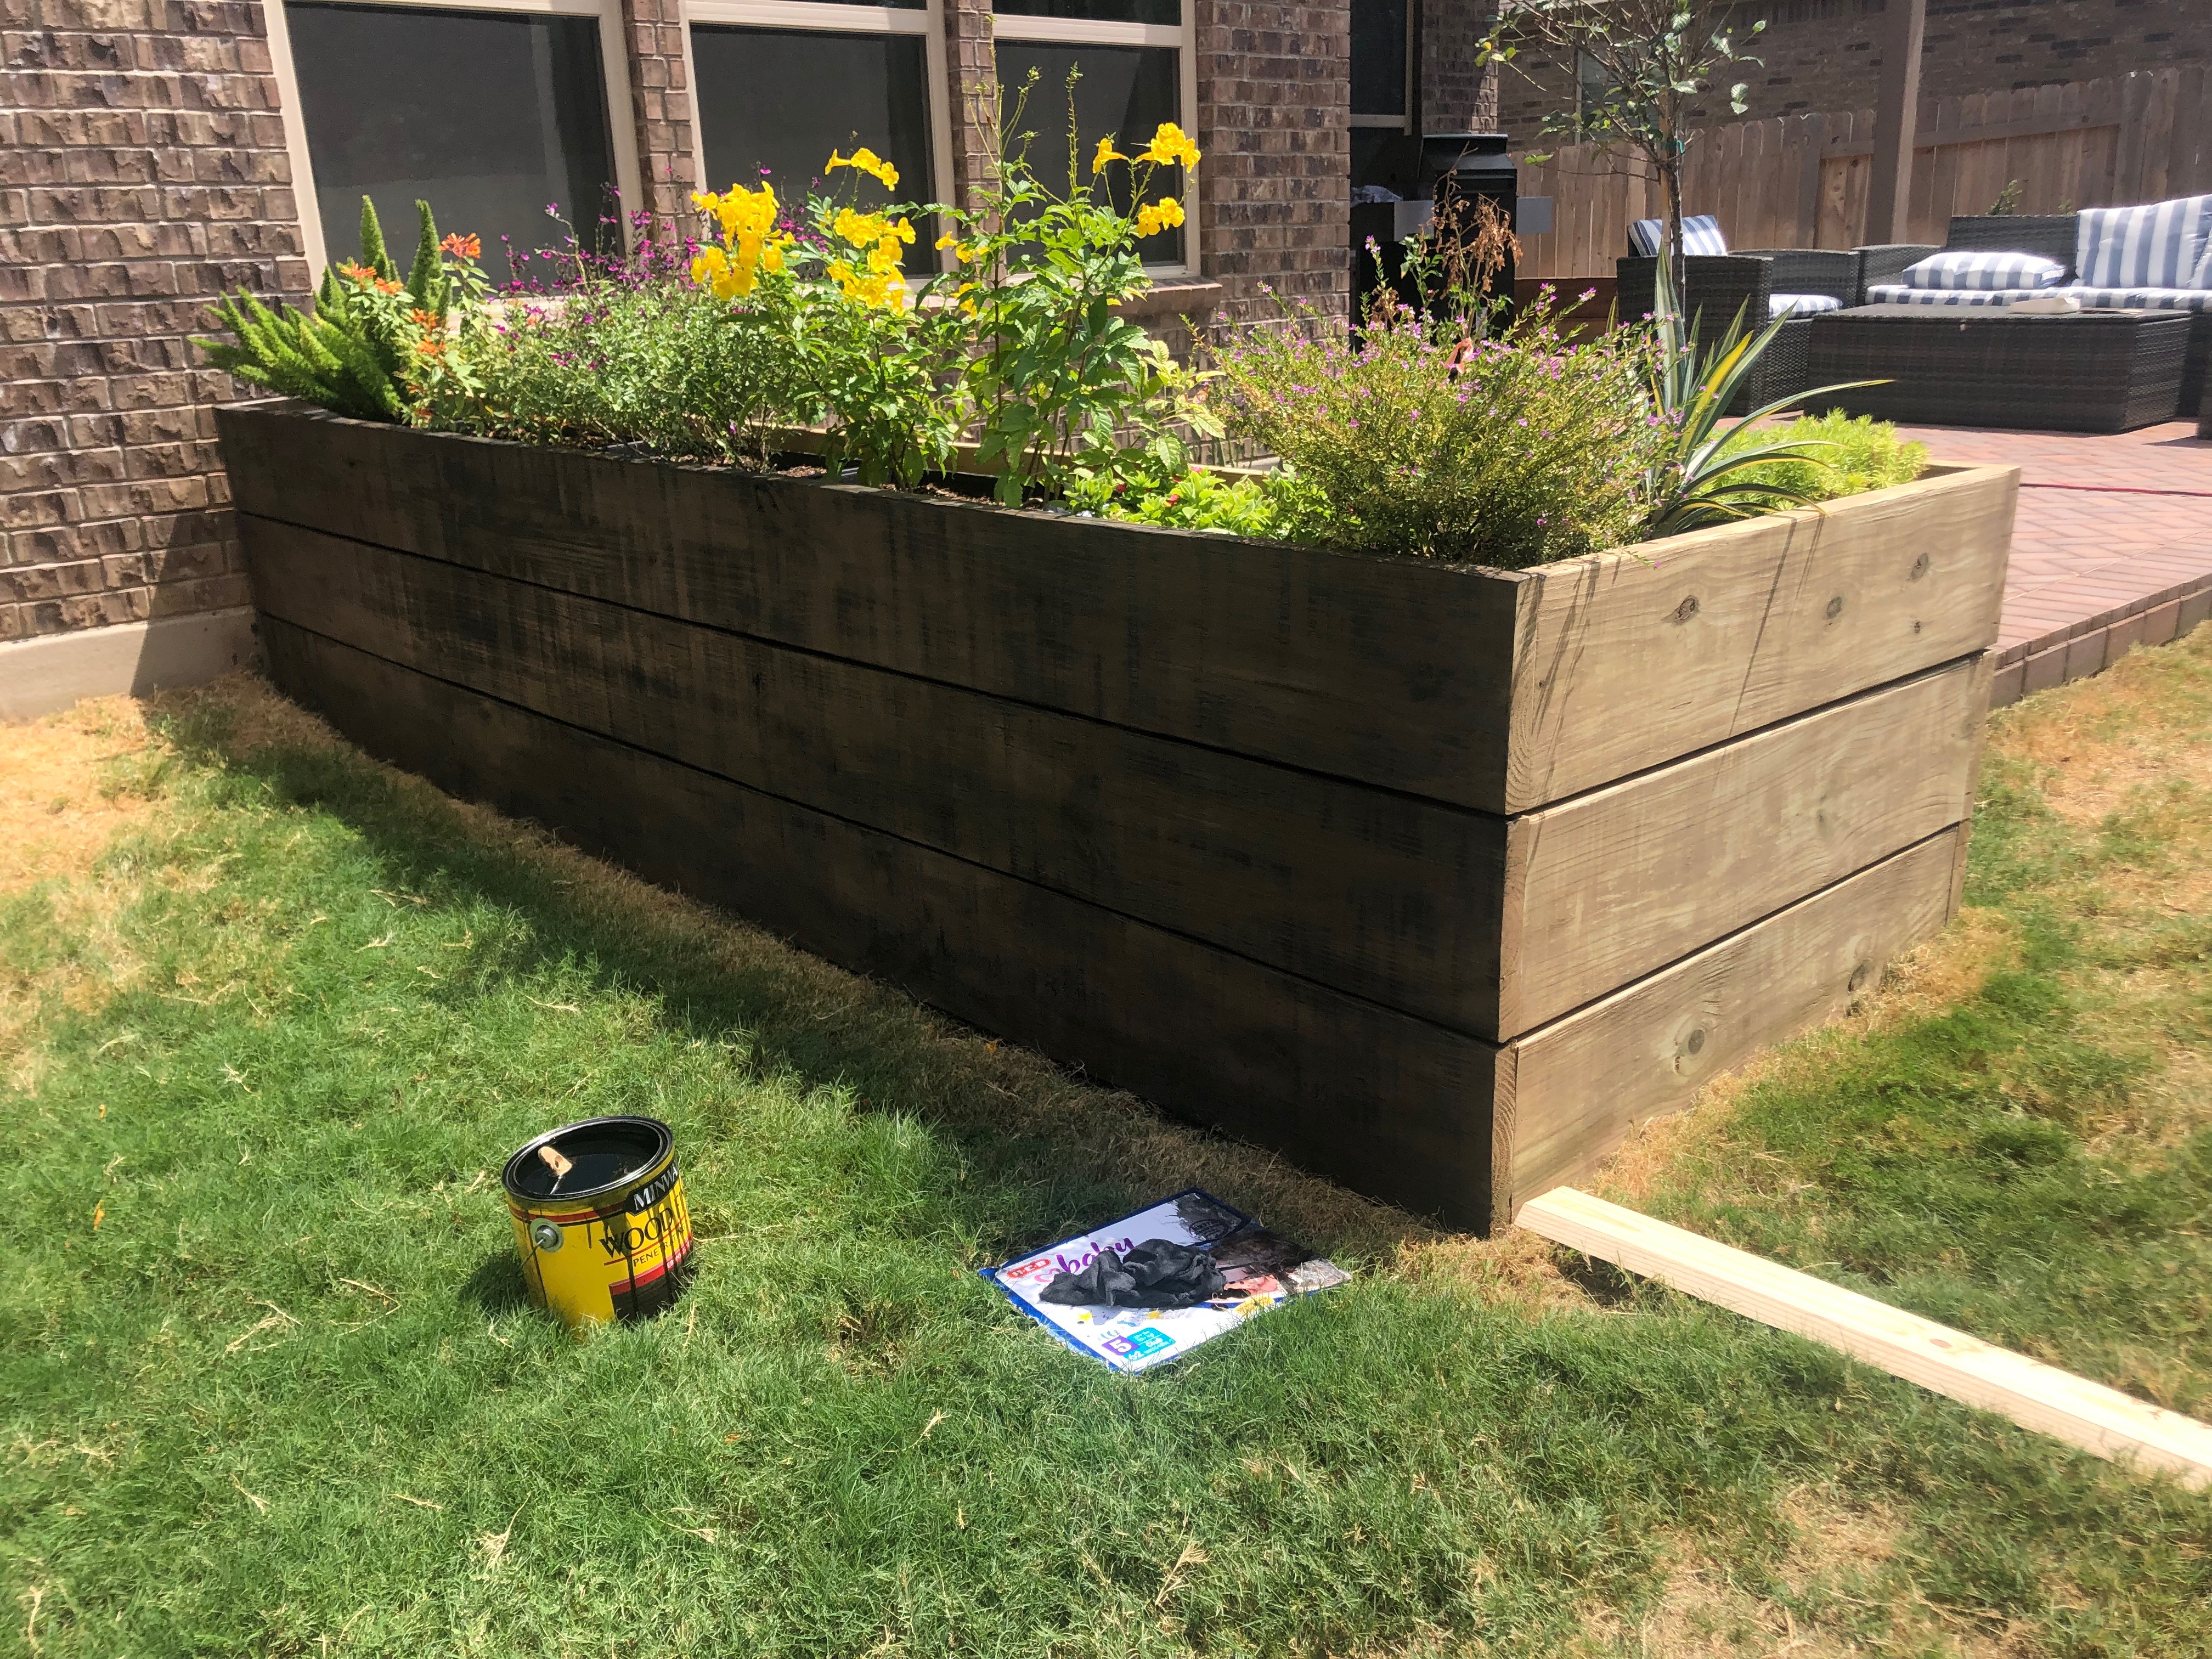
First coat of stain on one side completed!
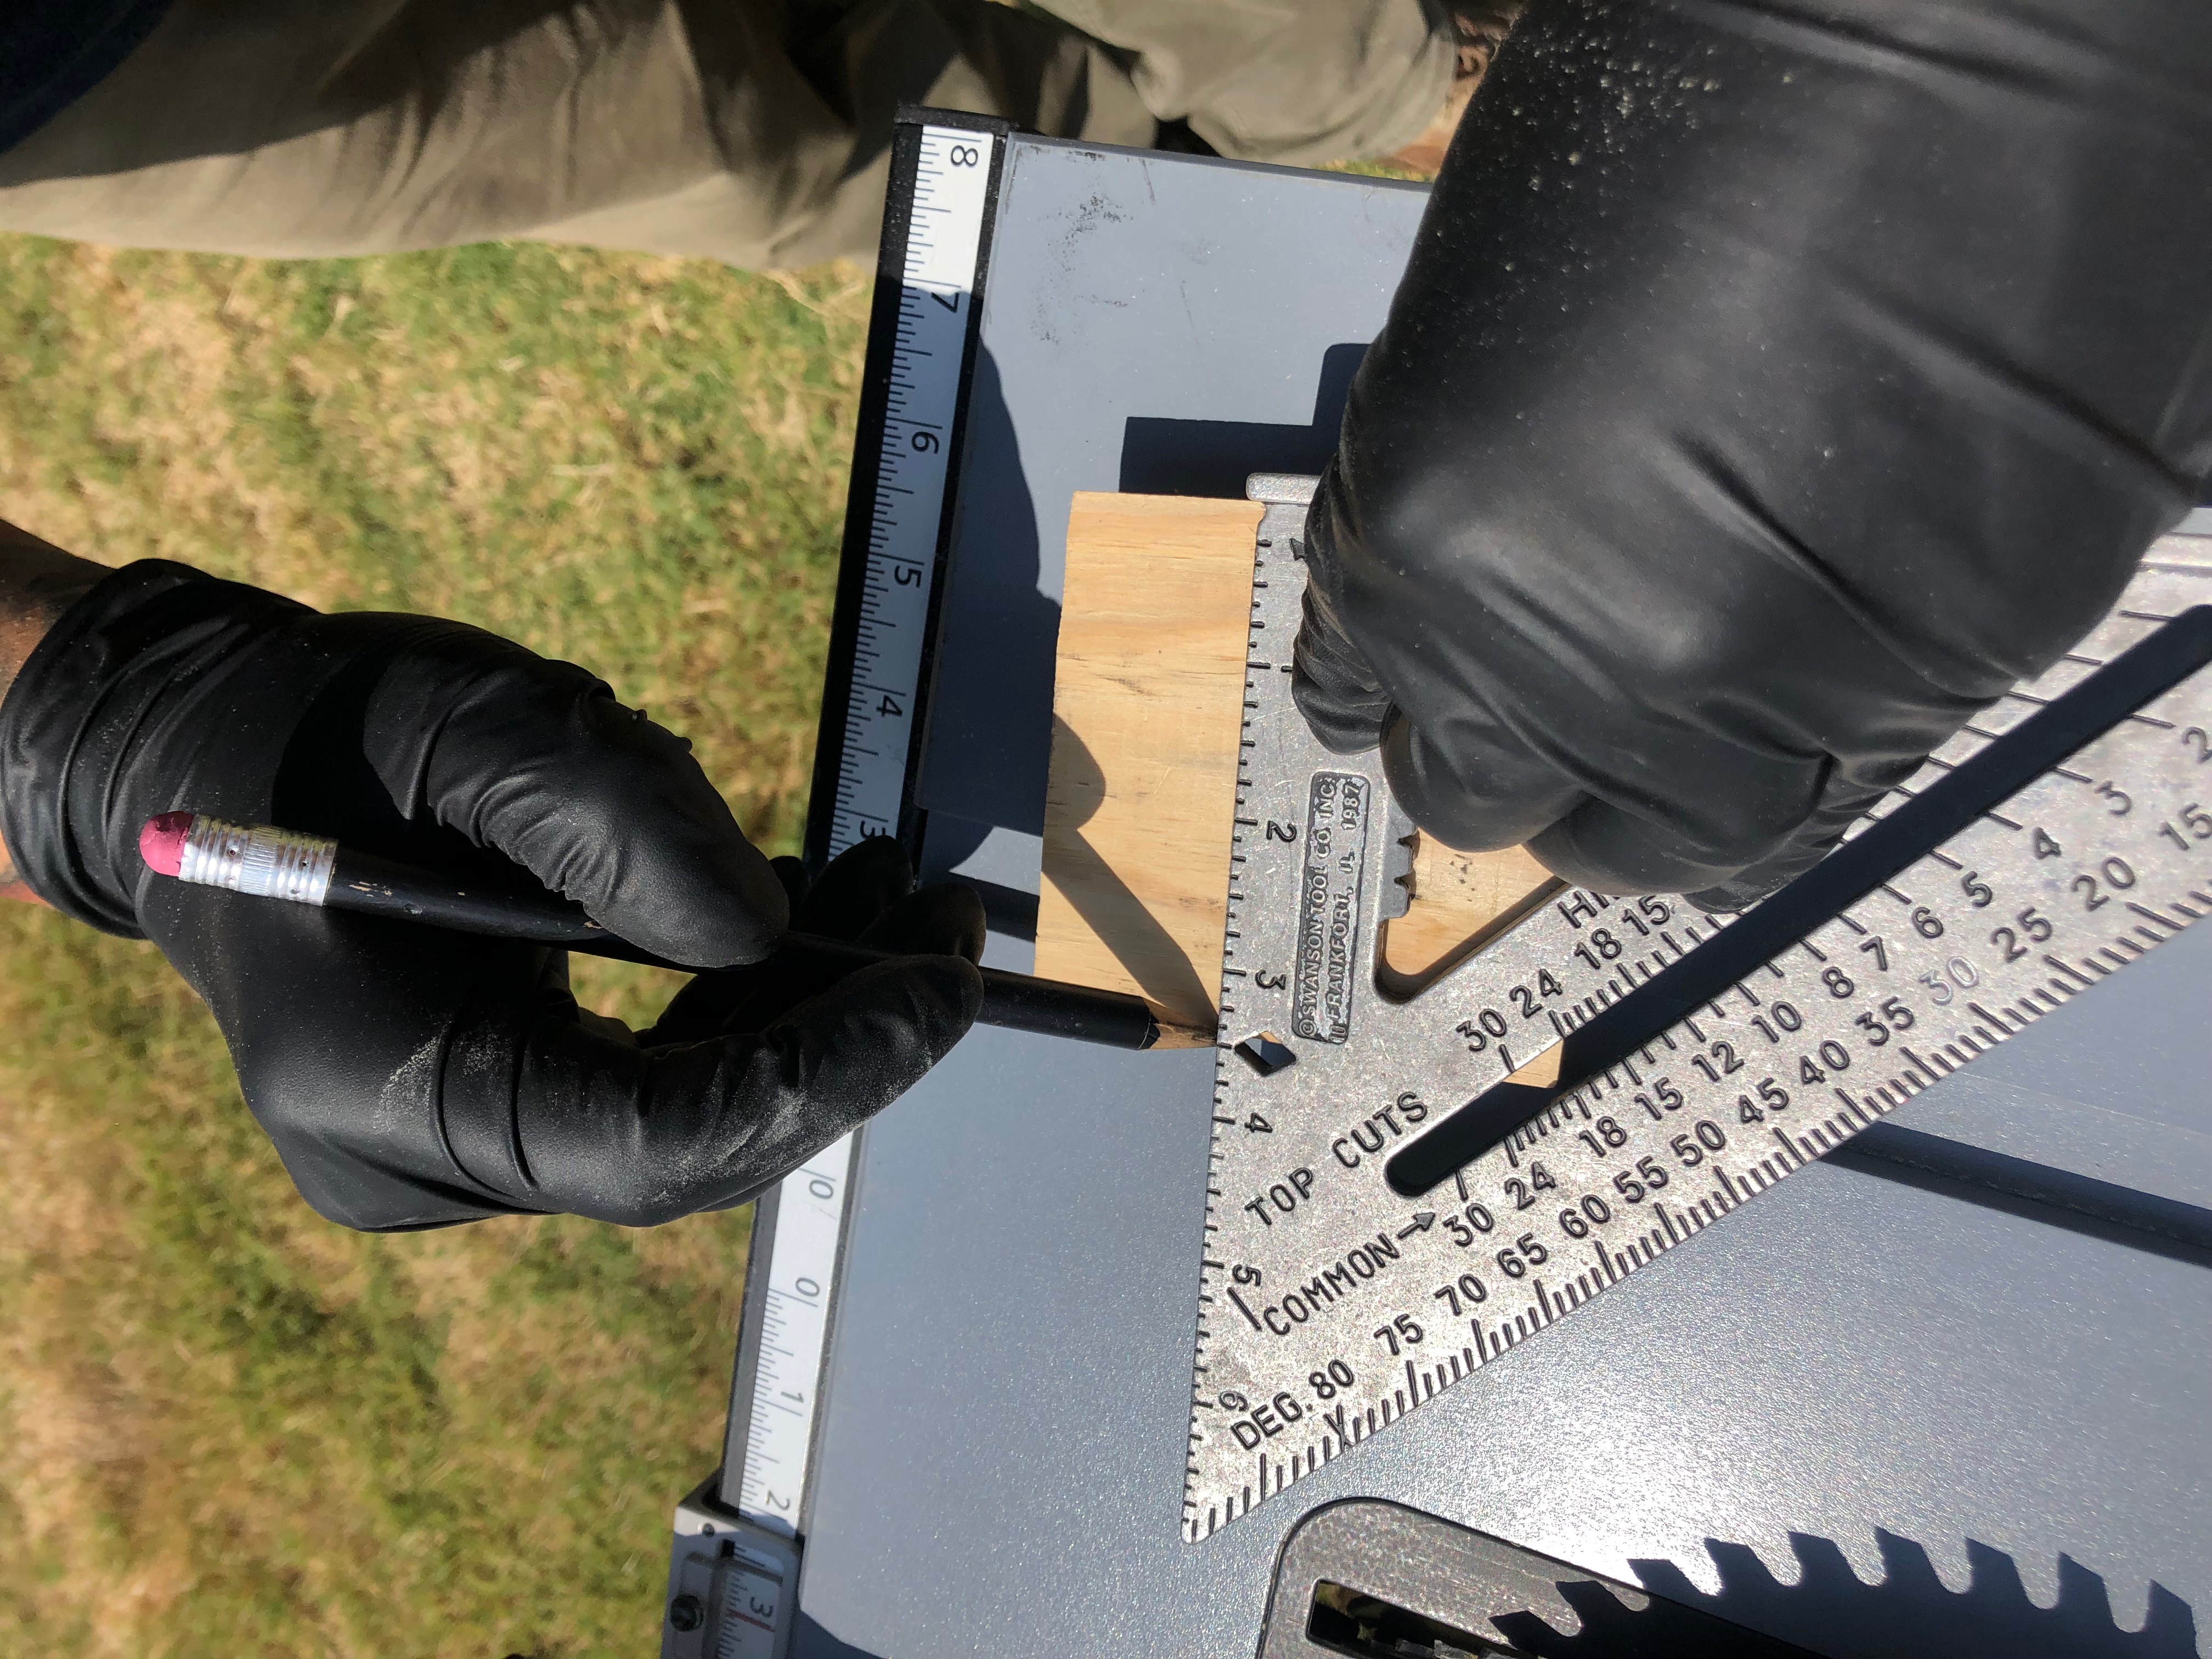
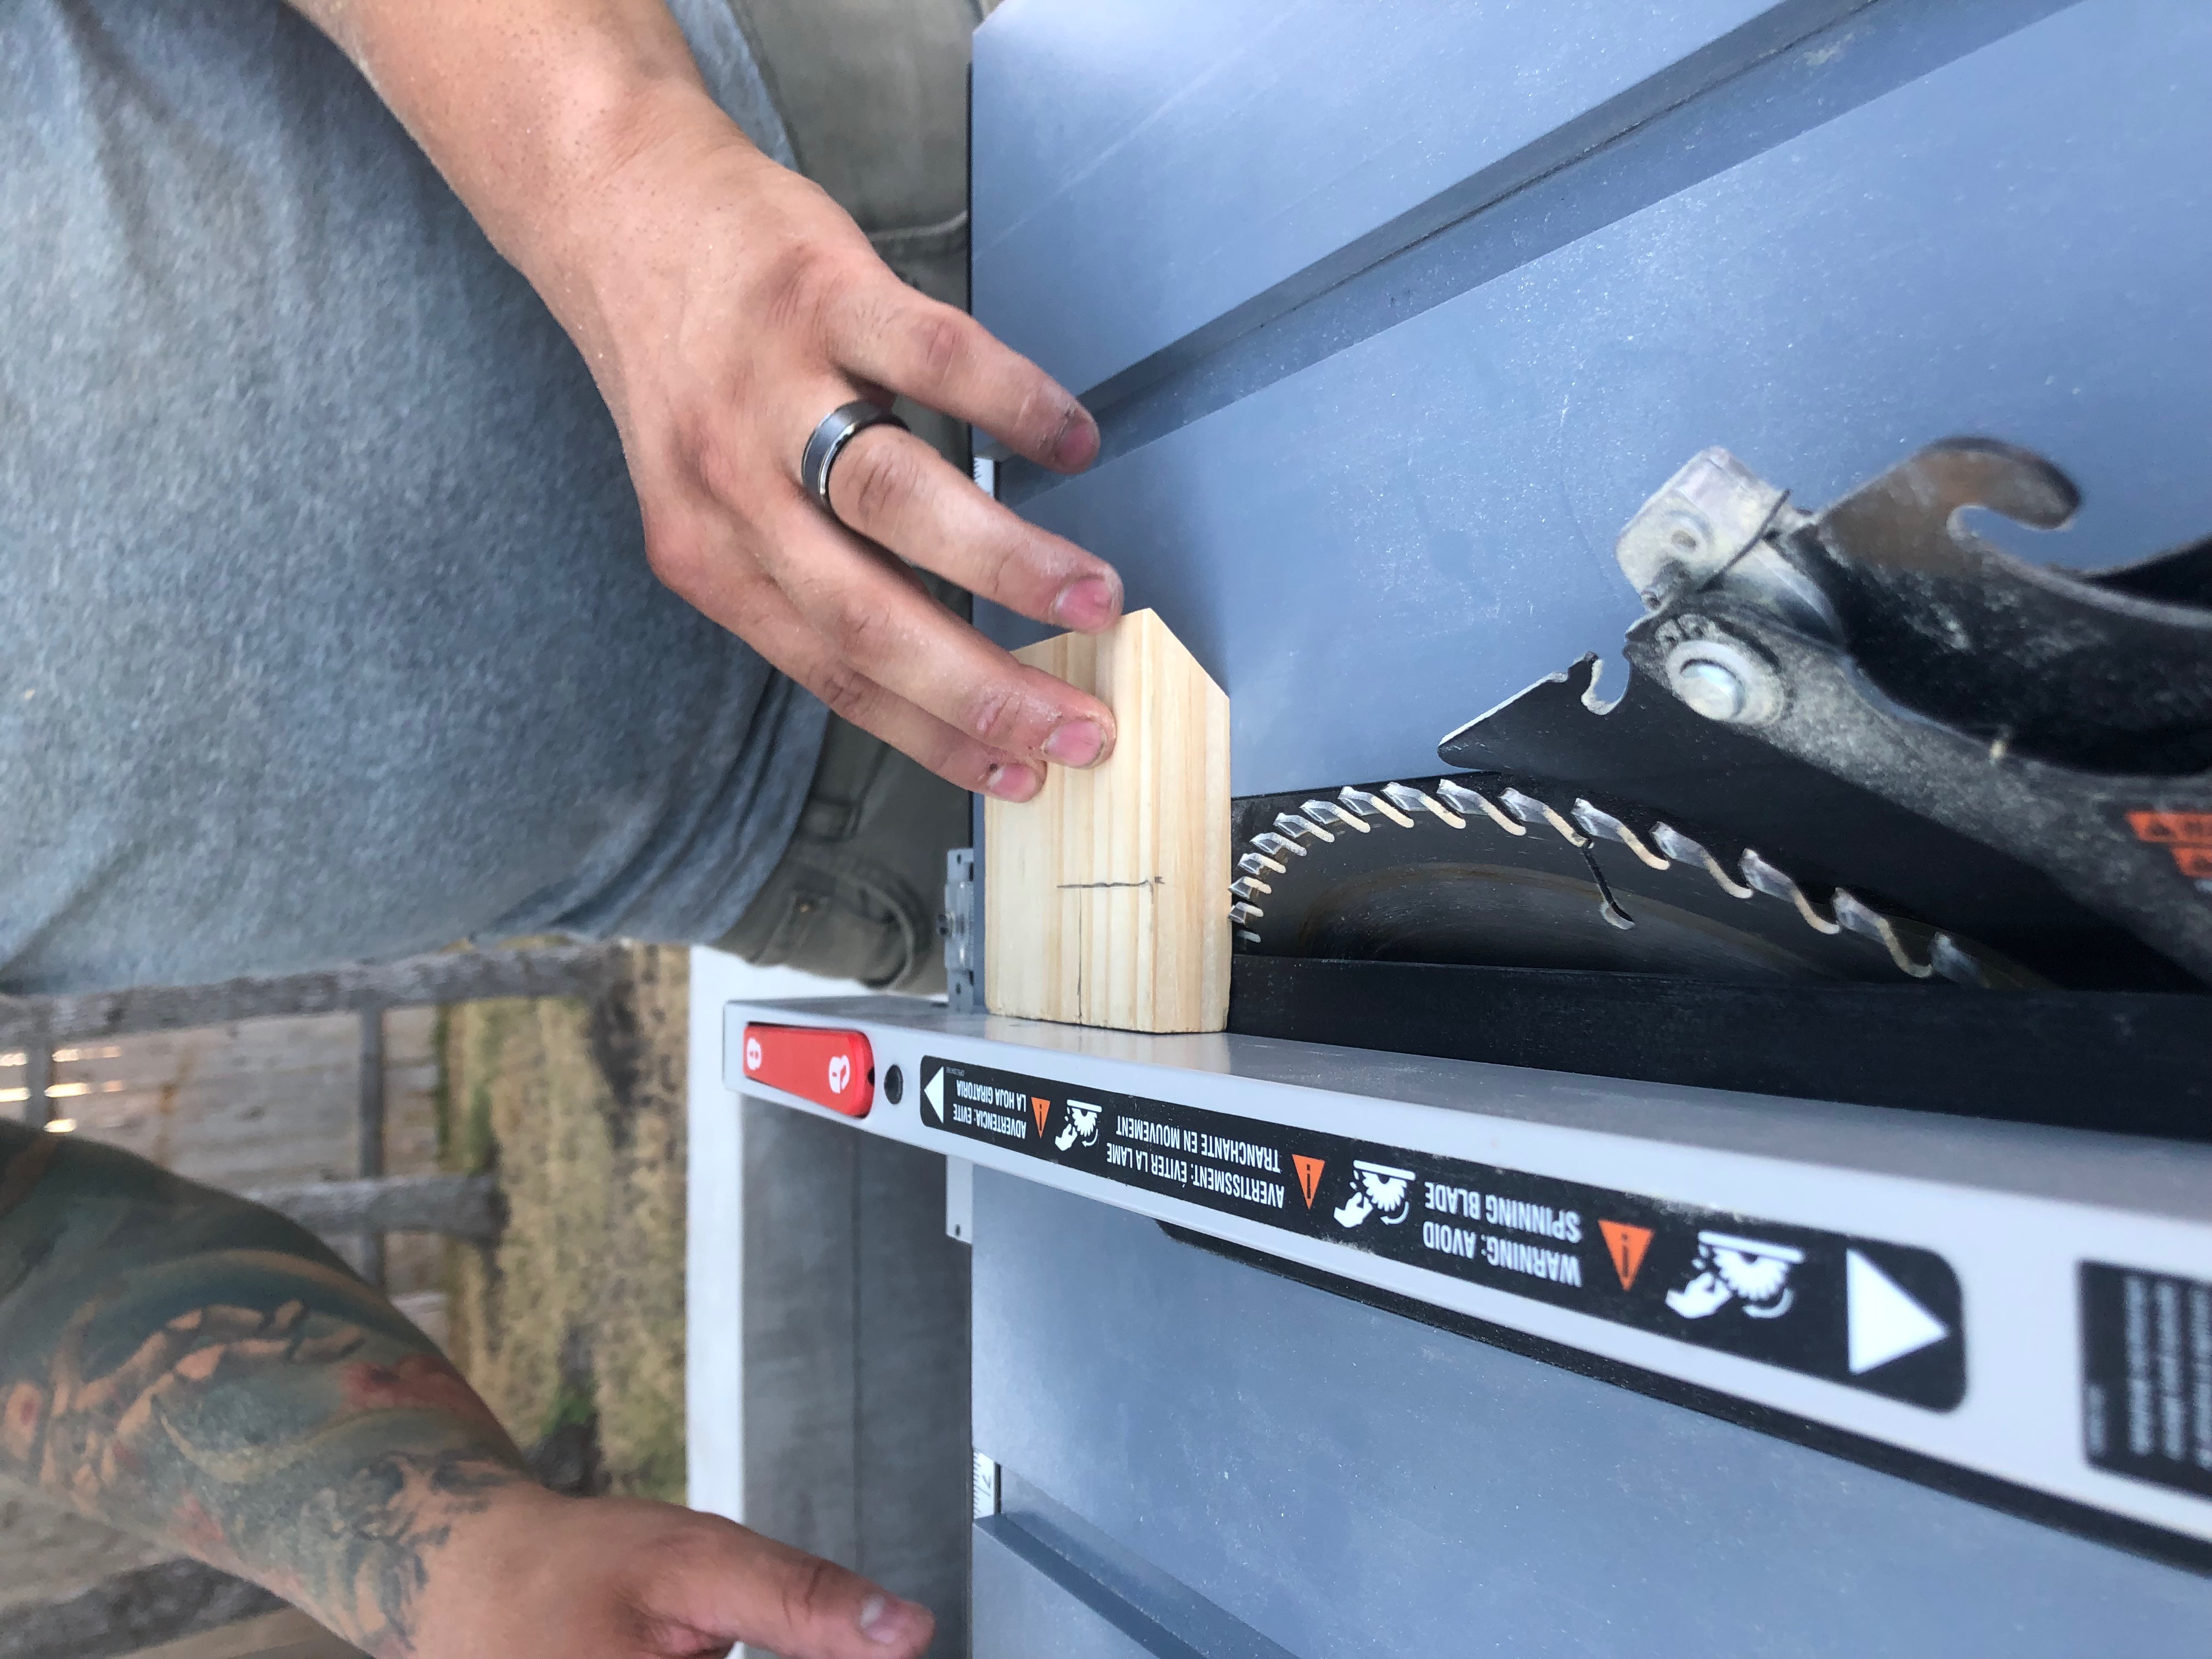
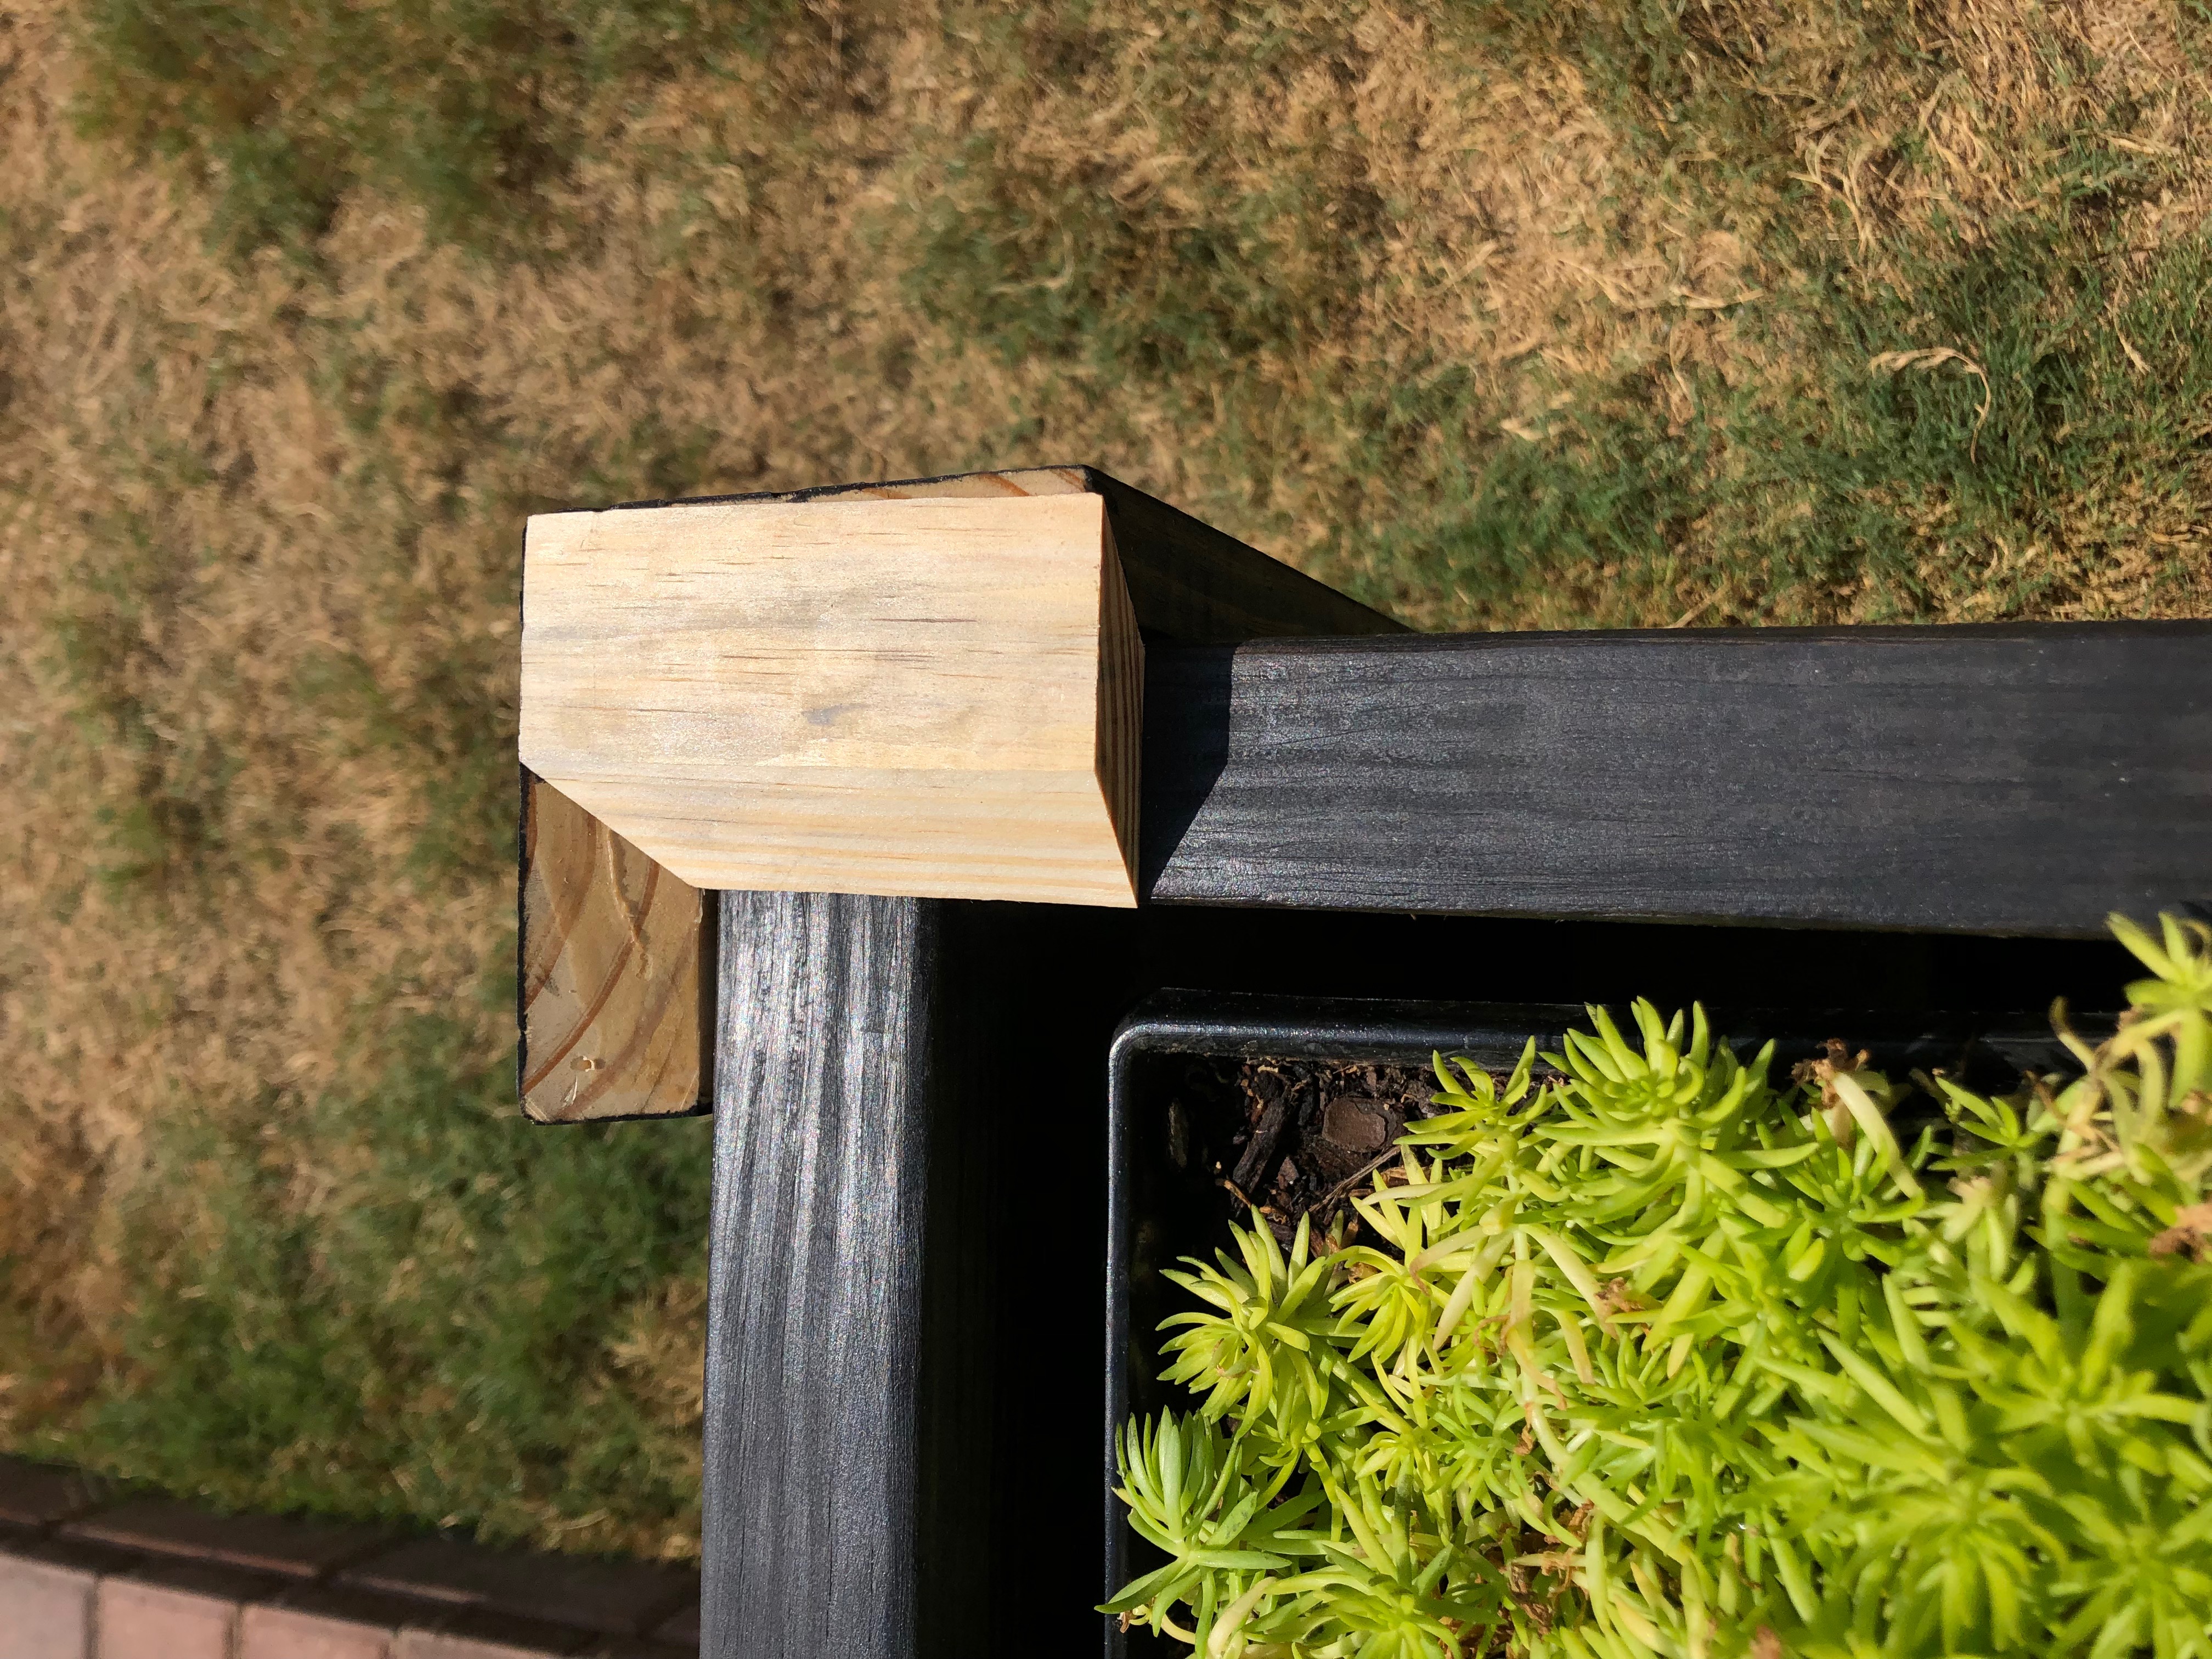
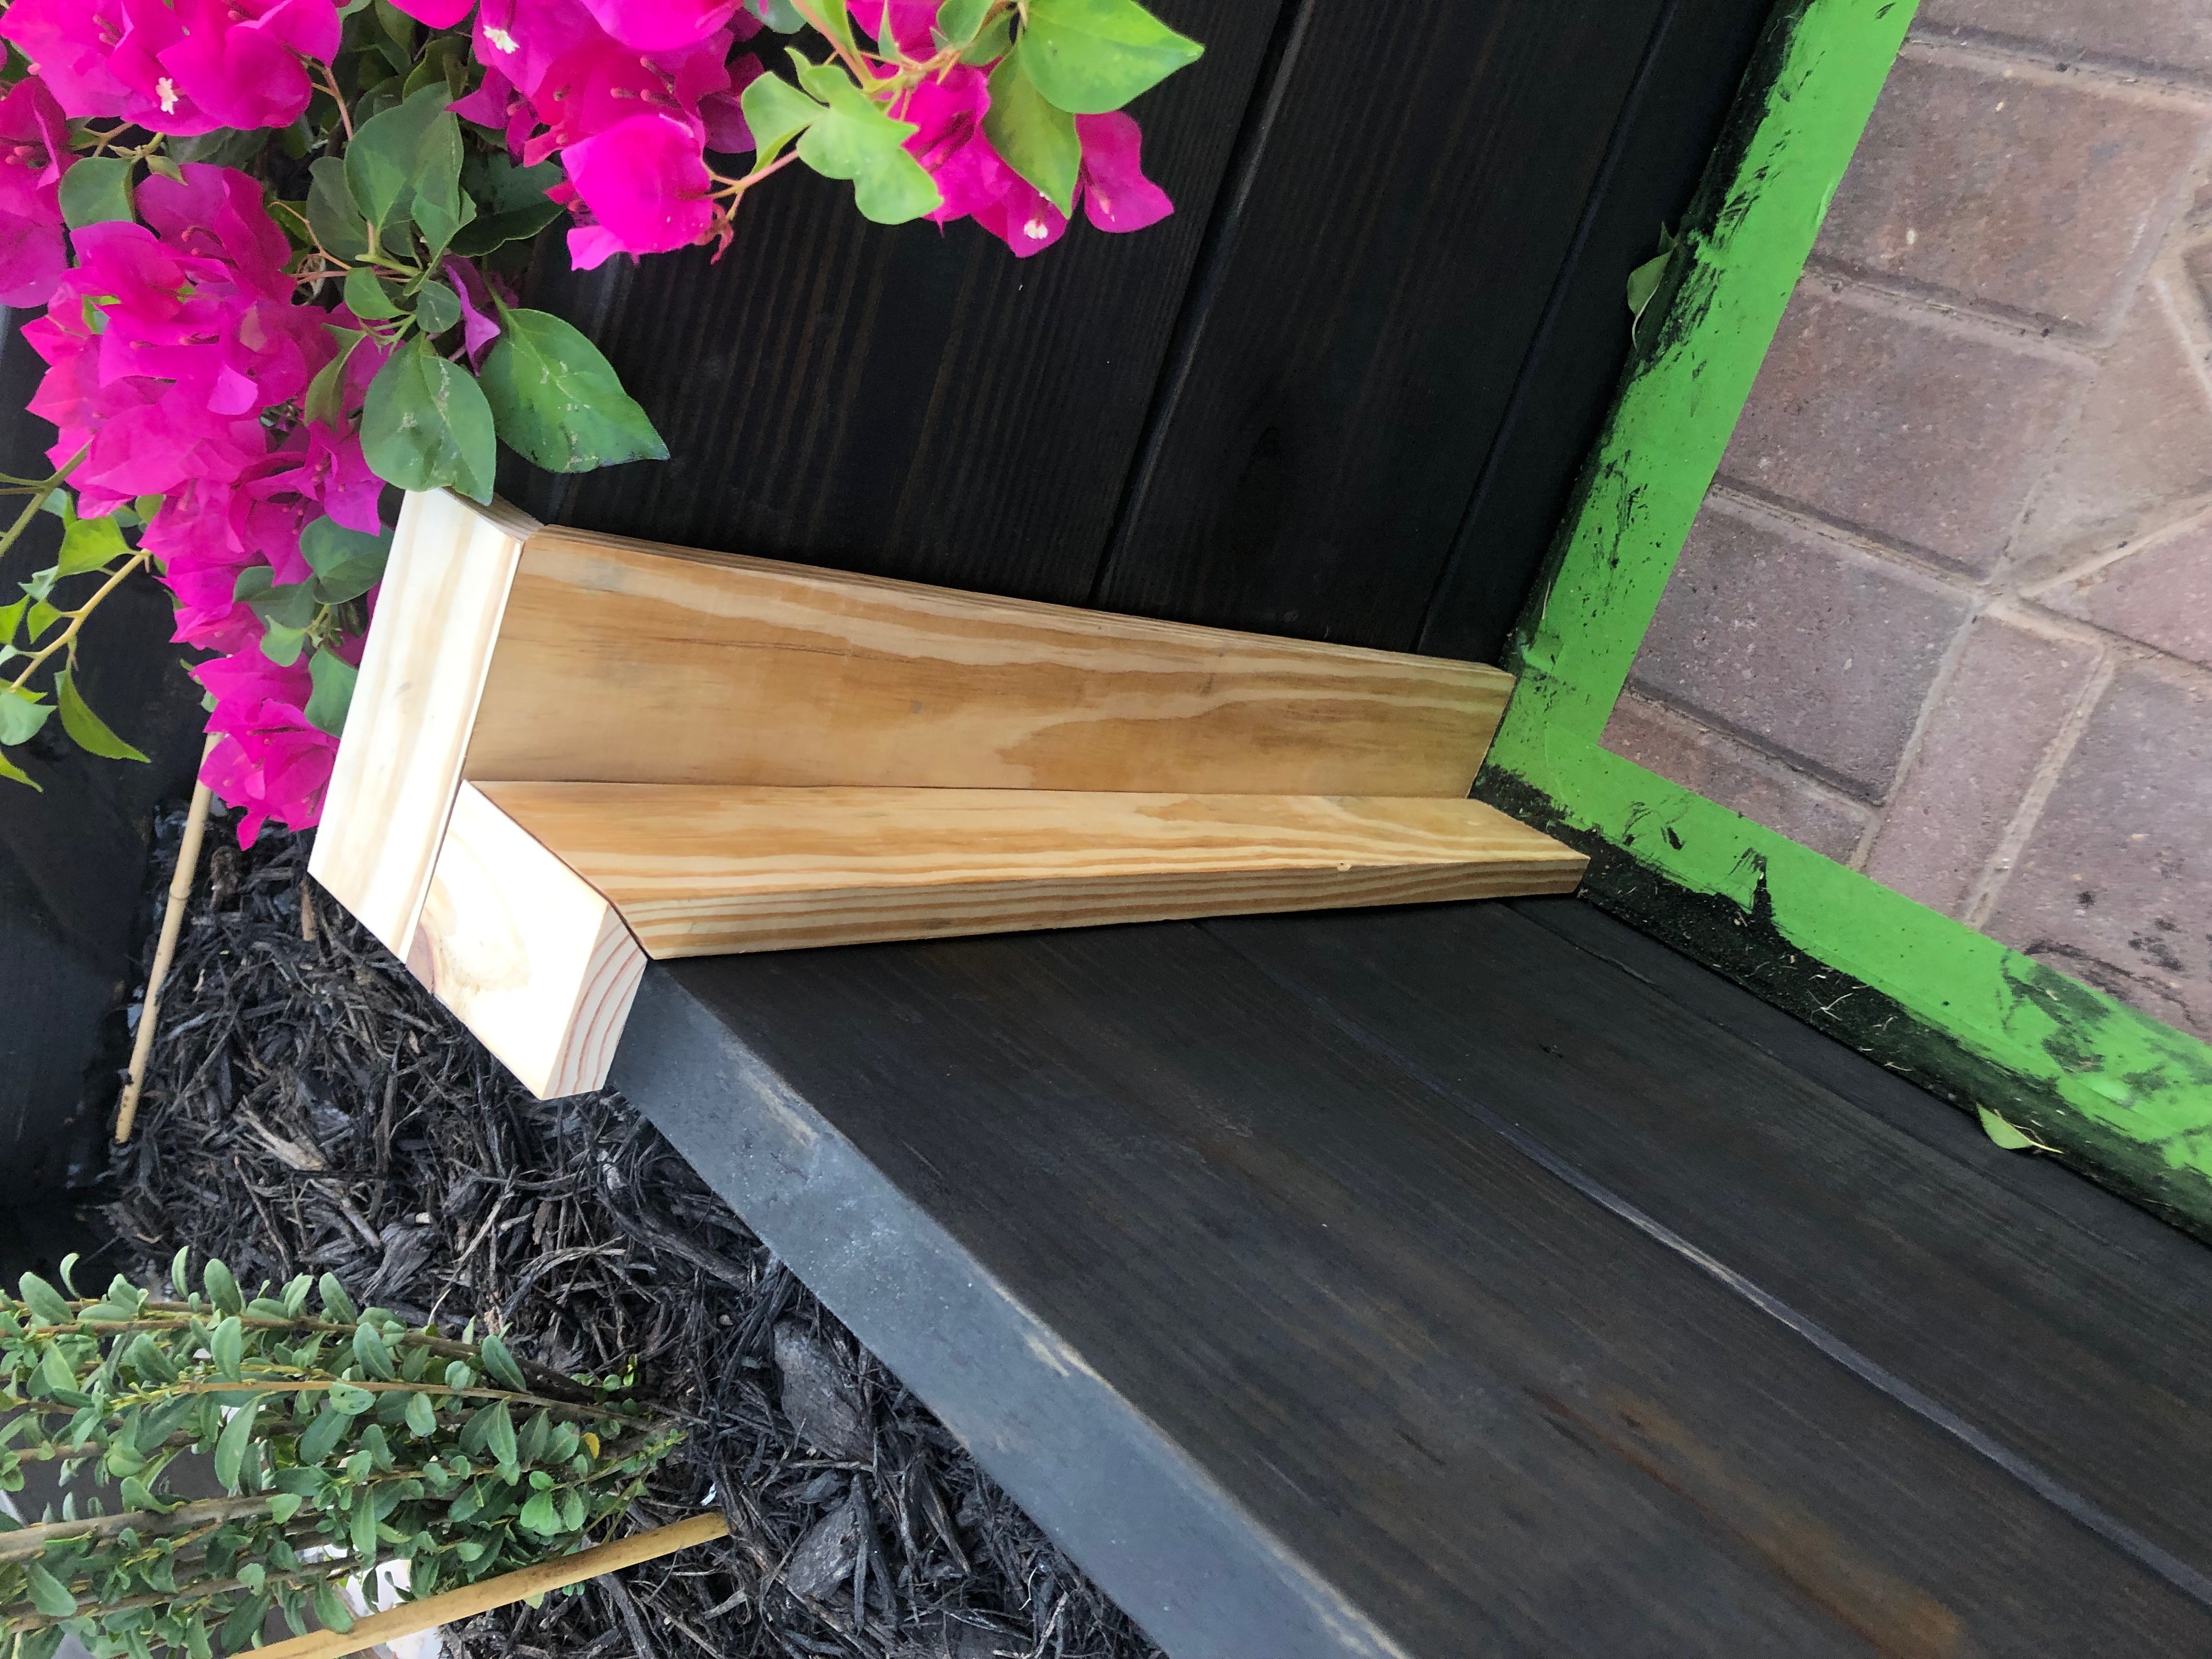
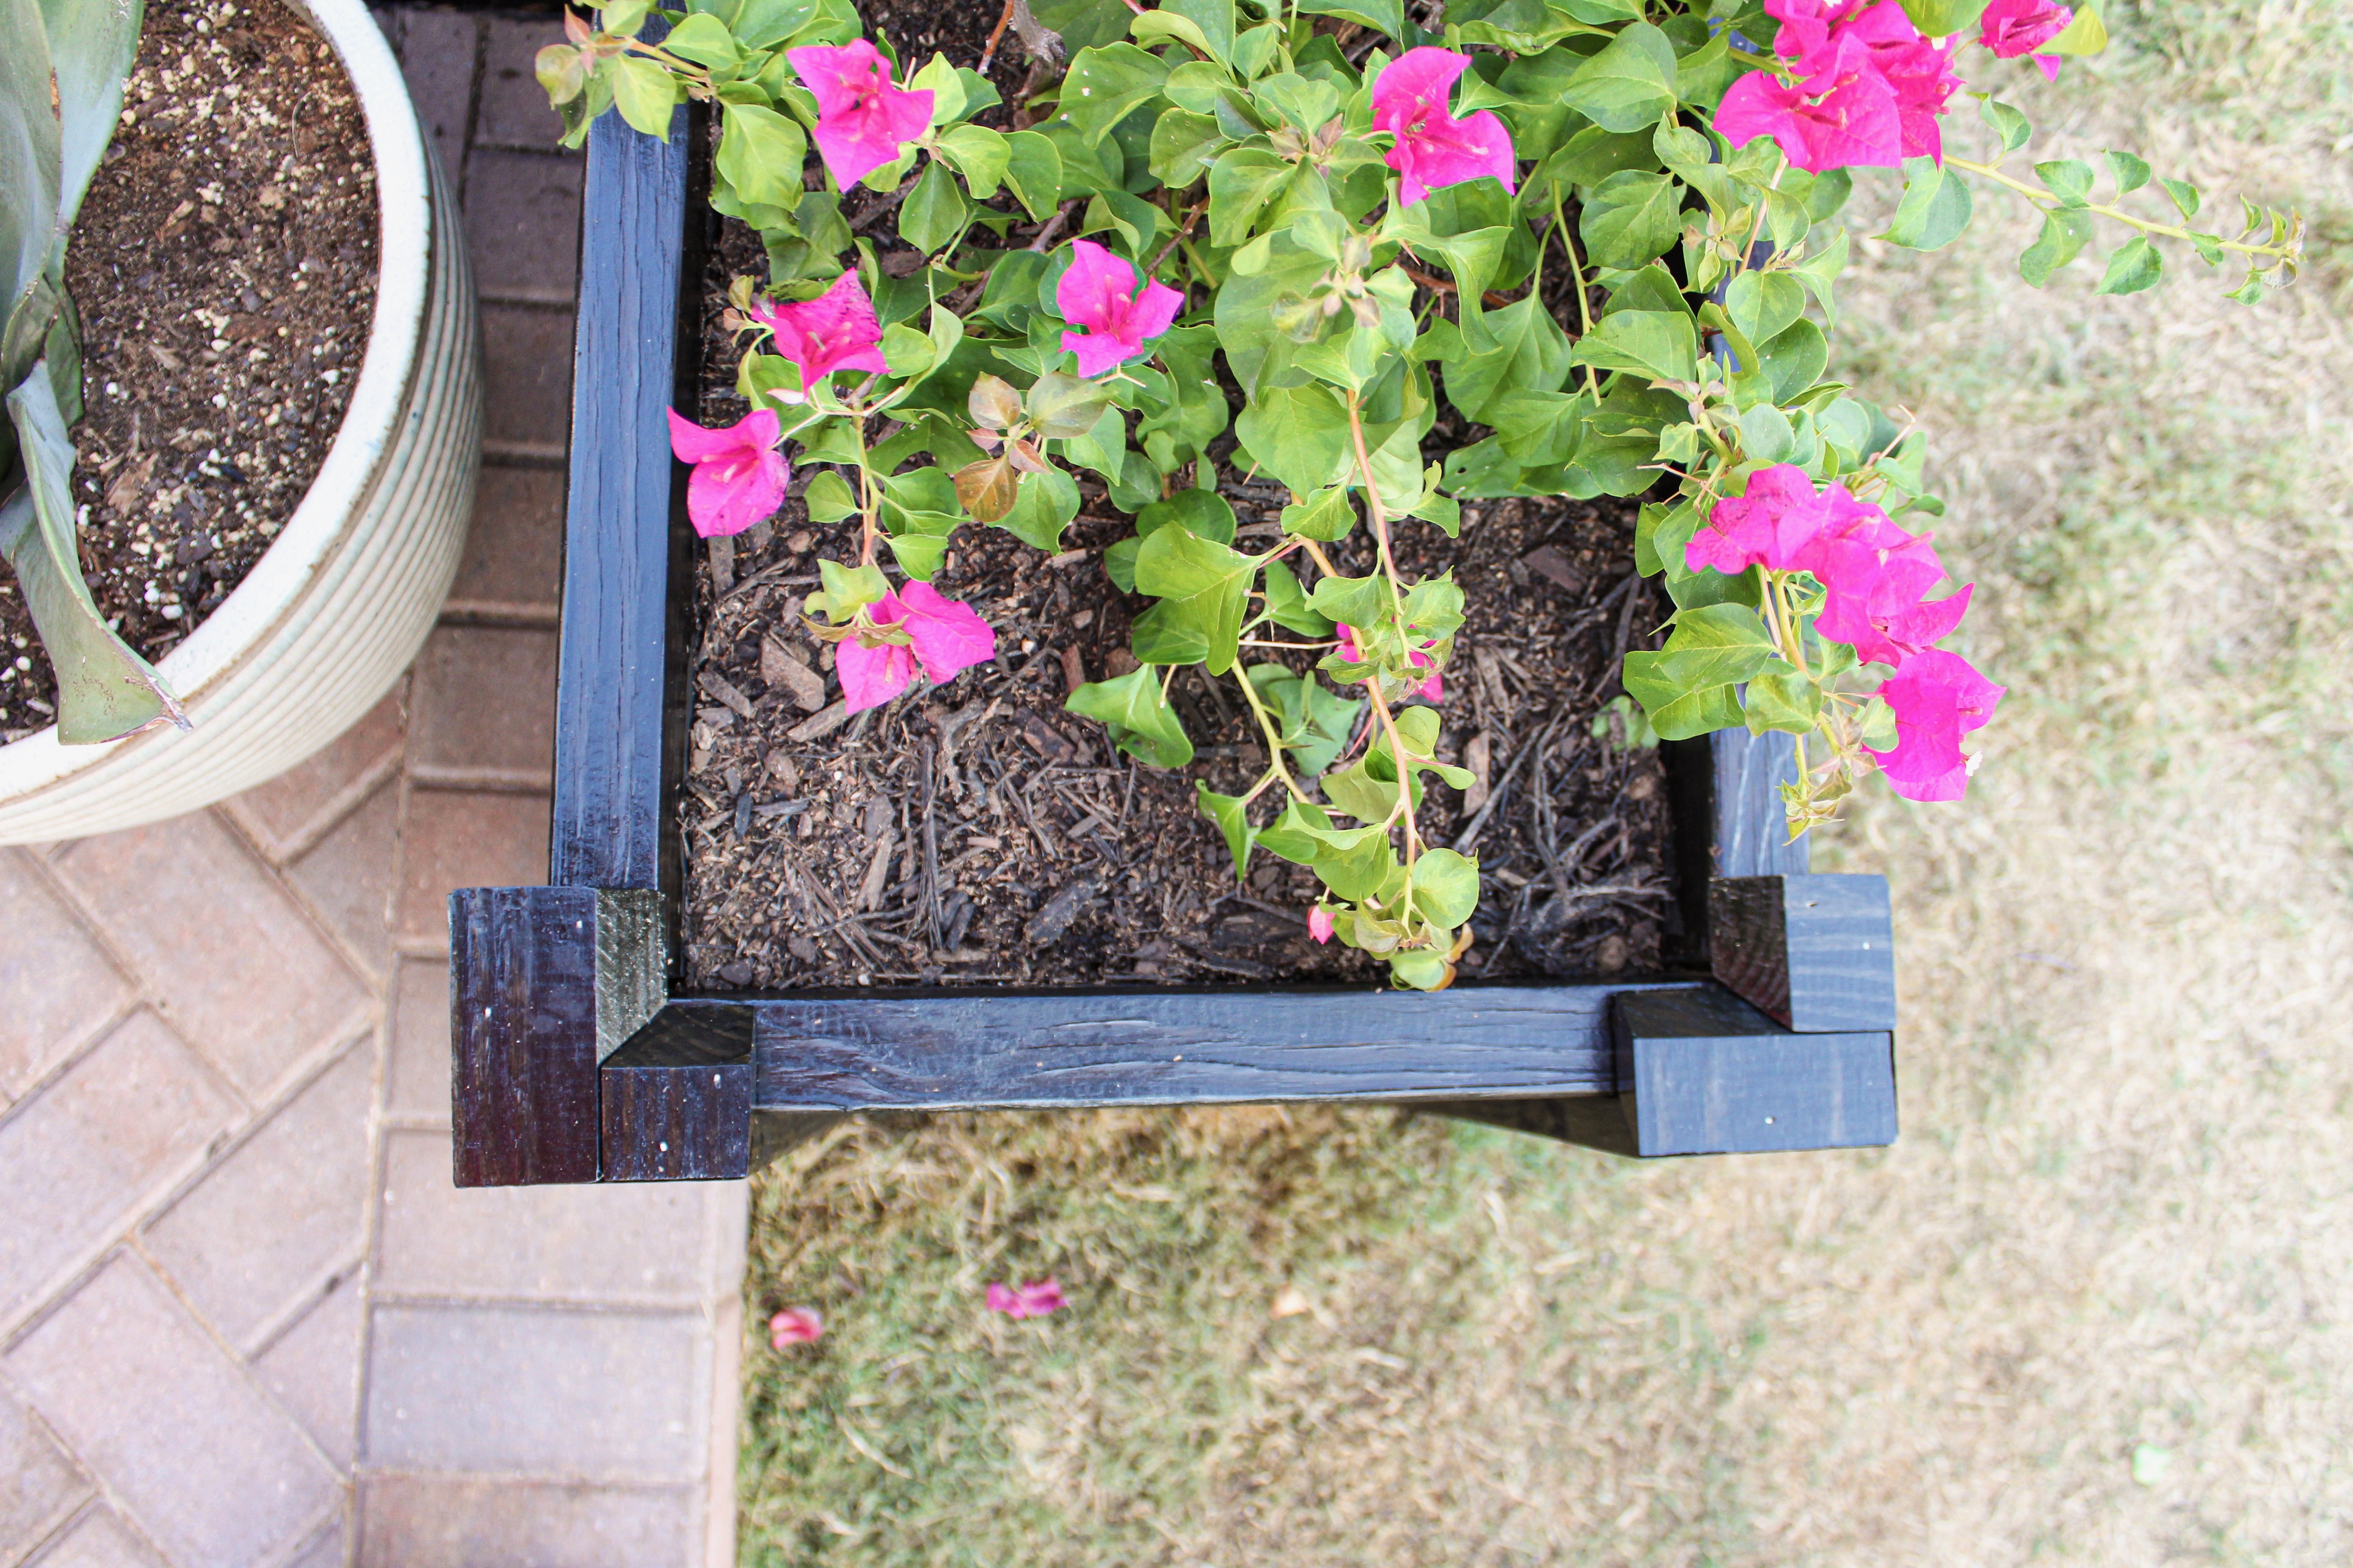
FASCIAS
While I was staining everything, my husband was working on cutting down 1×3’s to the exact right height for each place I wanted to put the fascias. I wanted each corner to have two pieces cut and to have mitered edges to meet up cleanly. Also, just a couple single pieces along the beds to tie it all together. There was also a lot of indecision about how to finish the top of the fascia on the corners. For the single pieces, it was going to be a simple topper that was the width of the existing wood. For the corner pieces I decided on this mitered-edge-hodgepodge. If I were to do this part again, I would have gone with my first instinct to have flat pieces to top them off instead of cutting the corners down to have a beveled edge. Regardless, I’m still happy with the outcome!
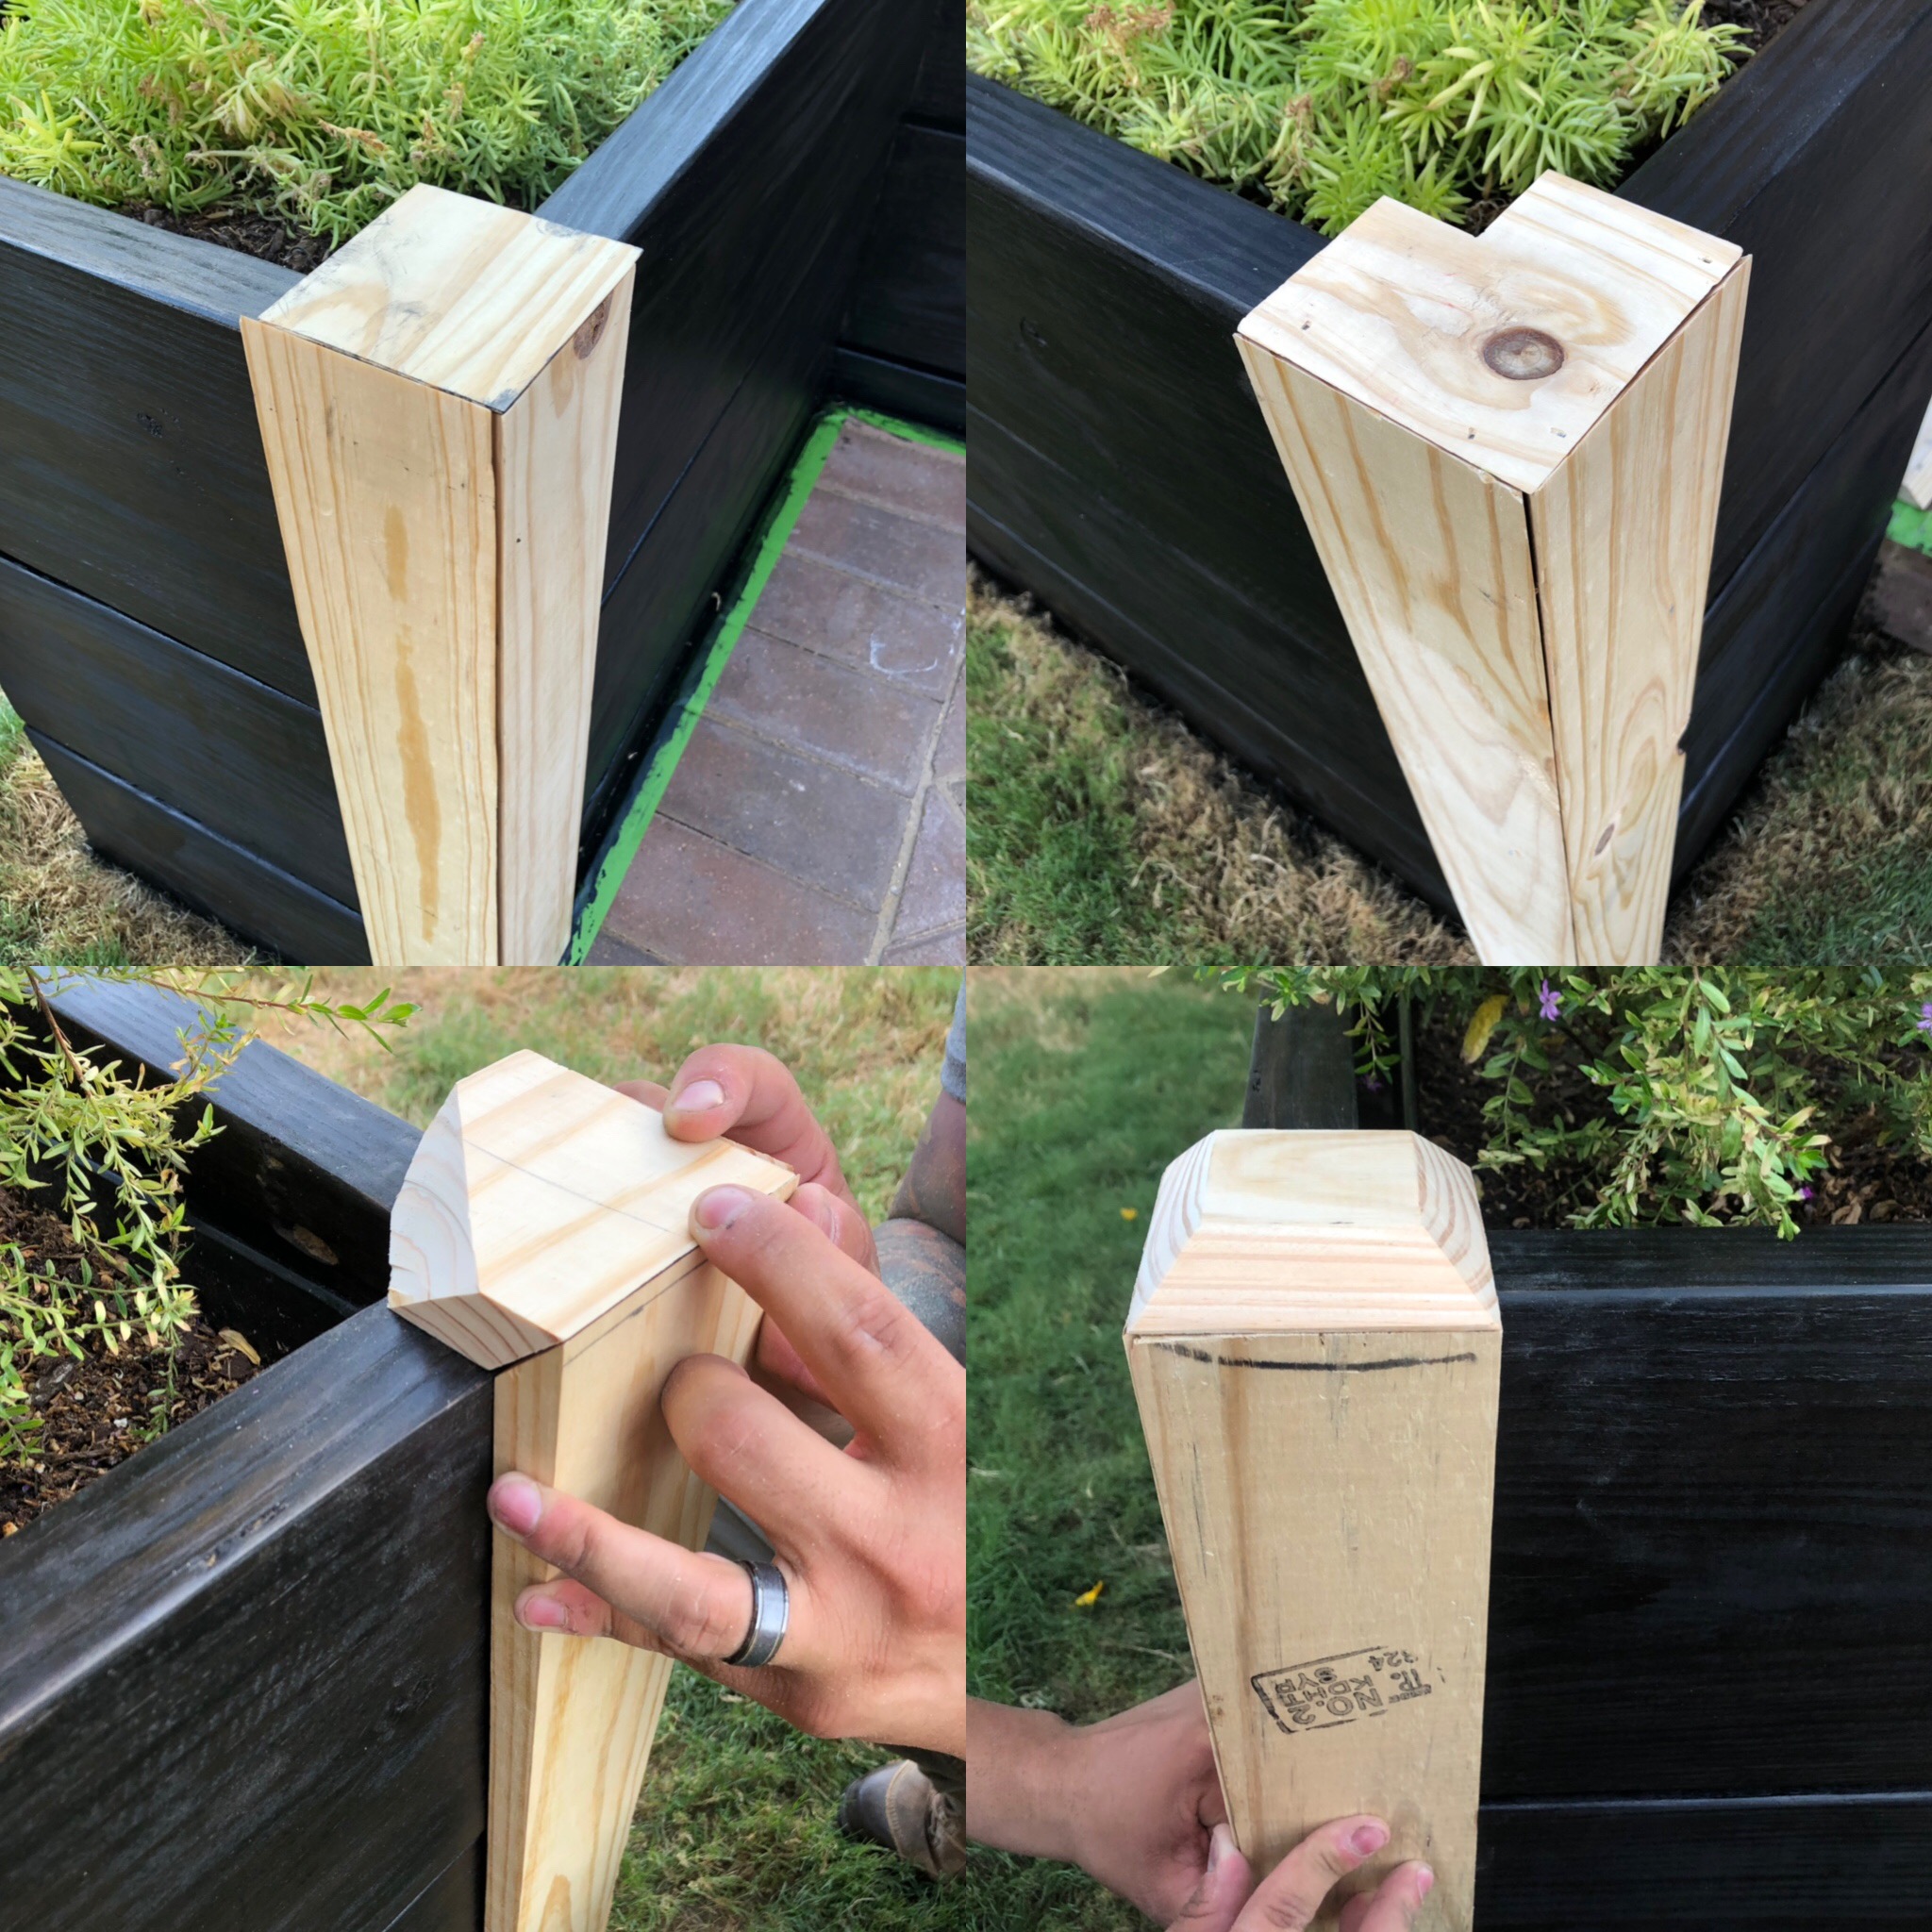
Samples of how to build the top of the fascia

Tips
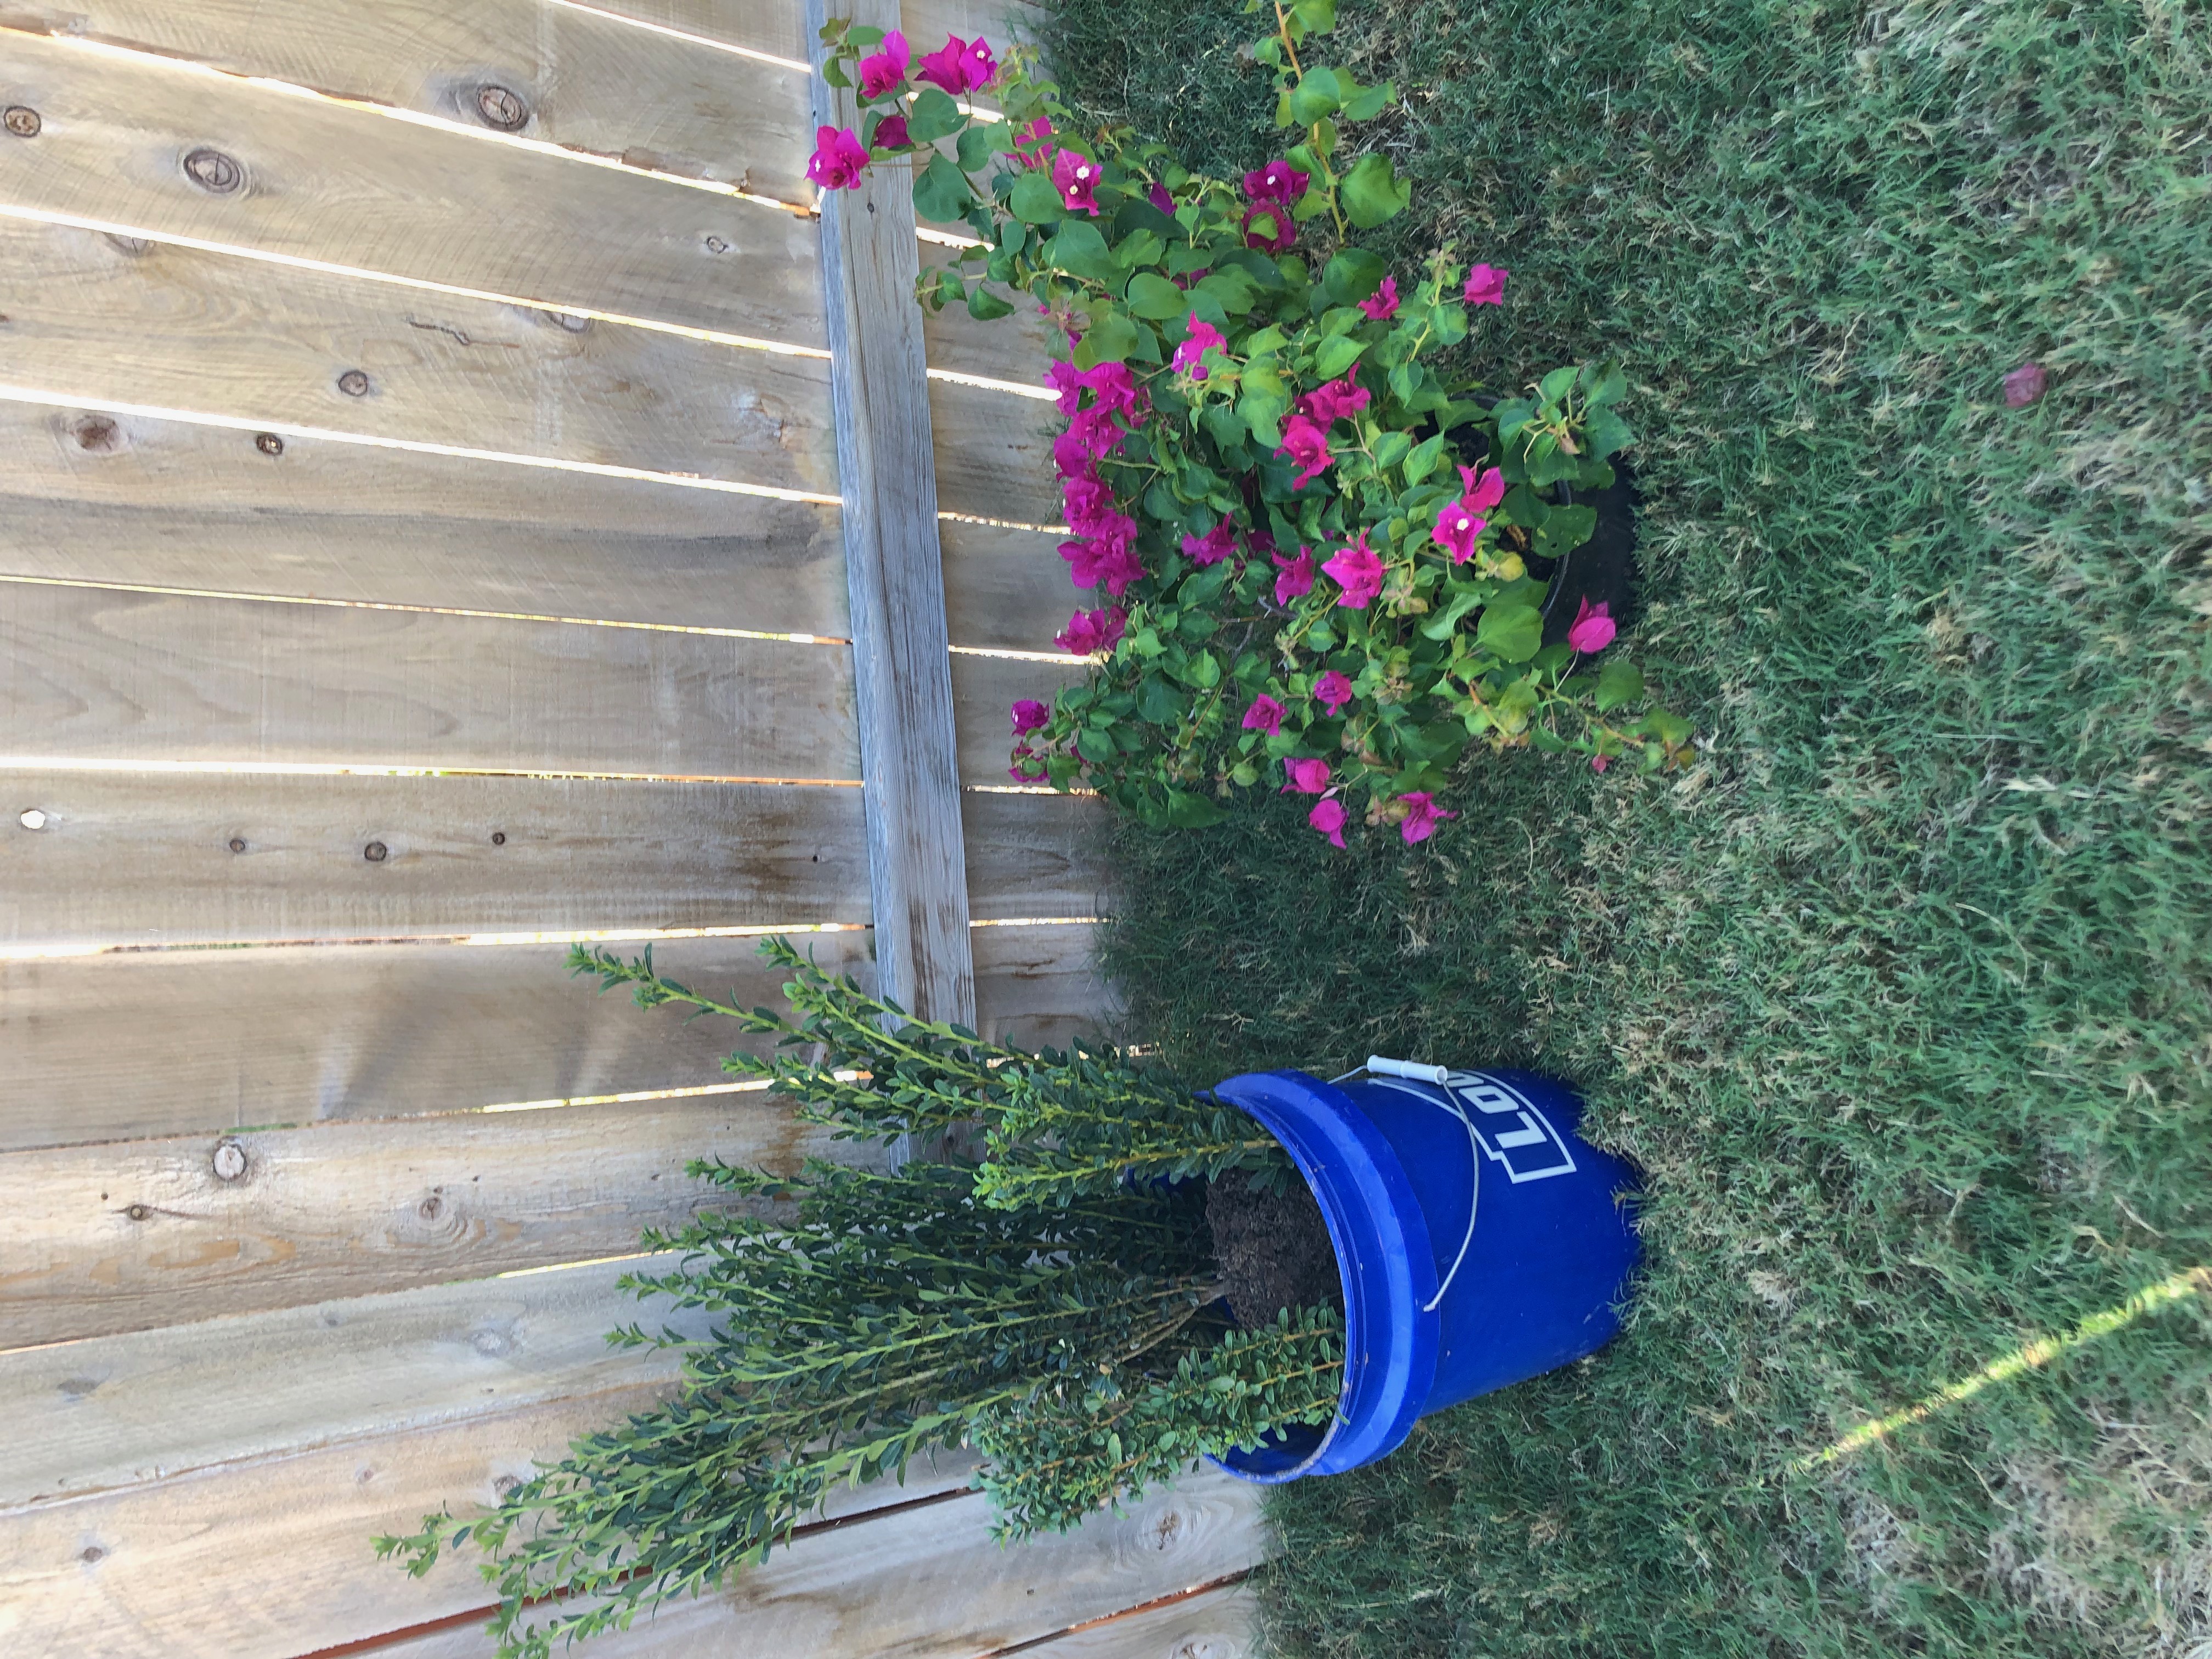
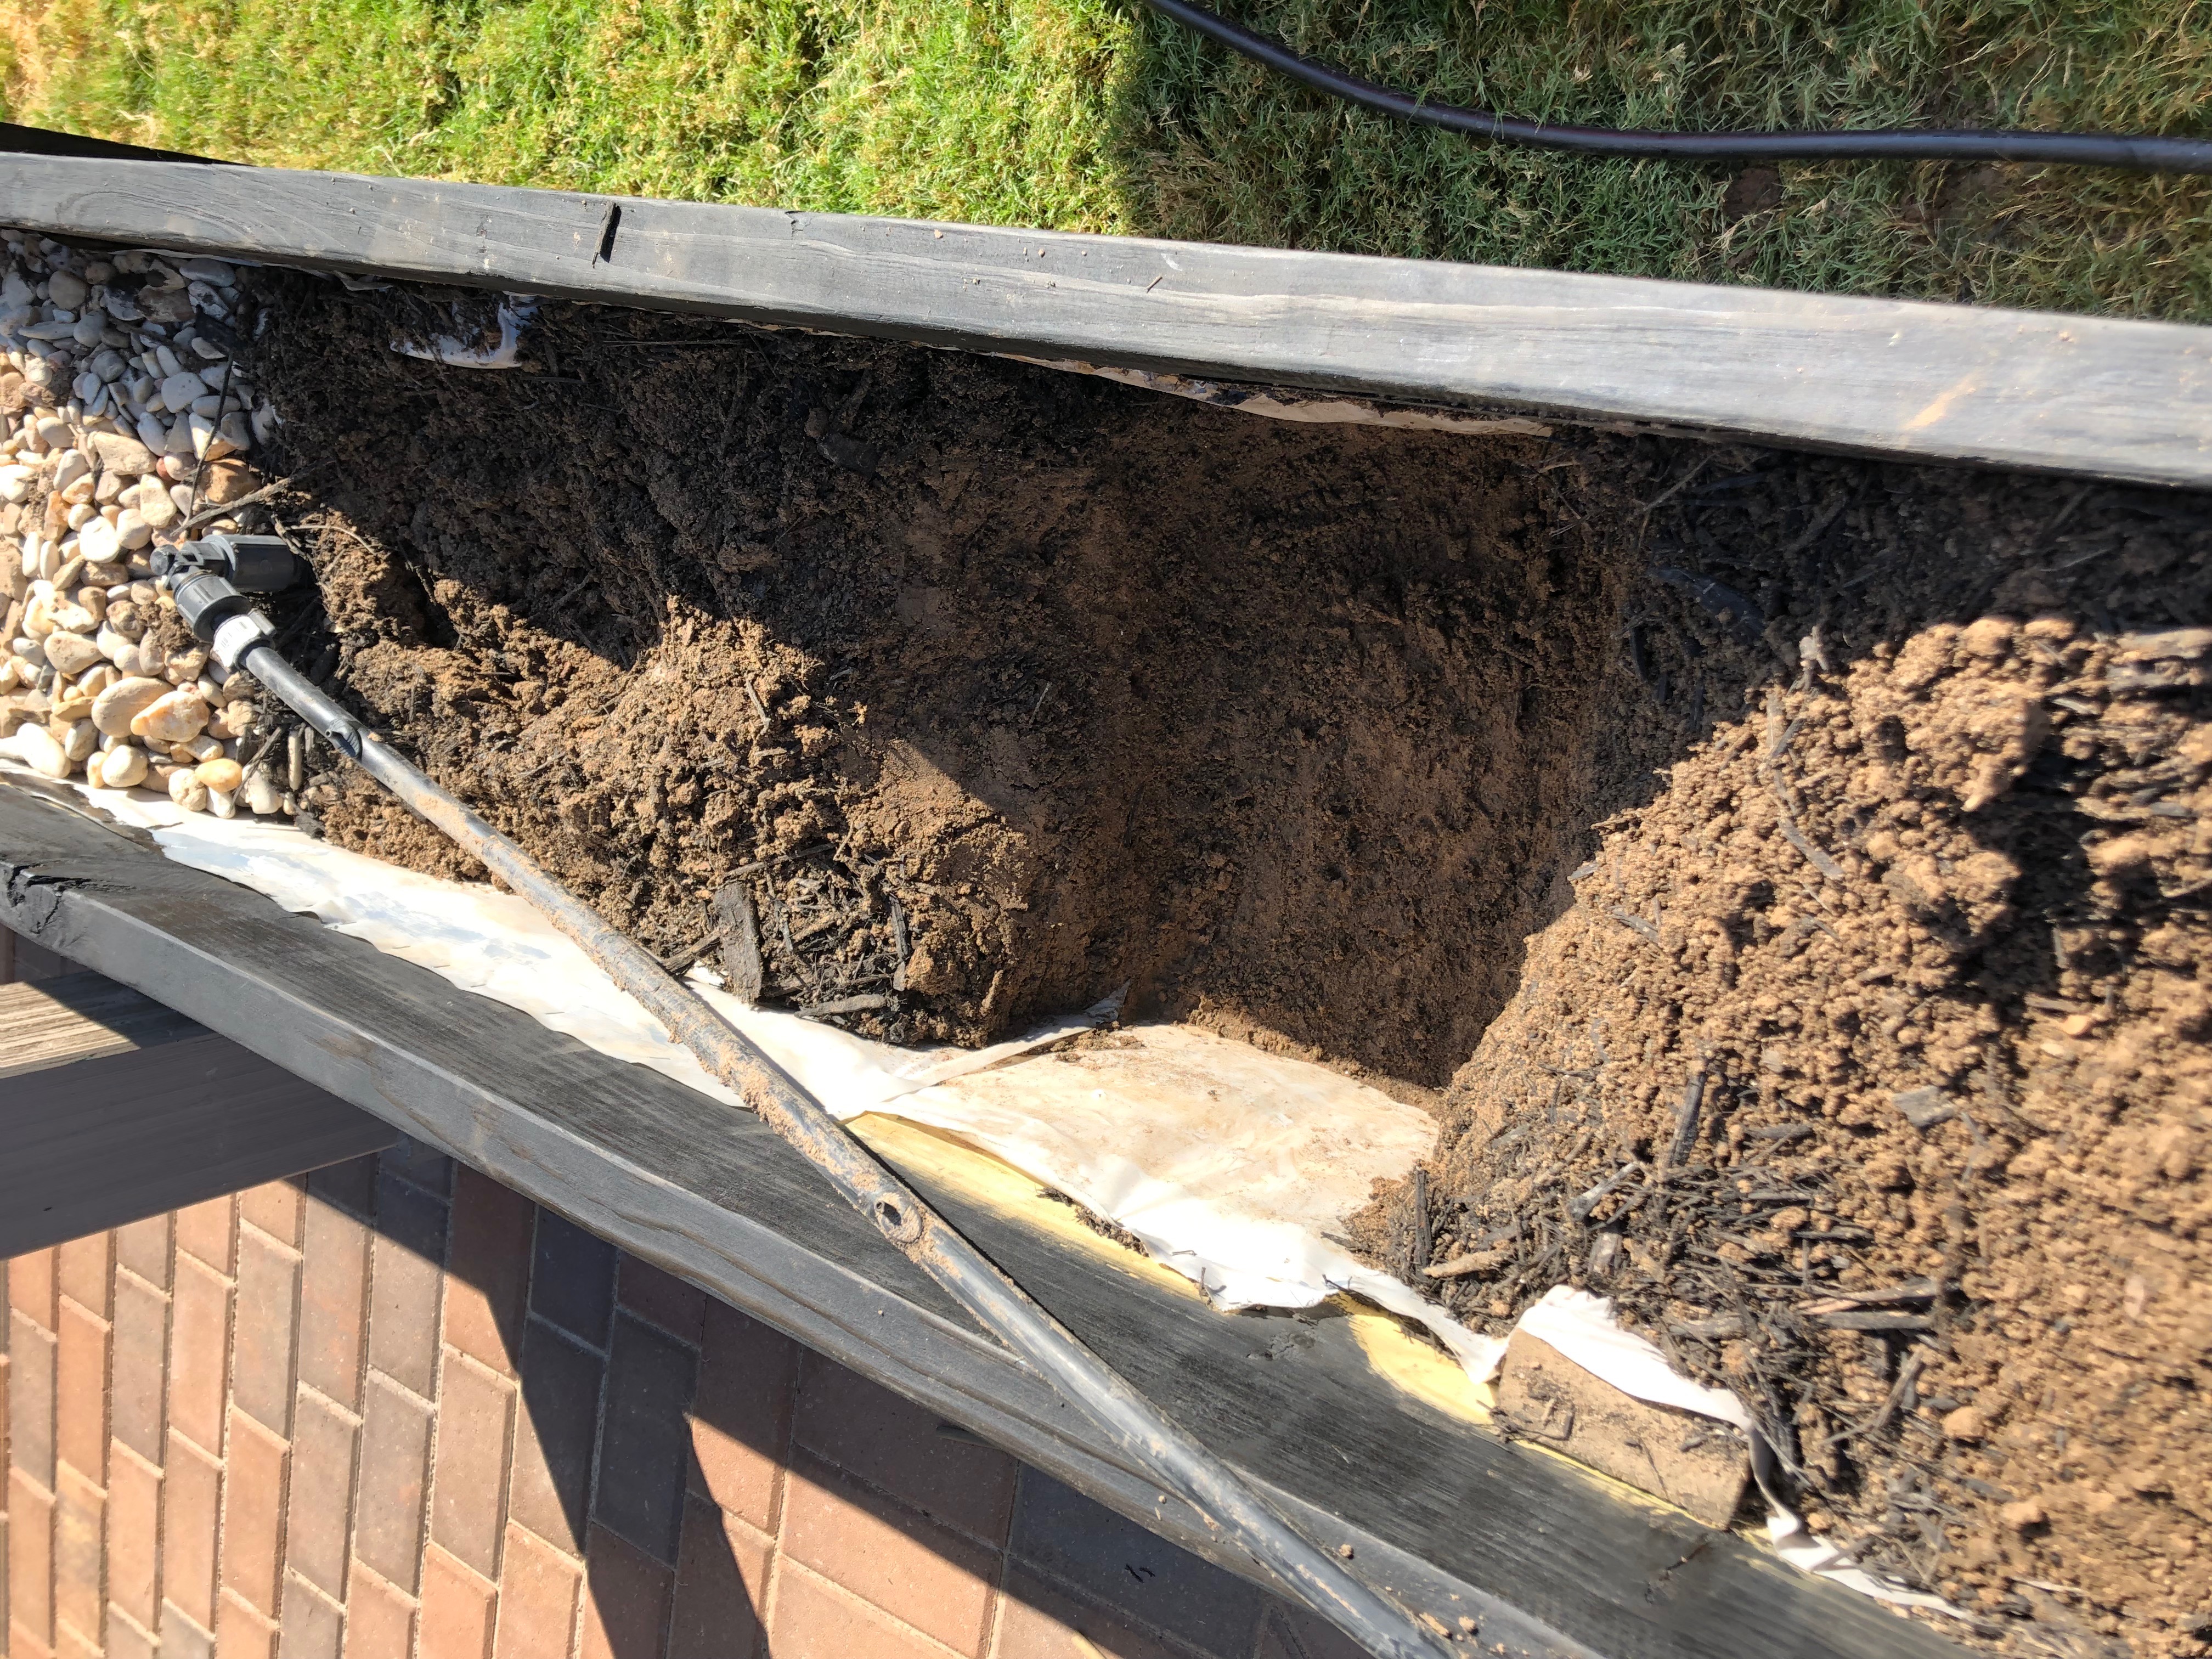
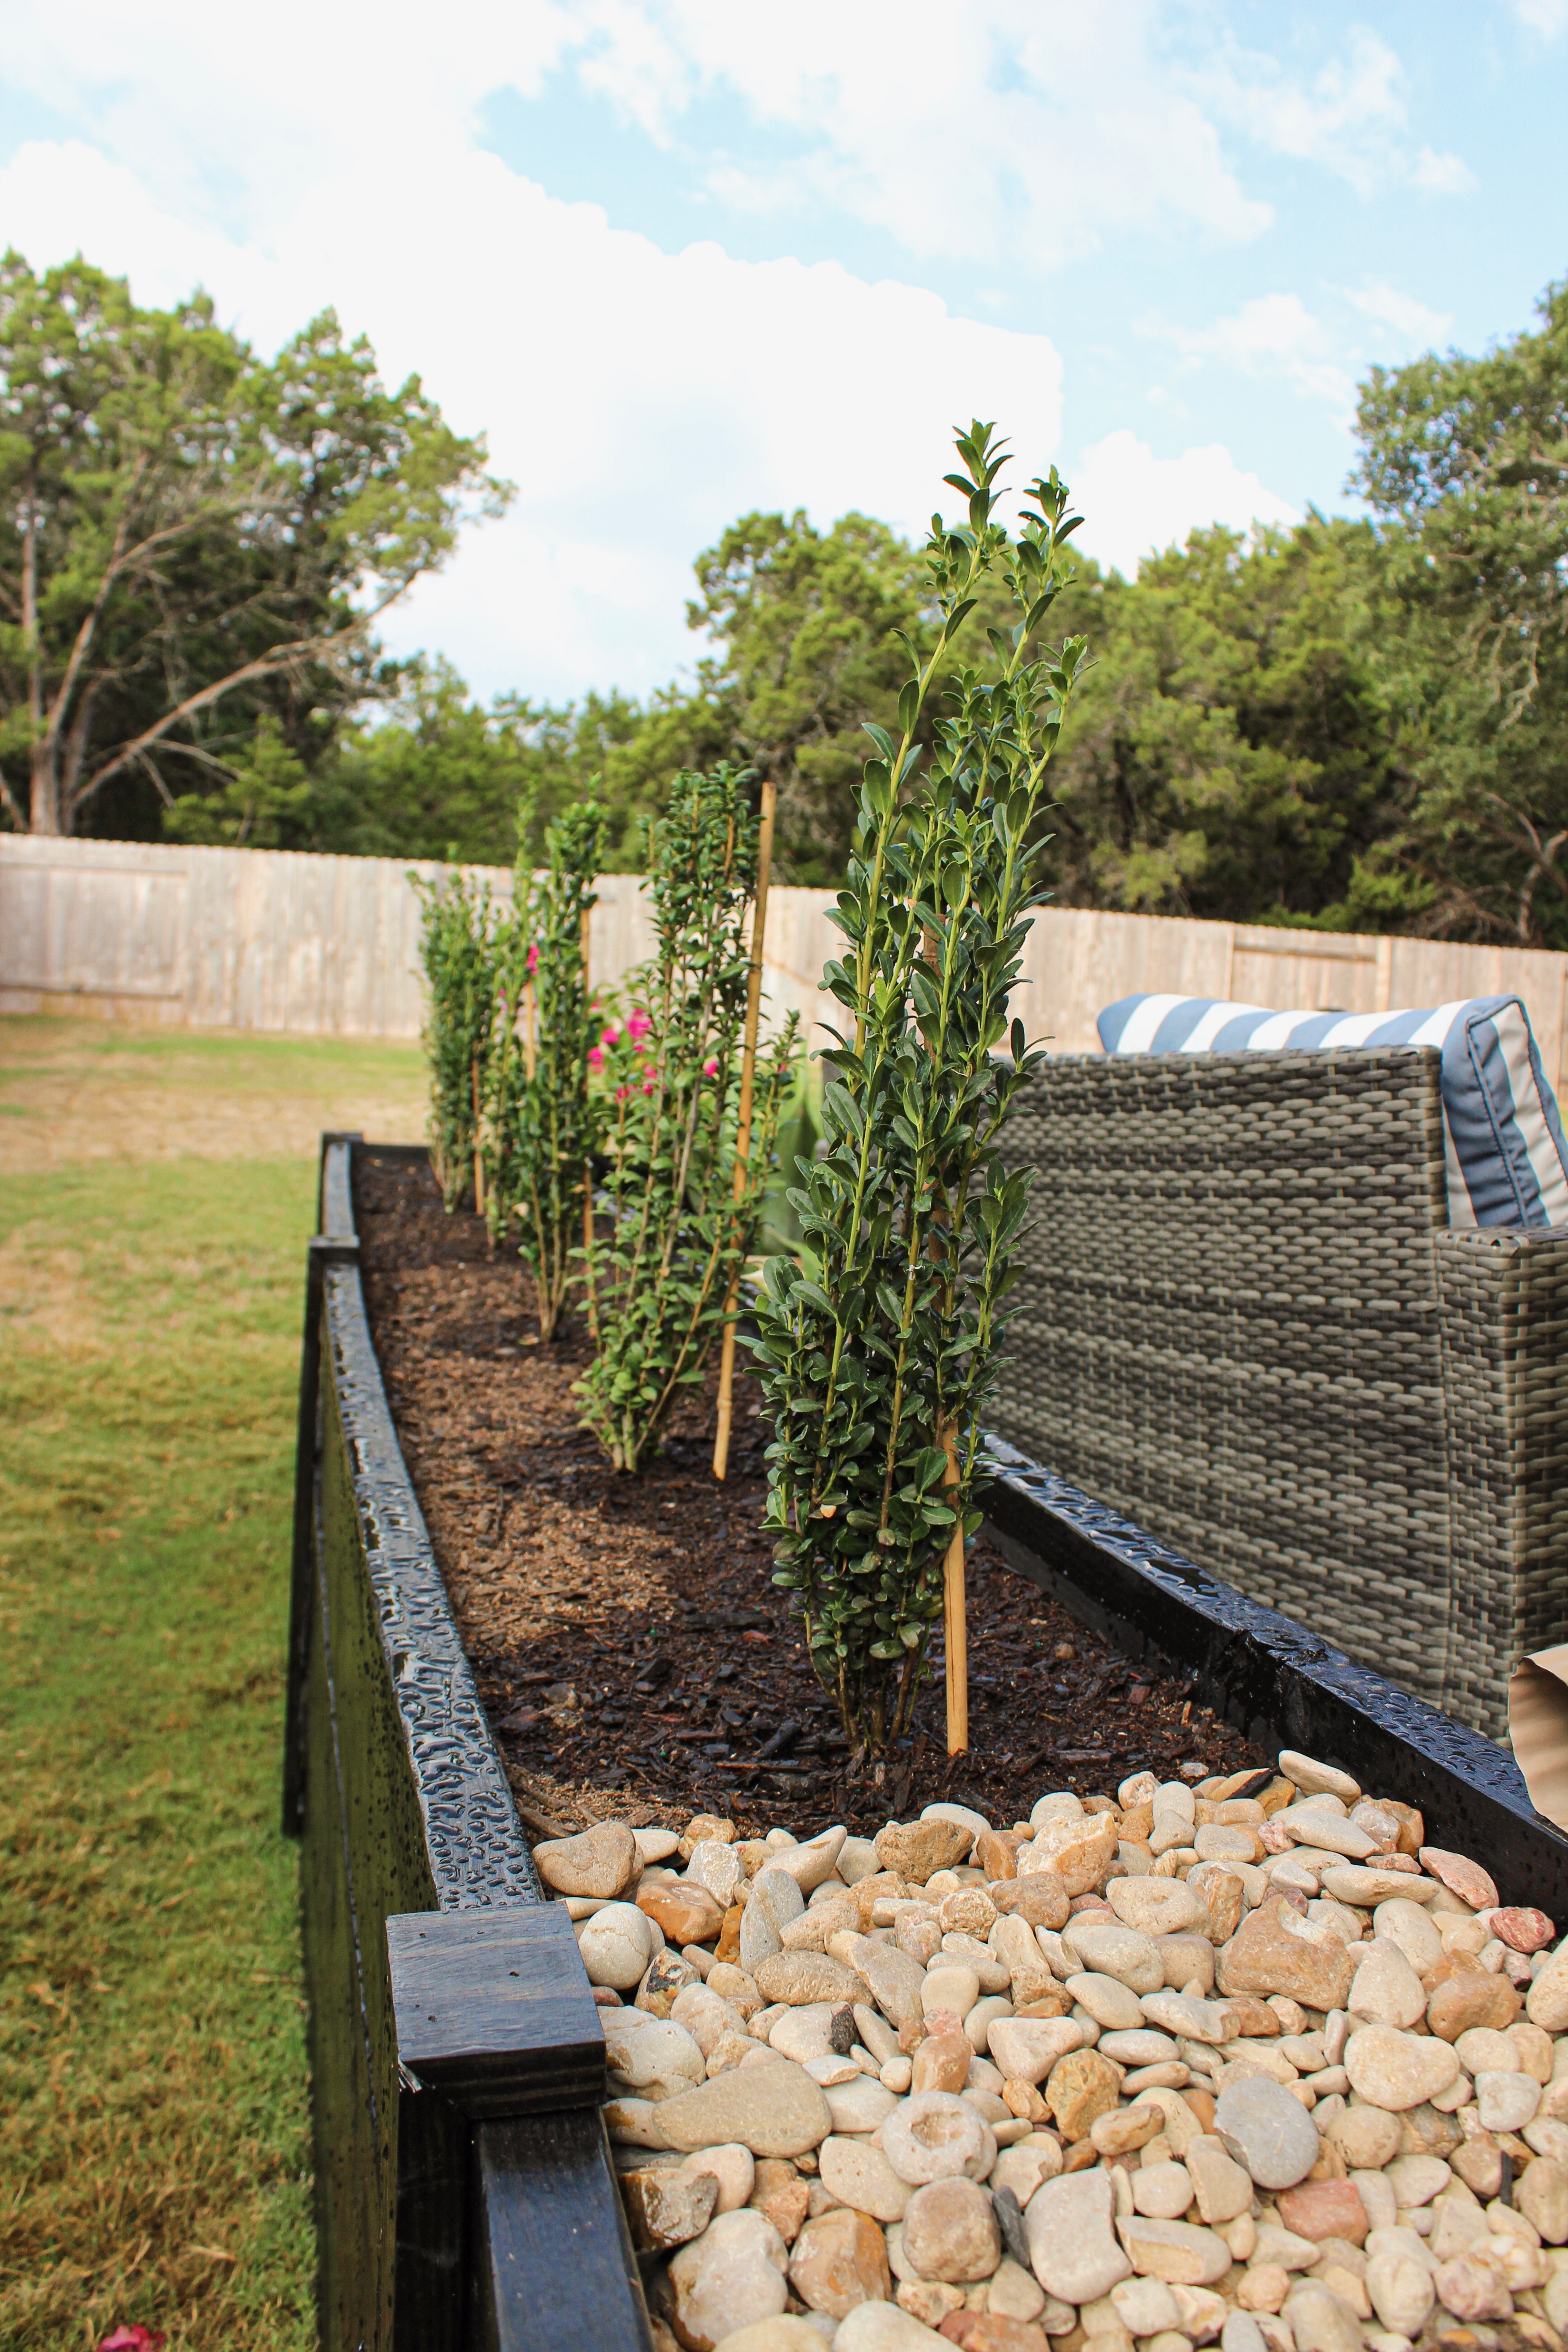
Before sealing everything up. When we filled the large garden bed with dirt and planted everything on the one side, we filled it to the level I wanted but over the weeks, it compacted significantly. So, before sealing everything up, we bought a couple bags of soil and dug up the plants. While everything was taken apart we added just a couple more braces to the interior of the beds to ensure longterm structure and prevent more warping. Then we added the extra soil to be the appropriate level and replanted everything. It was just a quick detour that really made the whole bed look so much more complete.
SEALING
I used the only sealer I could find at Lowe’s for outdoor use which was a Helmsman’s Varnish. I didn’t want the beds to be glossy. So, we bought a satin finish but it still has a lot more gloss than I wanted or was expecting. The test this on a scrap piece of wood didn’t seem that glossy. If you want a non-glossy finish like I did. Then I would look for a sealer that has a matte finish and that’ll probably be the best bet for a non-glossy finish. The instructions say to use a natural bristle brush for application. I didn’t have a natural bristle brush on hand so with the test piece, I just used a 2″ nylon bristle brush and the application looked just fine so that’s what we used. One coat all the way around and it’s DONE!
At the end of a project I usually include a small little “lessons learned” section but there were seriously so many mistakes and lessons learned throughout this process that I actually wrote a whole blog post about it. If you didn’t catch it last week, make sure to check it out now by clicking here!
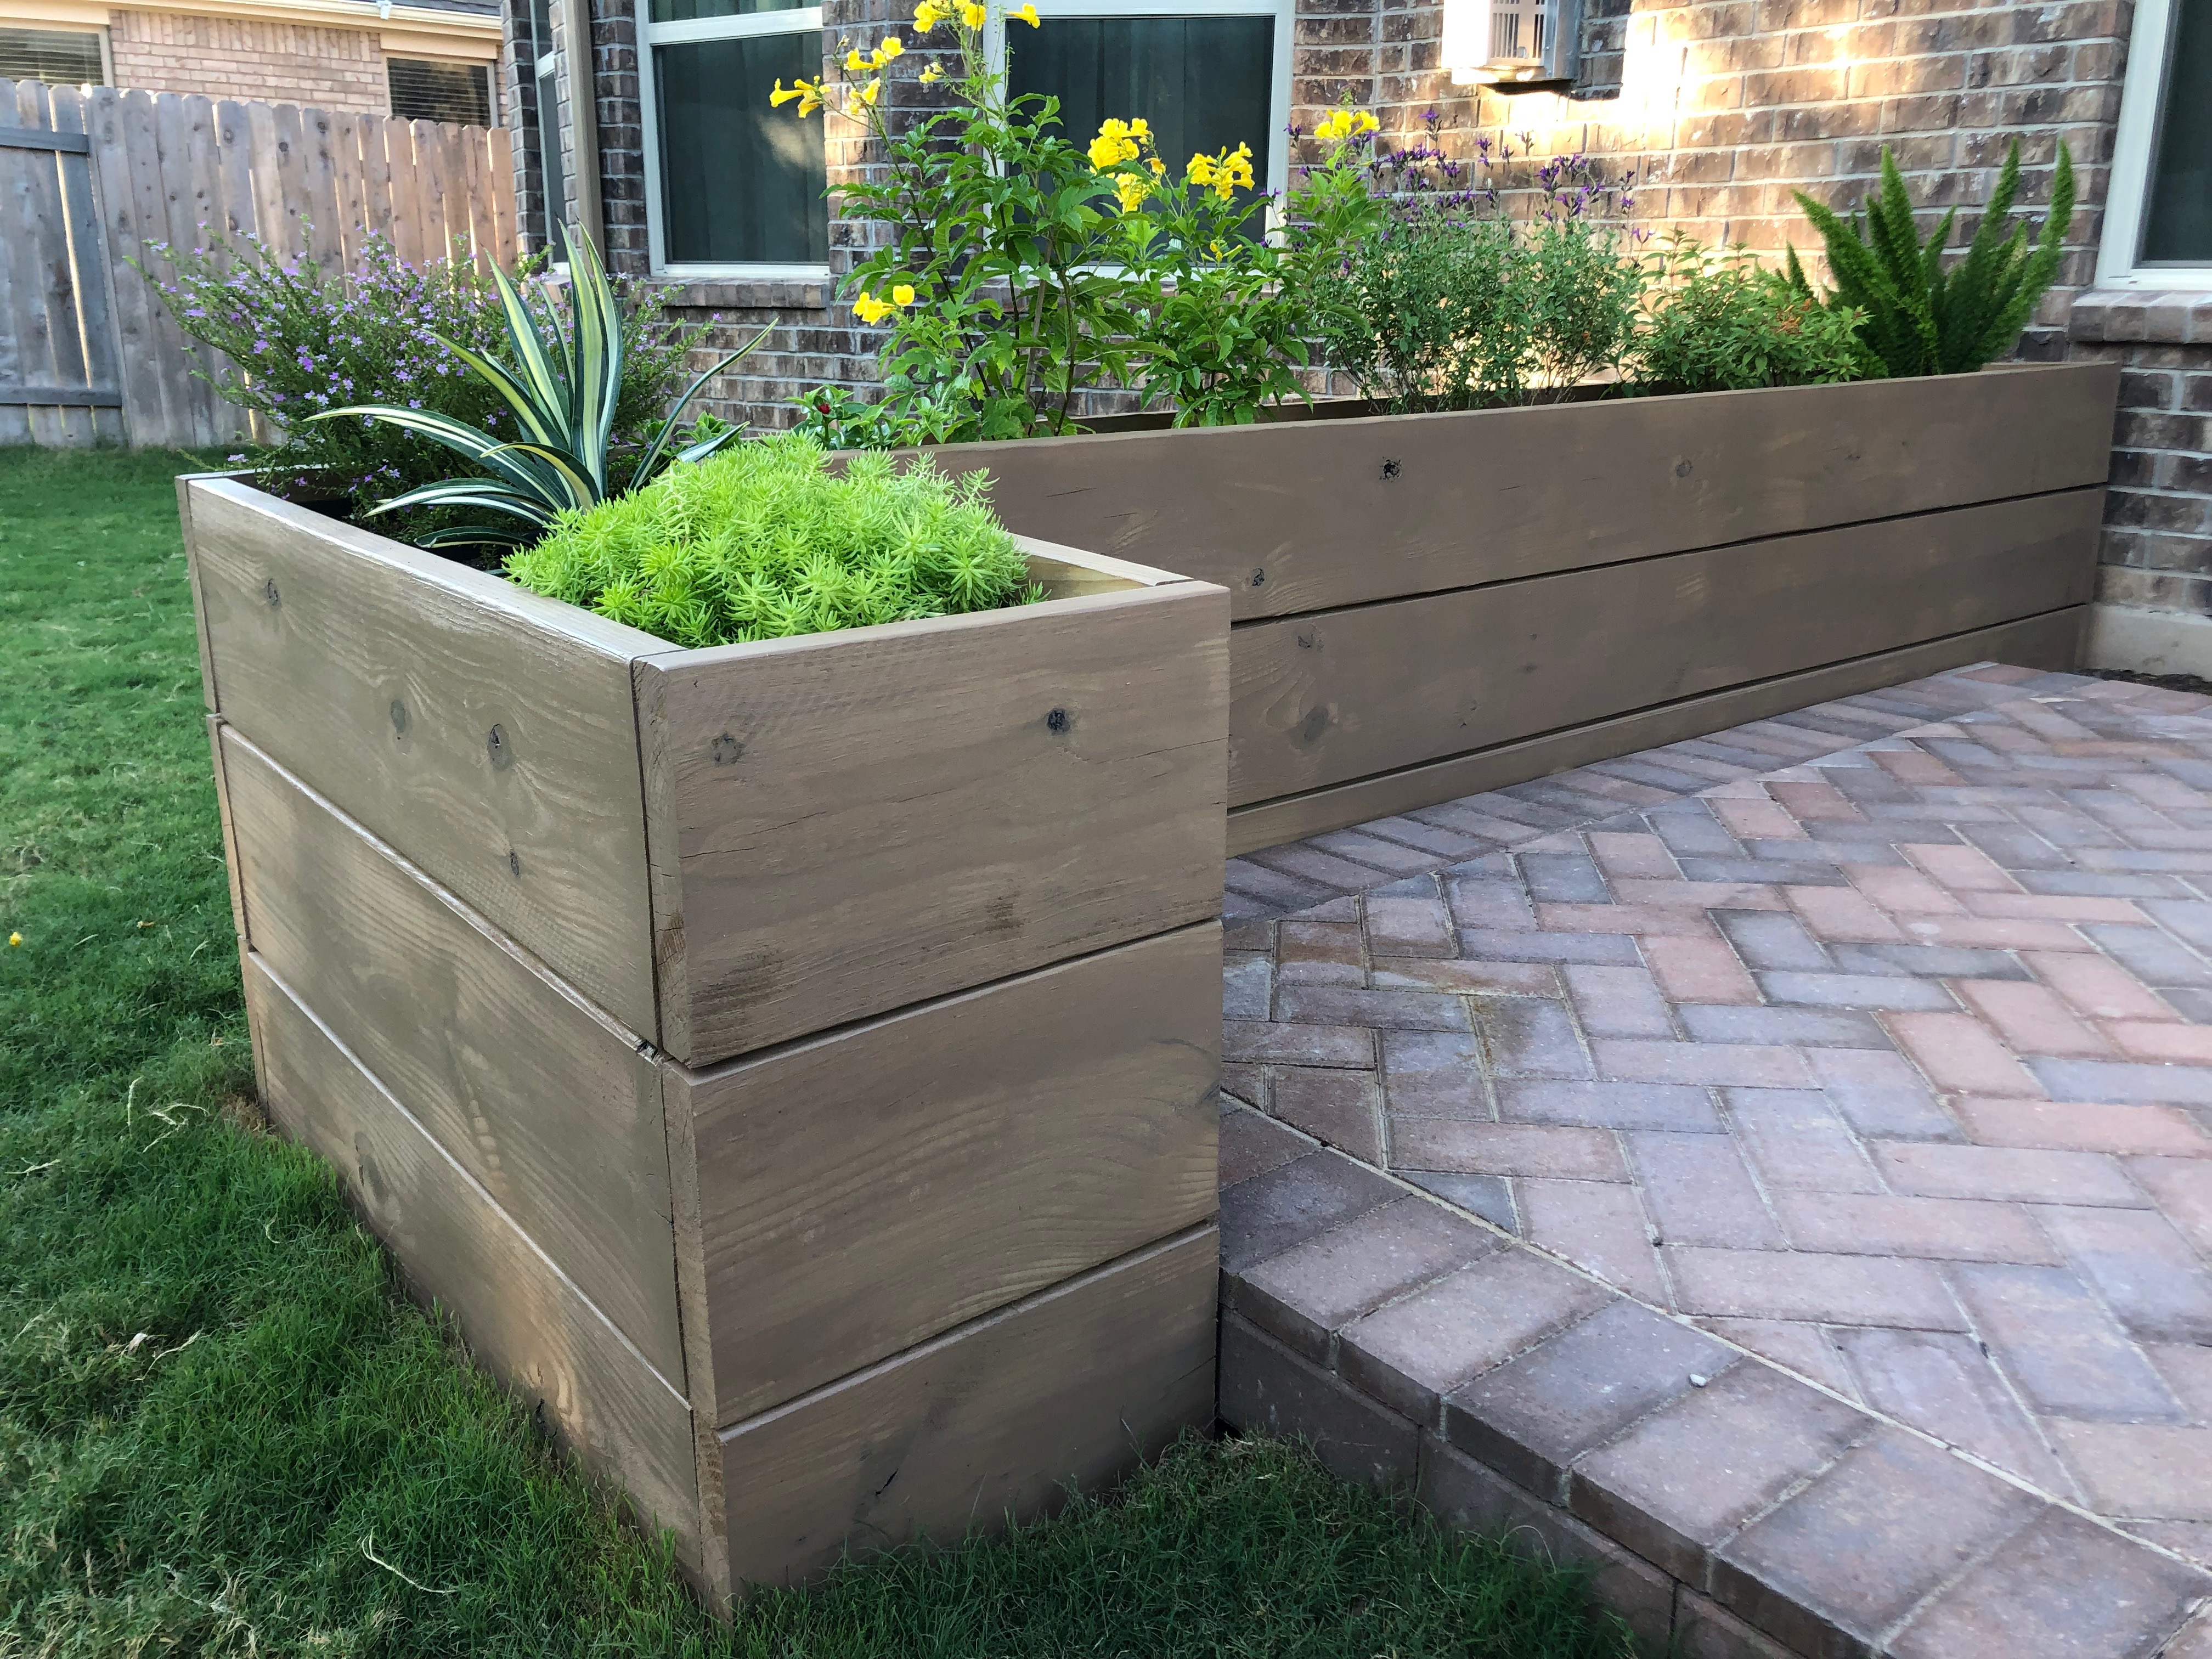
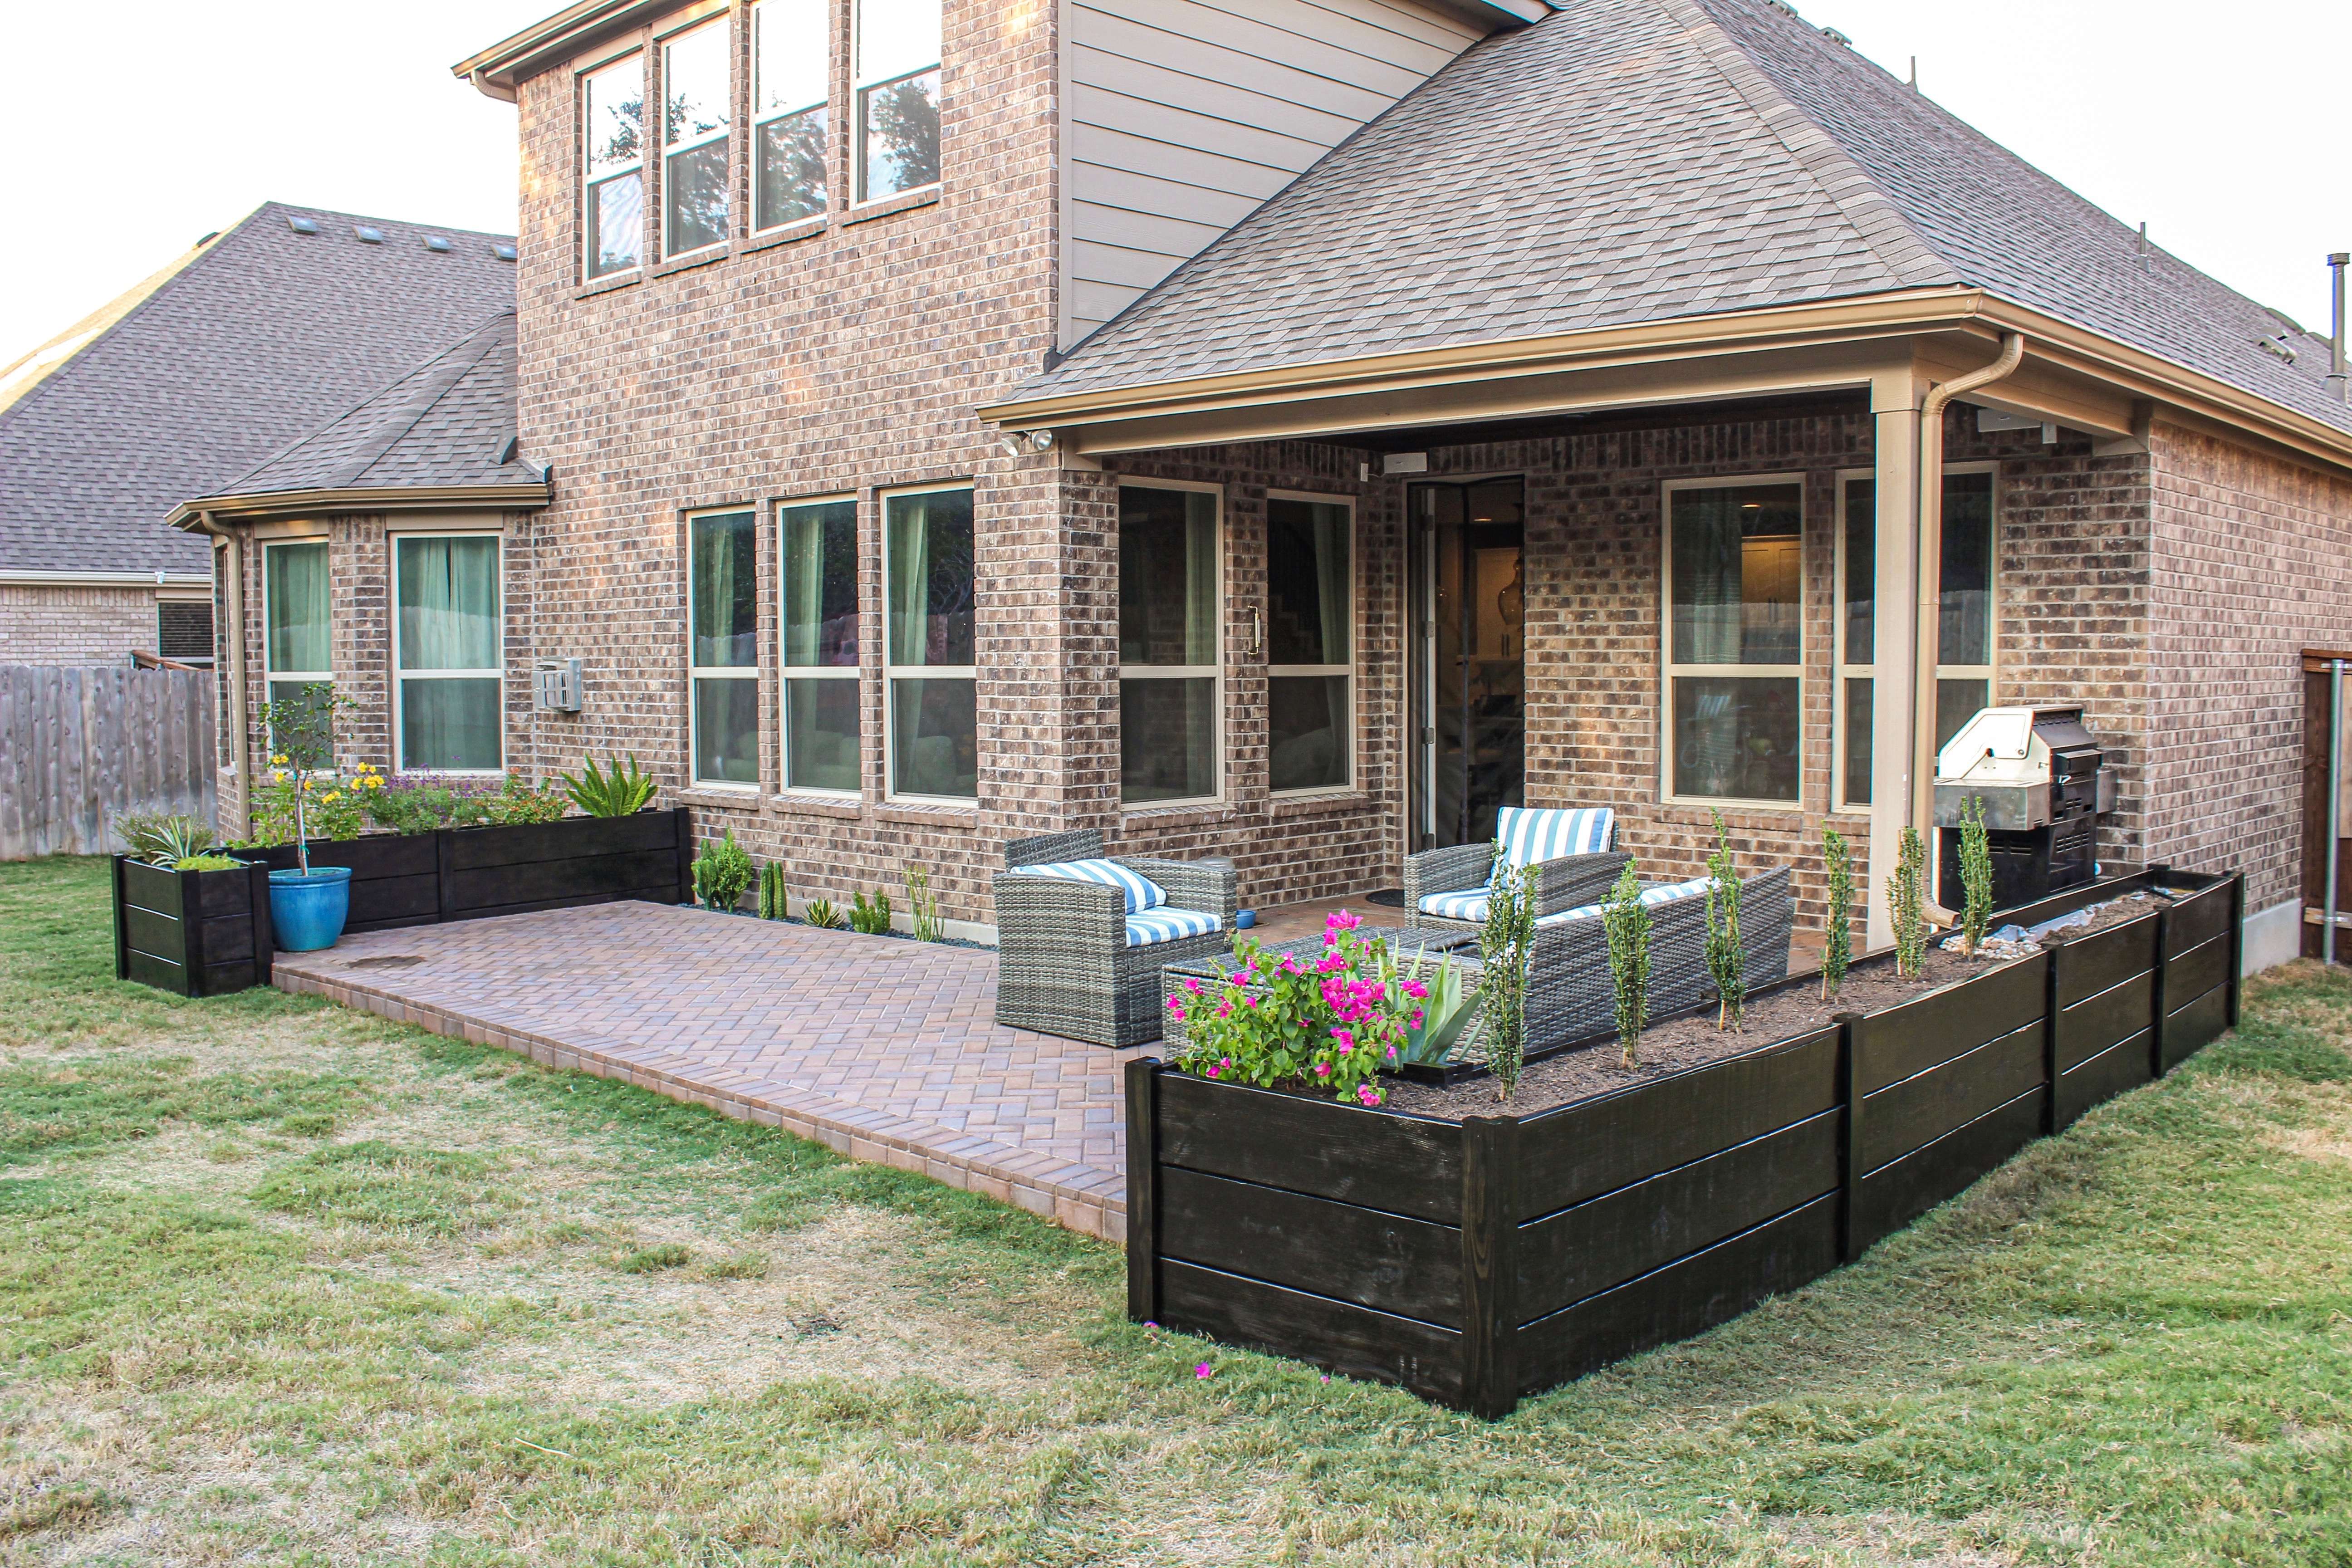
Thank you all for sticking around with me as I pushed through the end of this Raised Garden Bed project painstakingly slow at the end! I am so excited that it’s complete! Now I can move on to other fun projects (that will be much quicker and not as difficult). Although this part of my outdoor living area is done, we still have a couple more phases left. First, we had the Brick Paver Patio, now the Raised Garden Beds. Can you guess what the other two (big) phases will be? (Comment your guess below.)
Subscribe to the blog and follow me on instagram (@olivegreyavenue) to find out!
Find us on social HERE!


