


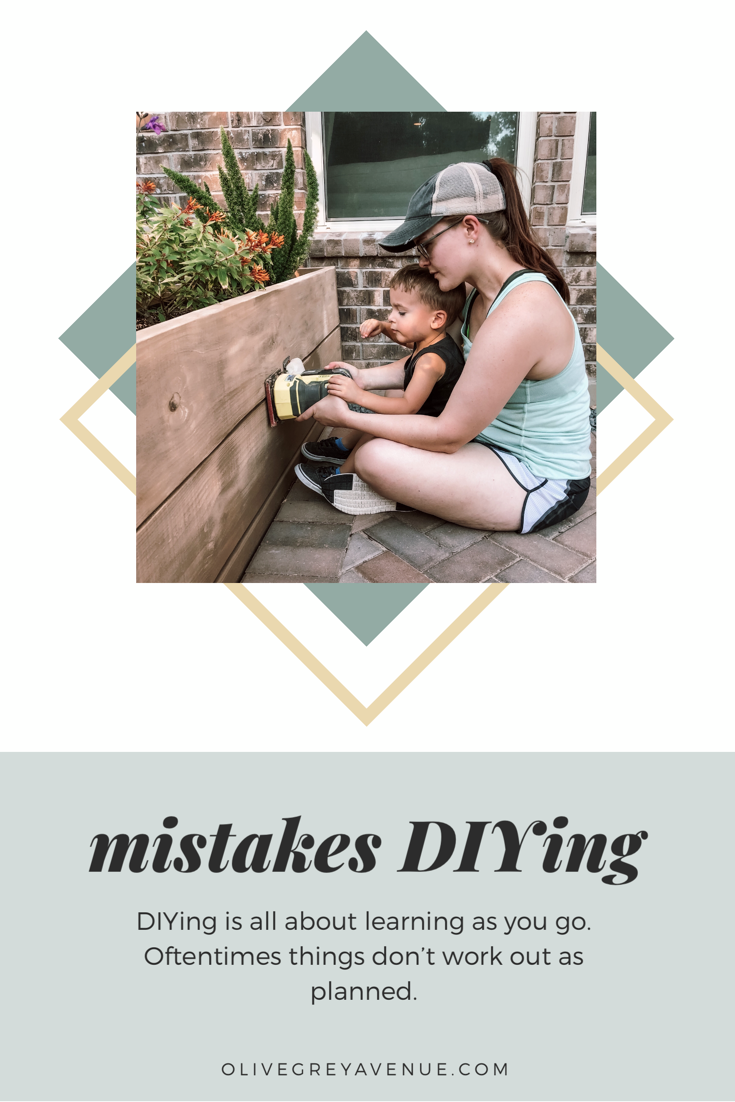
DIYers Make Mistakes


Rewind
We began building the Raised Garden Beds at the beginning of July (and yes, it’s now September and they’re still not complete). The beginning of the project, we went to The Home Depot and bought all the lumber we needed for the project. The first day we built the first raise garden bed but the second day, I decided not to push to get the second box done and just do it the next weekend. I thought this would be better to not push to get it done and take shortcuts to complete it in one weekend. Although that was the better decision to wait, it wasn’t the best decision for the lumber. It’s treated lumber so it warped, bad. I knew there would be a little warping but I thought we could pull it all together while building the boxes. That didn’t happen and it’s still significantly more warped than the first box we built.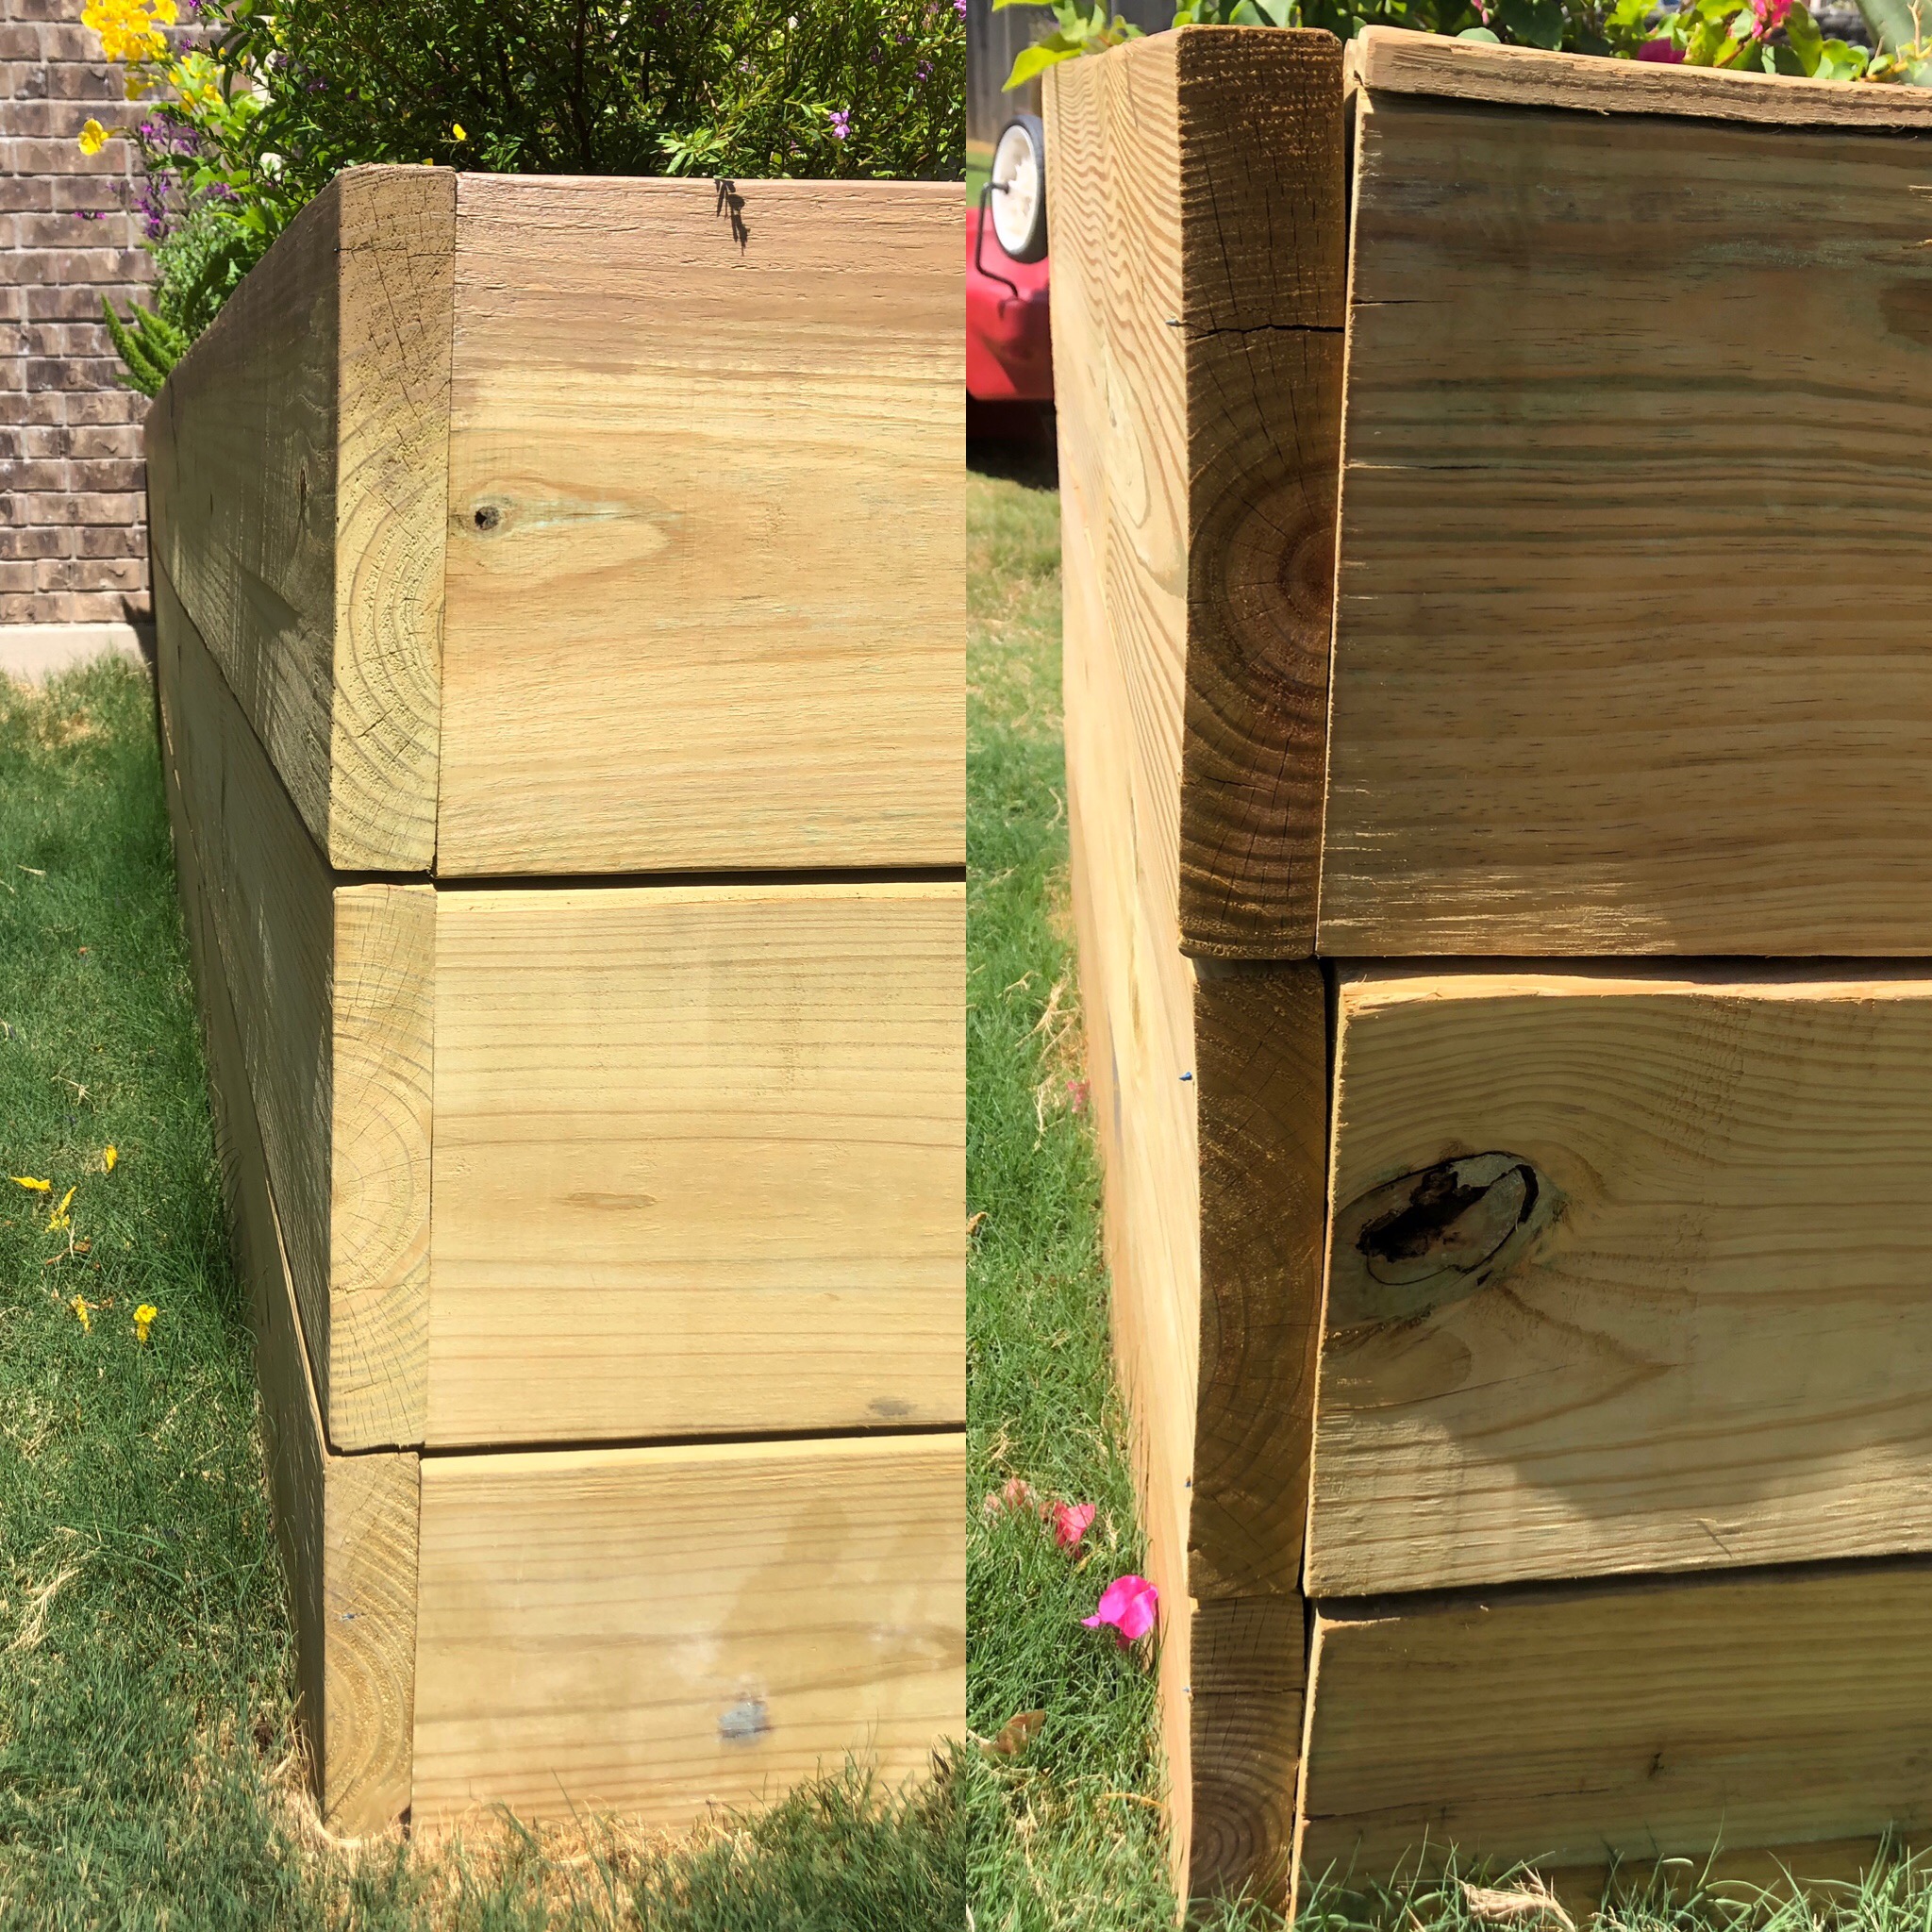 Little to no warping VS significant warping
The only way to fix the issues with warping at this point is to buy more lumber and start over. I wasn’t willing to spend that much more money and time fixing these. Finally I decided that the way to go would be building fascias to cover the corner seams and make the warping not as noticeable. I do have to buy more materials but it’s far less than buying all of the huge pieces if lumber.
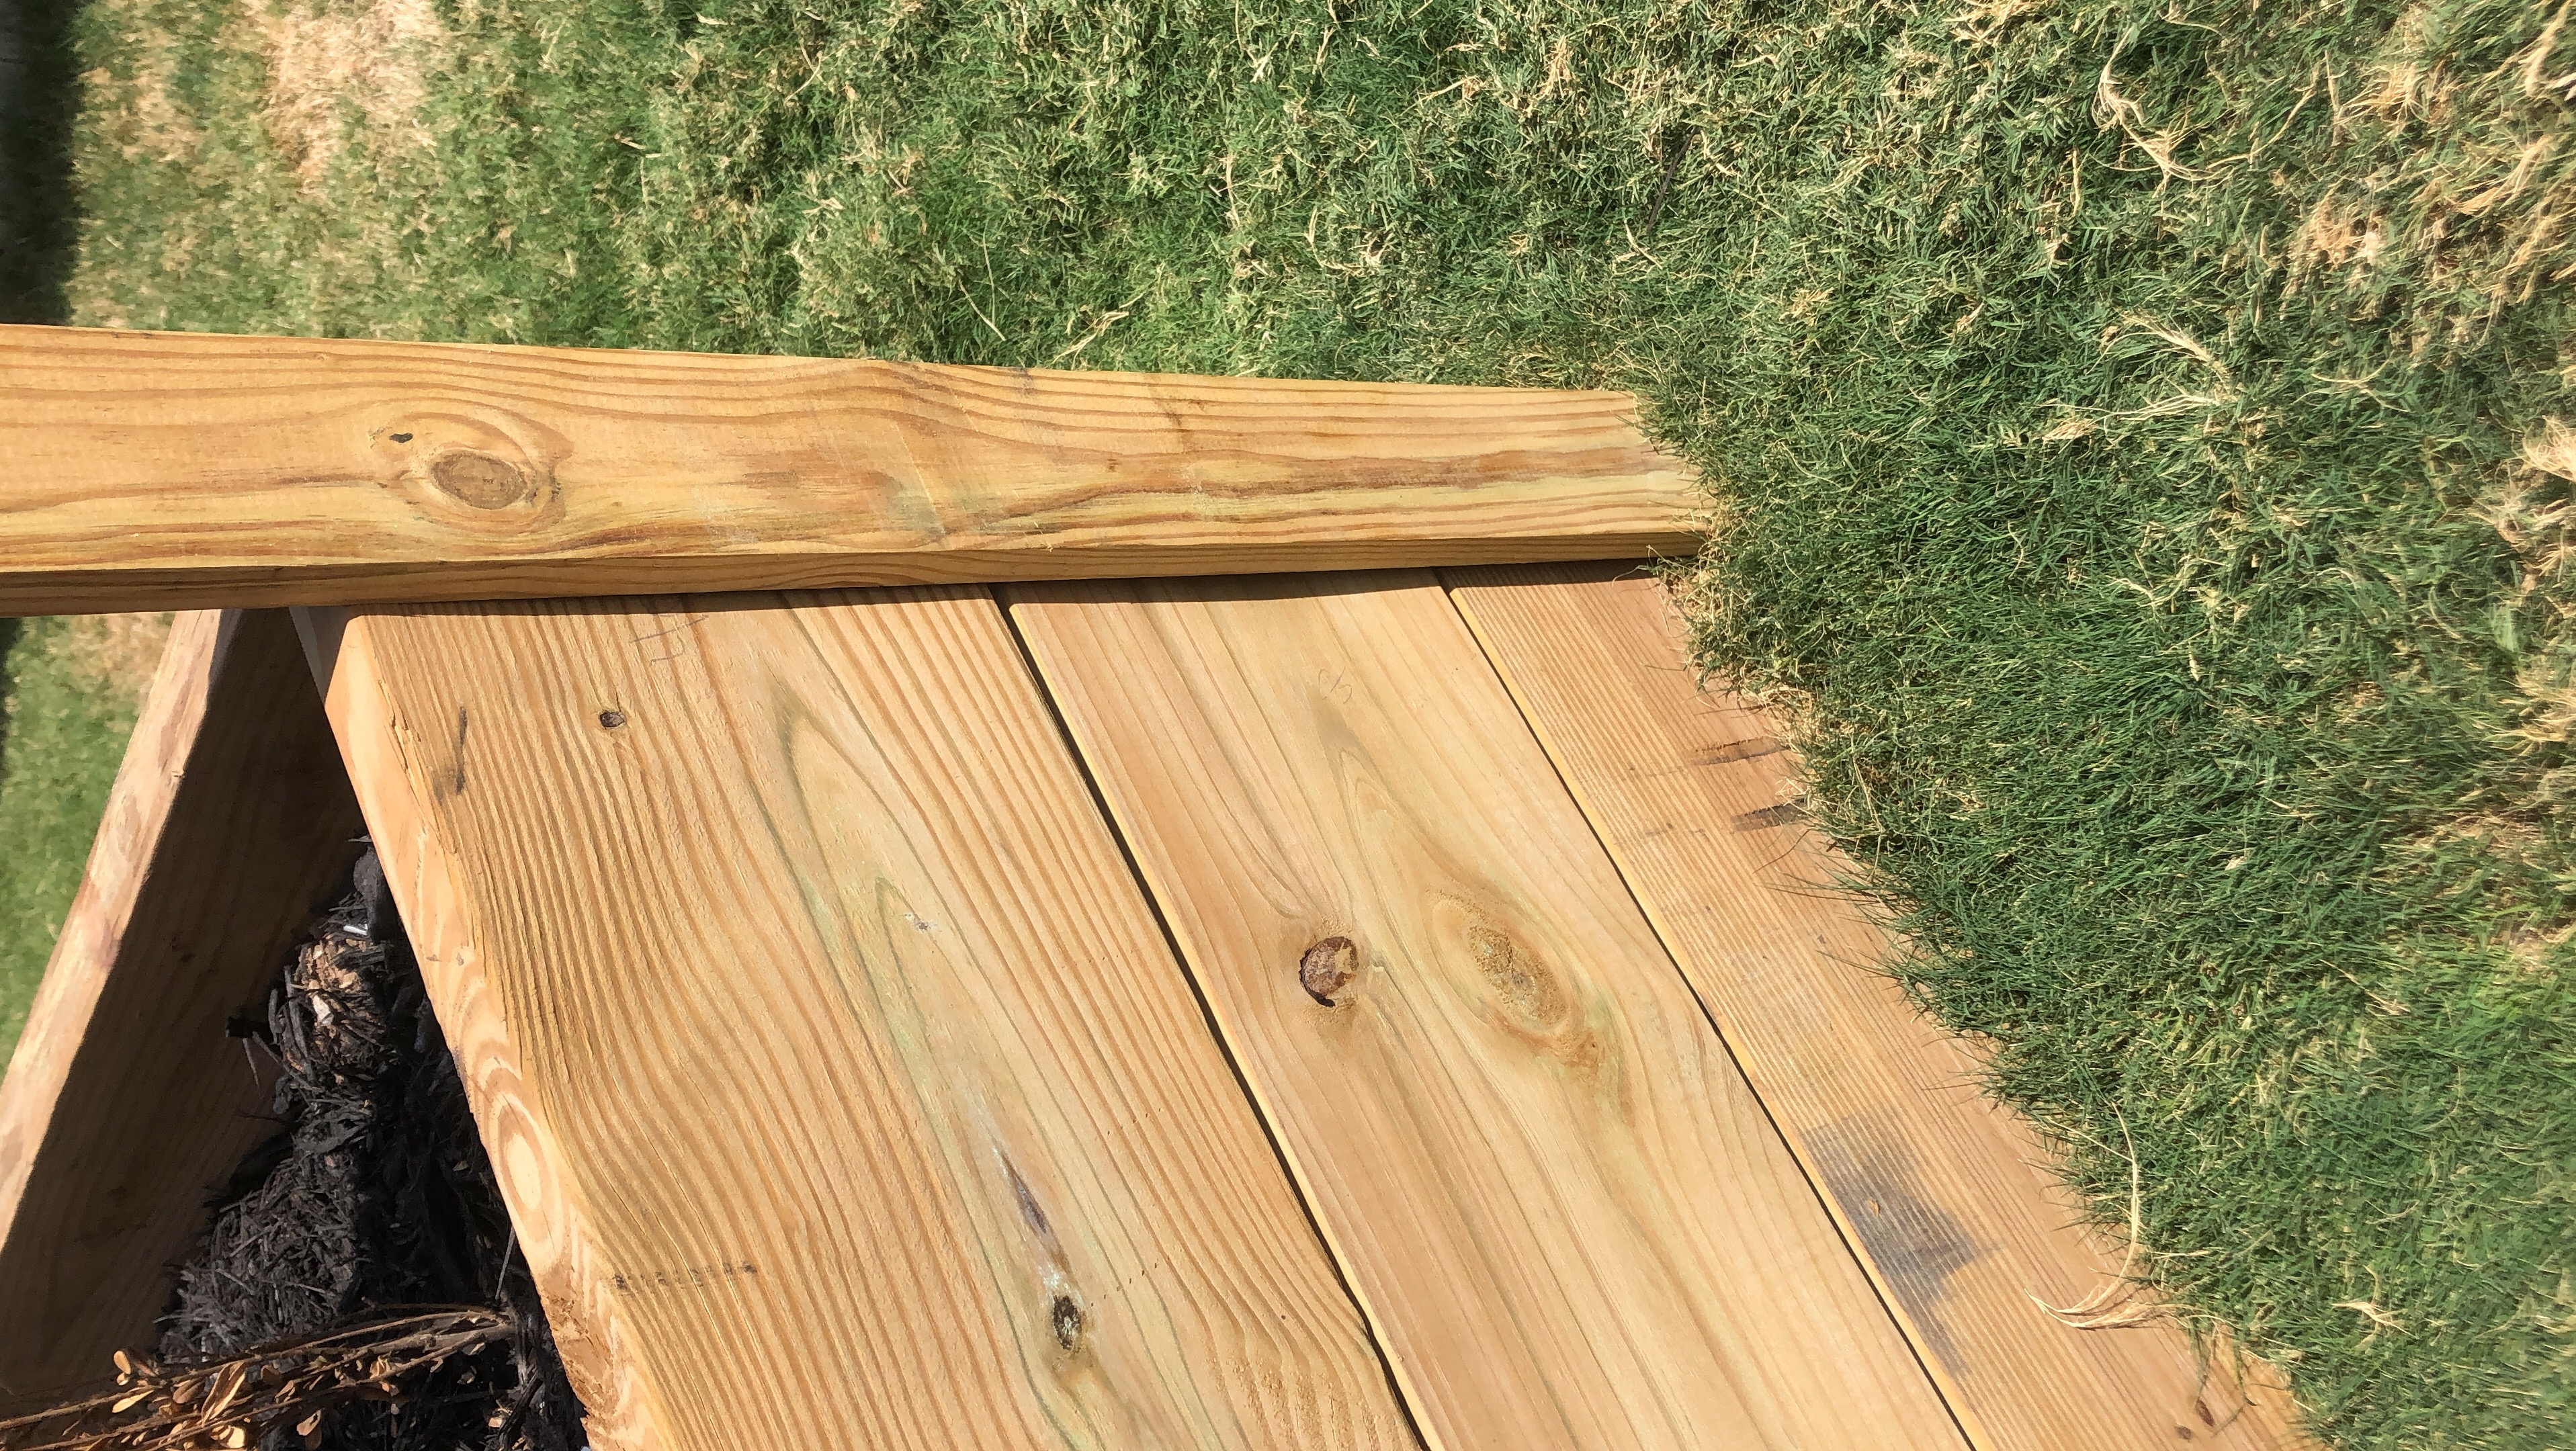 Planning out the fascias
Some mistakes or imperfections like this are just not possible to fix completely without starting over–but that’s okay. Other things are more do-able to fix. I painted the smaller raised garden bed with a light semi-transparent stain that I thought would be similar to the current color of the lumber. What I found out is that 1. I hate semi-transparent stain and 2. going with the neutral color wasn’t the right choice this time.
Thoughts
Honestly I don’t understand why someone would choose a semi transparent stain now. I thought that it would show the wood grain well and also provide a good color but it just seemed to look half-assed. One coat in, I could tell that it looked more like diluted paint than anything else and once I did two coats, the wood grain would be gone. Even if I didn’t do a second coat, the grain just looked milky and I just wasn’t a fan. Usually I go with neutrals almost everywhere but the color just blended too well with the bricks that it just looked blah.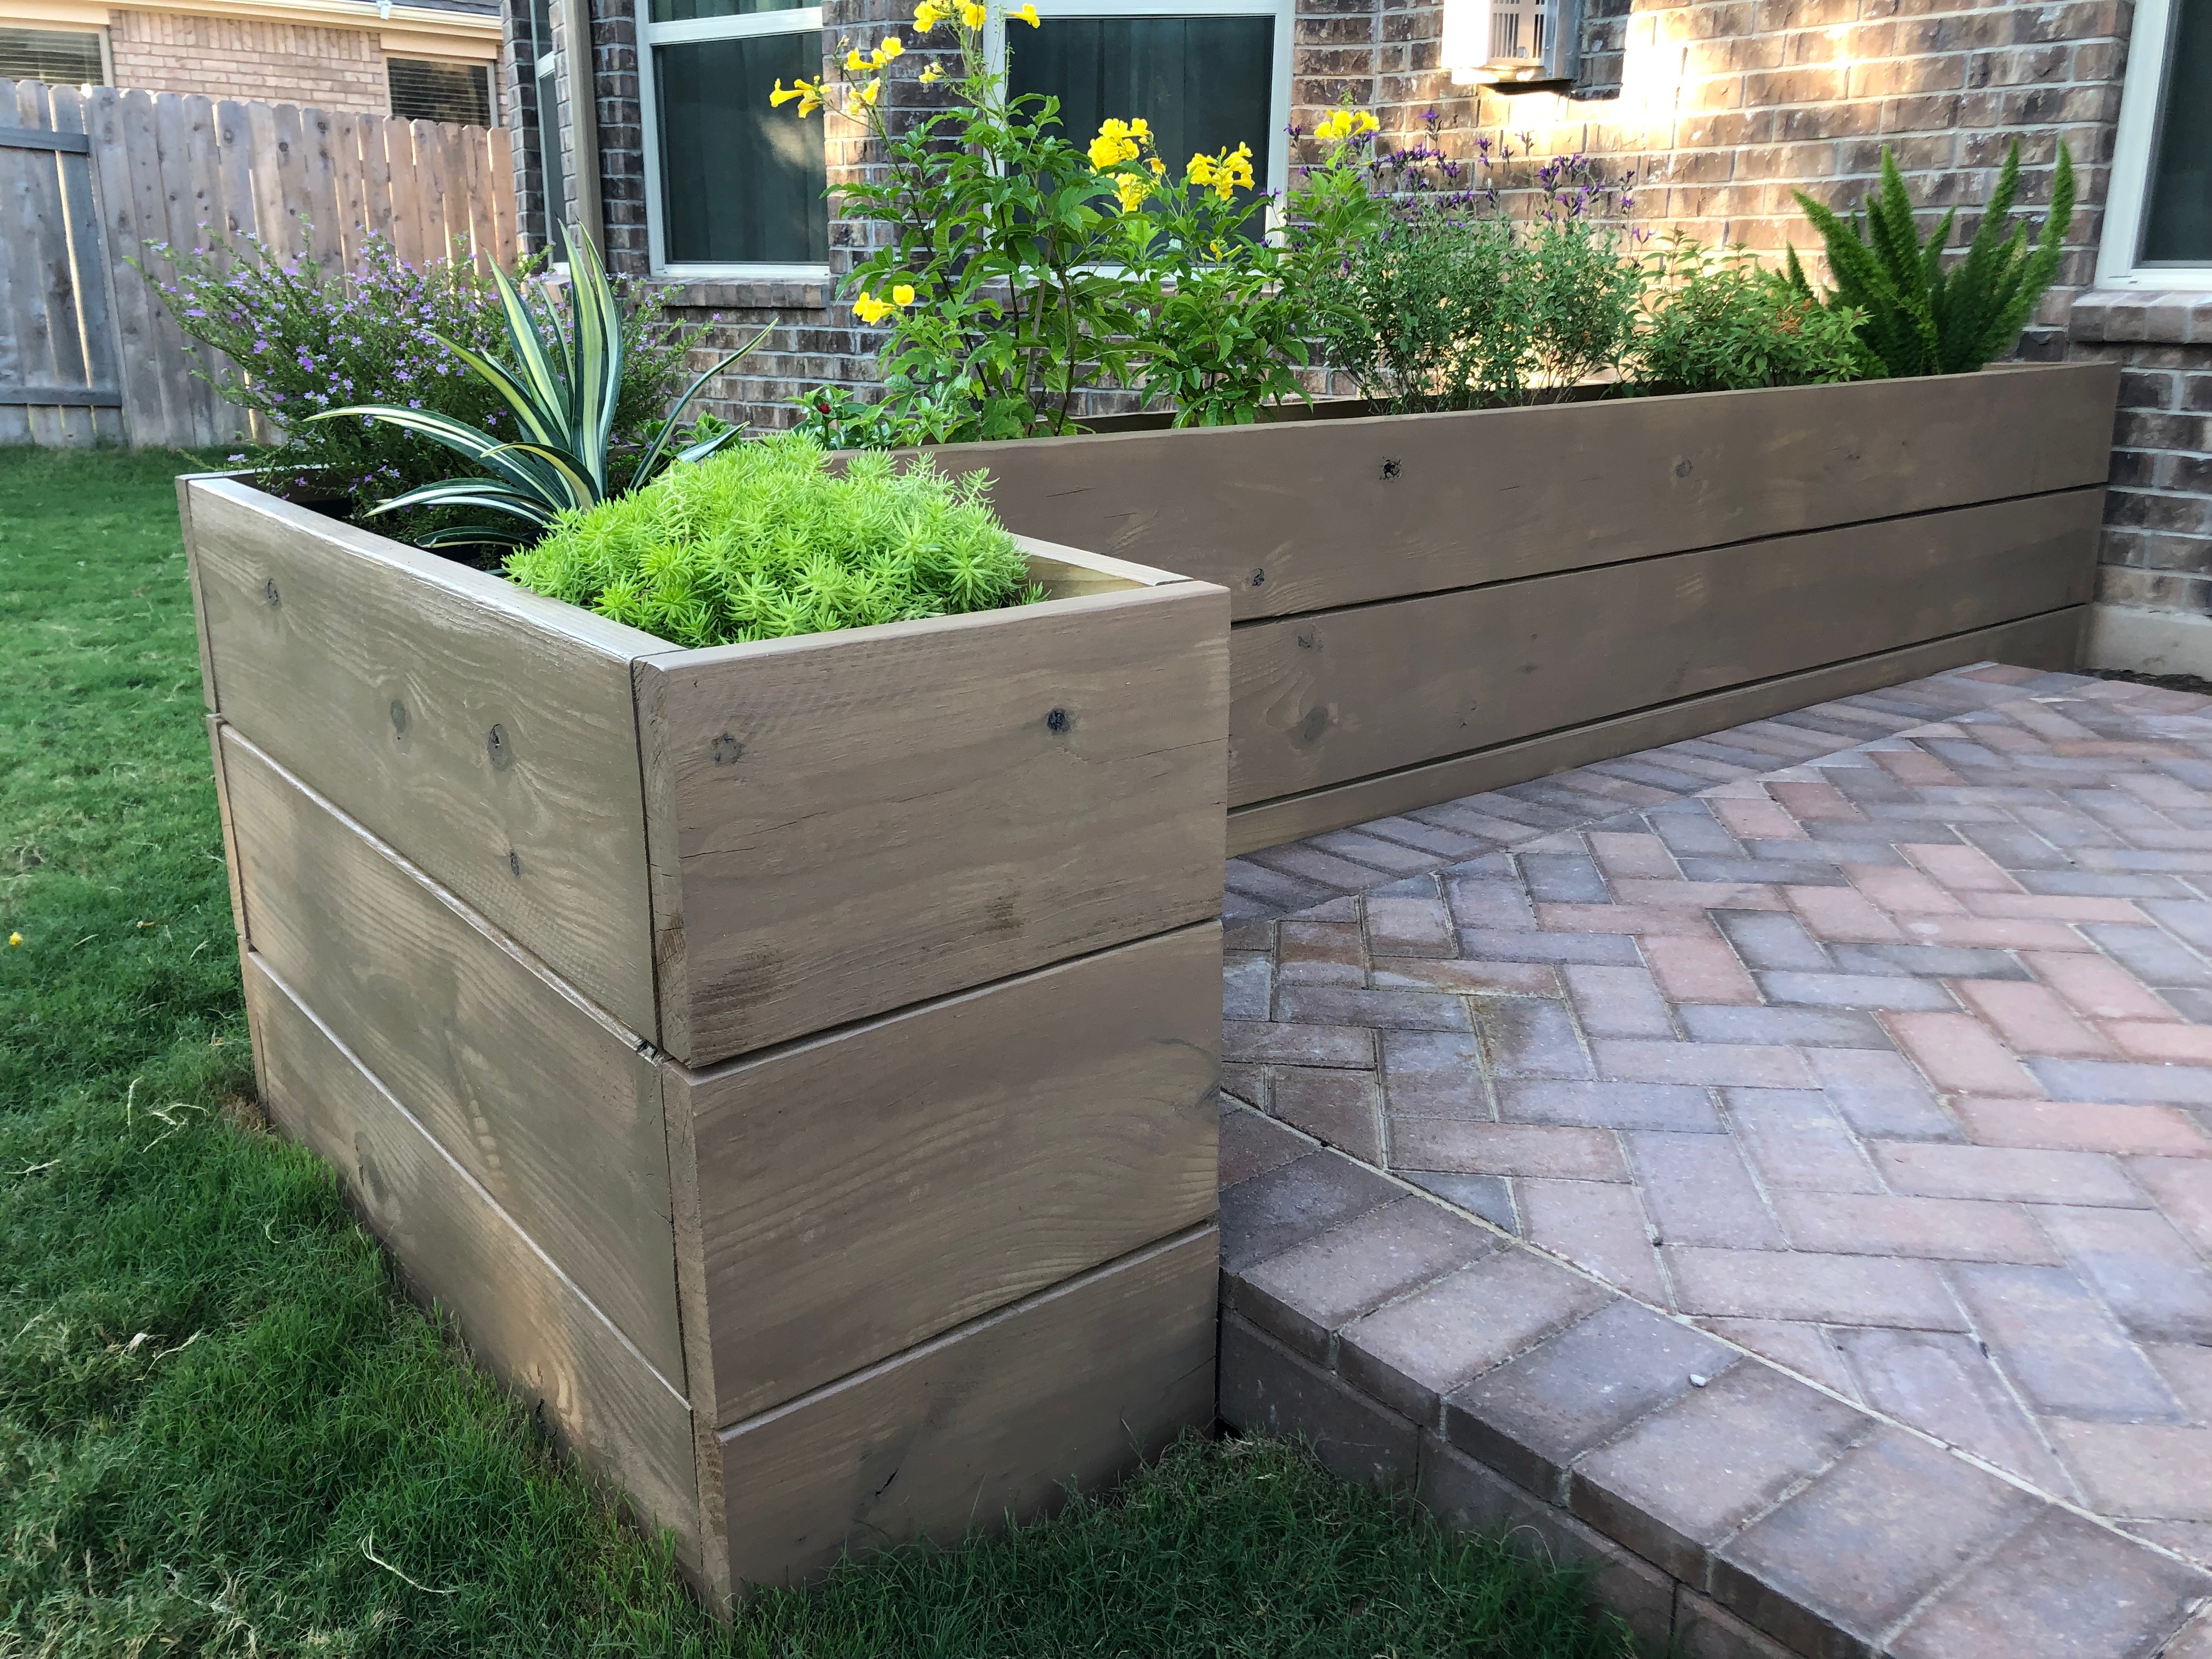
The stain
I didn’t like this stain at all. I knew I had to change it but didn’t want to pick another color that I hated.
After several weeks of deliberation and testing out a couple colors via Photoshop and then a couple stain samples. I finally decided that one of my first intuitions to go with a black stain was what I wanted. It was going to be a nice pop against the bricks and the vibrant colorful plants I have. Although changing the color after I had already done a coat on one of the boxes was going to create a lot more work for myself. I wanted to do it right so it would be something I was happy with in the end.
Finally
I ended up having to sand down this whole raised garden bed. The first coat was a stain and sealer in one, so it wasn’t going to absorb any stain on top of this without sanding it down.Lessons Learned
Just in this one project, I have learned so much about DIYing. 1. Be patient with the process. Some things will take longer than you anticipate. 2. You’re going to make mistakes. 3. Don’t overthink things. I felt like I ran into “designer’s block” for several weeks. I couldn’t figure out what to do to fix the things I wasn’t happy with.Pep Talk
A large part of DIY is about learning new things which means that everything is not going to be perfect. And that’s OKAY! After working on and thinking about this one project for about 8 weeks now (geez), I am ready to complete it so I can move on to another fun project! If you missed the building of the Raised Garden Beds, check out the post detailing how I did it. Look out next week for the final blog post on this project! I’m sure we’ll all be happy to put this project behind us! Find us on social HERE!
Leave a comment
Close comments


