


DIY Plywood Waterfall Desk


It’s that time again, it’s week FIVE of the One Room Challenge! This week is a DIY plywood waterfall desk.So let’s catch up on what we were working on this week.
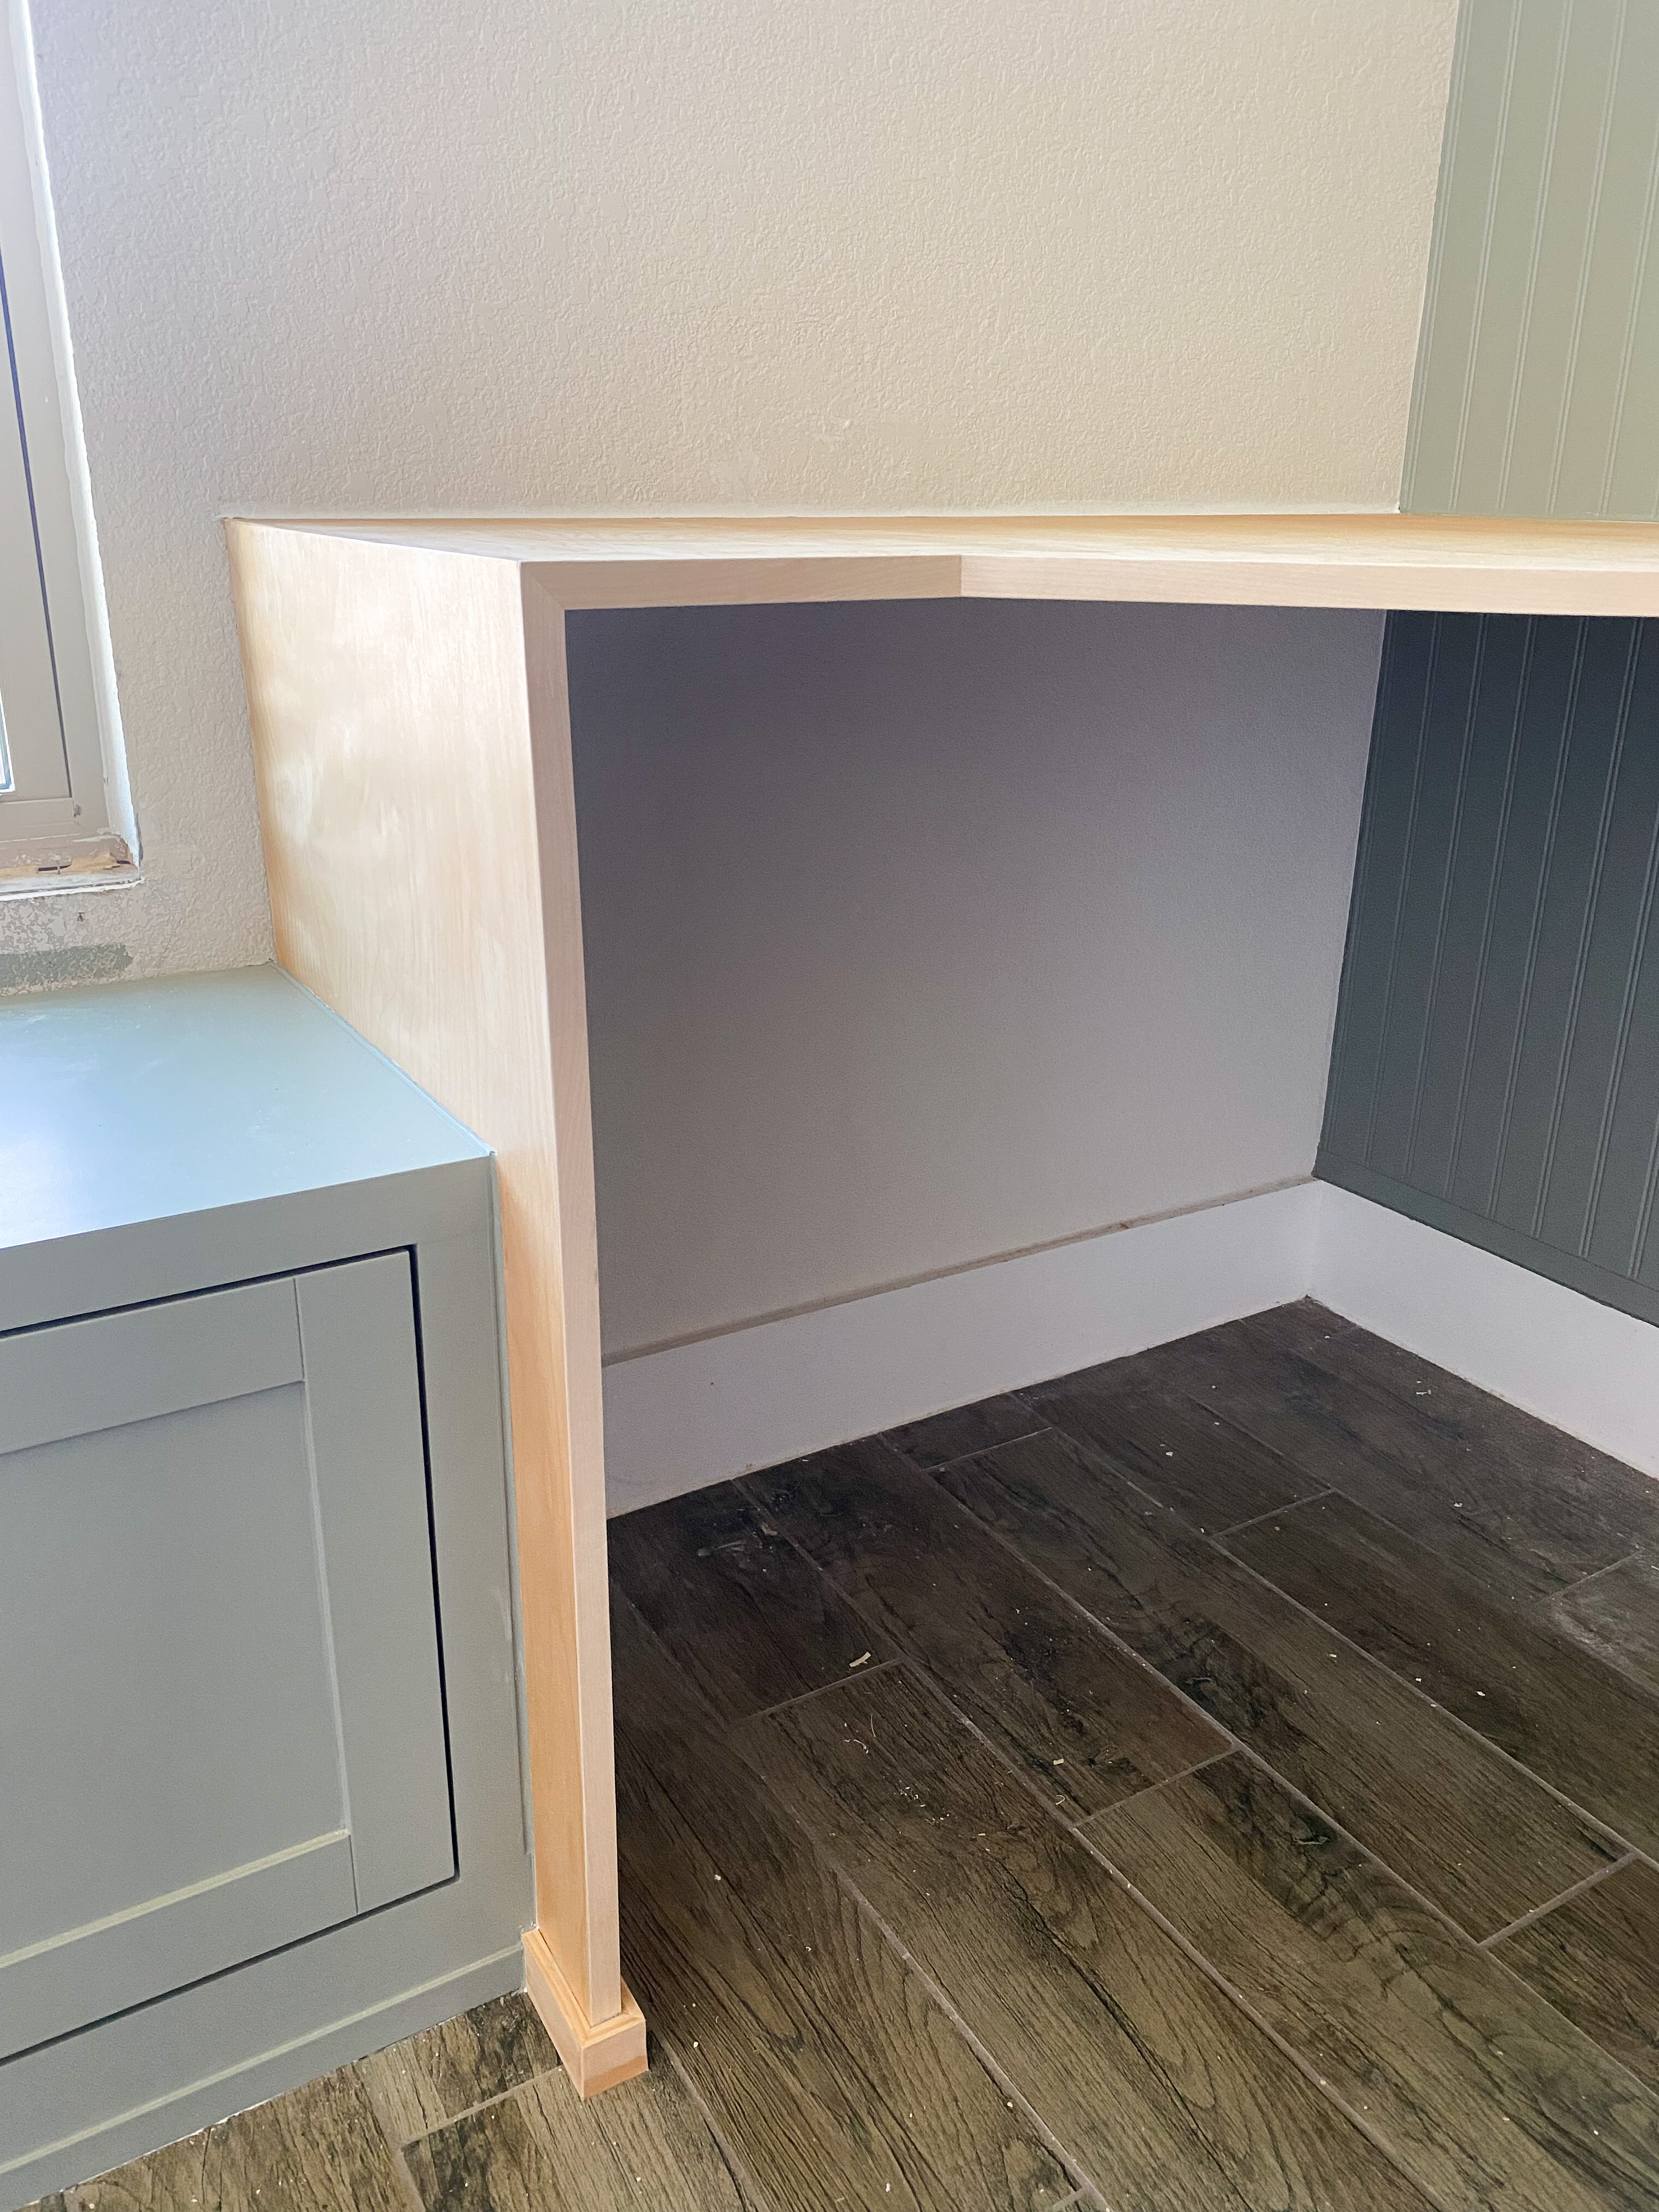
Last week, I built a built-in window seat and I left one side unfinished. That’s because I was going to be adding a built-in desk so that’s what this week was all about. I got the idea to do a waterfall edge desk because I just love the waterfall look that has become so popular in kitchens but I have cabinets on either side of my kitchen island that I don’t want to lose so that’s not an option for me. I also had to decide on the wood to use. There were 3 options I was deciding between:
- Plywood: this would be the cheapest option and will look like one solid piece of wood instead of planks.
- Slab: you can get a beautiful thick slab of wood milled from a local lumber yard with a live edge (or not). This would be the most expensive option.
- Wood Planks: with lumber prices these days, this would be pretty expensive too. It would take a lot more work gluing the the planks together to make the proper desktop width and we could do a cool pattern.
Ultimately, we discussed the pros and cons of these three options and decided to go with the plywood. It was going to be my ideal look because I didn’t want to see the individual planks of wood and it would be the simplest of builds.
Installing Brackets
There are tons of bracket options and most of them don’t require you to cut a hole in your wall. But I loved the practically invisible nature of these Floating Countertop Wall Brackets. They are some of the more expensive brackets but they’re solid steel and very modern and clean looking. They hold a lot of weight (220lbs per bracket when installed properly). Our desk isn’t even close to that heavy but with the computer and everything else on there, it’ll be good to know that they’re strong enough for almost anything.
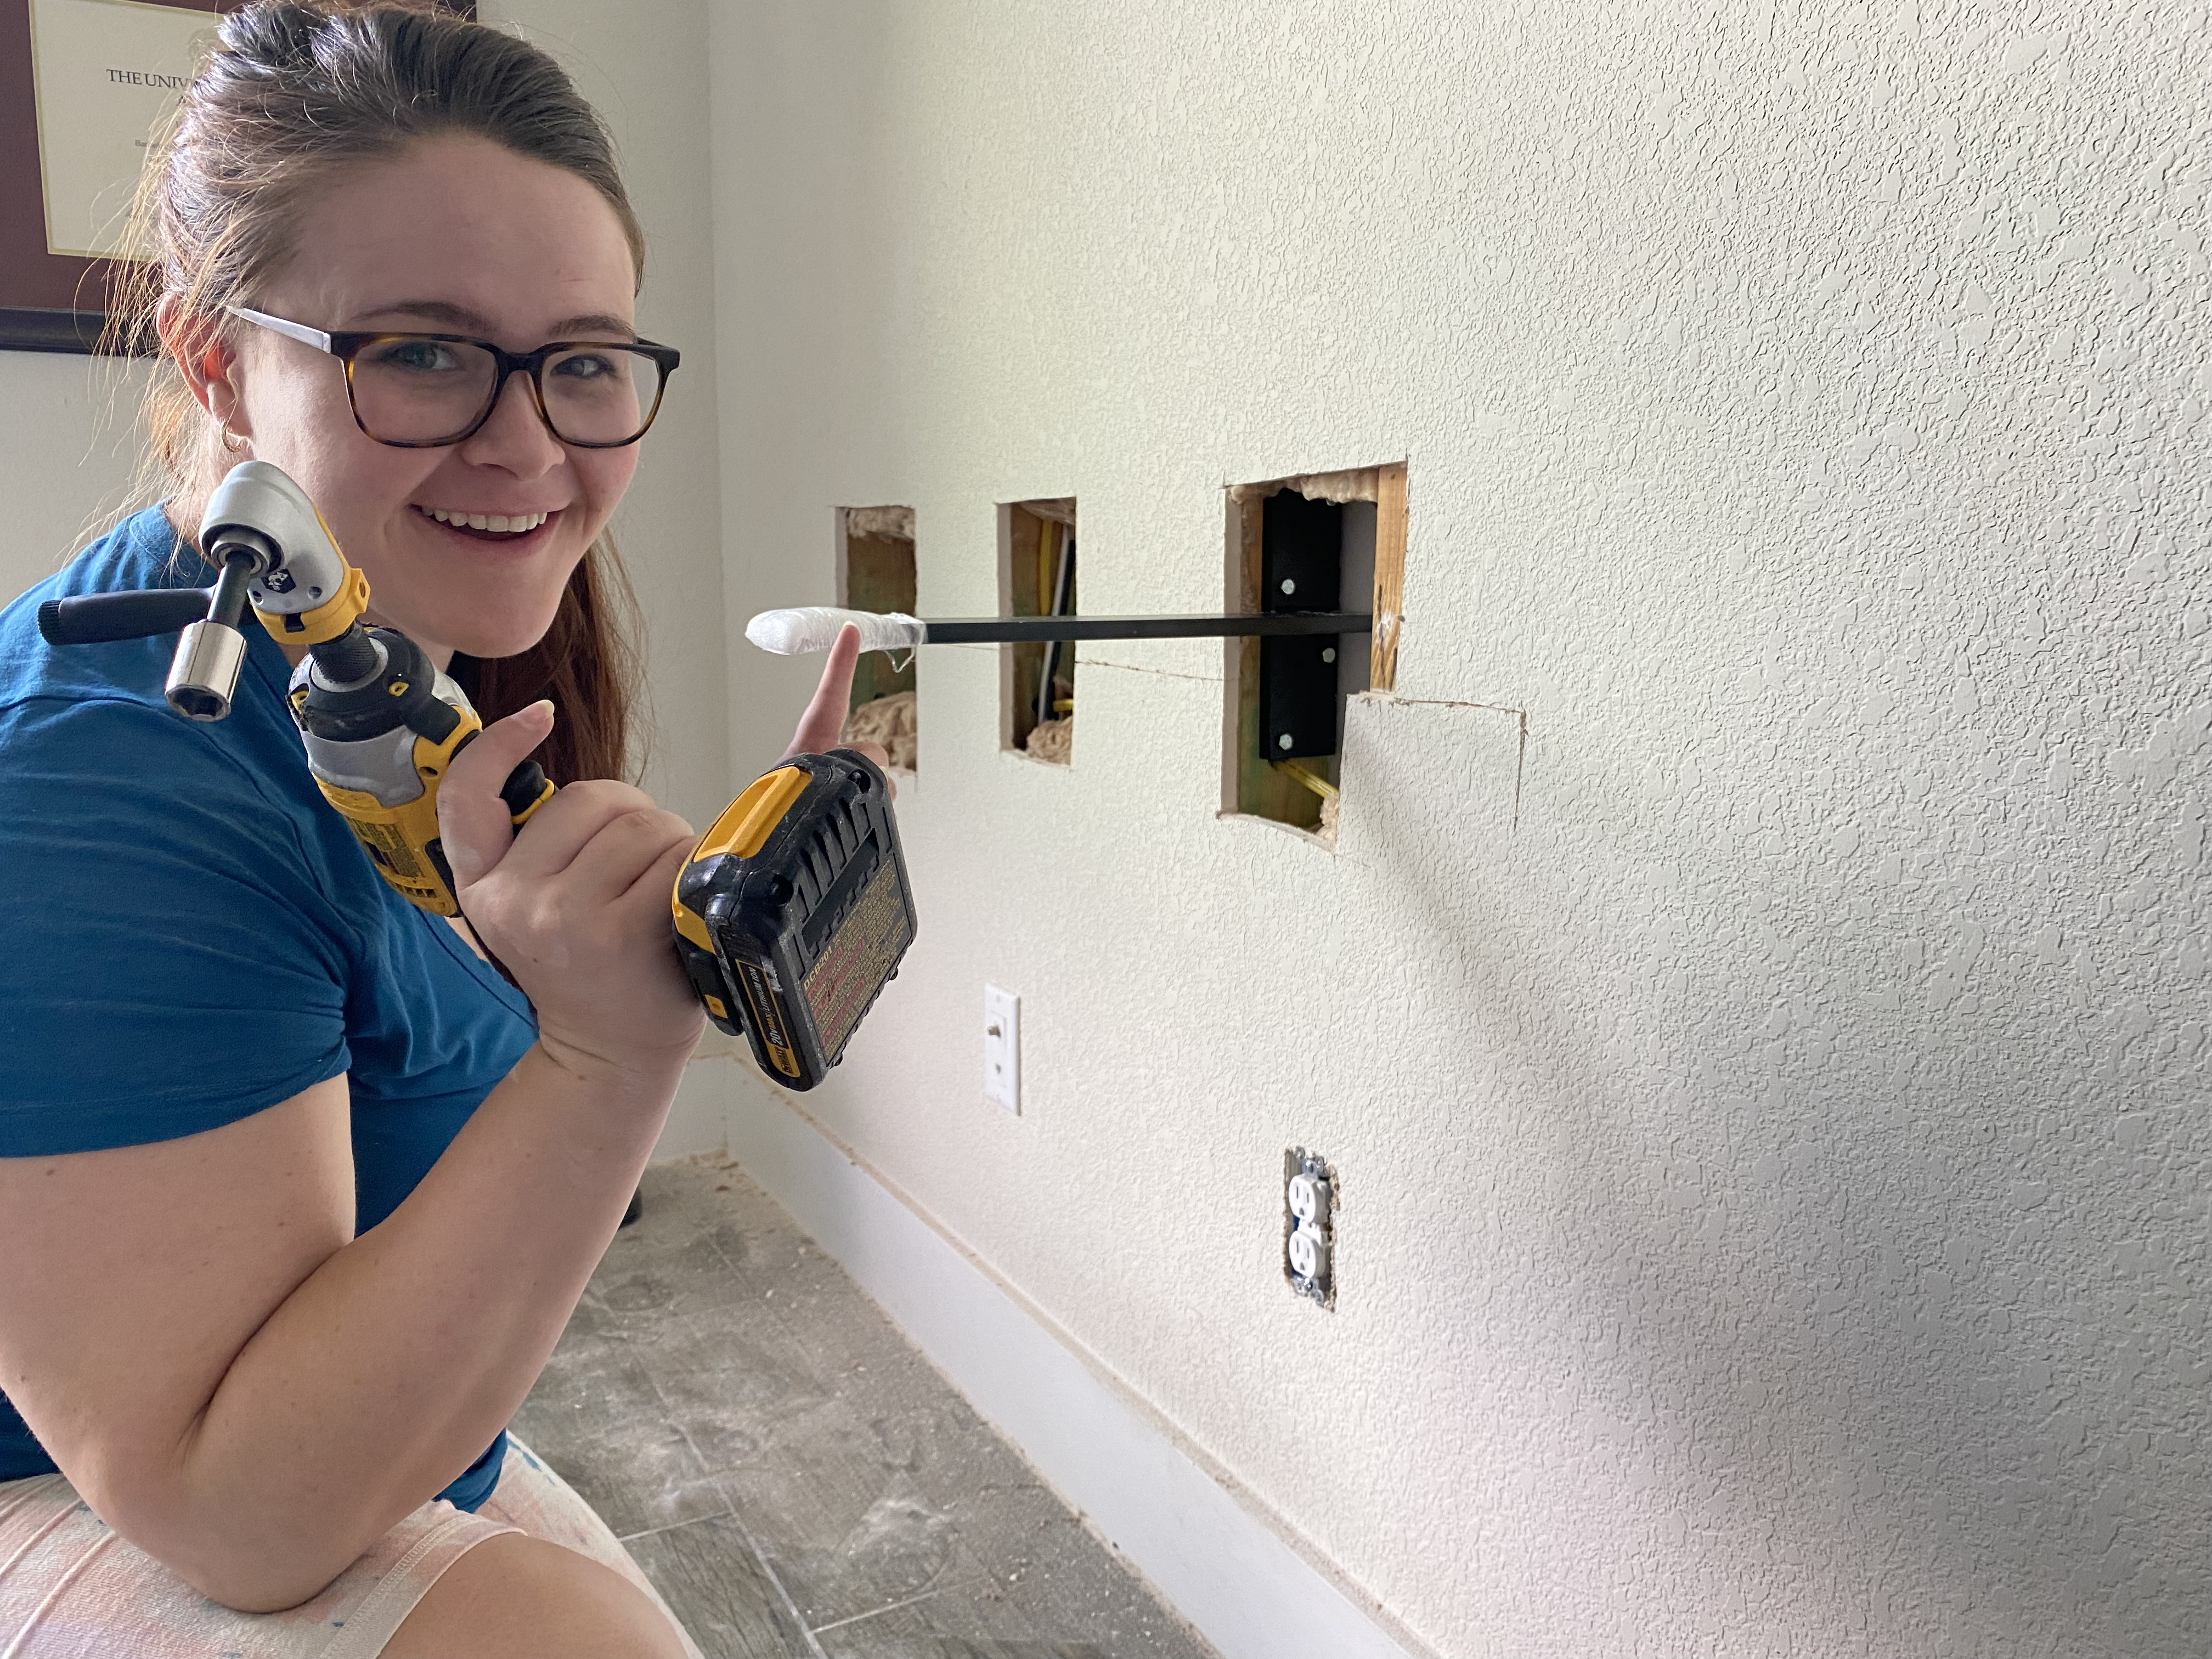
The easiest way to cut your holes to install these is to use a multi-tool next to your stud. Take out the insulation in your hole to have space to install the bracket. I used a combo of my laser line level to have the brackets in the right spot on the wall and a level on the bracket itself to make sure each one was level. This did take 2 people to do because it was pretty challenging to hold up the bracket level and drill in the lag bolts to the stud at the same time. I also have this 90 degree drill attachment that made it possible to drill in the bolts like this.
But really it was just as simple as that.
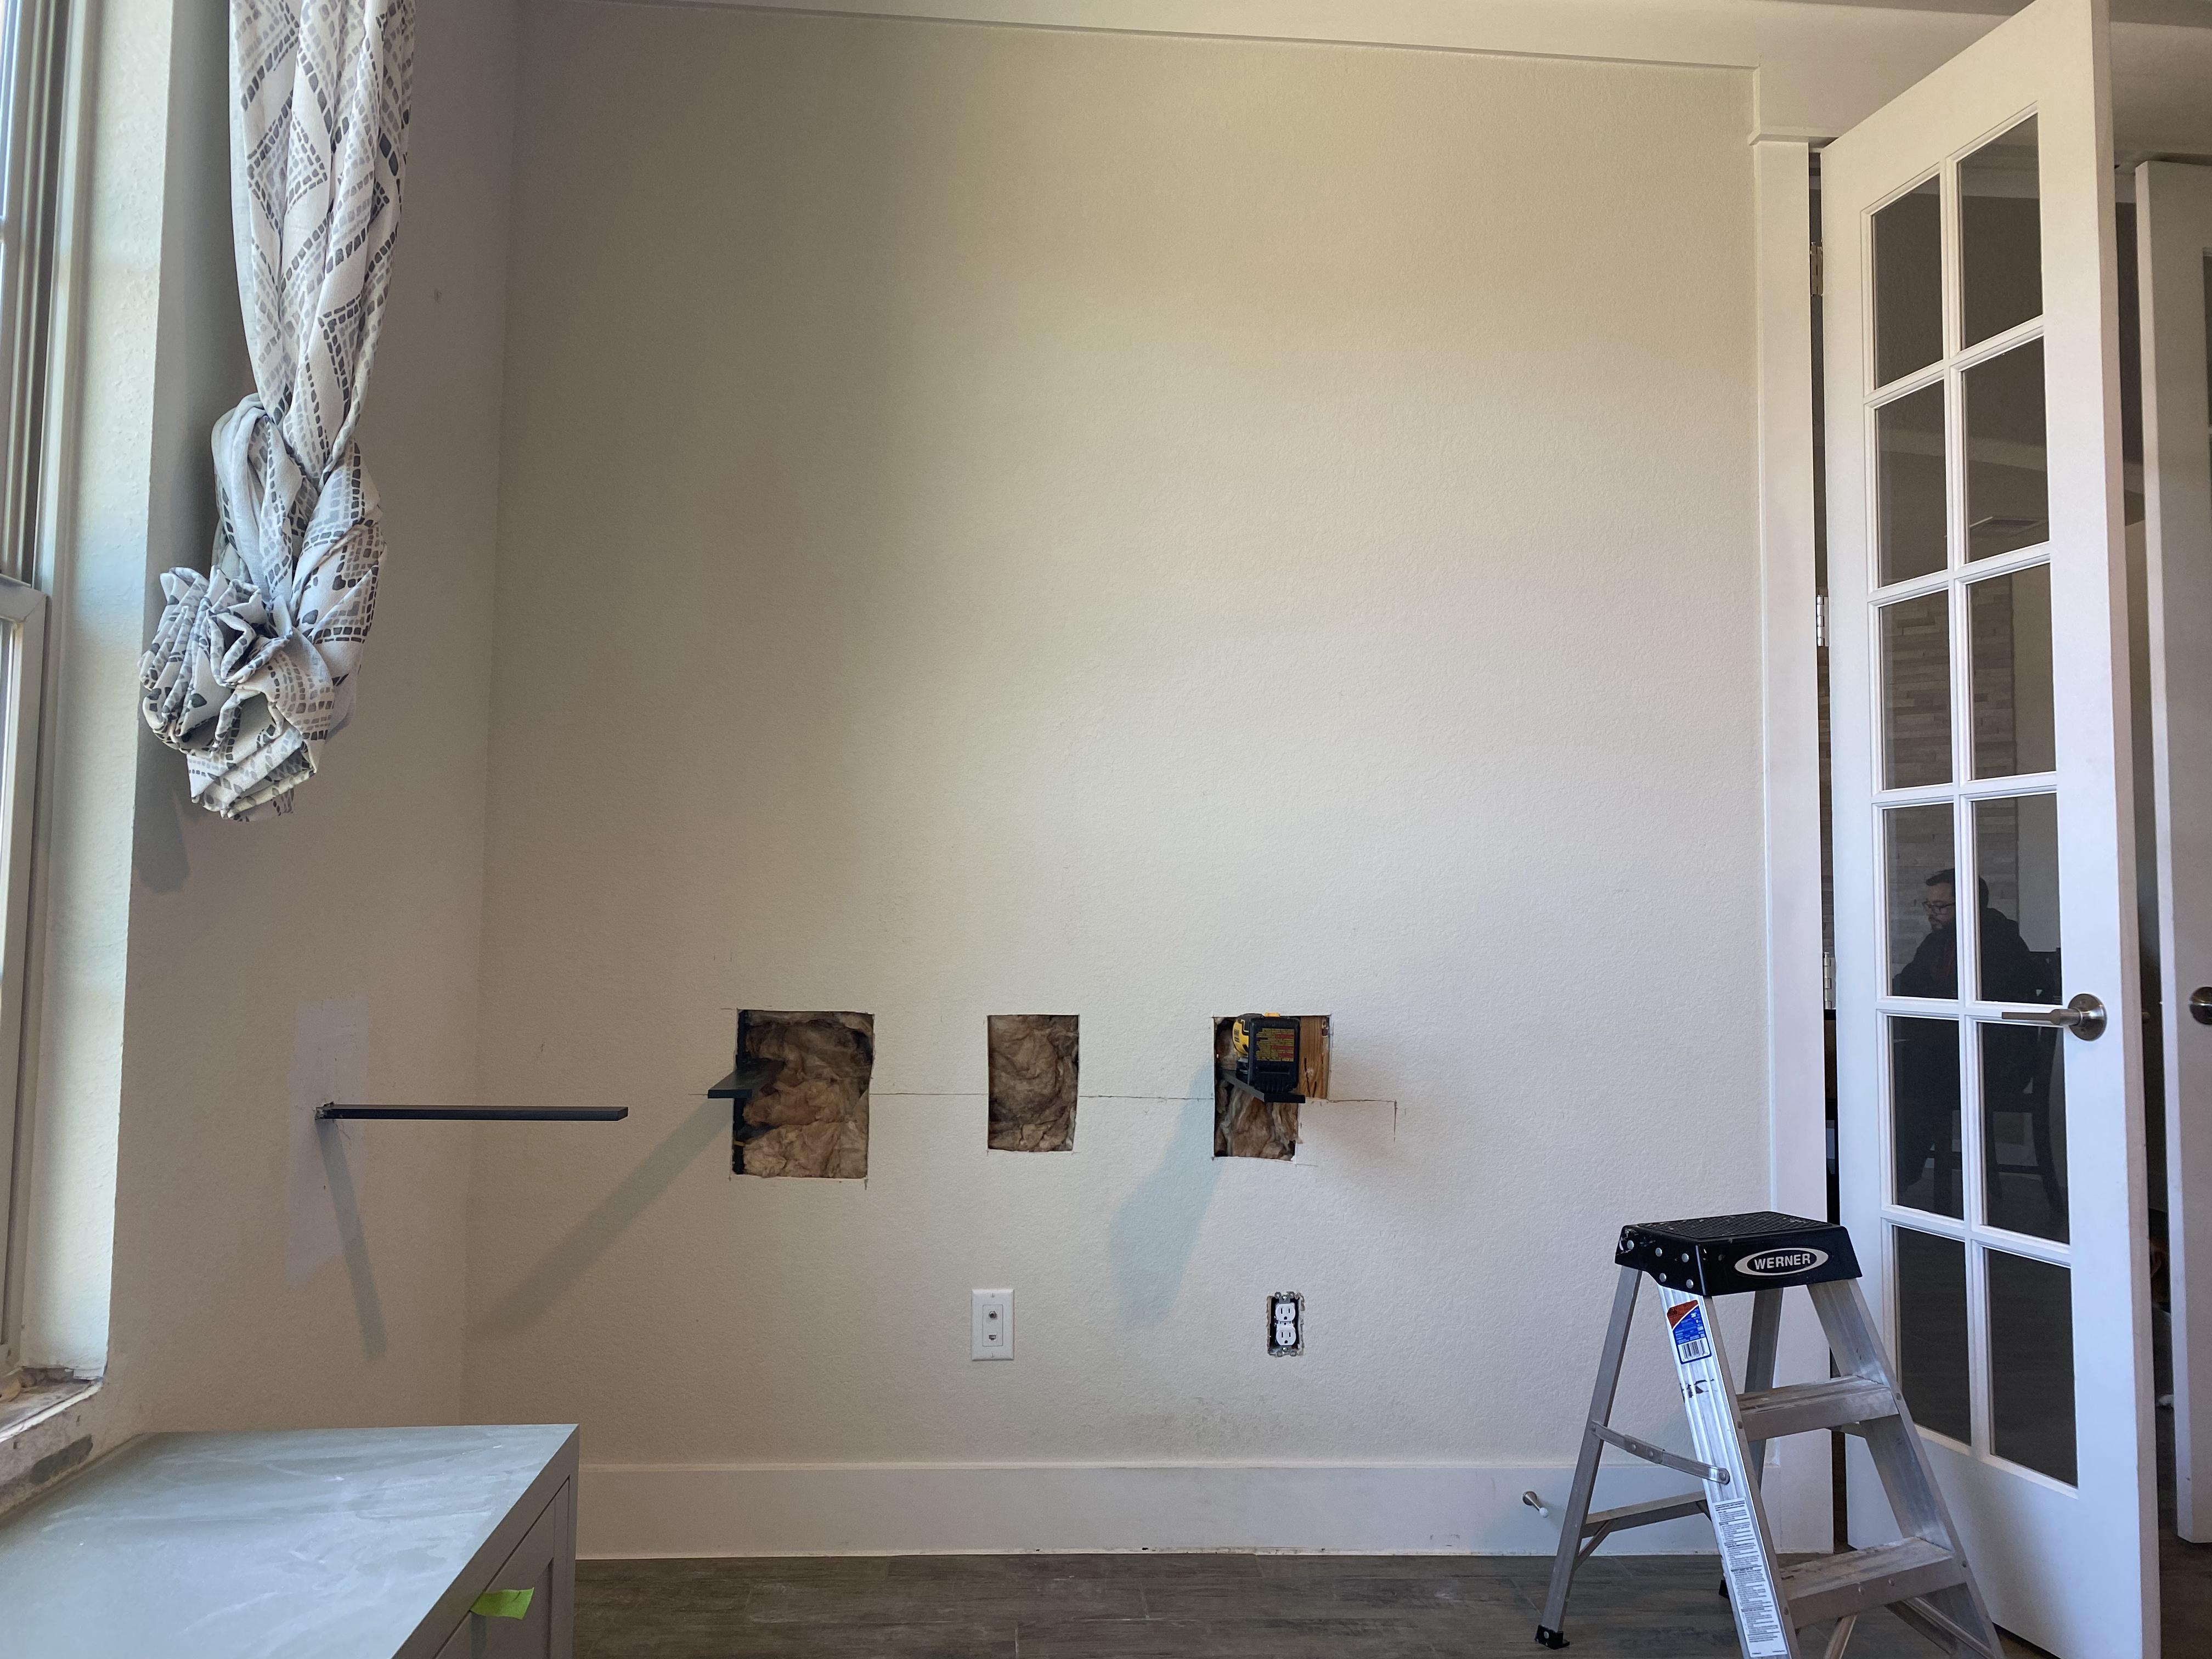
Patching the Holes
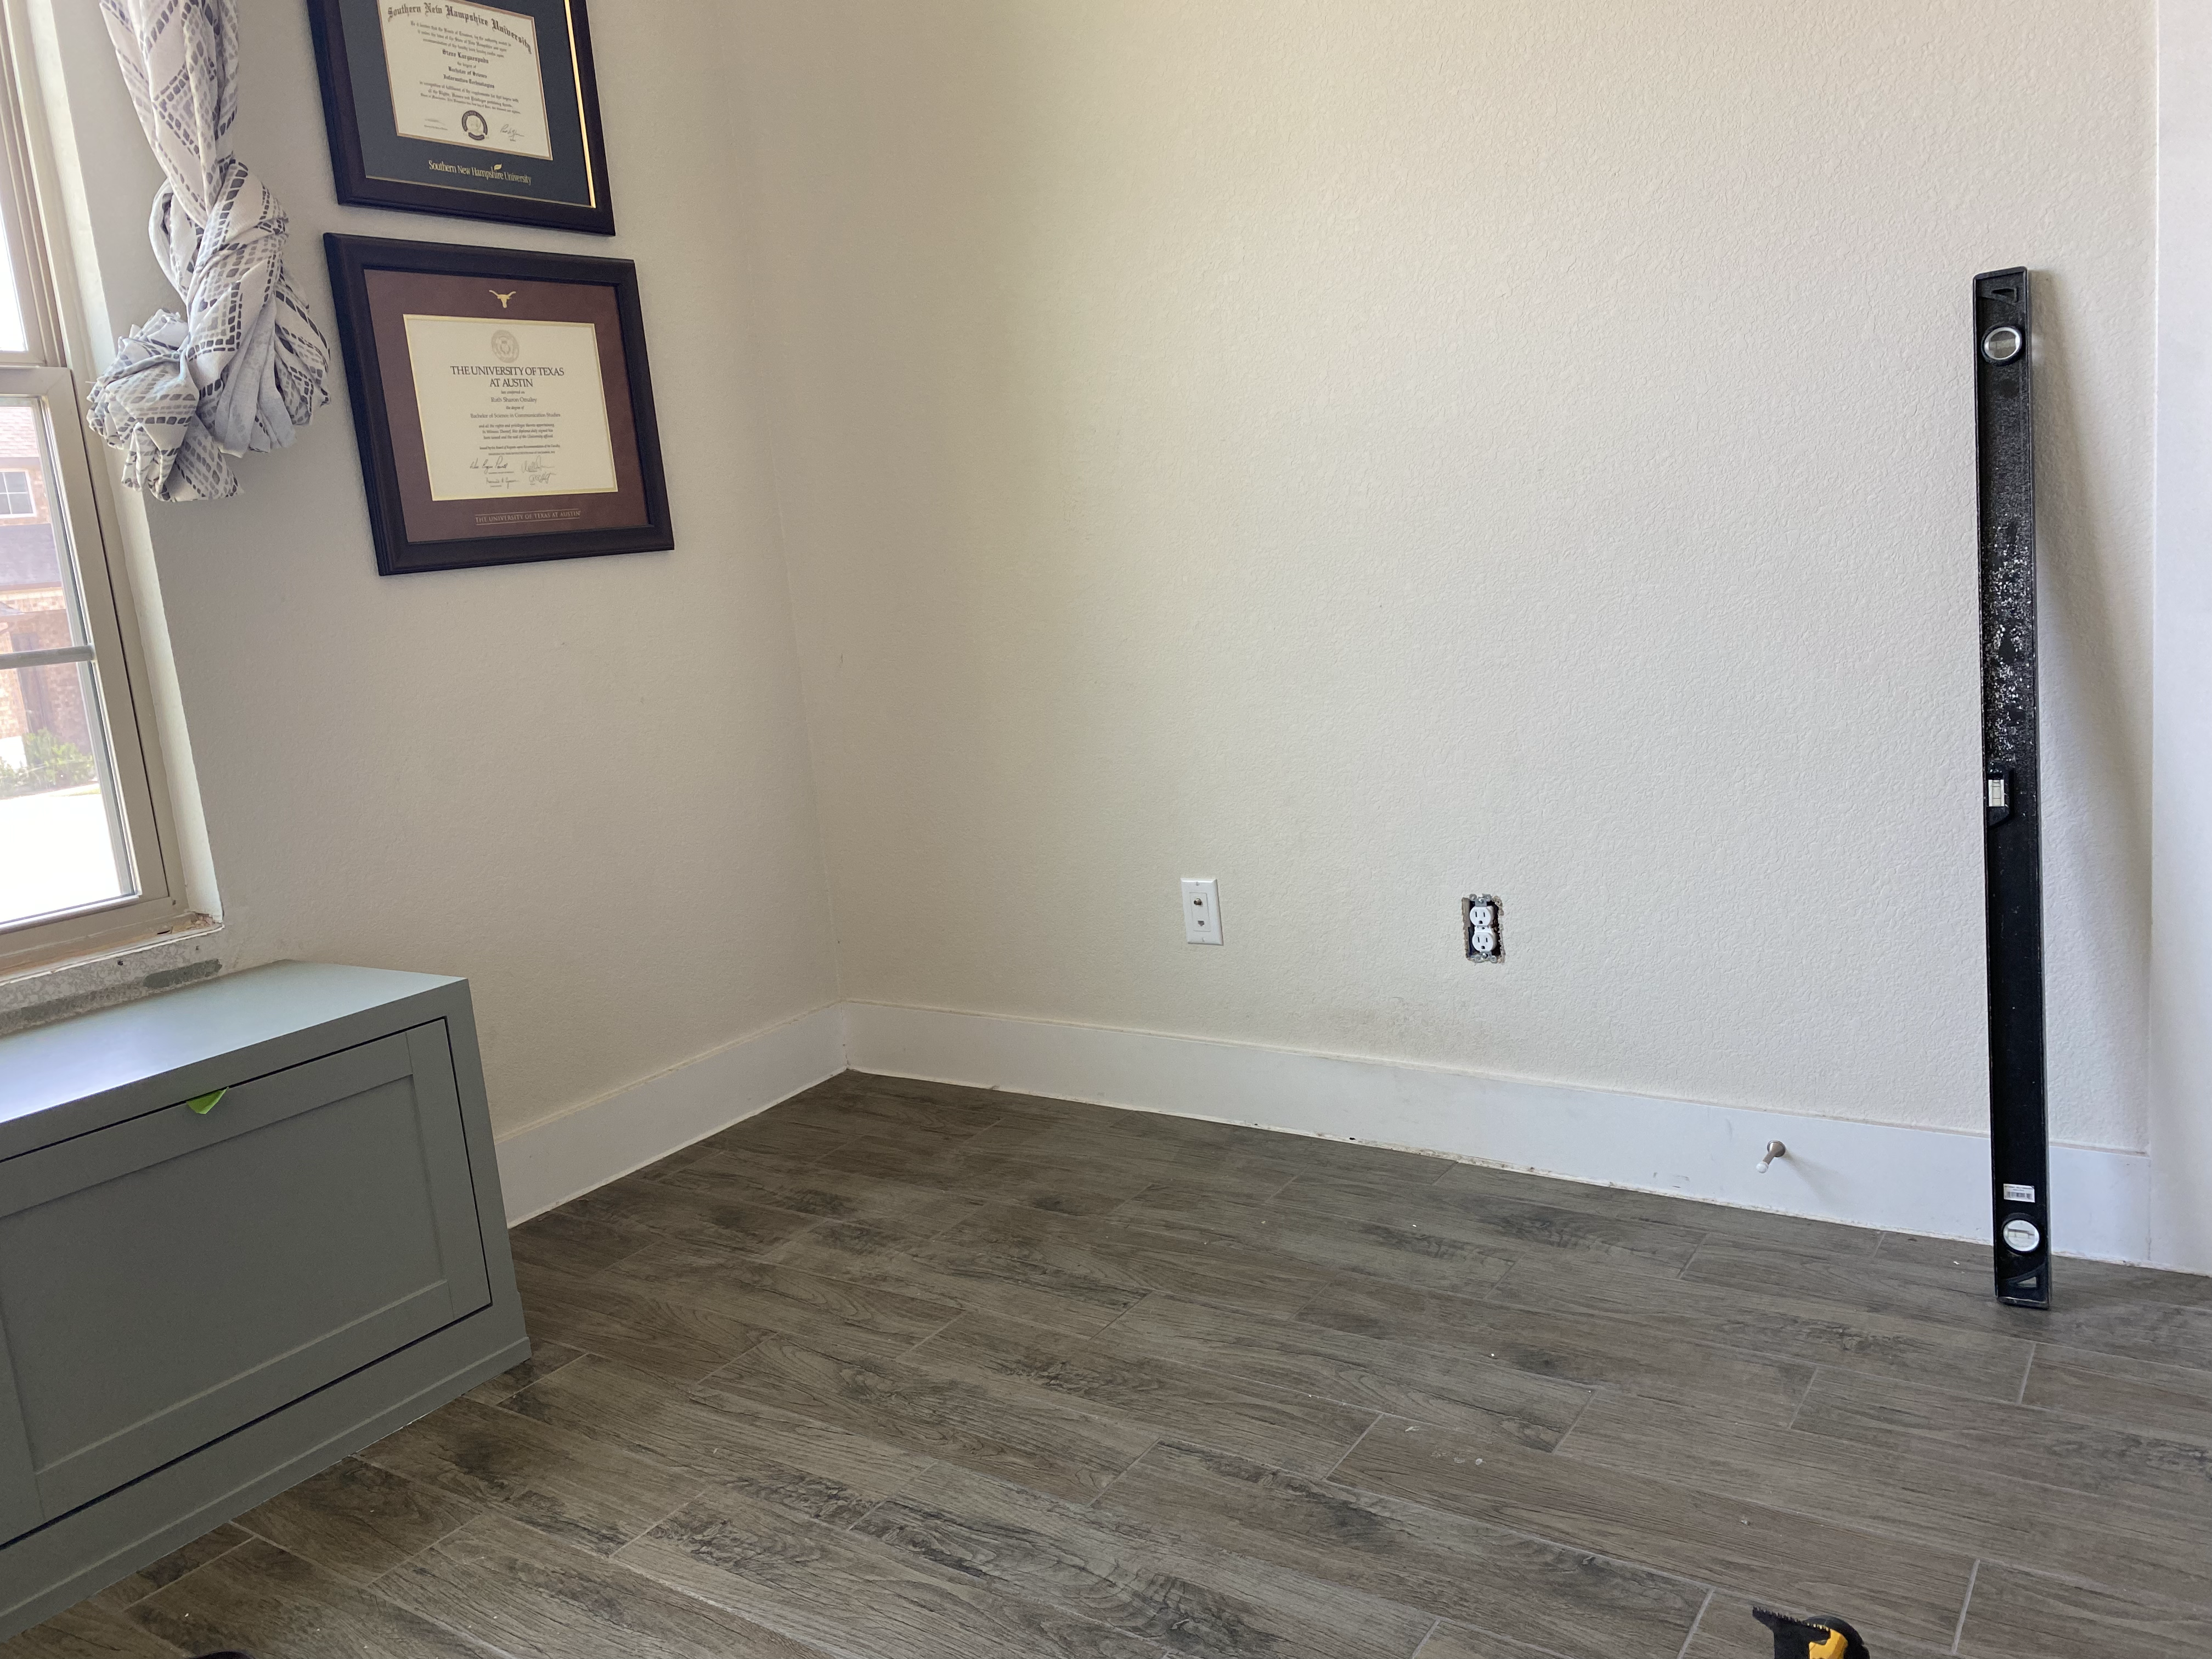
I was left with a few holes. The worst thing about these brackets for me is patching the drywall. I’ve done it several times before and I don’t enjoy it. It never seems to turn out as well as I’d hope and mimicking the texture of our walls is just a pain. If you notice in the above picture, I patched the hole on the window side but for the other wall, I have a different idea.
I’ve done several different wall treatments over the years but I’ve never done beadboard. I’ve actually never been a fan of it but lately I’ve been wanting a more classic and timeless style in our home so I had an idea to put up this beadboard and go for a semi-monochromatic look with it.
I was going to patch those holes as well but if we ever change the beadboard, I’ll have to do drywall repair anyways so I’d have to redo it again anyways. That’s my excuse for taking the easier path and I’m sticking to it.

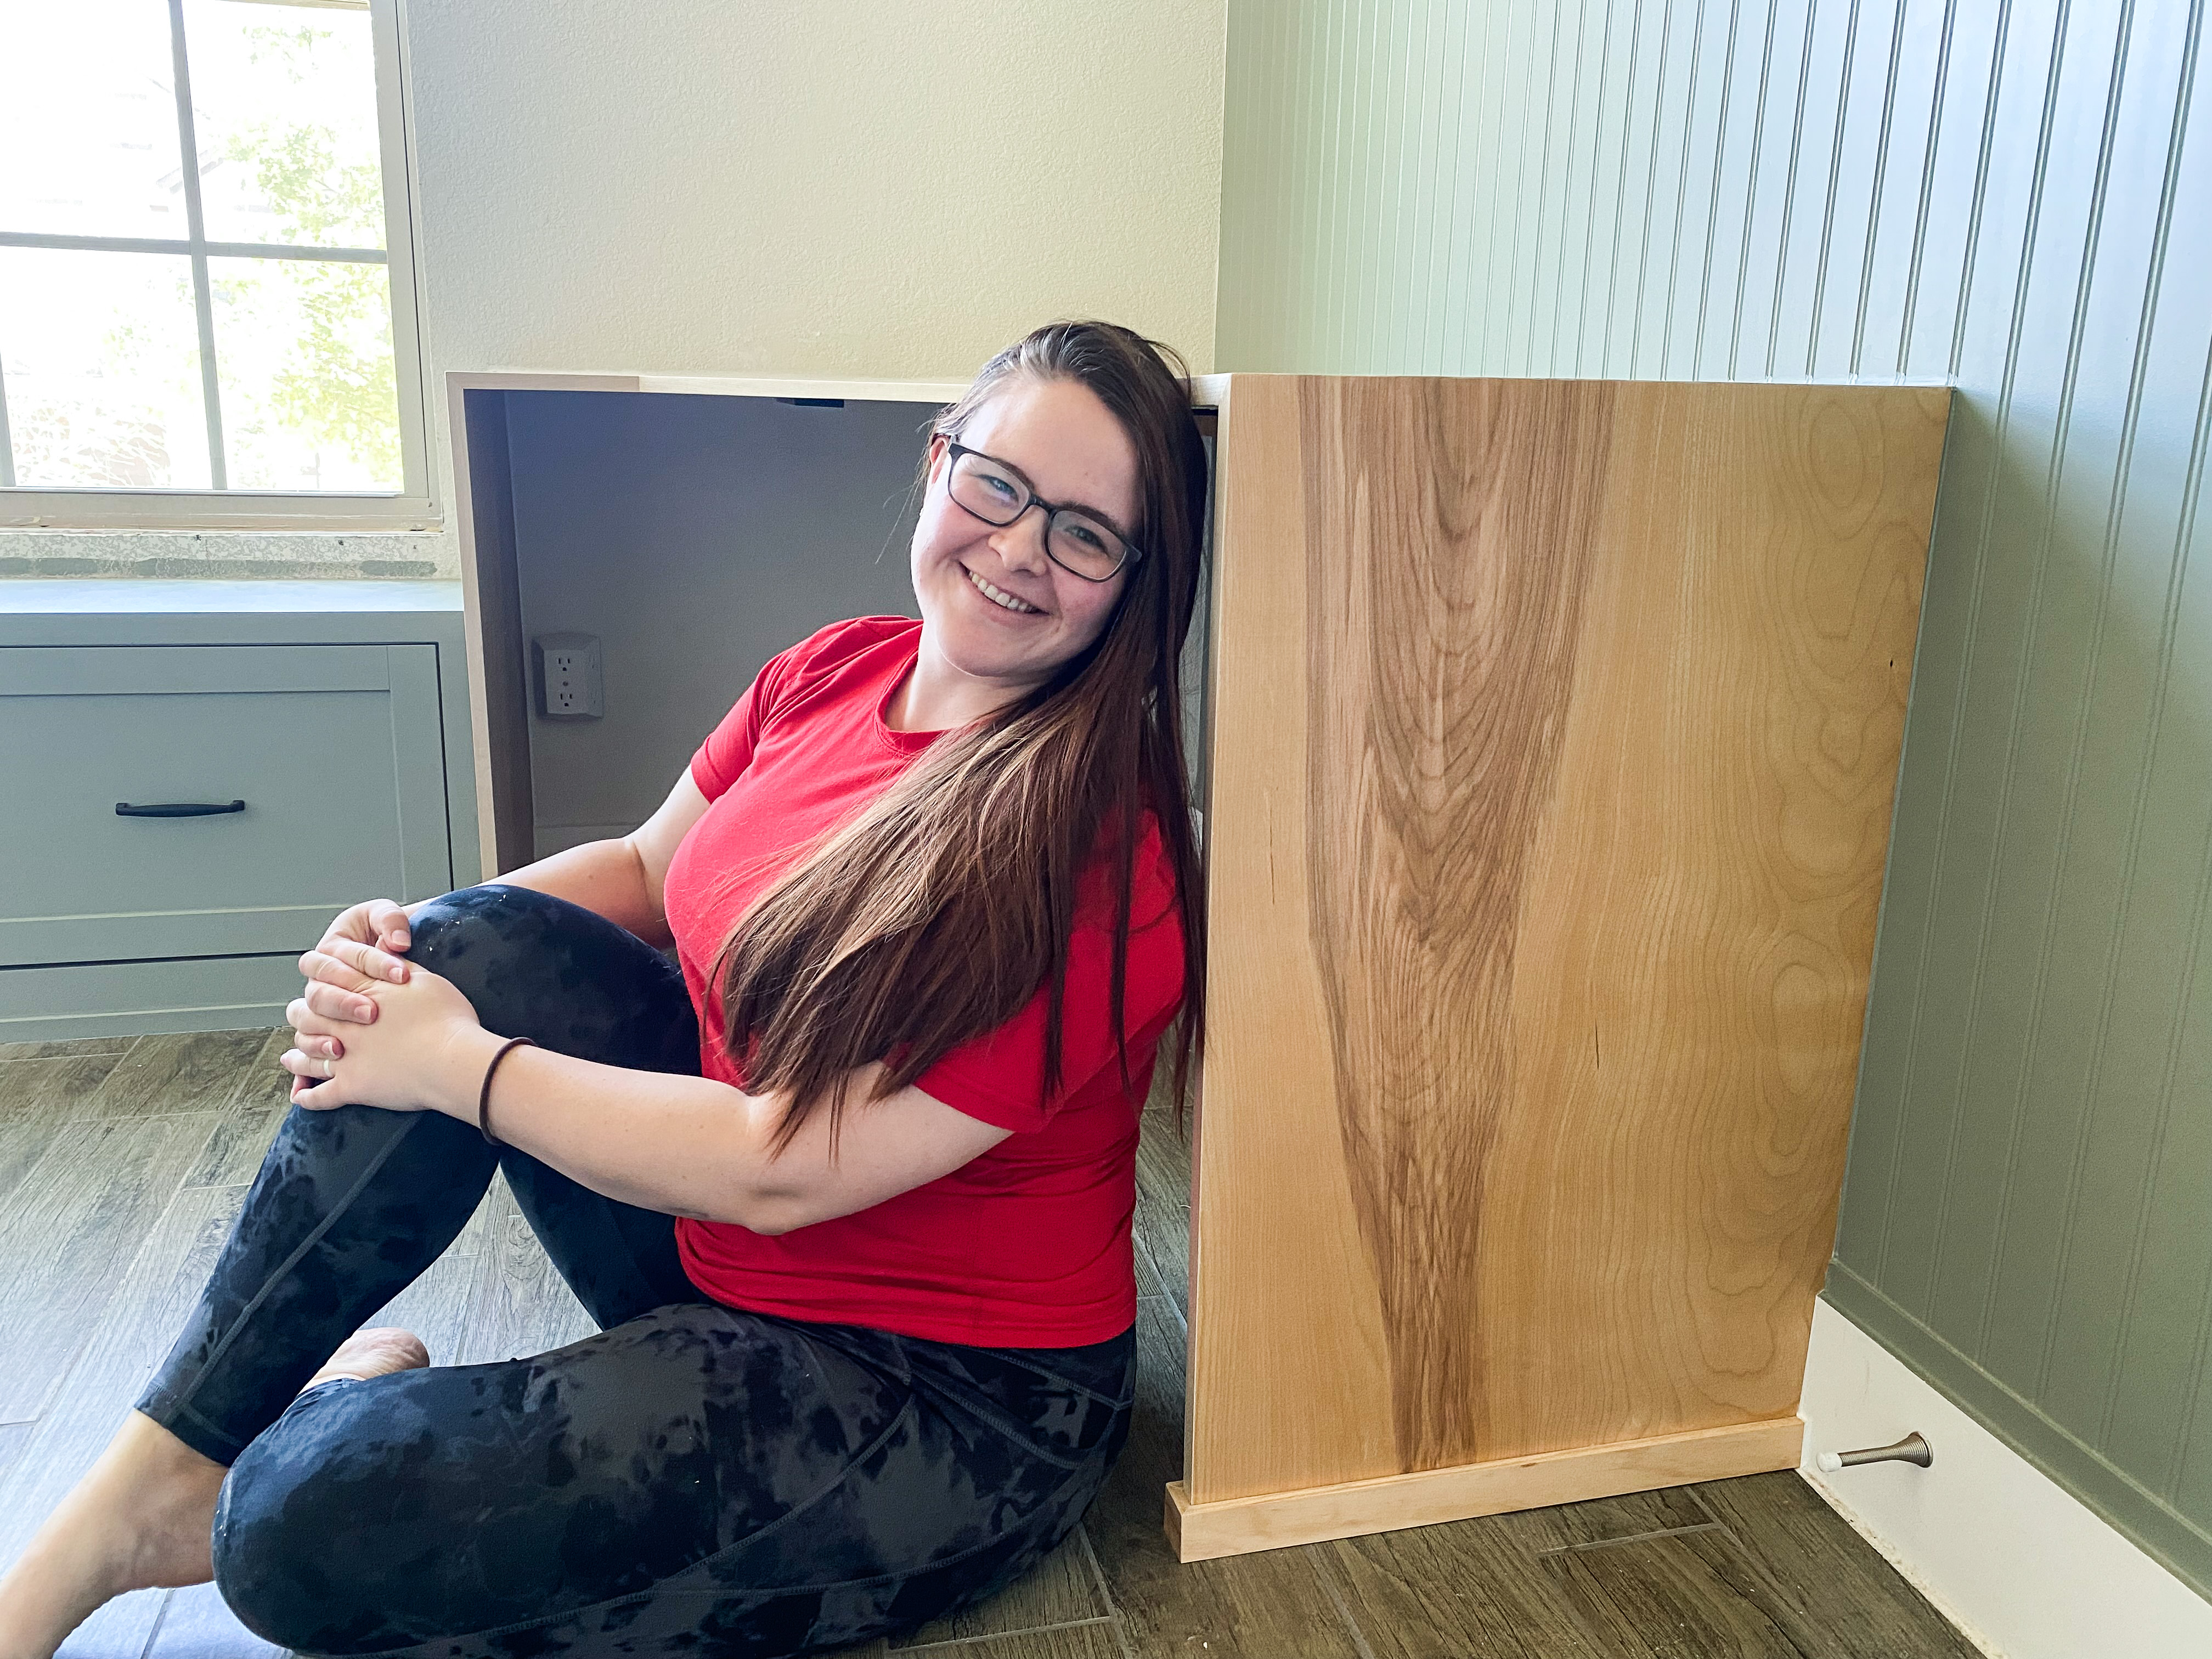
Cutting the Plywood for the Desk
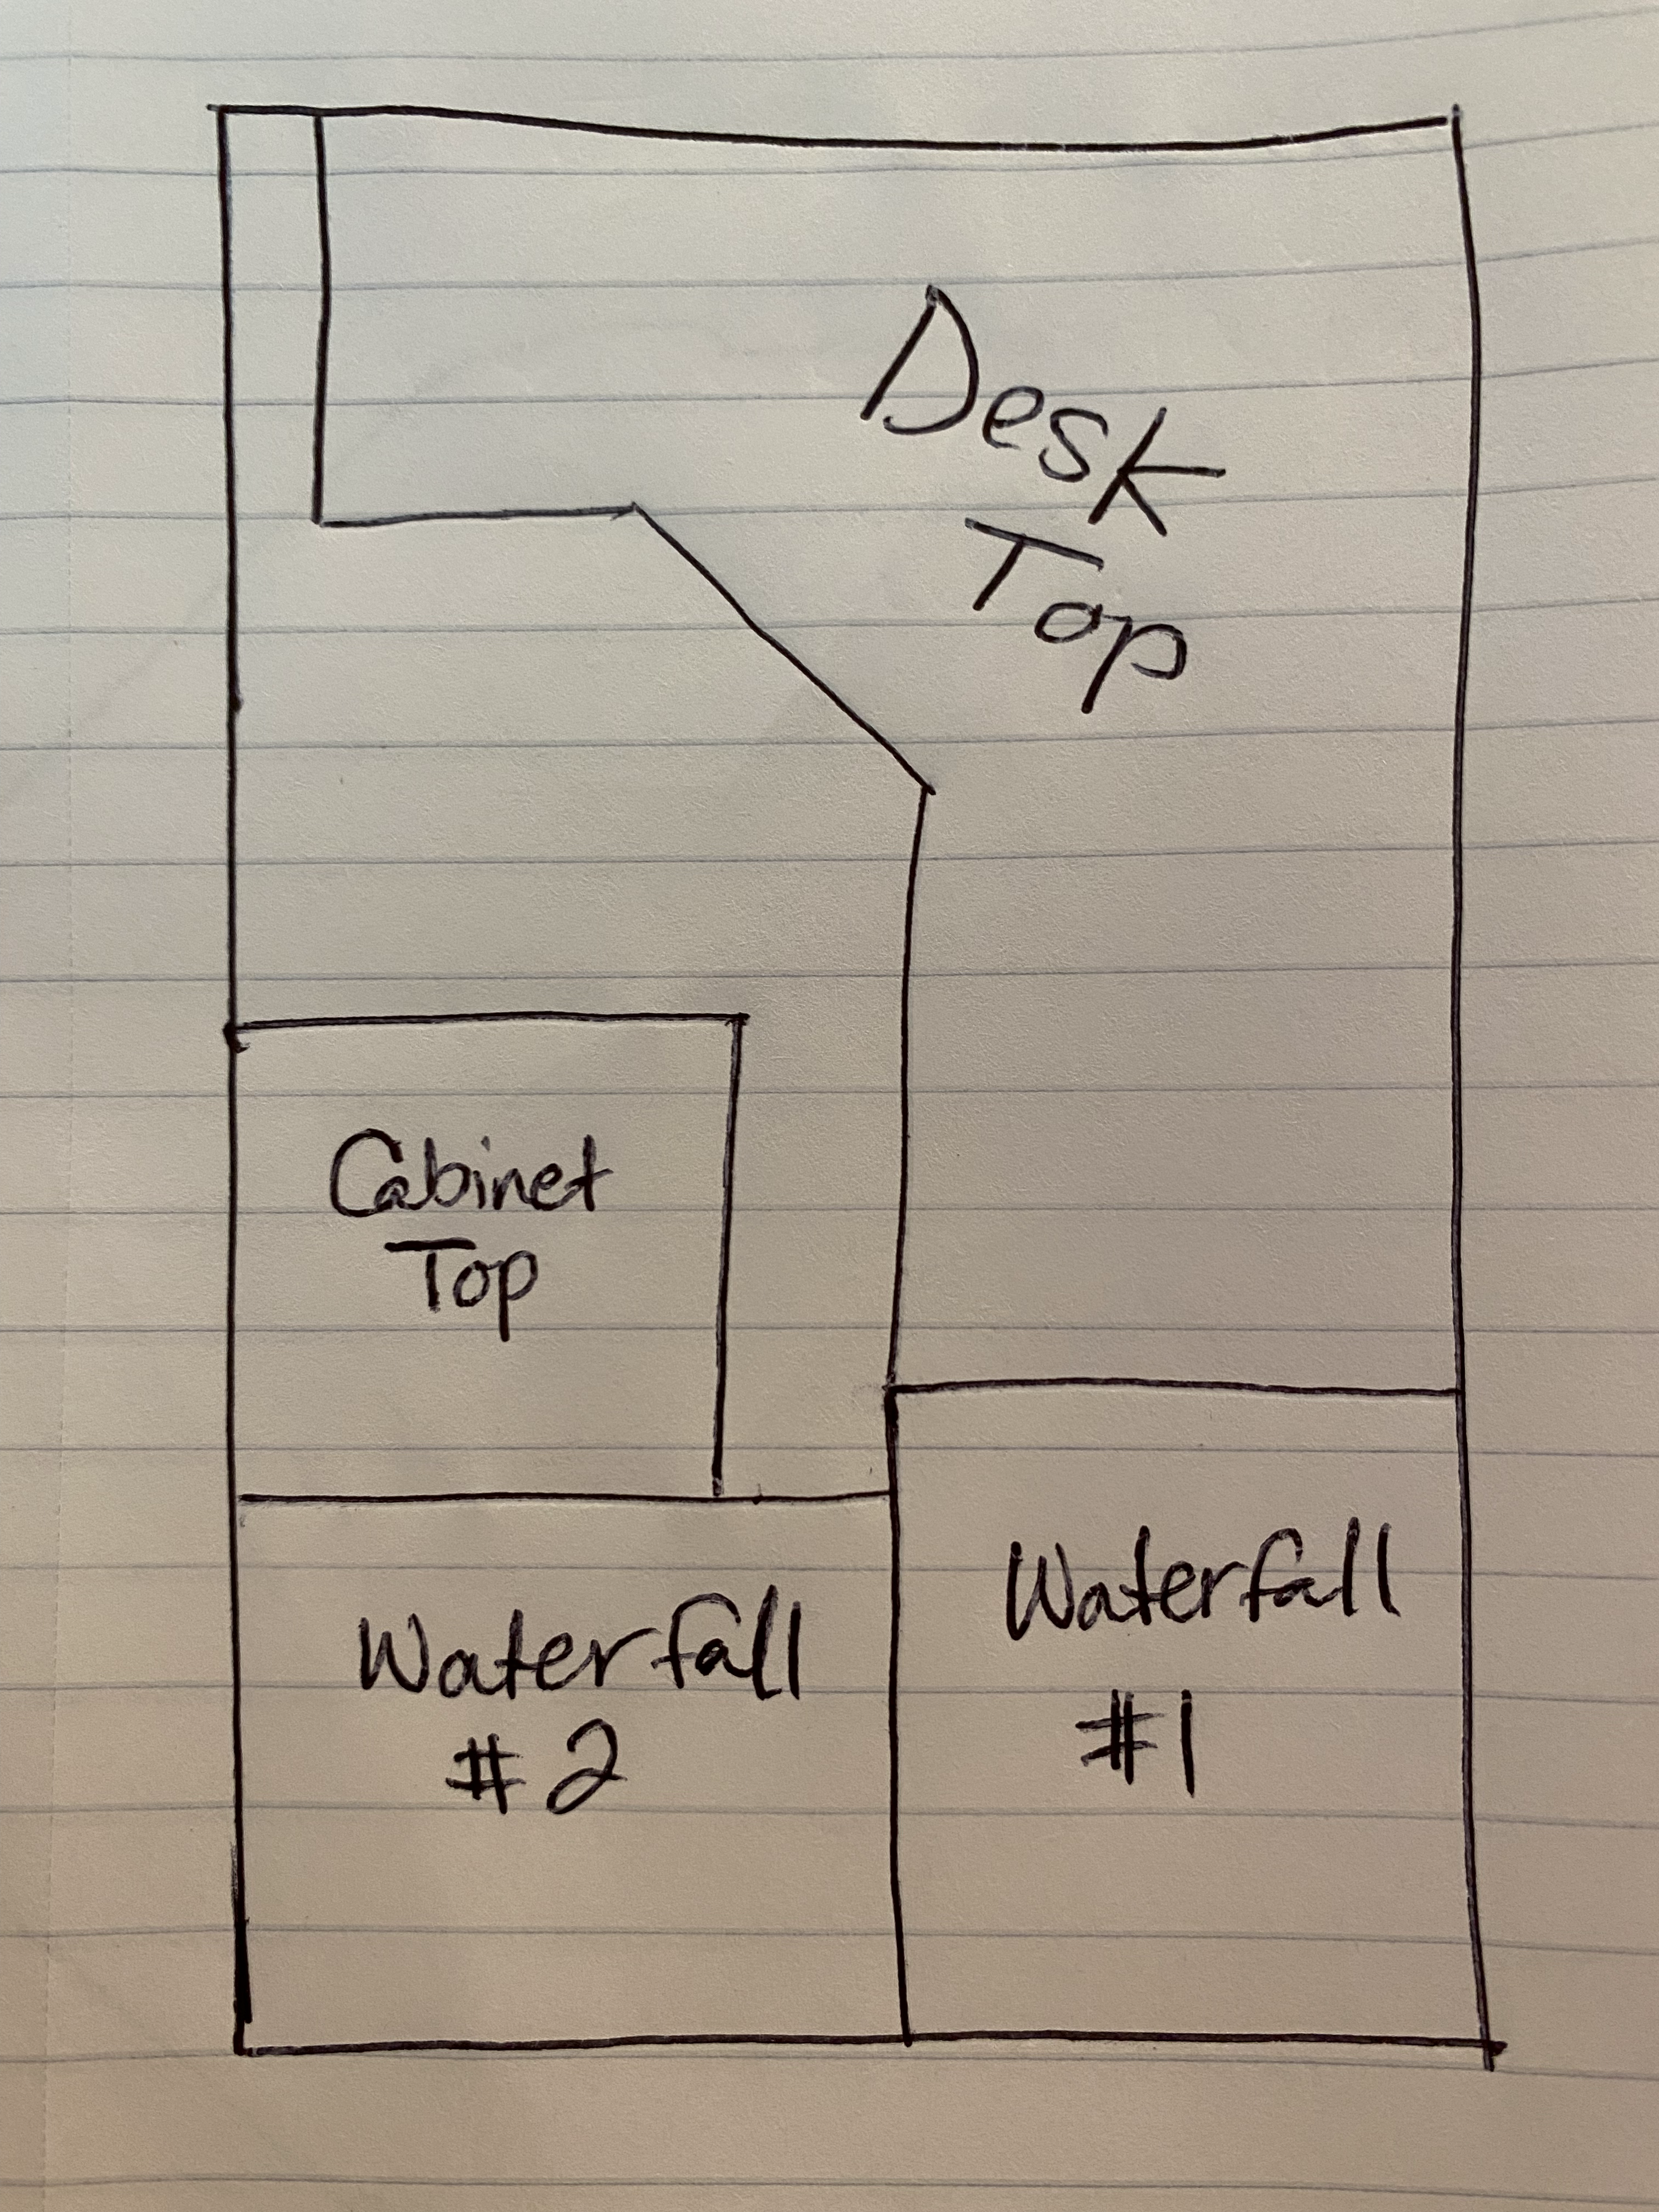
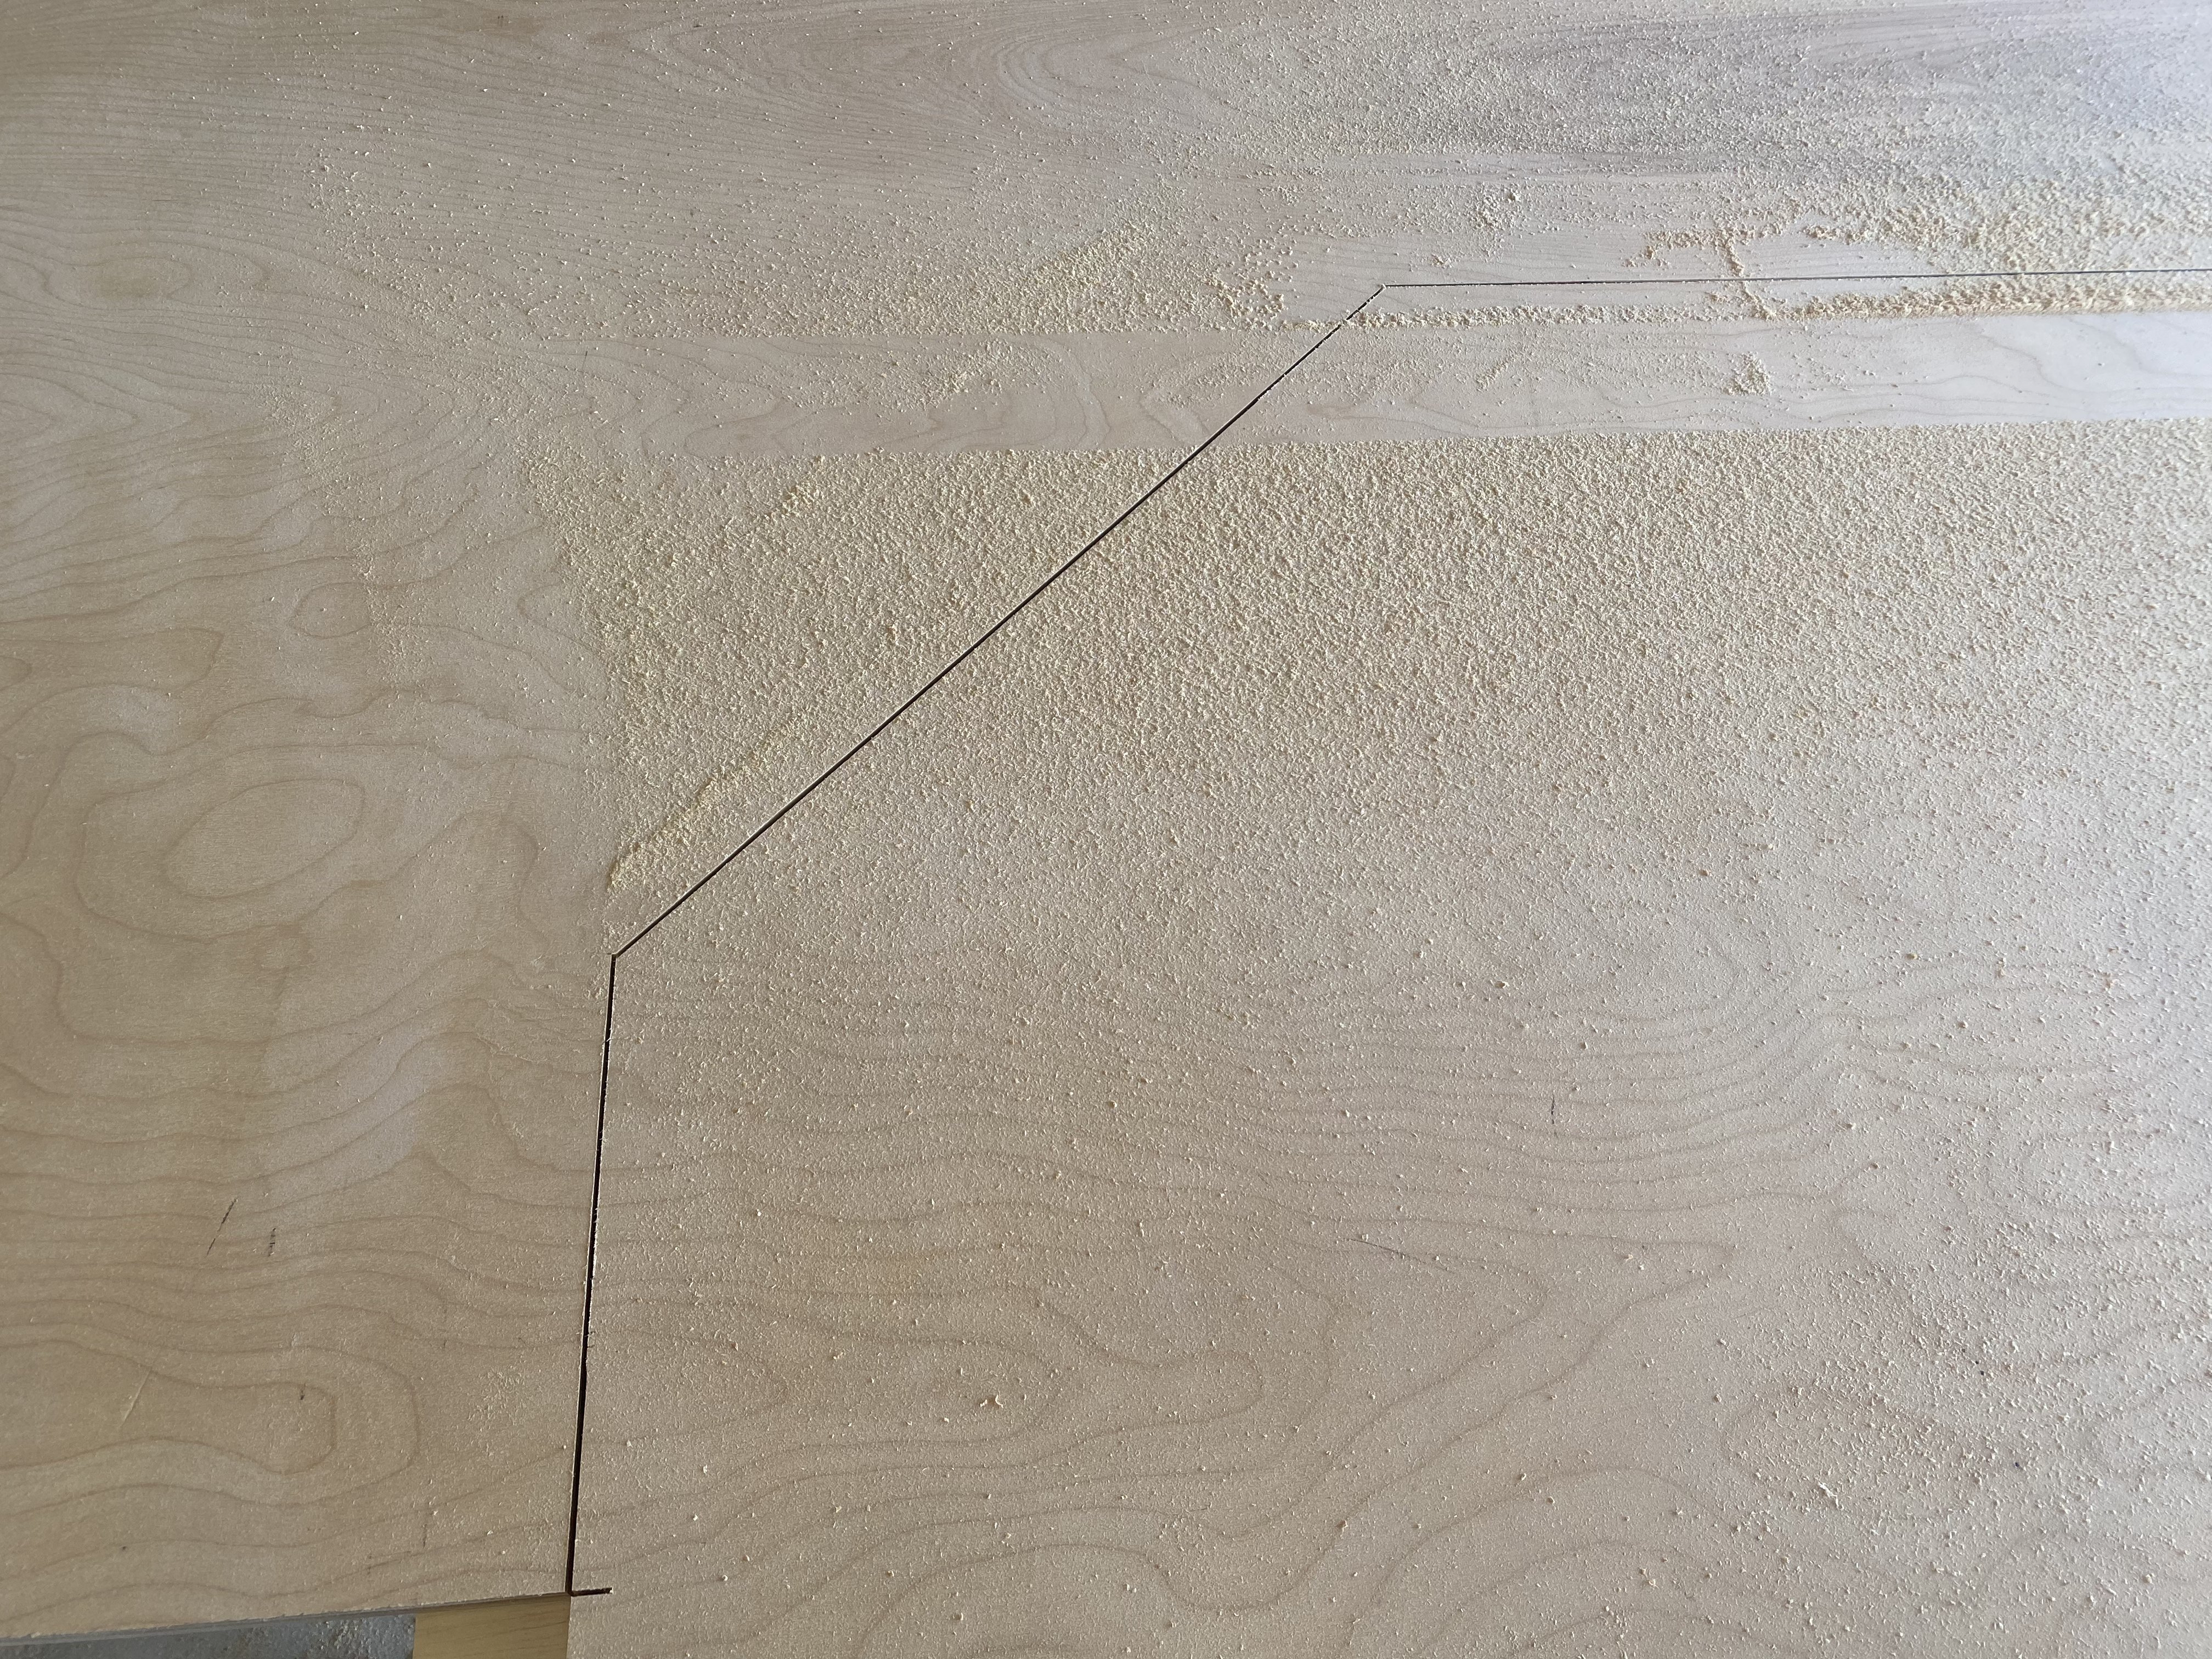
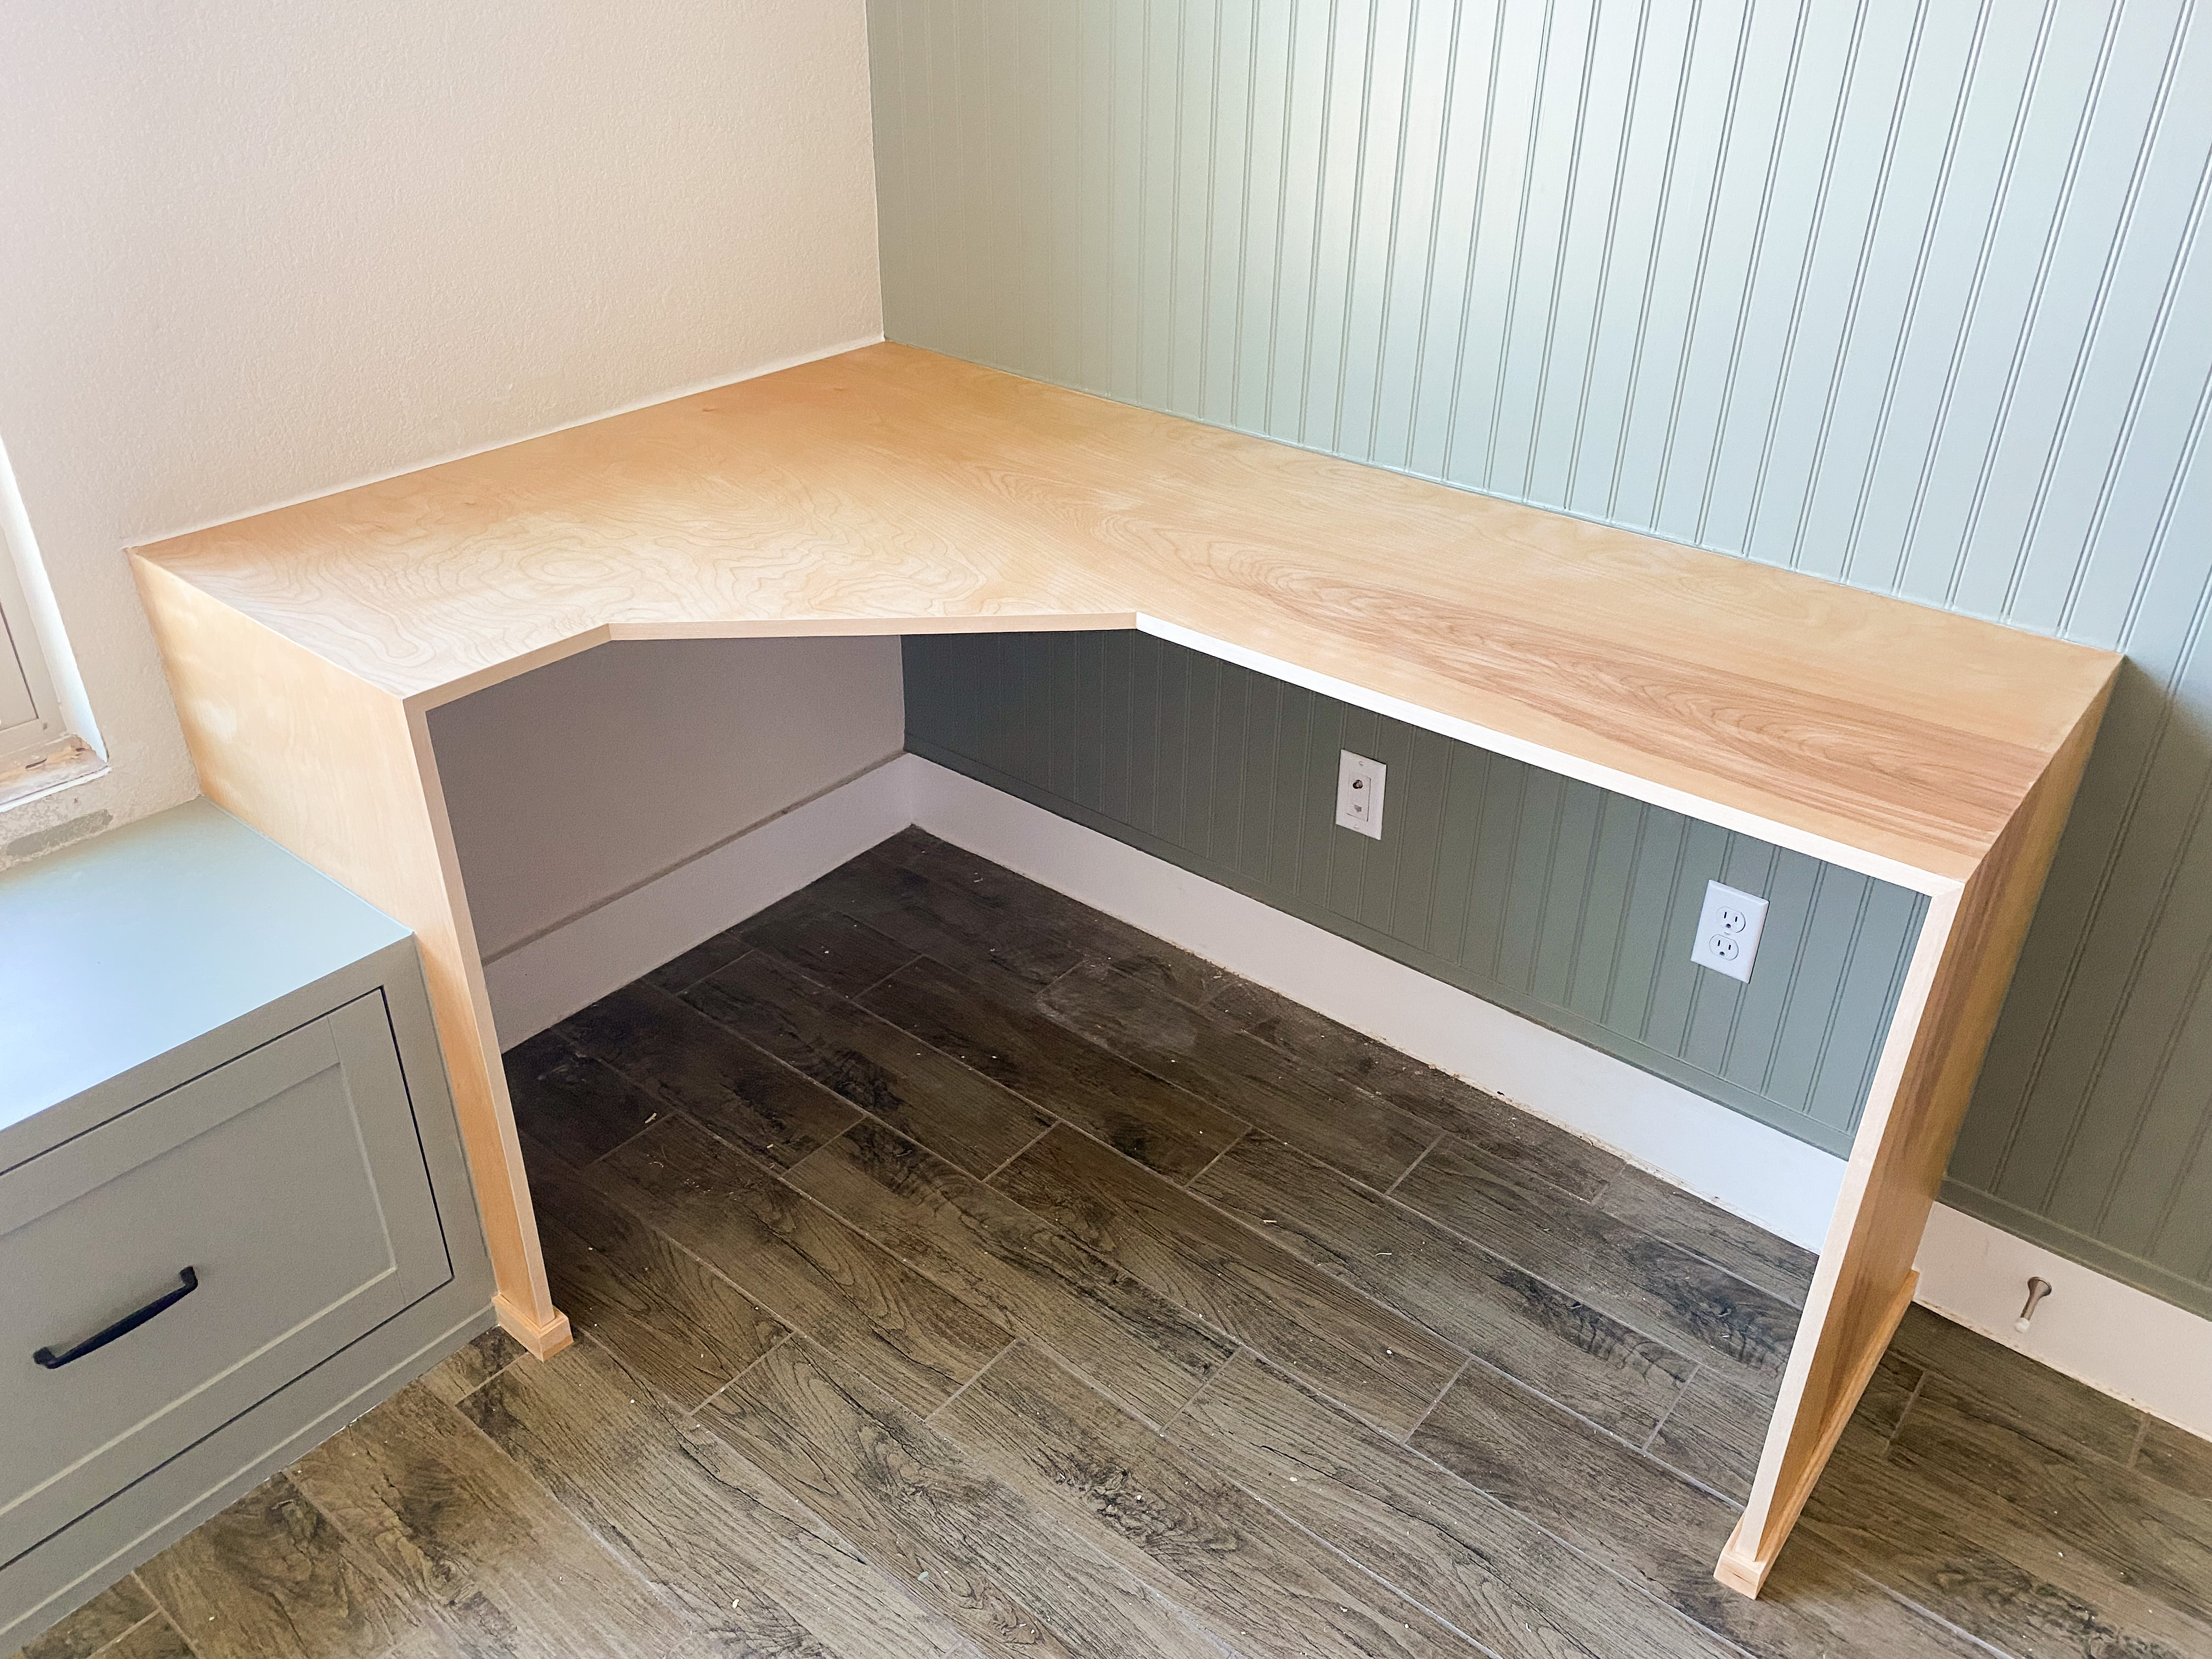
I measured out the area for the desk and it will fit perfectly on one sheet of plywood. It’s going in the corner so the plywood will allow me to cut the shape I want seamlessly. I wanted the corner to be workable so instead of cutting the corner out, I wanted it to be flat so it’s more comfortable to sit at. I’m not sure of a term for it so just keep see the picture below.
The biggest thing I was nervous about with cutting this plywood was getting a good clean cut line. For that we did two things:
- New Blade: We bought a fresh blade for our circular saw with 40 teeth. The more the teeth, the finer the cut.
- Bar Clamp: I found a huge straight edge clamp that can span 100 inches. This will allow for the straightest line to be cut.
Those two things made a word of difference cutting this plywood. Oh and keep a full battery for your saw so it doesn’t die in the middle of your cut!
The Glue Up
The brackets we used don’t have holes to attach the wood to. They just say to glue them in place. When installing the desk top, we made sure it fit and then put construction adhesive on top of the brackets then place the desk top. To make sure it was all pressed down into the glue, we place a few weights on top while it was drying.
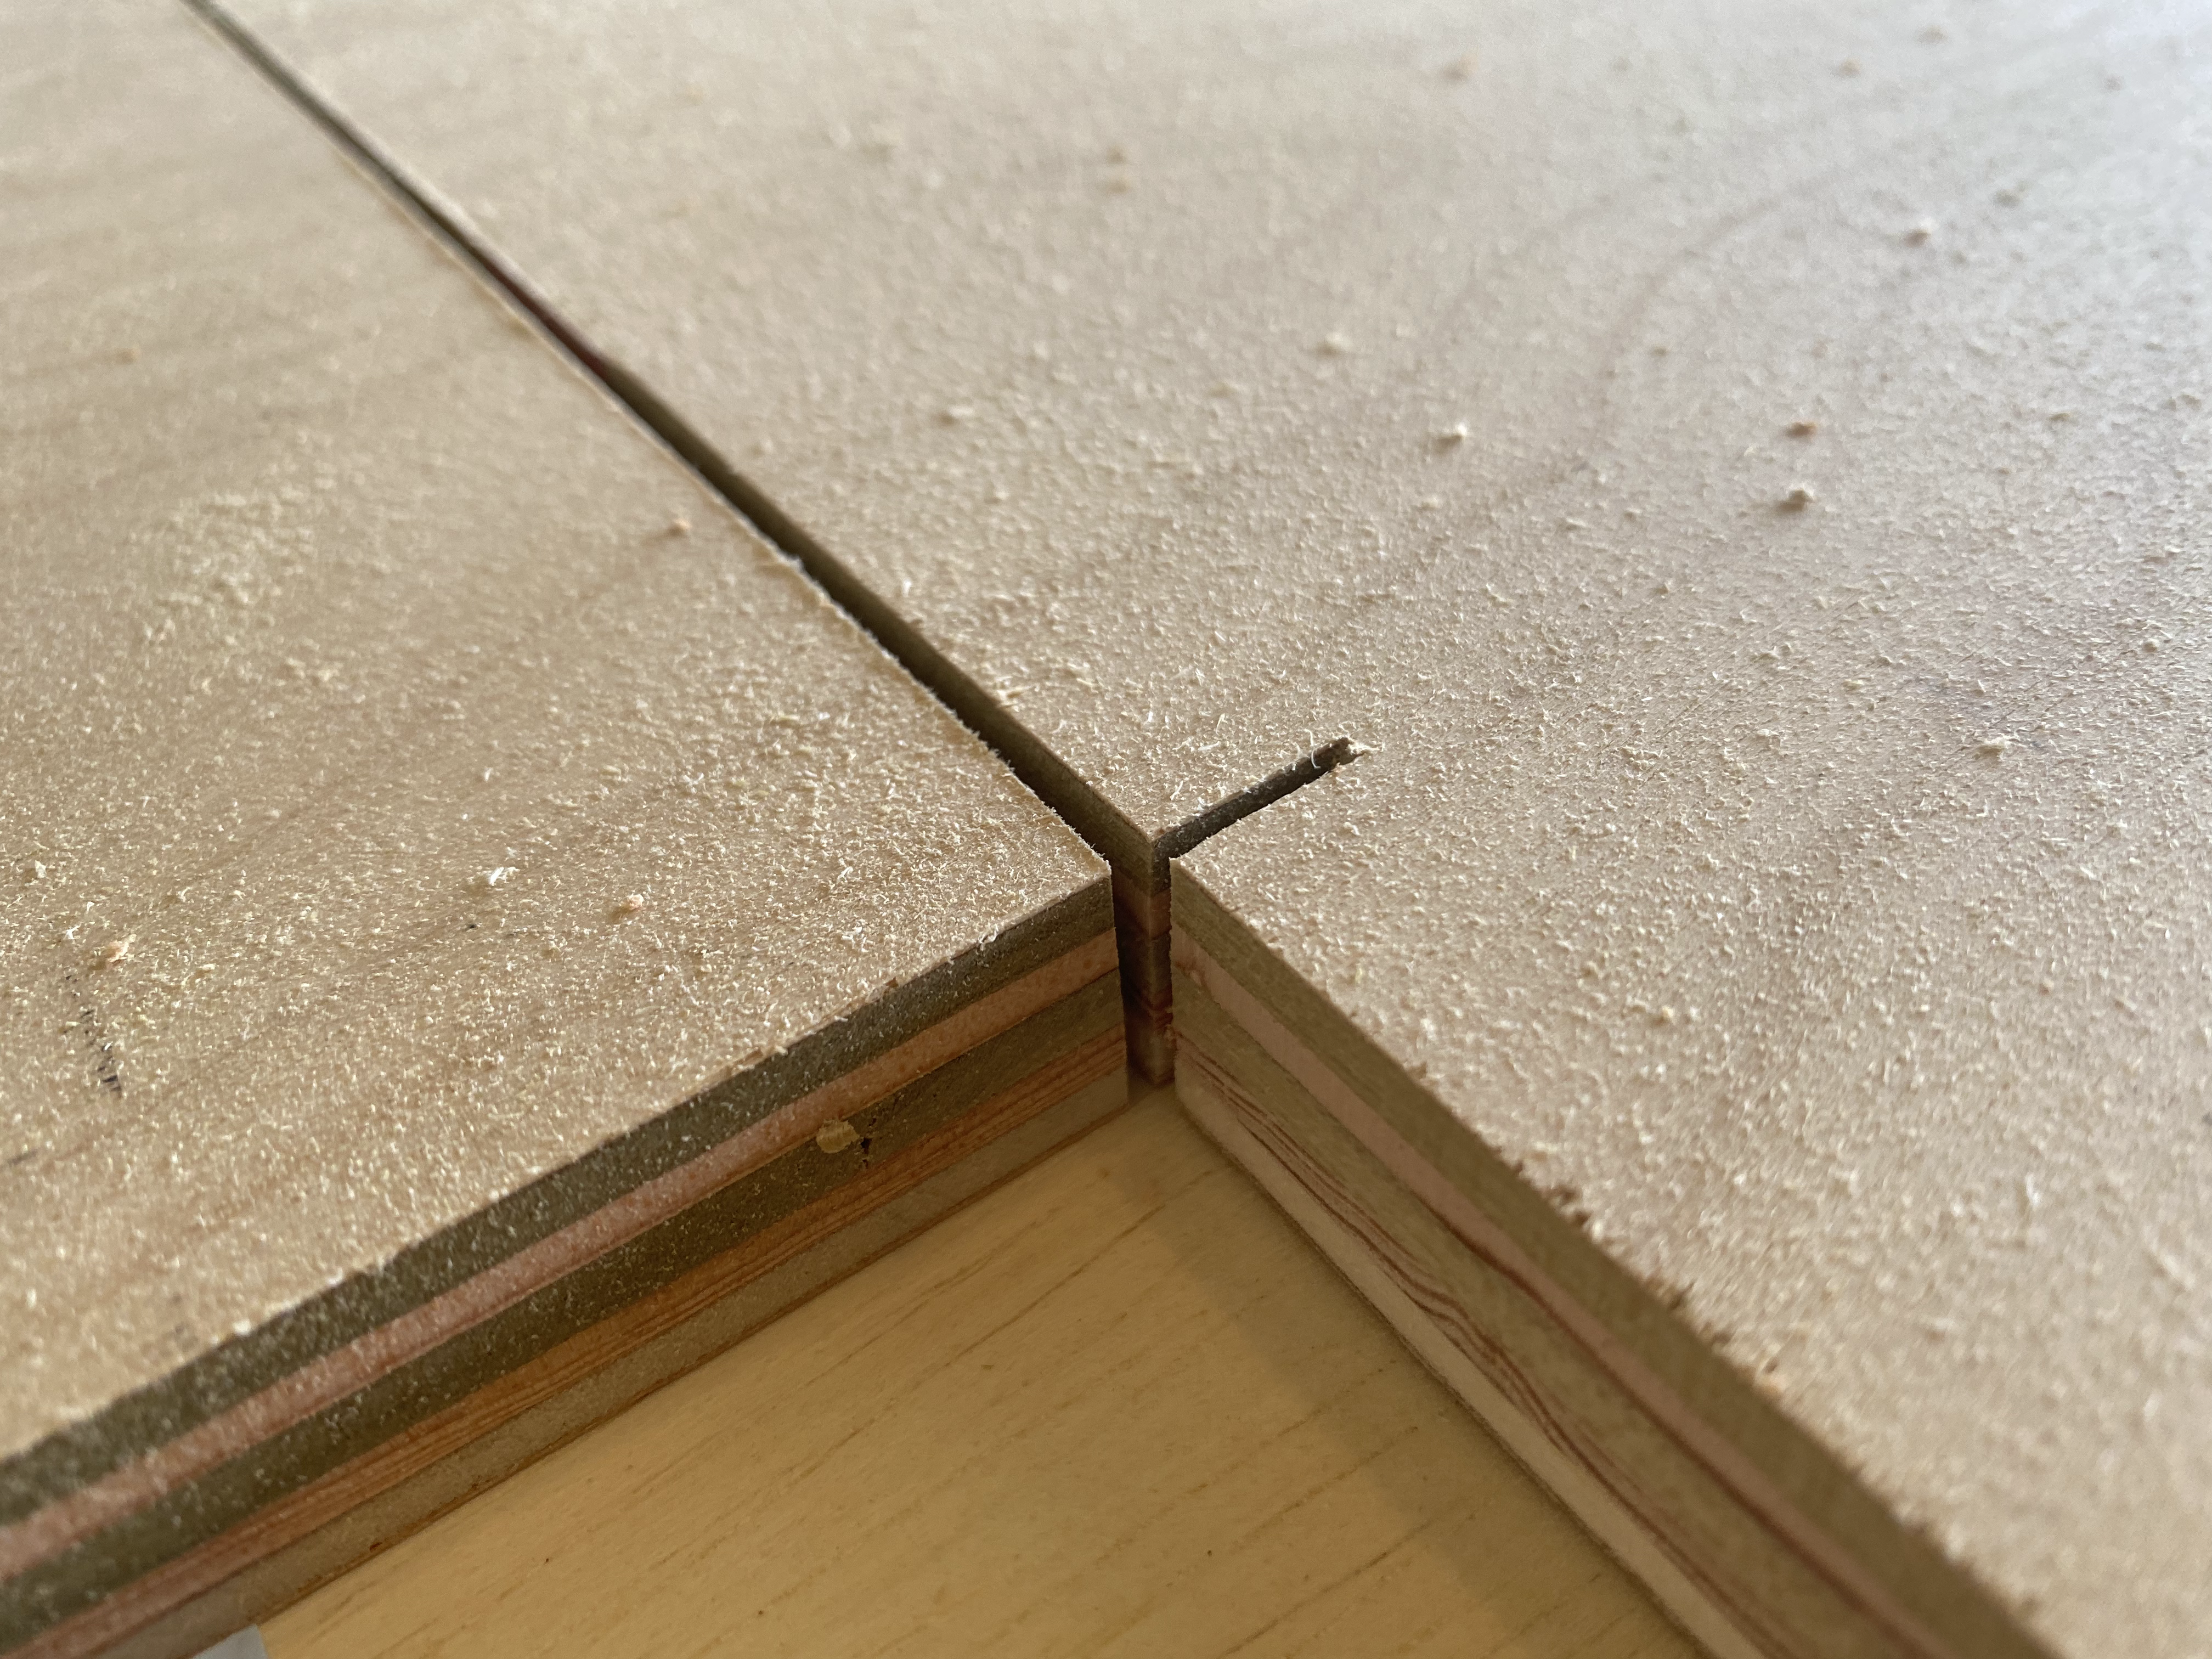
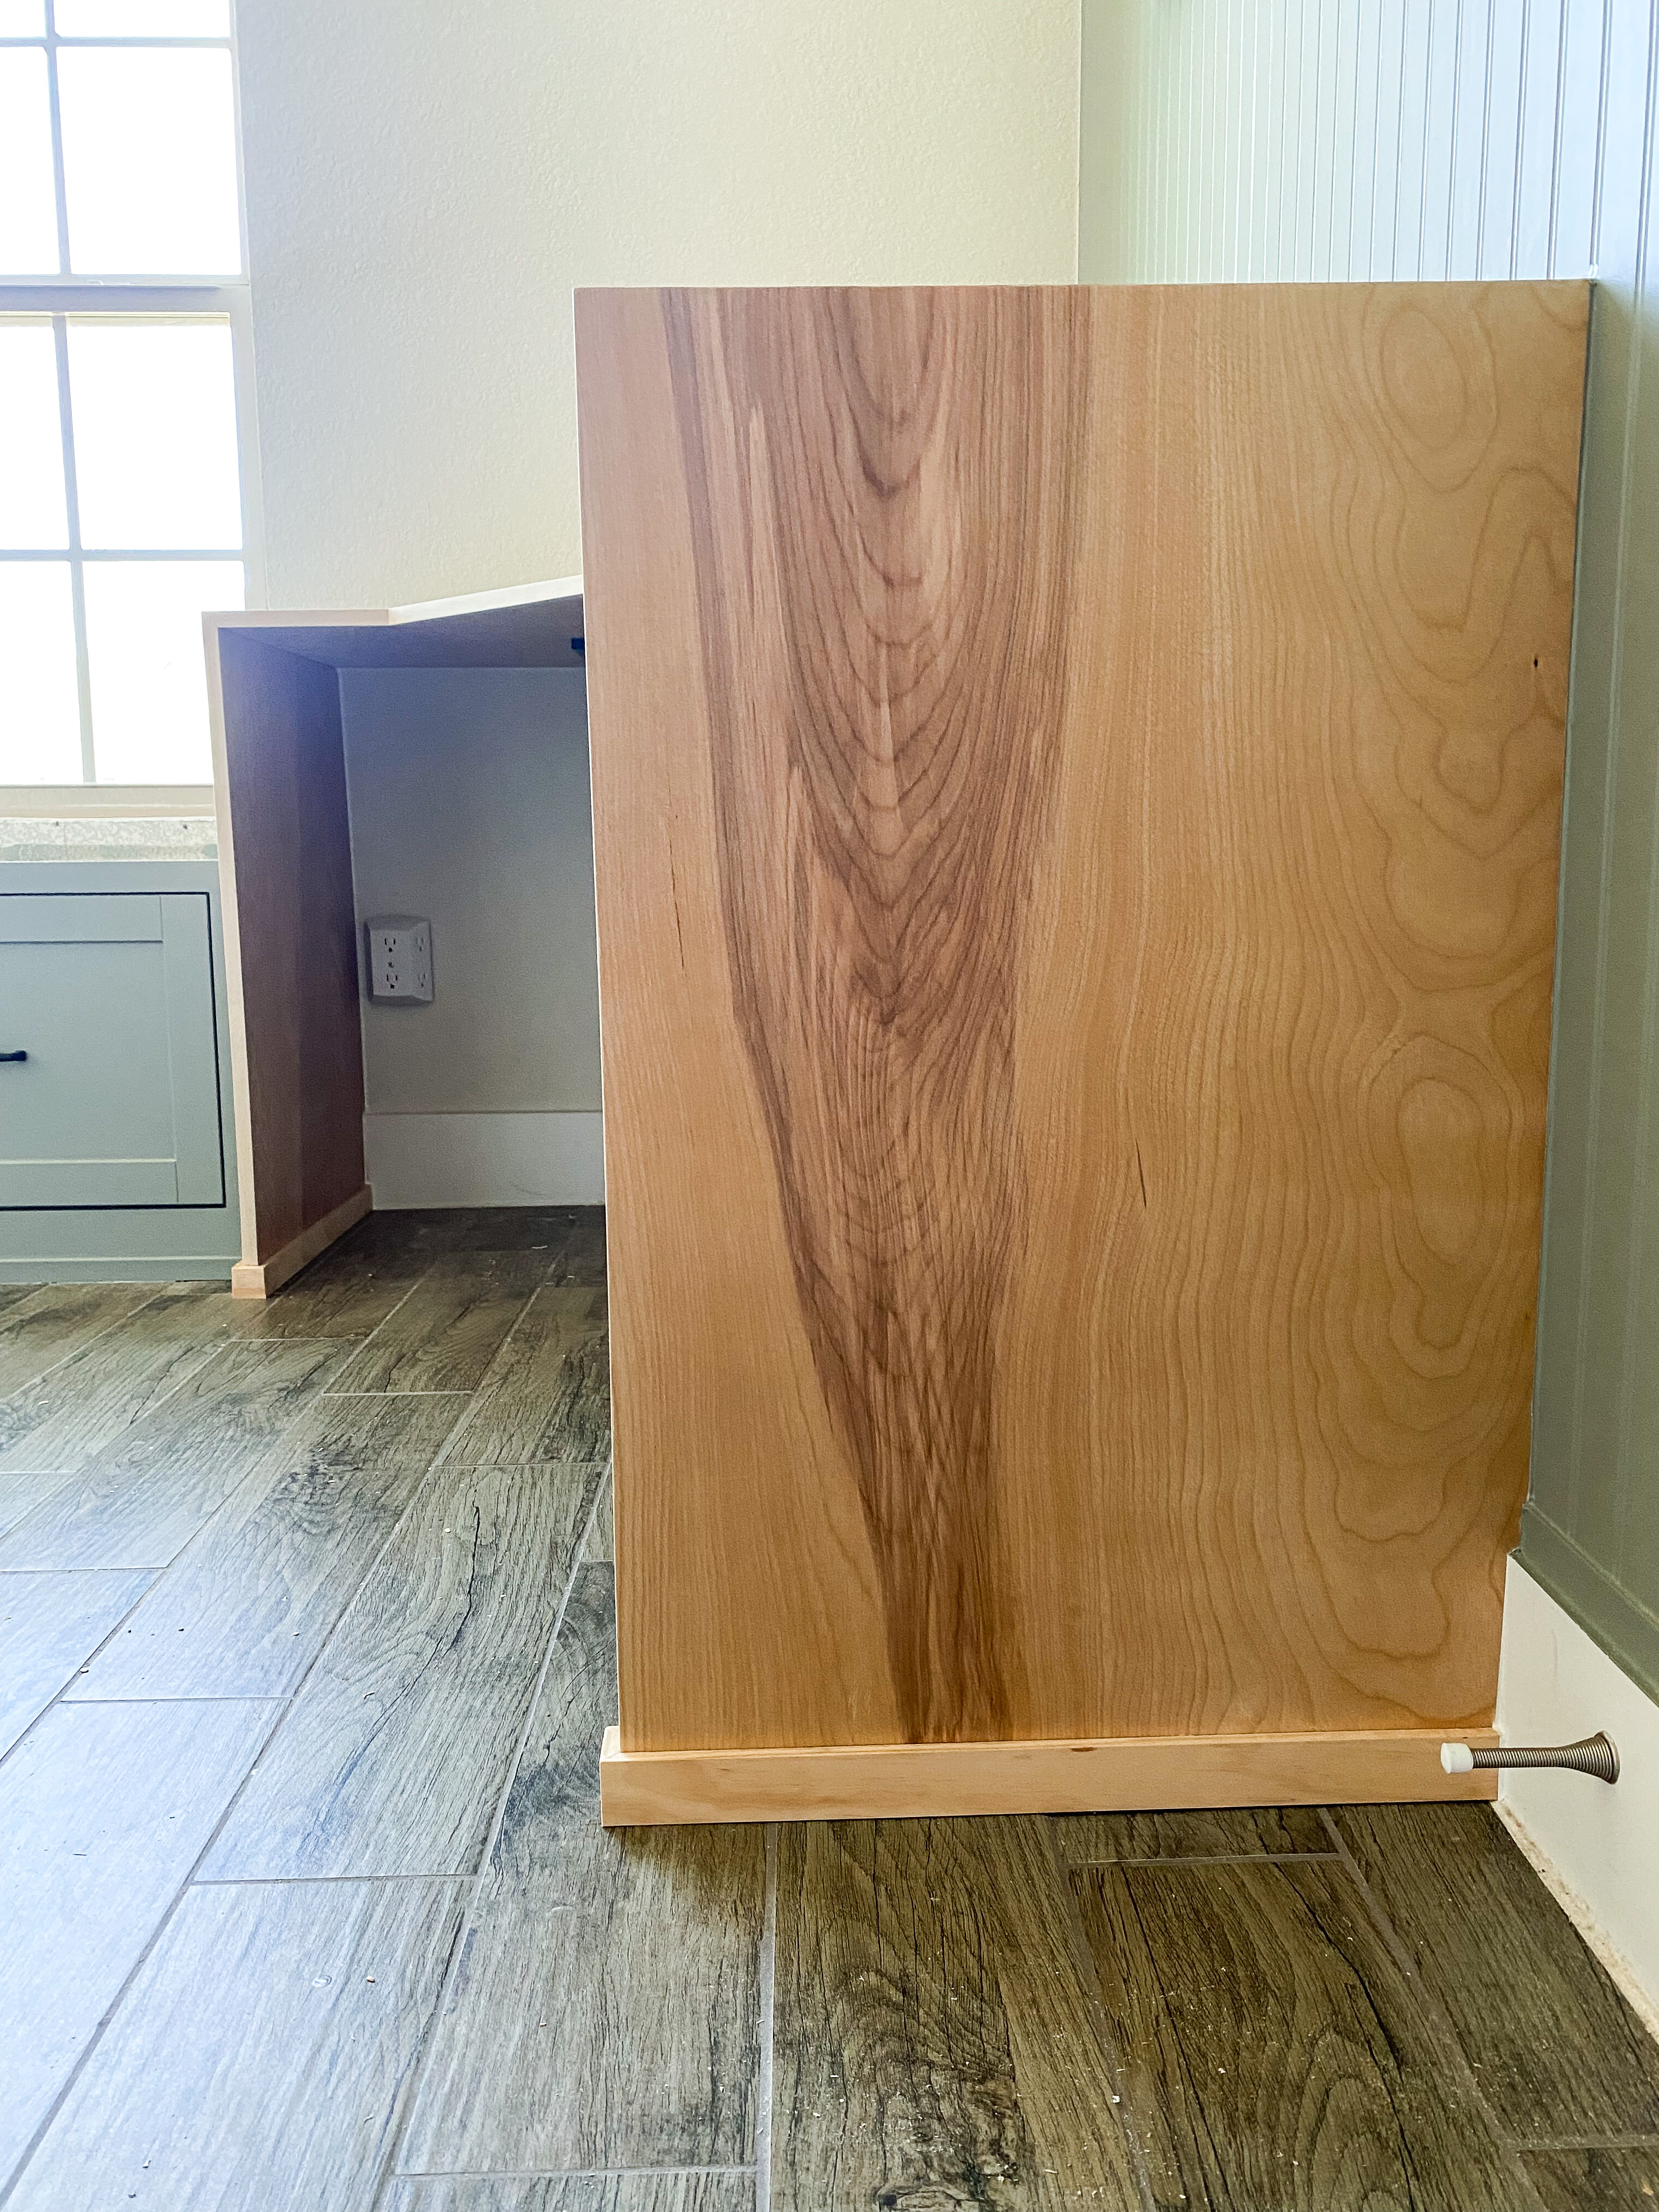
Next for the waterfall edge! The two ends that I wanted the waterfall edge, we mitered at 45 degrees to attach the waterfall. So one of the most important features to me of the desk was the waterfall edge so when measuring for the desk, I made sure that the cut for the desk left enough wood to also continue and cut the edge from that same area. The most important thing when doing something like this is making sure that whatever you do, the wood grain goes the same direction.
To connect the mitered edges, I used only wood glue. Wood glue is extremely strong and since these edges aren’t structural anyways, I felt comfortable just using glue. Then to keep it tight while drying, I put tape tightly connecting the two pieces.
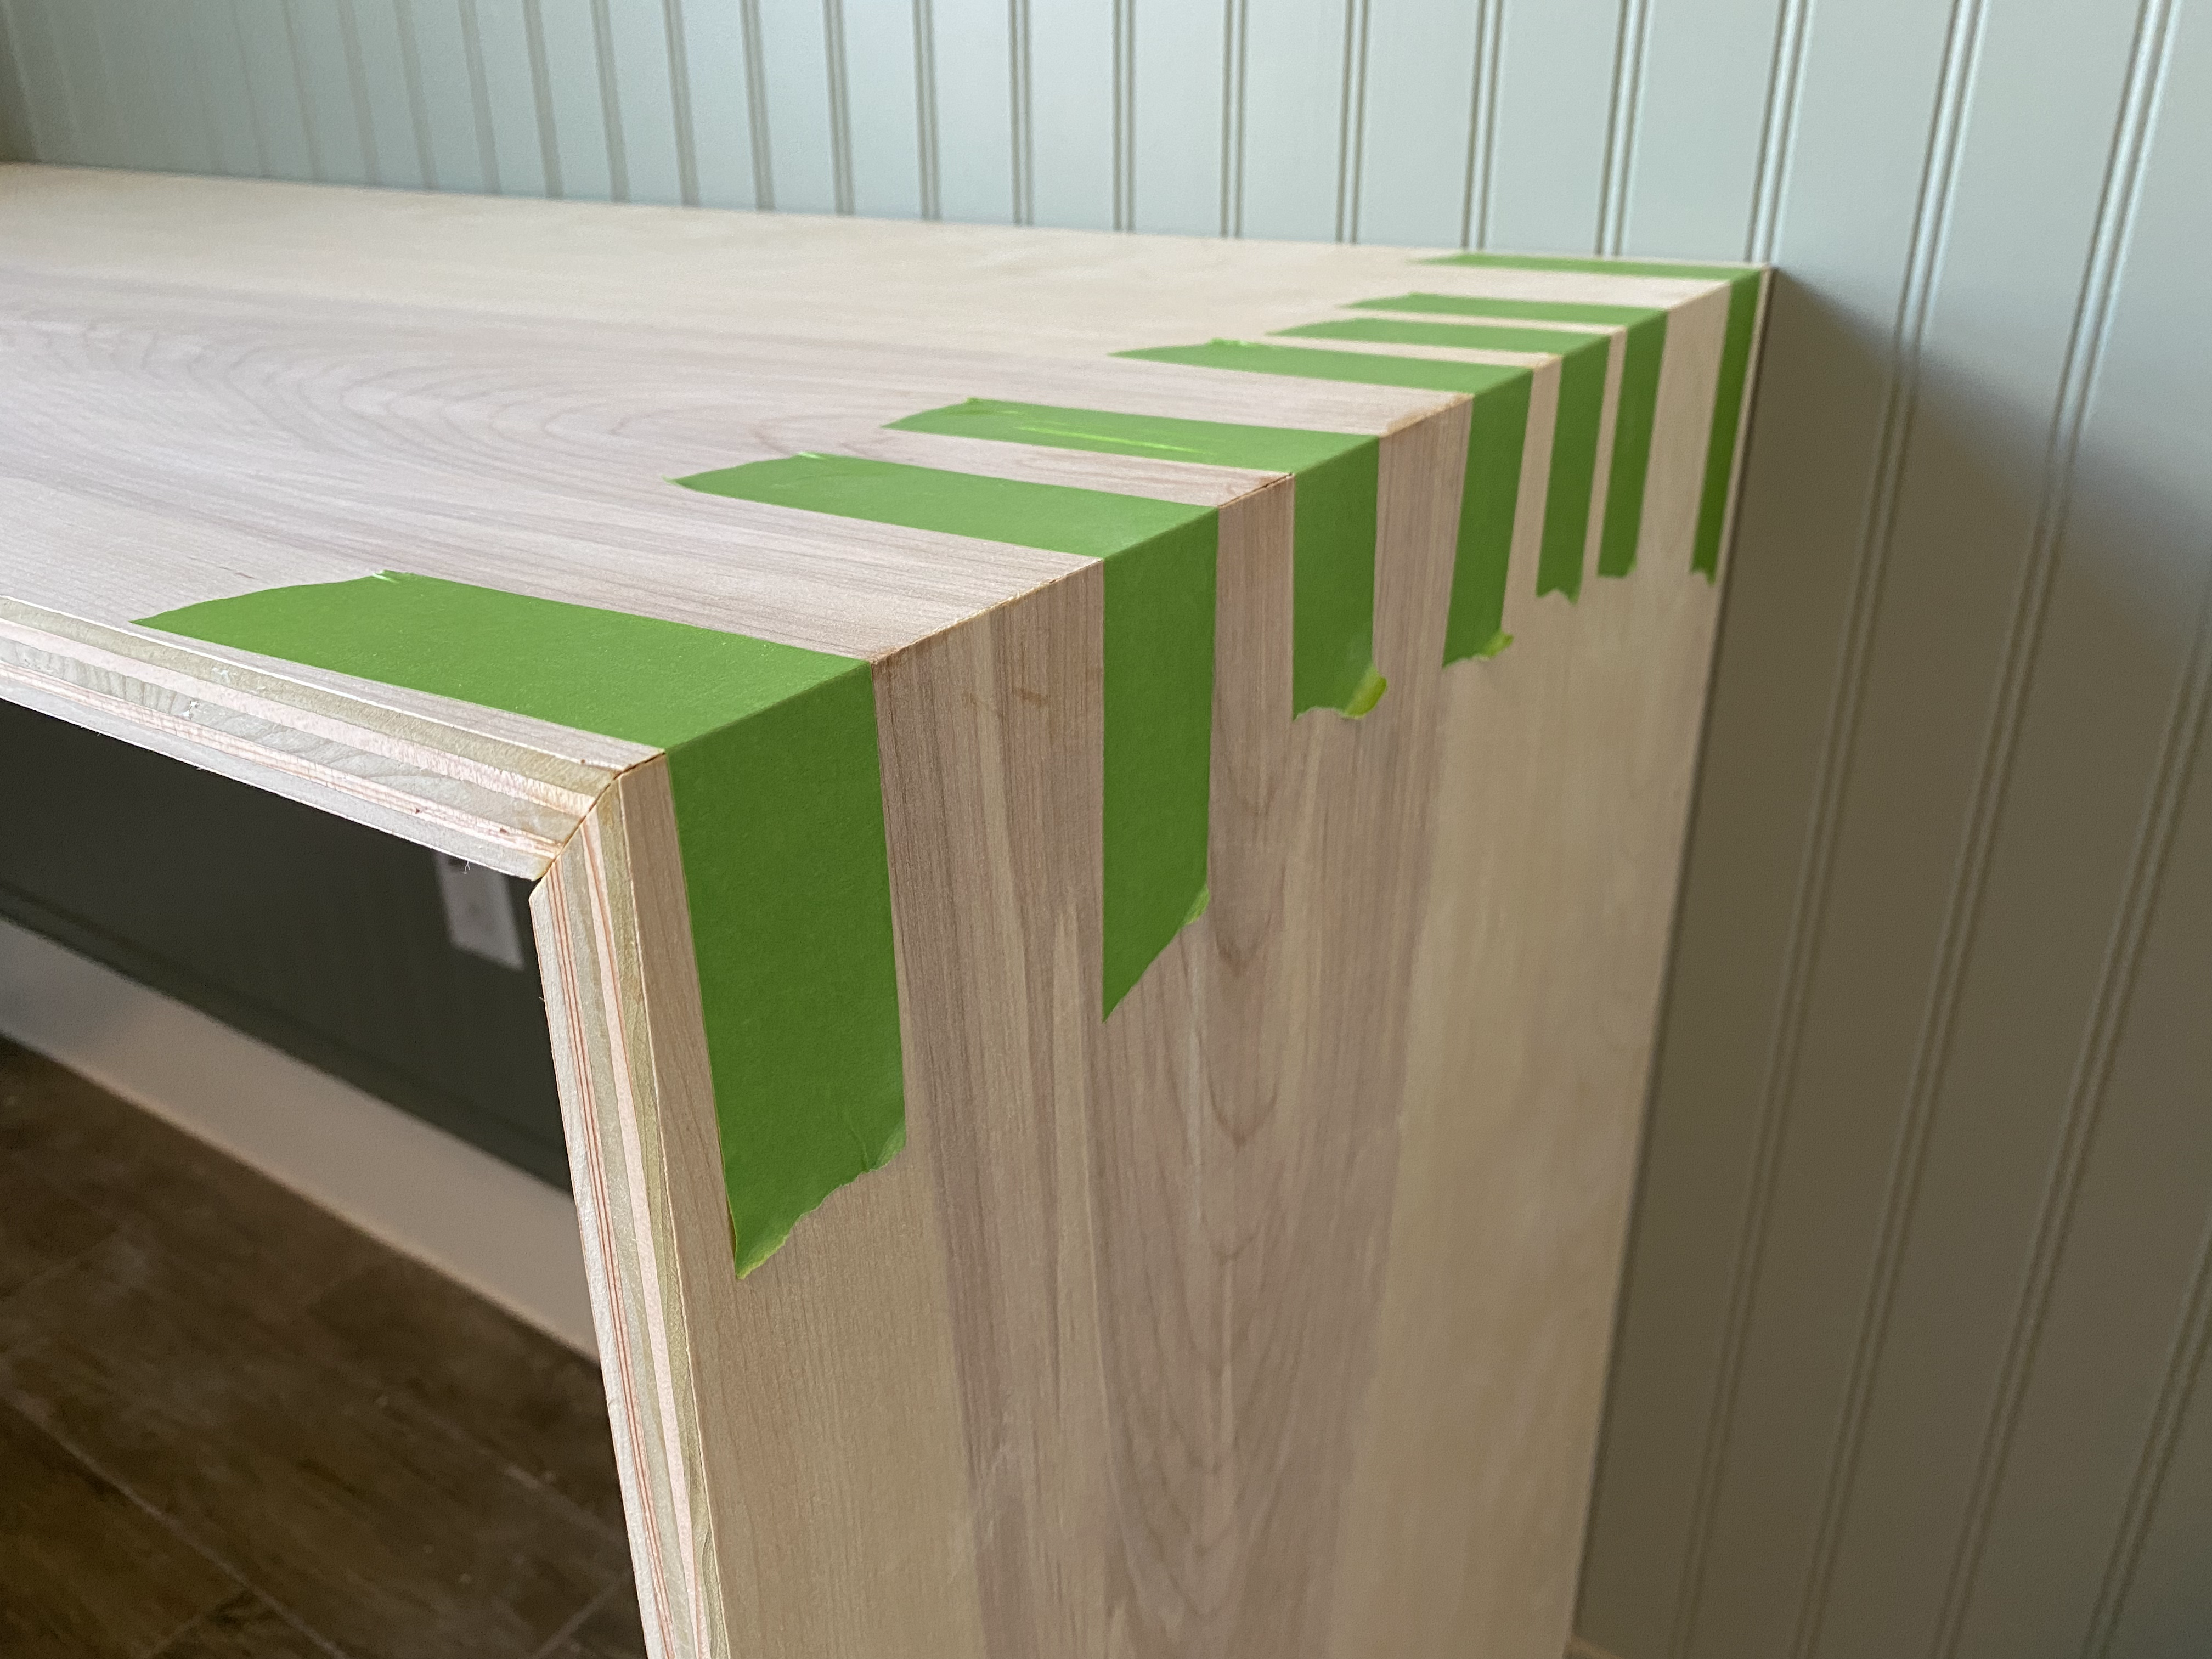
I actually had an issue with the corners meeting up perfectly (or close to it) and for me, I figured out that it was hitting on the inside bottom of the mitered edge and I tried cutting it at a 50 degree angle which almost perfectly closed the gap!
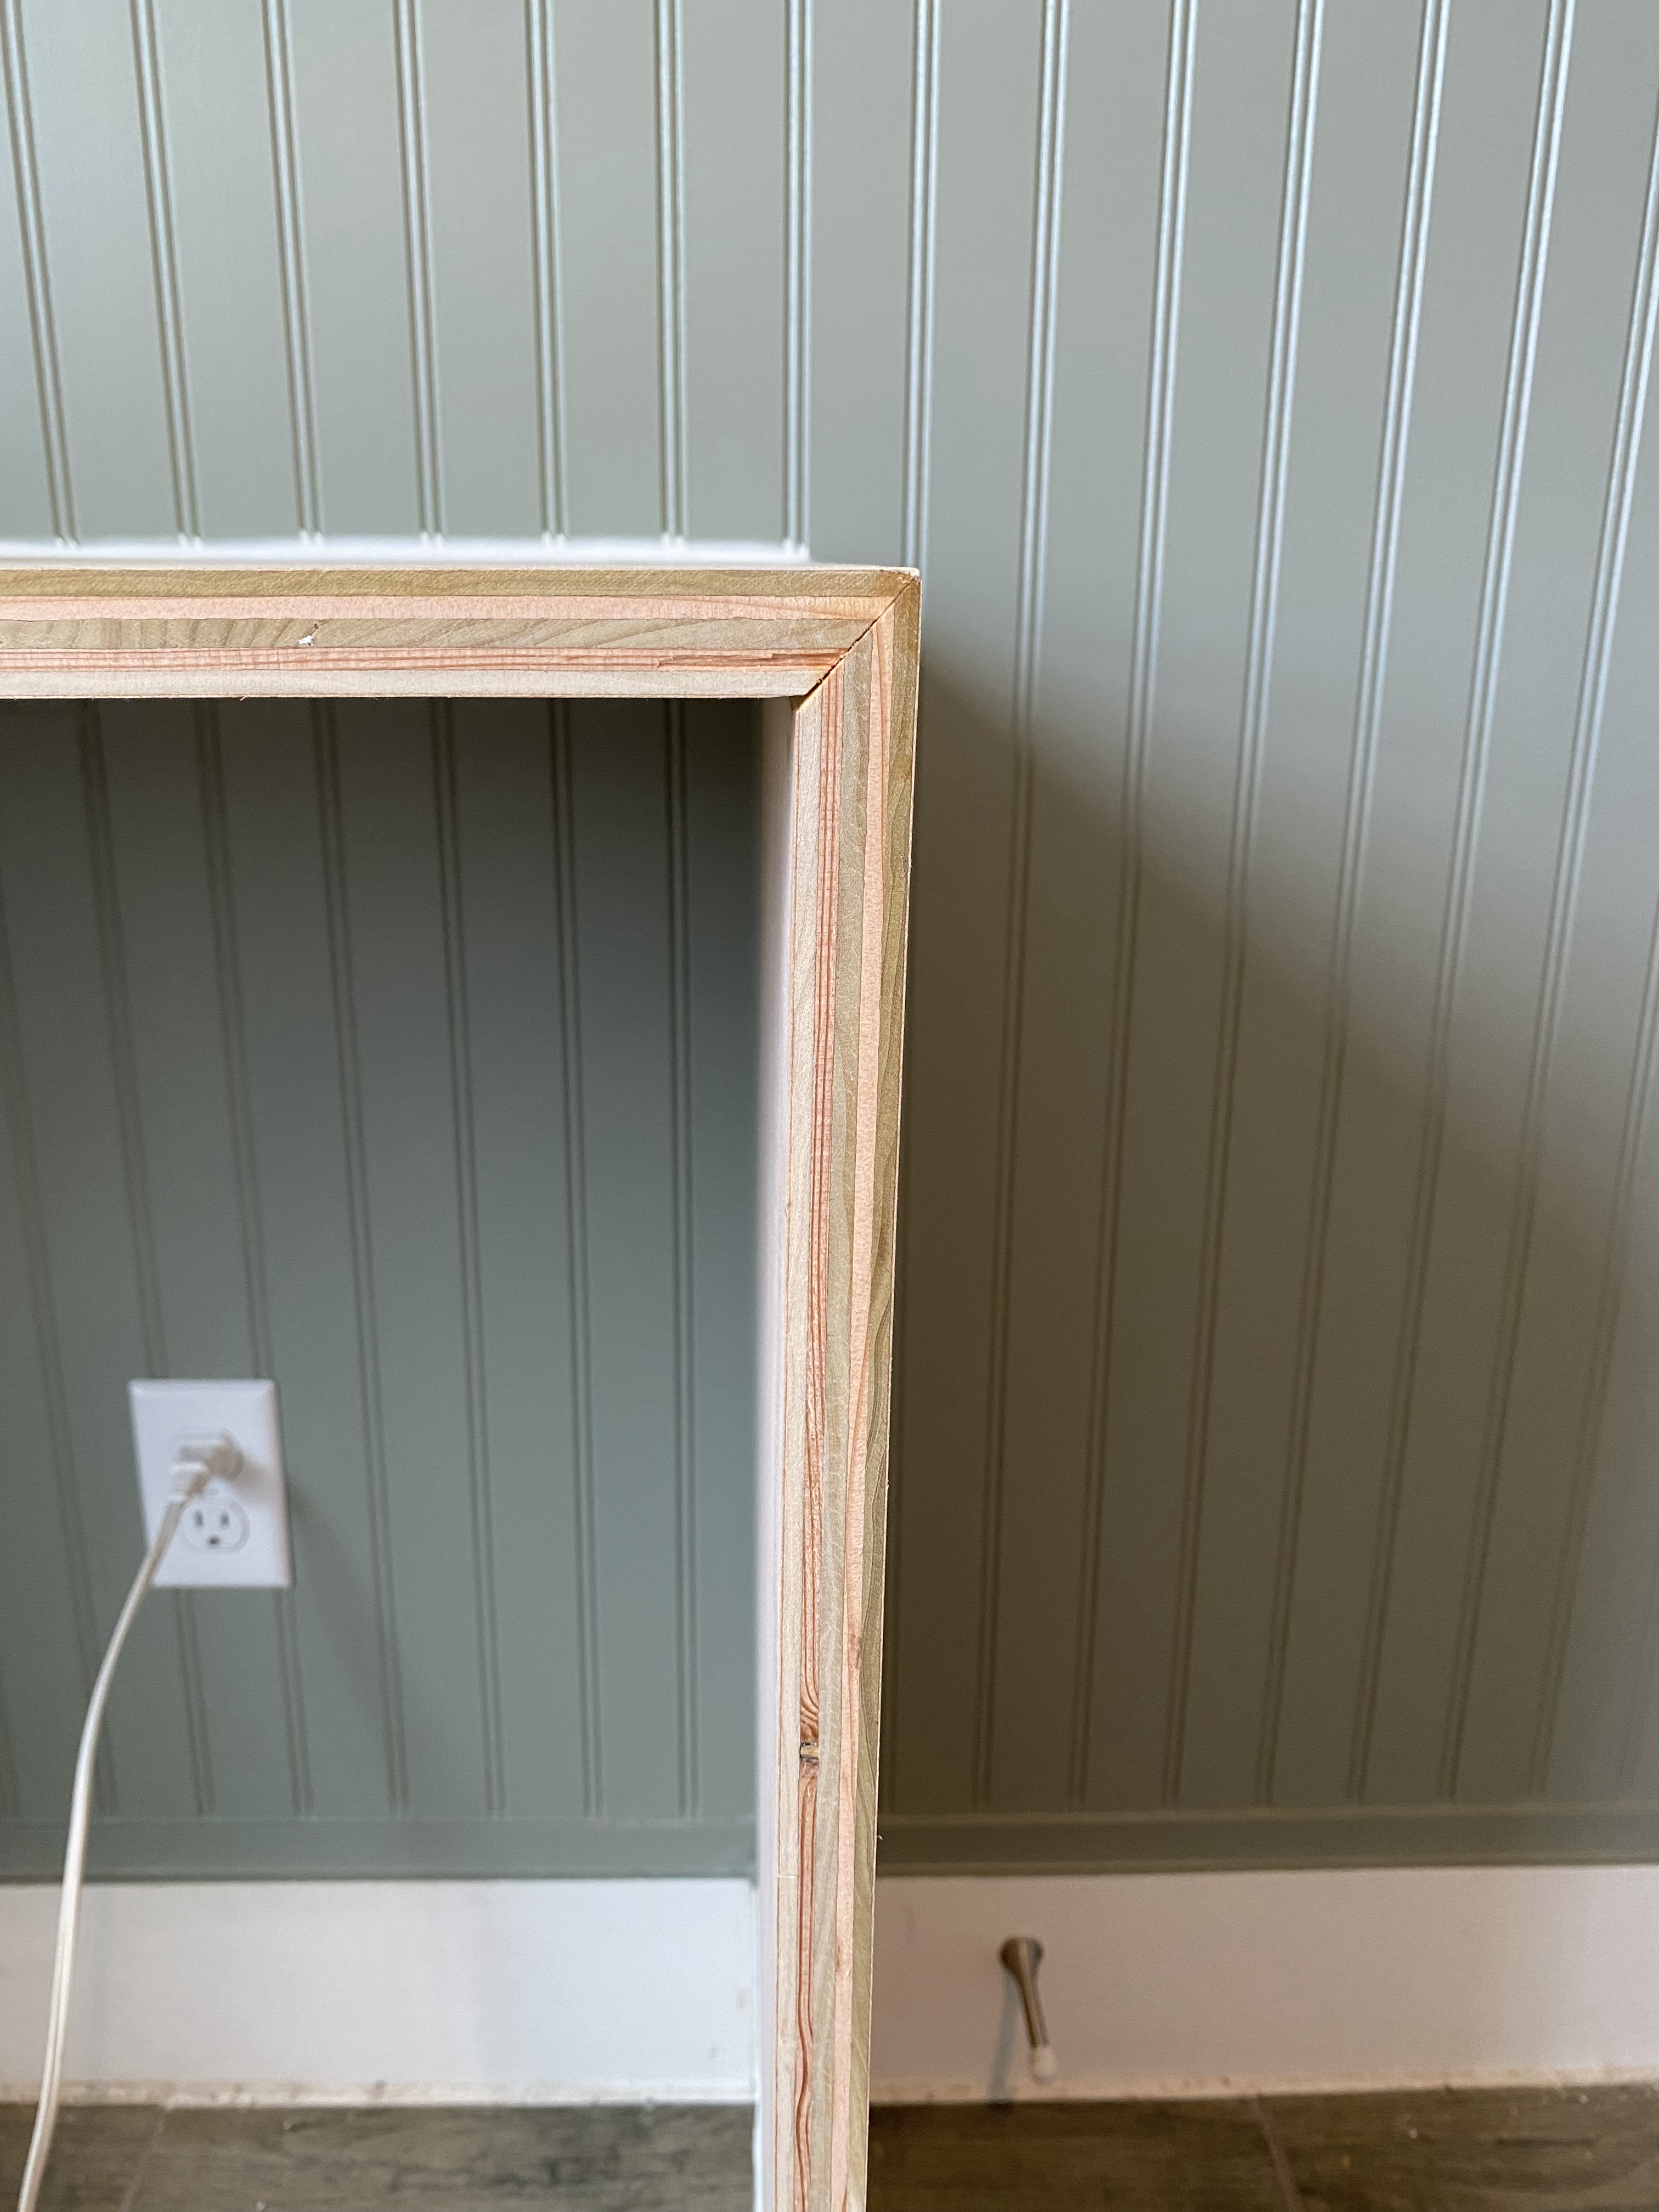
Edge Banding
An issue with using plywood for a project like this is the edge. Not pretty. I considered gluing a 1×2 on the edge but I really didn’t want any seems. So, I bought veneer edge banding! Make sure if you do this, you buy the appropriate color. The plywood I ordered was birch so I also got birch banding.
To apply this to the edge, all you need is a heat source. I used an iron which I think is the very best way to do it. The manufacture said you can use a hair dryer but I think being able to press down while heating is important.
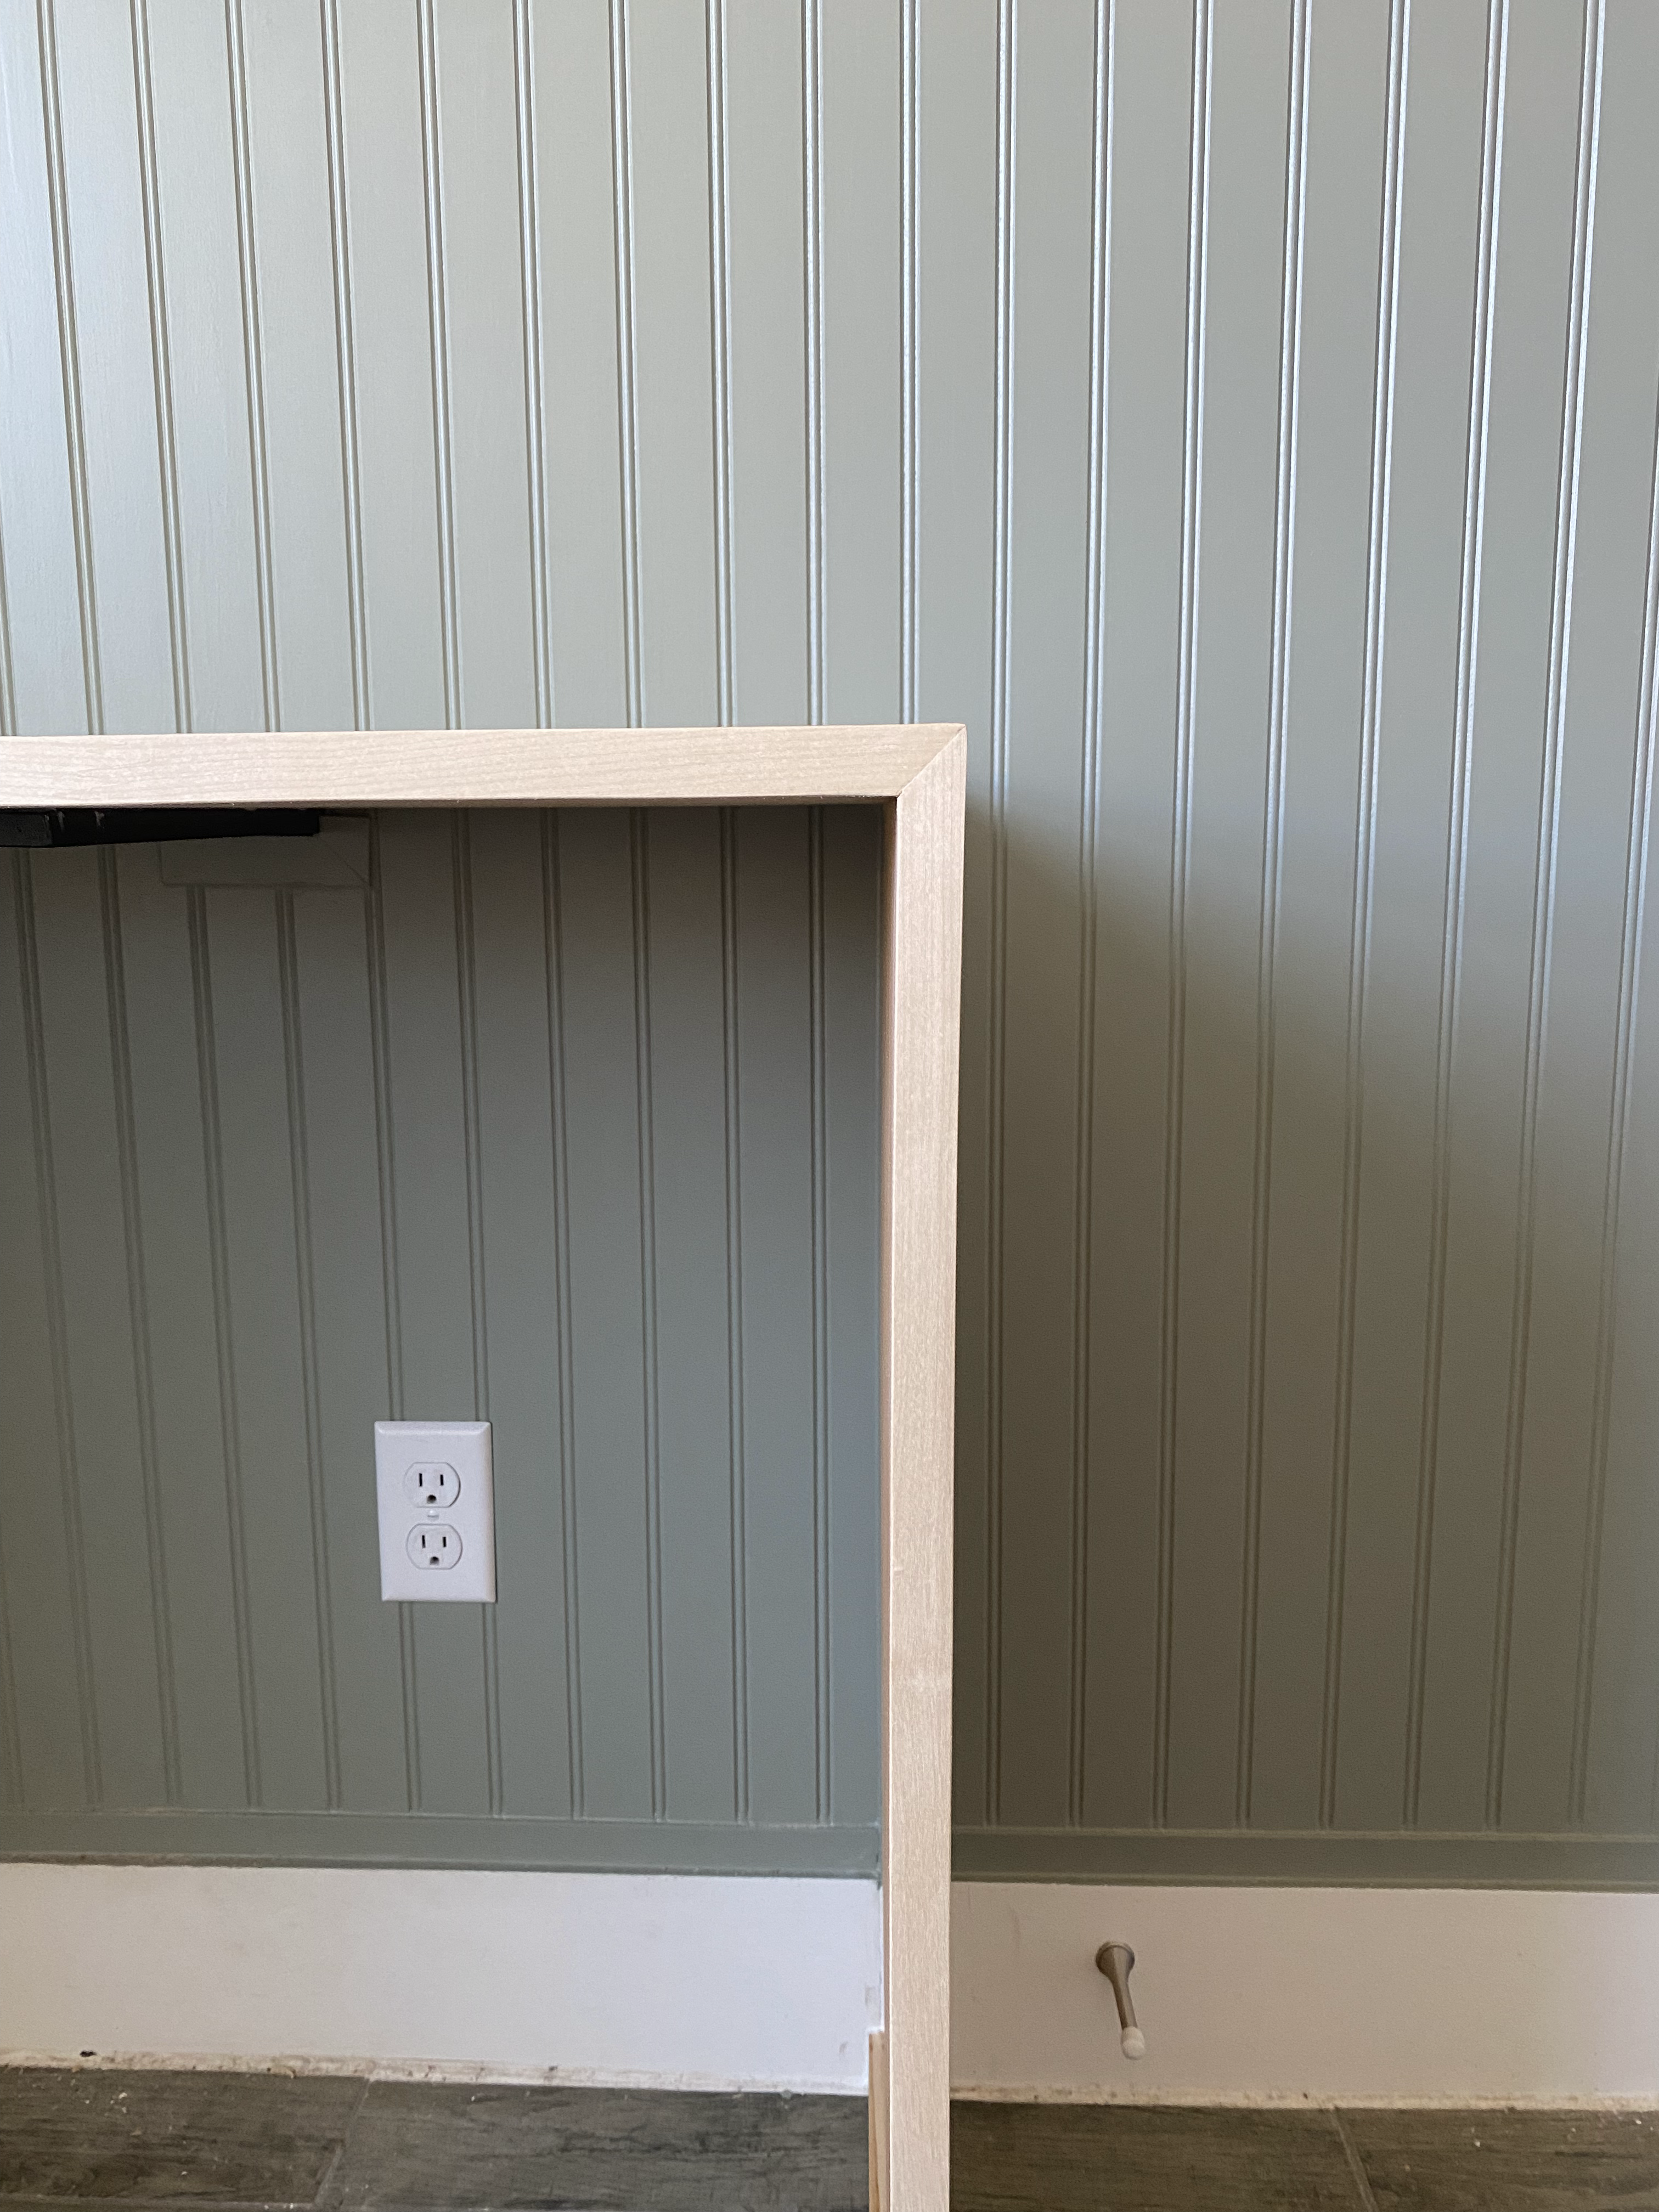
After applying the banding, I let it dry and then sanded the edges with 220 which got rid of the slight glue that seeped out and made the transition look practically seamless.
Final Details
The details in something like this are what make or break your project. The waterfall edge ended up having a larger gap at the bottom and when I caulked it. It just didn’t look good with a bright white line all along the bottom. I went back to the store and found a nice piece of select pine that I thought would do the trick and it did! The color matched close enough and it was just the finishing detail that this desk needed.

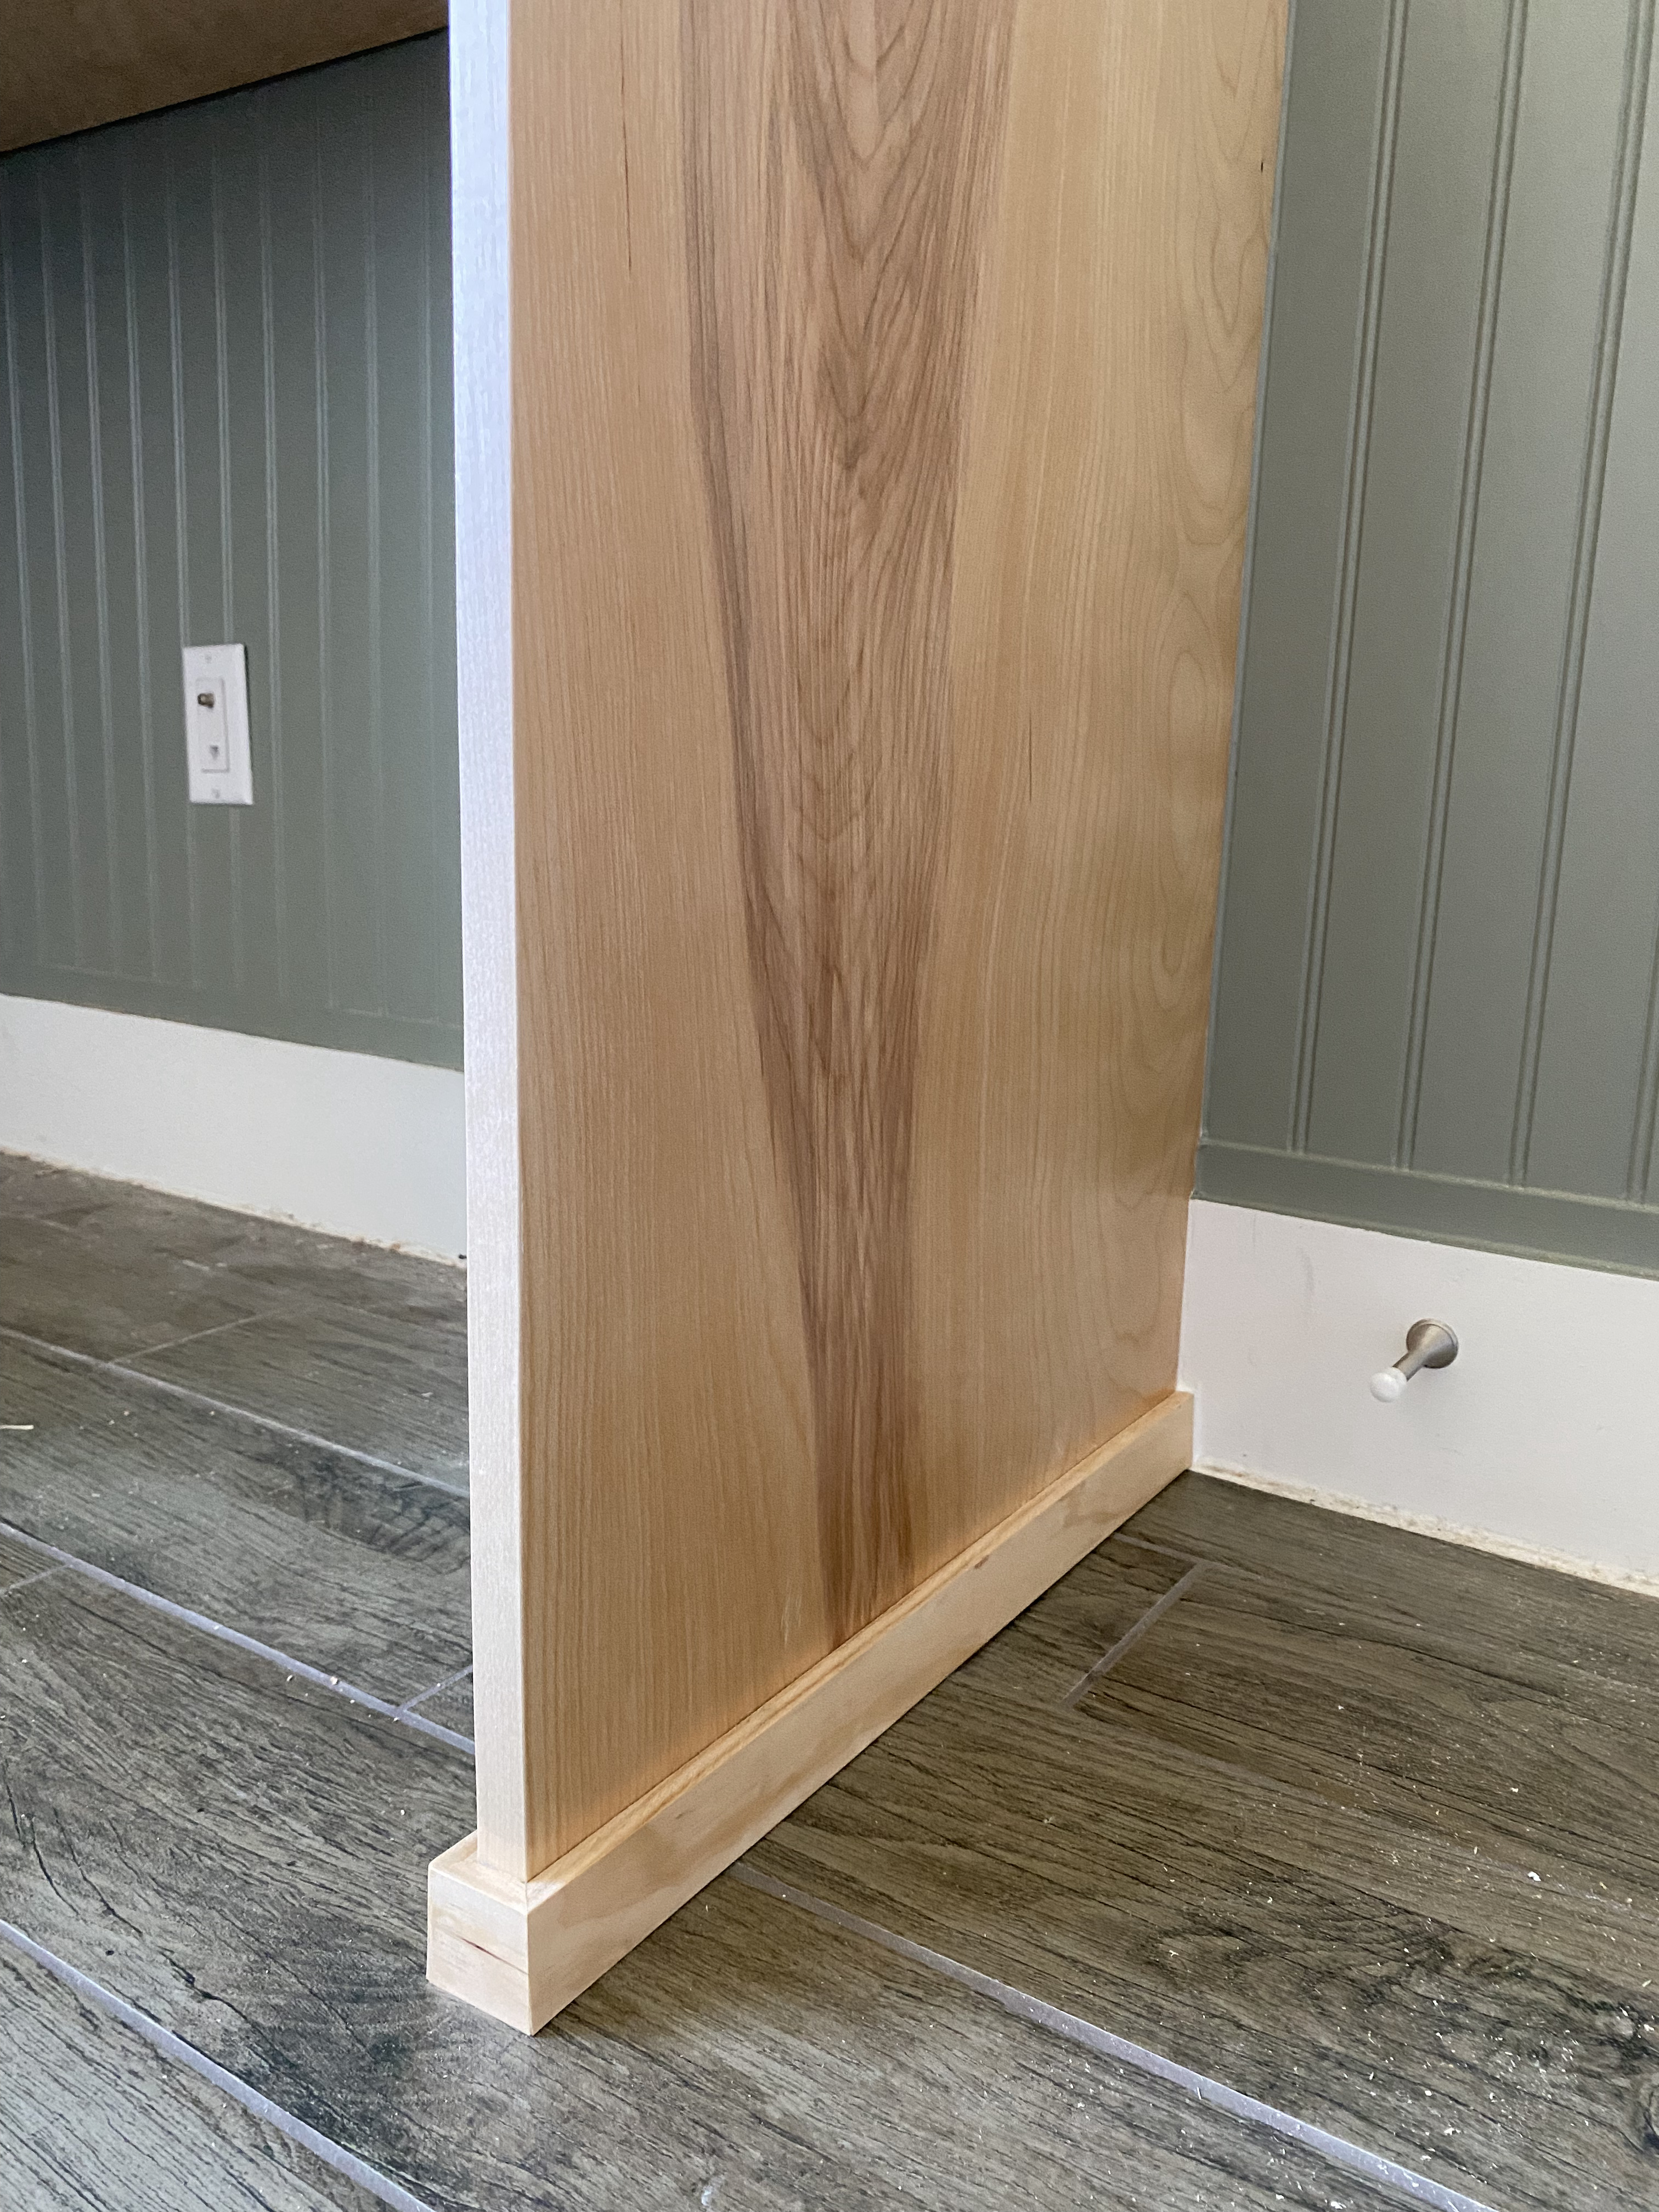
Lastly, to make sure this desk stands the test of time, I sealed it with a clear satin polycrylic which made the true color and grain of the wood look incredible!
And just like that, the office is ALMOST complete!!
ICYMI
In case you missed any of the weeks prior, you can find them here:
Week 1: THE NEXT BIG THING: OFFICE REMODEL to work[out]-from-home
Week 2: A FUNCTIONAL Office Closet
Week 3: Pegboard Gym Storage
Week 4: Window Seat IKEA Besta Hack
Make sure to subscribe to the blog and our YouTube Channel for next week’s One Room Challenge project update and to see the detailed videos of how we built this desk coming soon!
Find us on social HERE!


