


DIY Cabinet Drawers


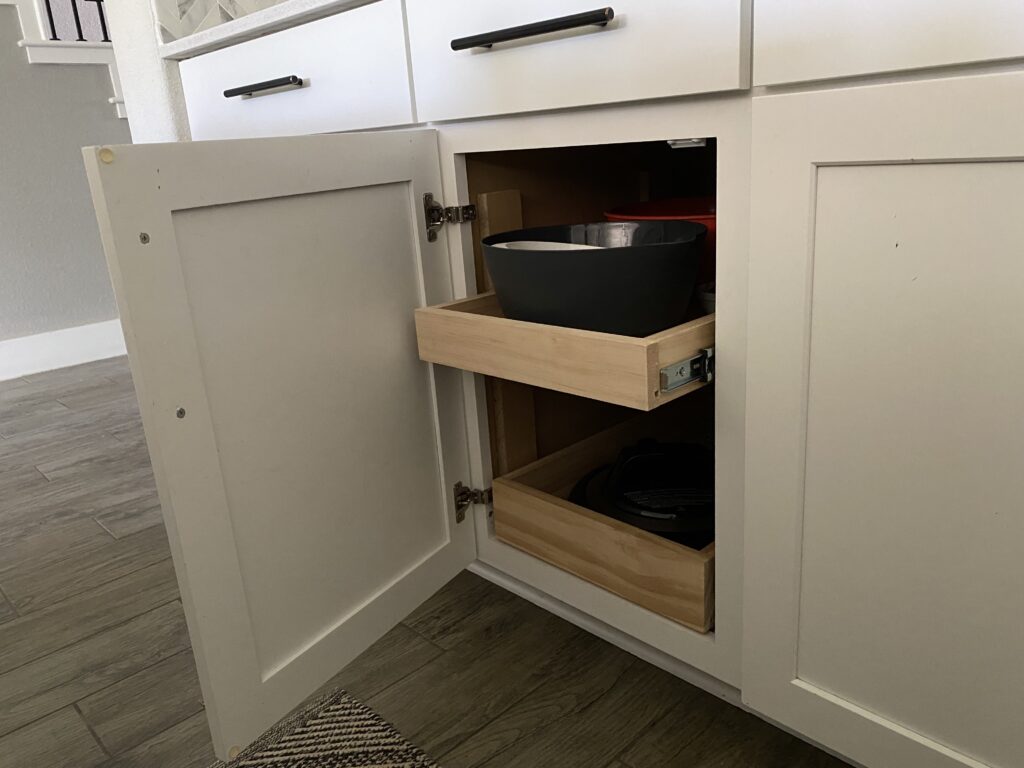
The kitchen cabinets were needing more organization and a better solution. Everything would just get thrown in there and I could never keep it clean. I finally found the solution for this and it was cabinet drawers! I installed them inside the cabinet and they will not only give more space in the cabinet, but also make it more organized all together. I’m so excited for this!
Supplies:
1×3 Premium Pine or Poplar wood
1/4” plywood
Cabinet Breakdown
The cabinets have a little lip on them, so I have to build it out a little so the drawers can slide in and out easily. For this I just took the MDF shelf that was already there and cut it down into 4 pieces. Also, a little tip would be to put in pilot holes so there is no cracking in the wood. To attach the frame/build out I used wood glue and brad nails to secure it inside the cabinets where the new drawers will go.
Creating the Drawer
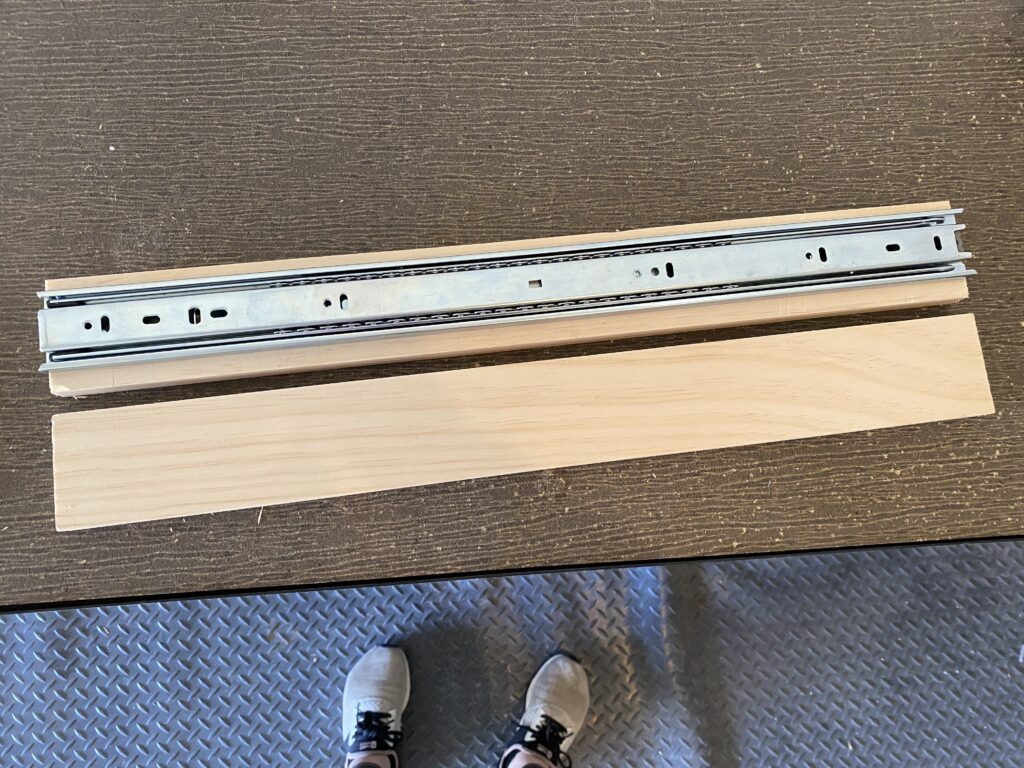
I started by installing the slides into the cabinet so I can measure what width the 1×3’s need to be. I used a clamp to keep the slider level and that was a game changer for sure. It made it so much easier.
Okay, don’t make the same mistake I did, even though it was a very easy fix this was just a silly mistake. The sides of the drawers that have the drawer slider on them should mirror each other, so they both slide out the right direction.
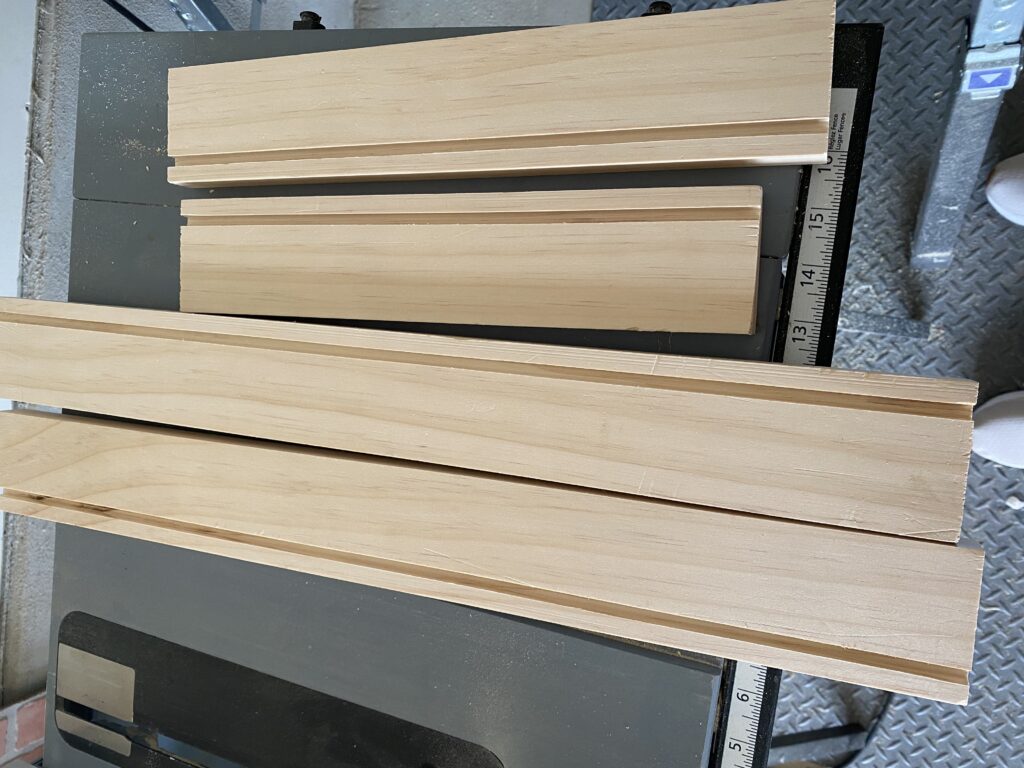
Now onto the front and back pieces of the drawer. We will be creating a groove for the plywood to sit in. For this you will want to have your table saw setting as the depth needed. This makes it easier for all your pieces needed to be the same exact cut. After the first slit is made, I need to make it a bit wider so I’ll move the saw over 1/8 of an inch so that we will get a 1/4 of a groove in total since the plywood is 1/4 inch.
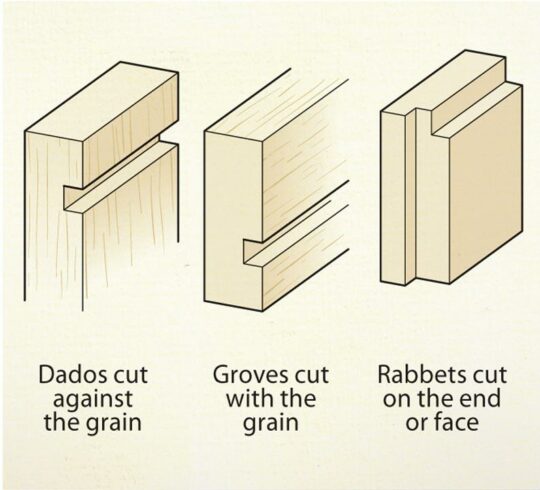
A groove is a cut that doesn’t go all the way through the wood and goes with the grain of the wood. (See diagram below)
Creating the Bottom of the Drawer
This will be made with 1/4 inch plywood. To get the correct measurement for this I measured the inside of the cabinet, subtracted the thickness of the wood, then added in the depth of the groove.
Before fully committing (gluing it up) I did a dry fit and it fits perfectly. So now time to glue it up. I recommend using a bead of wood glue along the grooves where the plywood will sit. Then clamp it together and you can even add a few brad nails like I did to keep it together while it dries.
ALL Done!
I made two drawers and they are SO perfect. My cabinet is finally all organized. You wouldn’t think a simple easy solution would make your life so much better but it really does. It was so easy to make and even with a small mistake. Don’t be afraid to just DO the project. Just about every mistake is fixable!
Shop our favorites HERE!
Find us on social HERE!


