


DIY Doggy Deck


We are on our FINAL phase of this doggy area! First we built a doggy door, now we are building a doggy deck with a ramp. Our dogs better feel special and I’m sure they will be super happy to have this area just for them. Here we go!
Simple Doggy Deck
All you will need for this is supports, planks, and screw. It’s super simple the only hard part about this is the measurements and leveling.
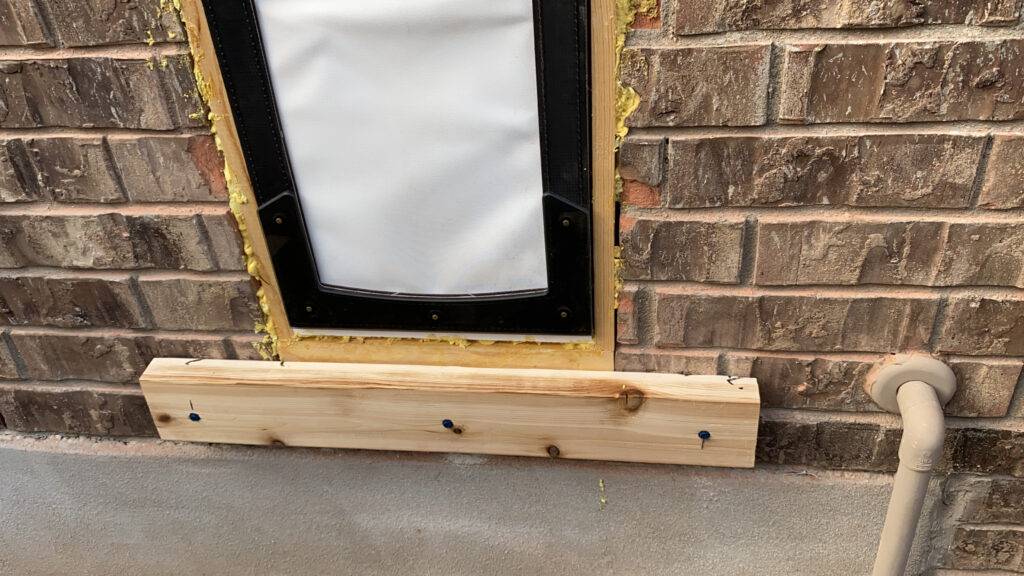
The first step is to put a brace (main foundation for the frame) up right against the house a few inches under the doggy door (remember to allow clearance for the decking). For this we used a 2′ x 4′ measured at 28″ long. In order to attach this to the brick we used a tapcon concrete bit and tapcon anchoring screws.
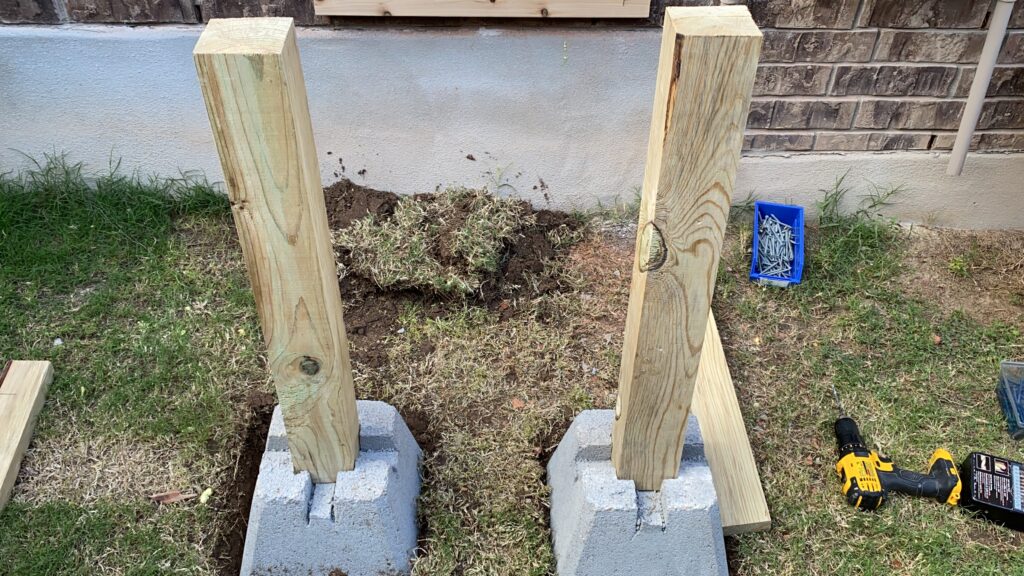
Once that is in place you will move on to the base using the deck castles (concrete deck footing) is what I like to call them. These are great so you don’t have to build out the foundation and elevates it up. We measured out with the side of the frame to get a general idea where this will be placed. Our whole frame will be 28″ width by 30″ in height. So, we used the side board to place this deck castle where it needs to be. After we know the general area we now can go in and level it out by taking some grass and dirt out then place the 4’x4′ in the deck castles.
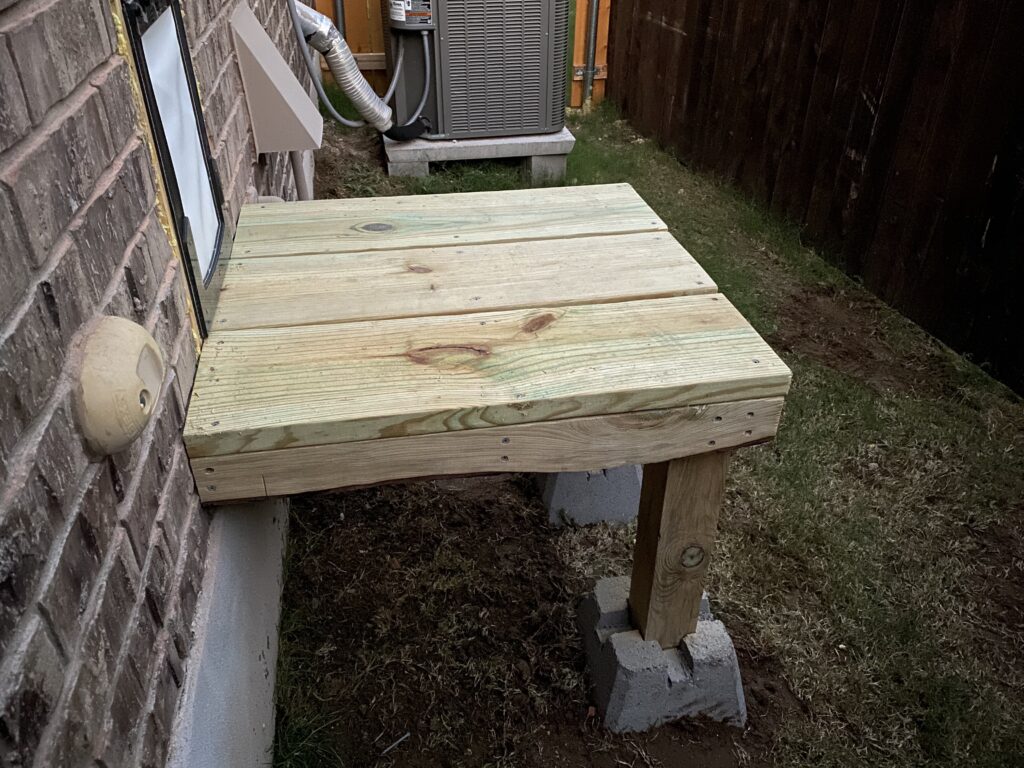
Framing
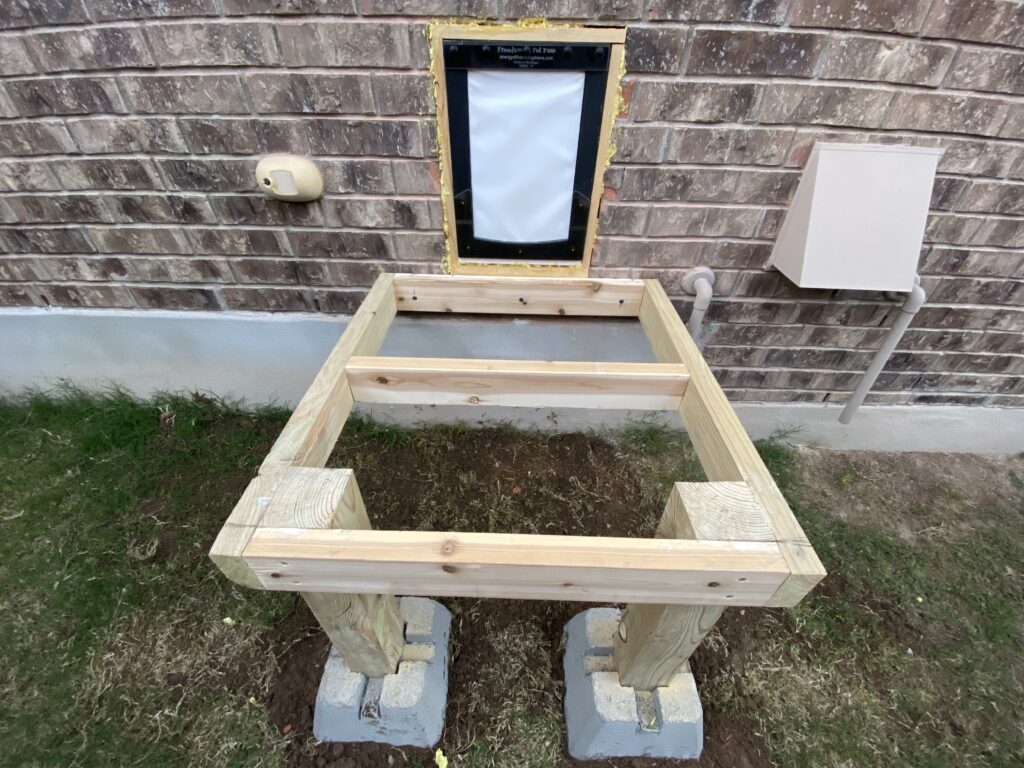
After all the basic items are in place we can begin the frame. All we did was screw in the 2’x4’s and add a support beam in the middle. Since everything was level from putting in the deck castles. The 4’x4’s are sticking up quite a bit from the frame and we want it nice and flush for the decking to be even when we get to that point. To fix that, all you will need is a multitool and a hand saw which will easily remove the excess wood. This is our multitool!
Adding the decking
It’s always good to cut a bit longer than needed to make sure you don’t cut anything too short. You don’t want to go back and forth. We measured the decking boards which we used 2′ x 10’s for this and only needed 3 boards for our measurements. Then all you do is screw them into the frame!
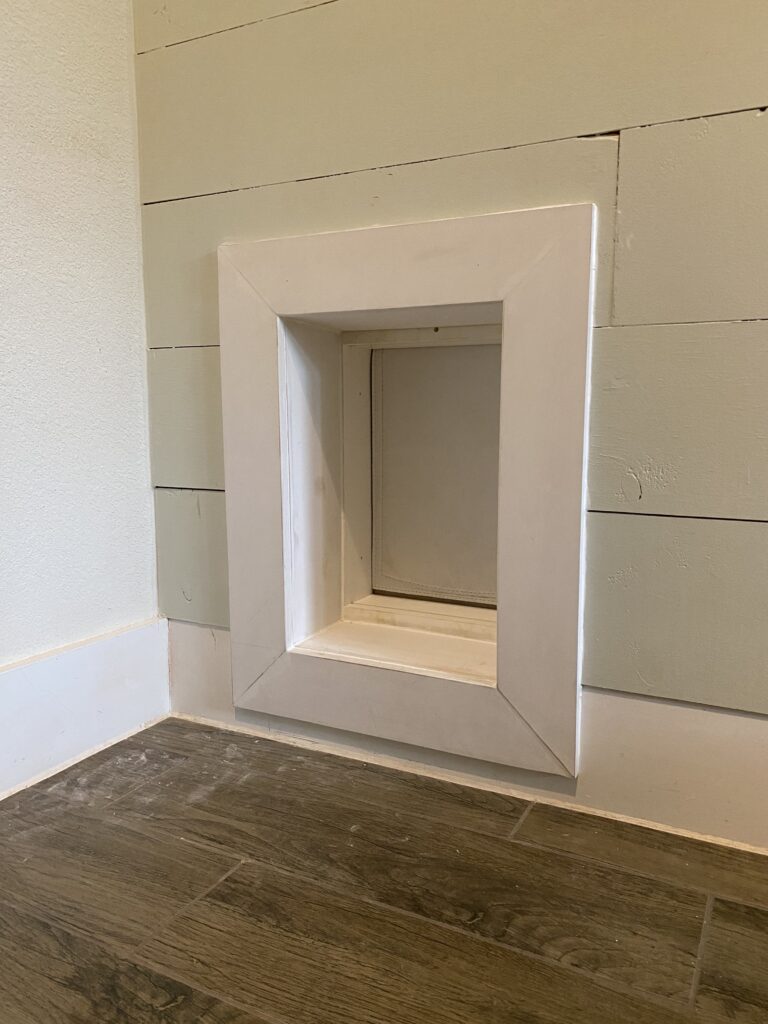
You know I had to pretty it up, so I framed out the doggy door with PVC framing. The PVC is cut straight at the bottom to attach to the deck and then other side I used a miter saw to cut it at a 45 degree angle so it all fit perfectly. Also a benefit is that the PVC will be durable through any weather we have. Ideally you’d want to screw it in or brad nail this into the concrete, but we will see how this holds up with construction adhesive. Now the deck is all done. How easy is that!?
Ramp for Doggy Deck
Let’s move onto the ramp!
For our dogs it is best to use a ramp verses stairs since they are older and will need the ramp eventually.
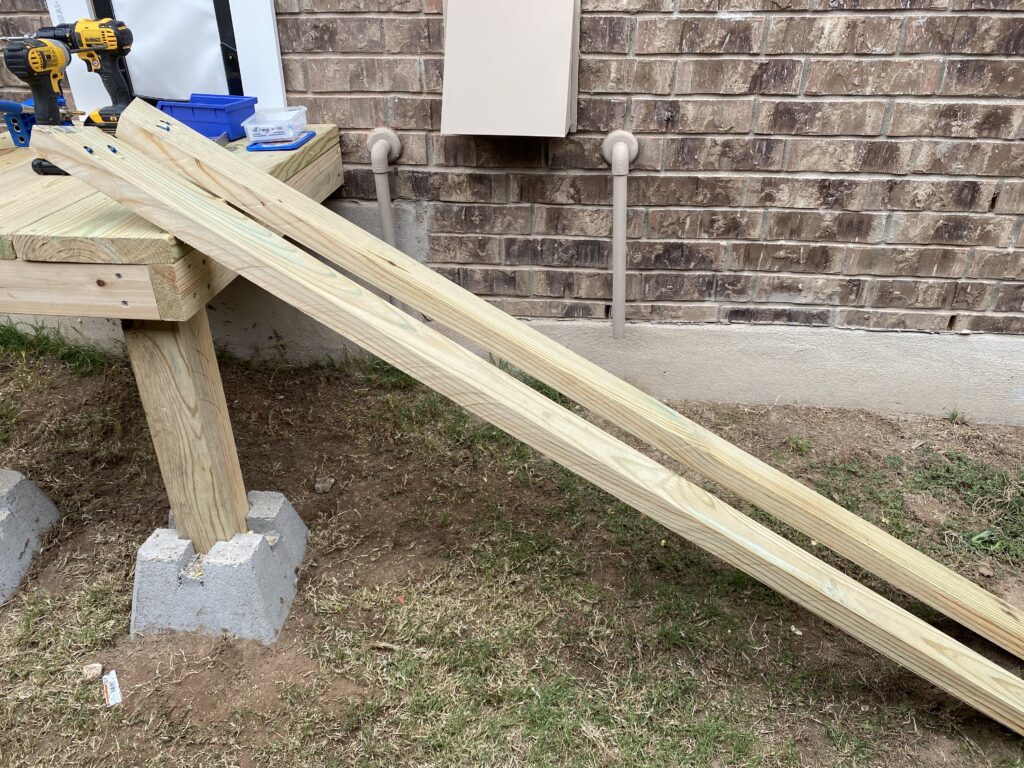
With the height of the deck we used an online calculator to find out the slope we needed. Online it said to use 18-20 degrees of the slope for the size of dogs we have. So, we chose 20 degree angle because we don’t have that much space.
All we did was cut a 20 degree angle on one side of the 6″ piece of wood. Then we drilled some pocket screws and attached it to the deck frame. We added the same 2’x 10’s on top of the ramp to make it seamless with the deck. It’s better to start from the bottom than work your way up because that last piece to make it flush with the deck needs a angle cut on the side.
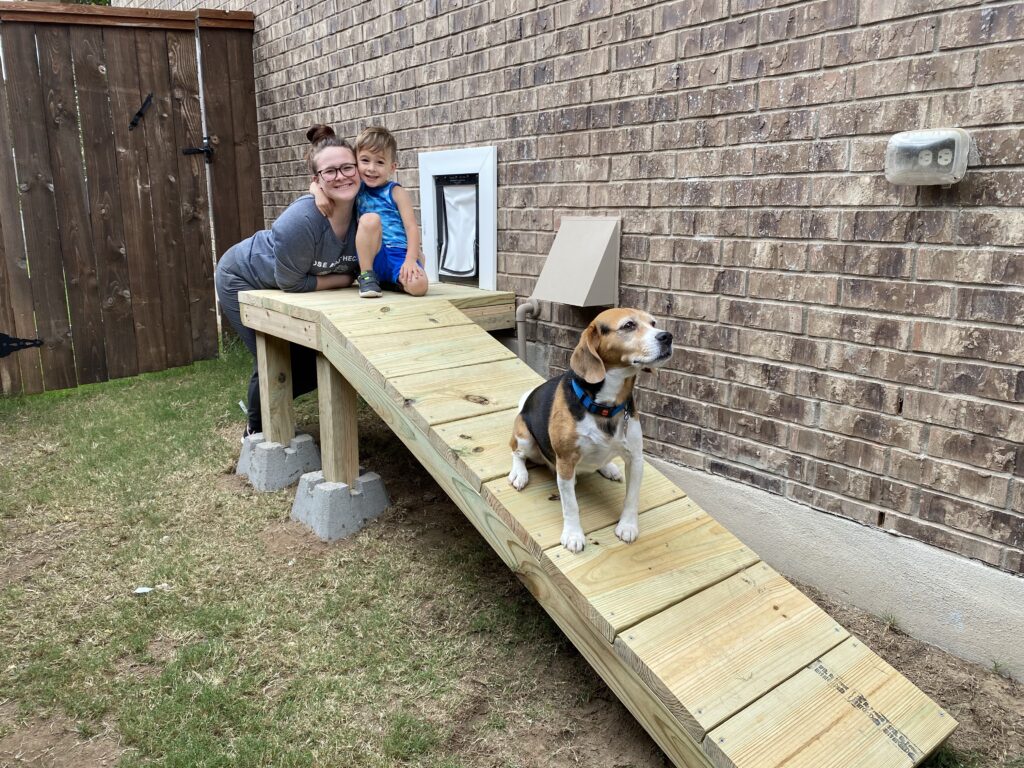
Well there you have it! A simple doggy deck and ramp. Stay tuned to see what else we have in store for our dogs and this deck.
Check out our YouTube video on how we built this below!
Shop our favorites HERE!
Find us on social HERE!


