


DIY Brick Paver Patio


This project is one of my favorites. I spent the weekend crawling around my back patio laying brick pavers but it’s probably one of the easier, large projects that I’ve done in a while so I wanted to share some pictures and details about the process. First I want to thank Steve, my husband, for carrying somewhere around 6,000 lbs of bricks to the backyard for me and for all the other ways he helped. Be sure to make it to the end of the post for my lessons learned.
Let’s start with a list of materials needed (links below to the products I used):
– brick pavers in Harvest Blend
– caulk gun (to fit the size of construction adhesive you select — I used 28oz)
– carpenter’s square
– paver saw (or brick chisel and hammer but I’ll talk about this more later)
– string and stakes
– broom
– tape measure
– pencil/sharpie
– gloves
– knee pads (highly recommended!)
– tape (we had this aluminum duct tape laying around from fixing a vent and it worked perfectly)
Skill level: Basic-Intermediate
Time: A weekend
Cost: (varies greatly based on square footage) less than $700 for approx 400 sqft
So around the new year, I had my back patio slab extended for my future patio plans. It turned out great, except for the fact that you could tell the difference between the original patio and the slab extension.
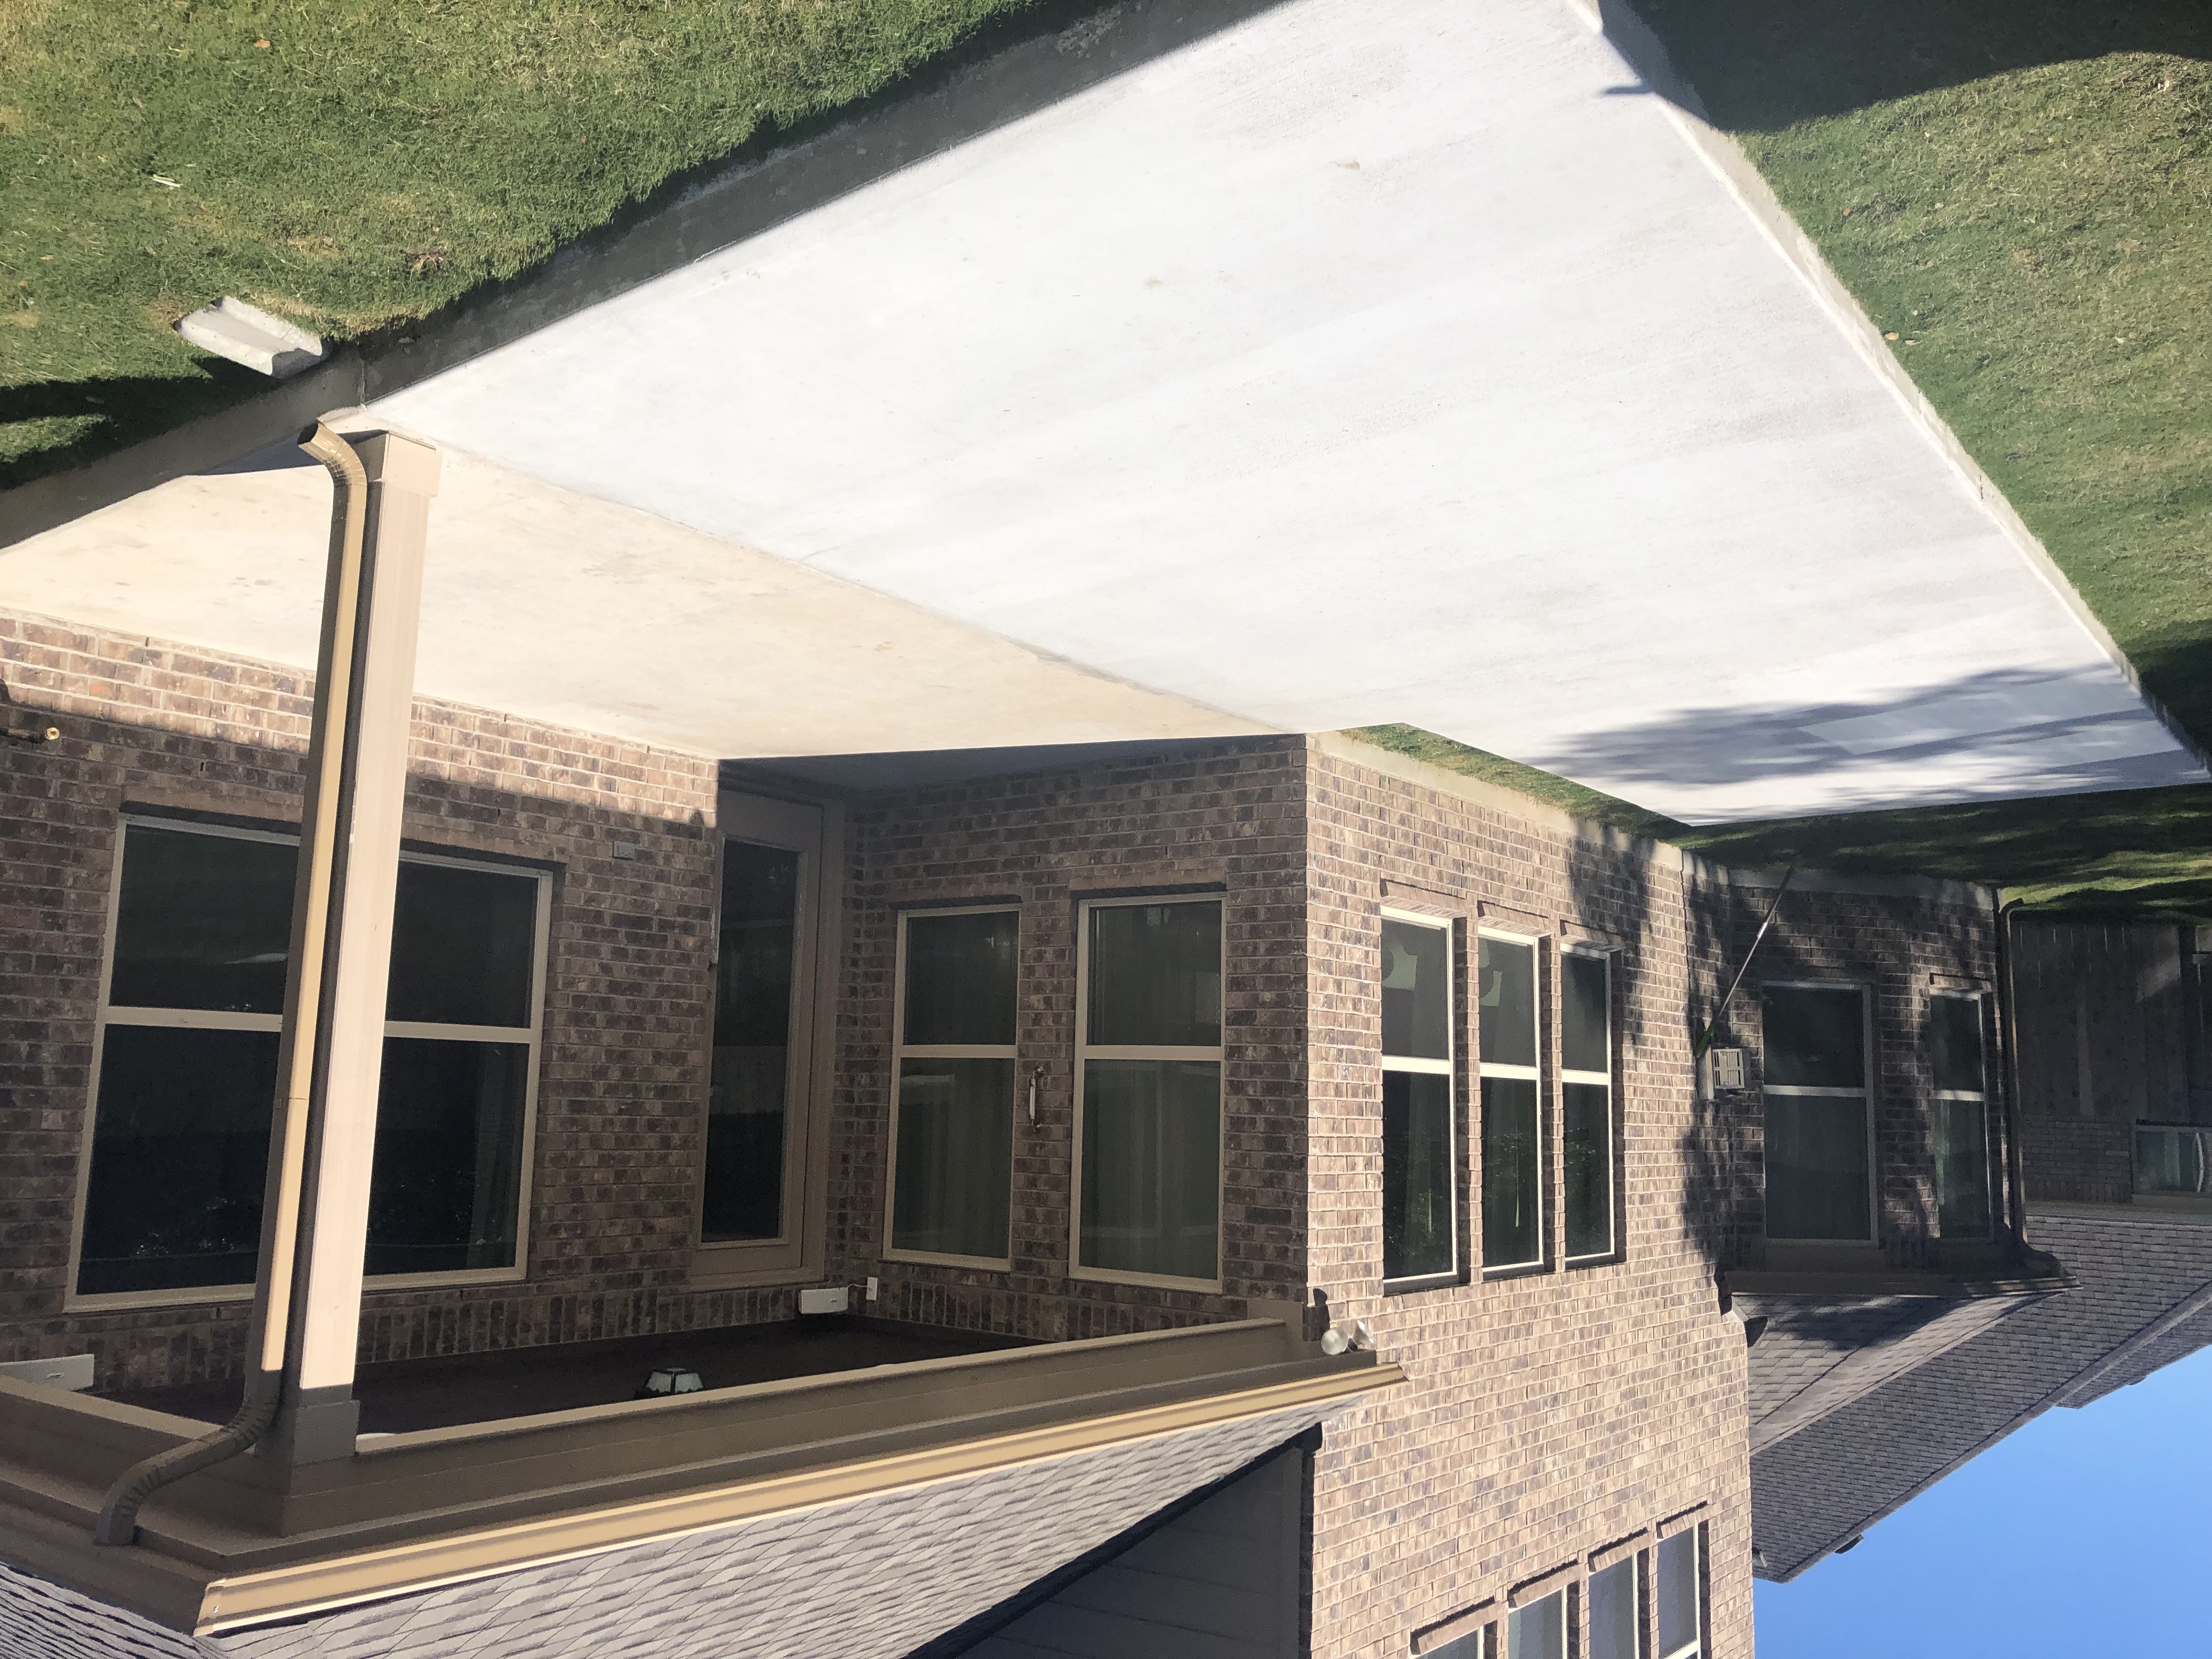
The slab cleaned before the work is done.
The difference in the two sections made me start thinking about what I was going to finish the slab with and then I saw that The Home Depot had a huge Spring Black Friday sale on the brick pavers I had been looking at. So, I jumped on them.
The first thing you need to do is to figure out the square footage of the area you are working with. Since my area isn’t a plain square or rectangle area, I broke up the area into two measurements to find my square footage. In order to figure out square footage, you use the following equation:
length x width
If you have an even 8ft x 10ft, then your square footage is a simple 80 square feet. For me, I had two lengths and widths so I multiplied them both and added them together to get my square footage which came out to just below 400 square feet. Then, I took my square footage and divided it by 0.22 (which is how much square footage each of the bricks I used takes up). Finally, multiply that by 1.1 in order to get 10% more than you need for cuts and mistakes. If you’d like a better visual of those calculations, look under “product overview” in the link for the bricks.
length x width = A * 0.22 = B * 1.1 = total amount of bricks needed
I ordered the amount of bricks I needed online and had them delivered to my house on three pallets (totally worth the extra delivery fee). The only real “prep work” that was done was to clean the concrete. It’s still a new house and the slab extension that was added is also very new so there was minimal cleaning to be done but the purpose of cleaning the slab is to get off any excess residue that could prevent the adhesive to stick properly or to make the surface uneven. Since my area is simply a level slab that I’m covering, there was no need for any leveling sand or anything under the bricks. So, let’s jump right into it.
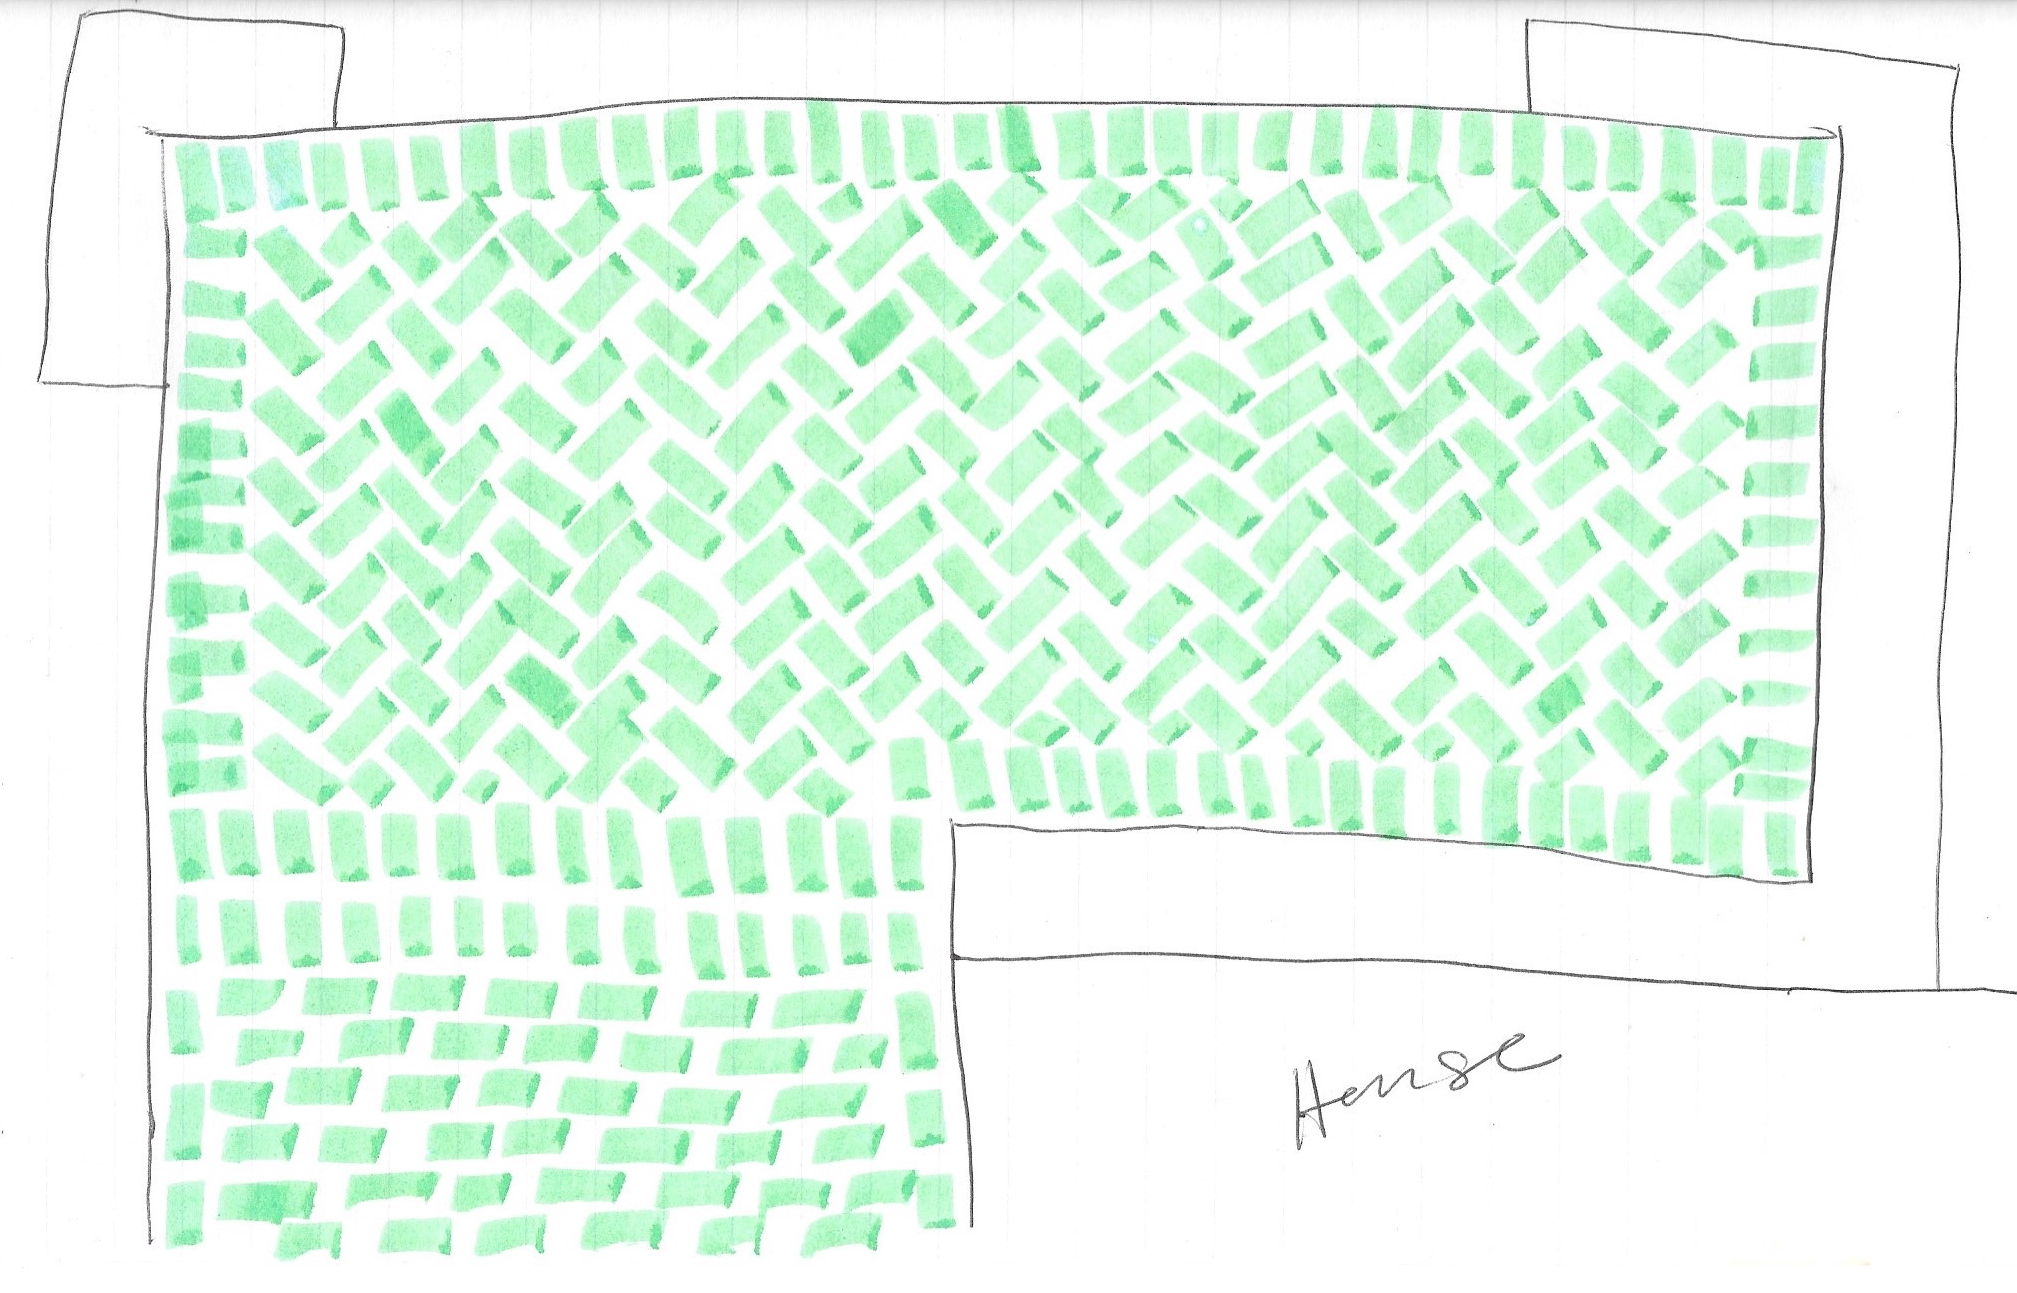
You should have a plan for the pattern you would like to do. I drew up a rough sketch with the closest thing to me (which was a green highlighter) to show the look I had in my head. I’m really glad I drew it out because even though I had it pretty clear in my head, I realized when I drew this that I wanted the double line of straight bricks to be up a little further so it continues seamlessly around the side of the patio.
Now, let’s lay some bricks!
I didn’t take many pictures throughout the process because I was recording the time-lapse of the project which you can enjoy below.
1. PATTERN
The first thing you want to make sure to do is to dry lay all of your bricks so that you can ensure you like the pattern and that everything fits according to plan. I started with the boarder of the first area I was working on (because I did a couple different patterns), laid the 3 sides and stopped where I anticipated the next pattern to start. Then I started filling in the center. My first pattern was a running bond off-set by 1/3 instead of 1/2. All I did to measure this was to roughly take divide the length of the brick into thirds, set down the first brick flush with the border and lay the rest off of that brick.
Running bond starting from the most visible side of the patio.
The end of the pattern was a less perfect fit so it’s best on the edge that doesn’t have as much attention.
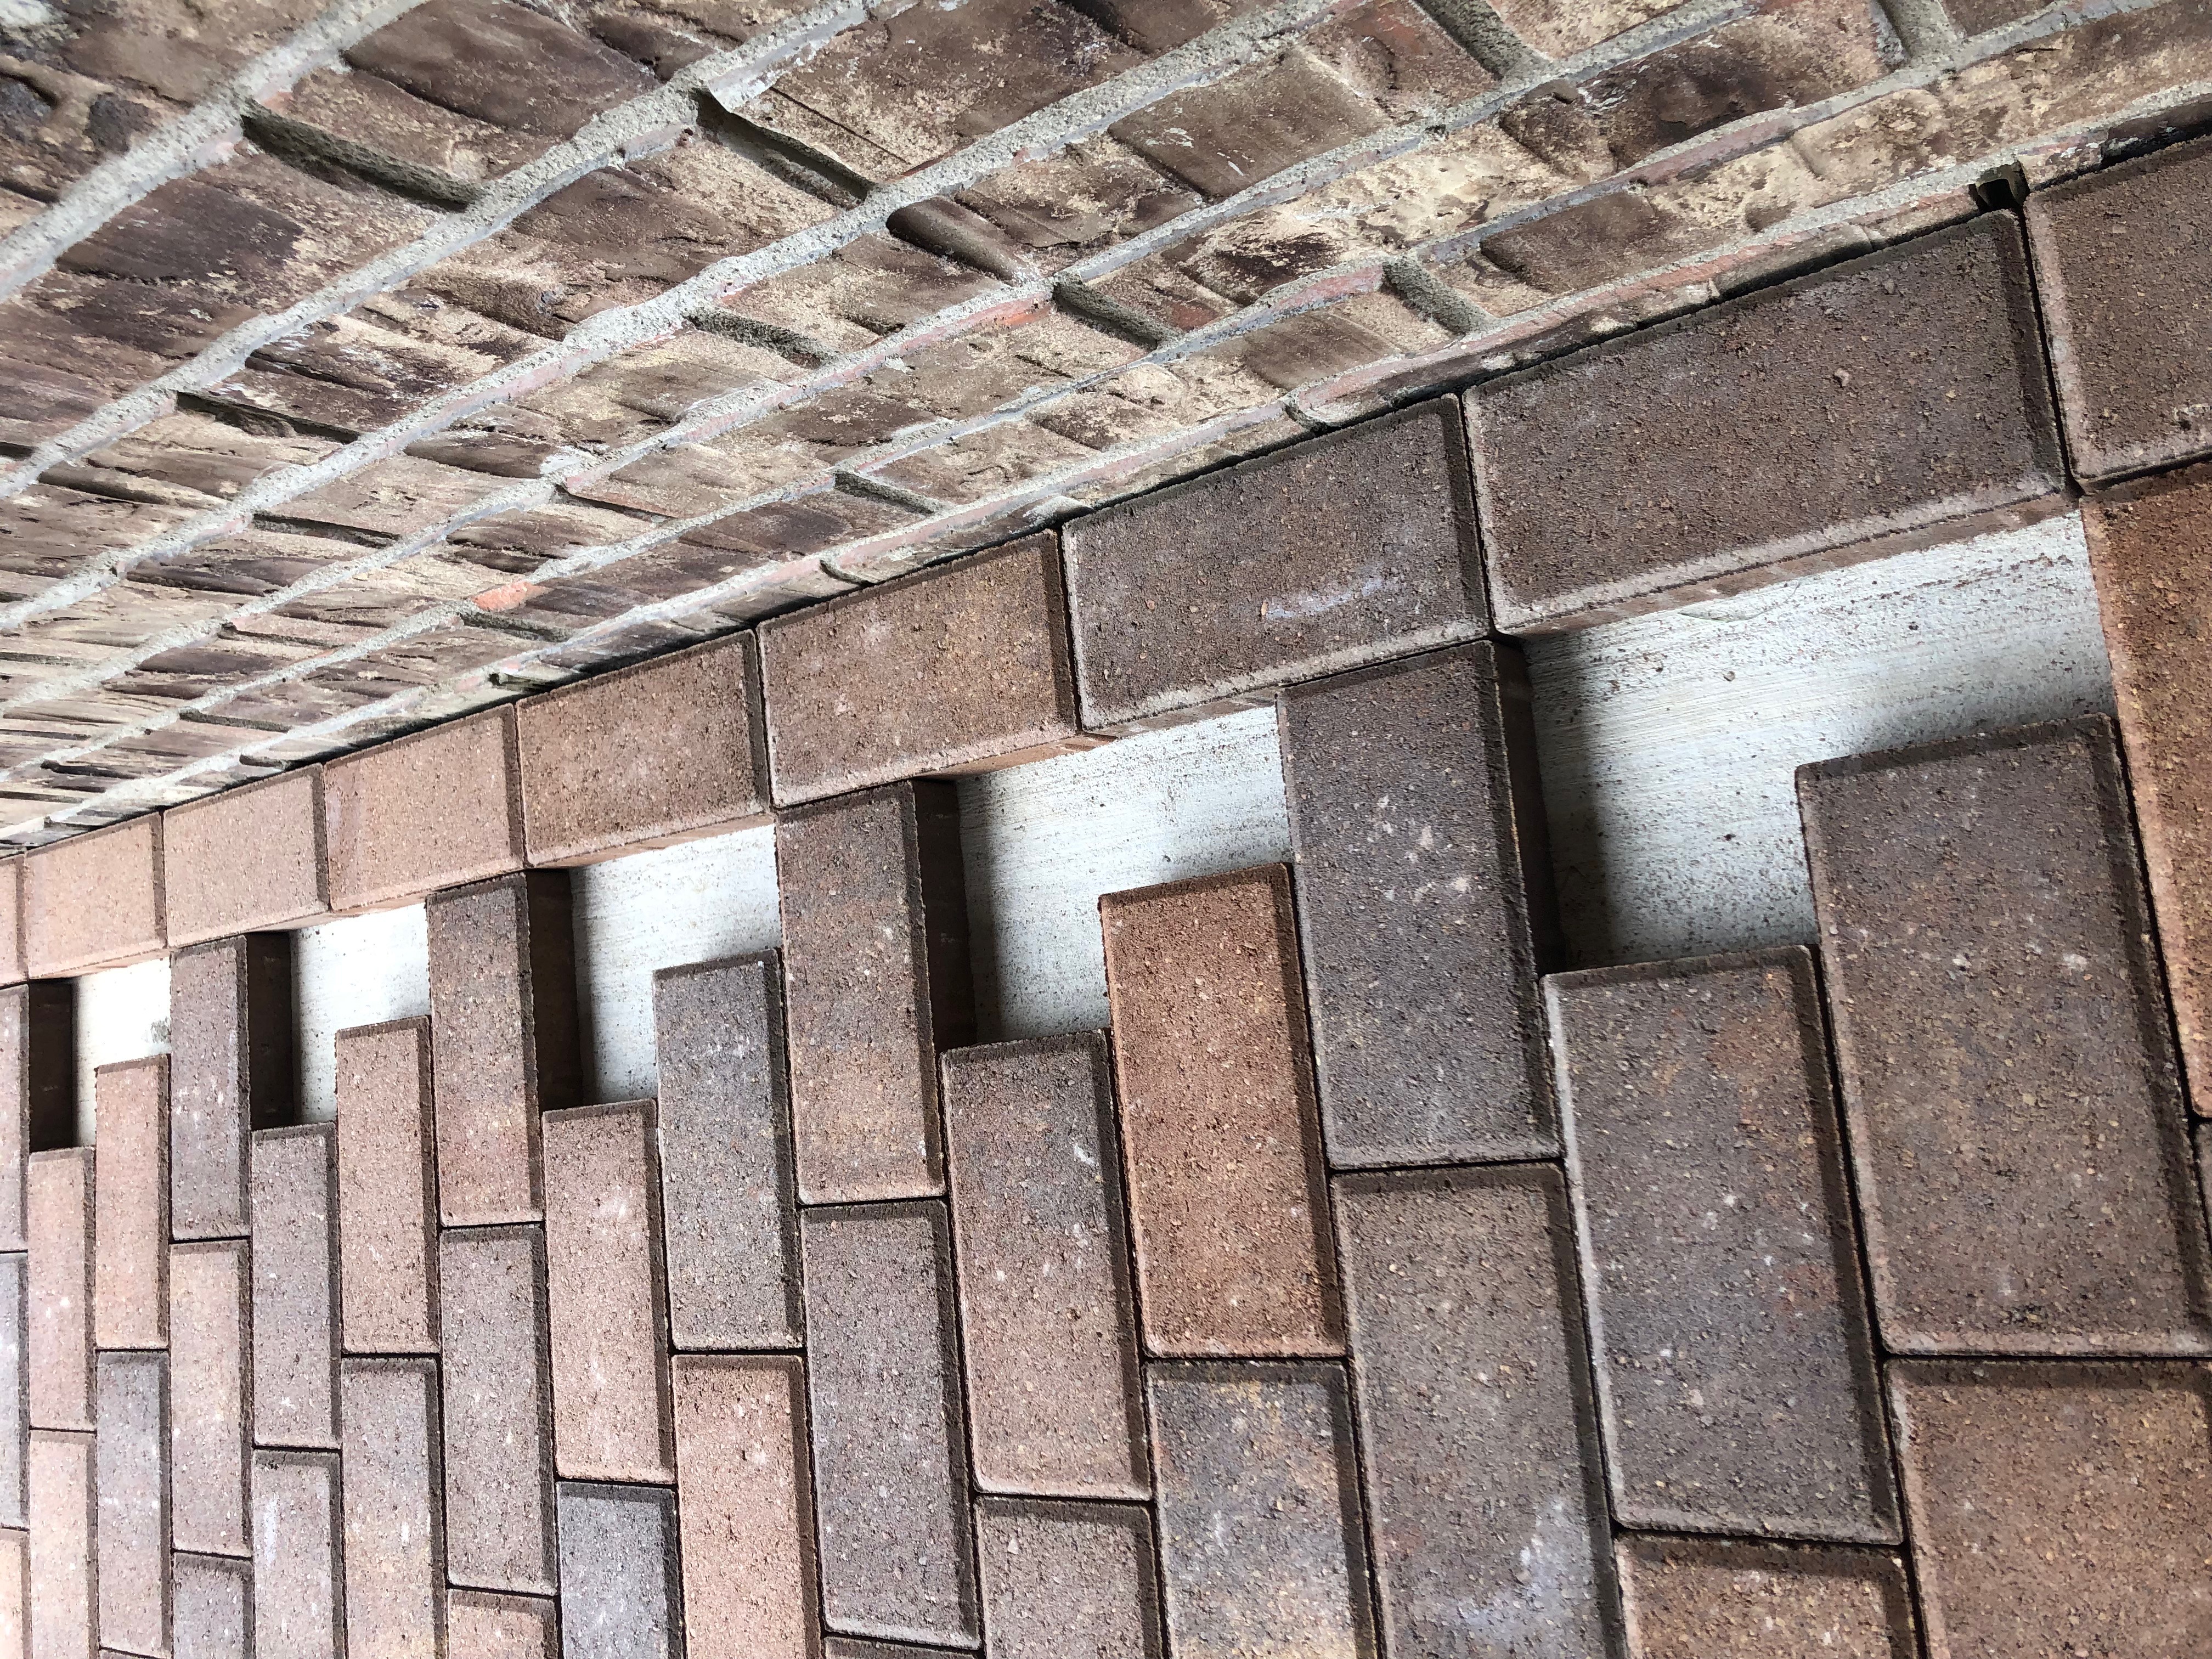
Then I laid 2 rows of stack bond pattern to divide my first pattern and my second pattern on the large area of the patio which is a herringbone pattern but before I started the herringbone pattern, I laid the rest of the border for the entire area so that I was just filling in the center. The majority of the time in this project was actually laying the brick in the pattern I wanted.
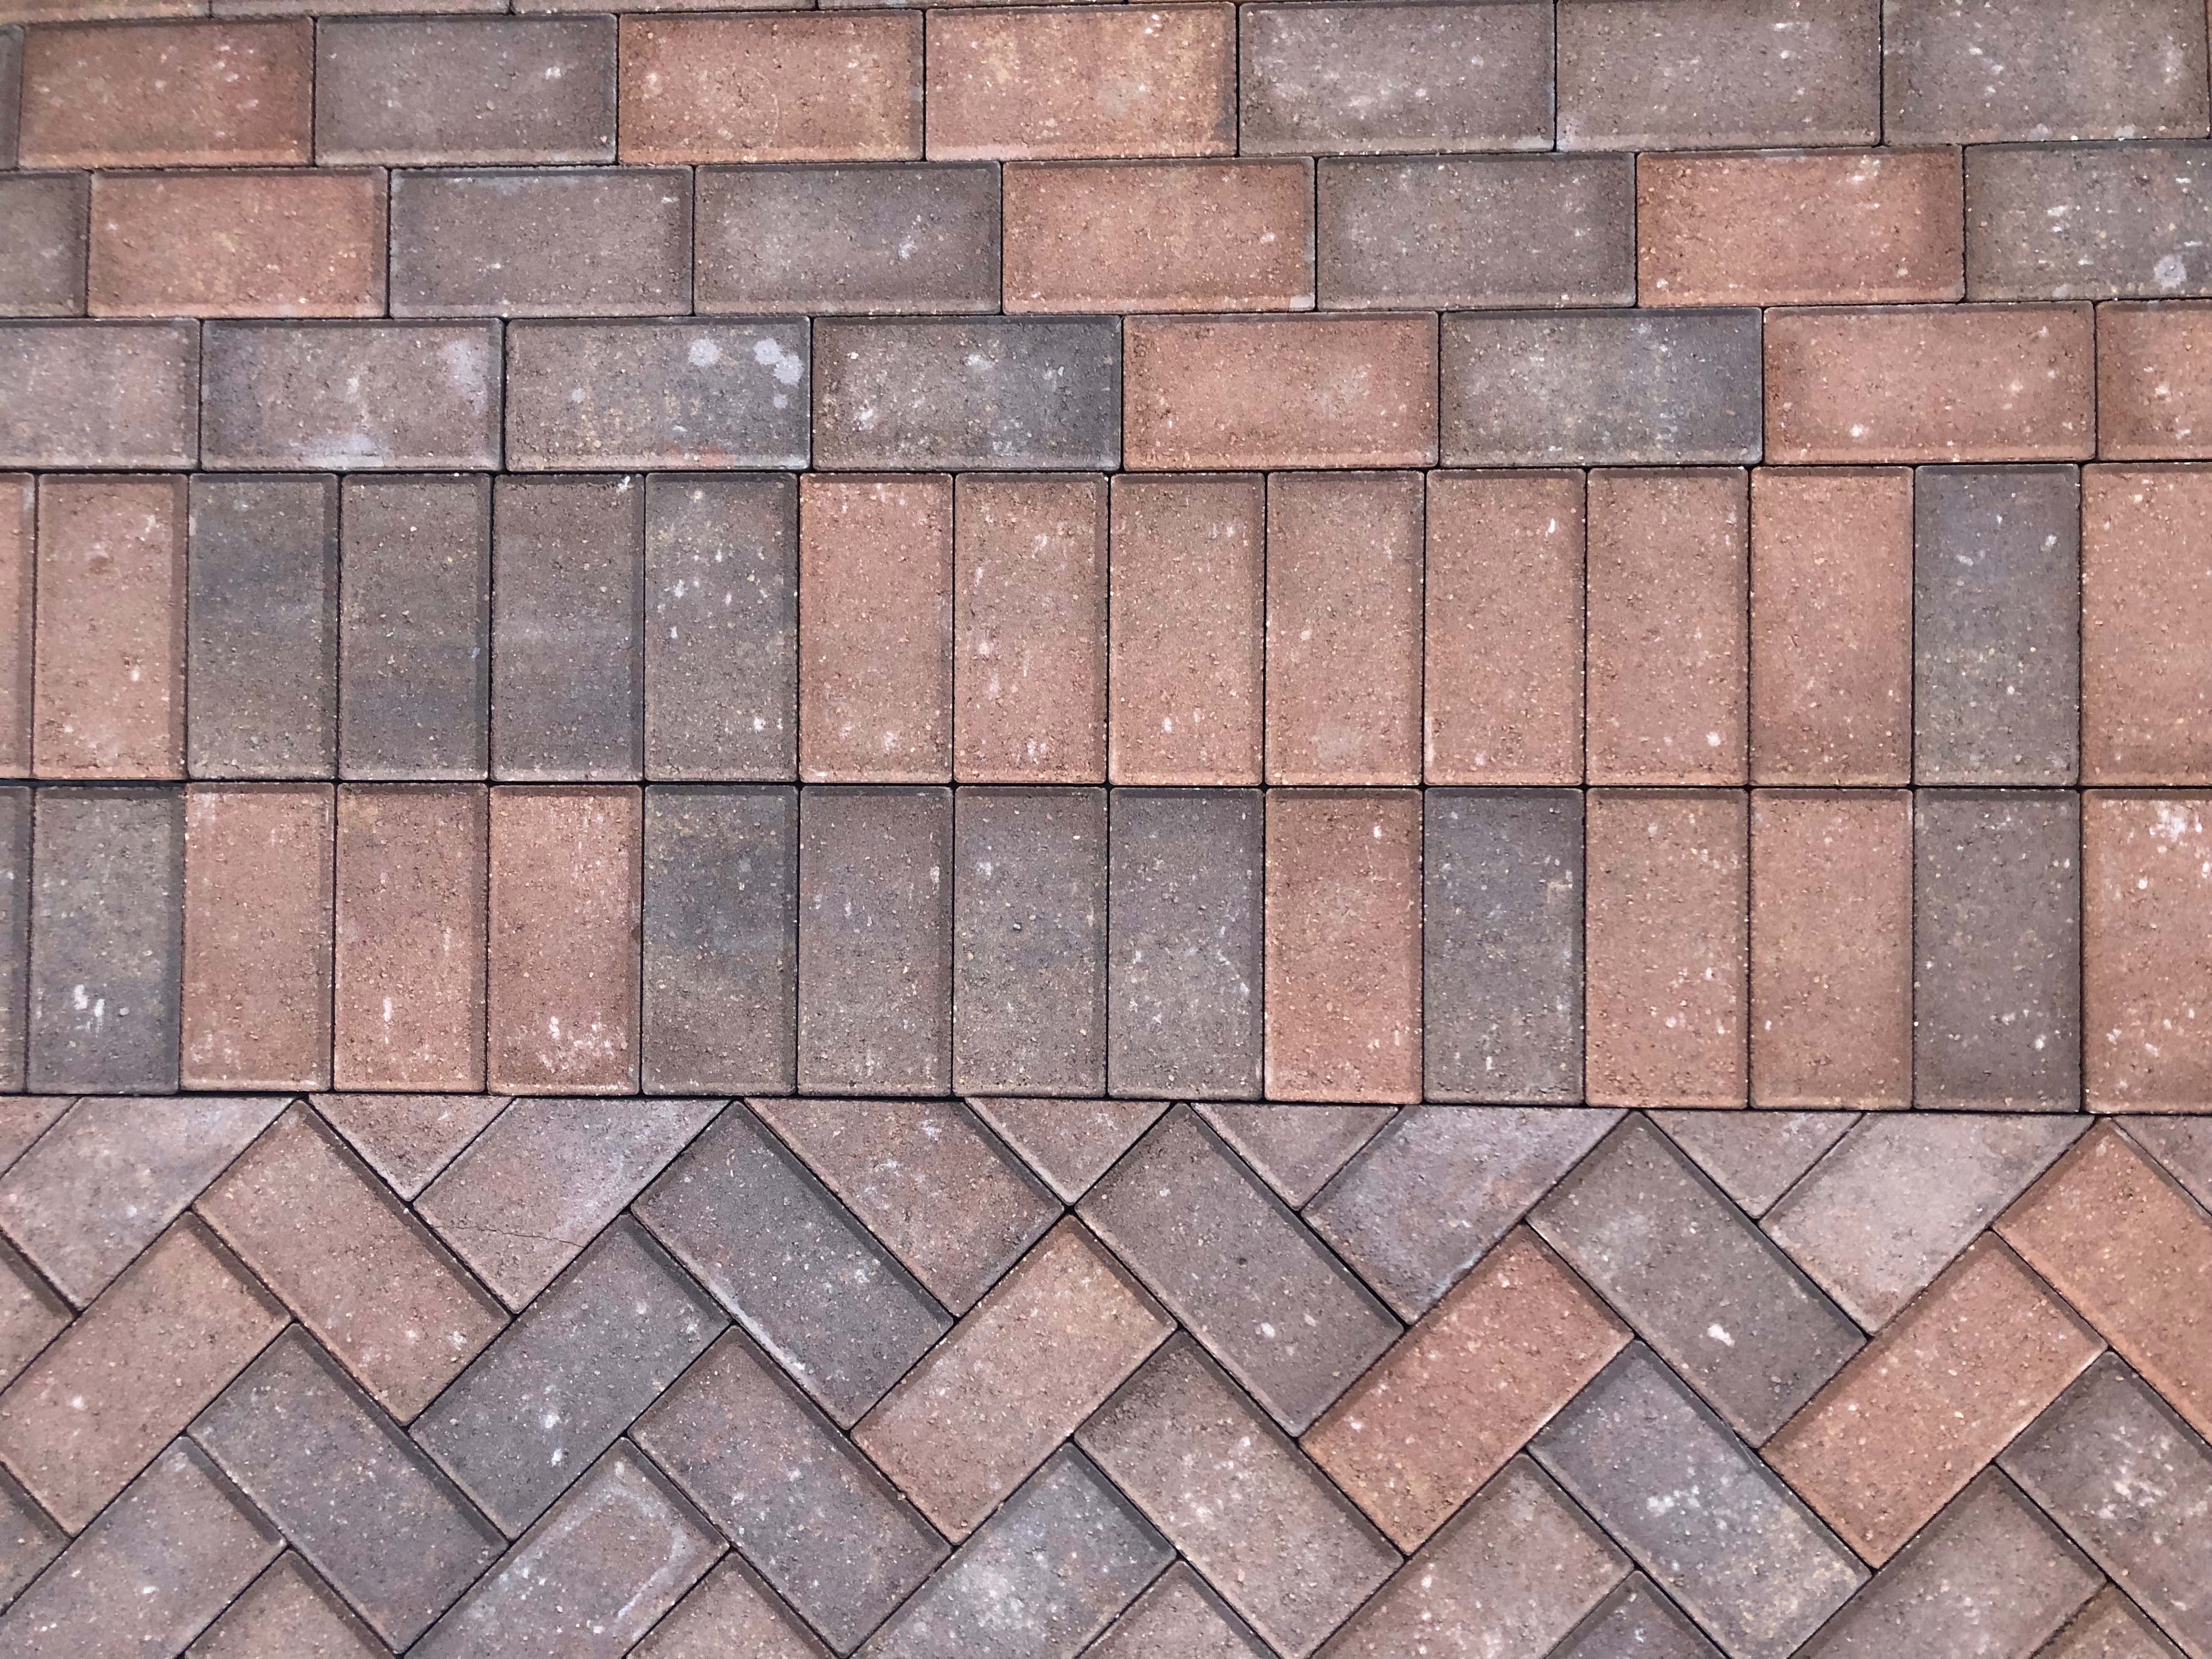
The stack bond is in the middle dividing the two other patterns.
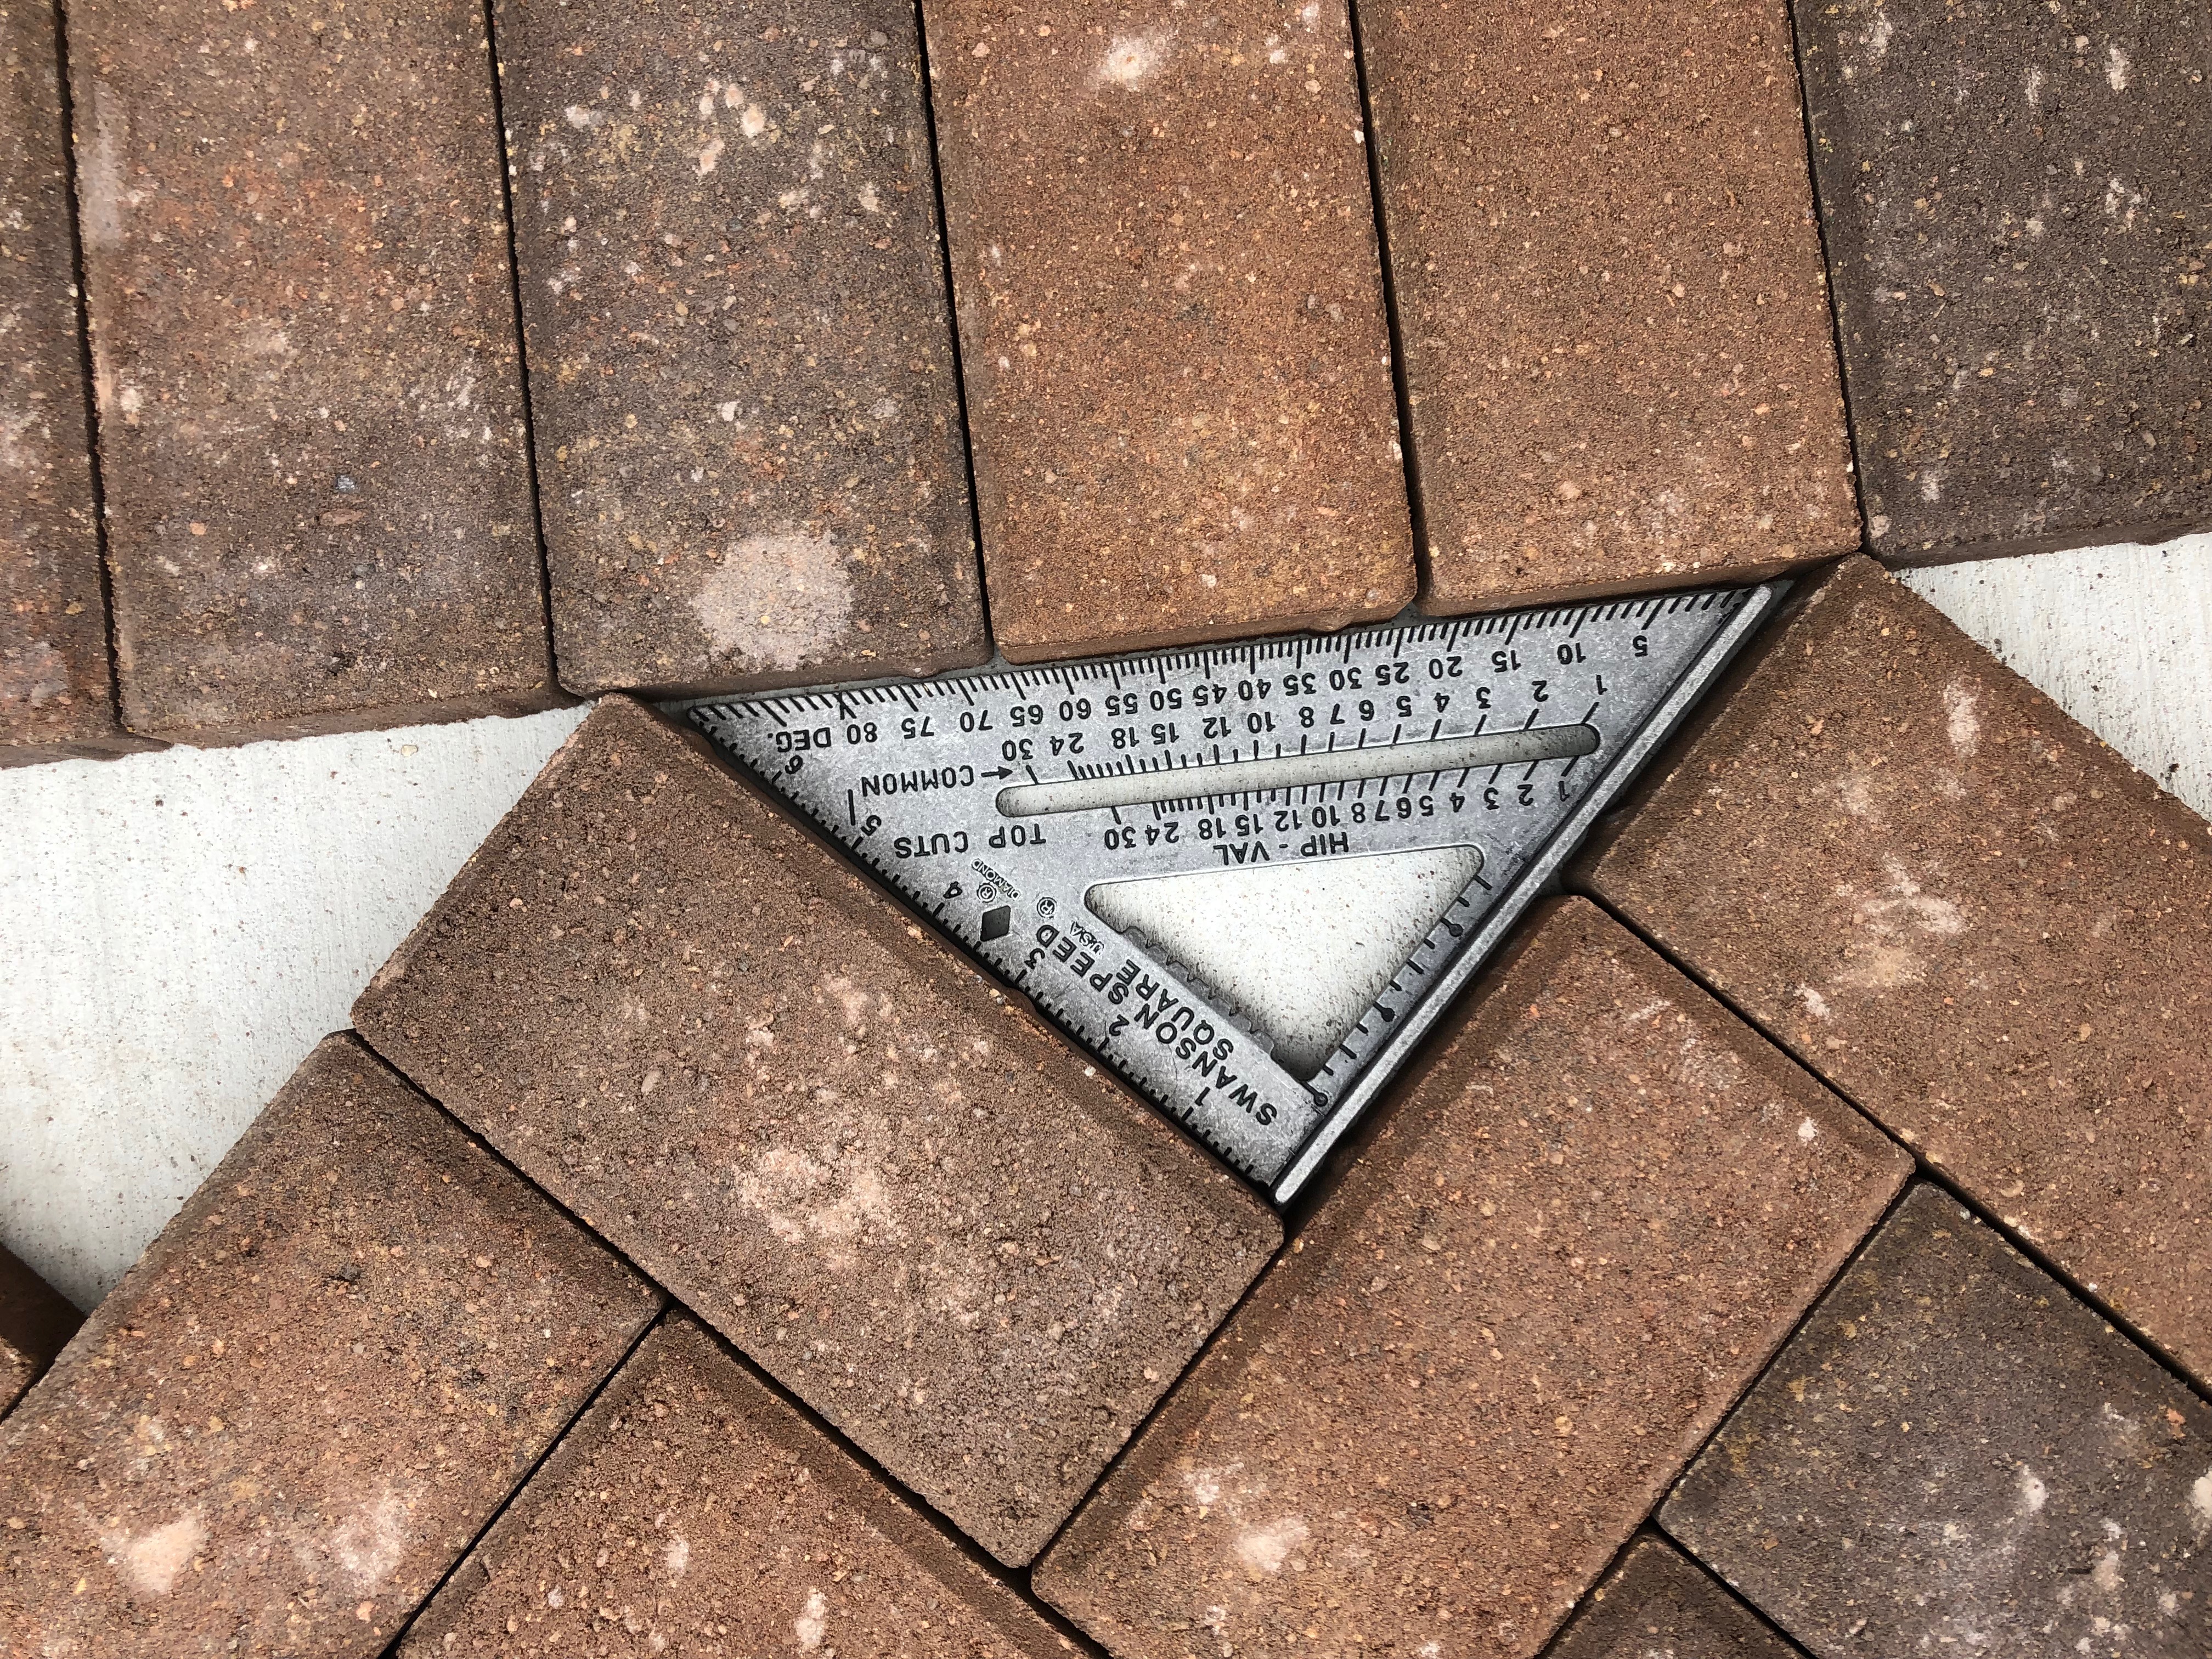
The speed square worked perfectly to setup the initial pattern to be even. Then you just have to go off that first row of bricks and build from there.
2. GLUING
After the pattern was laid where I wanted it (minus the pieces needing to be cut), I took the construction adhesive and glued down the boarders. I didn’t have to, but I also glued down the two rows of stack bond because there was a little room in between those bricks so they could wiggle and become not straight so just as an extra measure I glued those down as well. The stack bond (straight line) that divided the two patterns in half I made sure was straight with stakes and string so the pattern doesn’t wander.
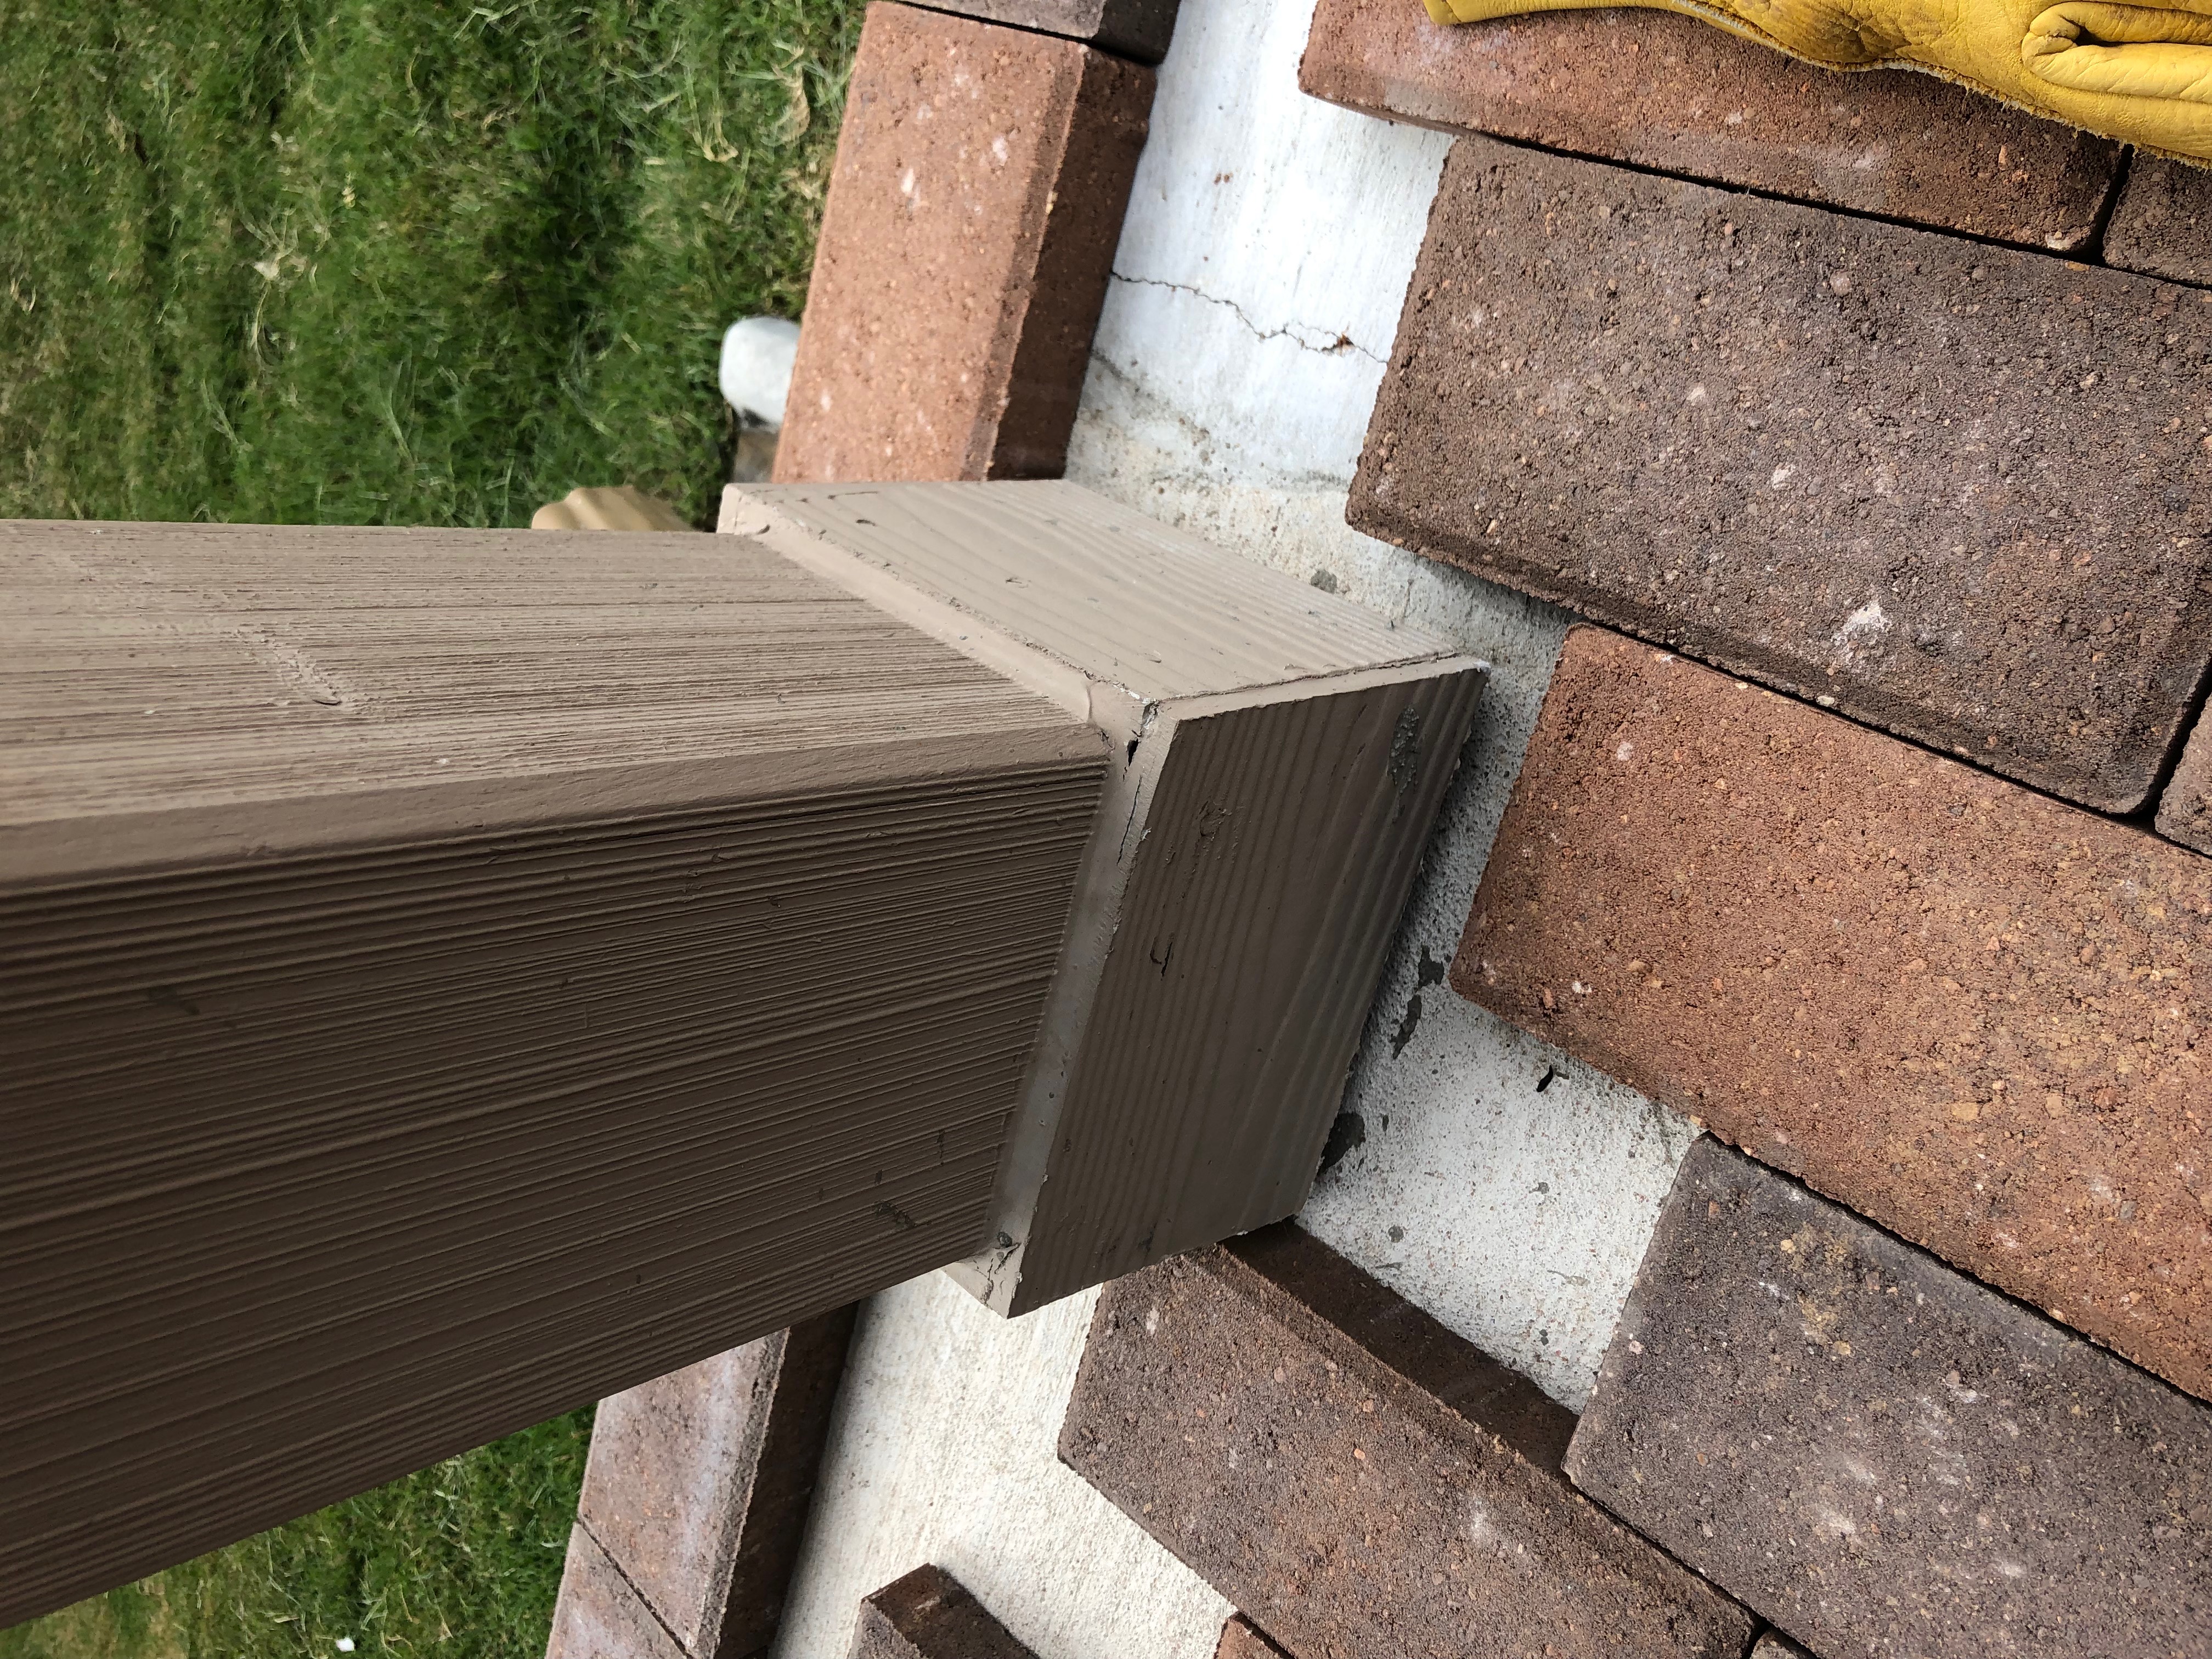
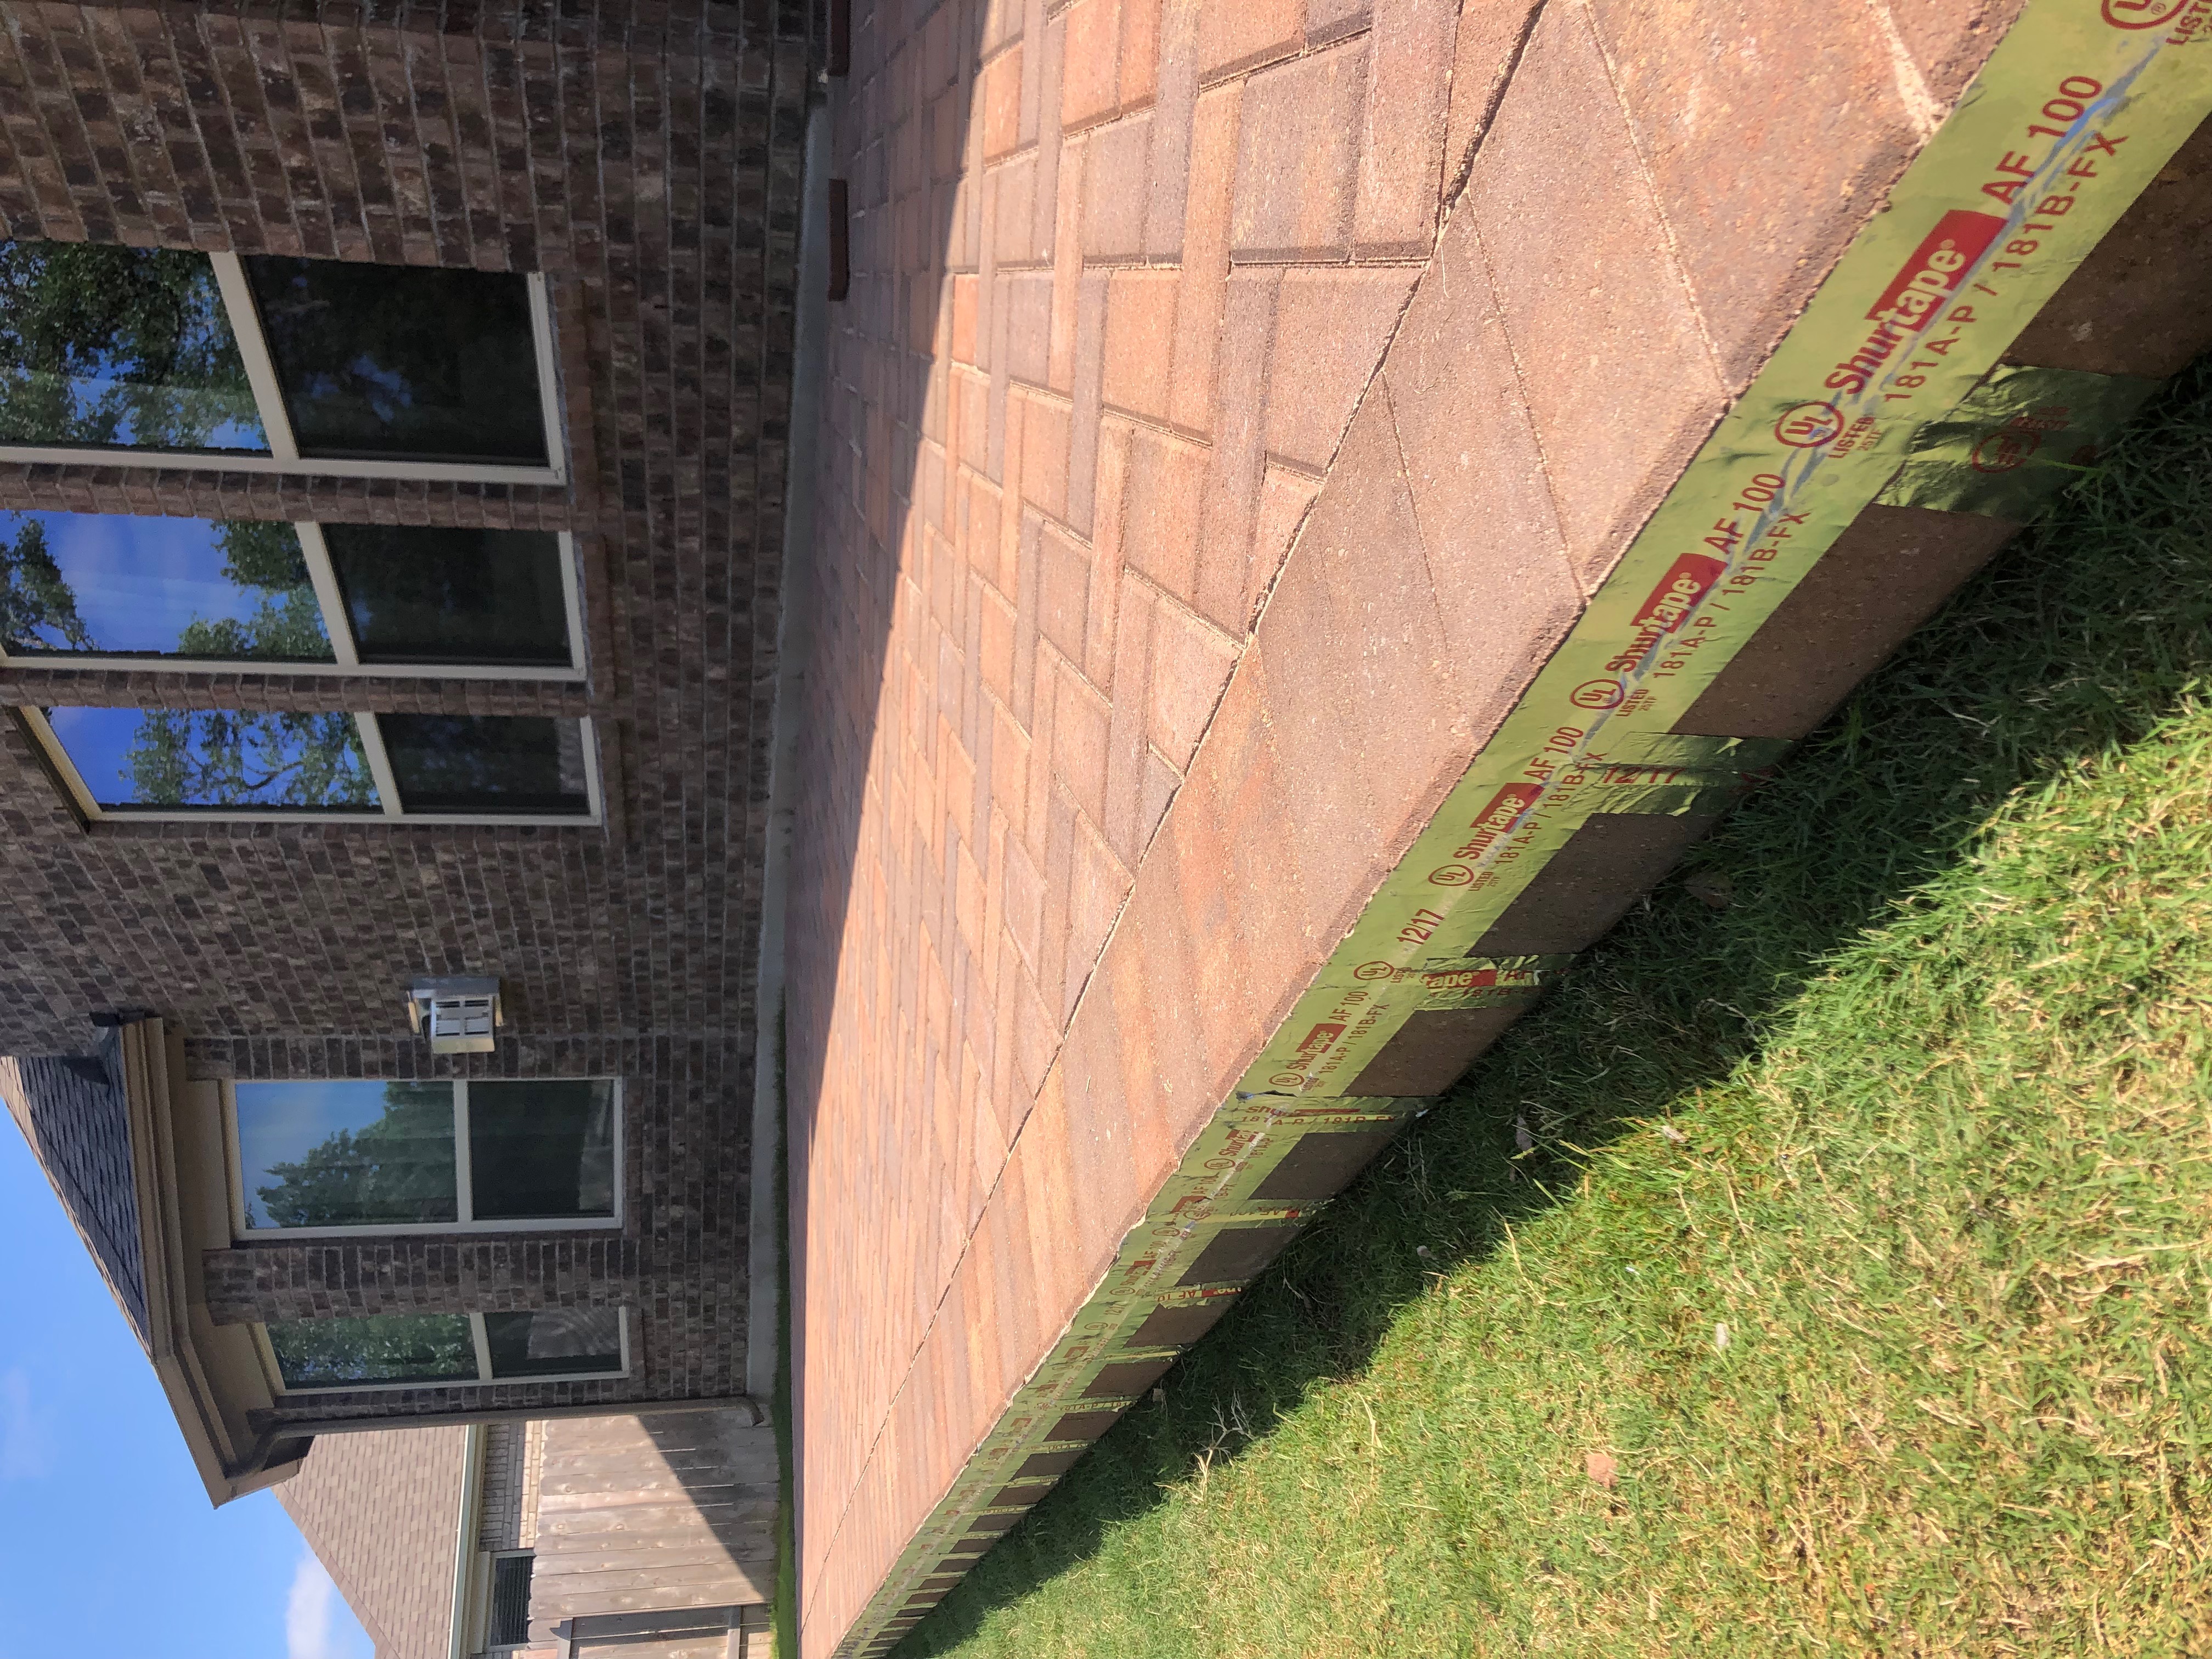
A finishing touch that I debated quite a bit about was how to finish the front of the slab since mine sits above the grass a few inches. I finally decided to glue bricks horizontally to the face of the slab so I set the boarder to stick out just enough to cover the bricks on the face of the slab. Gluing those was a little more difficult with gravity and all, so I had to wedge scrap pieces of brick under them so they didn’t slide down the slab. I let those dry 24 hours before removing the scraps to make sure they were completely dry.
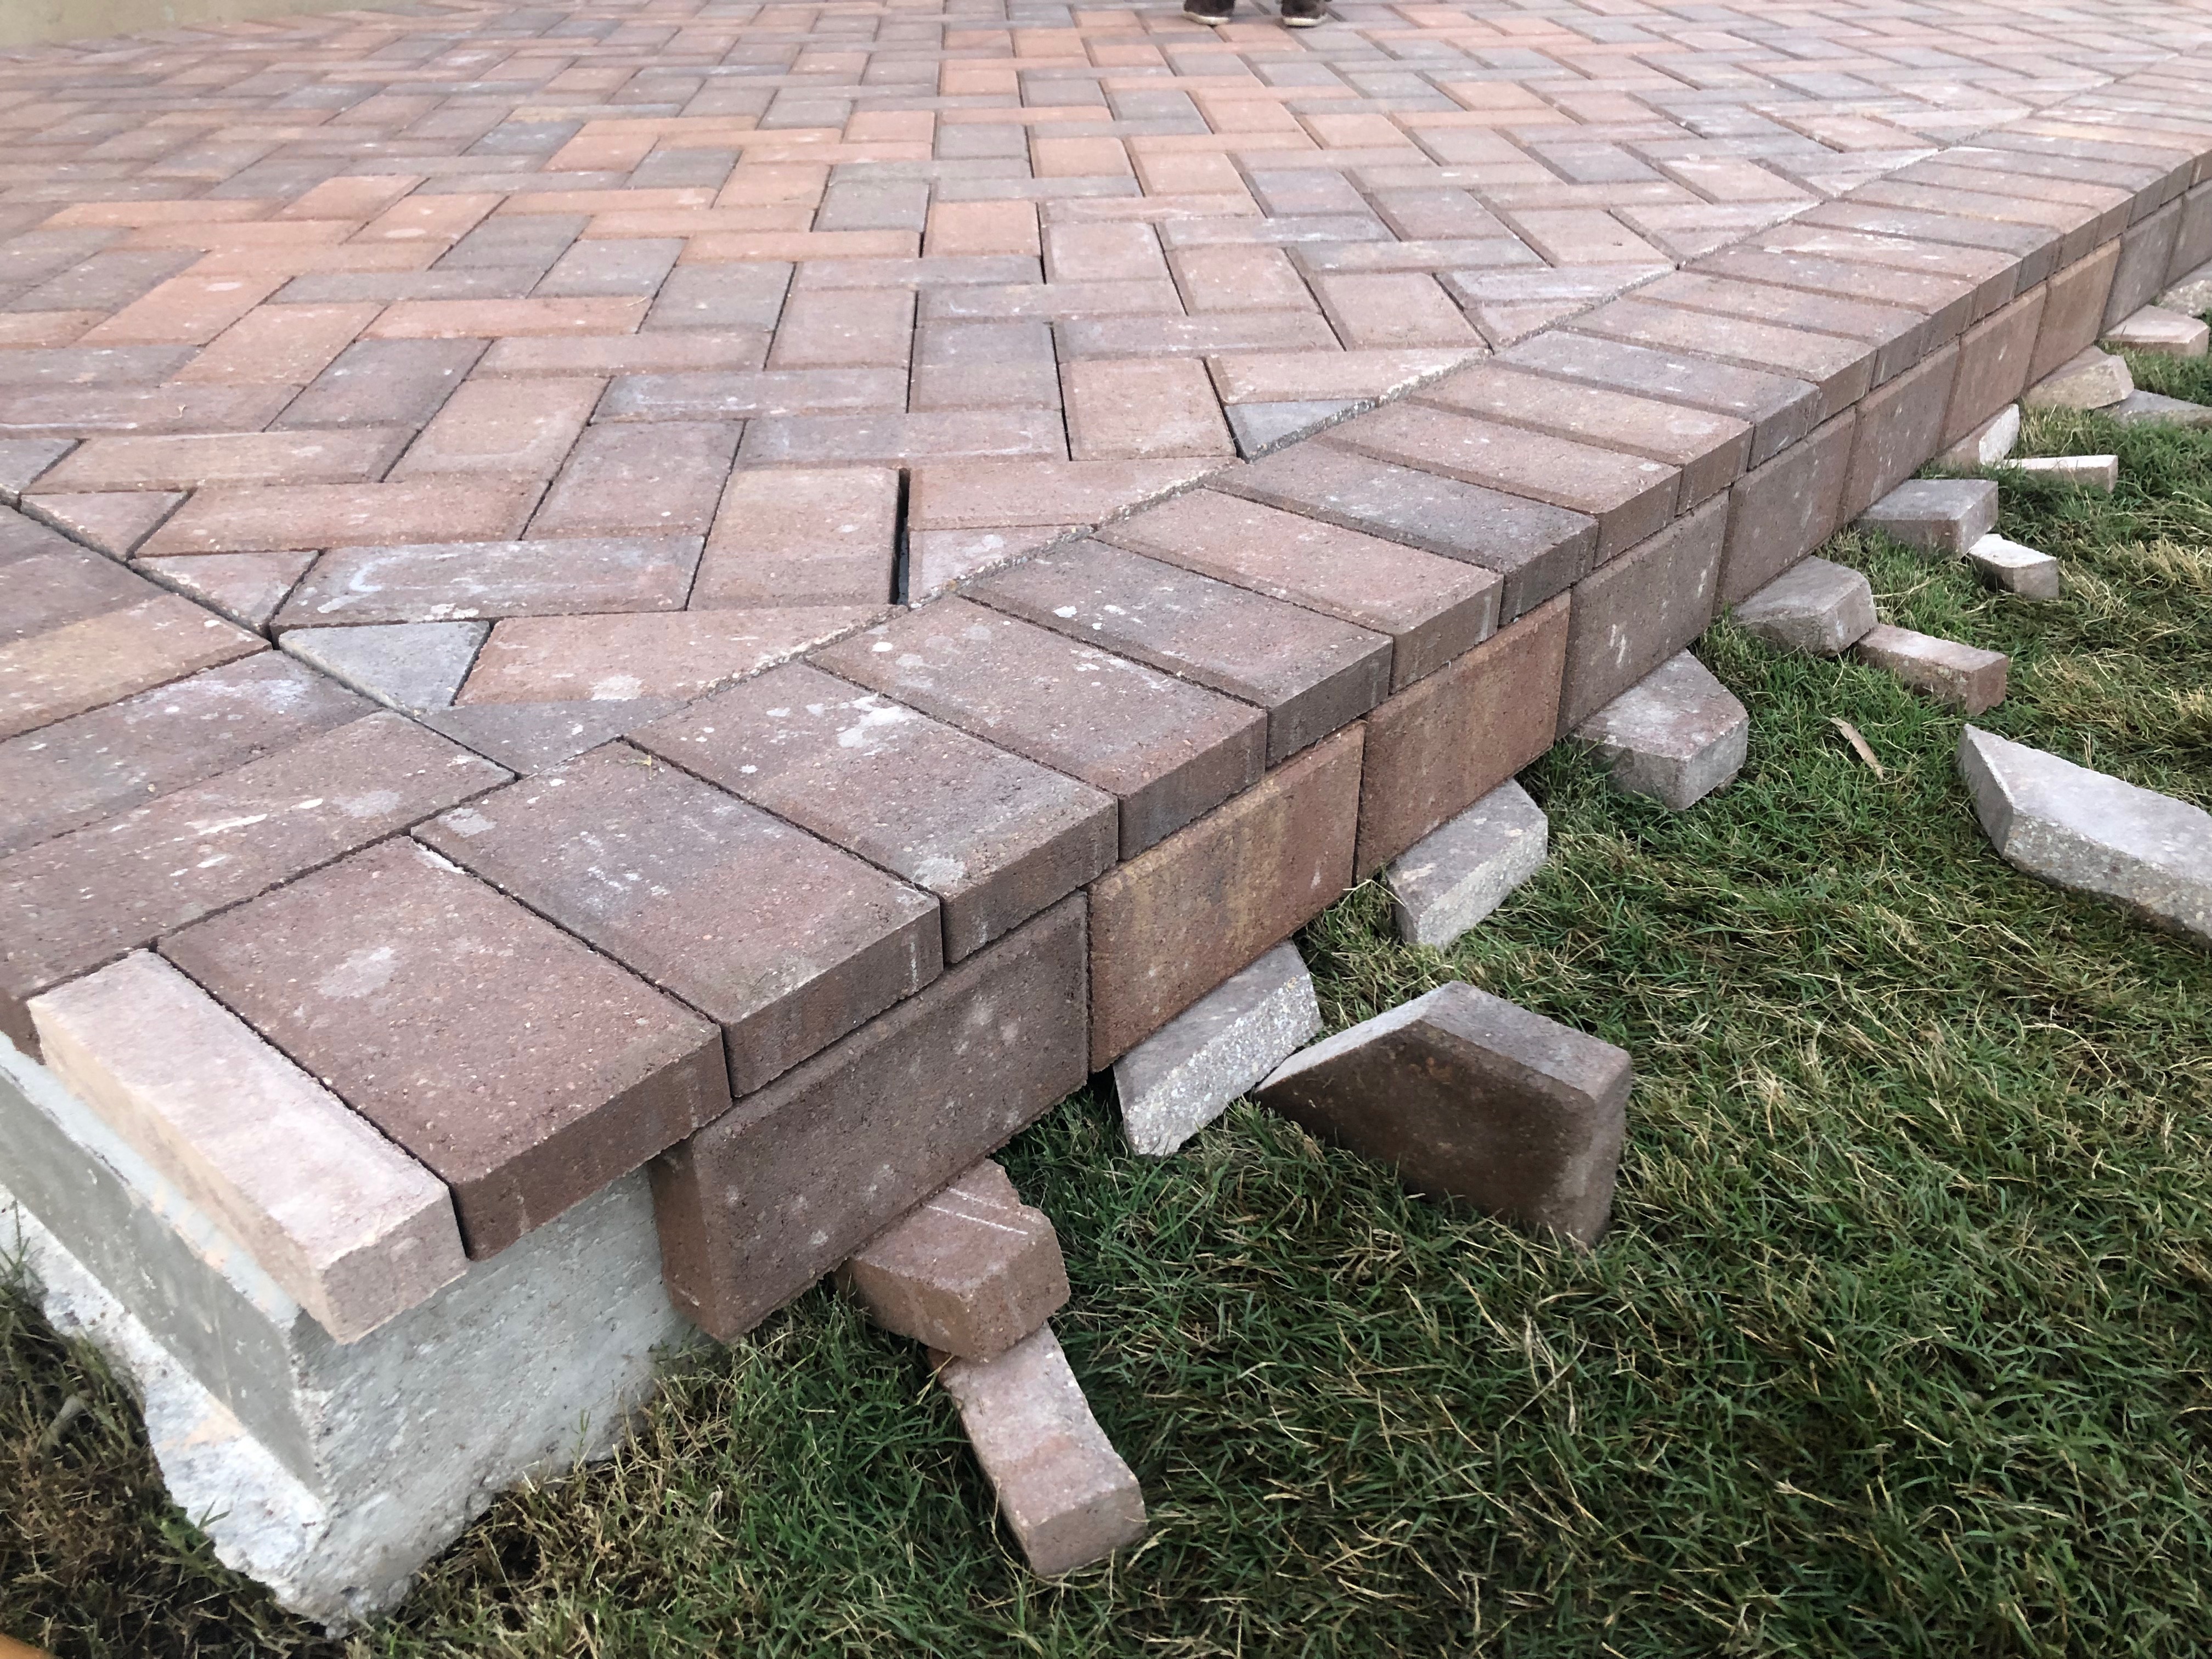
The scraps are wedged under the face bricks so they don’t slide down until the construction adhesive dries.
3. CUTTING THE BRICKS
At first we bought a brick cutting tool where you hold the tool on the brick and hit it with a mallet and it breaks, theoretically. After trying a few pieces, mostly unsuccessfully, we decided to rent a paver saw to save time, energy and keep the pattern looking as cohesive as possible. If the bricks were all pretty distressed, I would have been cool with the cuts not being as precise but these bricks were all a very uniform shape.
4. PERMASAND
The last step was to fill in all the gaps with permasand. Something that was a semi-conscious mistake was that I placed the bricks up against one another instead of leaving the recommended gap (according to the permasand directions). I use the work “mistake” lightly because I don’t feel that this was too big of a deal. It would have made it easier to get the sand in between all of the joints and probably saved on the amount of sweeping that was needed to complete this task however I wasn’t too worried about the sand for brick security because they weren’t going anywhere after the construction adhesive. The final count for permasand buckets was 3 – 40lb buckets. The bricks being so close together also meant that the permasand went further than suggested too. But let’s back up a bit, before starting on the sand, I went around the entire edge of the bricks and taped off the gaps so that the sand wouldn’t just pour through on the edges. Lots of different tapes will probably work but I used some aluminum duct tape that I had left over from our kitchen backsplash re-do. It worked quite wonderfully.
All I can say about the permasand is that I found it to be a little temperamental. Follow the instructions on the package for whatever you buy is my best advice for that. I think we overwatered it because there was a white film that came up so I did my best to get down at an angle and wash off the top layer of that film without washing out all the sand. It turned out pretty great and now the bricks feel very secure and don’t wobble at all.
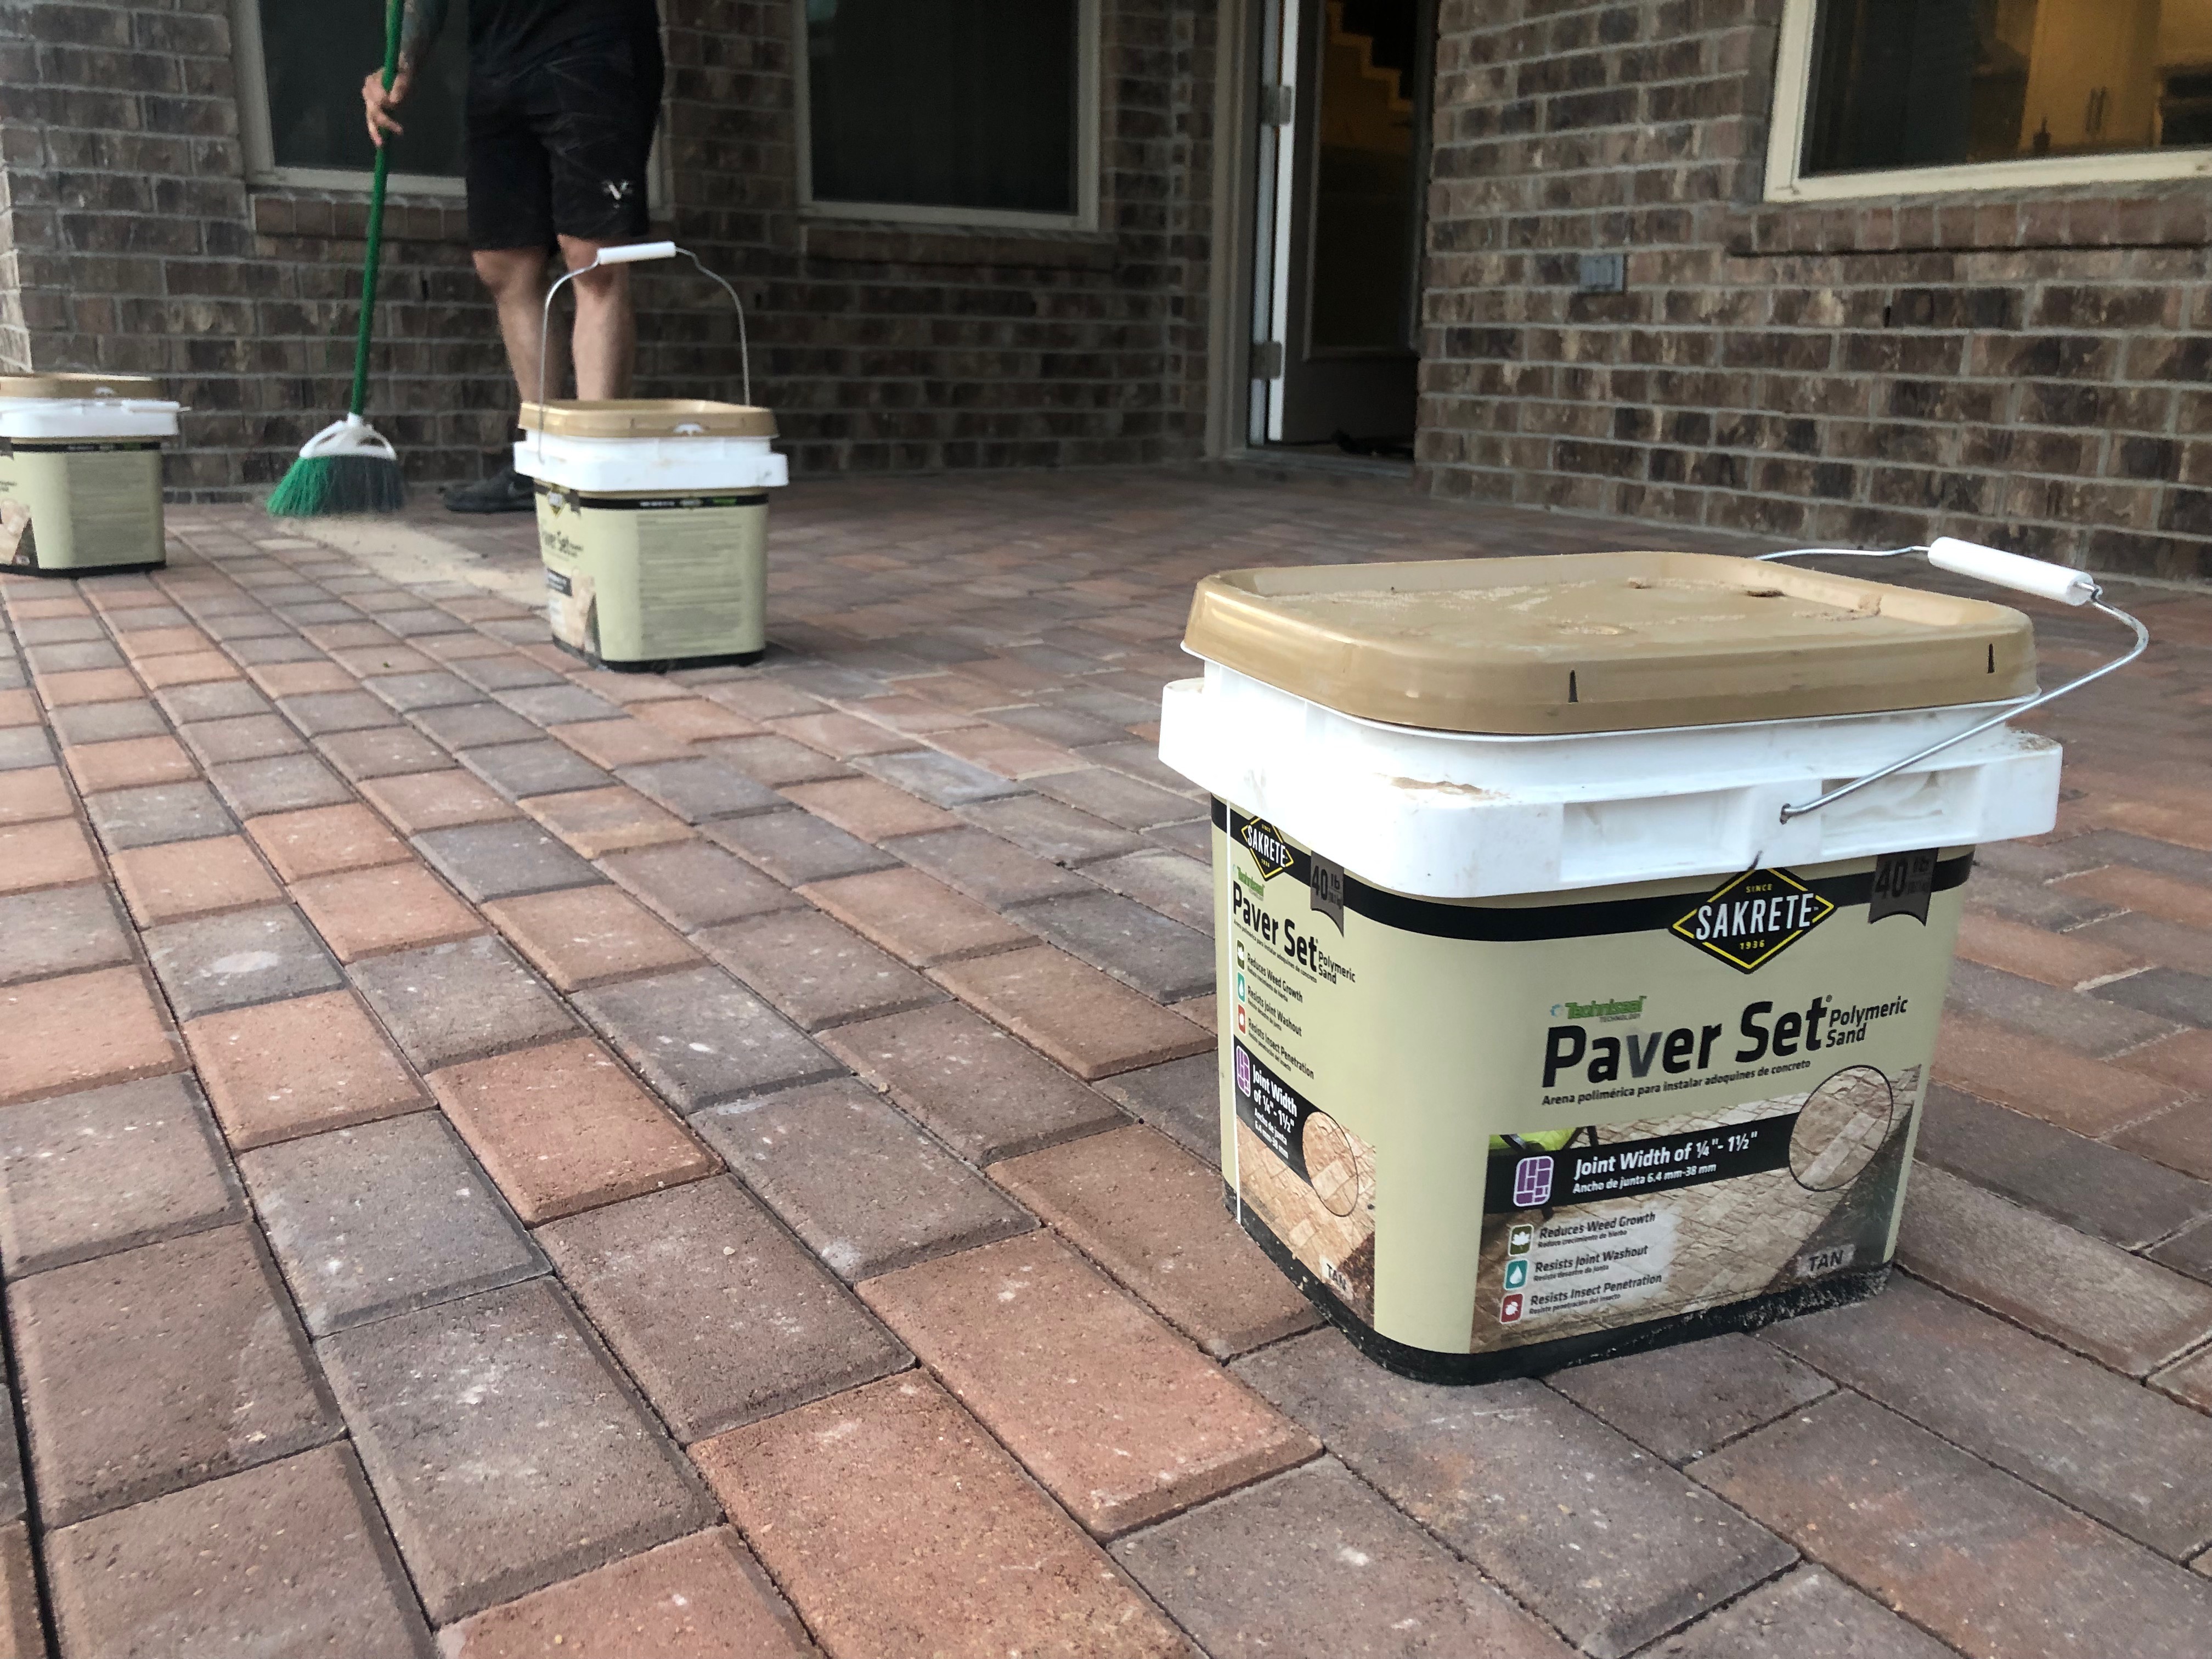
Pour out the sand spread out and work it into all the cracks by sweeping (don’t fill in the bevel of the bricks, just the edges).
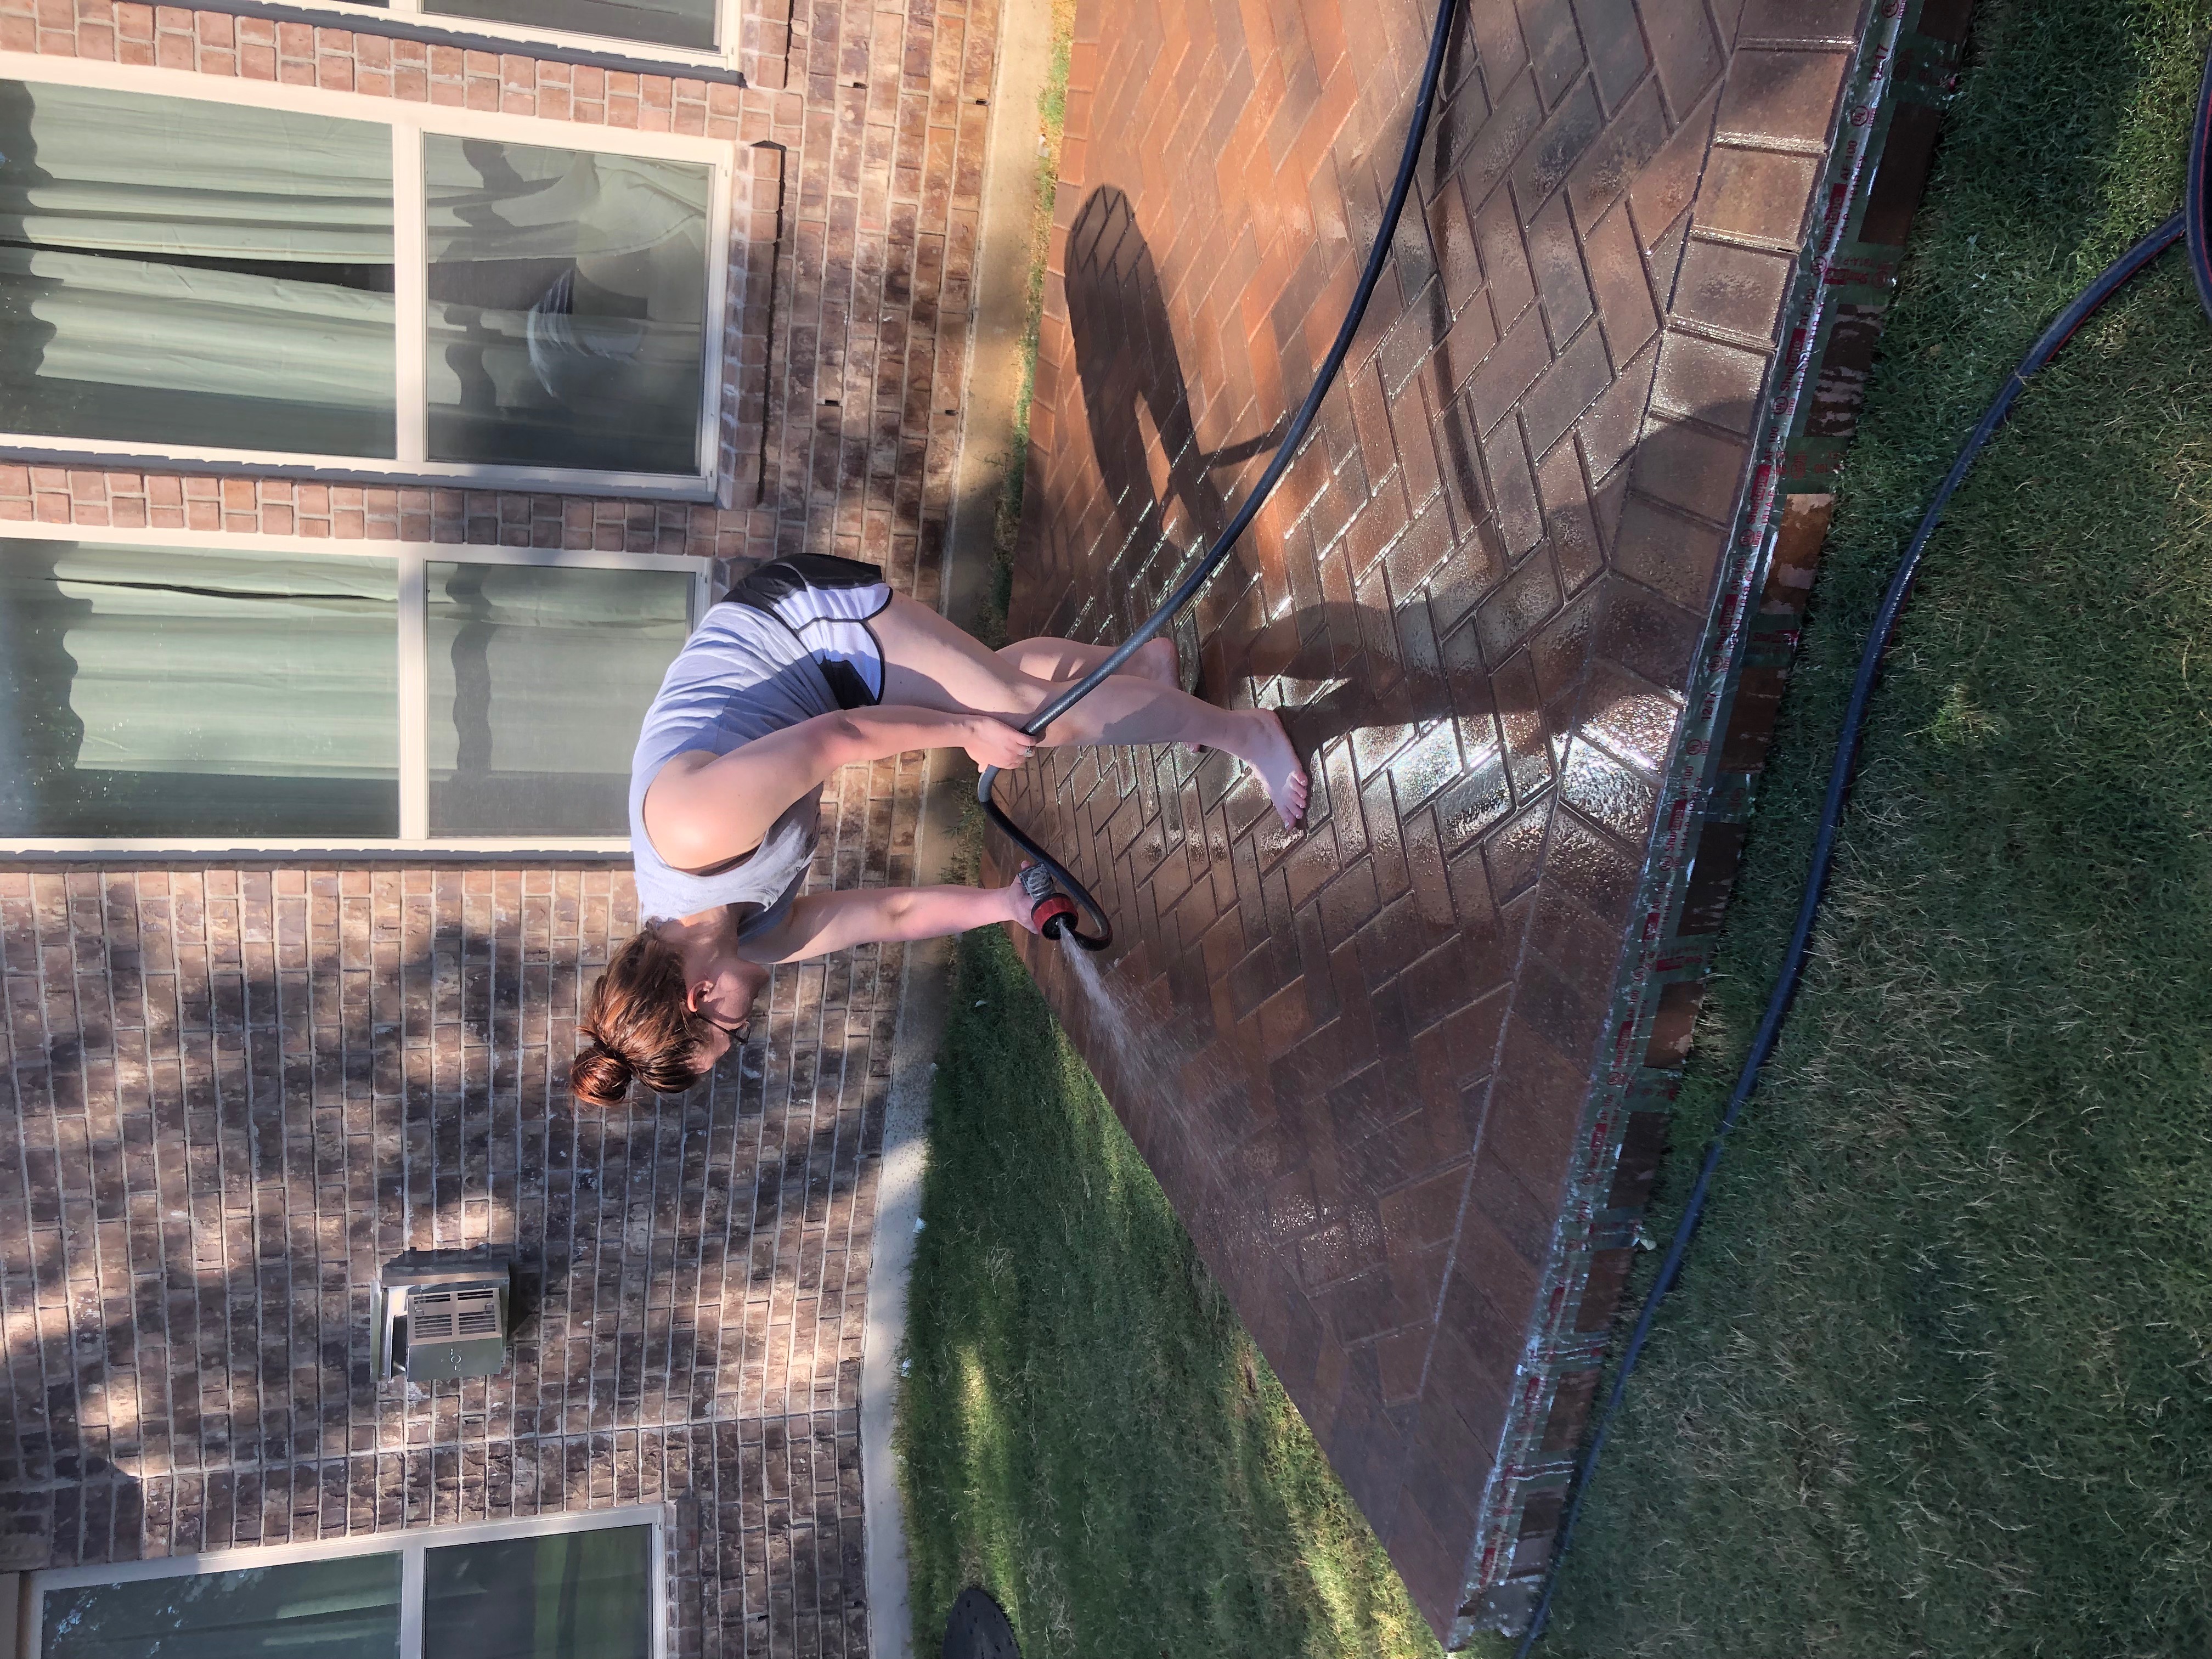
Watering the sand (and trying to wash the white film off.
One final thing, when the sand had dried for several hours but was still a little soft, I took the tape off and wiped off the excess sand.
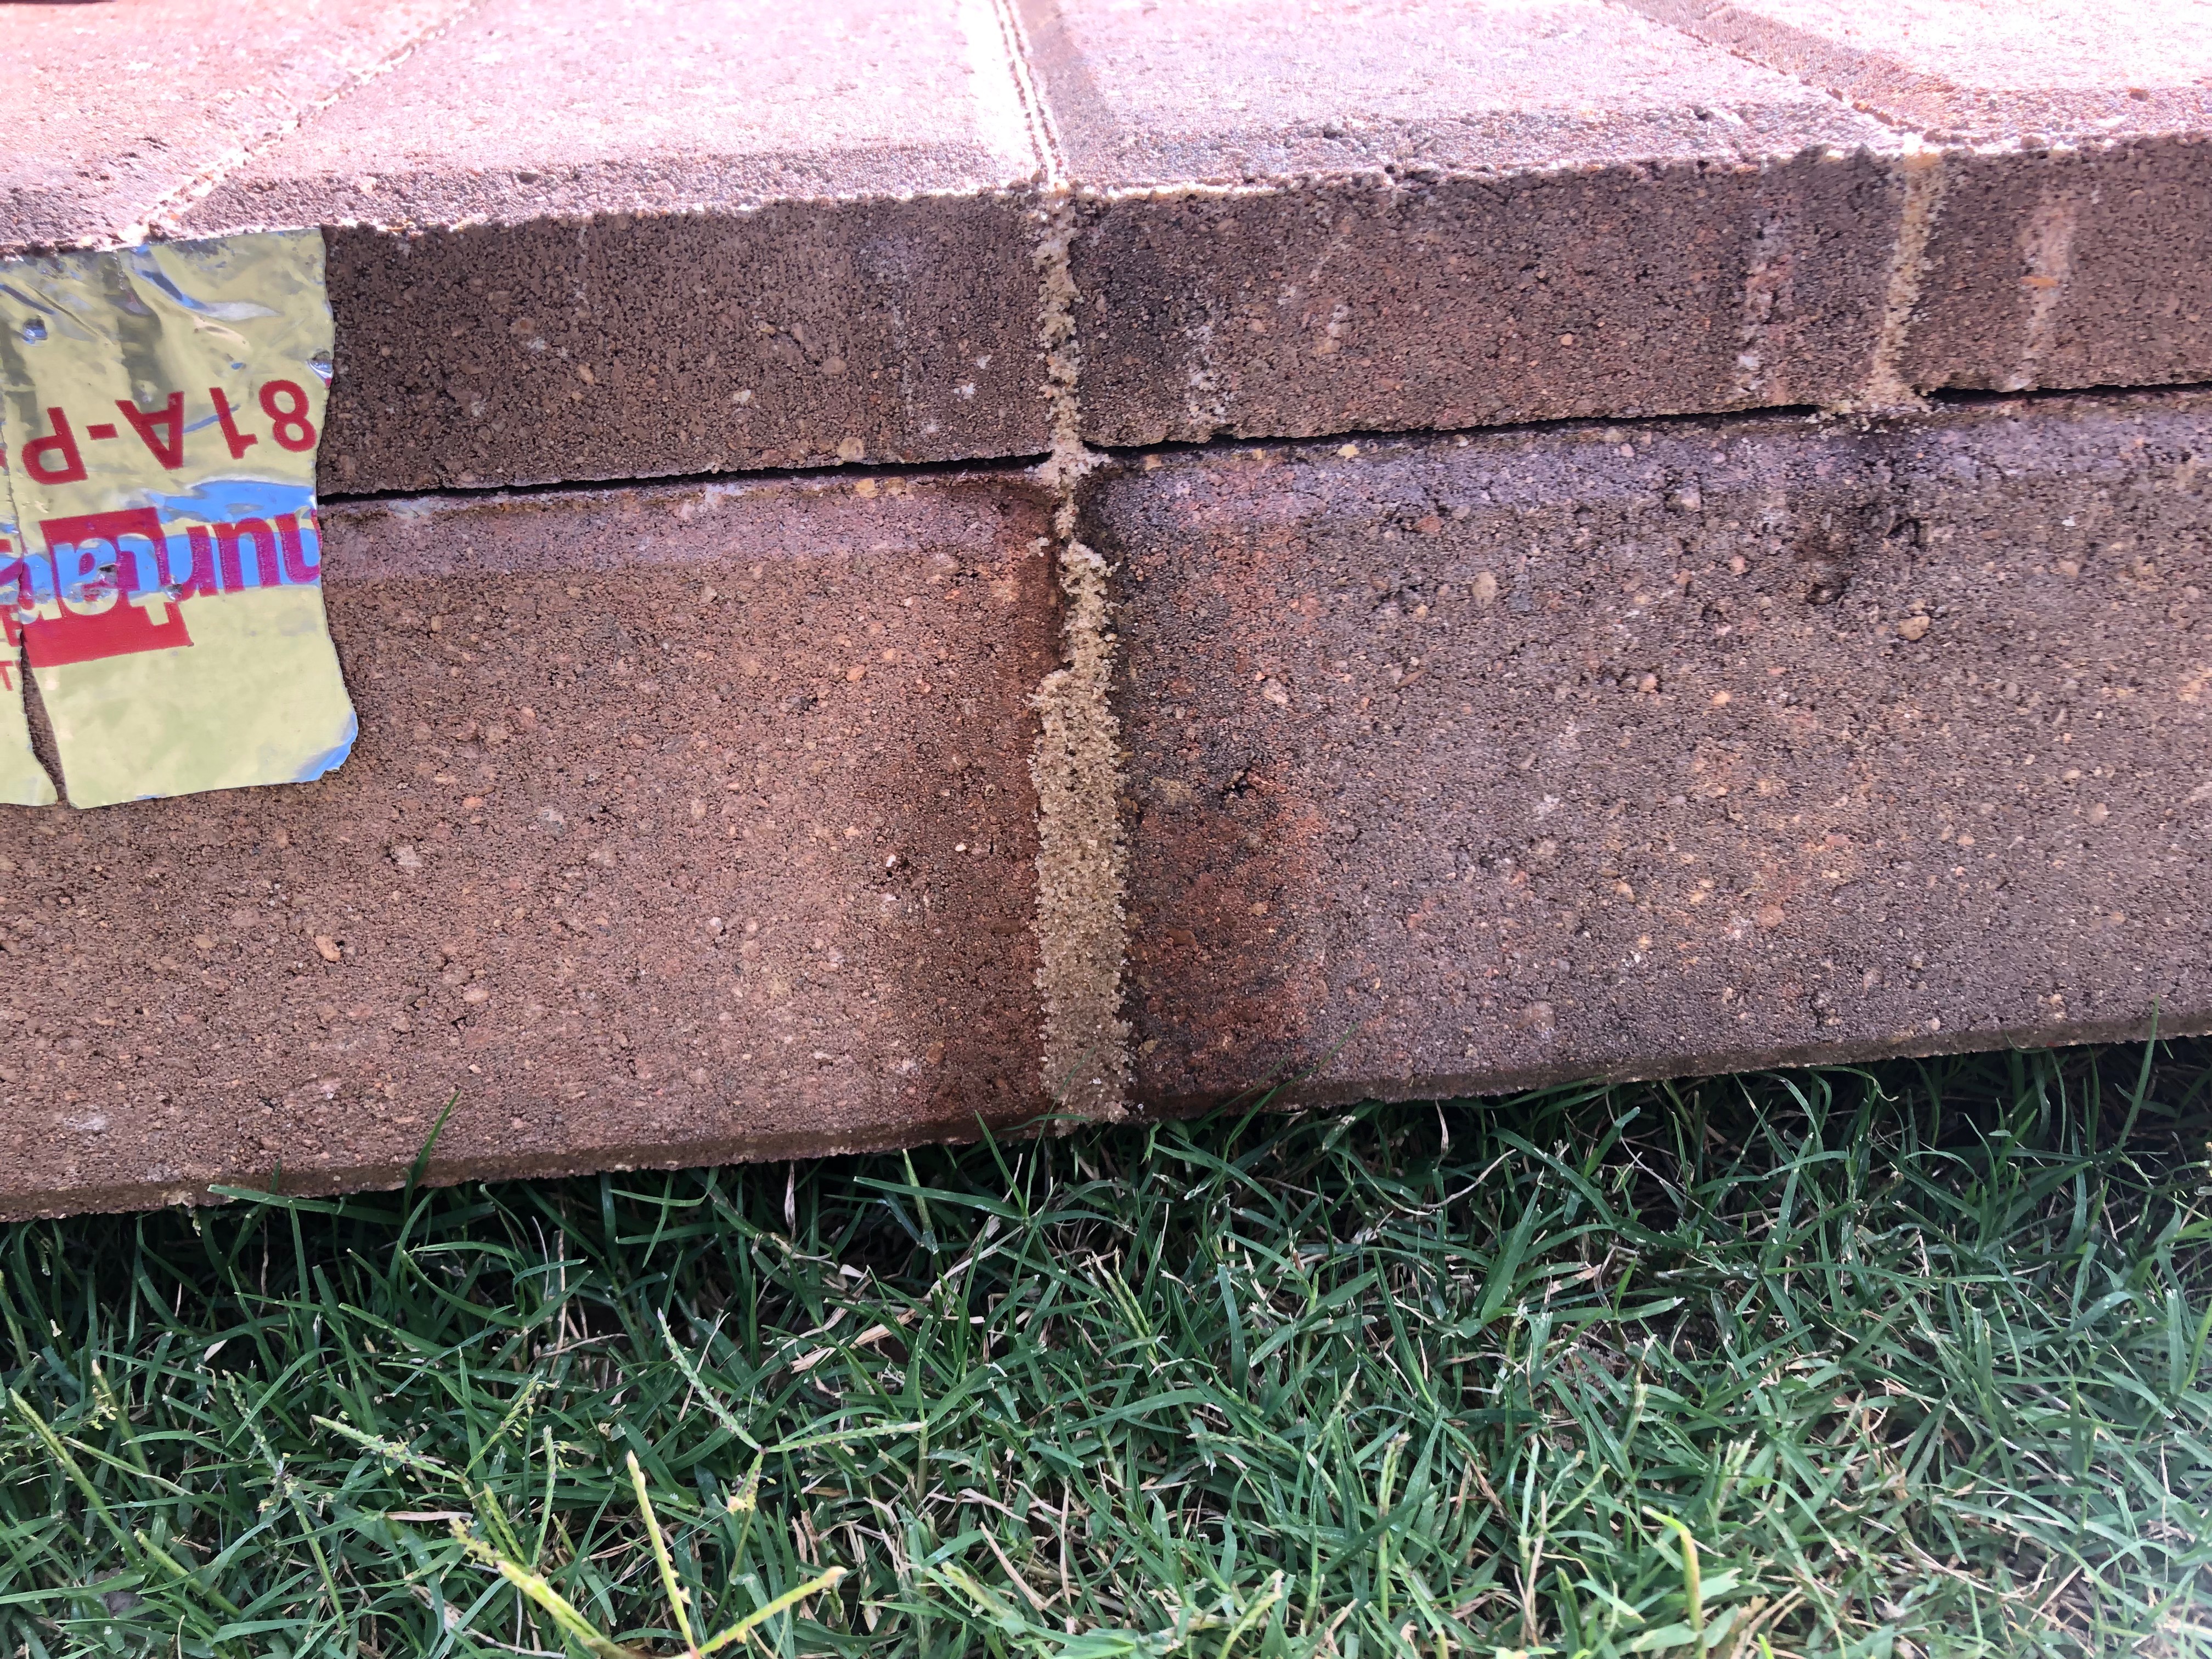
The extra sand just looked a little goopy so I just brushed it off for a cleaner finish. (bottom=before, top=after)
LESSONS LEARNED:
WHAT I DID RIGHT: The best thing I did in this project looking back was renting a paver saw (totally worth it)!
WHERE I GOT LUCKY: In the finishing steps of the project with the permasand, I wish we had followed the instructions more closely. We did start pouring the sand and then were caught in a rain storm so we didn’t plan for the weather very well either. In the end, it turned out well but close up, there’s a little extra permasand on the bricks here and there that I think could be pretty easily avoided.
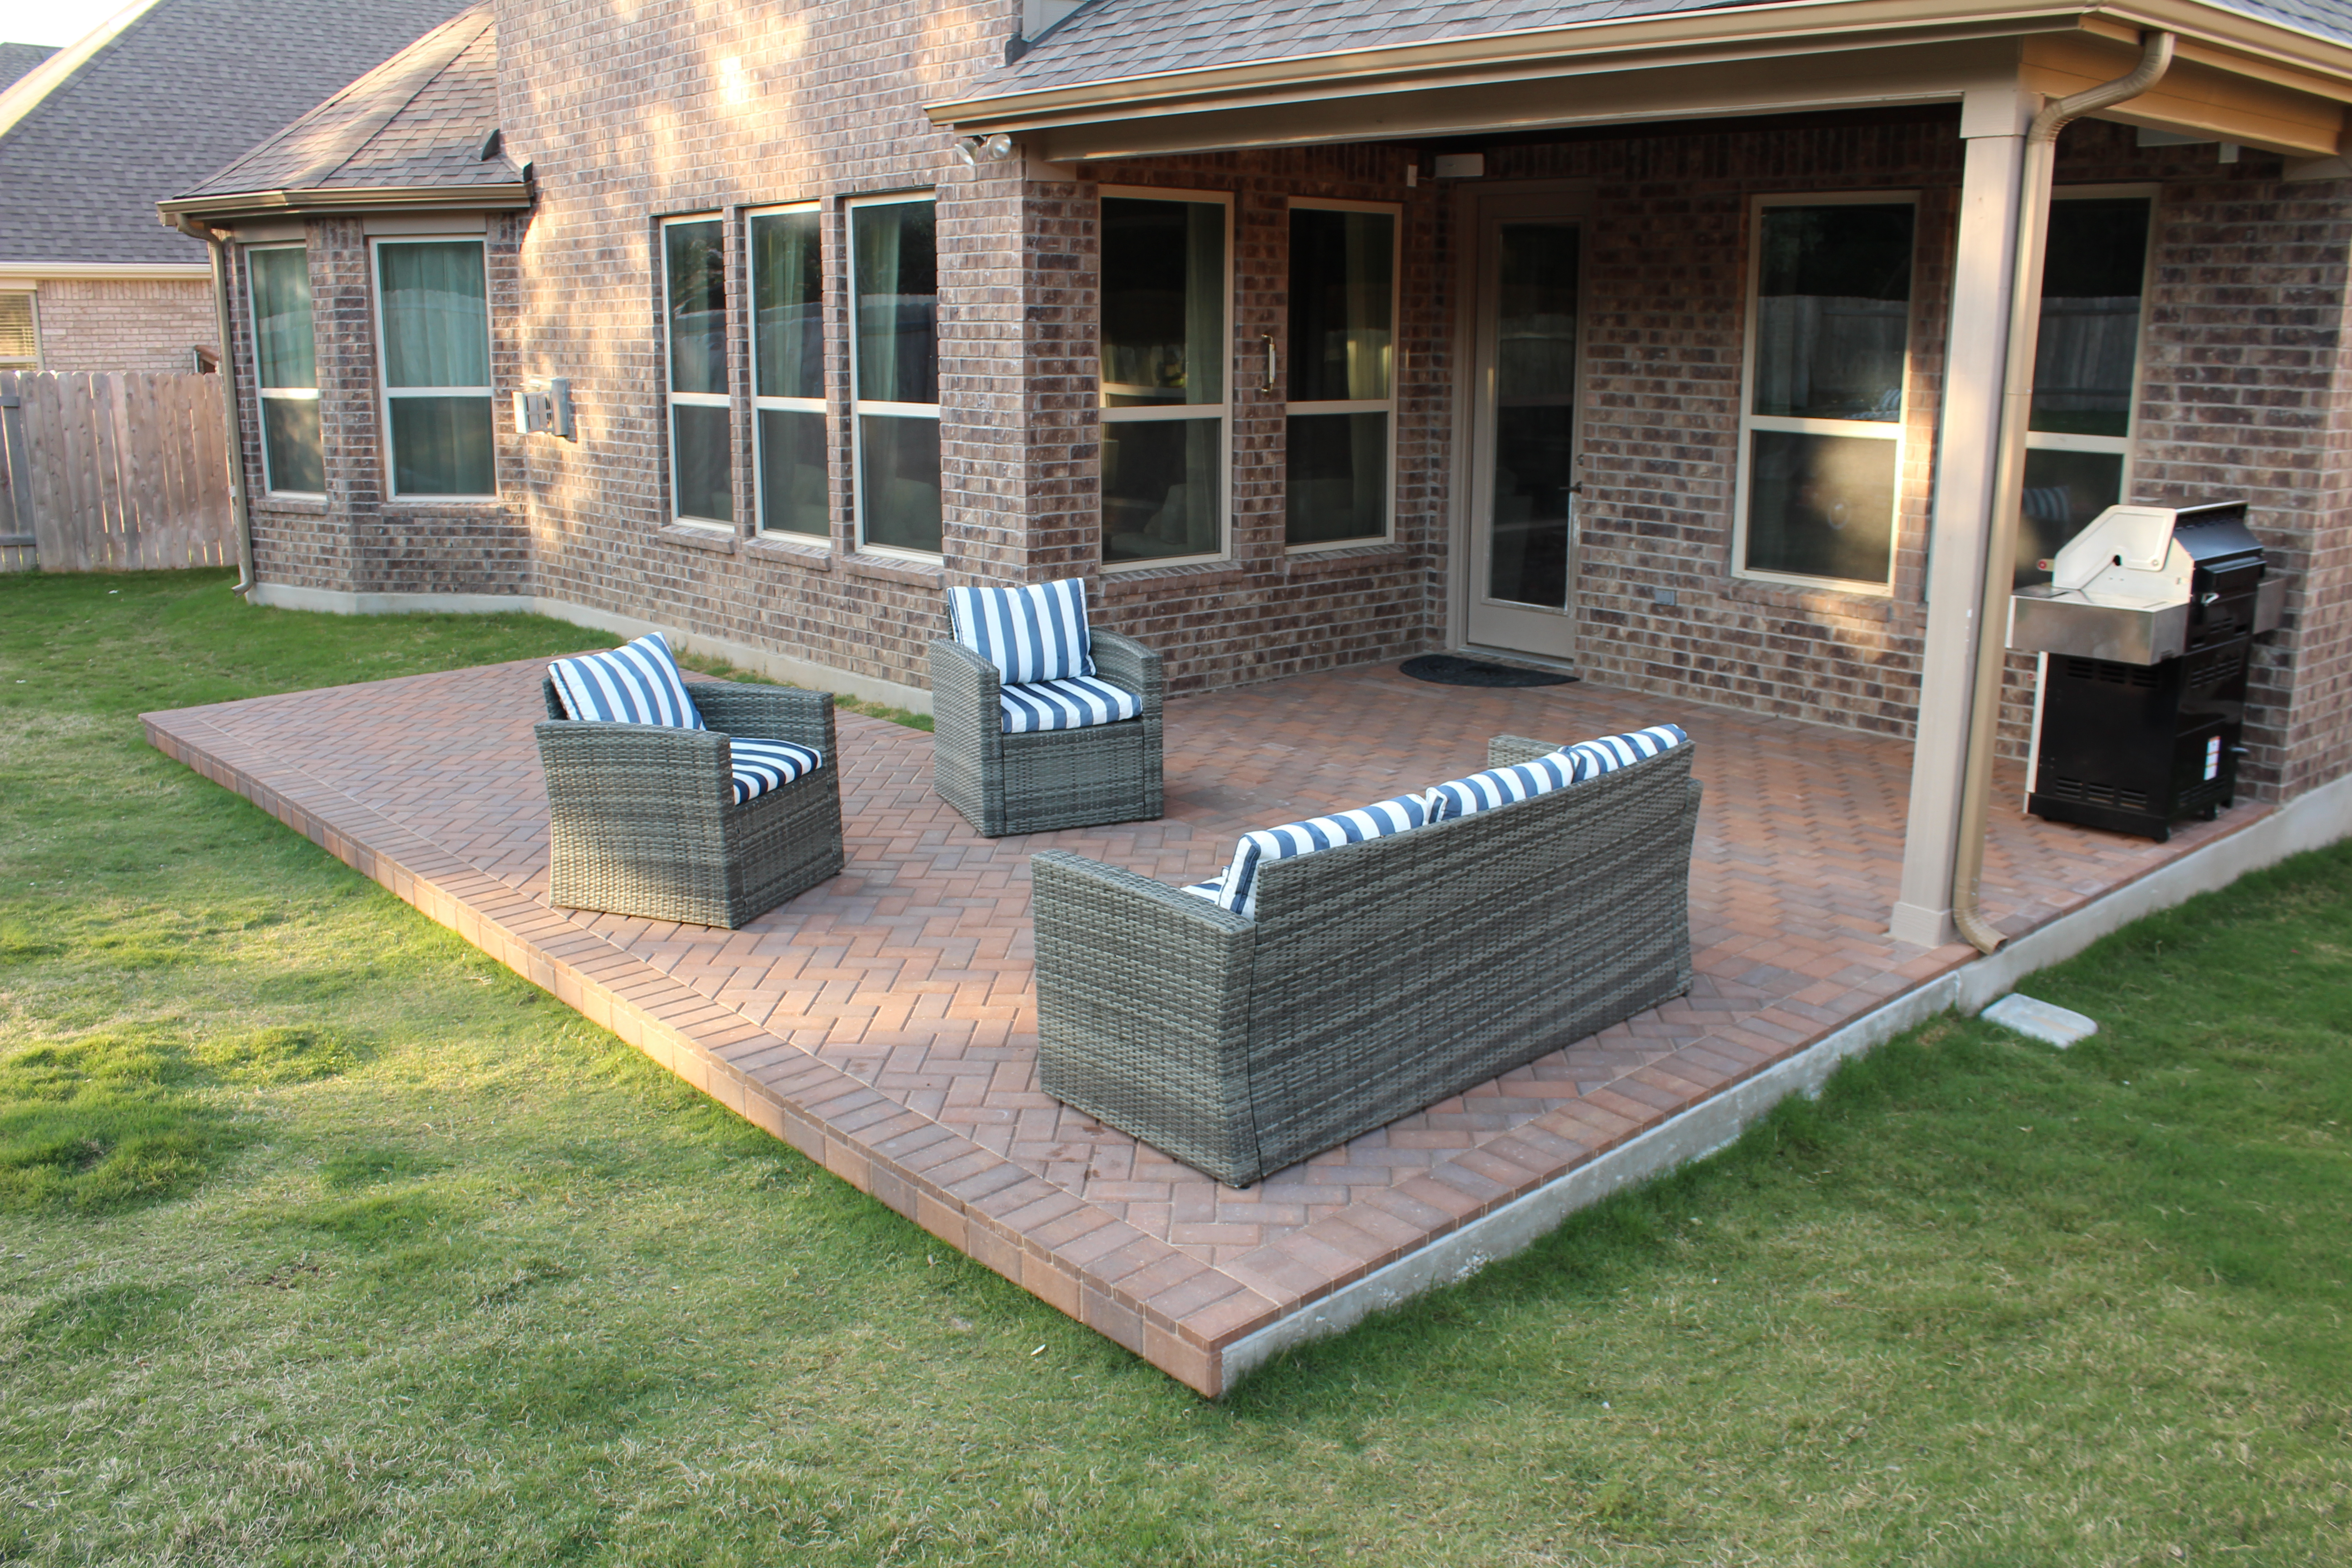
Overall, this is one of my favorite projects. It’s not the most impressive or challenging but it was a fun weekend project that you can dive into and complete pretty quick. This project really brings the two spaces together to make them look as if they were always one. The ends of the slab were left undone because of my plans for raised garden beds on either end. Stay tuned for those soon!
Don’t forget to follow me on instagram @olivegreyavenue!
Like and comment, too!


