


DIY Concrete Fire Pit and Pavers


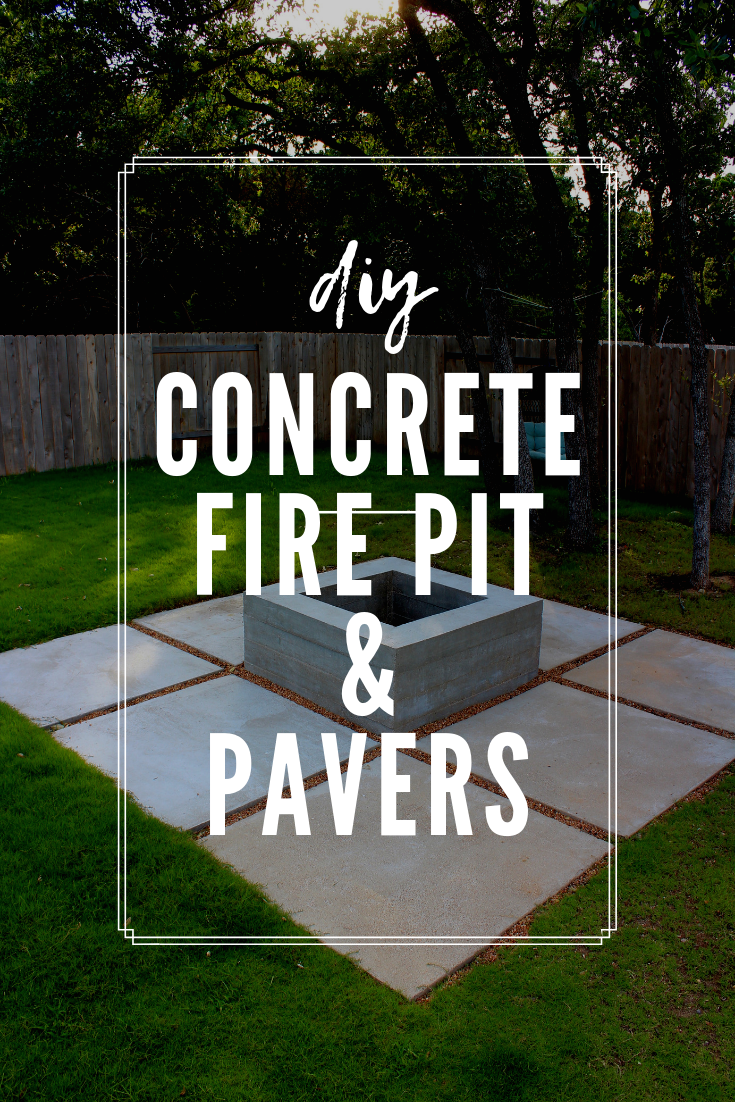
Full disclosure: this was one of the most challenging projects I’ve ever taken on. I completely underestimated the strength and amount of concrete needed for this project. Making your own concrete pavers and fire pit may be difficult, but it will be worth it in the end.
Definitely check out the lessons learned at the end of this post, they’re going to be good.
SUPPLIES NEEDED FOR FIRE PIT AND CONCRETE PAVERS
– Concrete (lots and lots of concrete–more on this later)
– Cement mixer (if you plan on mixing the concrete yourself)
– 2×4 wood boards- 2×6 wood boards
– extra wood for scraps and braces
– outdoor heat tolerant mortar (this is what I used, I was so-so about it)
– screws (lots and lots of screws)
– Wood stakes
– String
– Saw (circular saw or table saw)
– concrete edger *optional (I bought an edger but didn’t end up using it)
– Pick Axe
– Shovel
– Tamper
– Wheelbarrow
– Level
– Gloves (you’re going to ruin these so make sure they’re not your favorites)
– Heavy duty face masks!!! (Seriously you need these! Concrete is a dust that will be going everywhere before it’s mixed. That getting into your lungs wouldn’t be pretty. I had some cheap ones that were hard to breath in and harder to work in. Don’t skimp and get some good masks.)
Skill level: Intermediate
Time: Several days
Cost: $850 approximately (depending on what you already have this could vary, I ended up spending about $850)
PLANNING & PREP WORK
(the super boring, tedious and extremely necessary part of the project)
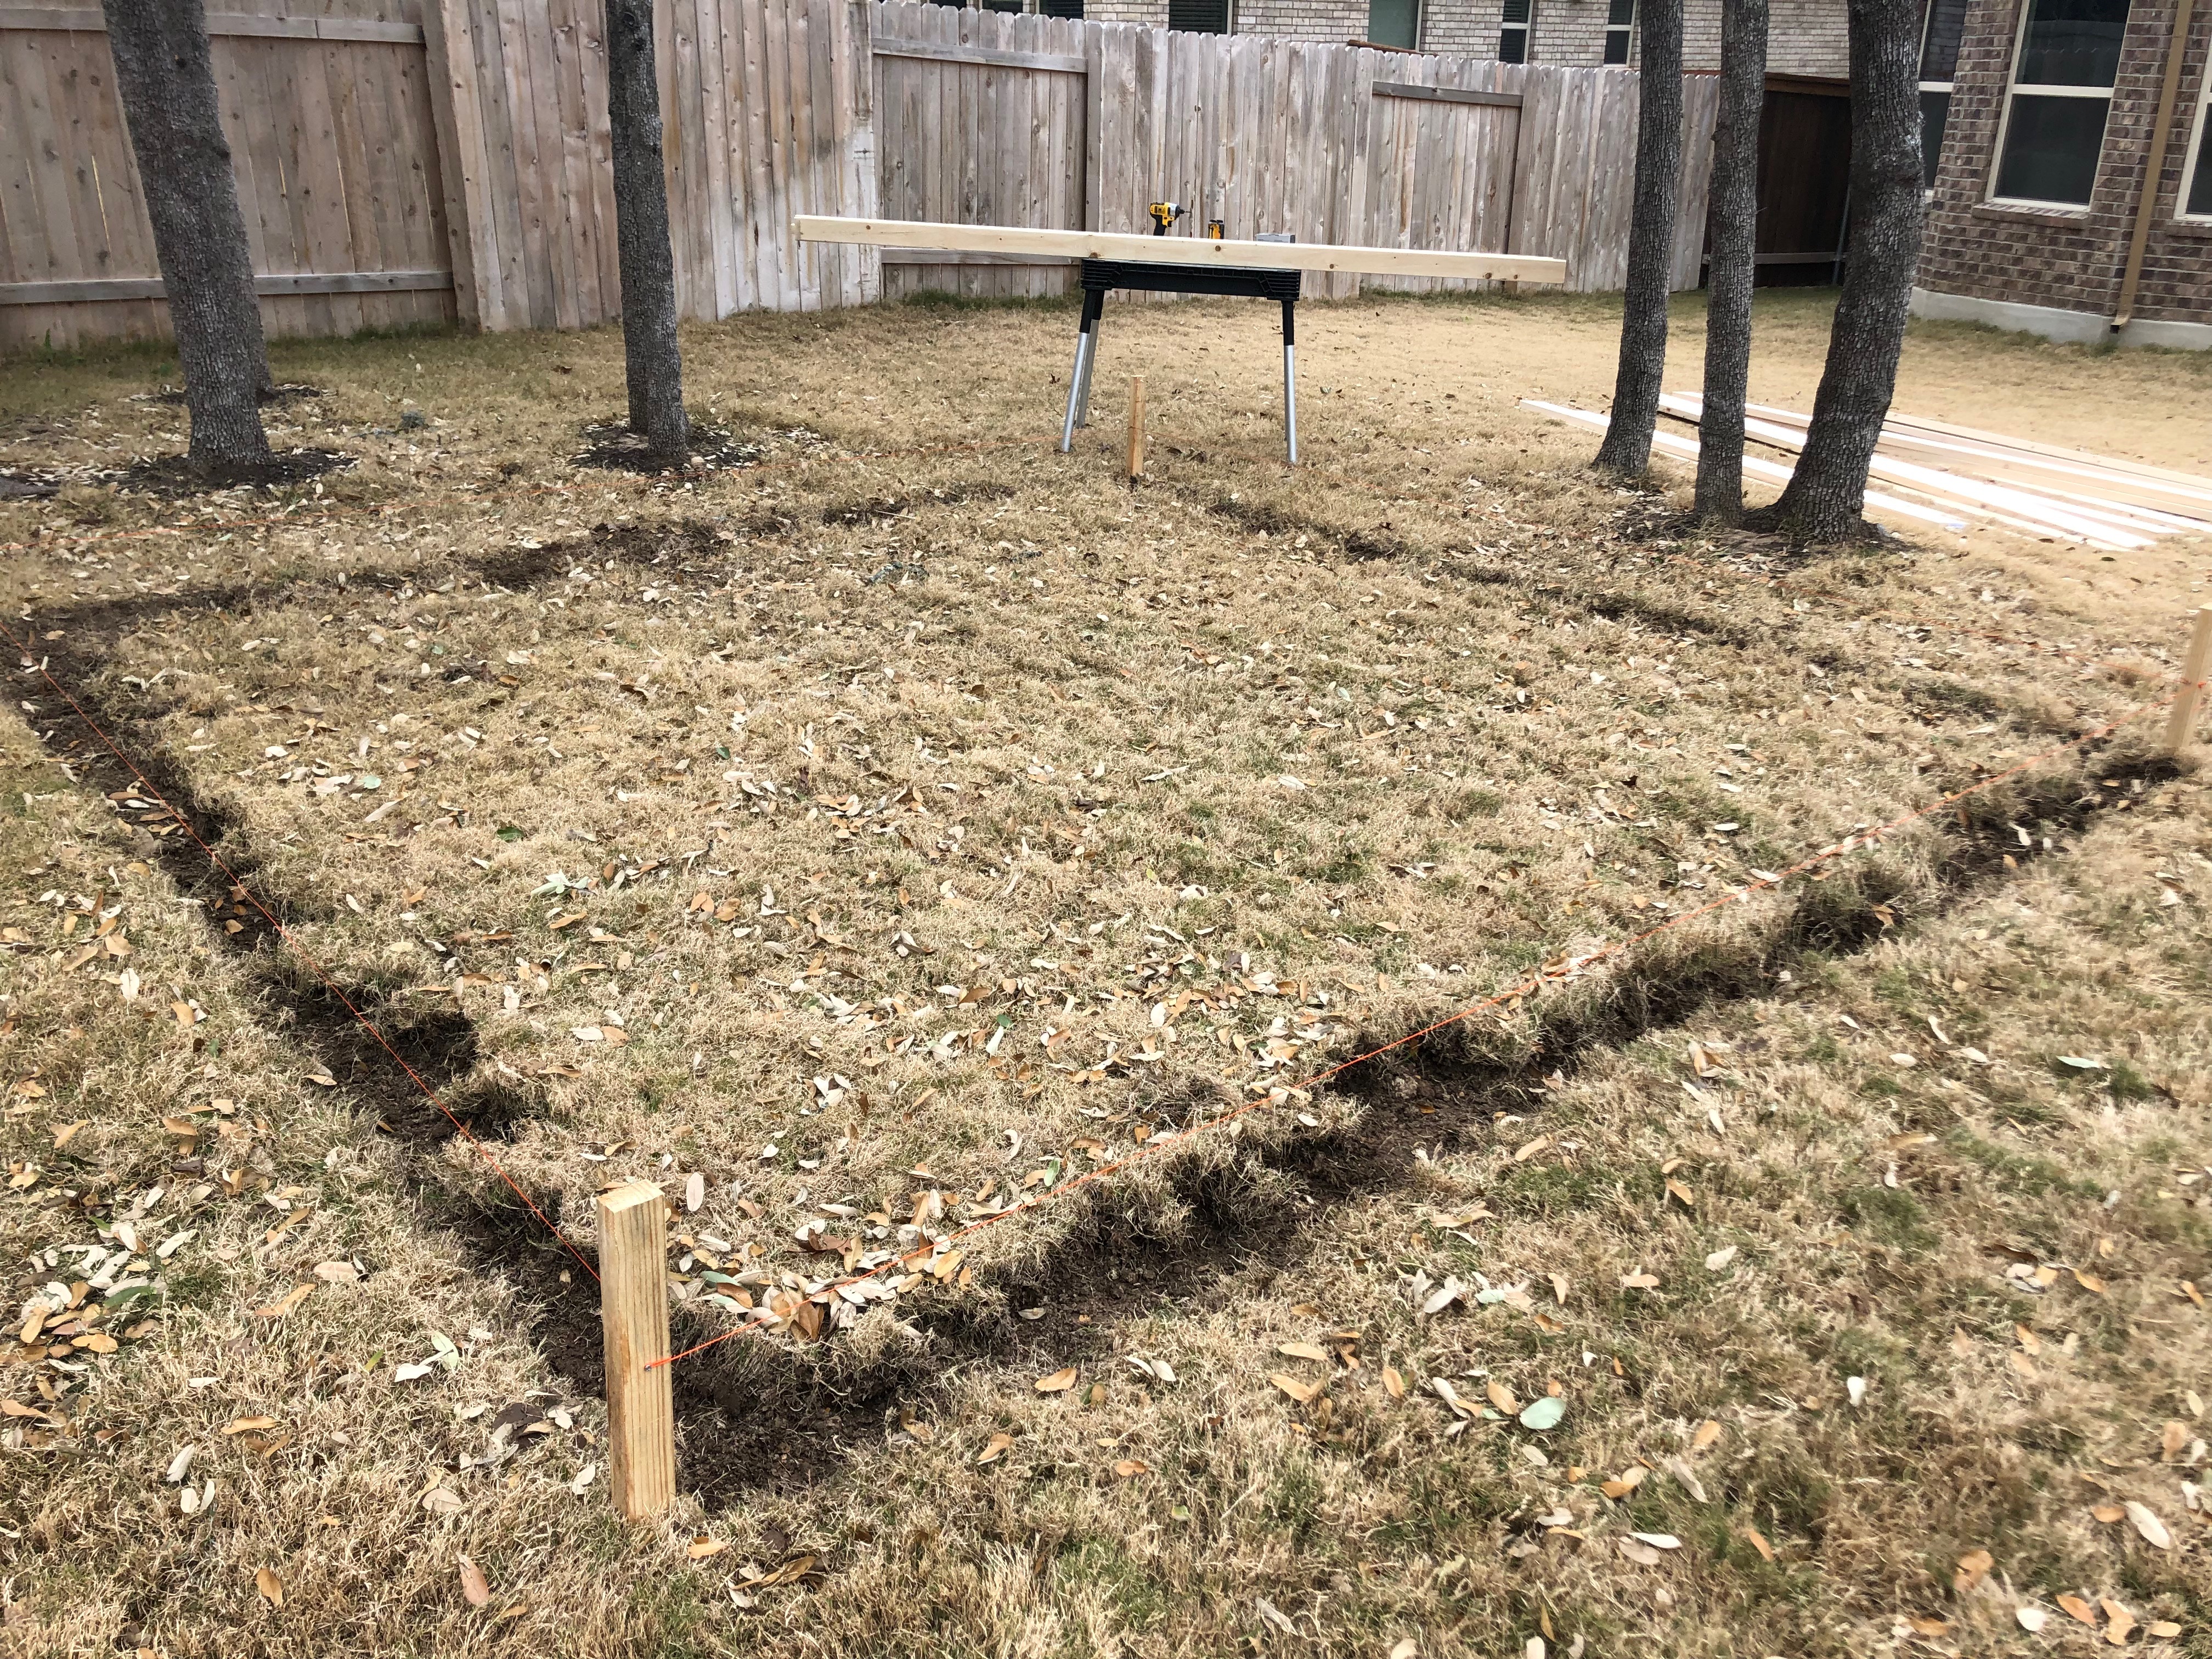
I knew exactly where I wanted this project to be in my yard. So, I started out by taking some white spray paint that I had laying around and marked it out by eye to just see around how big I was imagining it to be.
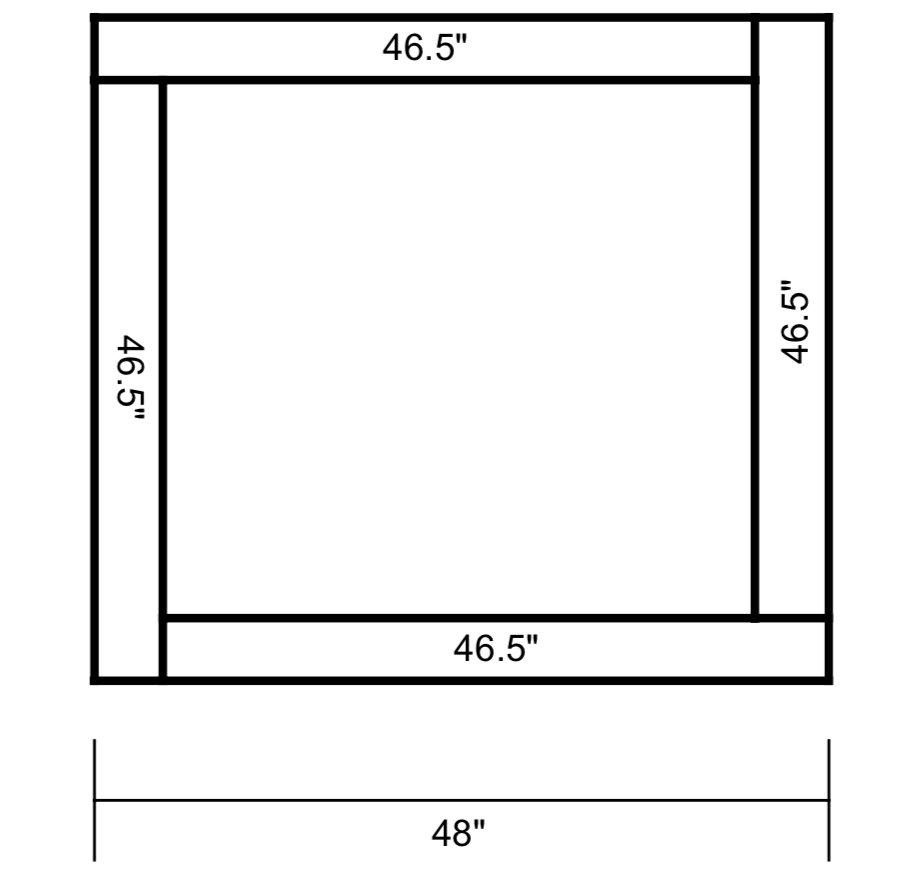
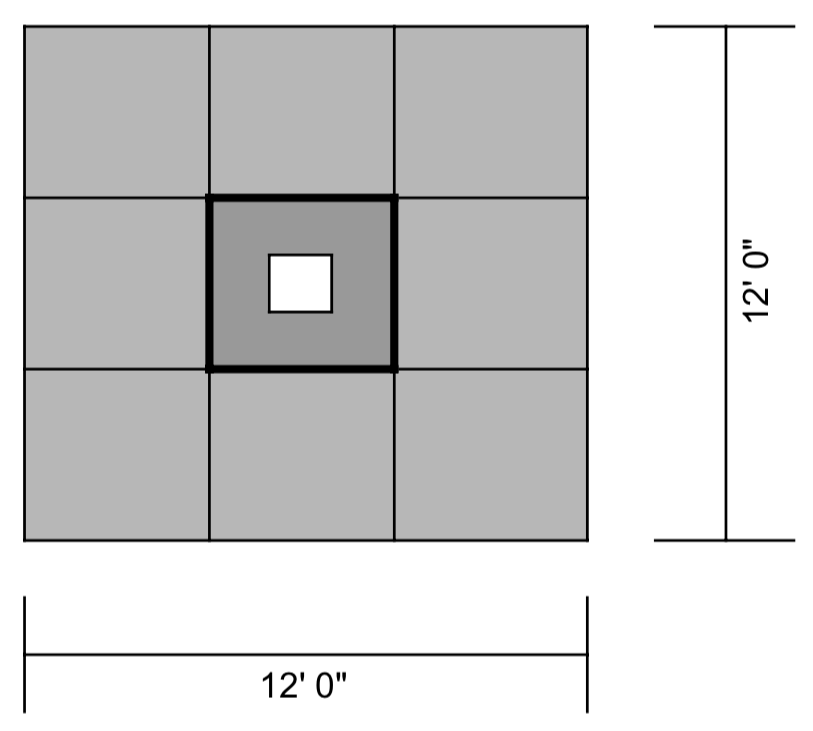
I settled on a size of 12′ x 12′ which made the measurements for the frame fairly simple. Each box is going to be 48″ x 48″ for a total of 8 exterior boxes surrounding the center 48″ dedicated to the fire pit itself (see sketches below). The 2 x 4 boards are what I used to build these boxes. Cut them down to 46.5″ lengths to create the box to be 48 total inches. Since the true measurement of a 2 x 4 is 1.5″ x 3.5″, I subtracted 1.5″ from the length needed (48″) to get the length of each board that I’m going to connect together. Make sure that when you’re building the boxes, the 3.5″ is the side that’s standing so the depth of the pavers is 3.5″.
I recommend using screws to put these boxes together, just to ensure that it’s a nice tight fit. We did some with nails and some with screws so both work just fine.
Now when it comes to the fire pit frames, I used 2 x 6 boards to make it the right height that I was wanting, which was approximately 22″ tall. After doing some research to figure out how tall a fire pit should be. I found there was little information out there. The one main place that I was able to find a height of the fire pit suggested a minimum of 20″ tall for airflow (or something like that). It sounded good so I went with it. I ended up using 4 layers of 2 x 6 boards to get the right height for the fire pit.
Once the boxes are built, stack them on top of each other (in the place that you’re going to pour the concrete because this will get really heavy, really fast). Then you will need to make sure they’re all lined up and take 2 x 4 pieces of scrap wood vertically to secure the boxes together.
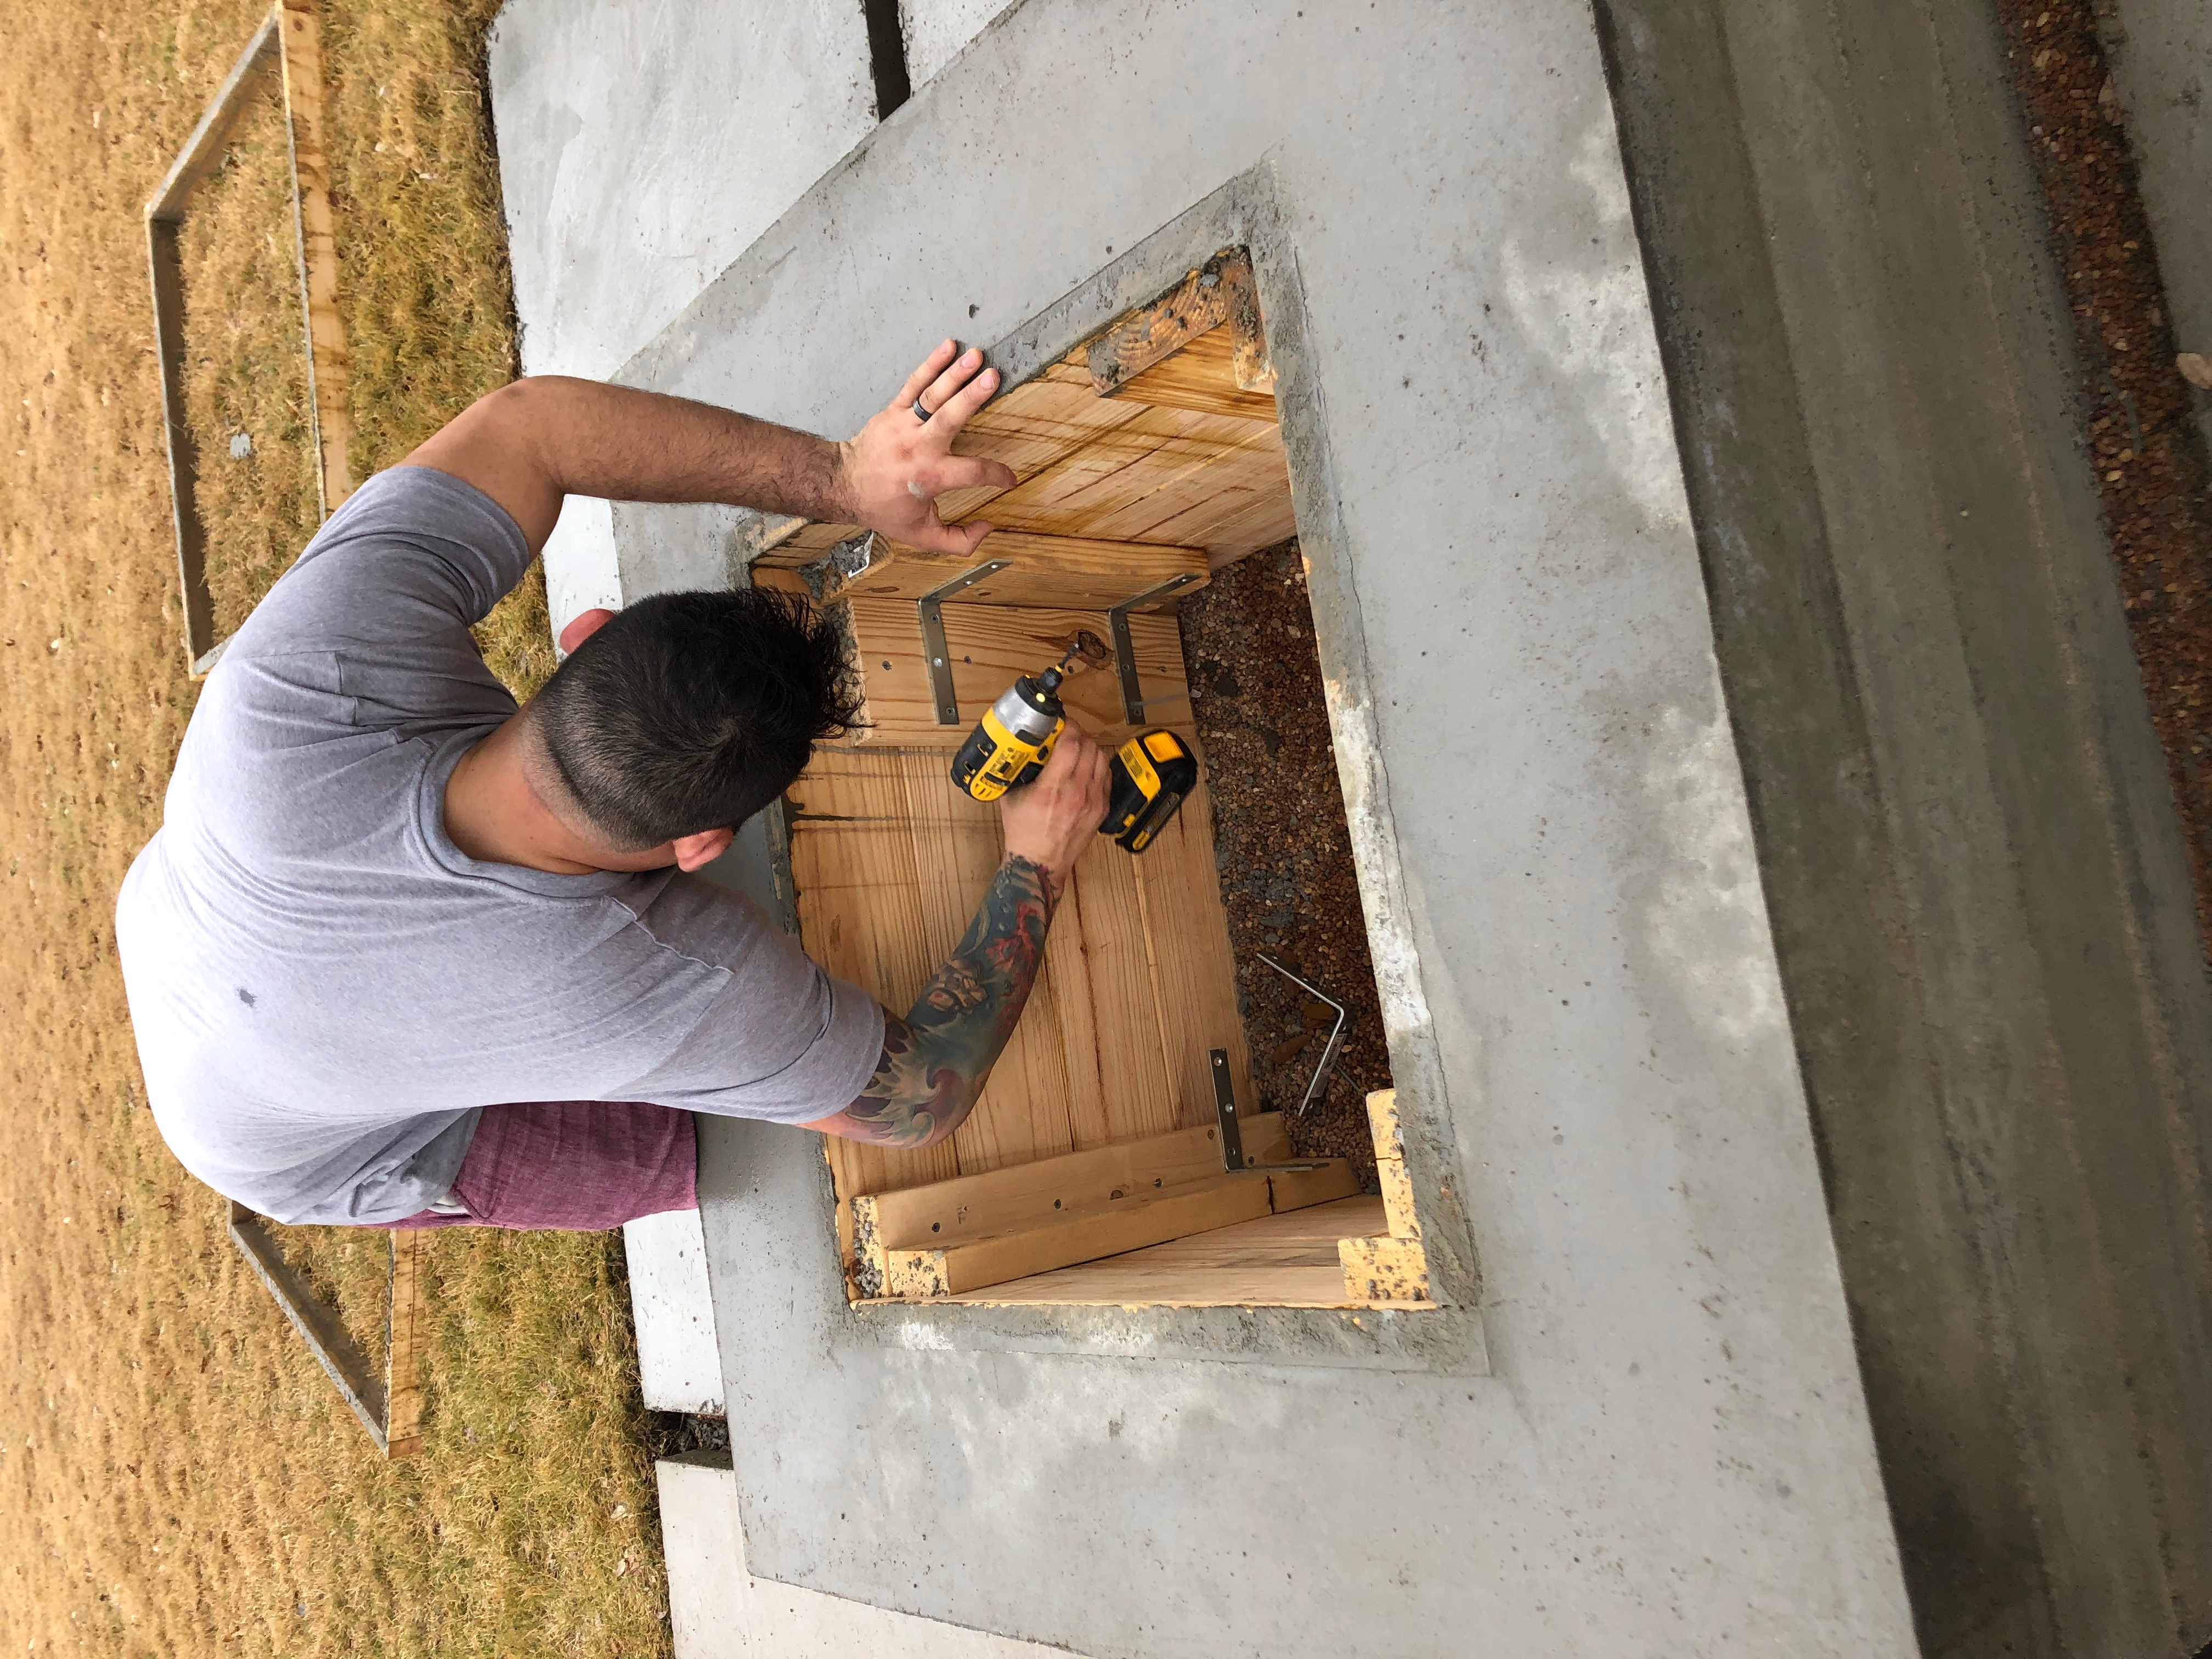
Finally, the interior box for the fire pit was put together a little differently. The measurements for the center was 36″ (essentially measured the same way as the larger boxes. Instead with these, each side was put together and then those 4 sides were secured together on the inside of the box with scrap pieces of wood and angle brackets (2x4s or whatever you have laying around that’s long enough and strong enough to hold the pieces together).
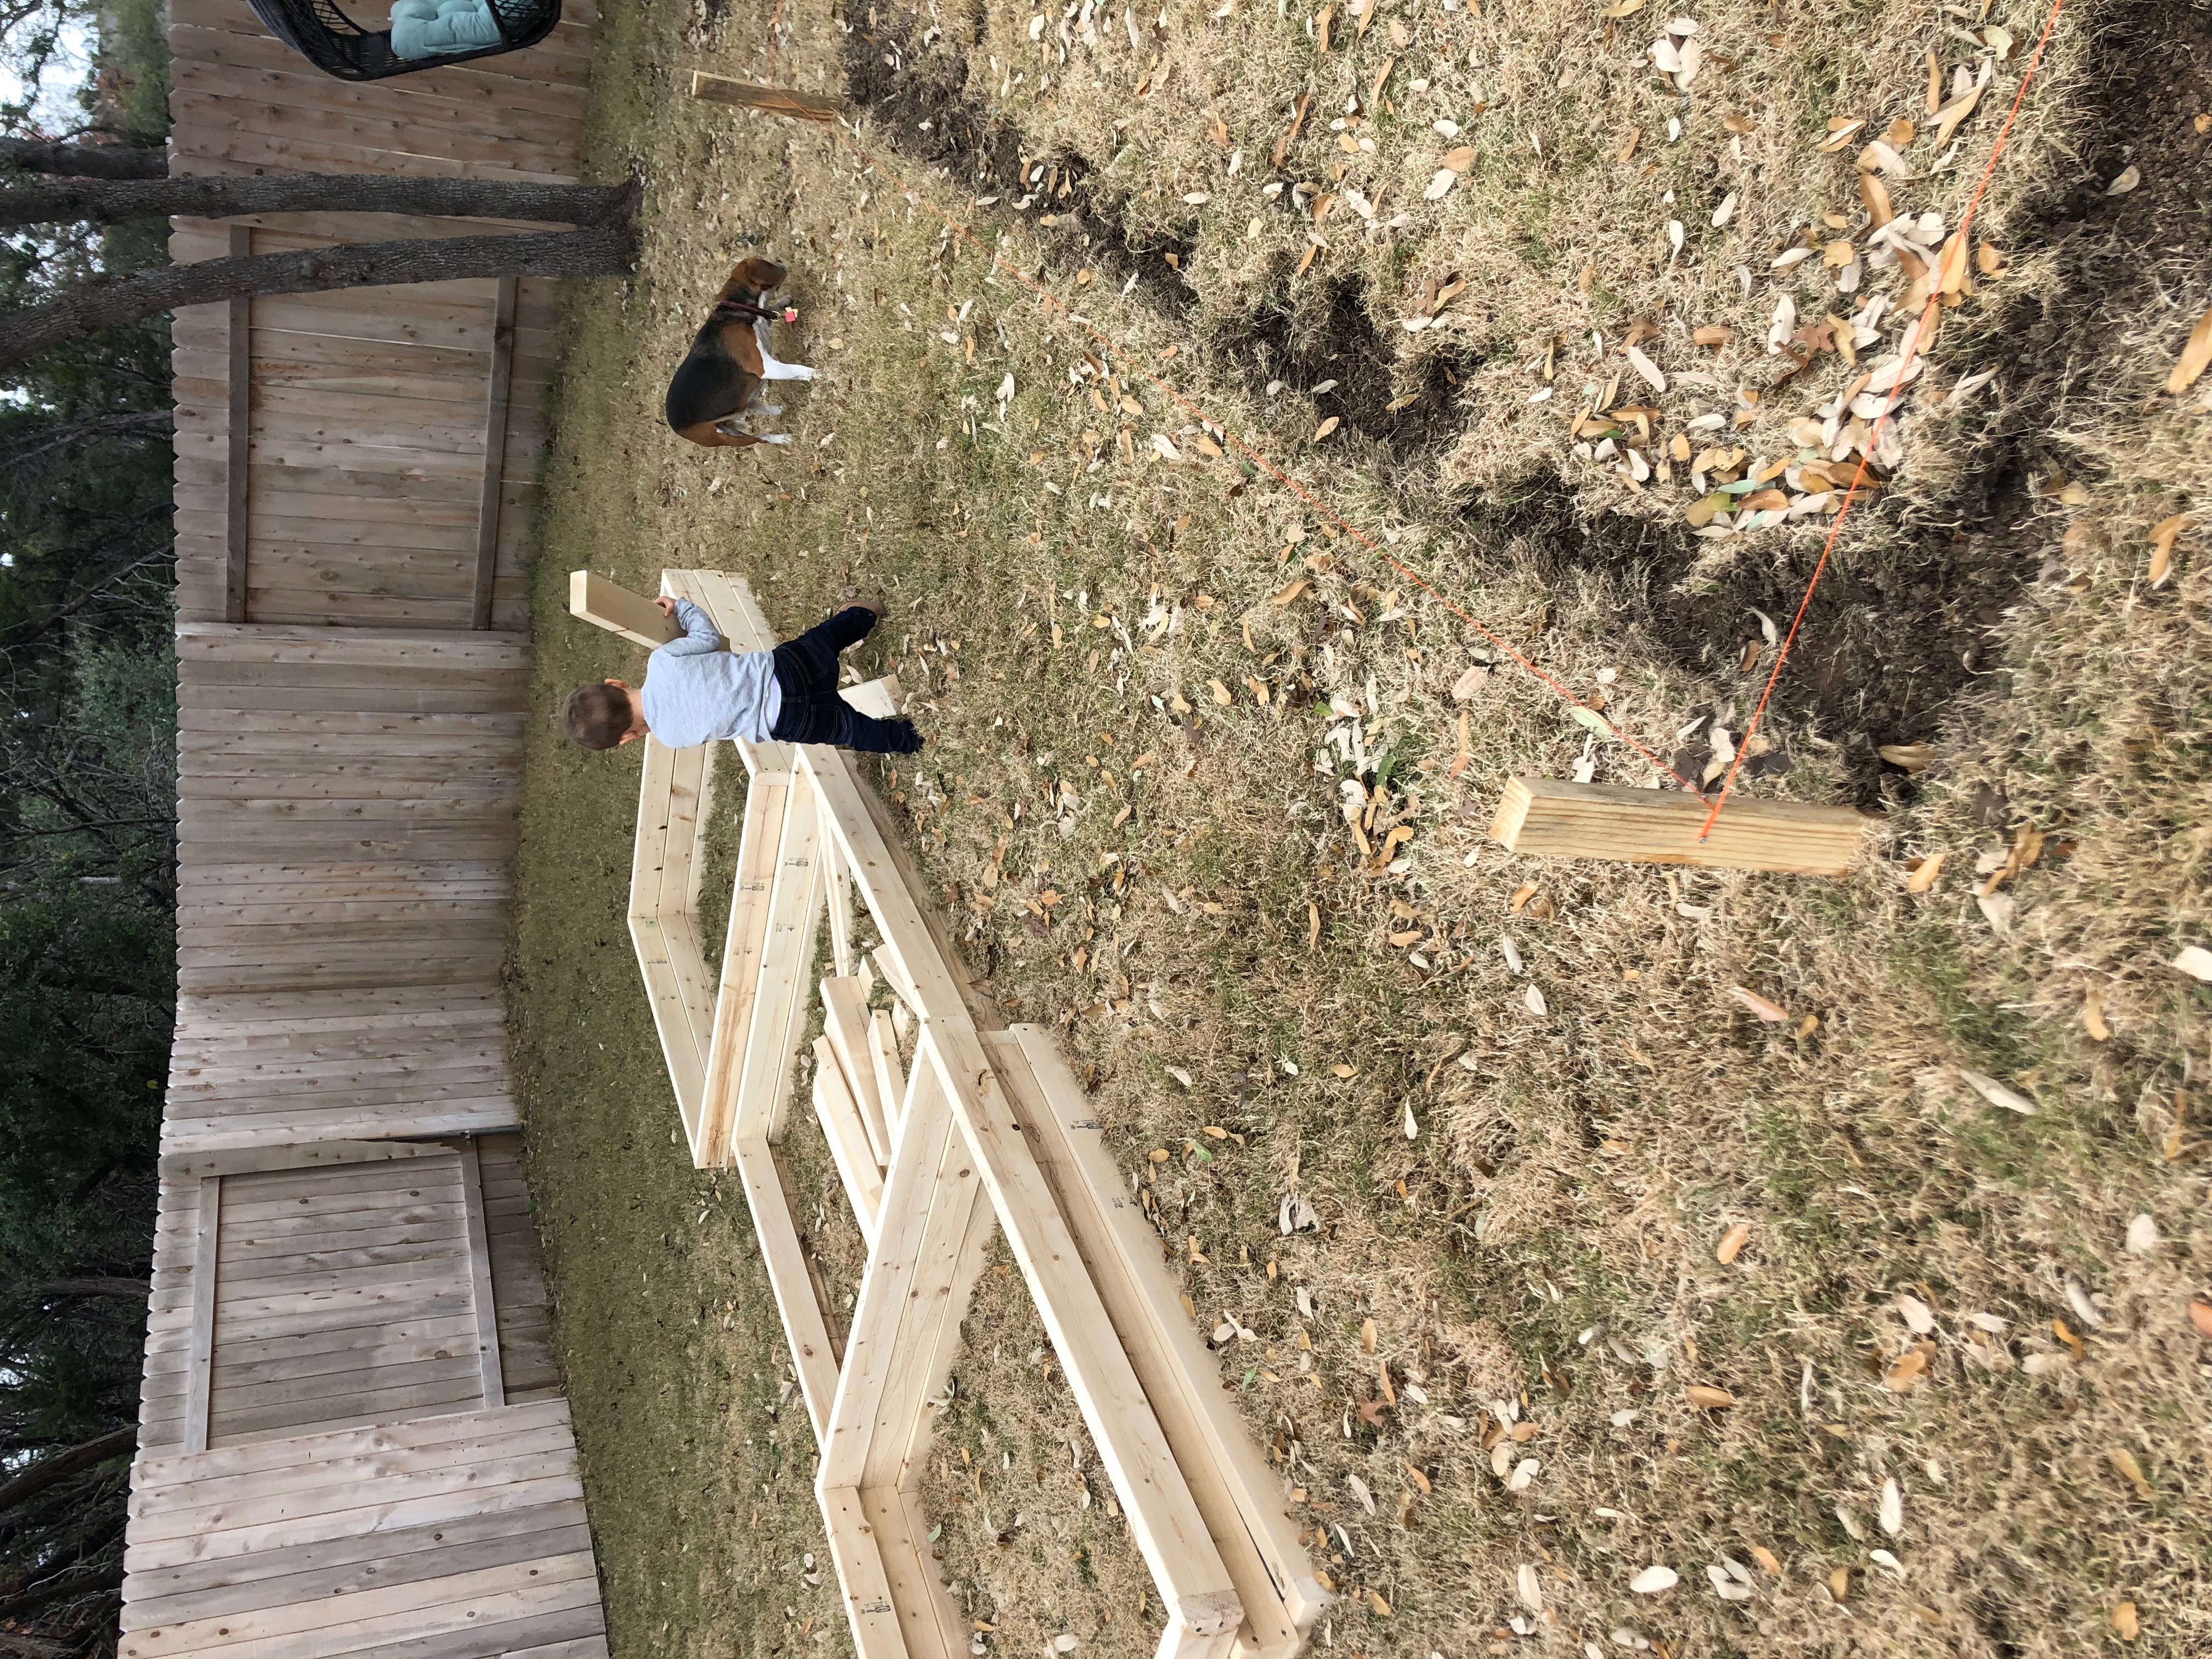
Paver frames built (little helper organizing all the scraps)!
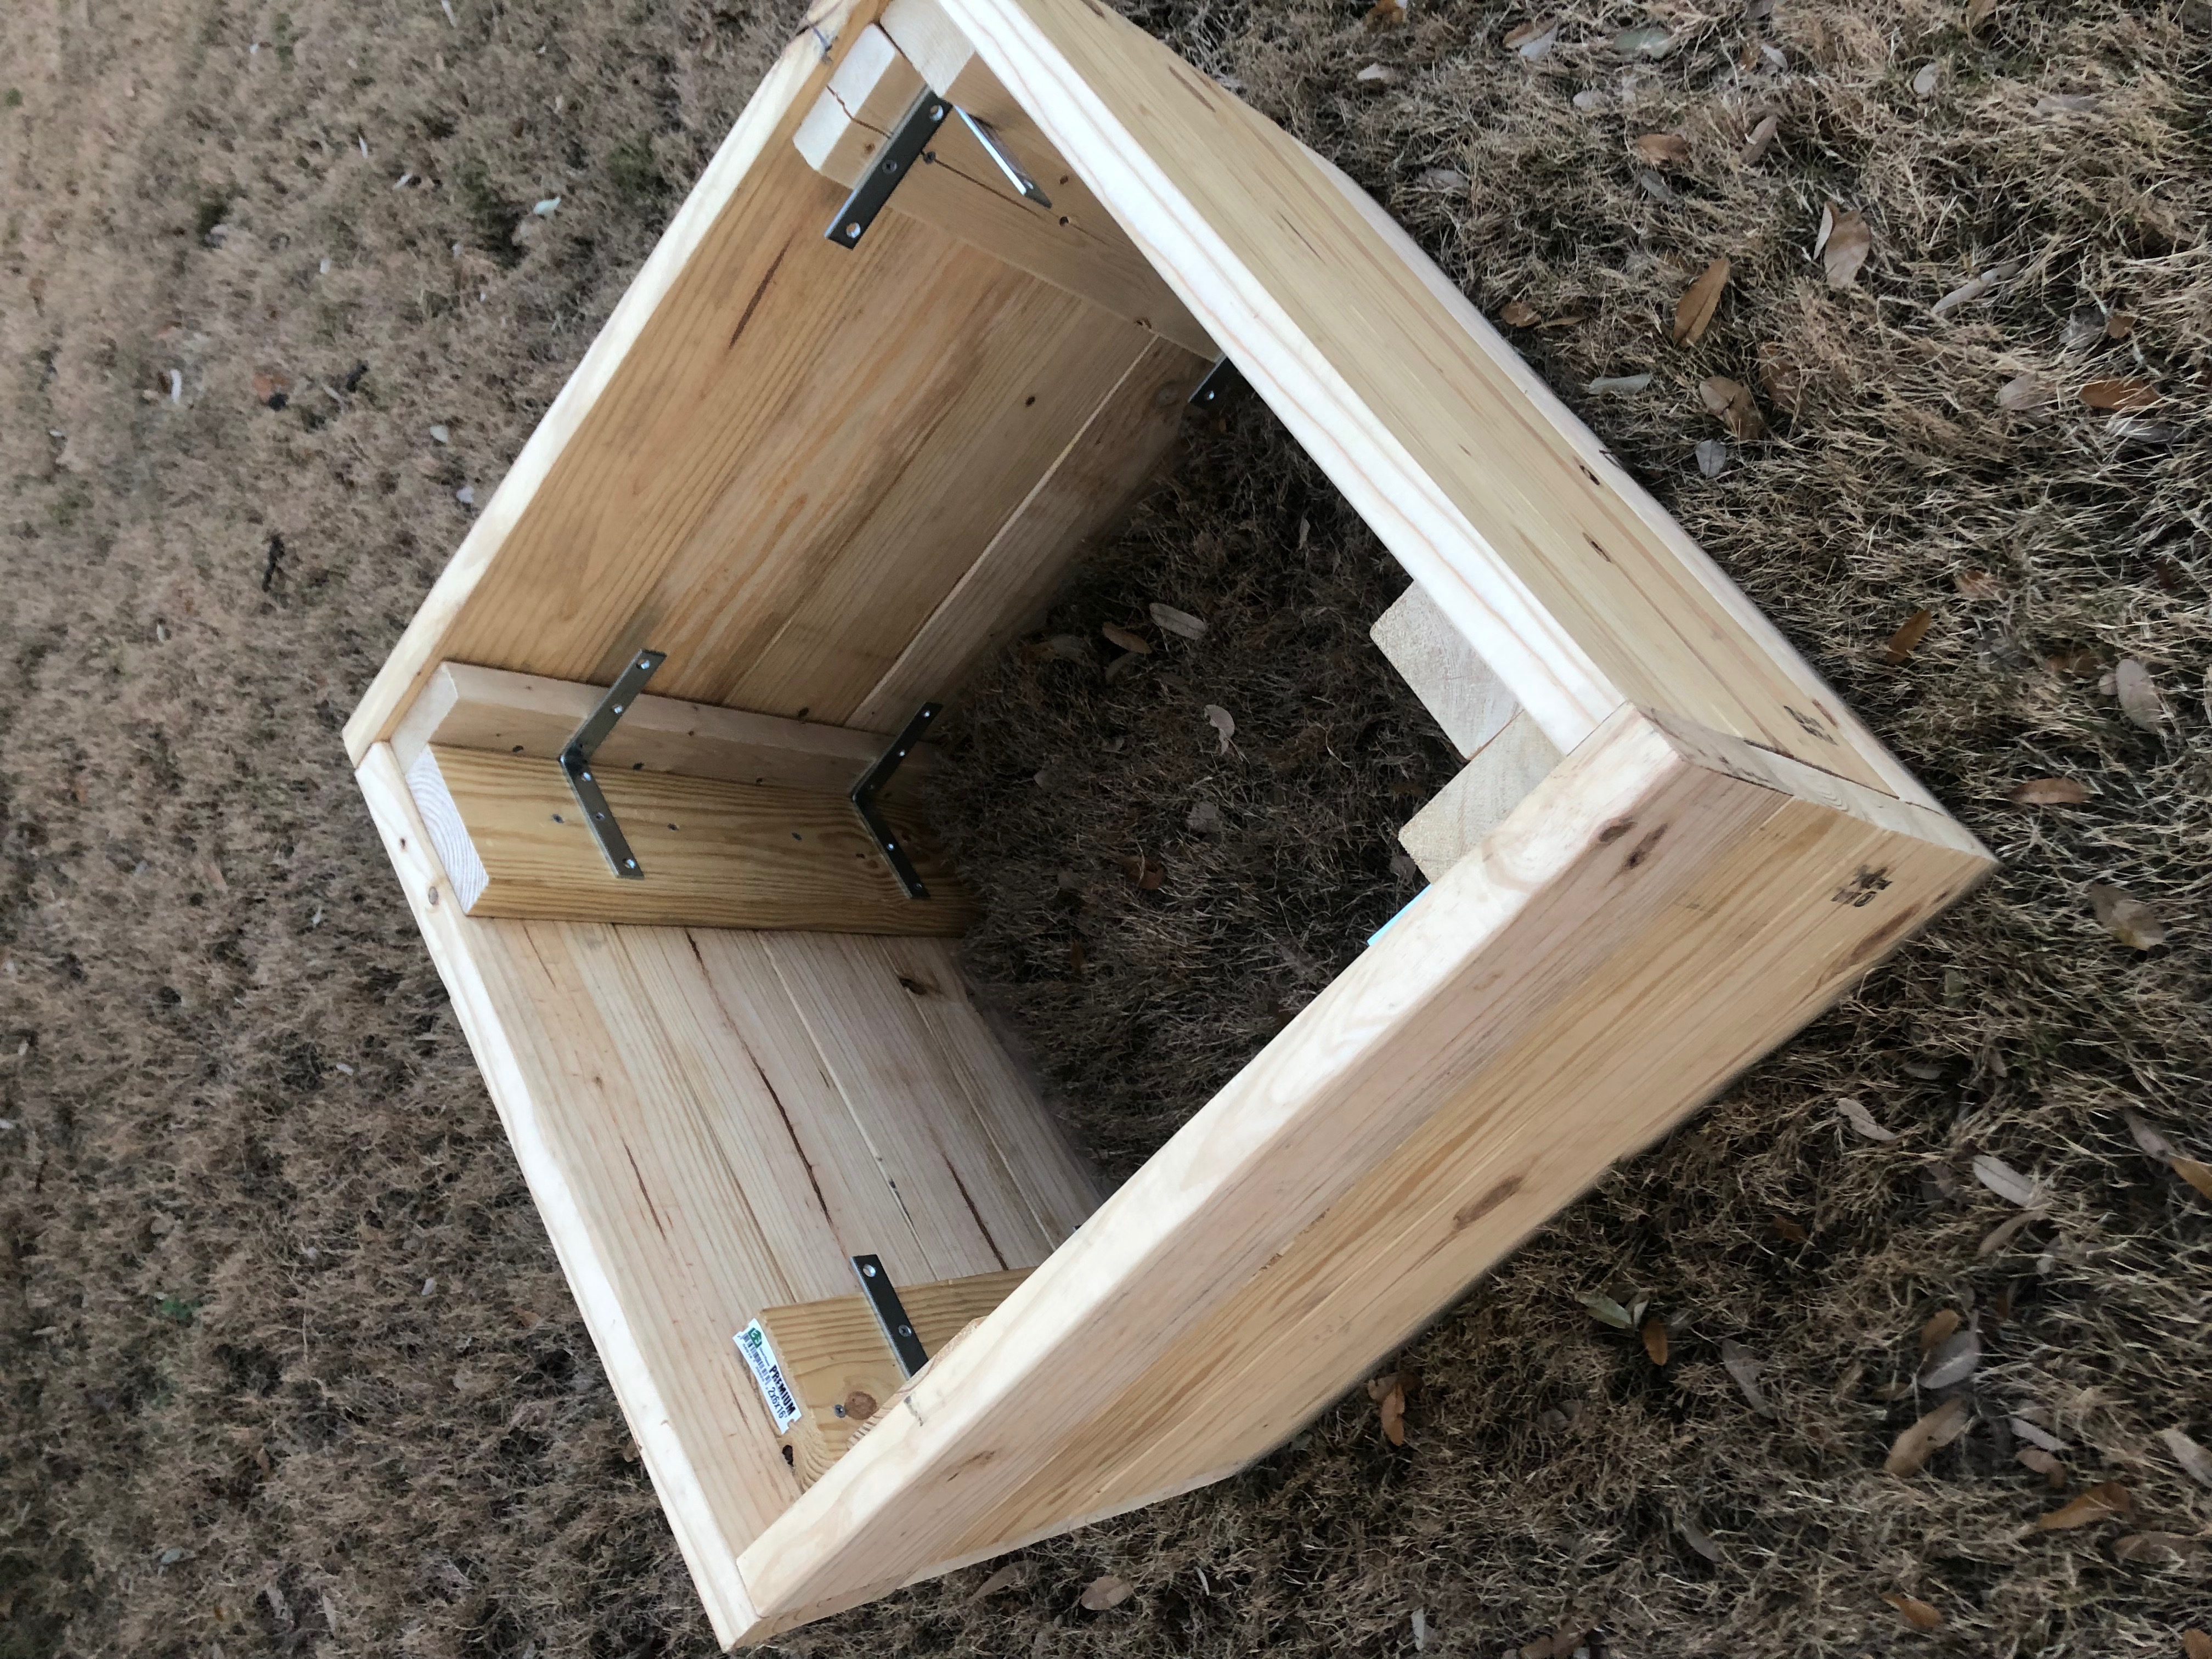
Interior fire pit frame turned out great!
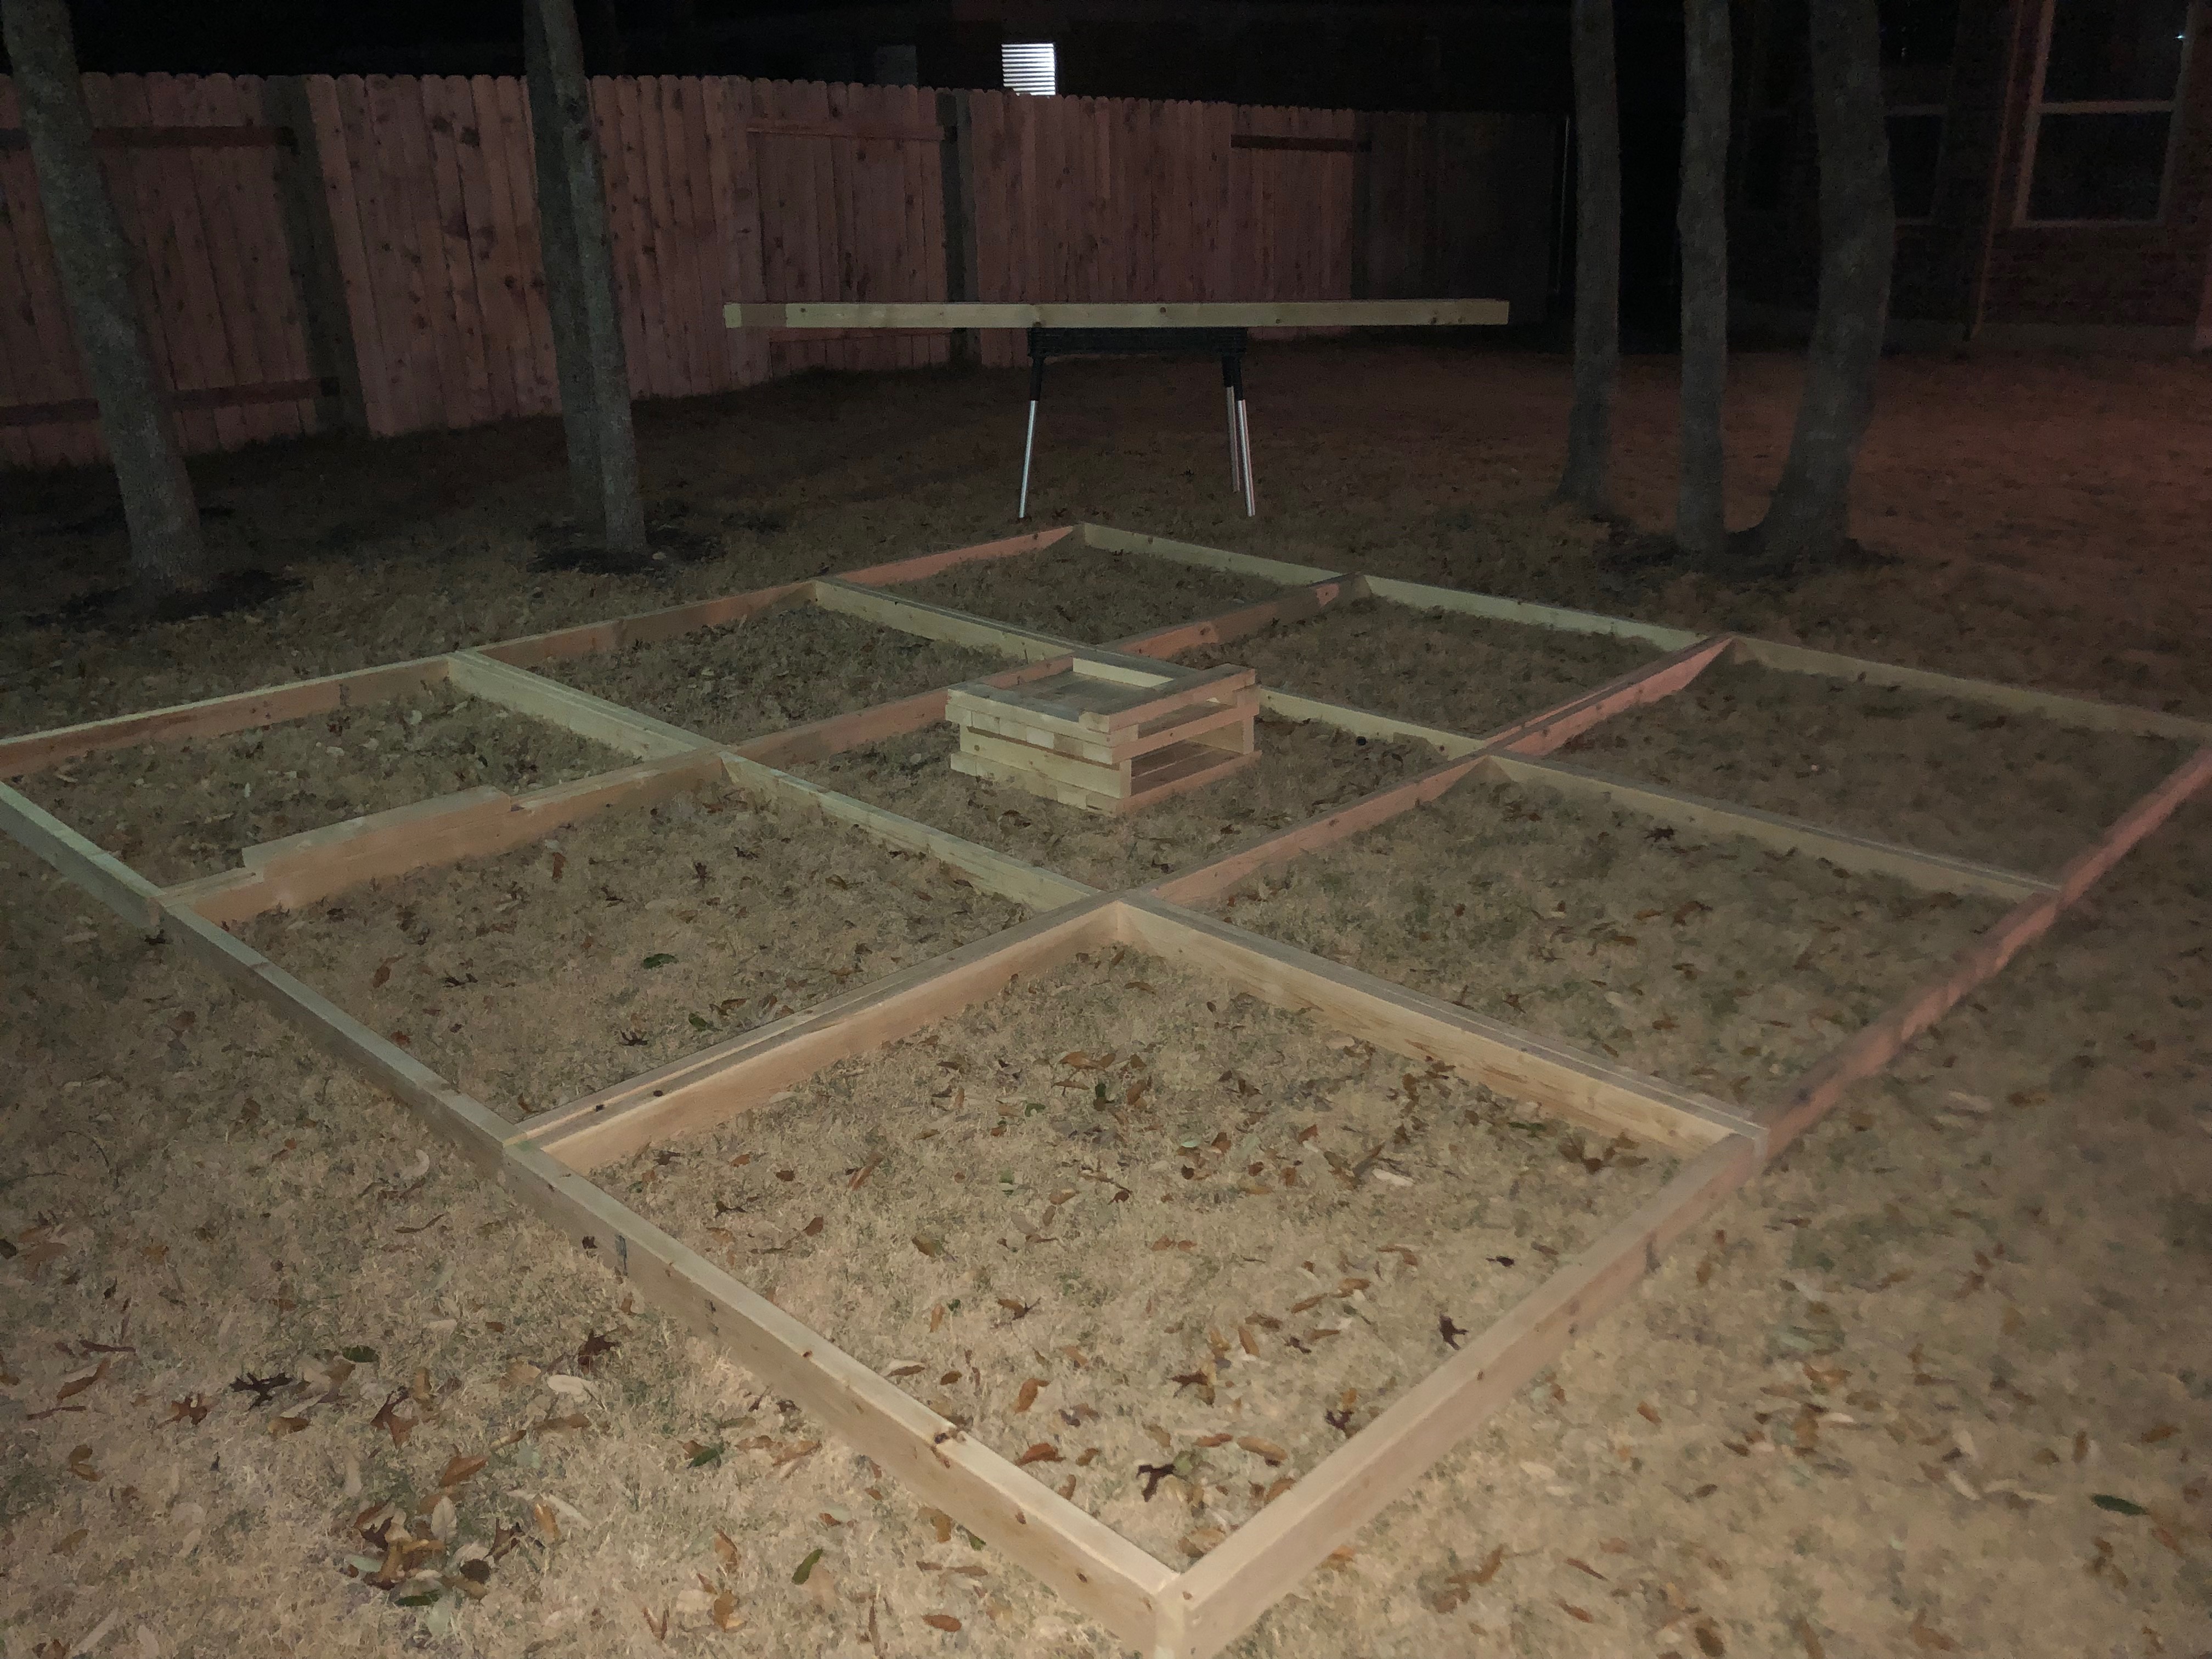
One of the late nights. But they all fit together great!
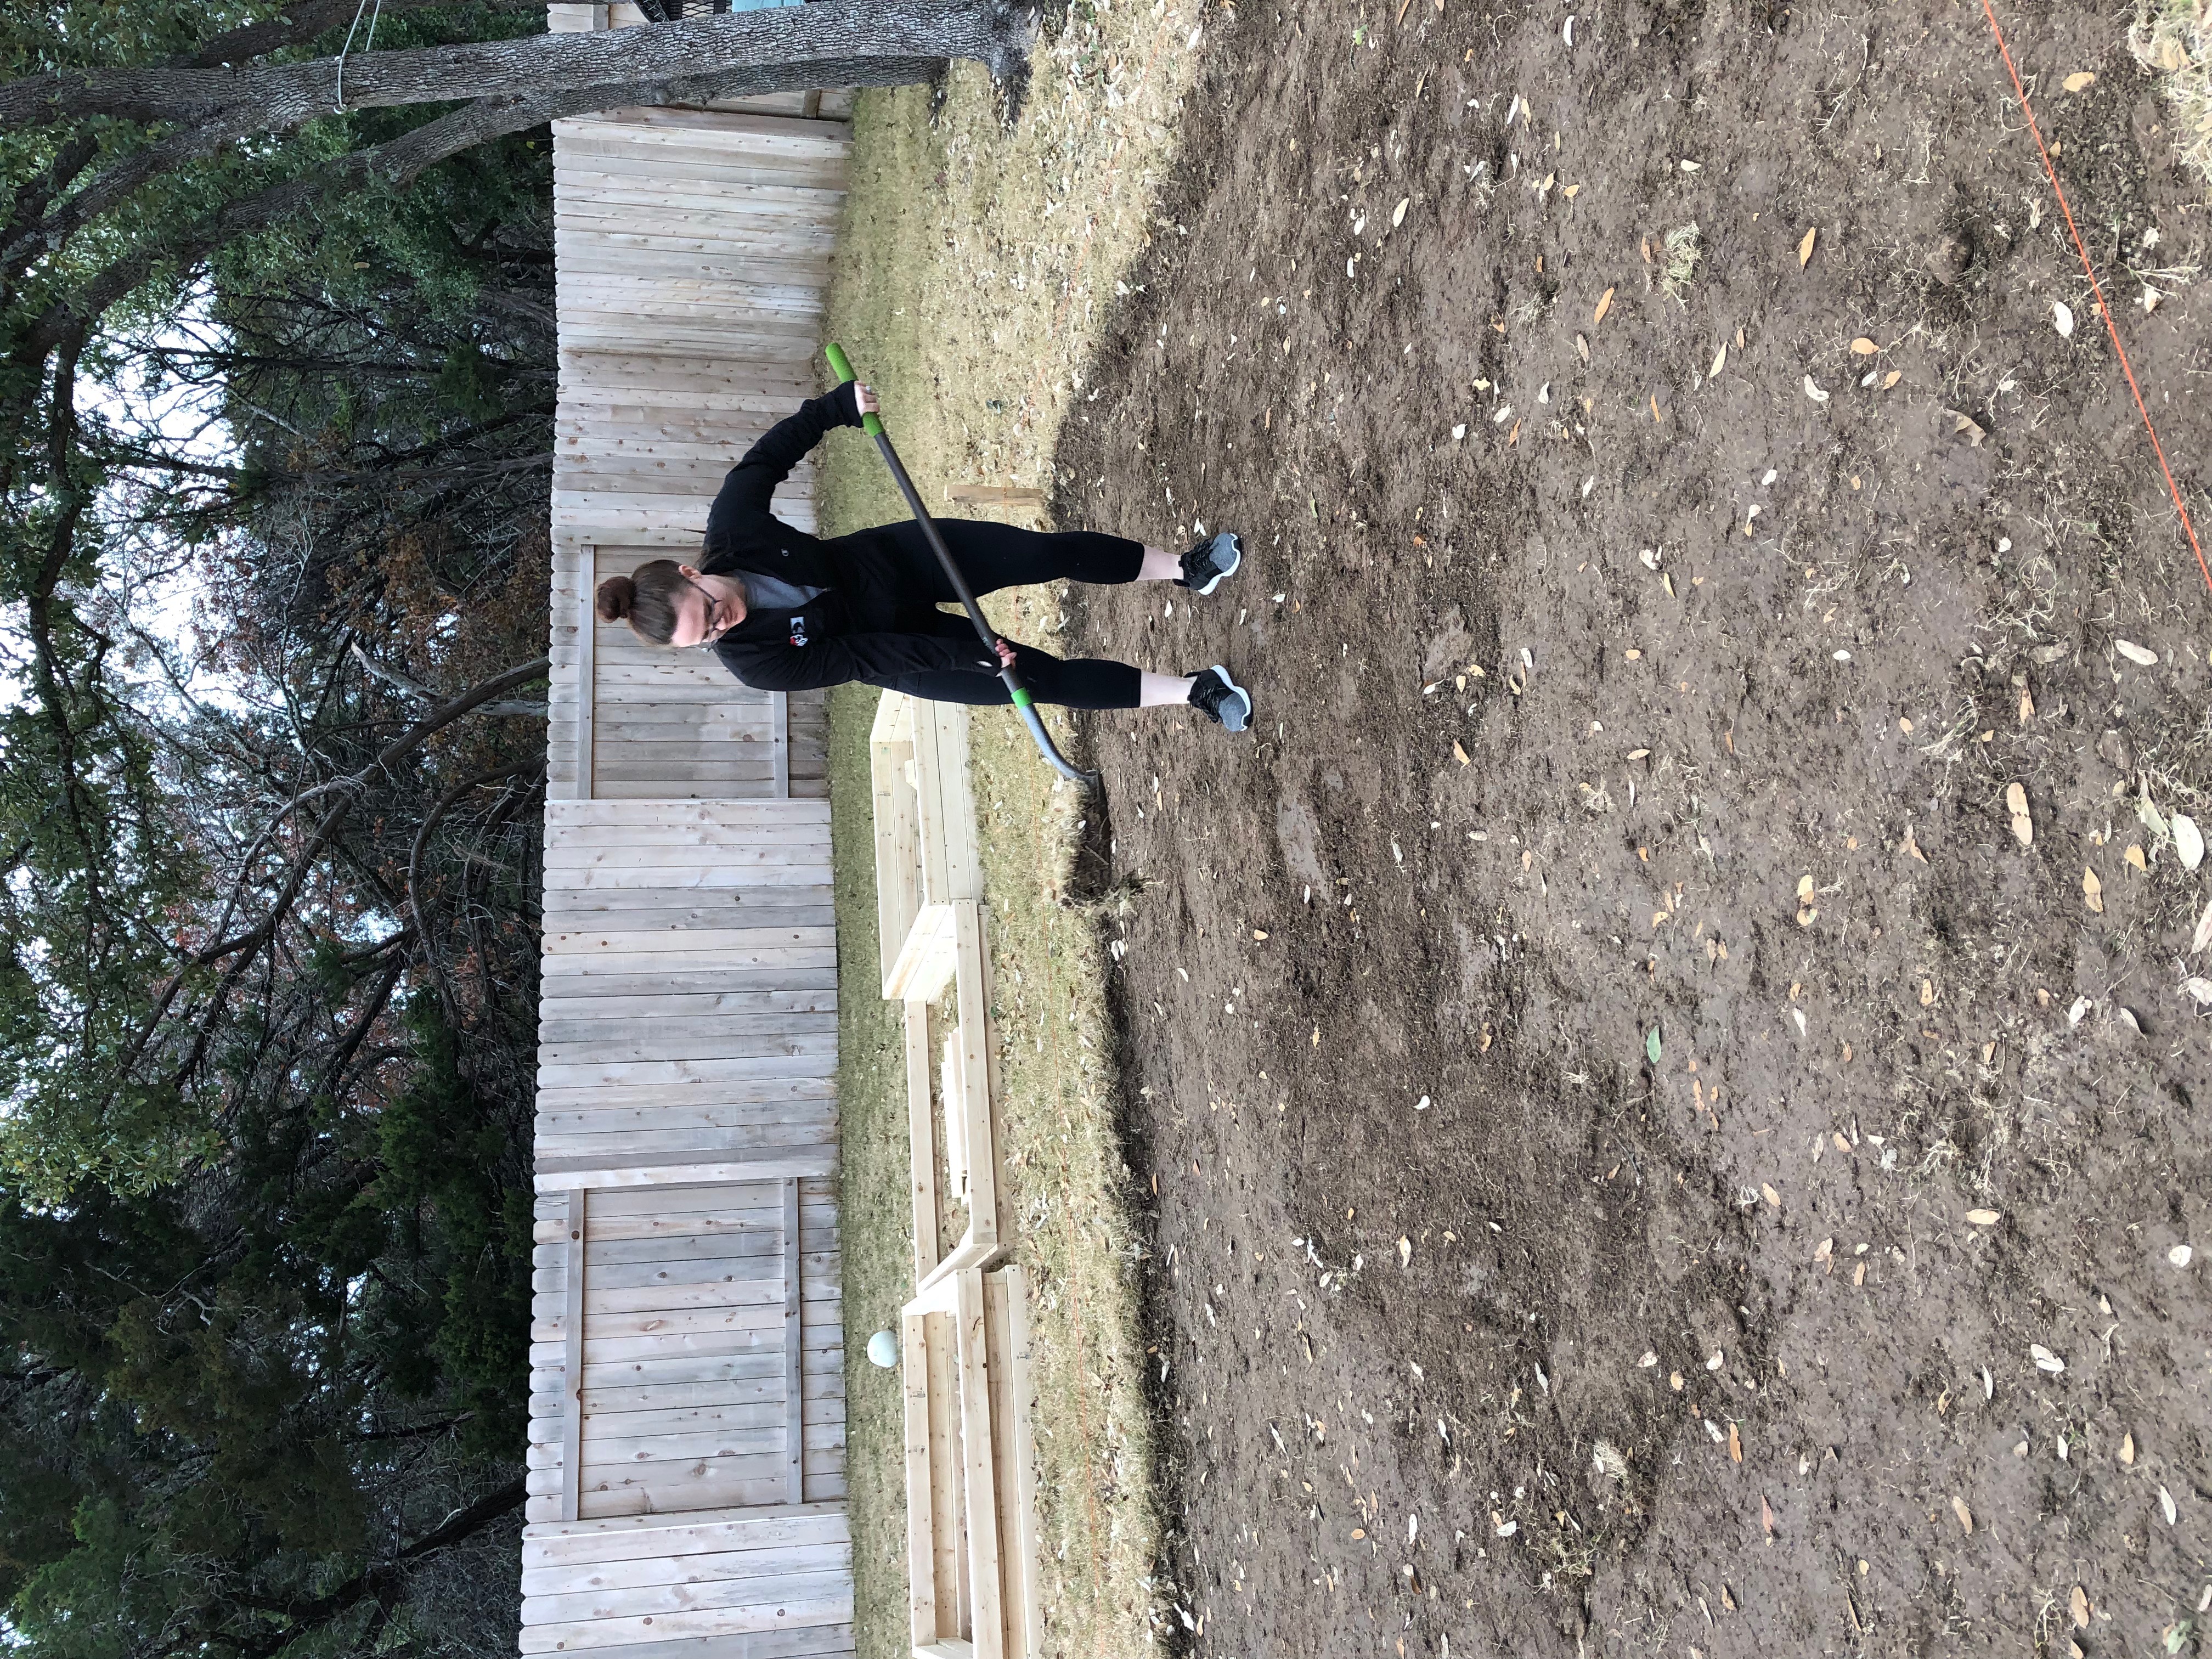
Excavating was the point that we realized the physical labor that a project like this entails. I live in Texas and have very rocky soil with tons of huge pieces of limestone. I didn’t really follow what anyone else said about depths for digging down into the ground or anything. We basically dug about 3-4 inches down in the square I marked out with spray paint as well as string and stakes. We tried digging up the area as evenly as possibly to reduce the amount of gravel needed to level the area. Before moving on, we laid all of the boxes in the area to make sure they all fit.

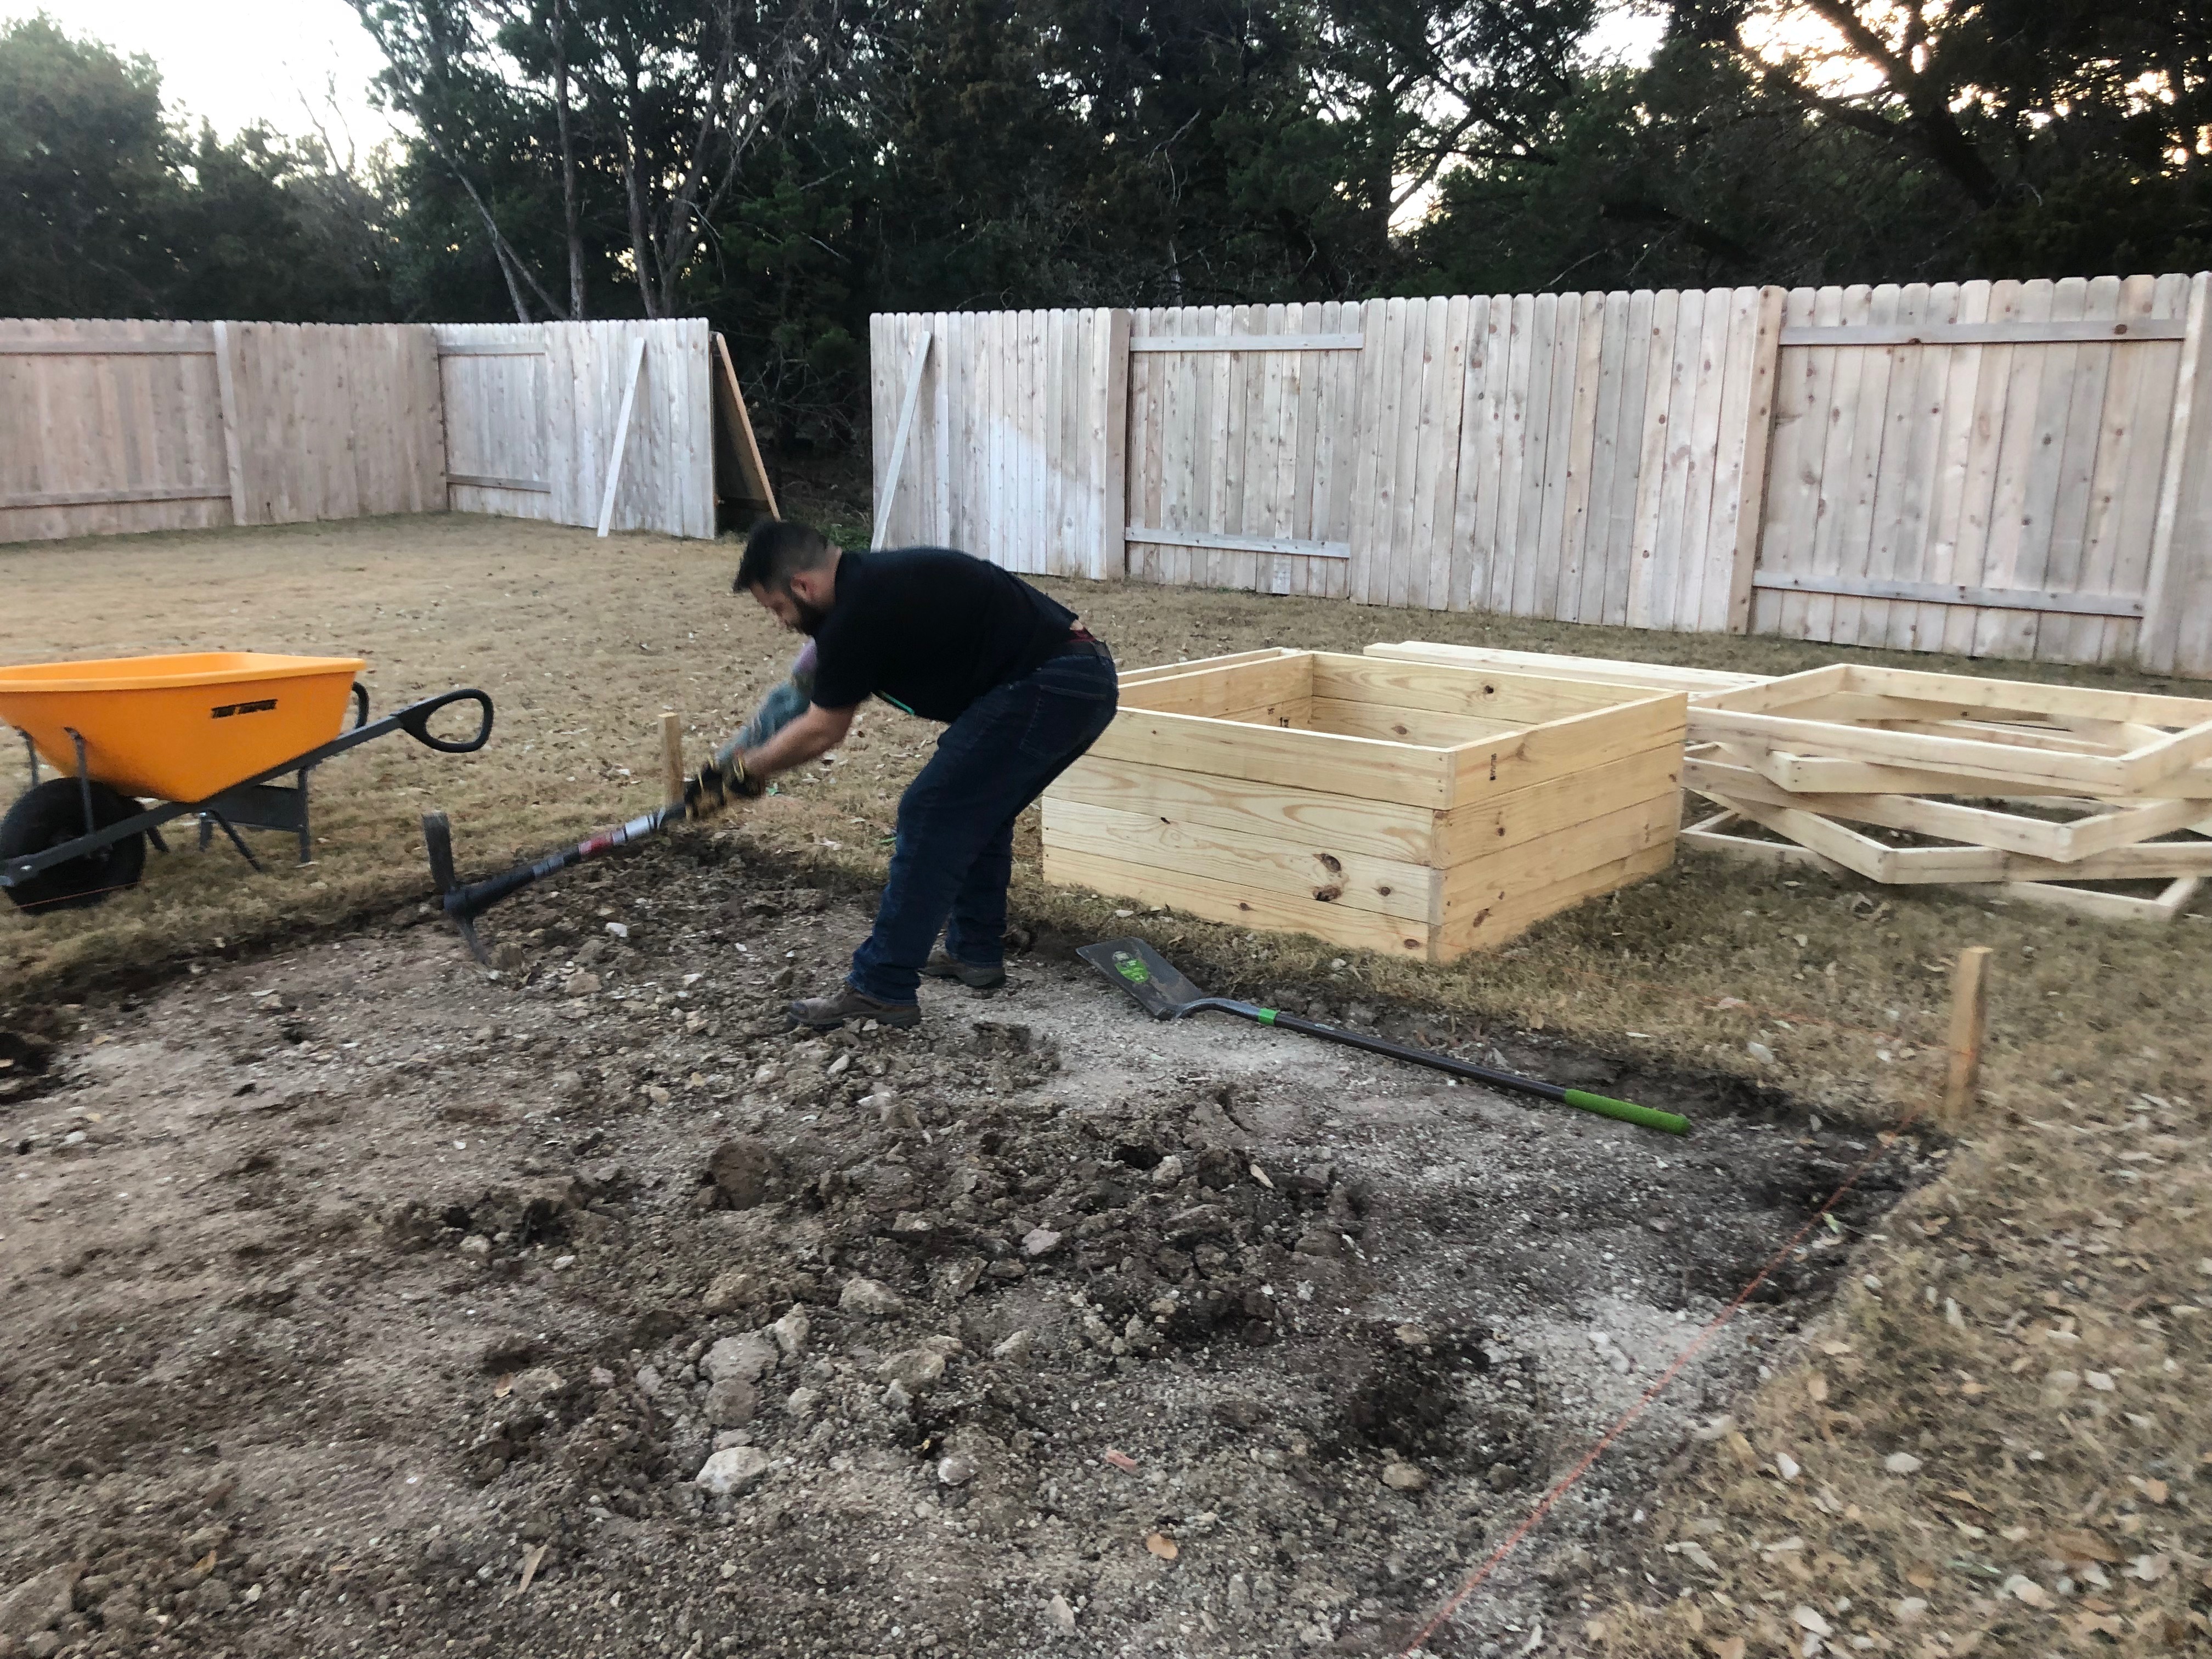
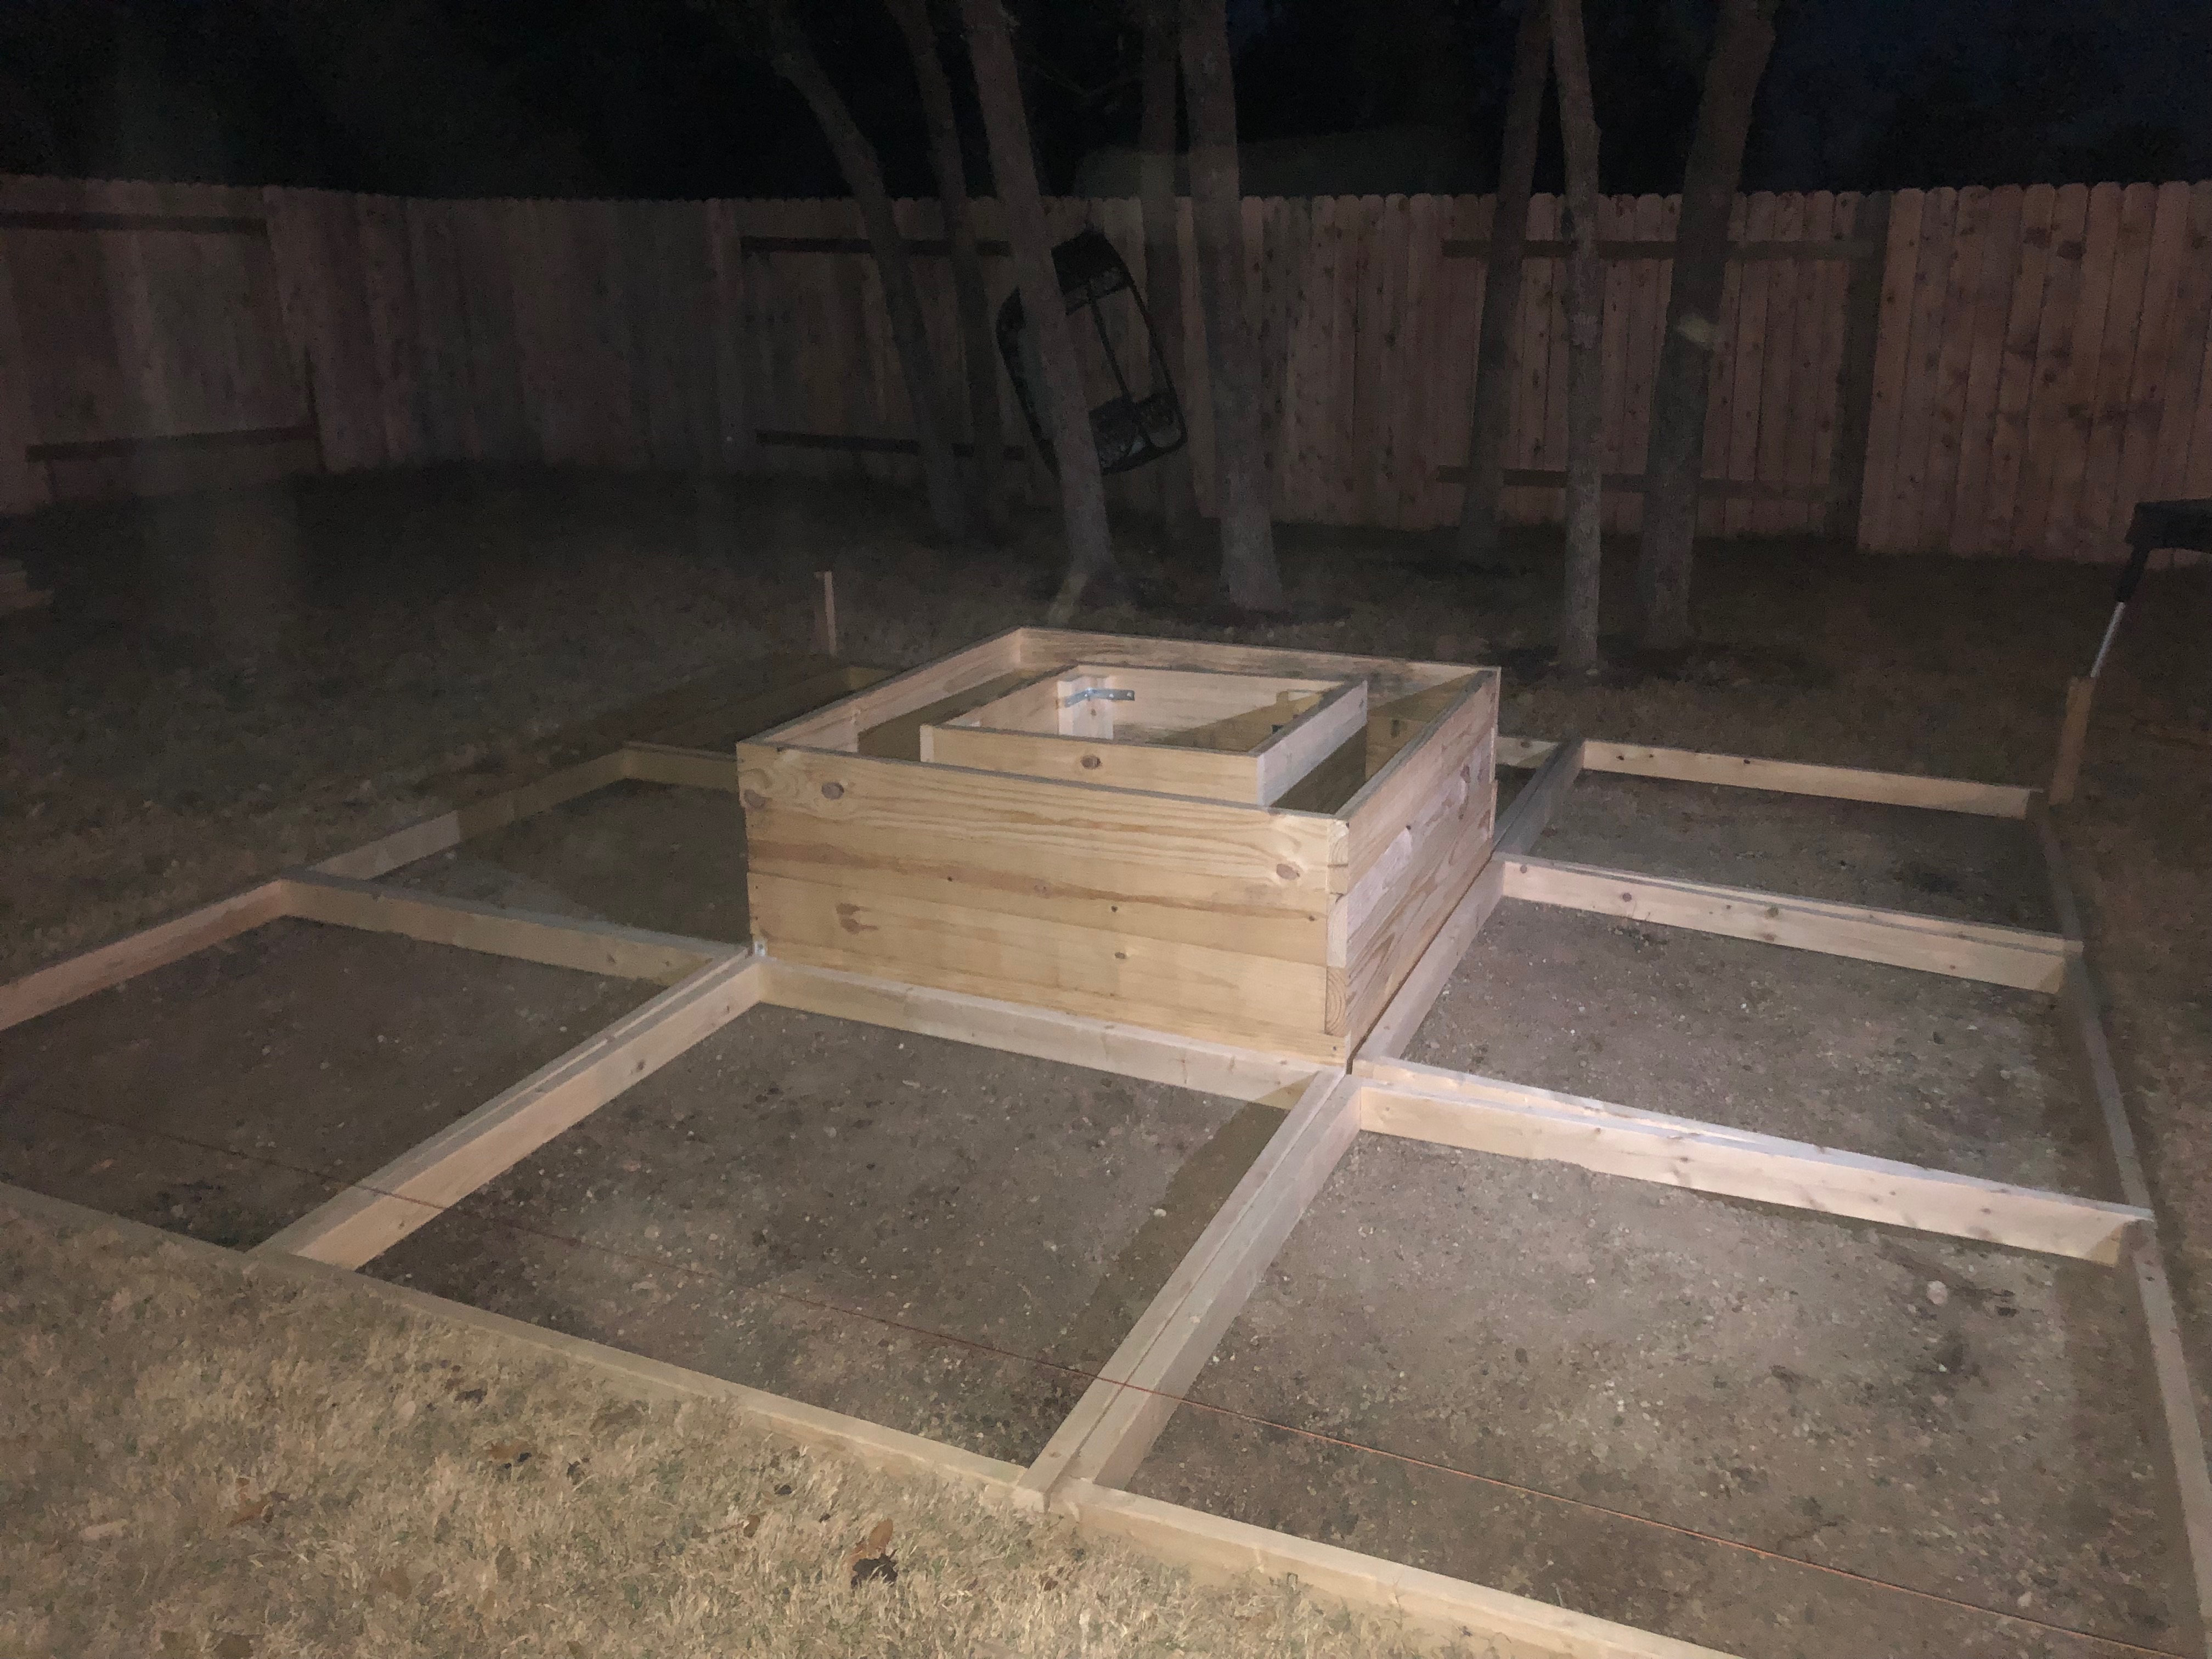
Another late night! But all the boxes fit and we’ll level them all out with gravel now.
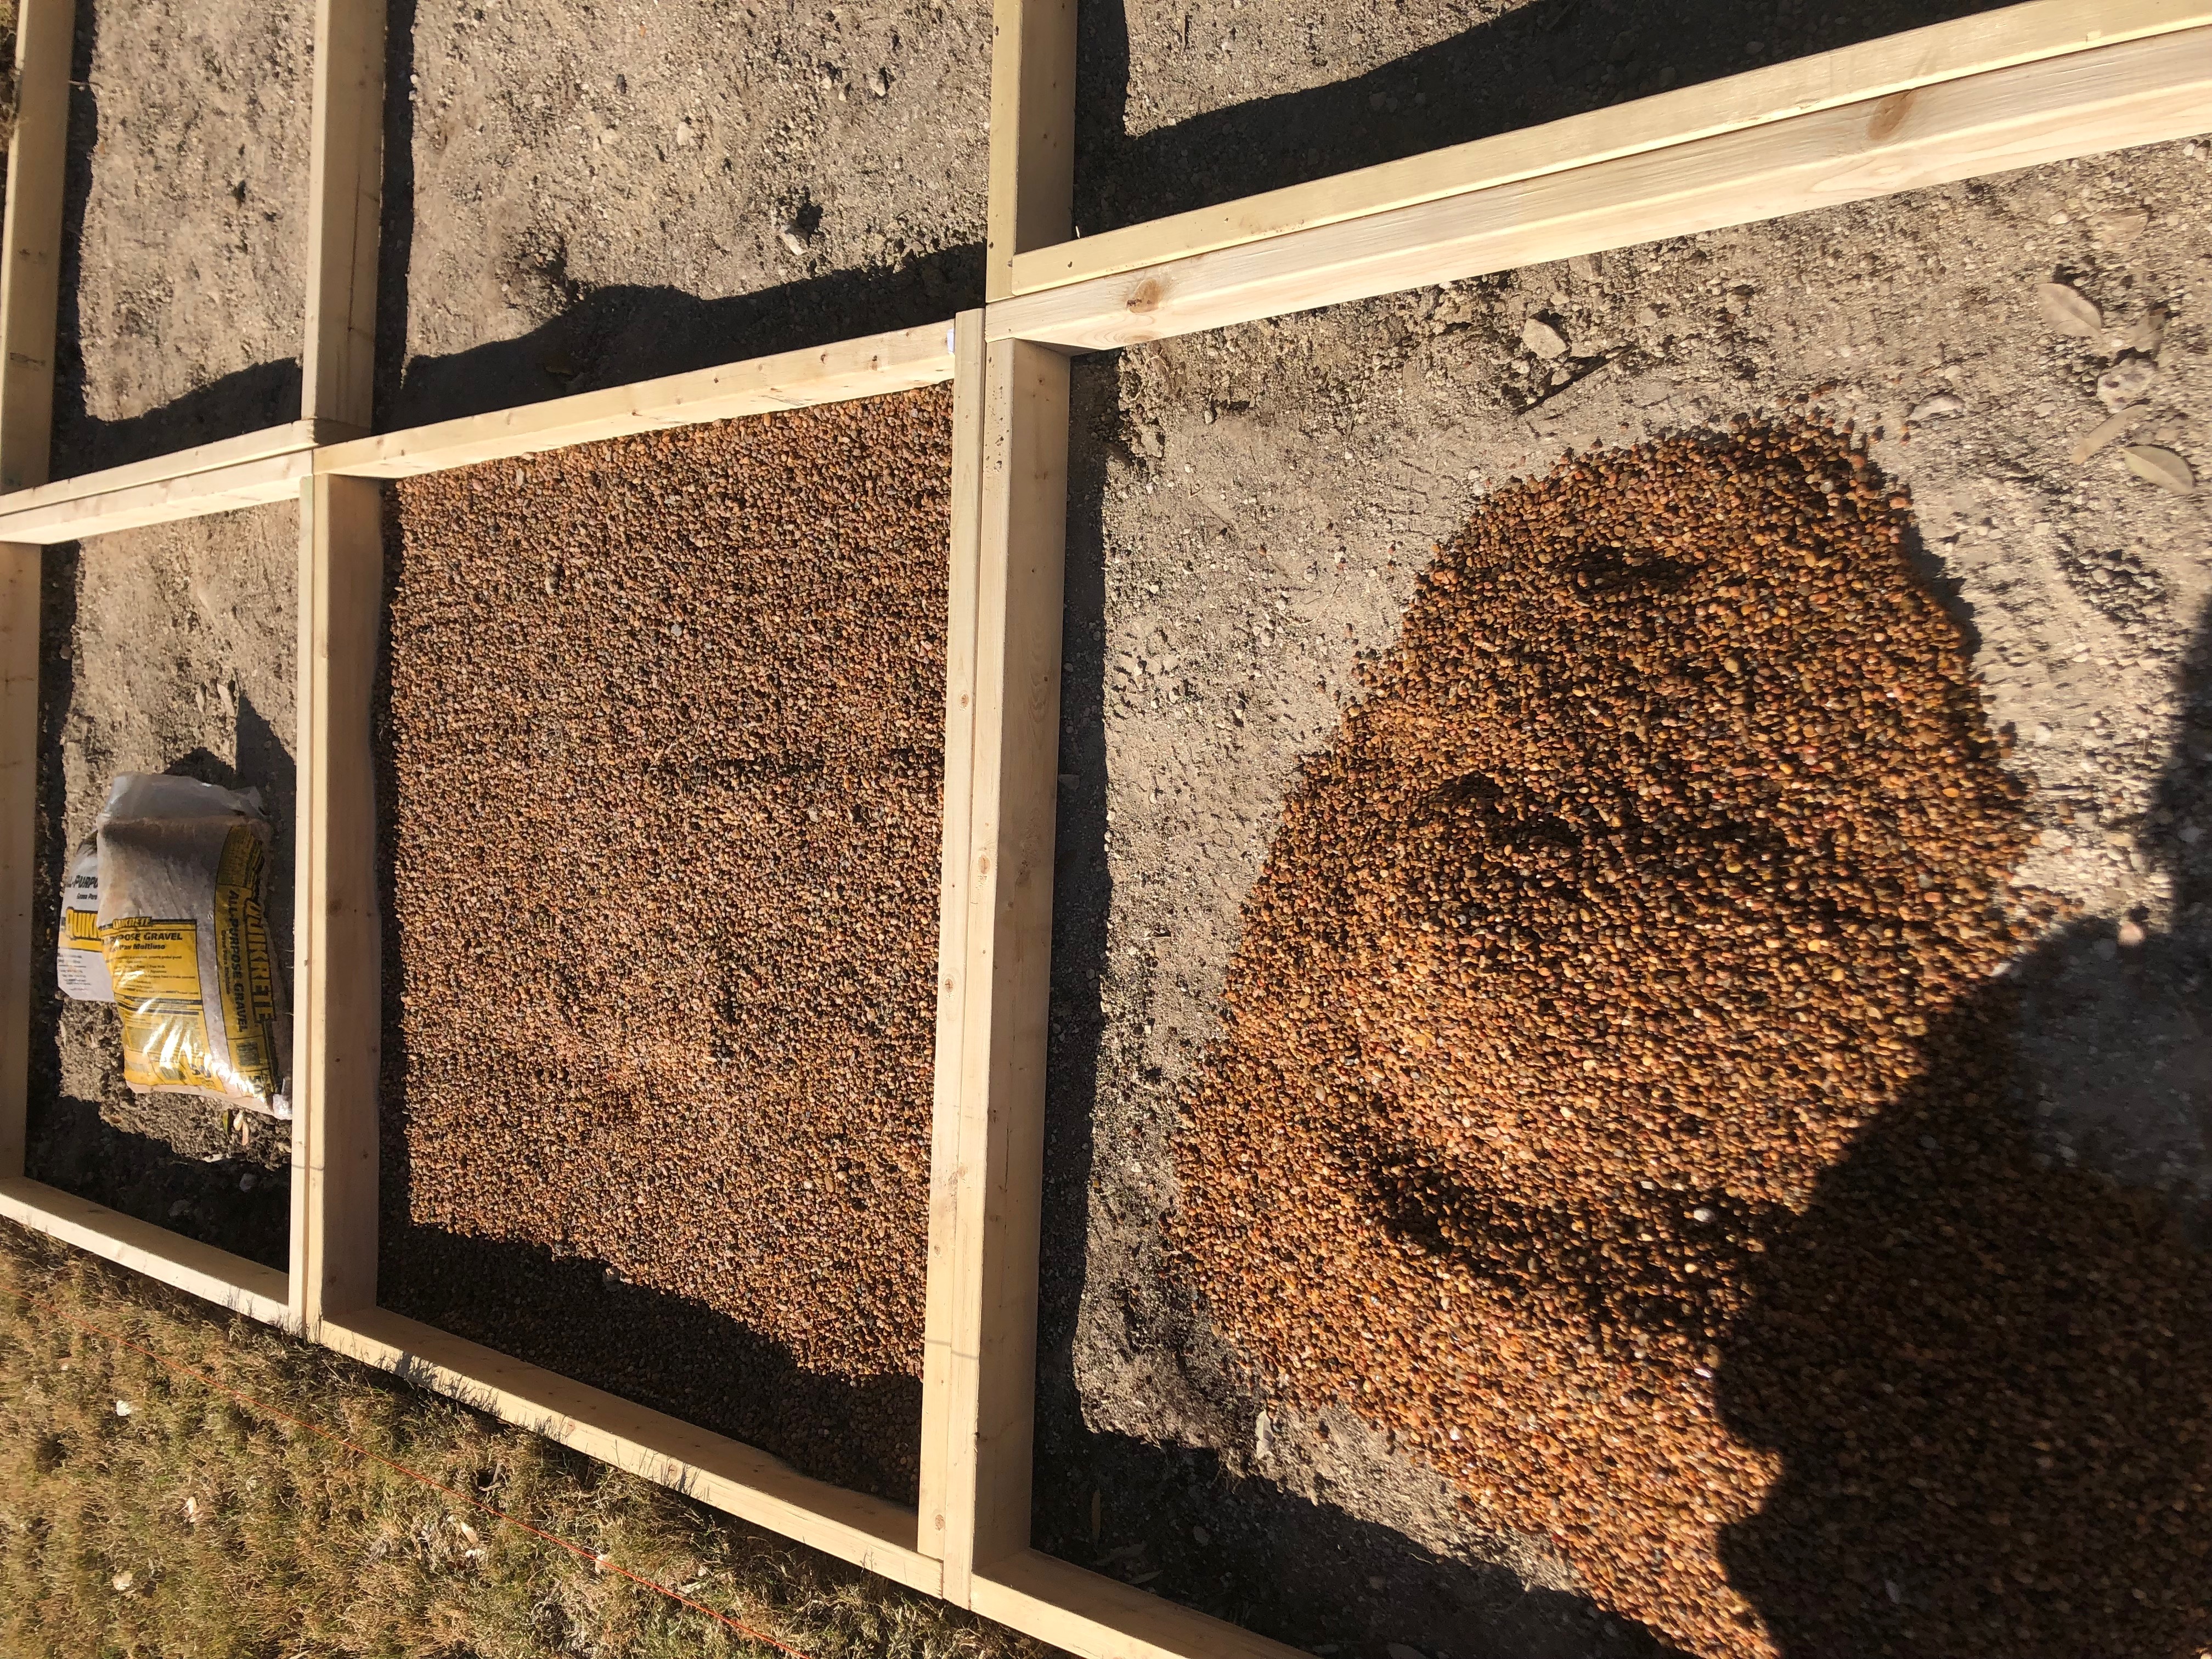
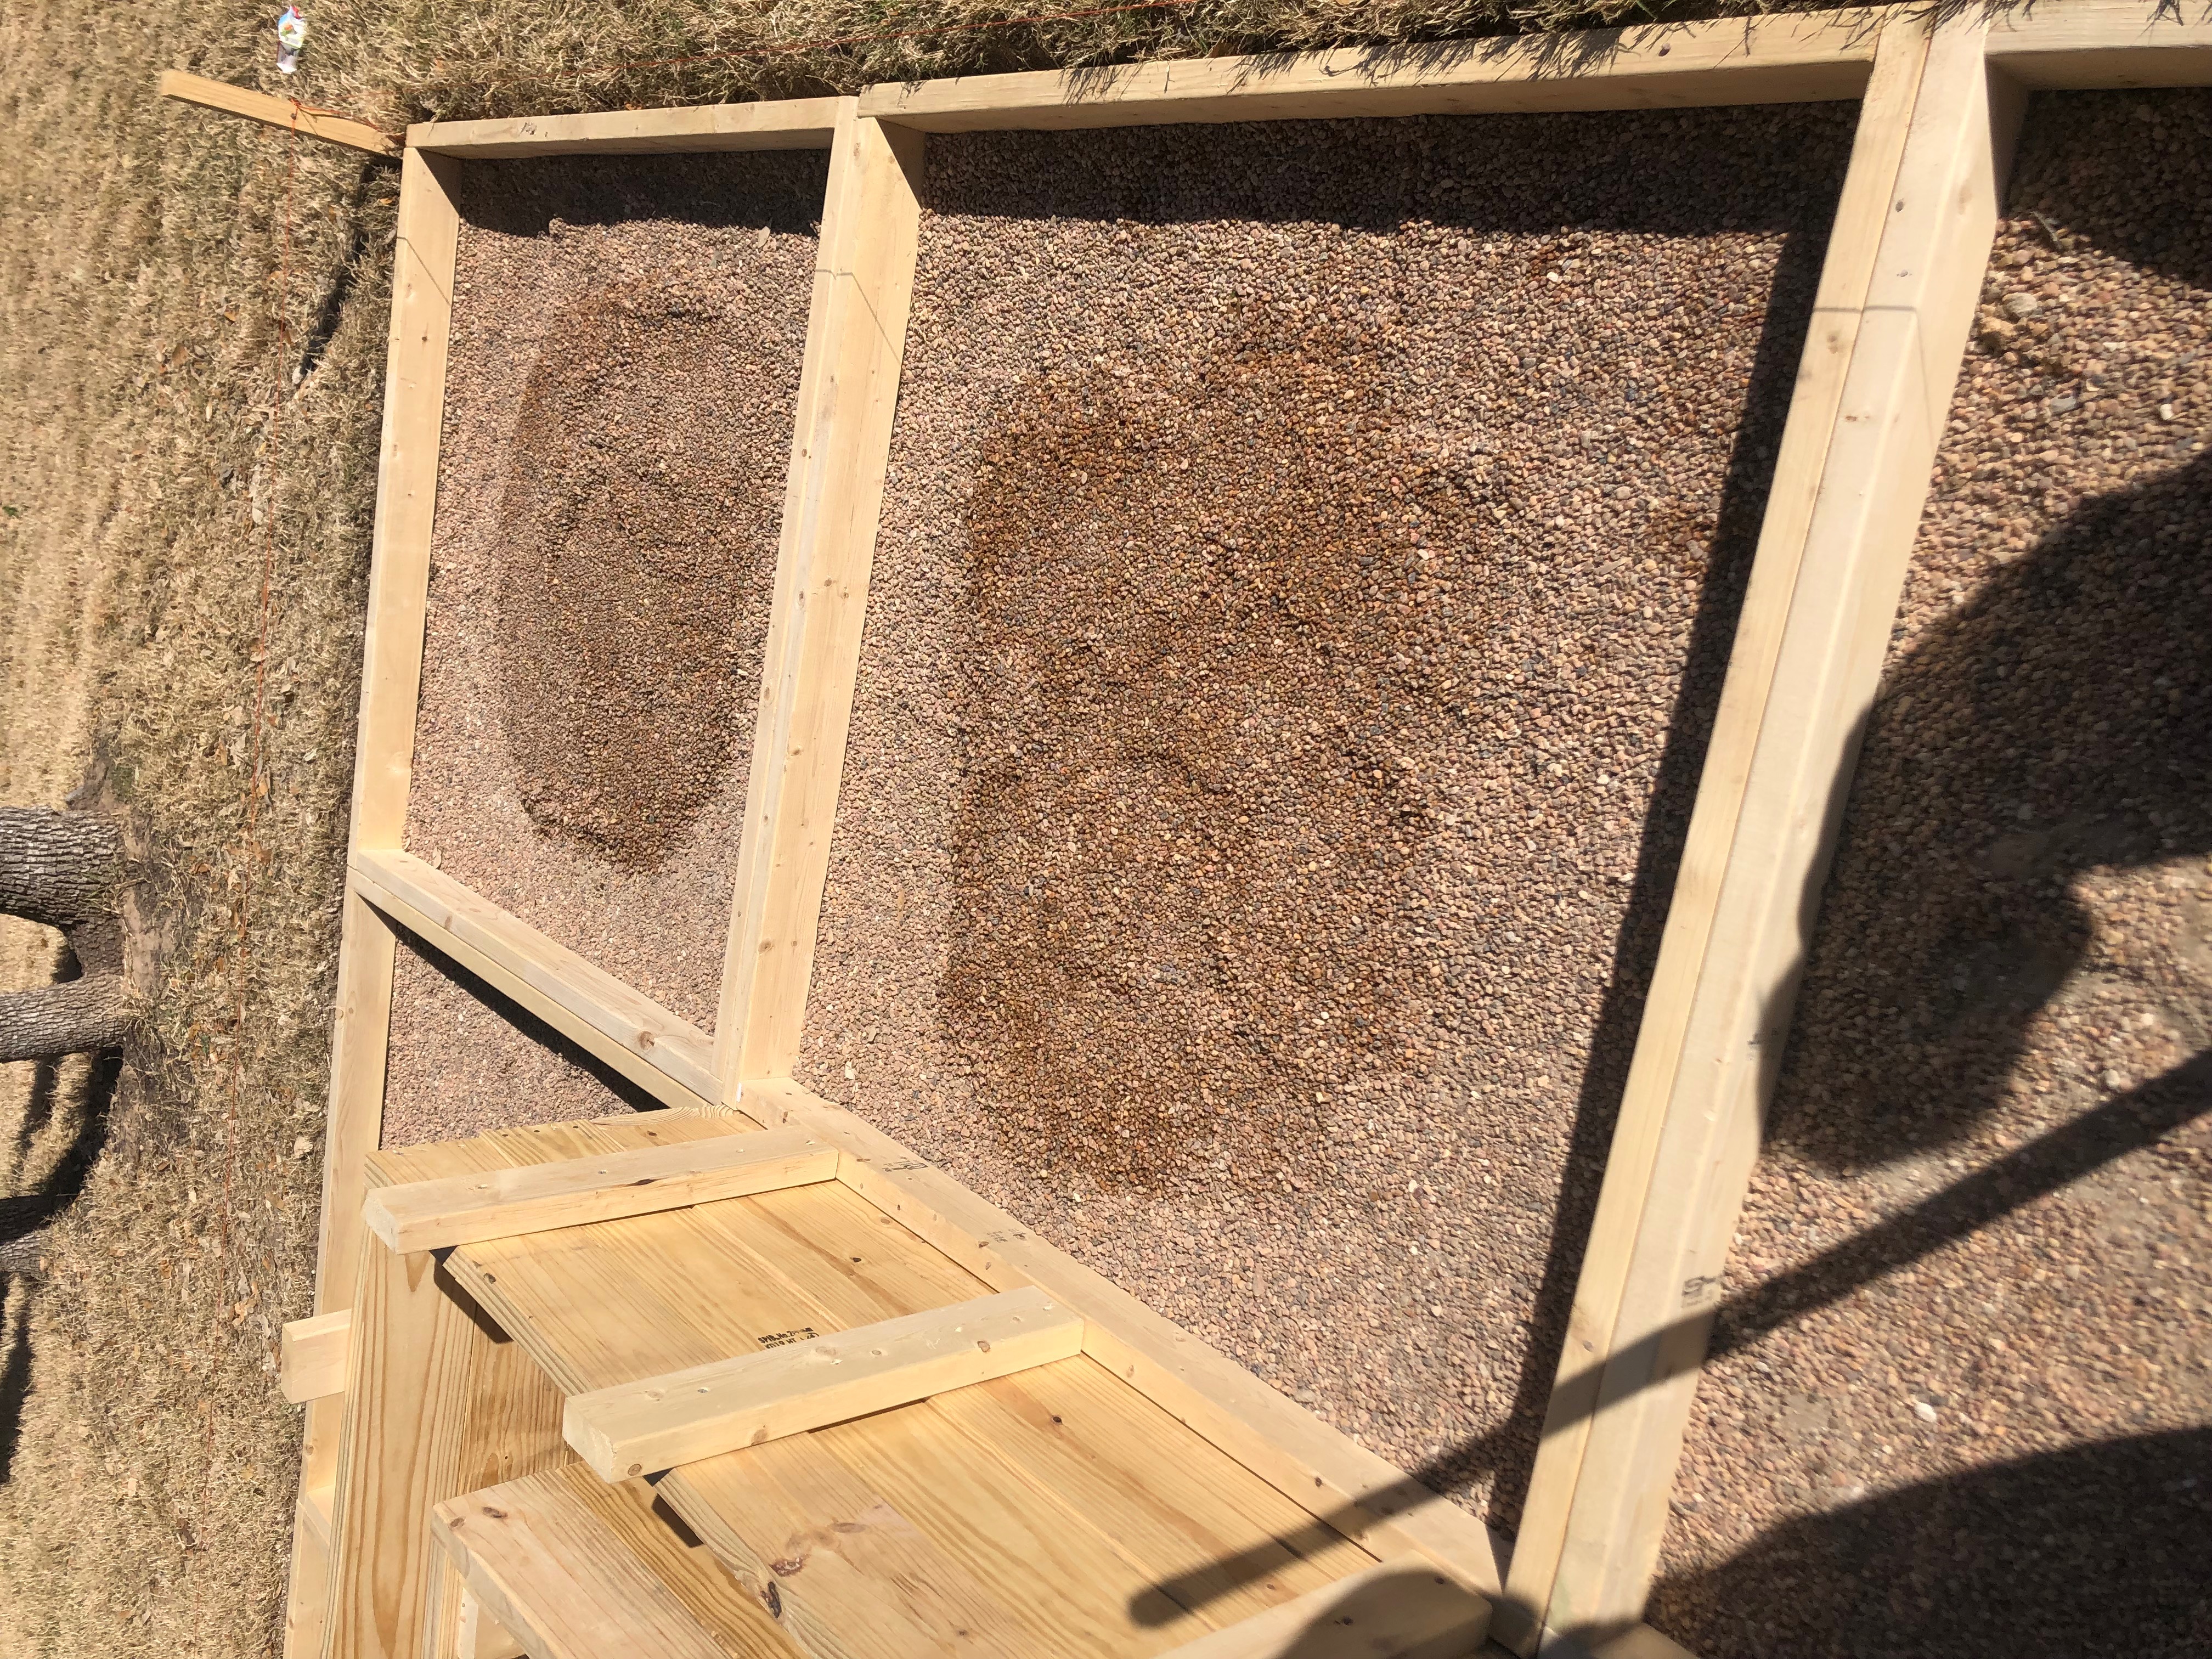
The plan was to put down a couple inches of gravel. What ended up happening was a thin layer of gravel, just covering the base of the area. Then we built up a small mound of gravel in the center of each box so the concrete is thickest on the edges for strength. (This is a tip I heard from multiple concrete professionals). After pouring out all the mounds of gravel, I took the tamper and tamped them down to be mostly level and as compact as possible. Use a level to make sure everything is level or sloped to the appropriate angle that you want. (See the little mounds of gravel below. They’re not huge because I still want a thick layer of concrete)
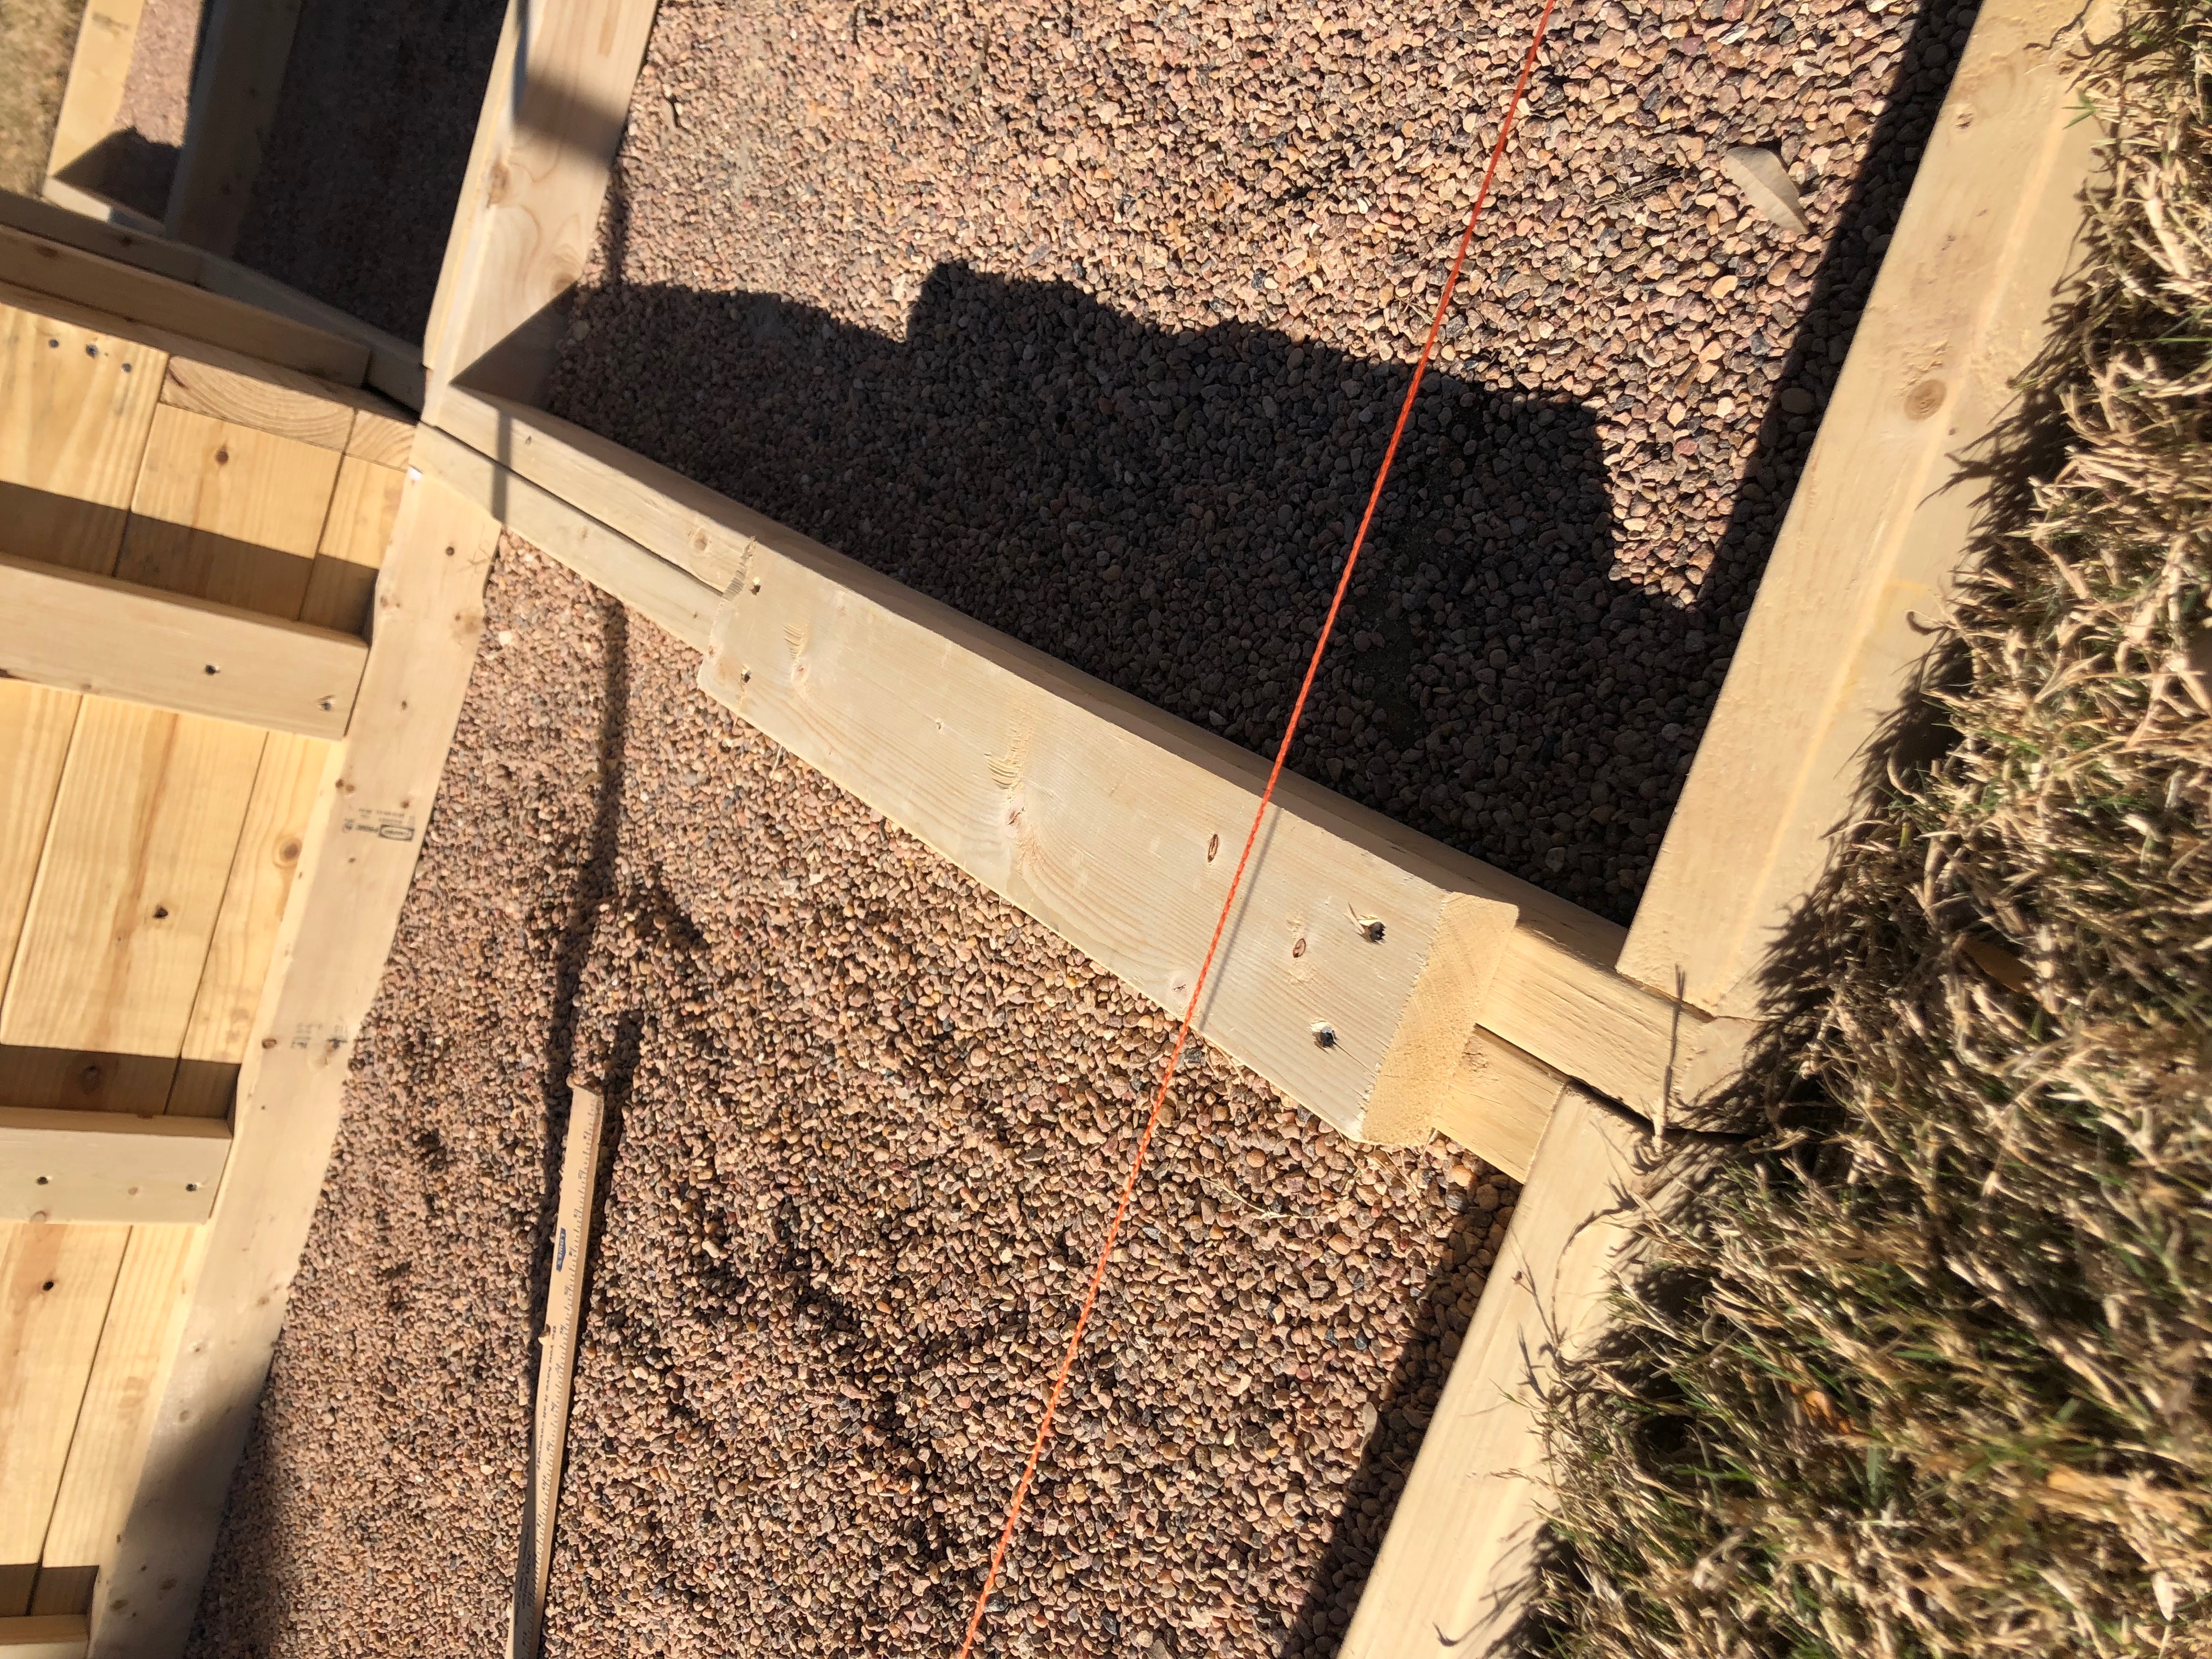
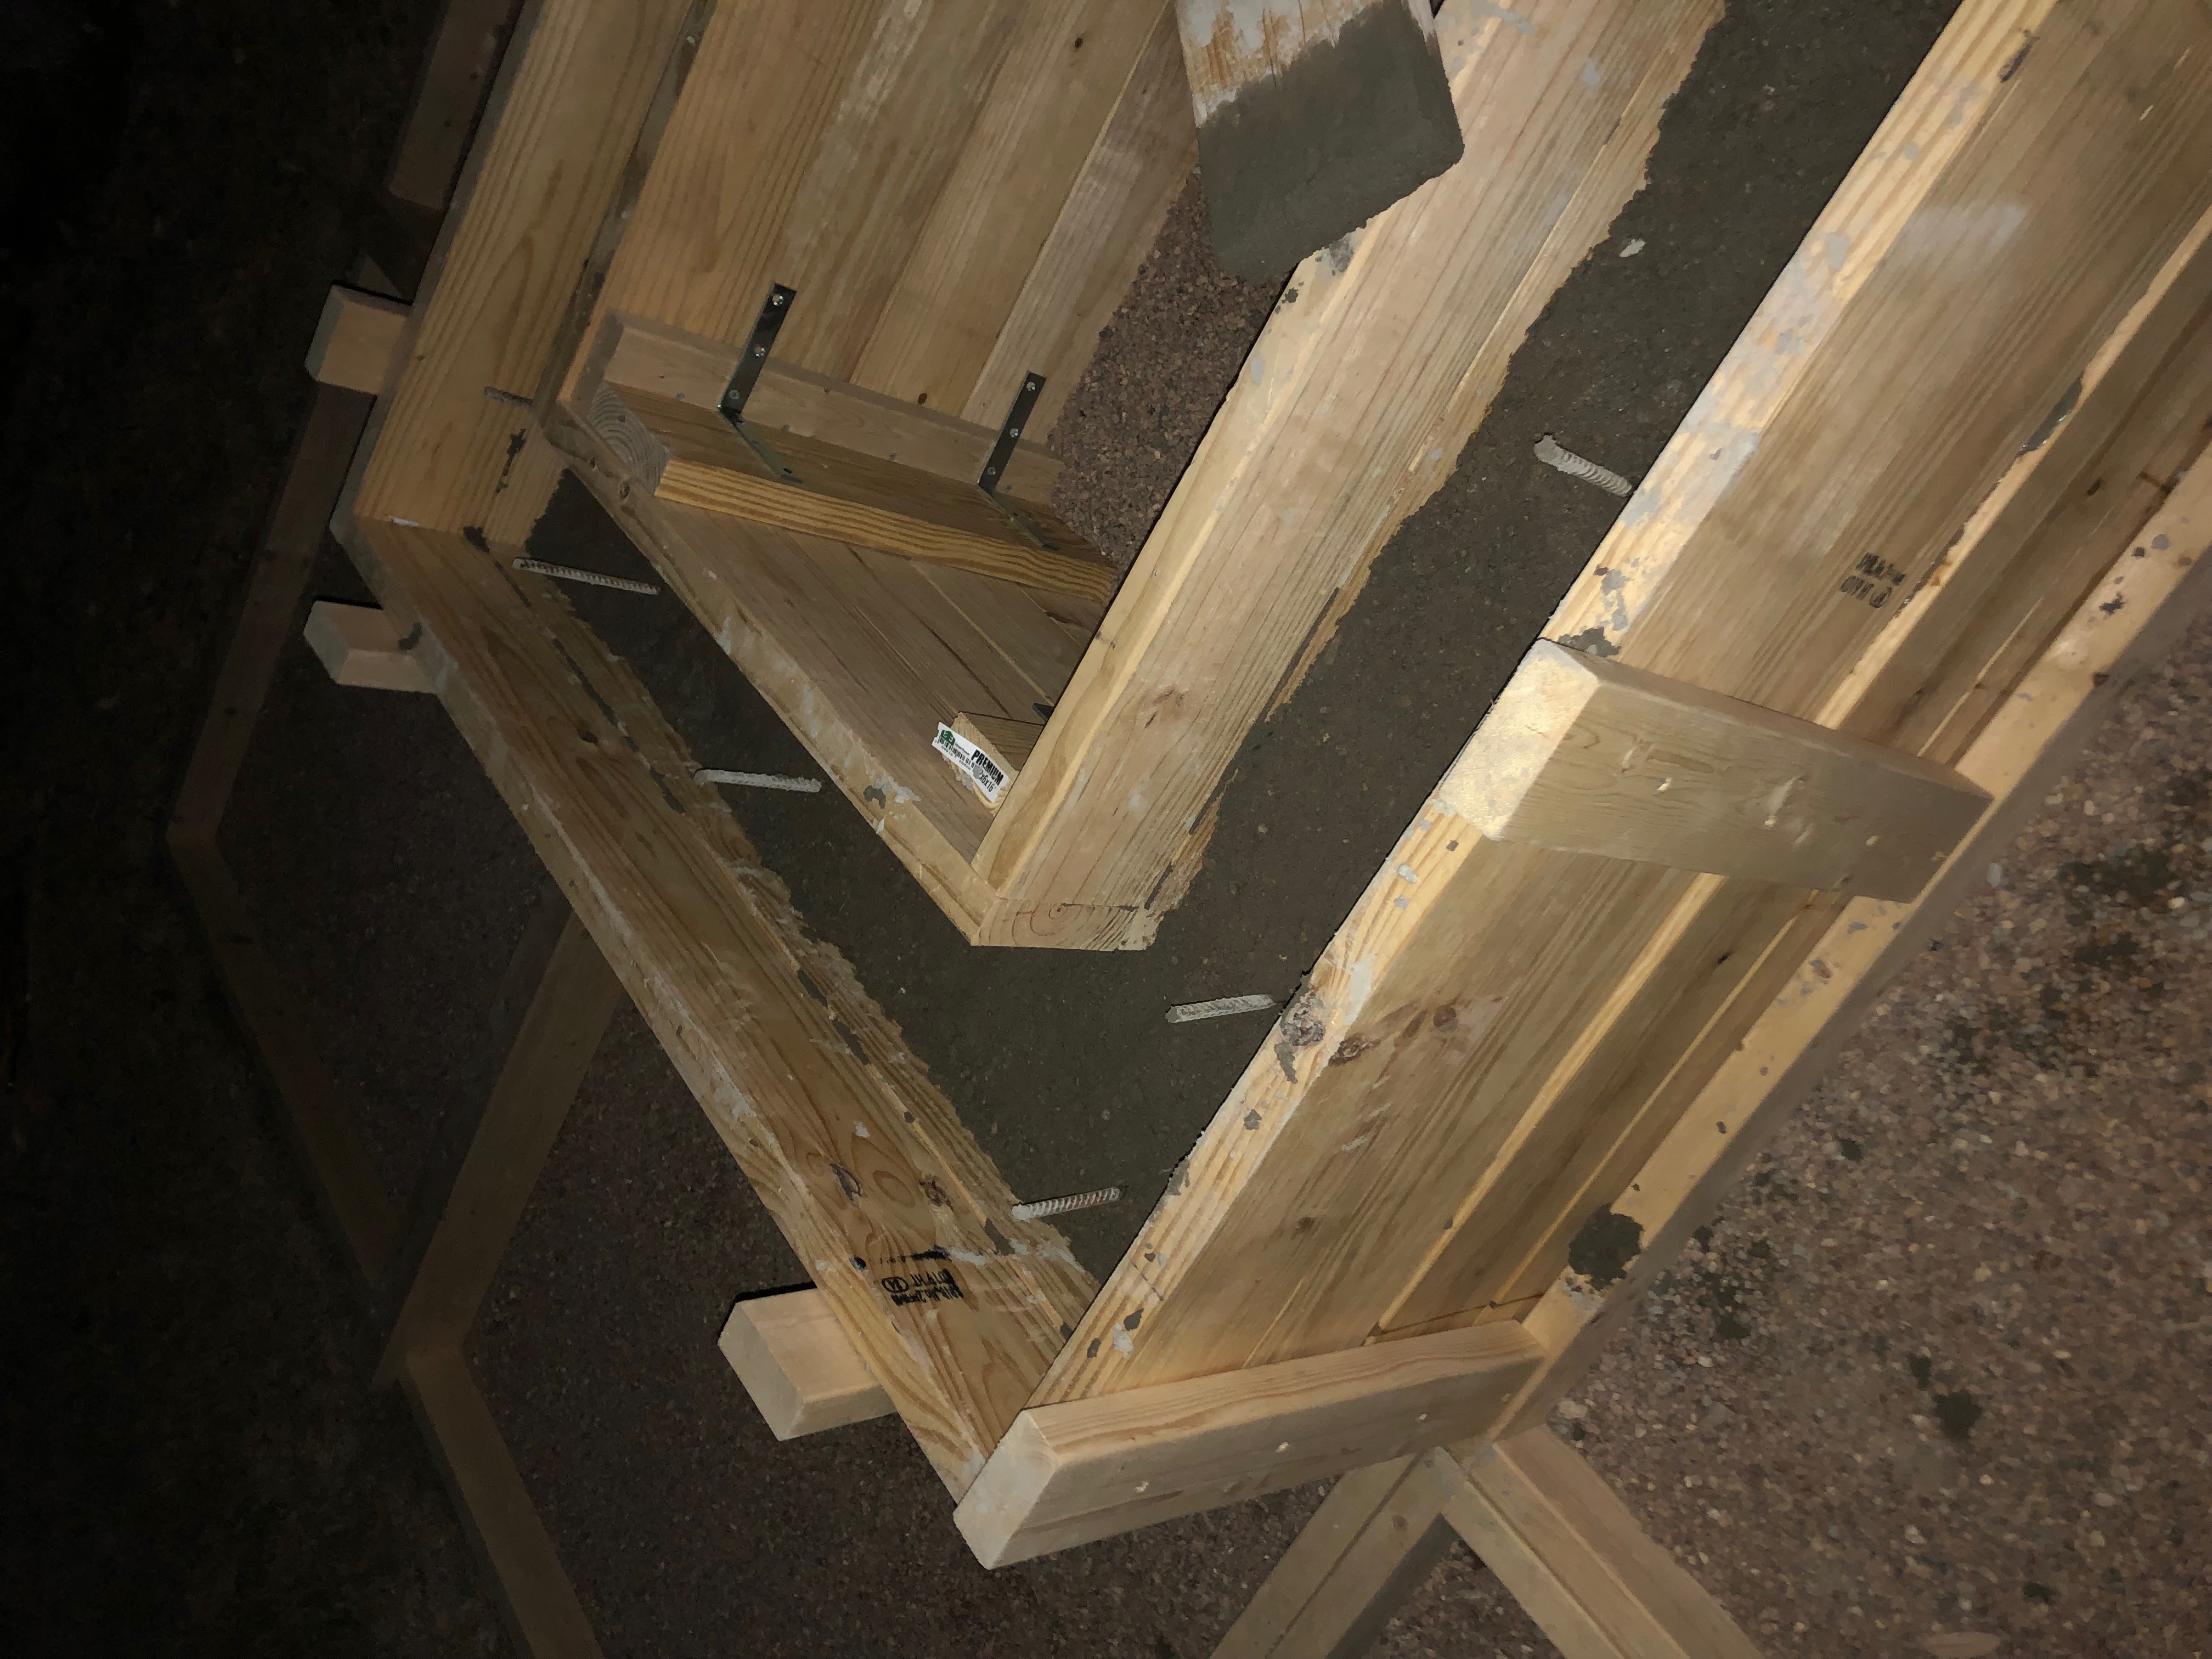
Once the boxes are placed and leveled with the gravel, take more scrap pieces of 2 x 4s and screw them into the boxes butted up against one another. This will keep the frame from shifting while pouring the concrete. It also keeps the boards aligned until the concrete is dry. Lastly, to secure the fire pit boxes, take a scrap piece of 2 x 4 that’s long enough to secure the interior box to the exterior box on each of the four sides. Before bracing the interior fire pit box with the exterior one, make sure to level them with each other. It wont work well with the concrete if it’s not leveled properly.
Be sure to place the securing brace with plenty of room to pour the concrete. Finally, we secured the exterior of the fire pit boxes to hold together for the concrete pour. Now everything should pretty much be braced to everything else.
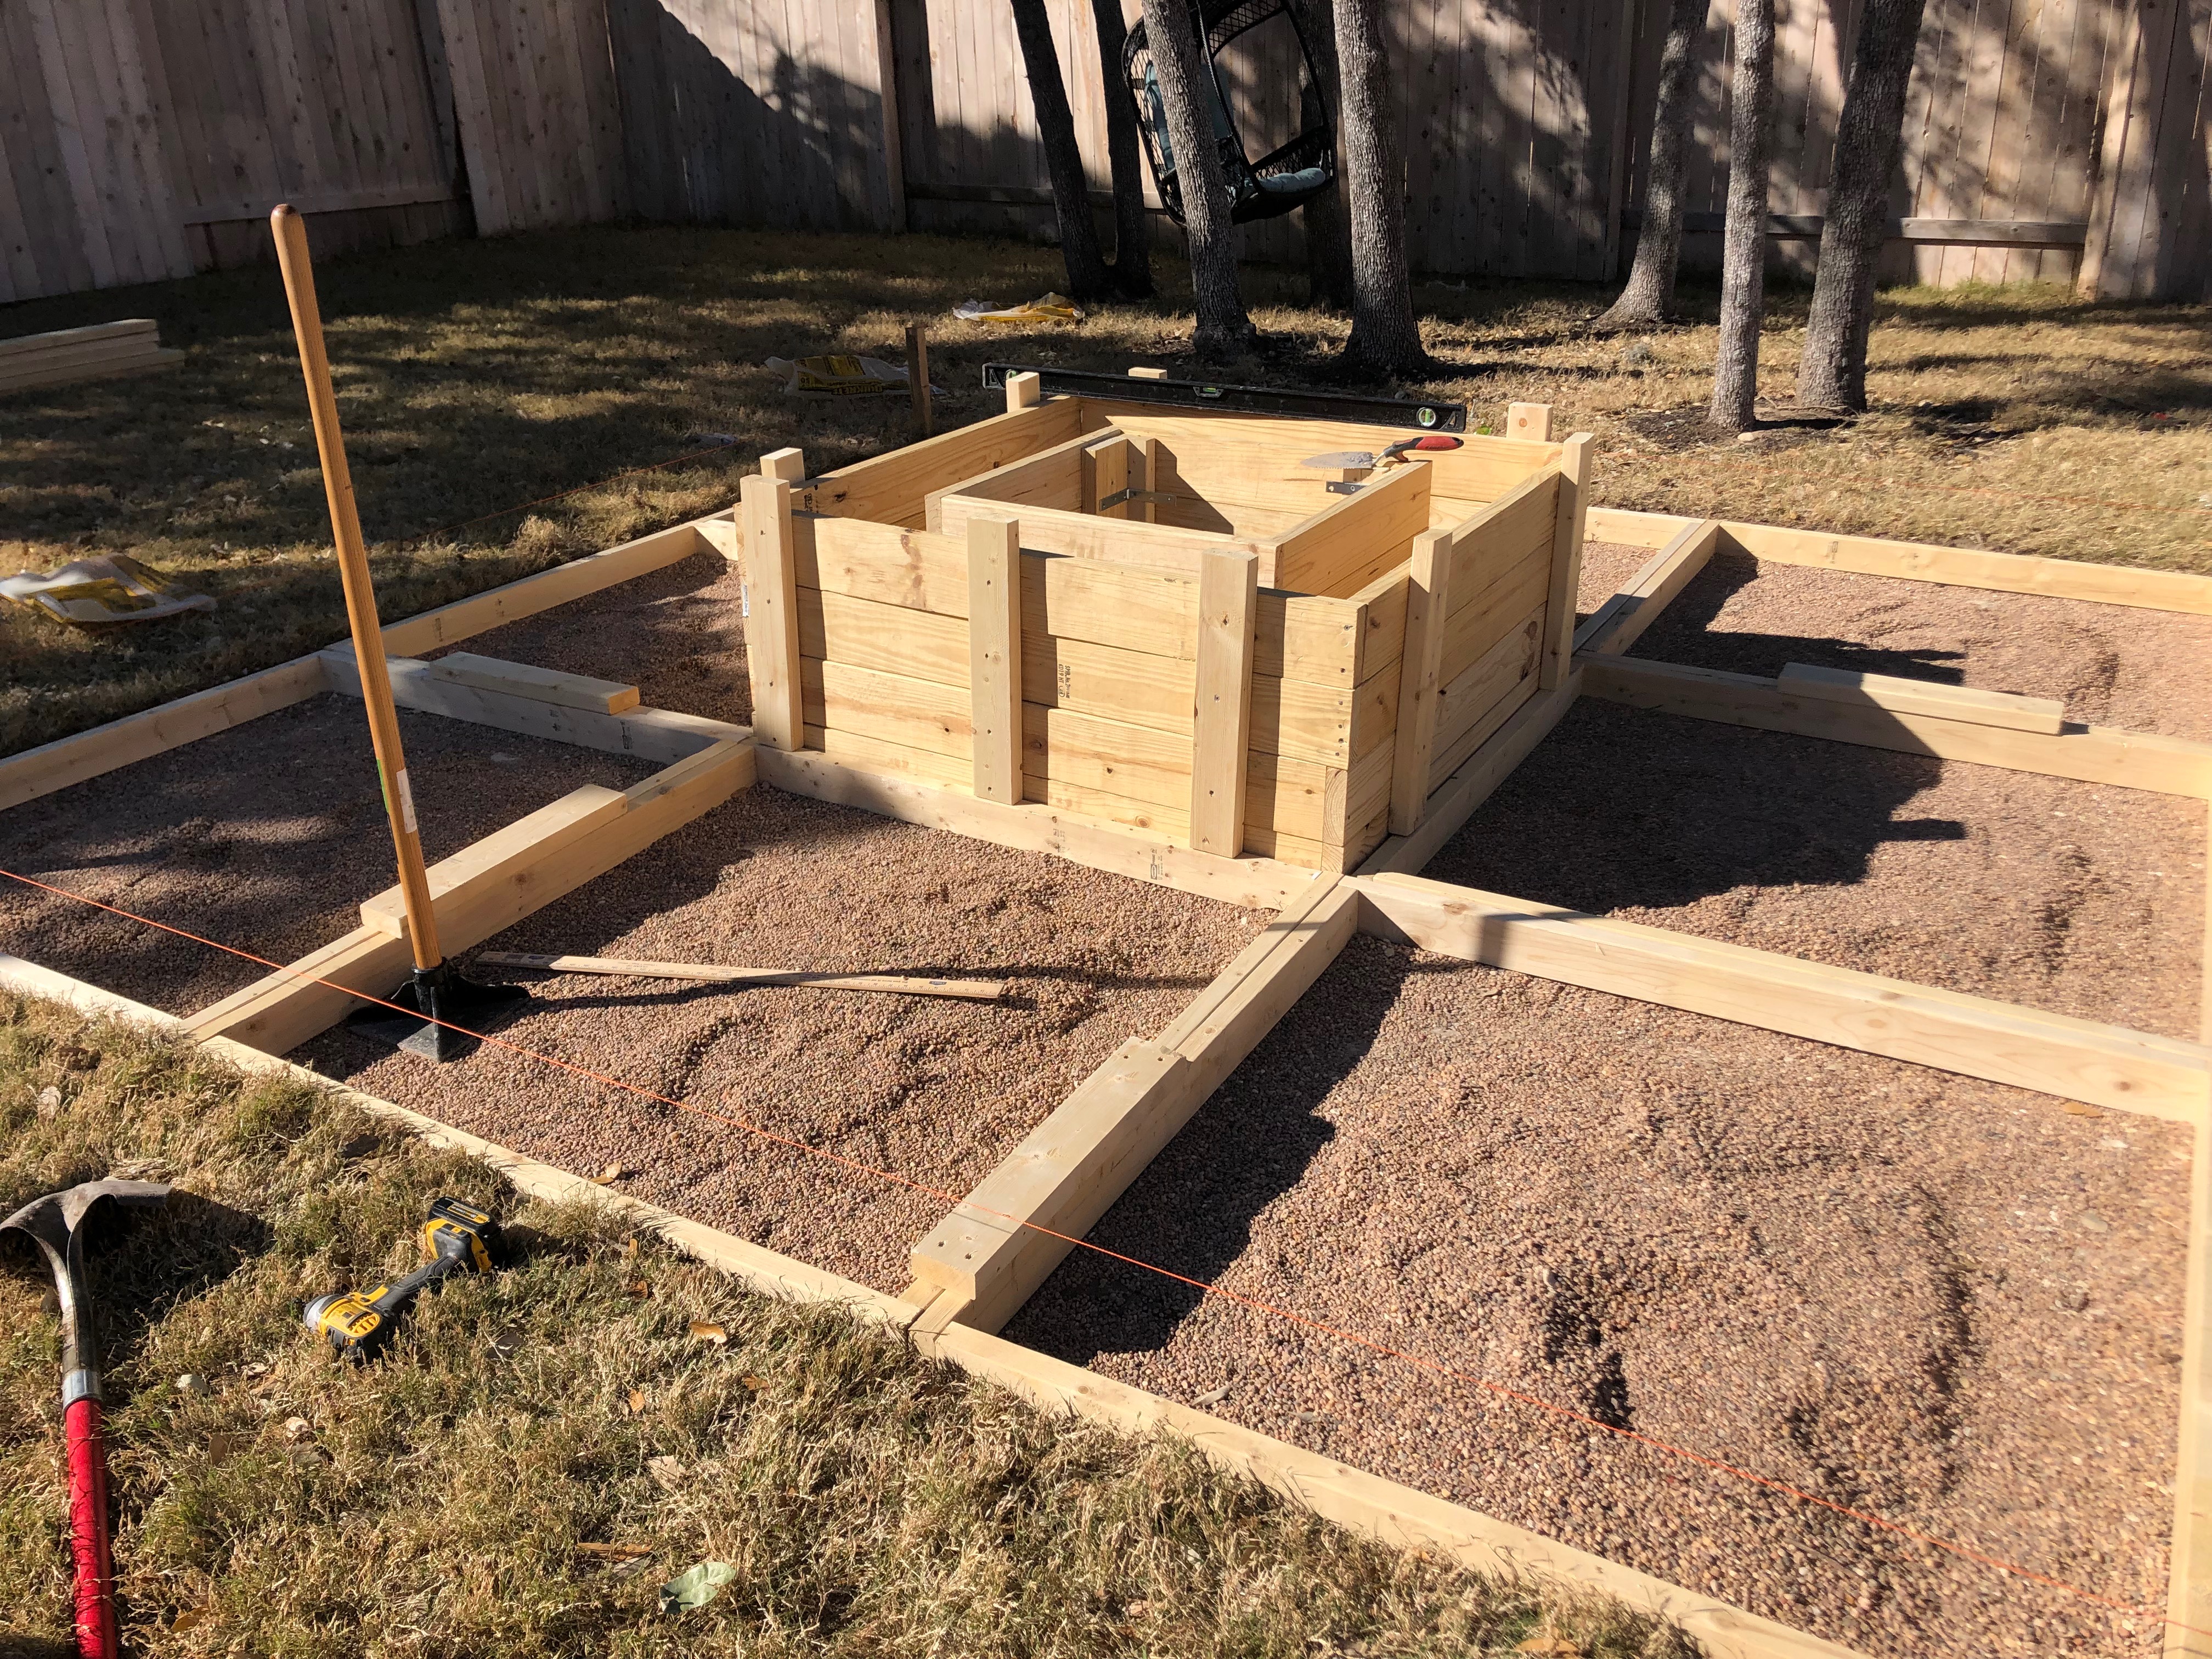
Everything is getting braced and ready to pour. (click arrow for full picture)
CONCRETE
I mentioned earlier that you’ll need lots and lots of concrete. There are basically two options for concrete: mix it yourself or rent a concrete truck. We went back and forth with this decision for weeks it seemed. I was wanting to extend the slab of my patio as well so I thought that by renting a concrete truck, we could knock out two birds with one stone. In the end, it came down to not being able to find a concrete truck to rent that would pour the “small” amount of concrete I needed. So we did all ourselves.
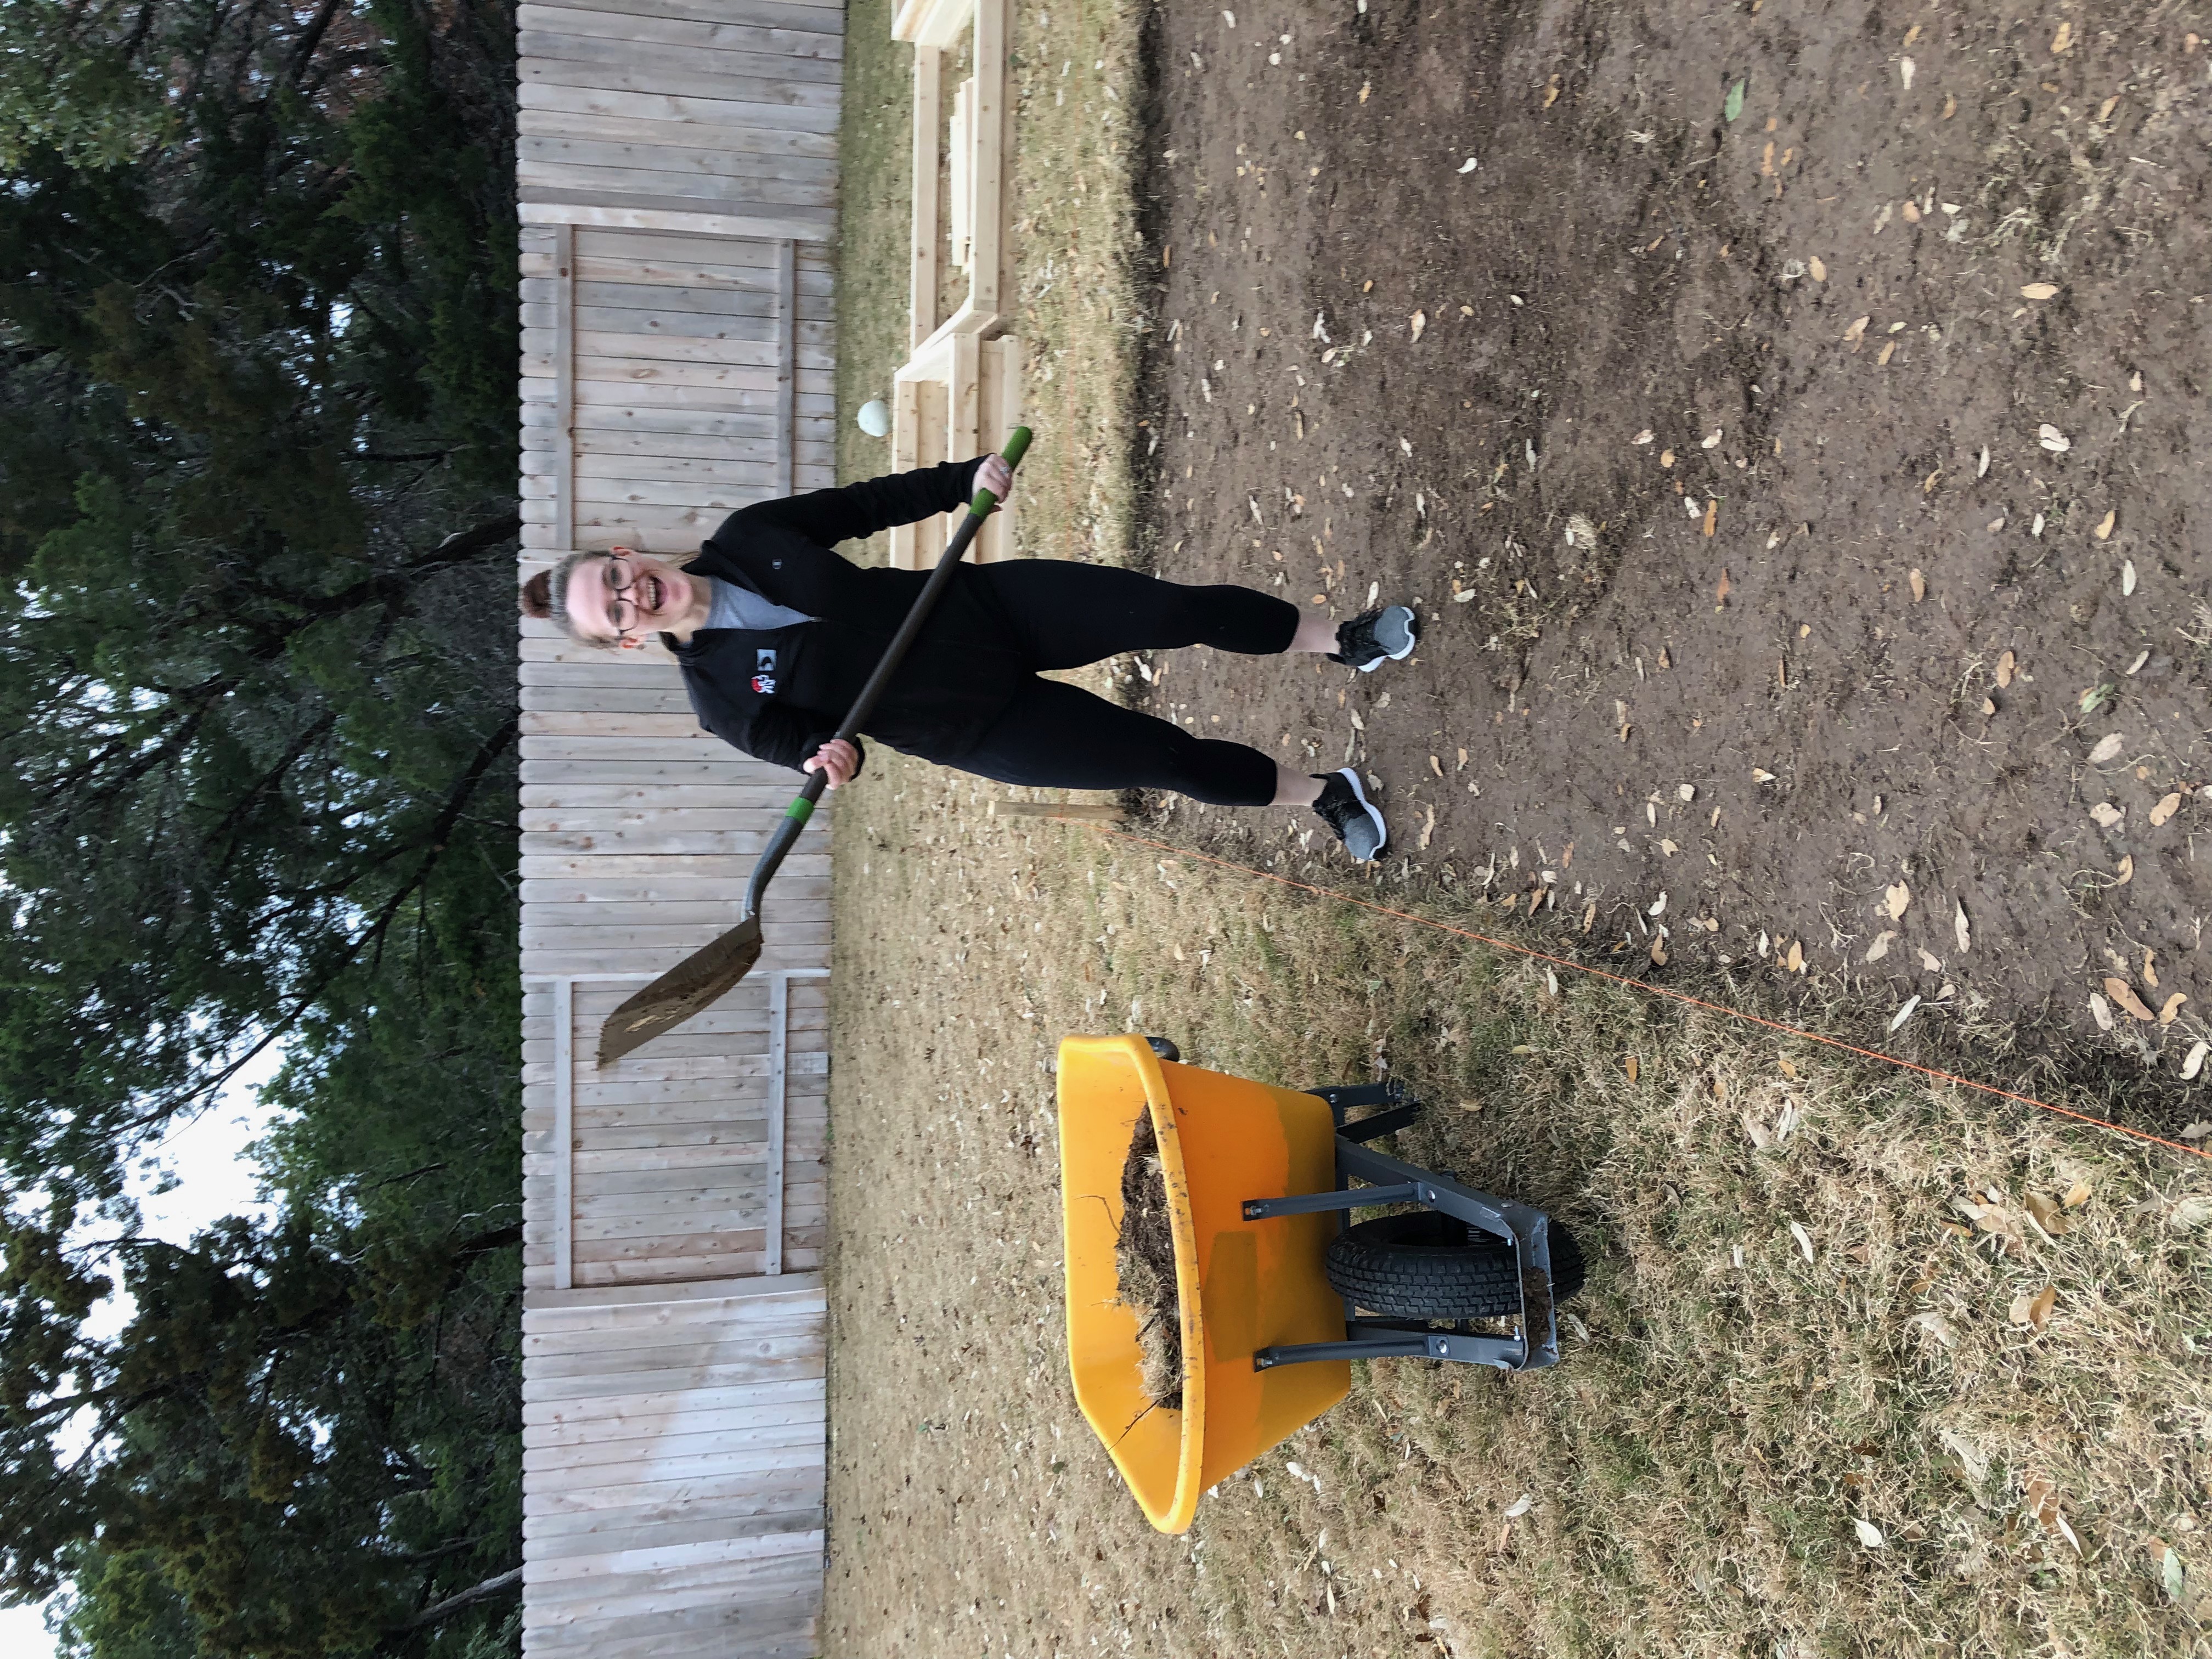
I calculated the amount of concrete needed based on what the bag suggested and I ordered that much concrete (plus a little extra just in case) and had it delivered along with all the bags of gravel that was needed. I believe it ended up being about 6000 lbs of dry concrete so delivery was definitely the way to go. Even still, the concrete had to be carried from the garage in the front of the house to the back of the house. (The wheelbarrow and a strong handy man came in exceptionally useful here).
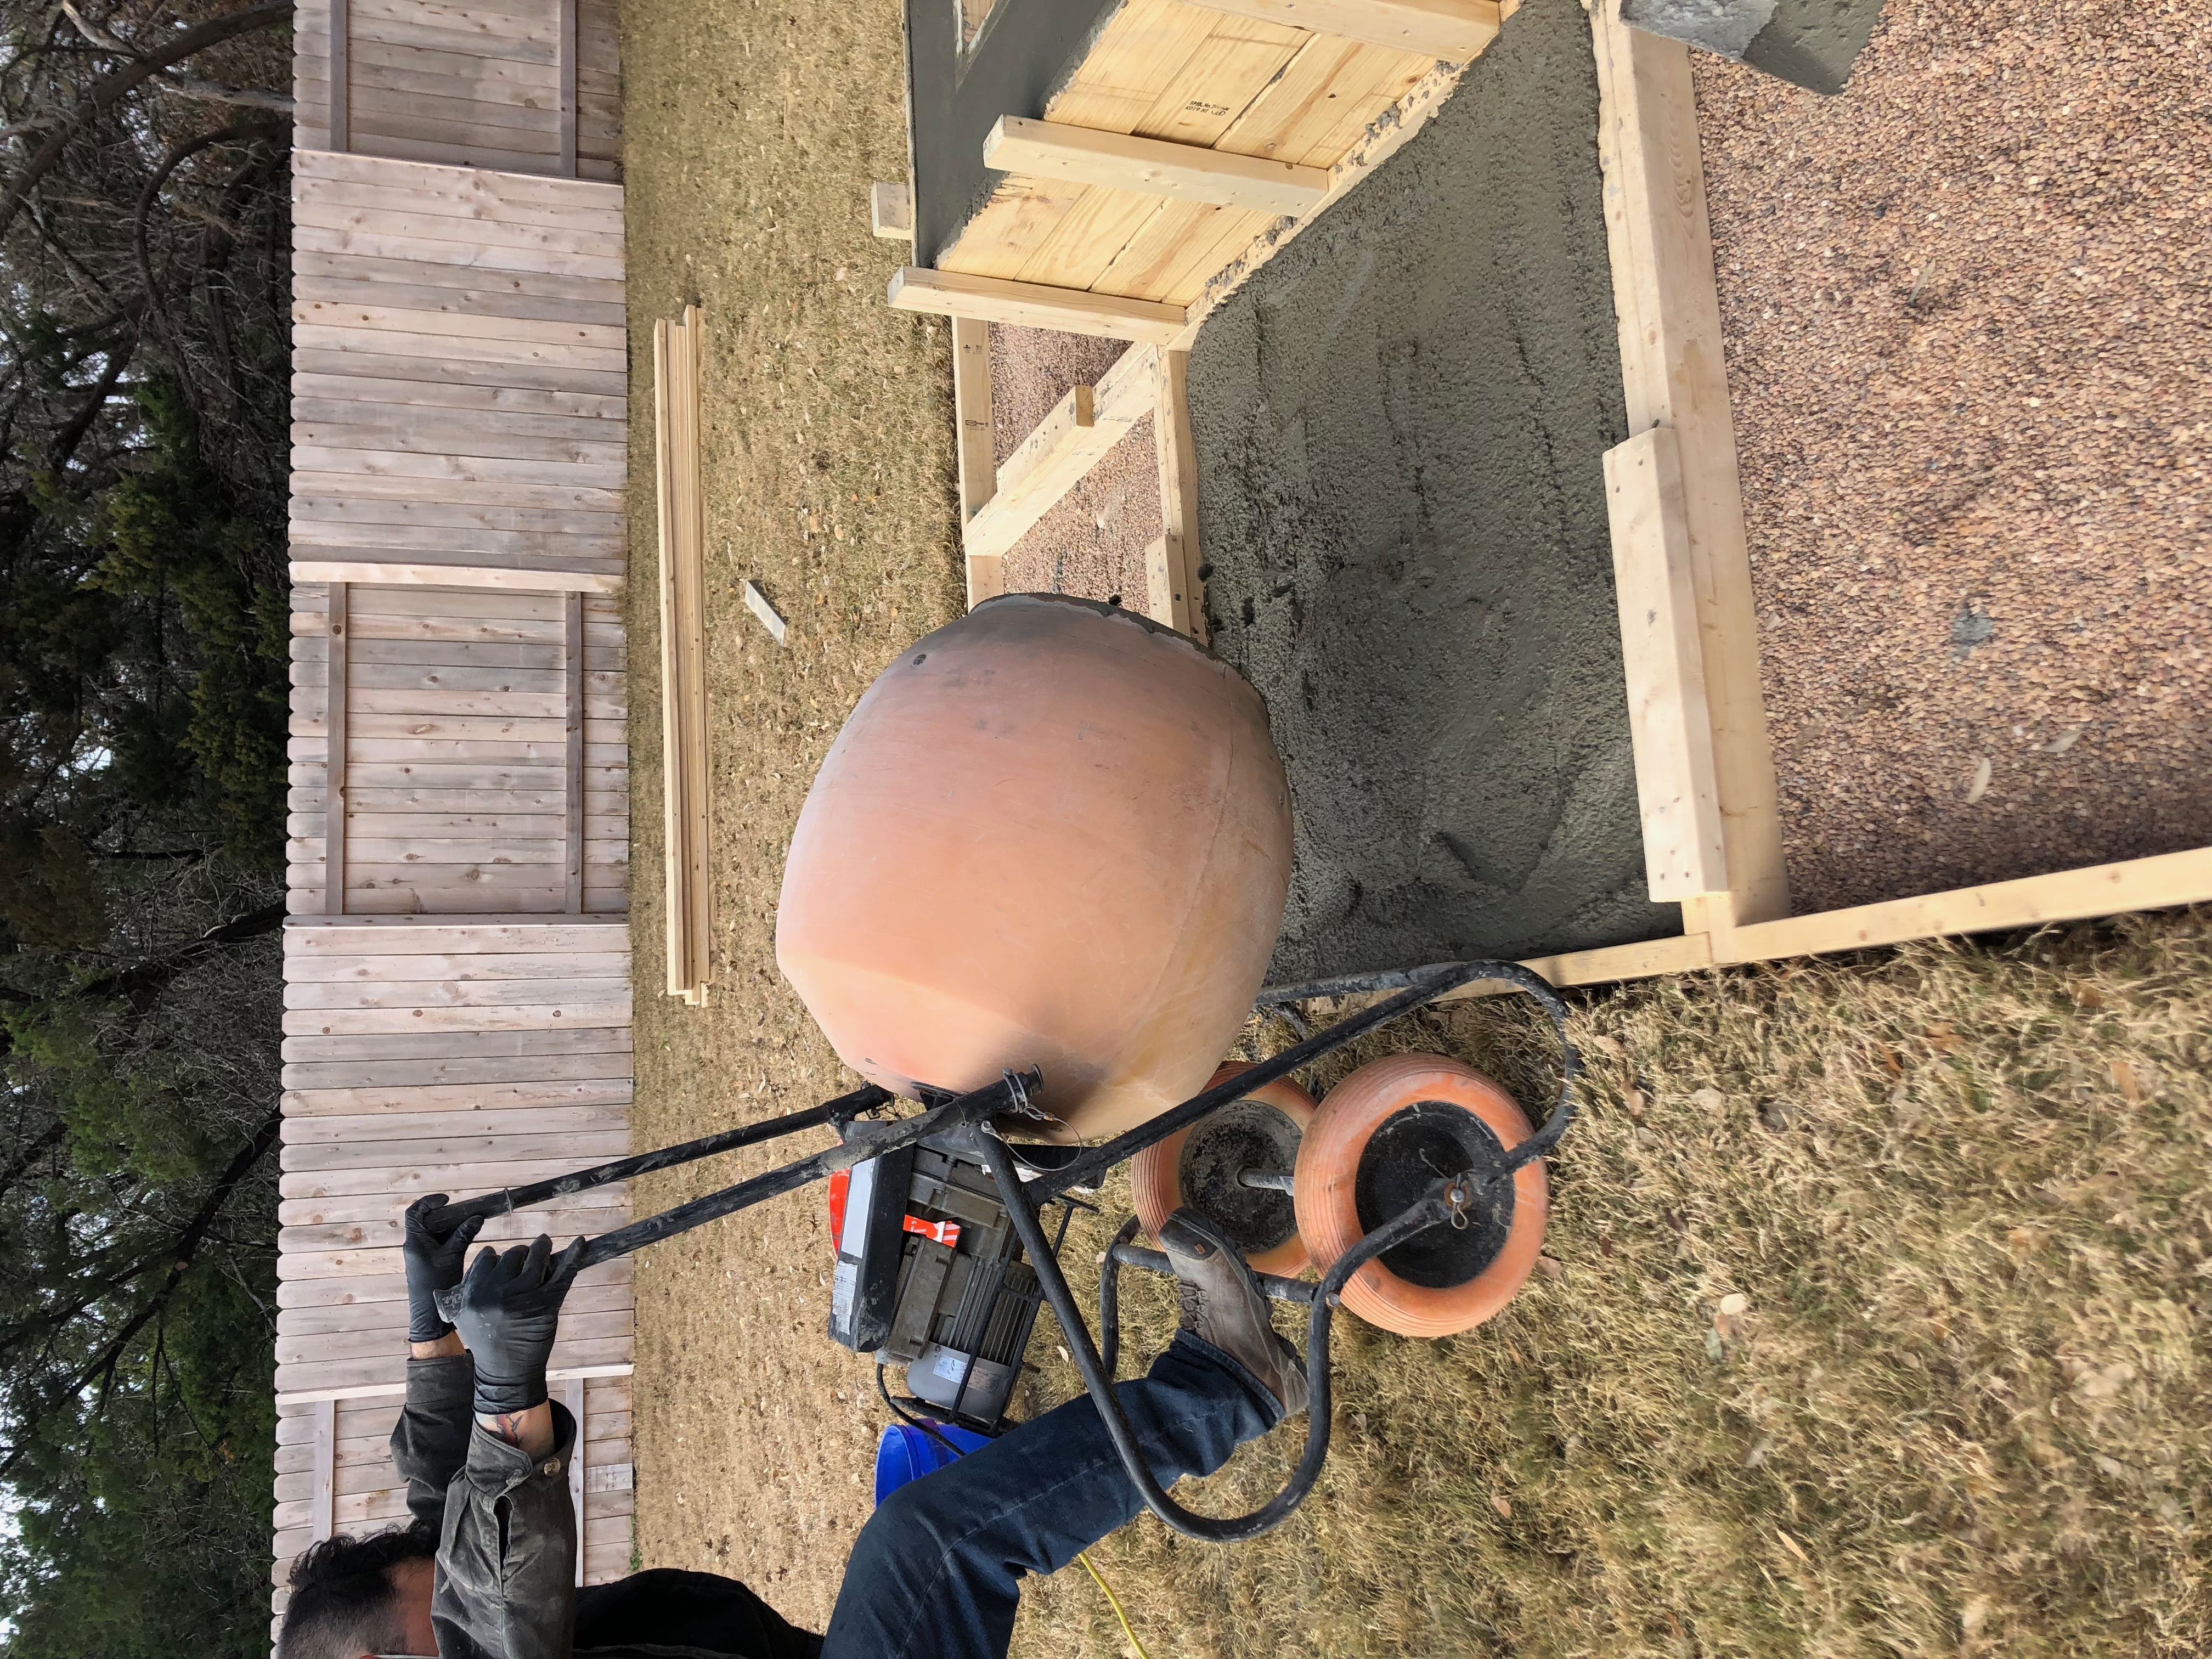
An important lesson that I learned is to be sure to add water to the mixer BEFORE you add the dry mix.I learned this the hard way. I made that mistake once and it took probably 4 times longer to mix. My husband was the one that had to deal with the difficulty of fixing my mistake. Oops. Once you get the hang of mixing the cement, it goes pretty fast! Something you’ll see over and over about techniques for pouring cement is to make sure that you only pour the amount of cement that you can work with at a time. Meaning, we would pour one paver and screed it before moving on. Before getting to the technique of all that, you want to start with the fire pit itself since it’s the center and the biggest part of the concrete work.
Prior to pouring the cement into the fire pit frames you need to place the fire bricks. The purpose of the fire bricks and why they’re so important is because cement is not really great with heat, so if you’re like me and love the look of a cement fire pit and don’t care that it’s not the most durable substance for heat, then you’ll find ways around that fact. Hence, fire bricks.
The mortar I found to secure the fire bricks was okay. I’m sure there’s something better on the market but this was a really hard product to find, honestly. There are plenty of mortars out there but you have to find one that is not only high heat tolerant but also for outdoor use. The mortar I used essentially did it’s job and what really holds the bricks in place is the cement but you don’t want to skip this step either.
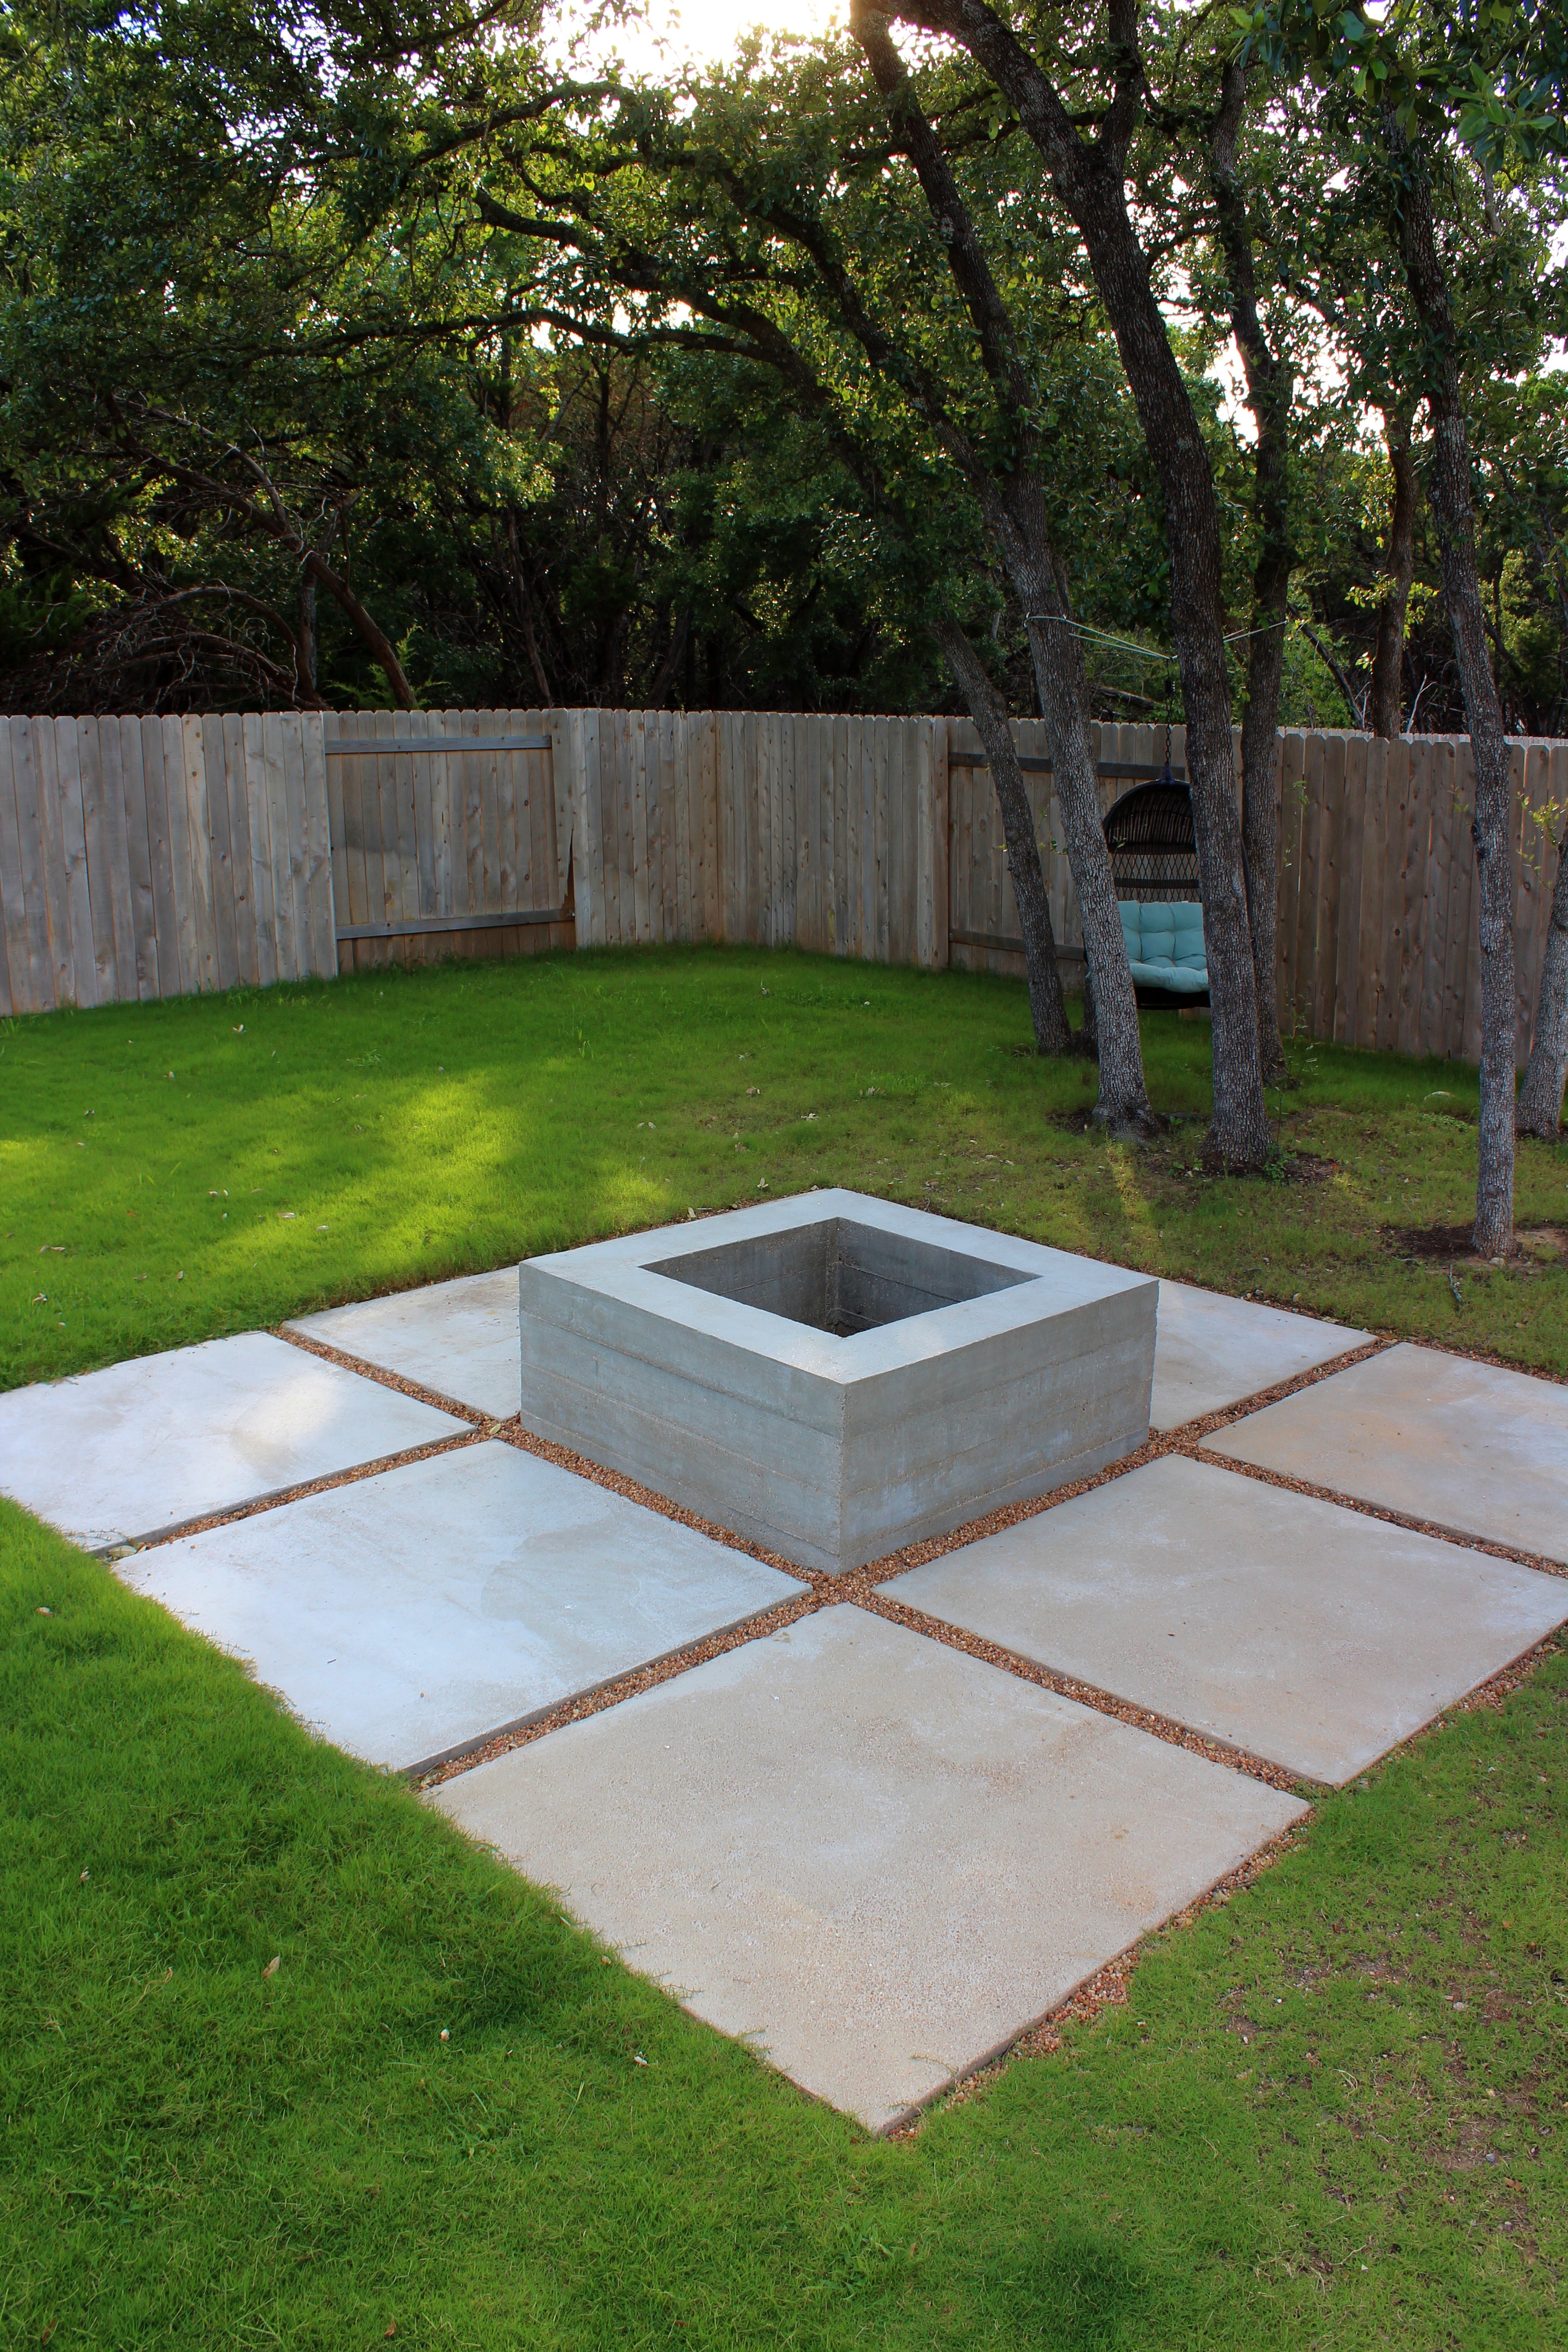
This is the finished product after a few uses. It’s holding up great!
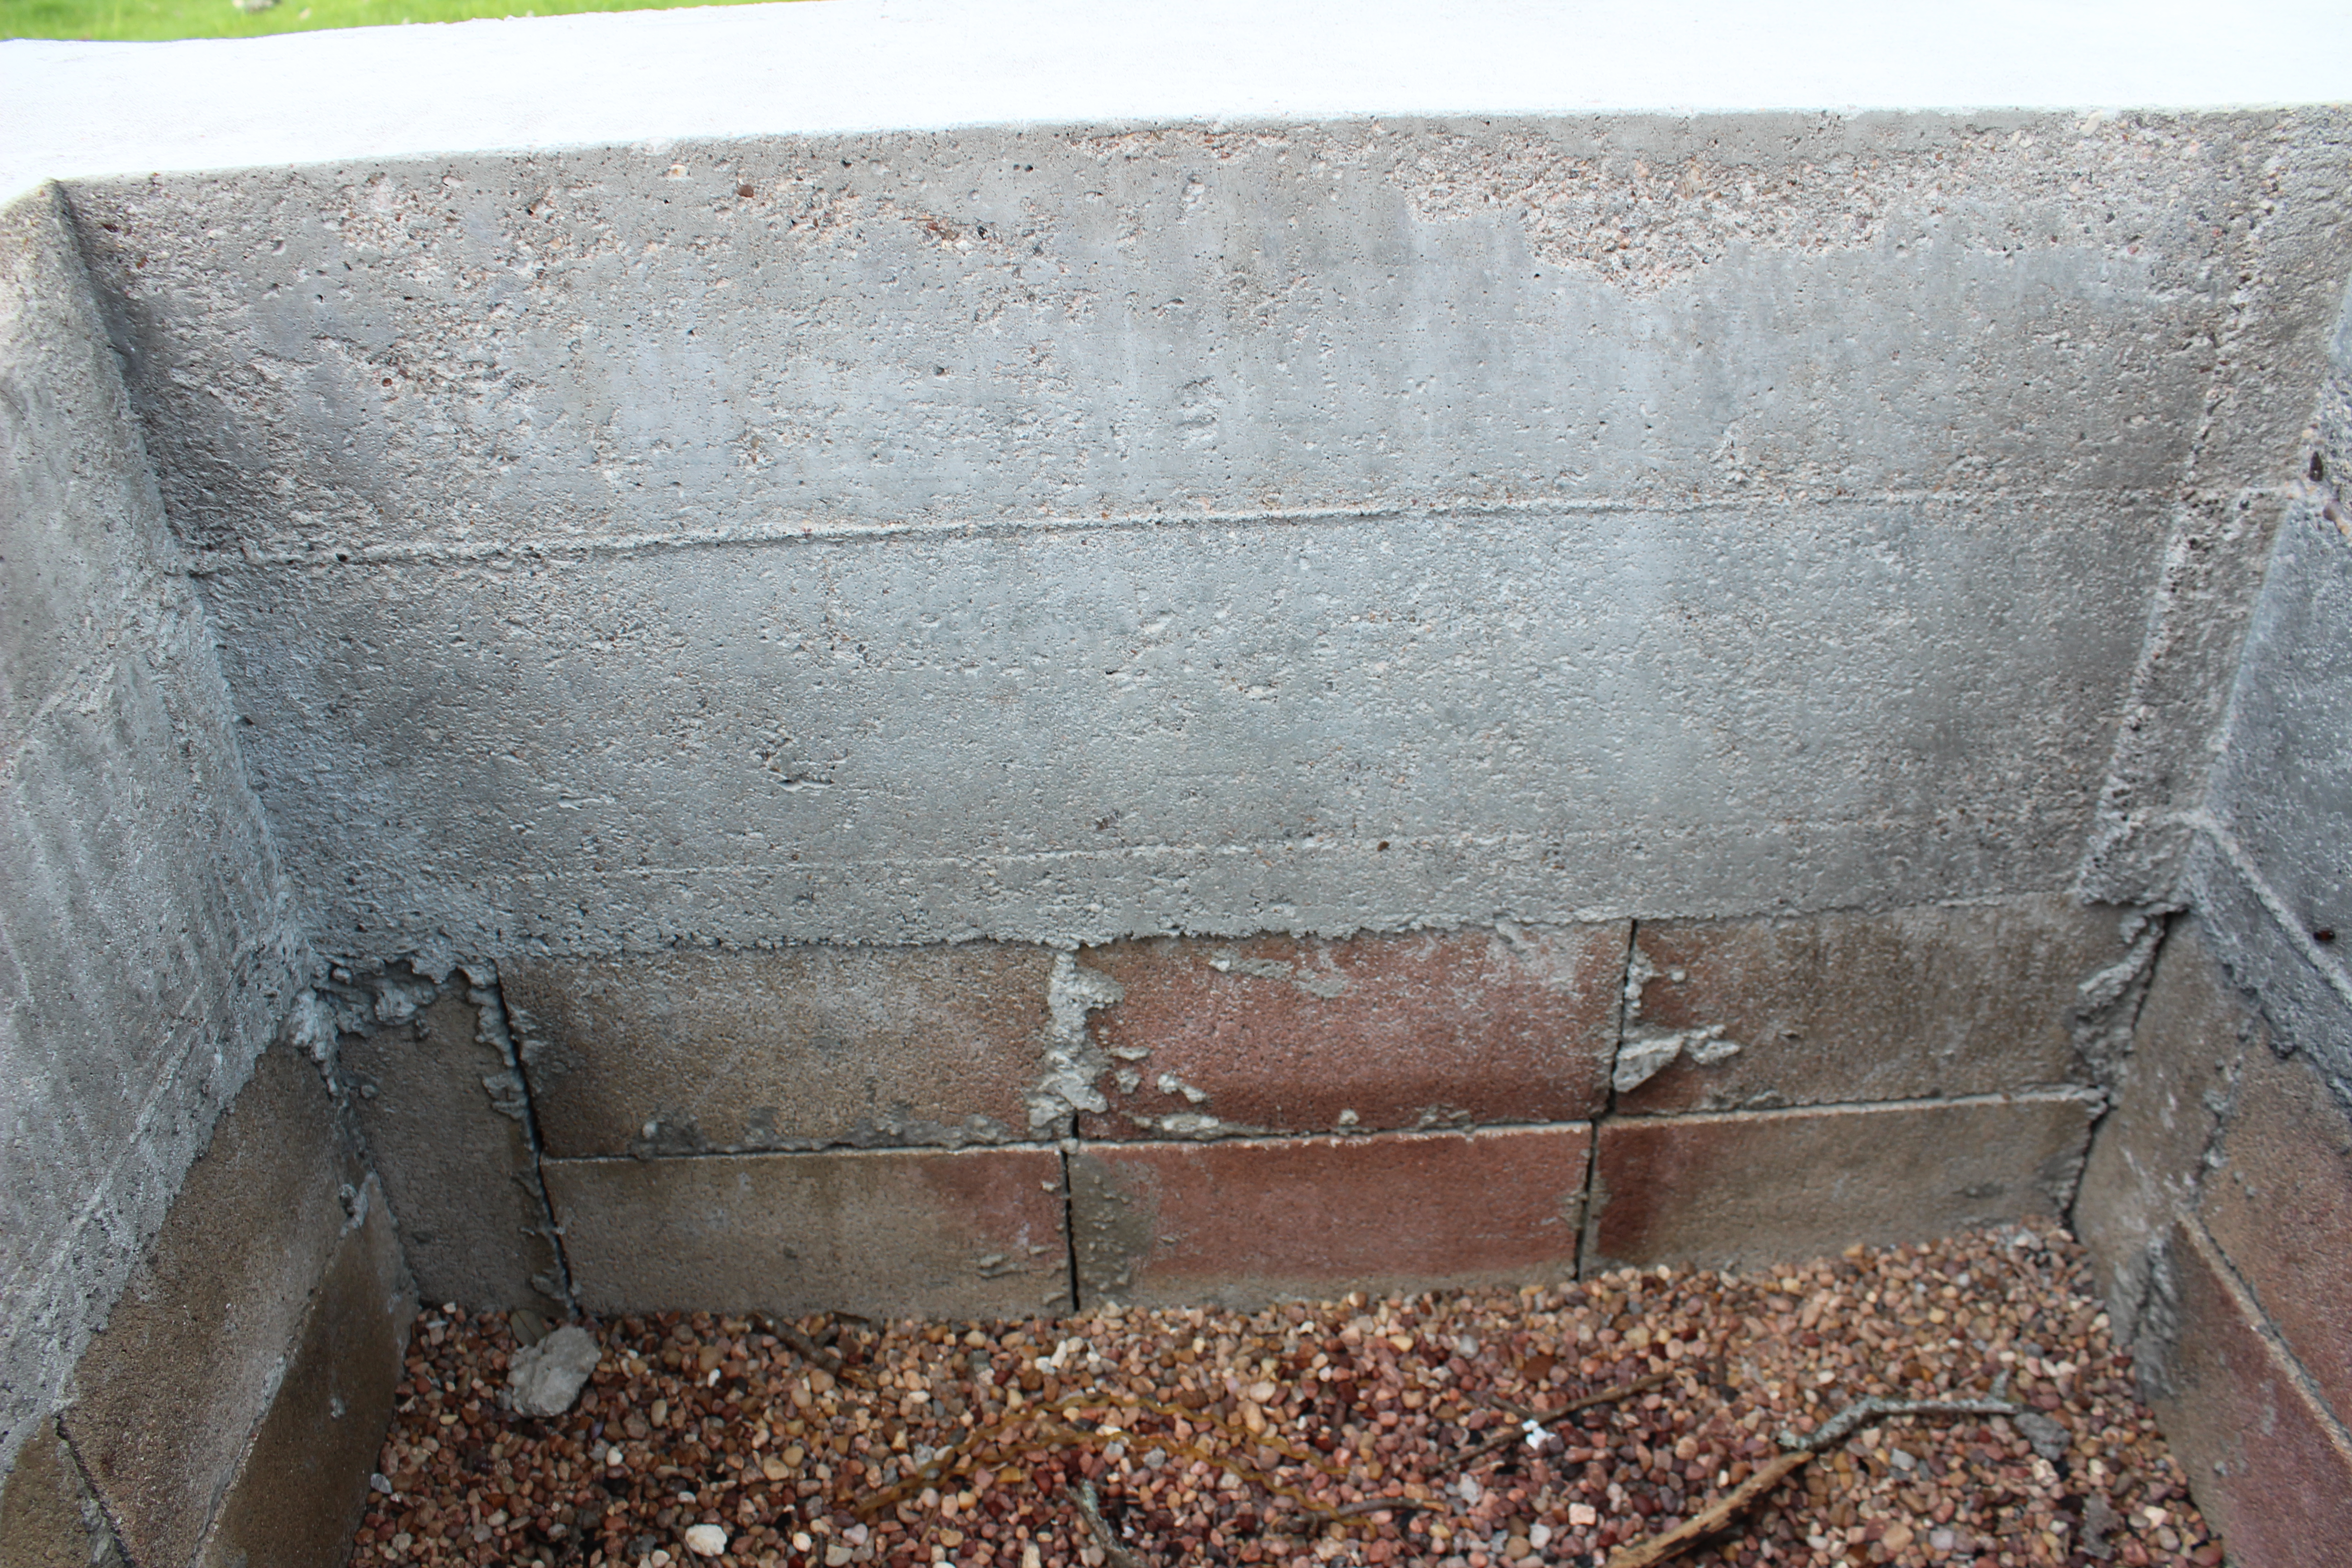
The bricks
So, we laid a row of bricks, on their side with the face of the brick facing the interior bottom of the fire pit and put some mortar in between the sides of the bricks. Then we poured a shallow layer of concrete in the bottom of the fire pit frame to secure that row. Then added a second row of bricks with mortar between all the sides and added more concrete.
I didn’t have enough fire bricks to do a third layer even though it probably would have been best for added protection but I like the way the interior look turned out anyways. When you have a few inches of concrete in the frames, put the pieces of rebar vertically in the very center of the frames so concrete will surround them and have some added strength. I put about 3 pieces of rebar per side of the fire pit and used a mallet to sink the rebar into the ground a few inches and to make sure the rebar was well below the top of the fire pit surface and wouldn’t be seen.
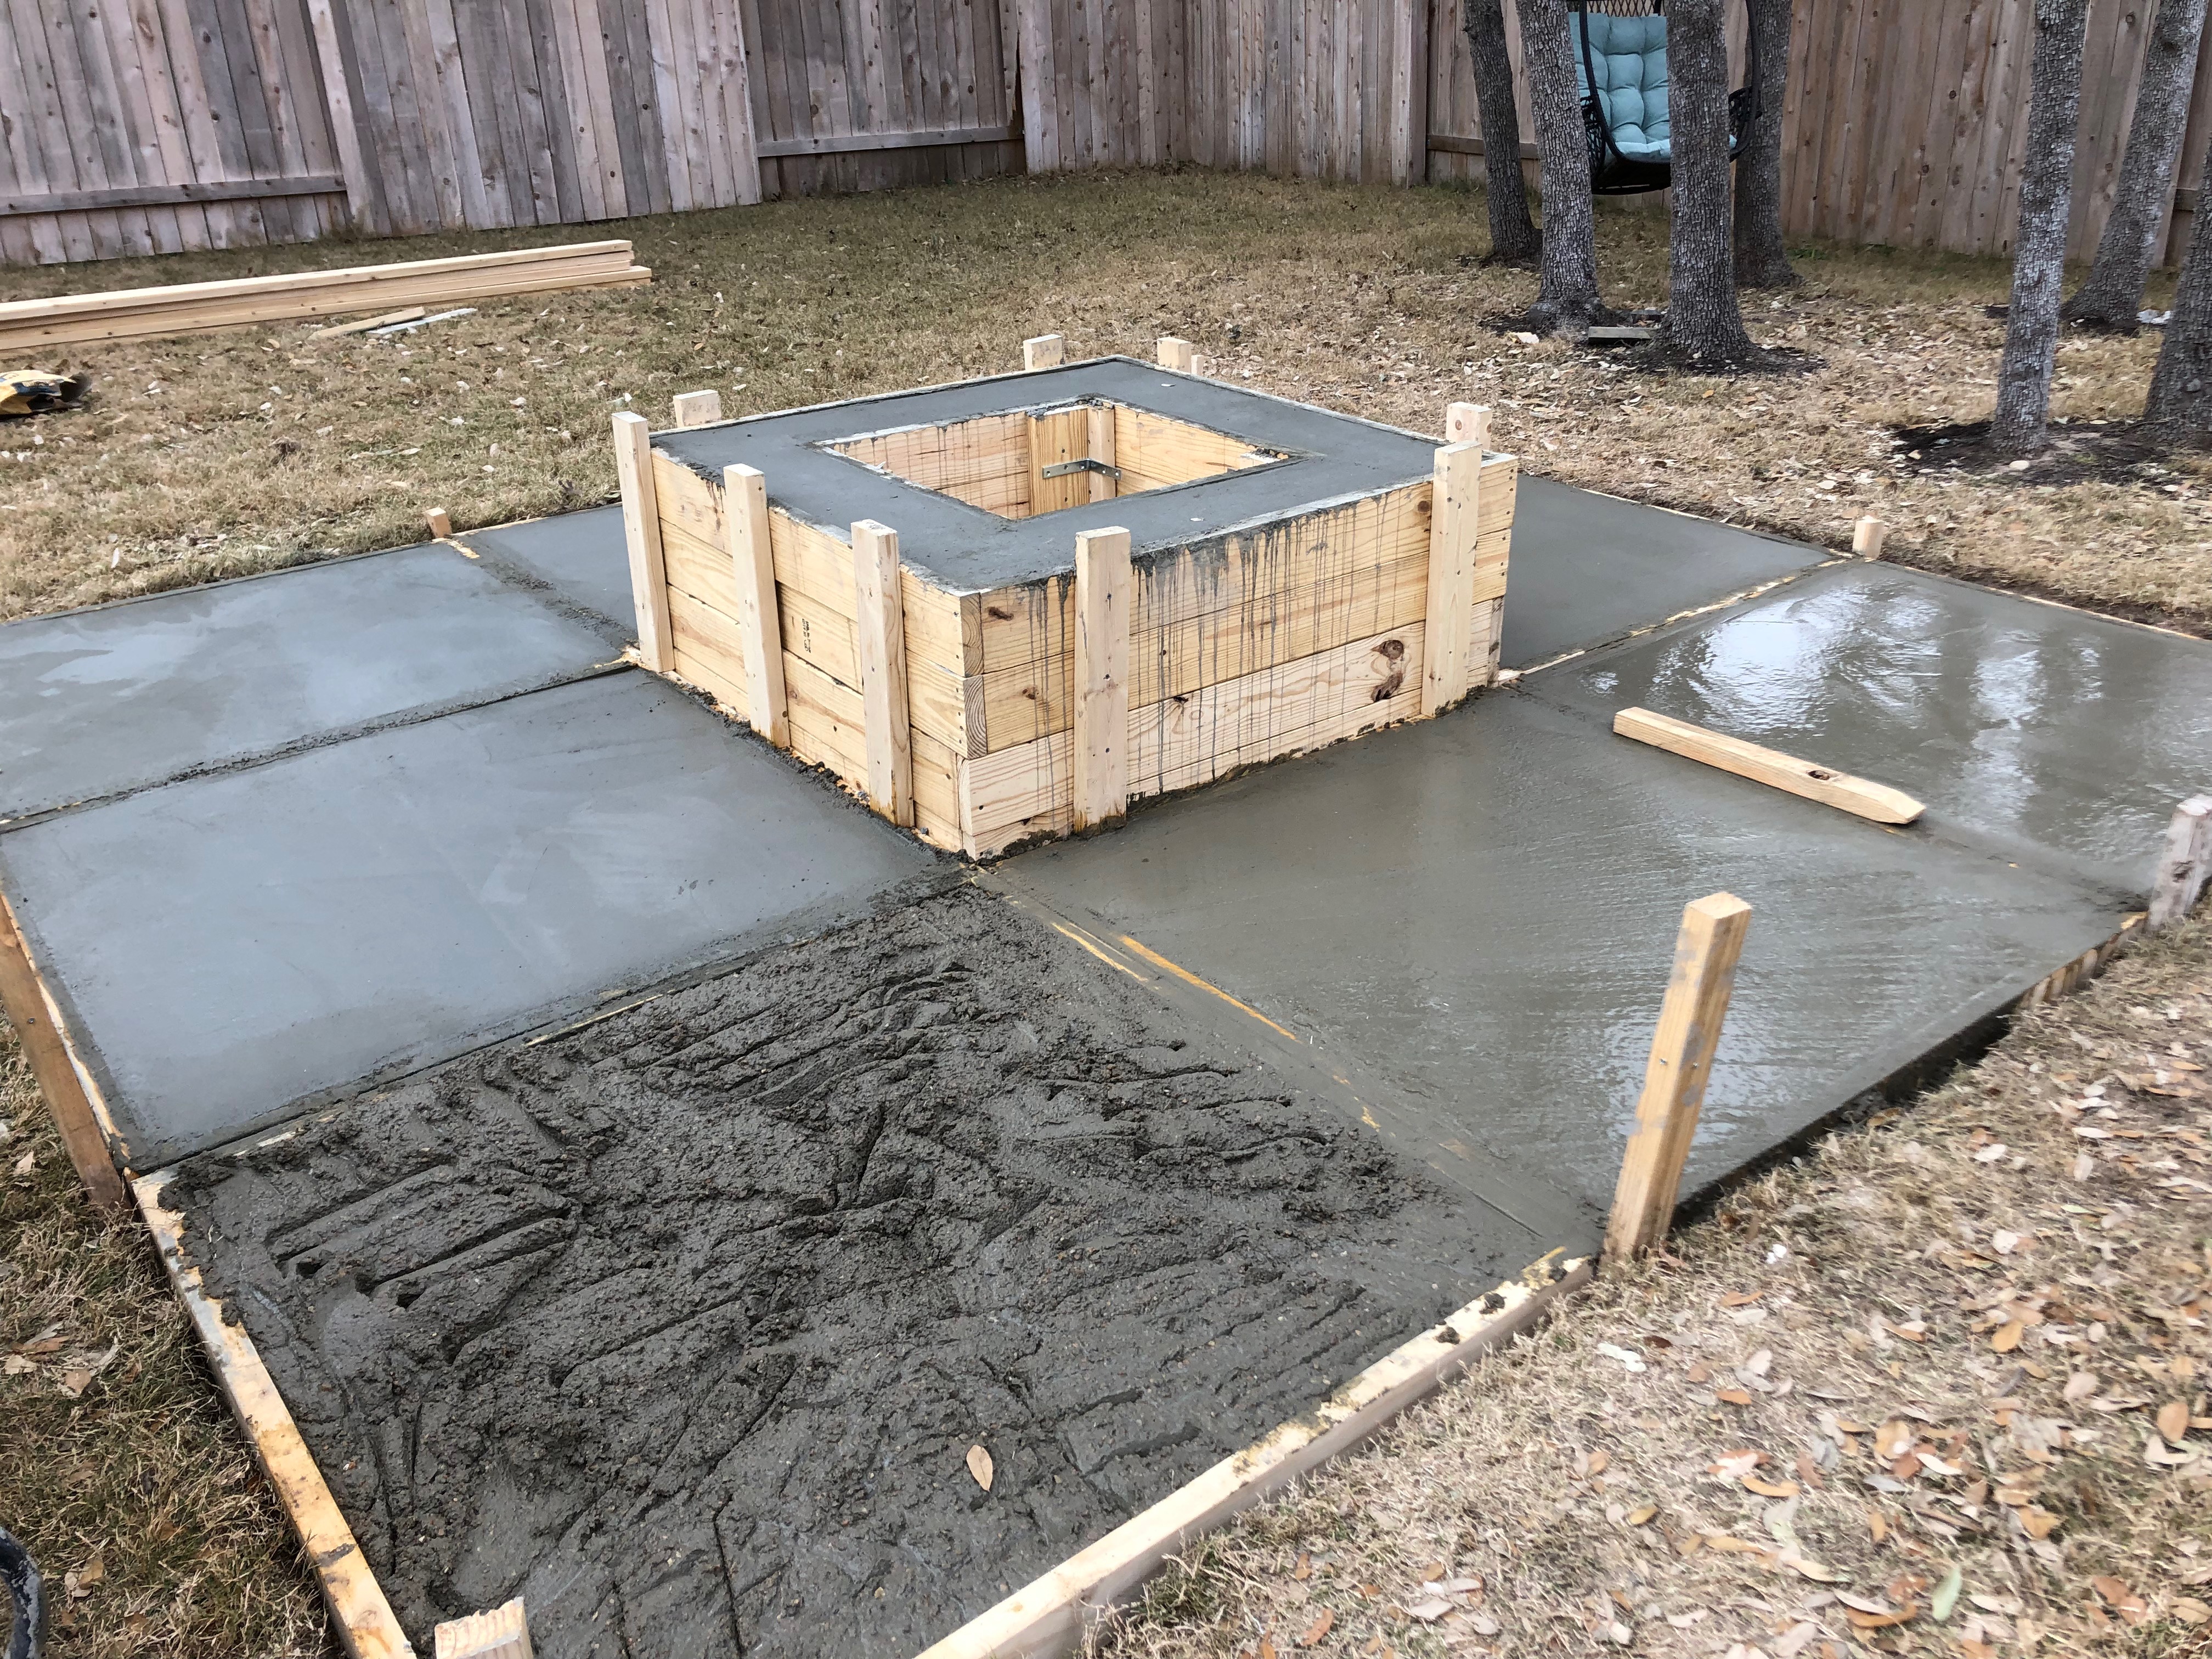
Another late night? Duh. Did I mention that this is going to get messy?
A quick note about the above picture: you can see that the fire pit frame braces are higher than the frame itself. That’s not a huge issue but to make screeding easier later, make sure they’re shorter than the top of the frame.
Framing
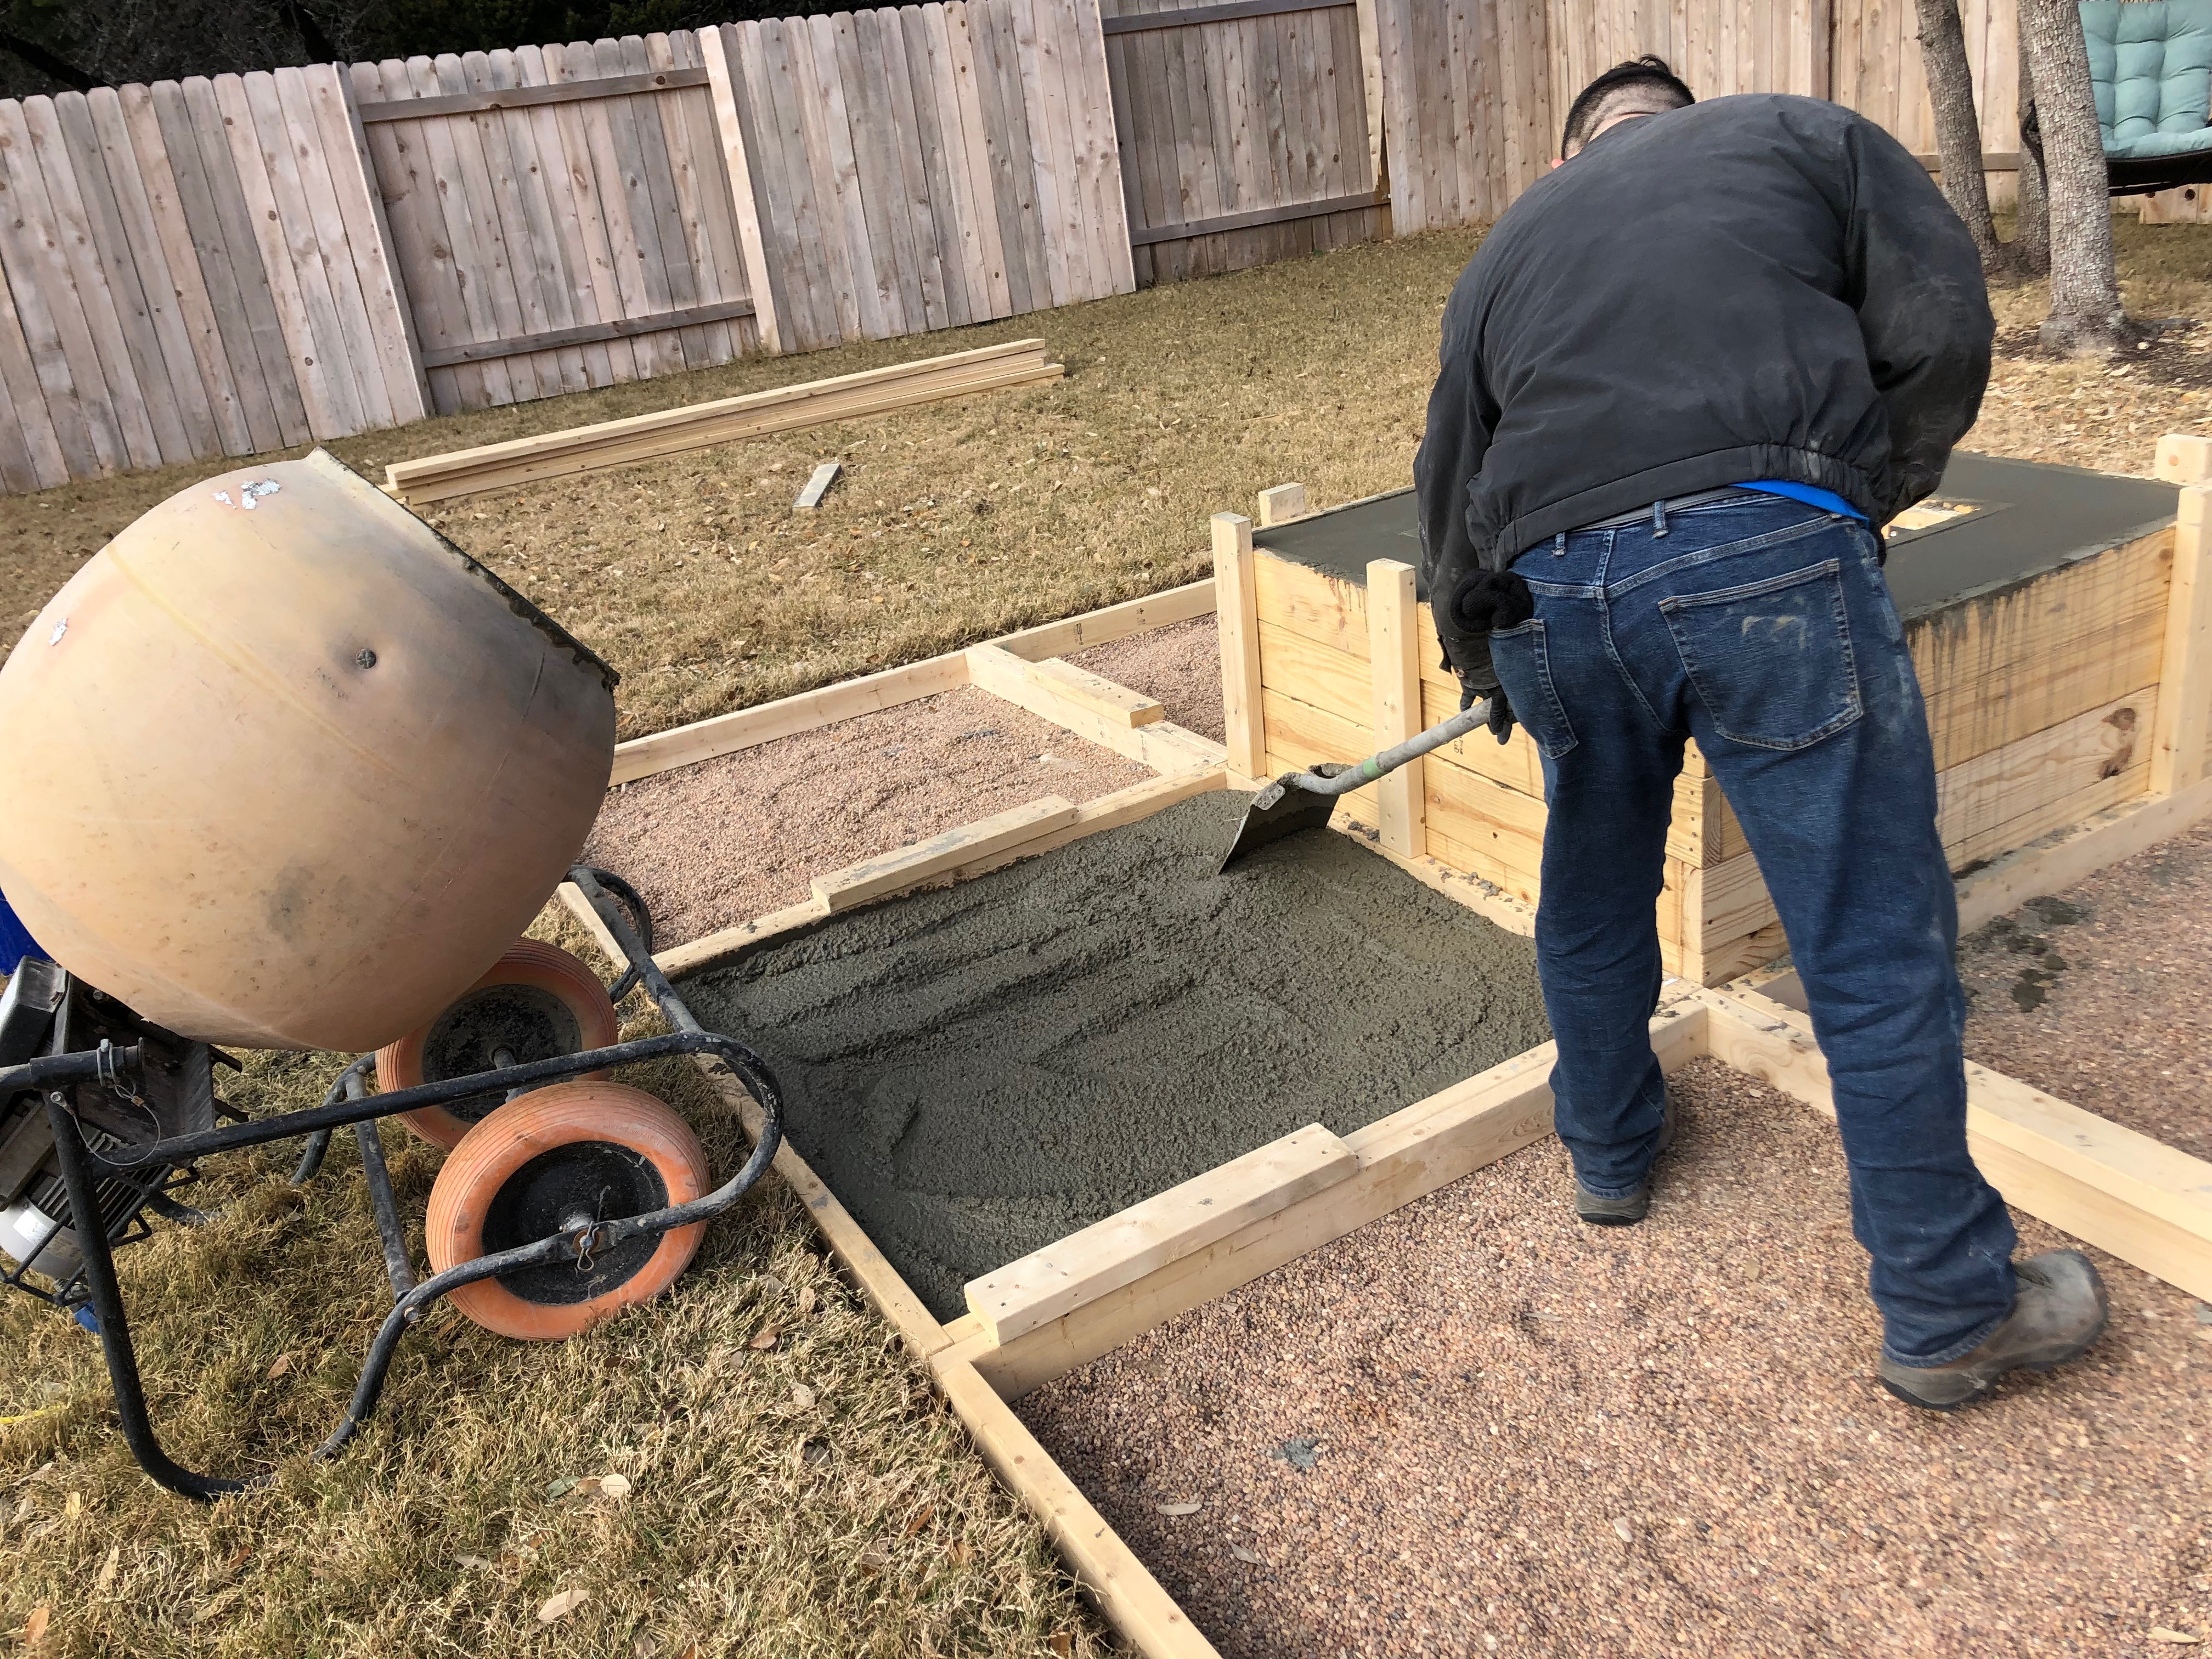
Now fill the fire pit all the way around. You’re not going to be able to pour the concrete directly into the fire pit frame from the mixers so it’ll need to be shoveled. As you go, you want to take a stick or rod and stick it into the cement, up and down, vibrating around the concrete as you go to get rid of air bubbles — this is especially important in corners. You can also tap the exterior of the box with a mallet all over. When you get to the top of the fire pit frames, make sure to fill it too full, you don’t want any spots not filled in with concrete. So fill it over the frames and then you will start the screeding process. It sounds harder than it is.
You will need a 2 x 4 (or any long piece of wood) that’s long enough to overlap the exterior and interior frame by a little bit so that the back and forth motion you use (like a sawing motion) keeps the board on the frames the whole time (or else it’s just an unnecessary headache of indents from where the board fell into the concrete. Screed the whole top of the fire pit to get it level all the way around and all the excess off. Next we’re going to make the top smooth and clean. The screeding is supposed to level the concrete and get any excess off, now we’ll actually smooth it out. This is where you’ll use the metal float. It’s important when you’re using the float, to not over work the concrete.
You want to use a sweeping motion, but keep the float on a slight angle to the concrete. Otherwise suction onto the concrete and it’ll mess up any work you just did when removing the float. I found this out by experience.
Oh well, you live and you learn and you tell others so they don’t make the same mistakes as you! When you start to see water come to the top of the concrete, stop. The more you work it with the float, the more water will come to the top and the more fragile the concrete will become.
You’re almost finished! Moving onto the pavers is much more quick and simple. Like I said before, the pavers are 48″ x 48″, you can add interior support with wire mesh or rebar which you’ll definitely want to do if you go much bigger but my pavers are relatively small so I did not add any rebar to them. Just pour, screed, float and go. Note: you can remove the bracing in between the pavers to make screeding easier. You just want them there during the pour so they don’t move.
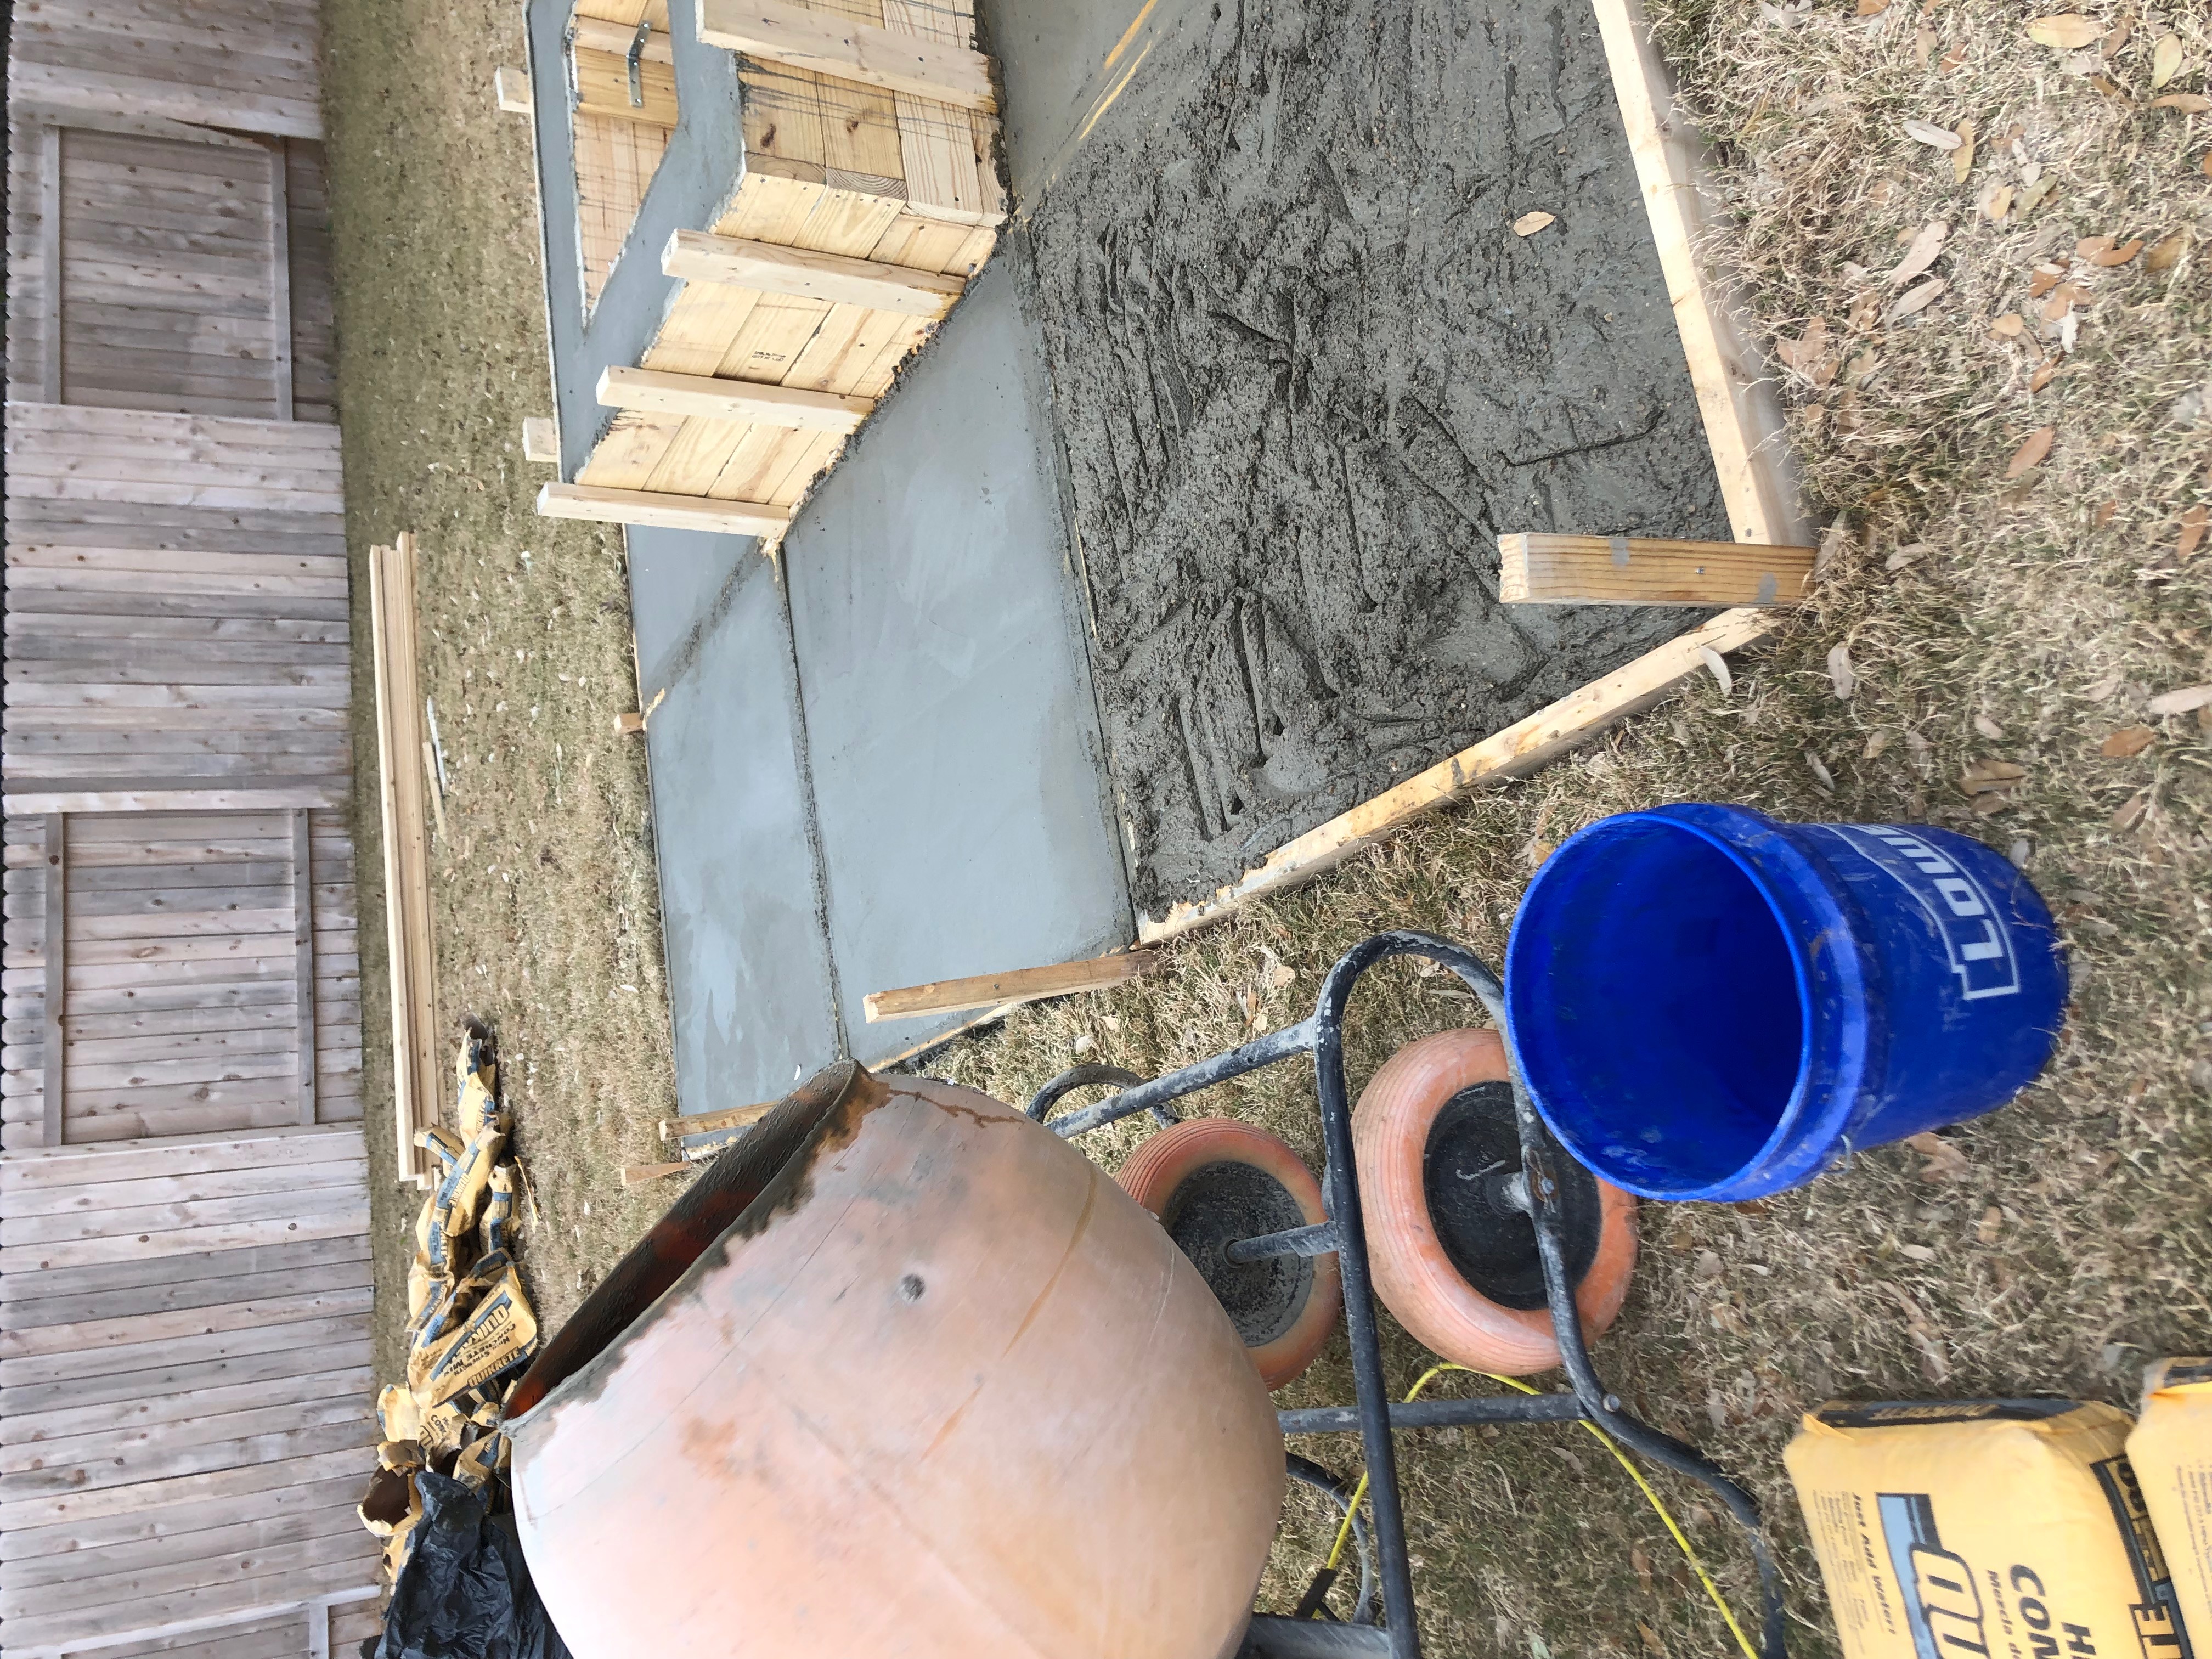
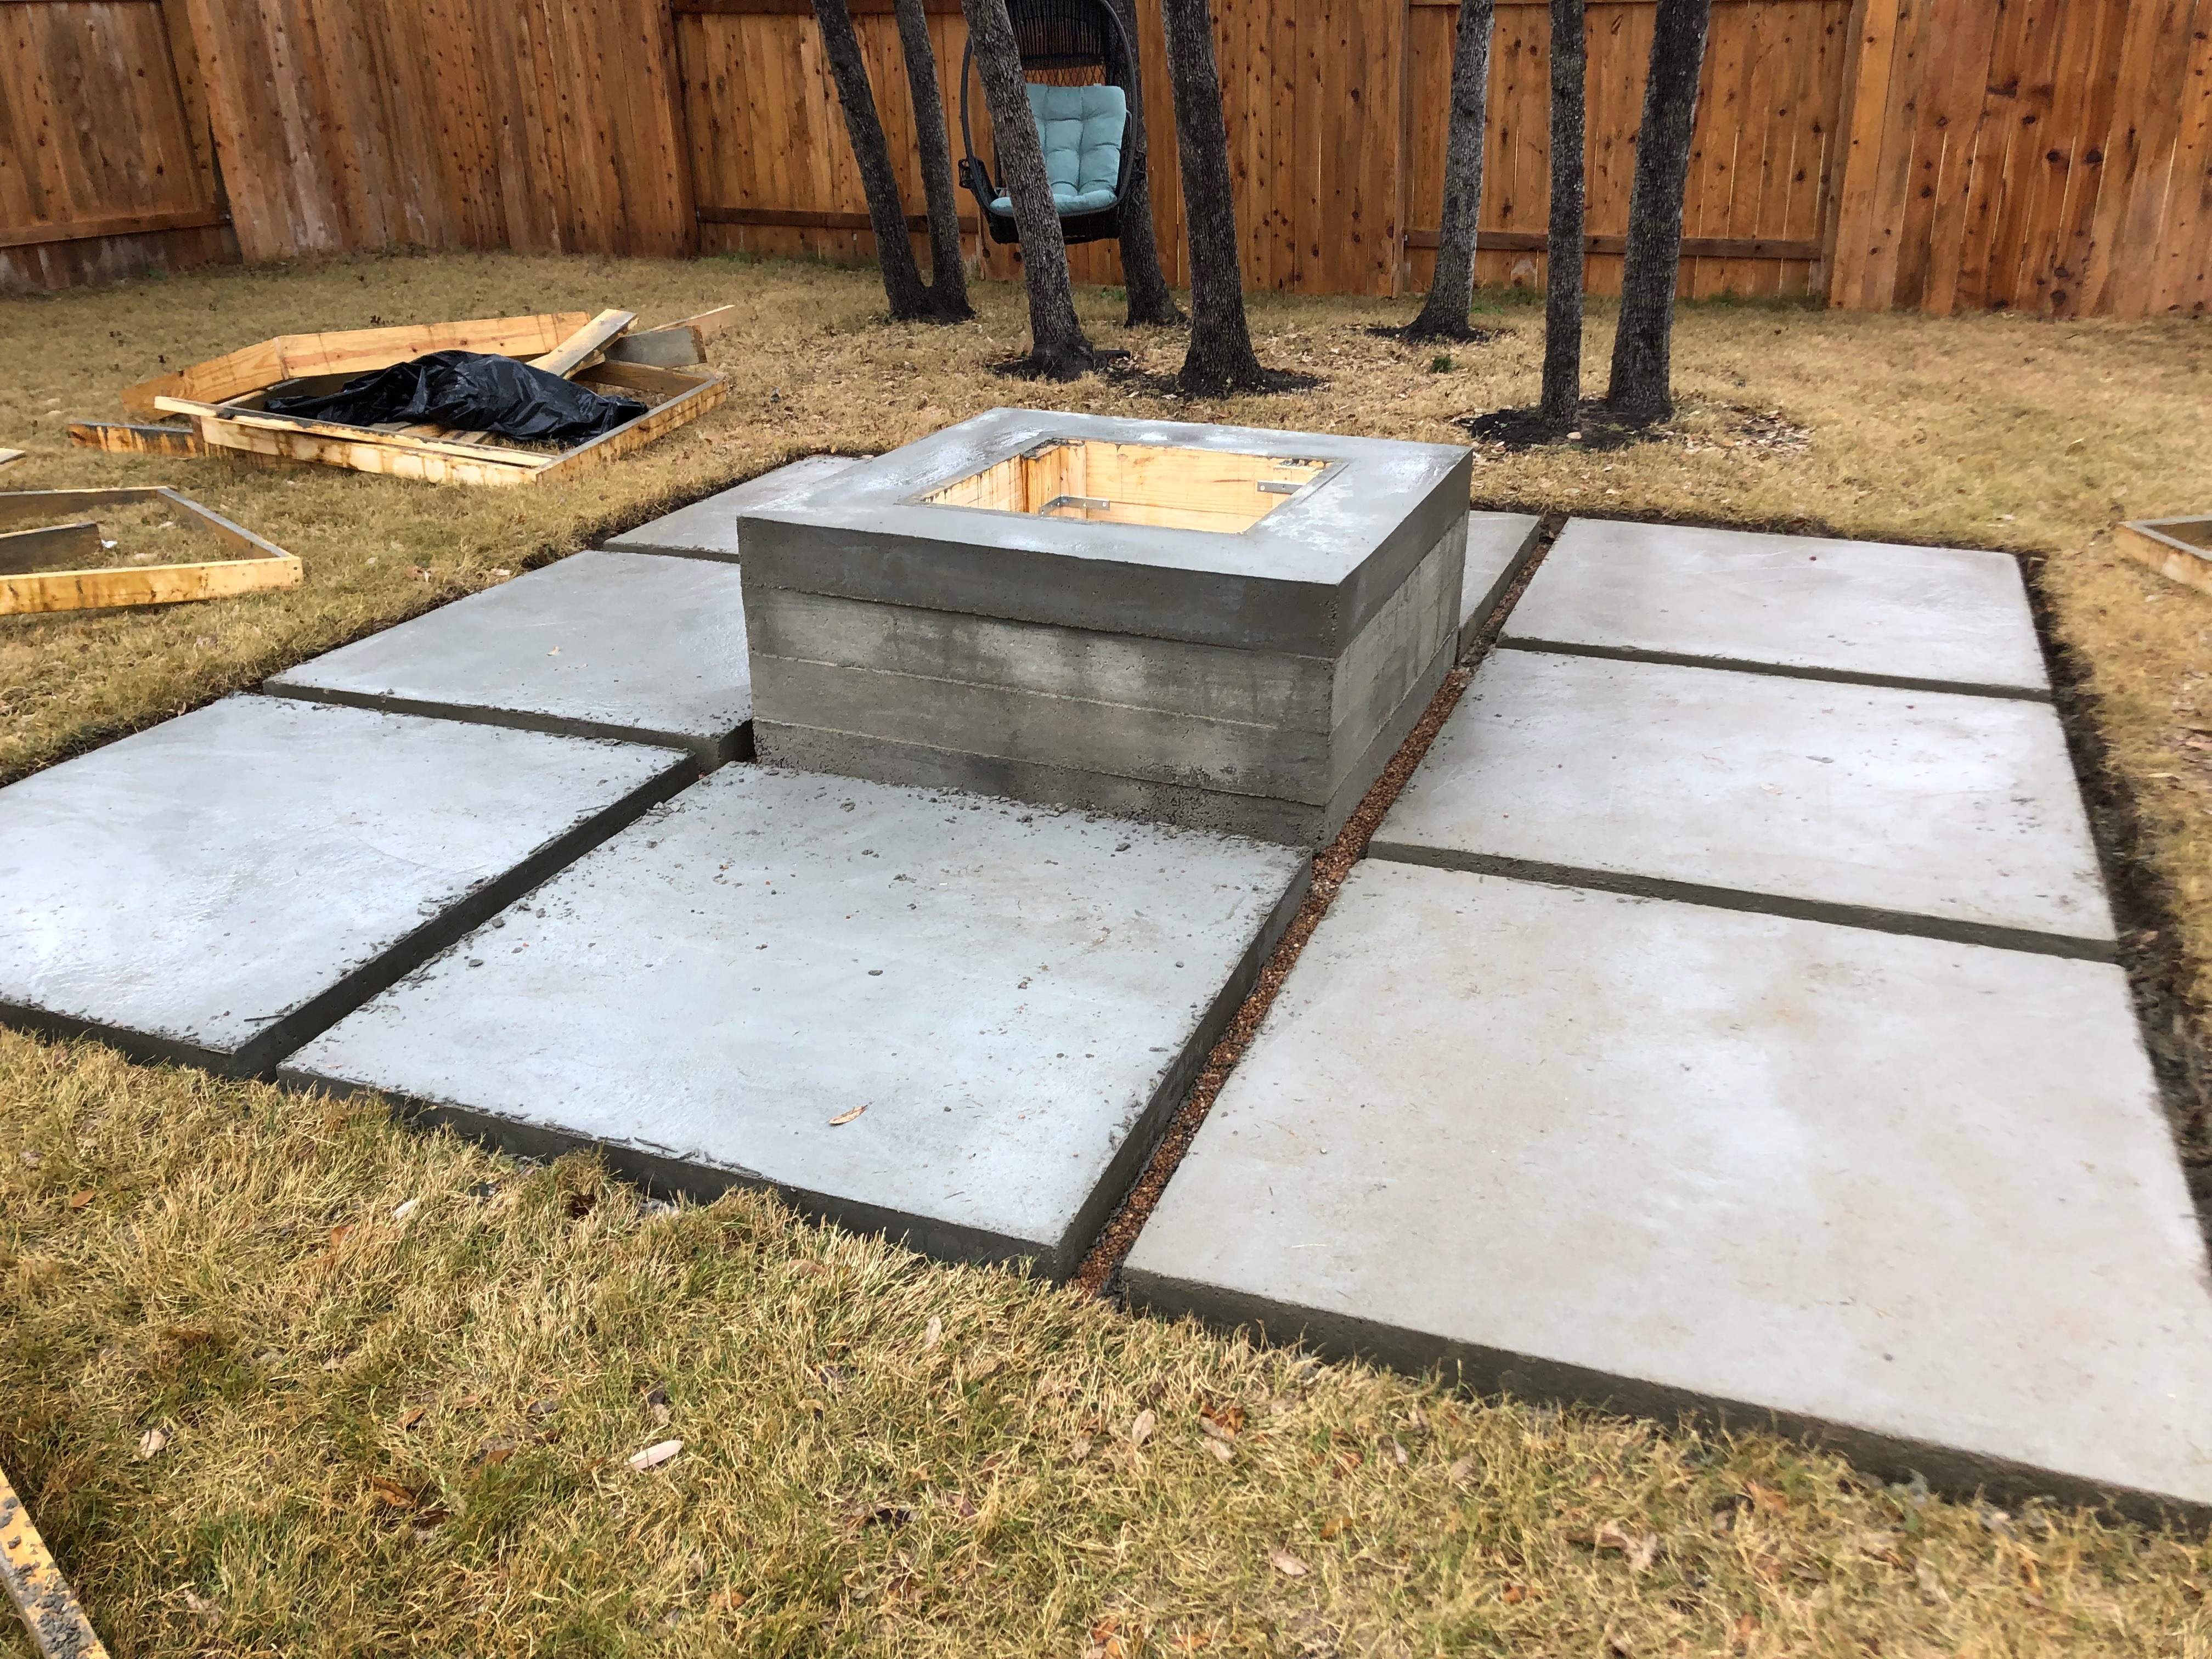
If you want to give a more finished look to each paver (and the fire pit for that matter, you can use an edger to 1) release the top edges from the frames and 2) give the edges a rounded look. If you’re going to do this, do it sooner than later. The concrete may be too dry, then it won’t work (this is what happened to me). I went back and forth about using the edger and finally decided to try it but the concrete was too dry. Plus, I wanted the edges to be sharper for a more modern look. I’m glad I didn’t edge after all. An issue that probably would have been fixed if I used the edger was on the pavers. When taking off the frames some of the corners chipped off a little.
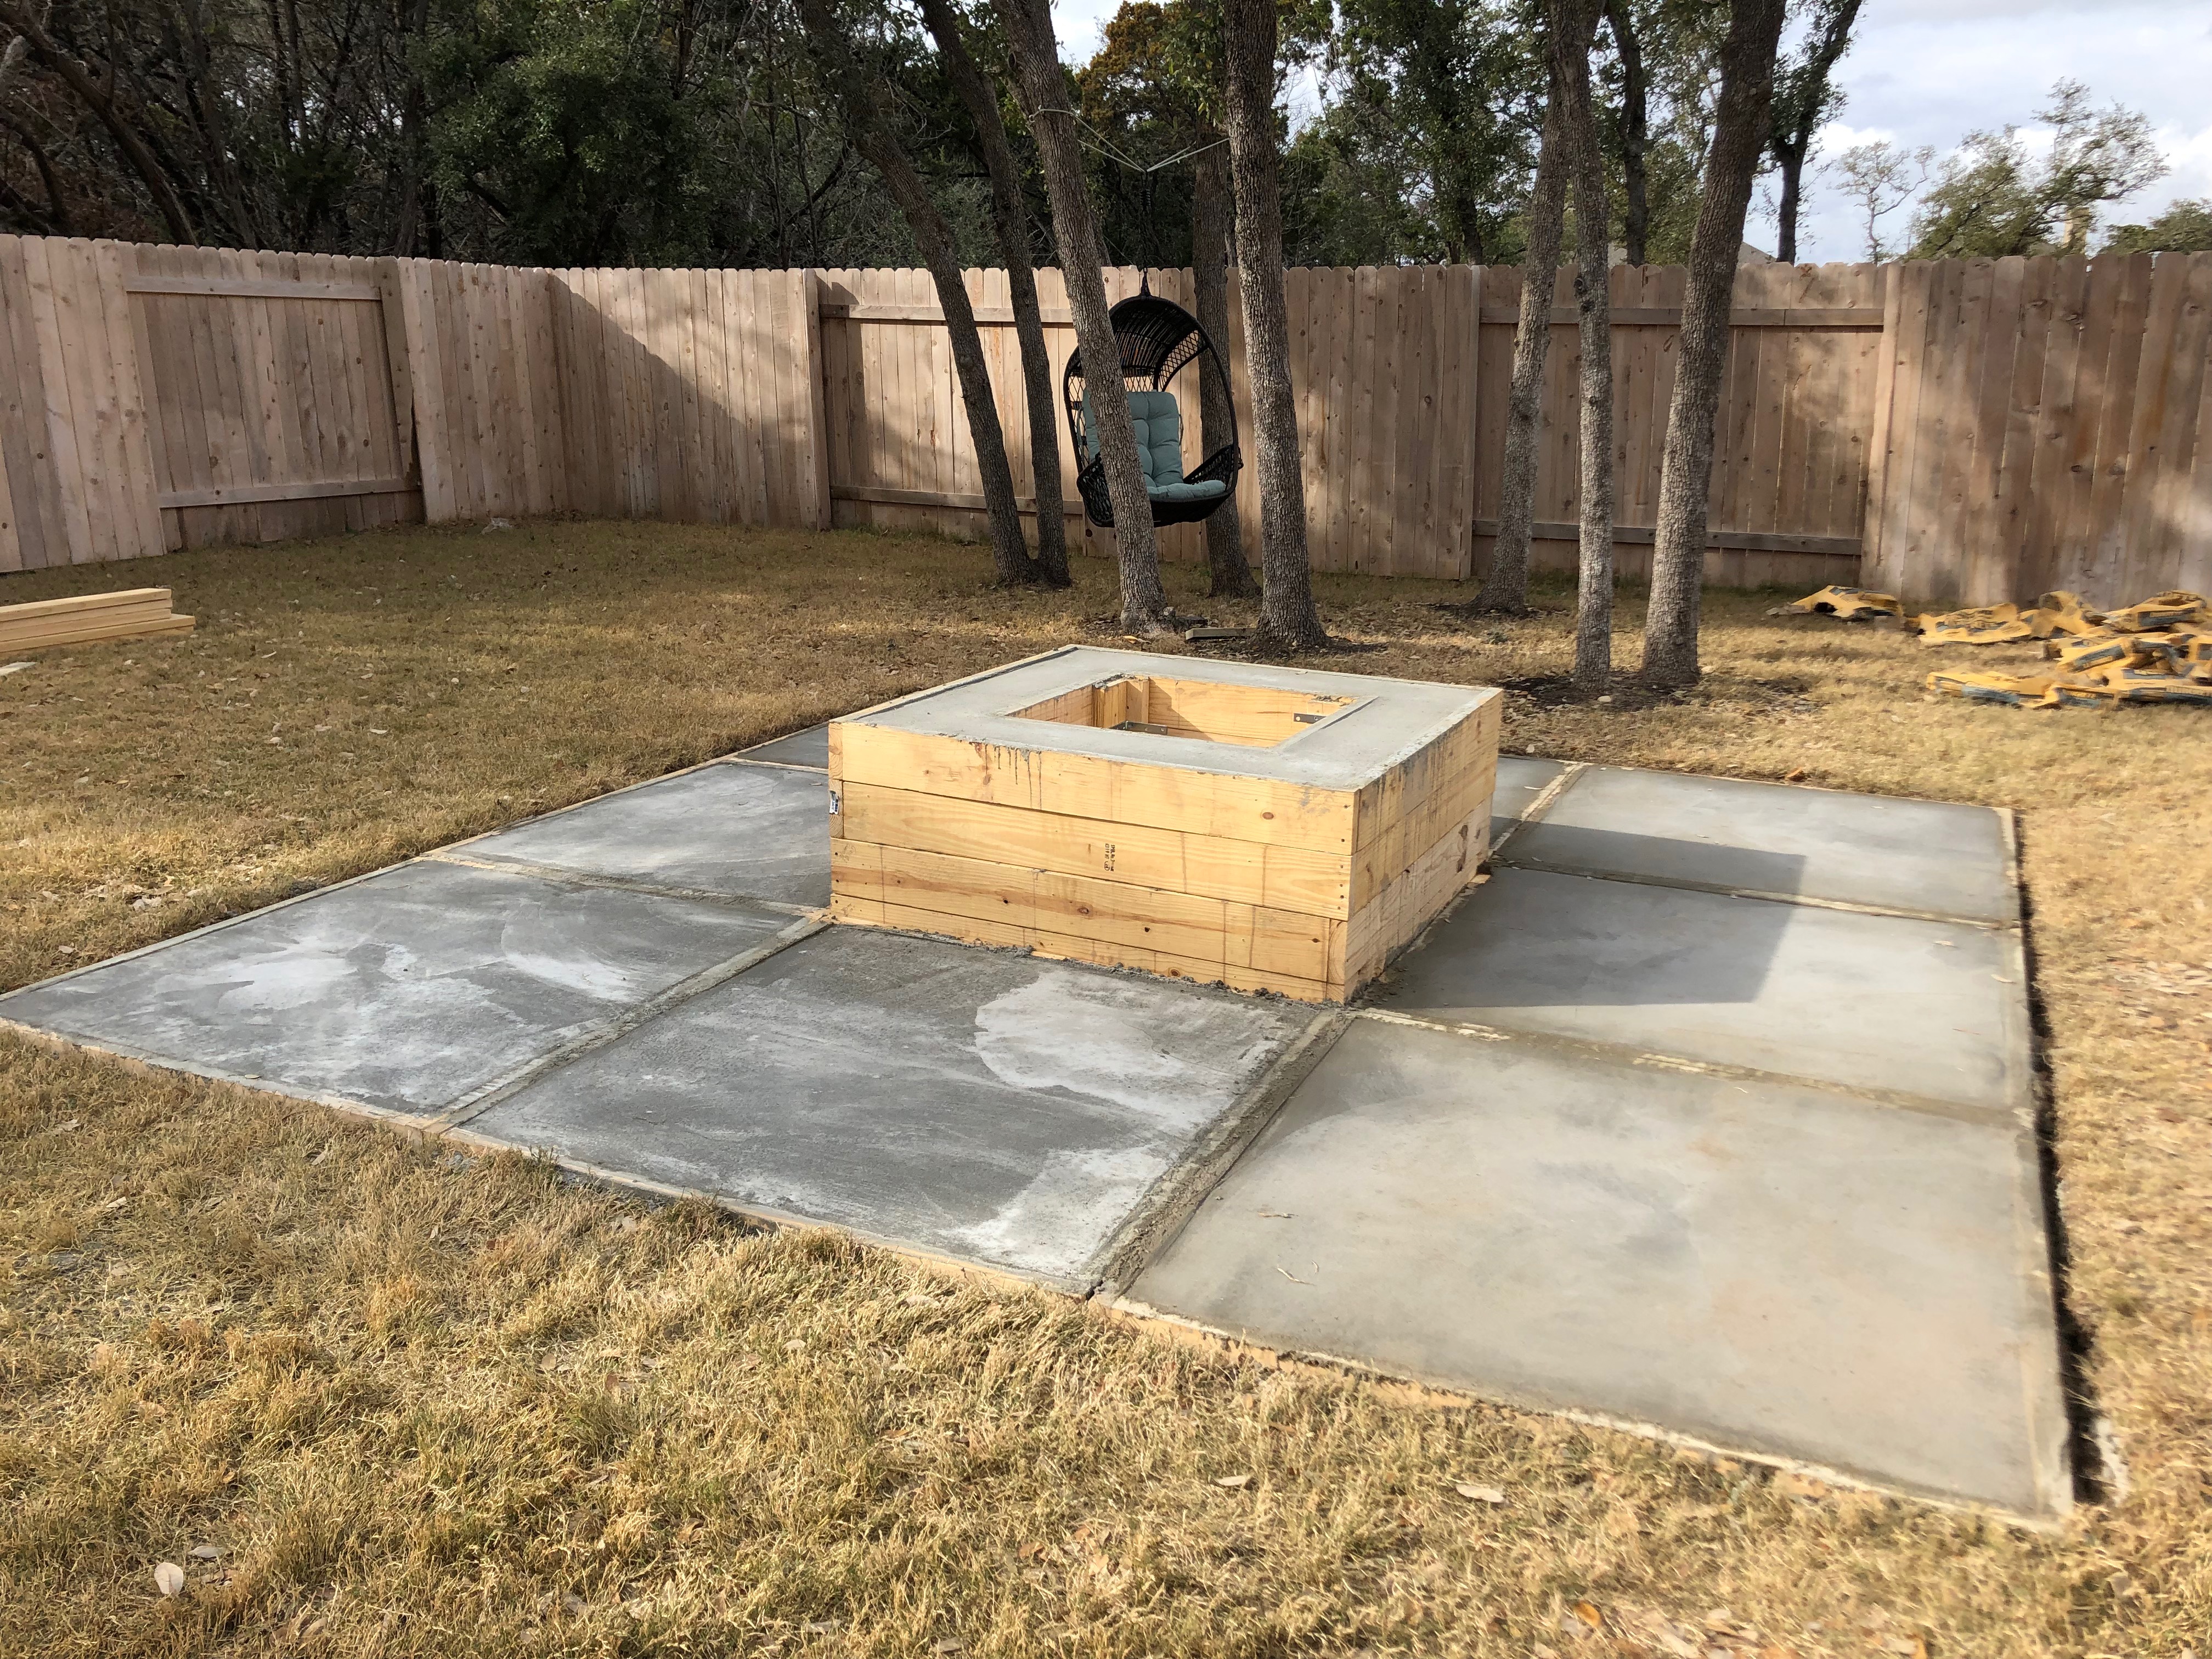
See all the scrap wood in the corner? This project had the highest amount of “waste” of any project I’ve done. Comment below with how you recycle scraps.
About the above picture: don’t worry about all the different shades of grey the concrete is while drying (I was definitely worried). It’ll even out in the end.
Tips
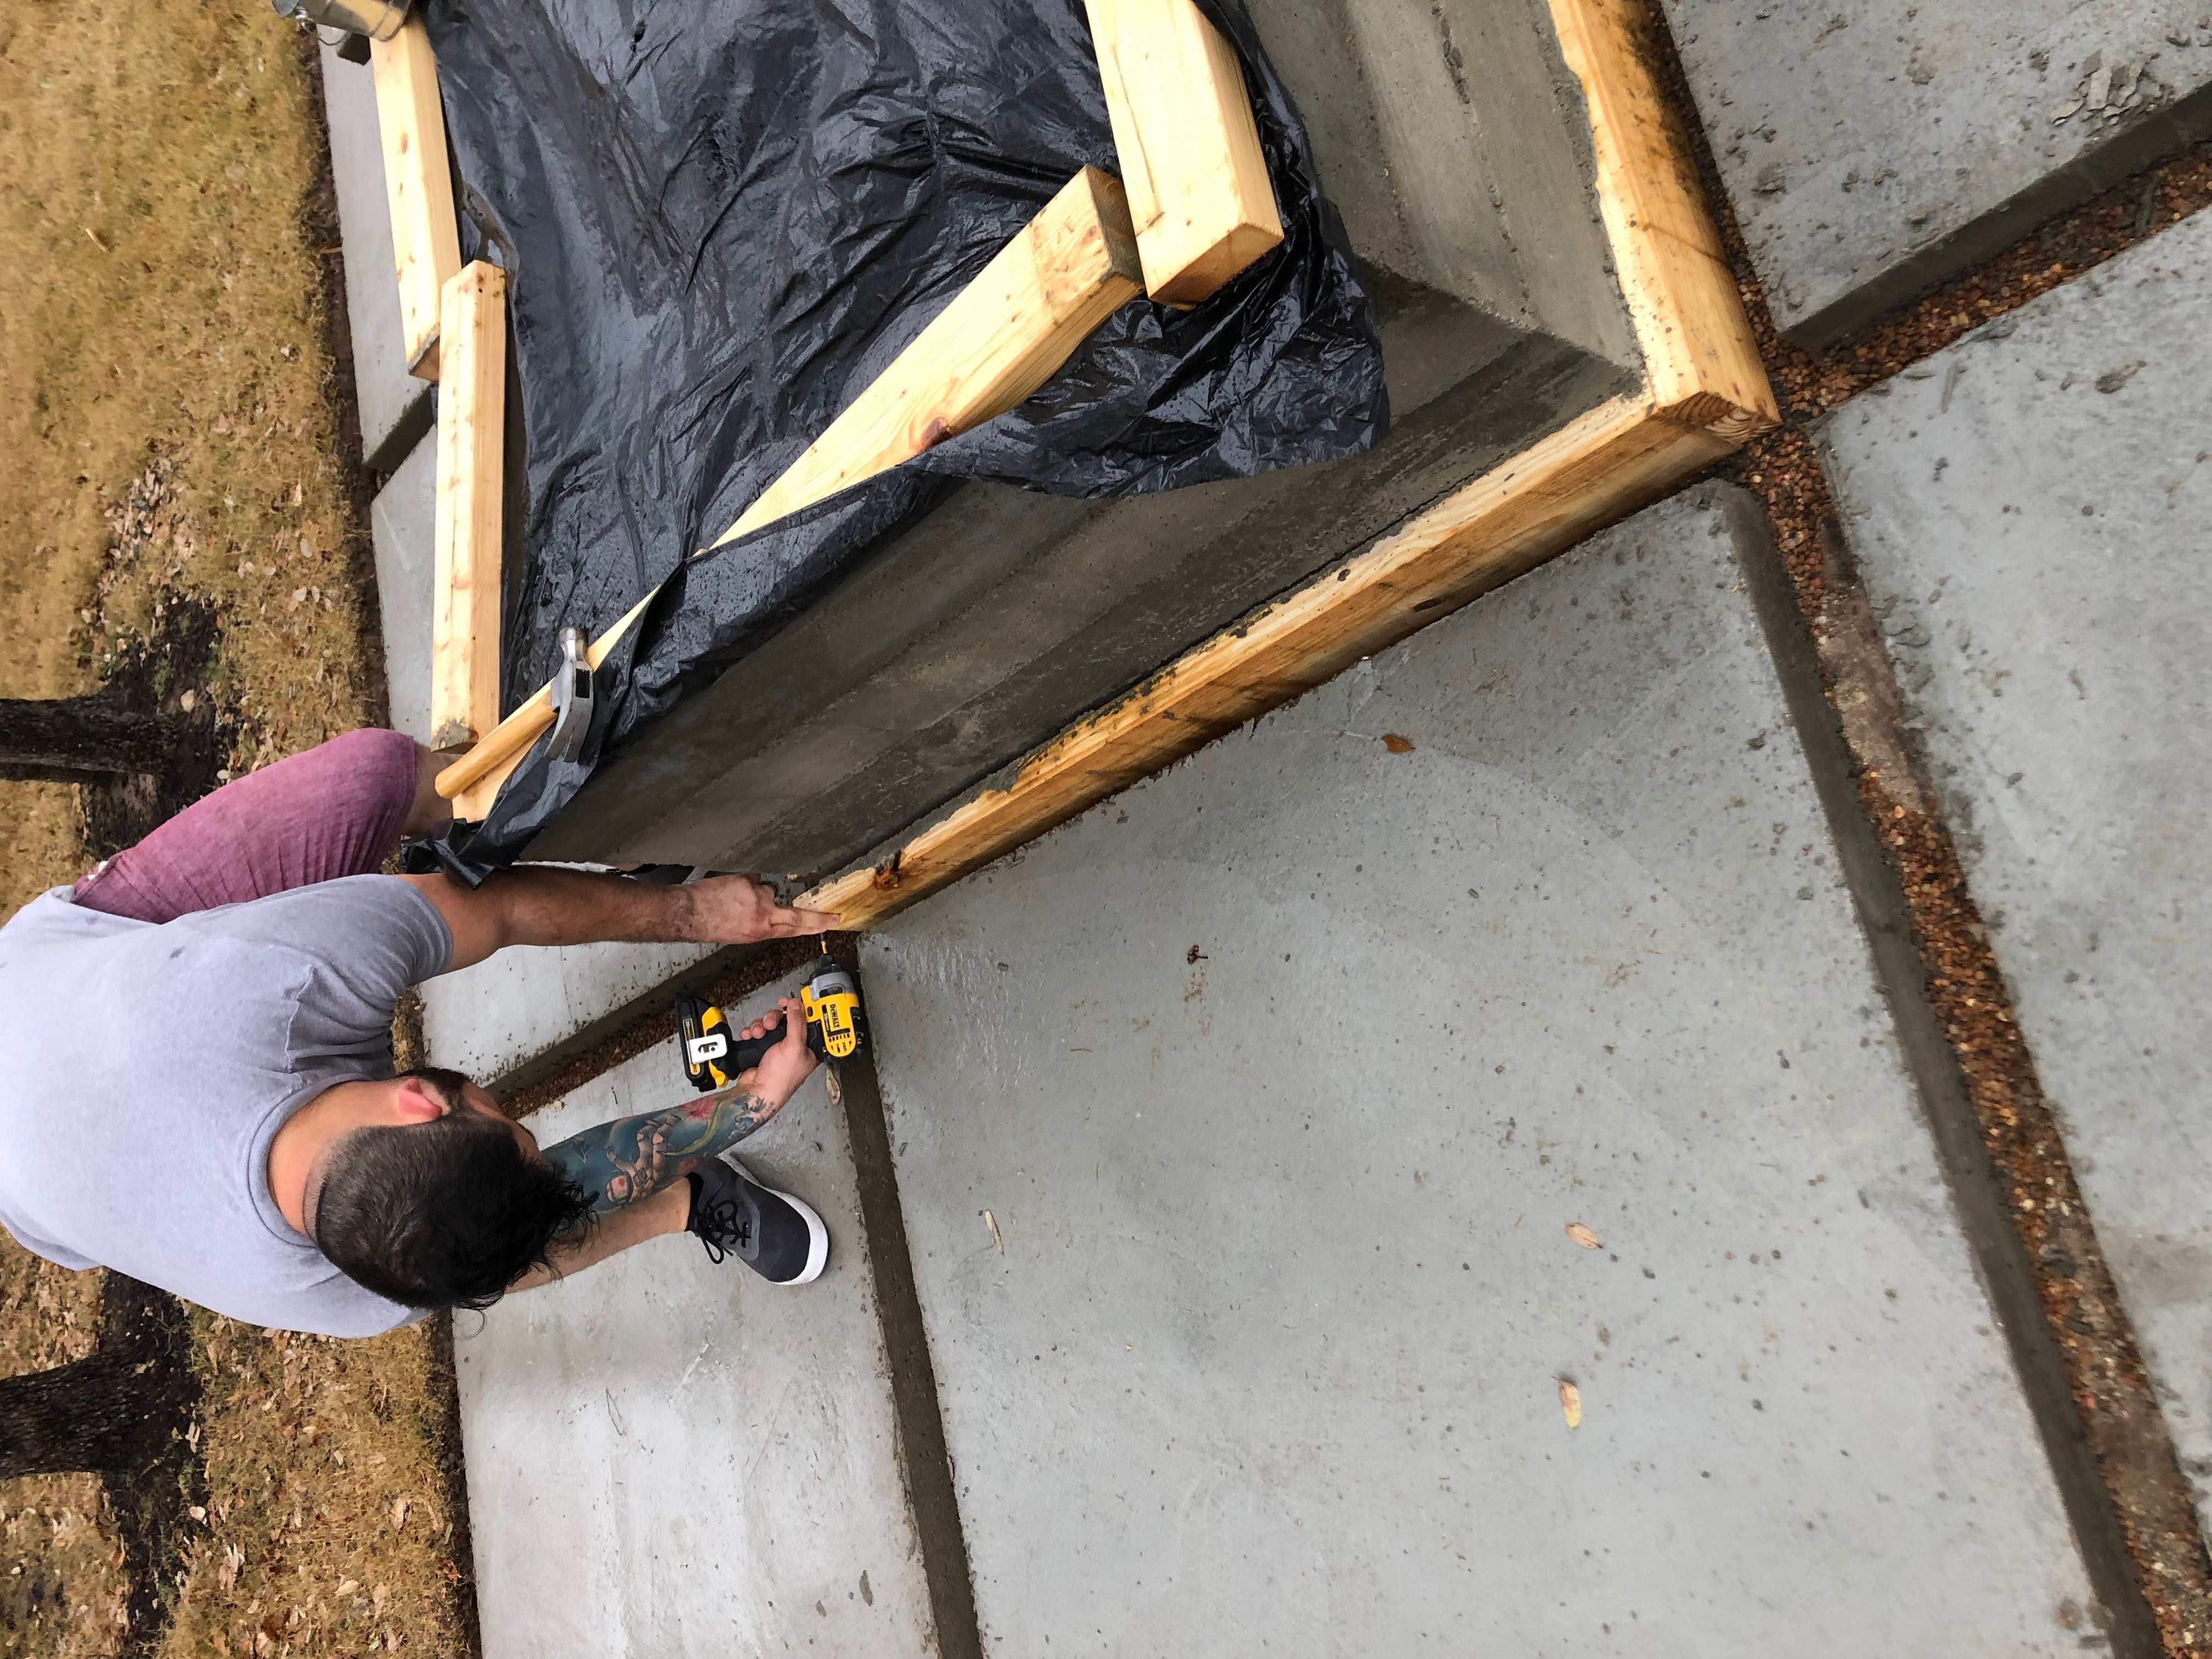
Planning for good weather seems to be a recurring issue for me. Concrete needs plenty of time to dry and shouldn’t have rain too soon. There was just a bit of a drizzle for a couple days after we finished pouring everything, so it was fine, but ideally you would want no rain for a couple of days or to cover the concrete with a plastic tarp. We did cover the fire pit itself with a big plastic bag just to be safe.
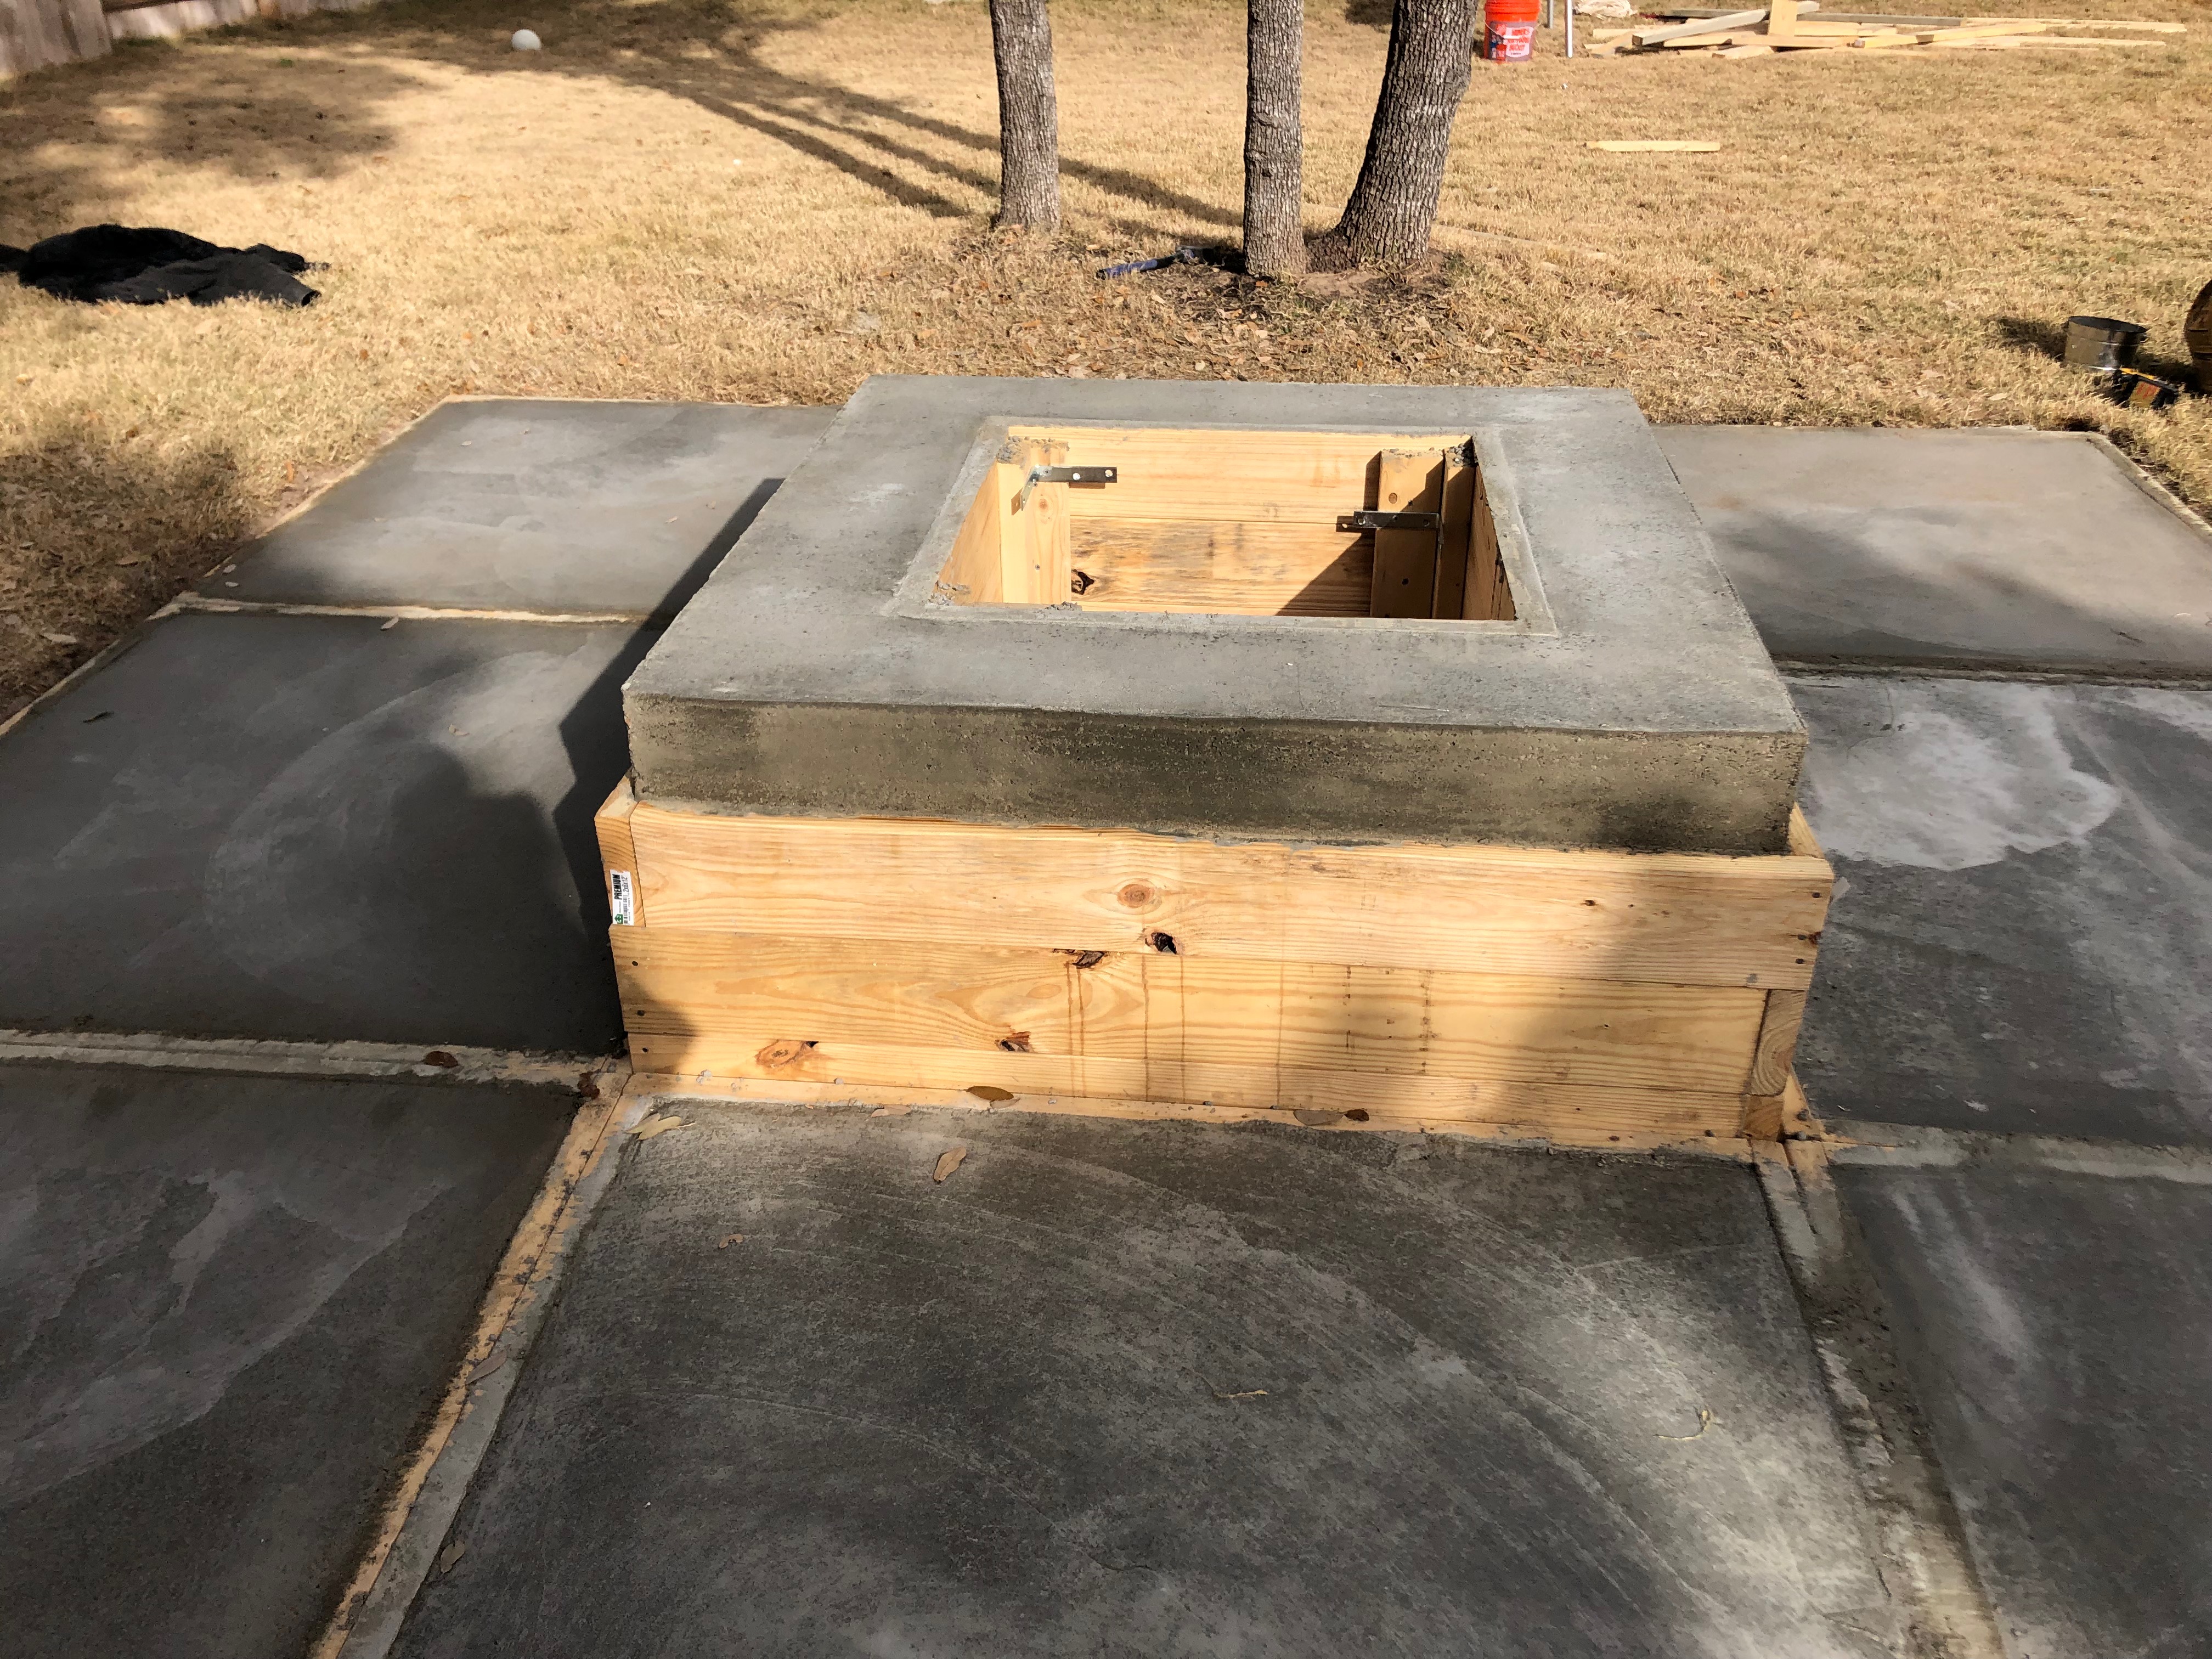
Now you’ve put in all this work for a beautiful outdoor living area and all you can do is wait for days. We tried taking the frames off the fire pit 24 hours later, starting with the top layer, and it was still quite damp so we figured it was too soon and left it for another 24 hours to dry.
Finally we got to take off the frames. The fire pit frames are the easiest to take off. Simply unscrew and remove carefully as to not damage the fresh concrete. The paver frames are a little more difficult. We took screws to the top of each corner of each frame. It took two people to wiggle and pull up the frame. Repeat all the way around.

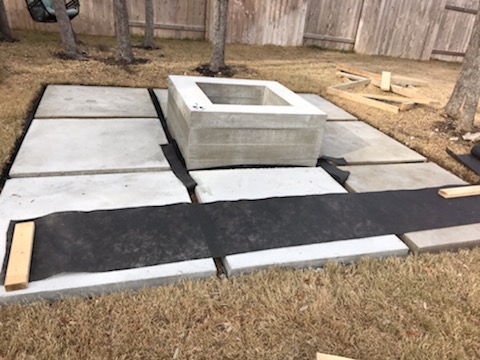
GRAVEL
Last but not least are the finishing touches — adding gravel in between the pavers. We laid some weed barrier in between the pavers to make sure nothing grows through, then we filled the gaps with gravel. What I planned to do, that didn’t get done, was to get a binding agent to essentially glue the gravel into place. This is still the plan but hasn’t gotten done yet. This project is a part of the 95% club. A little advice, make a plan, stick to the plan, make necessary adjustments, and FINISH THE PROJECT 100%.

LESSONS LEARNED on making your own fire pit and concrete pavers…
WHAT I DID RIGHT: A trend you will see is how happy I am when I have materials delivered to my house. Yes, I hate having to pay extra for these huge shipments but it wouldn’t be very realistic any other way. Totally worth it!
WHERE I GOT LUCKY: I made a ton of mistakes and had so many setbacks during this project. The biggest thing I wished I had done differently would be to have a concrete mixer come to pour it all, but unfortunately that wasn’t really an option with this size of a project. So, my second thing would be better planning. There were several times that we worked well into the night. I was really anxious to get the project done and working a full-time job means that you only have the nights and weekends to work on these things. Take your time, plan it out. There are some things that you can hopefully avoid (like a concrete mixer that doesn’t work when you already have it on your project site and have to go back to the store to exchange it). Learn from my mistakes!
Thank you to my husband who always does all the massively heavy lifting. This project was especially difficult and he worked many late nights to finish this for me, so thank you!
I hope y’all enjoyed this project as much as I did (okay I hope you enjoyed it more because this was hard! haha)
Don’t forget to follow me on instagram @olivegreyavenue!
Like and comment, too!
Find us on social HERE!
Shop our favorites HERE!


