Concrete Creations: Building a Custom Patio Table


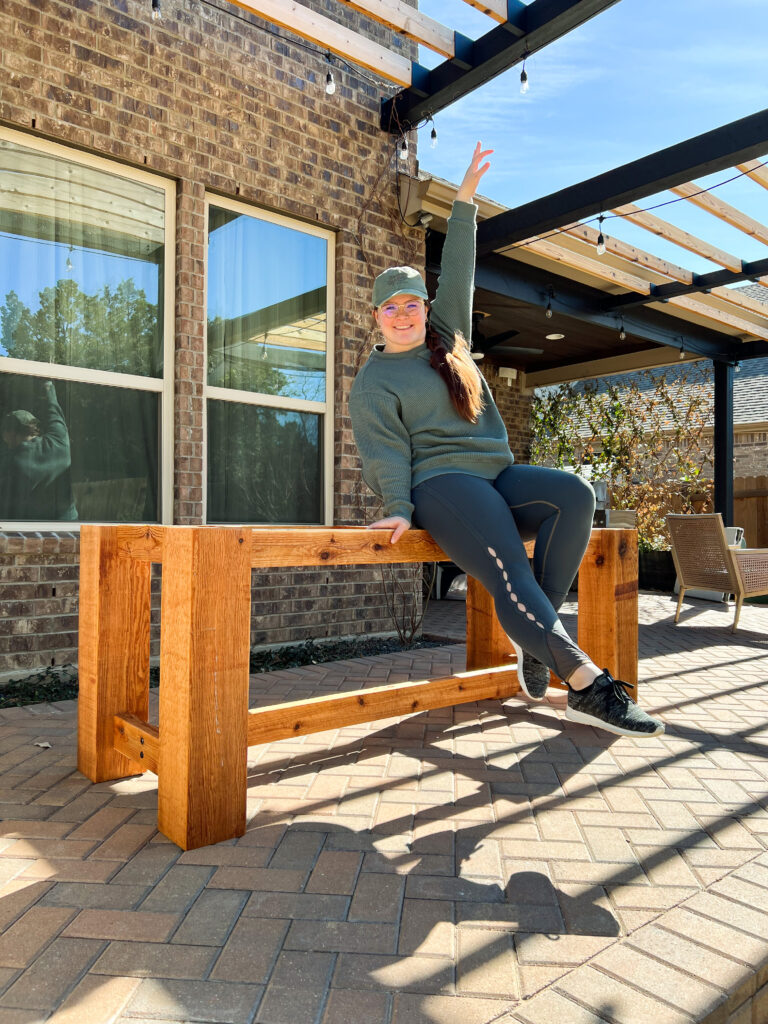
It’s been a long time coming, but we finally built a table for our back patio! We’ve been planning it for what feels like forever and the form has been just sitting there, taunting us with its unfinished potential. It was a classic case of getting stuck in our heads, making things out to be more difficult than they are, and ultimately procrastinating. But we finally dove into the task headfirst because I was determined to make my vision of a Tuscan villa-style table with a modern twist come to life. Follow along as we create our custom DIY concrete tabletop!
Working with concrete is not our favorite activity, to say the least. It’s stressful, messy, and often feels like a daunting task. But this time, we decided to tackle it differently! The actual pouring of the concrete is not really the problem. It’s all the prep and the decisions you make before you start that really matter. Once you get going it takes almost no time at all. So let me walk you through our process! We wanted to do it right because this was a larger table than anything we had attempted before, and we didn’t want it to dry too fast or crack when we tried to move it.
This post contains affiliate links. I make a small commission if you choose to buy any of the products I’m endorsing. The opinions in this post are my own, and I really do love all the tools and products I’m using for this project!
Creating the Form
First of all, the form! We used a piece of Melamine Board as the bottom. We made it bigger than the actual tabletop dimensions. It is important to use Melamine board because the concrete won’t stick to it. This is going to be the top of the table that everyone will see, so don’t cheap out and try plywood or anything like that!
Then, we used simple pvc trim boards we cut with a circular saw to create the sides for a frame the size we wanted the finished table top to be. We used boards that were the desired depth of the table top and brad nailed them all together and glued them on top of the Melamine board. Finally, one of the most important steps is to caulk the seam between the Melamine and the edge boards with 100% silicone. Don’t use any other type of caulk. It needs to be 100% silicone and it needs to be smoothed completely before it dries. That’s it! Creating a mold for a DIY concrete tabletop really is that simple.
Getting Ready to Pour
I said before that we did everything we could to make this as easy as possible. Because this was a larger project that would require bags and bags of concrete, we rented a concrete mixer from Home Depot’s tool rental center! This was so much easier than mixing all of it by hand a few bags at a time like we have done in the past.
We also did what we could to make the concrete itself easier to work with. First of all, we used a mortar mix instead of a concrete mix. Mortar mix is just cement and sand, it has no gravel in it. So, it’s easier to work with without as many aggregates. Plus, the finish will be much more perfect. We also added flow control to the mortar mix too. This stuff increases the strength of the finished product and it increases the fluidity of the wet concrete too. This is important because a liquid is so much easier to spread and work with than a thicker consistency! It will pour easily and fill the entire mold with no screeding necessary.
We also decided that we were happy with a natural concrete color for our tabletop DIY. It looks very white on camera but it’s just a light grey concrete color. If you want to get fancy and color your concrete, you go right ahead! There are some beautiful additives out there.
Pouring the concrete and letting it cure
I am so glad we used the concrete mixer! Once we had the mortar mix and flow control product mixed and ready, everything happened quickly and according to plan. We poured the liquid-like mortar mix into the bottom of the mold and quickly got to work smoothing and adjusting any really rough areas. Because this was the bottom of the table (it will be flipped when it’s dry), I wasn’t too concerned with making it perfect. What I DID pay attention to were the outside edges of the table, since rough edges would make it more difficult to add the table top to the base.
Once it was poured, we let it cure for a REALLY long time, over a week. (Even then, it still looked a little bit wet on the top!). This is VERY important, especially for something this size. You don’t want half-cured concrete cracking when you try to lift it.
Once it was cured, the last step was getting the mold off the finished product! Being really careful not to damage the concrete, we knocked the frame pieces off. We found that using the back of a hammer to pry the ends of the pieces of wood up off the ground and then knock them off was the best and easiest way. Using slings and a lot of willpower, we were able to lift the tabletop up off the cement board! We were very happy to see that the top and sides of the slab were smooth and perfect, ready to be turned into the top of a gorgeous Tuscan villa-esque dining table.
How did we actually accomplish that when we could barely lift it up on one edge? That is a story for another day!
Watch the Video to Learn How to DIY a Concrete Tabletop
So, whether you’re looking to make gorgeous concrete countertops for your kitchen, a modern coffee table, or some rock solid patio furniture, DIY concrete just might be your answer. Be sure to check out the full video tutorial of our custom concrete project and scroll below for tips, tricks, and FAQ answers to help you get started on your own DIY concrete tabletop! Stay posted for our tutorial on how we created the table base the concrete top now sits on. That was an adventure too!)
What kind of concrete do you use for a DIY tabletop? How do you make it?
While there are plenty of good options when it comes to making a durable and stylish tabletop, few materials match the versatility and strength of concrete. Using mortar mix and flow control additives (both found at Home Depot or your local hardware store) can help you streamline the process and achieve professional results like we did! Let’s break down the process we used in a little more detail.
Understanding mortar mix and flow control:
Mortar mix, typically used for masonry work, is a blend of cement, sand, and water-retaining additives. Unlike traditional concrete mixes, mortar mix lacks coarse aggregates, making it ideal for achieving a smoother finish. Flow control additives not only increase compressive strength but also enhance fluidity, making the pouring process a breeze and allowing the mix to flow freely and fill the mold evenly. Using this product eliminates the need to ensure you’re not adding too much water while thinning your mixture, keeping the mortar mix at “full strength.” We found this to be absolutely true and it really helped our process.
Preparation and mixing:
The first thing you need to do is calculate how much mix you will need for the proportions of the project you are building. Once you do that, measure out the appropriate ratio of mortar mix and water, following the manufacturer’s instructions carefully. Depending on your project’s exact size and complexity, you may need to make adjustments. Once you’ve measured out the mortar mix and water, it’s time to add the flow control additive. Start with a little bit of flow control additive and gradually increase it until you achieve the desired consistency.
Pouring and finishing:
With your mortar mix prepared and flow control added, carefully pour the mixture into your prepared mold or concrete form. Take care to distribute the mix evenly and eliminate any air bubbles with your smoothing trowel. As the flow control takes effect, you’ll notice the mix becoming more fluid and easier to work with. This ensures a consistent and smooth finish. Once the mold is filled, use your trowel to level the surface and remove any excess mortar. Be sure to work quickly, as mortar mix sets rapidly. As the mix cures, make any necessary adjustments to ensure a flawless finish.
Final touches and sealing:
After allowing the concrete tabletop to cure fully, it’s time to apply any final touches and sealants. Applying a high-quality concrete sealer will protect the surface from stains, moisture, and other environmental factors. Don’t skip this! It will ensure your table stays beautiful and functional for a long time.
You can see that harnessing the power of mortar mix and flow control additives is the easiest way to craft a stunning concrete tabletop! Whether you’re a seasoned DIY enthusiast or a first time DIYer, this process opens up a world of possibilities for creating custom concrete creations. So, roll up your sleeves and get ready to make a statement with your next concrete project!
How much does it cost to make a concrete tabletop?
This is a great question! When you do this yourself instead of hiring out or purchasing a ready-made slab, it’s actually much cheaper than you’re probably thinking. When considering the cost of making a concrete tabletop, we need to think about several factors, including the materials used, tools required, and labor involved. Here’s a breakdown of the typical expenses associated with crafting a concrete tabletop:
Materials
- Concrete or mortar mix: the main ingredient and star of the show which can vary in price depending on the brand, quality, and quantity needed for your project.
- Flow control additive: This is a small extra cost that is worth it for what it brings to the table (pun intended!).
- Formwork or mold: whether you’re using a pre-made mold or building your own formwork, this component adds to the overall cost. If you can use scrap wood to build your form, the cost will be considerably less.
- Reinforcement materials: depending on the size and design of your tabletop, you may need to incorporate reinforcement materials such as rebar or wire mesh. Do your research and do not skip this if Google or the hardware store says your slab needs it!
- Sealant: applying a sealant is essential for protecting the concrete surface.
Tools
- Mixing equipment: depending on your project, you may need a cement mixer, mixing tub, or drill-powered mixer attachment.
- Formwork assembly tools: if building your own formwork, you’ll need tools such as saws, drills, and clamps.
- Finishing tools: a concrete trowel is essential for achieving a smooth surface and even finish, giving you a seamless look. If you choose concrete mix over mortar mix, you may need additional tools (it needs to be screeded).
Labor
Overall, the total cost of making a concrete tabletop can vary widely depending on factors such as the size, complexity, and desired finish of the project. Sourcing materials from Facebook Marketplace or even your own shed can certainly help keep costs down. With careful planning and budgeting, creating a stunning concrete tabletop can be a rewarding and cost-effective DIY project.
How thick should a concrete tabletop be?
Determining the appropriate thickness for a concrete table top is essential for ensuring its durability, stability, and aesthetic appeal. Here are some factors to consider when deciding on this measurement:
- Structural integrity: a thicker concrete slab generally offers greater structural strength and stability, especially for larger tabletops or surfaces subjected to heavy loads.
- Support requirements: the thickness of the tabletop should be sufficient to support the weight of the concrete as well as any additional loads placed on it, such as dishes or decorations.
- Design considerations: the desired aesthetic and design of the table can influence the thickness of the concrete top. For a sleek and modern look, a thinner slab may be preferred. A thicker slab gives a more substantial and rustic appearance. Thicker edges can add visual interest and provide a comfortable resting place for arms and elbows. It’s up to you!
- Practicality and functionality: consider how the table will be used in your space. For outdoor tables subjected to weathering and temperature fluctuations, a thicker slab will be more resistant to cracking and damage. Indoor tables may not require as much thickness but should still provide adequate strength and durability. And don’t forget, you have to actually MOVE this table into place. I wish I could remind my past self of this little detail. The thicker you make it, the heavier it will be.
In general, concrete table tops typically range in thickness from 1.5 to 3 inches. Thicker slabs are more common for larger or outdoor applications. Ultimately, the appropriate thickness will depend on factors such as the intended use, the structural requirements of the table, and your own design preferences.
Is concrete durable for a DIY tabletop?
Concrete is widely regarded as a highly durable material for tabletops! It’s strong, long-lasting, and resistant to various environmental factors. Here are some key points to consider:
Strength and Hardness
Concrete is renowned for its exceptional compressive strength, making it capable of withstanding heavy loads without structural failure. When properly mixed and cured, a DIY concrete tabletop can support everyday items such as dishes, kitchen appliances, and decor items without cracking or breaking.
Resistance to Wear and Tear
Concrete surfaces are inherently resistant to scratches, abrasions, and general wear and tear. This makes them suitable for high-traffic areas such as dining rooms, kitchens, or outdoor patios. With proper maintenance and sealing, concrete tabletops can retain their appearance and functionality for many years.
Weather Resistance
Concrete is naturally resistant to moisture, making it an excellent choice for outdoor table tops exposed to rain, snow, or humidity. Properly sealed concrete surfaces form a protective barrier against water infiltration, preventing damage such as cracking, spalling (where the surface flakes off), or mold growth.
Temperature Stability
Concrete can absorb and retain heat efficiently. This characteristic makes concrete tabletops especially ideal for outdoor use in regions with extreme temperature fluctuations, as they are less prone to expansion and contraction compared to wood or metal.
Customization and Versatility
Concrete offers unparalleled versatility in terms of design and allows for customization of color, texture, shape, and finish.
Longevity and Maintenance
With minimal upkeep, concrete tabletops can maintain their appearance and functionality for decades. Routine cleaning with mild soap and water, periodic resealing, and avoiding harsh chemicals or abrasive cleaners are typically all that’s required to preserve the beauty and integrity of a concrete tabletop.
Overall, concrete stands out as a durable and versatile material for tabletops, offering a perfect blend of strength, aesthetics, and practicality for both indoor and outdoor applications. Concrete tabletops can provide a timeless and durable surface that withstands the test of time. In other words, go for it!
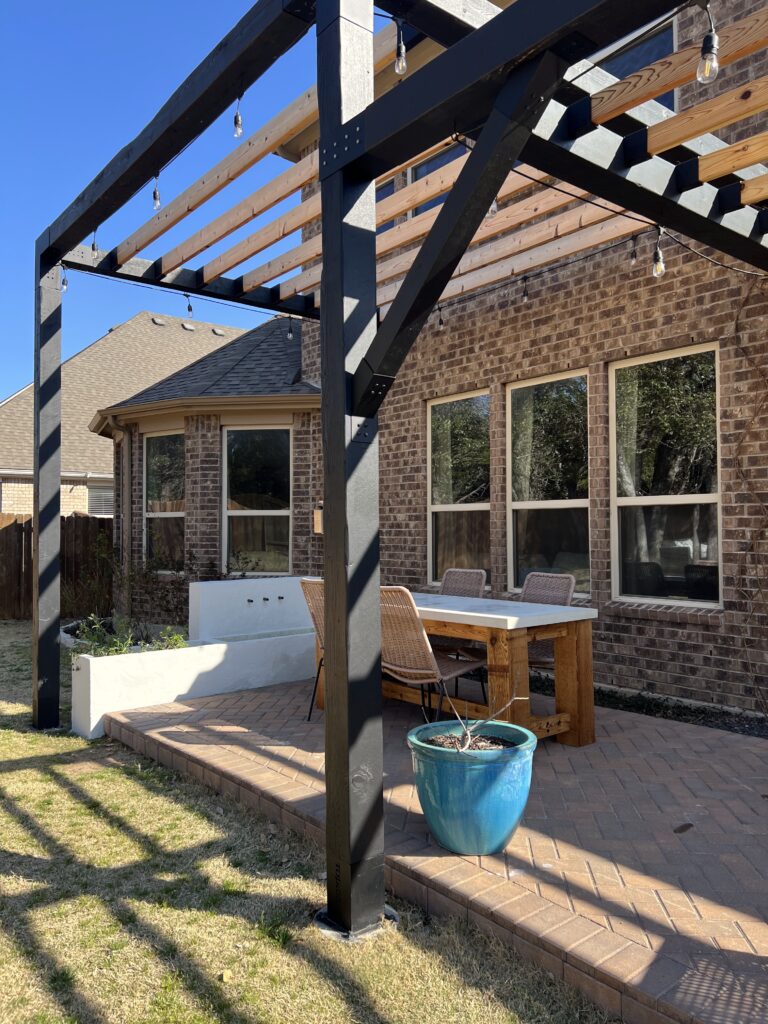
Crafting a DIY concrete table for our back patio was a labor of love, filled with ups and downs. From overcoming procrastination to navigating challenges along the way (check out the process of building the base and lifting the top for most of those), we’ve learned valuable lessons in perseverance and creativity. We are SO looking forward to enjoying meals and making memories around our new patio table.
Have you DIYed something out of concrete? Tag us @olivegreyavenue, we would love to see your creation!
If you love the look of concrete in your yard you should check out more of my DIY concrete ideas.
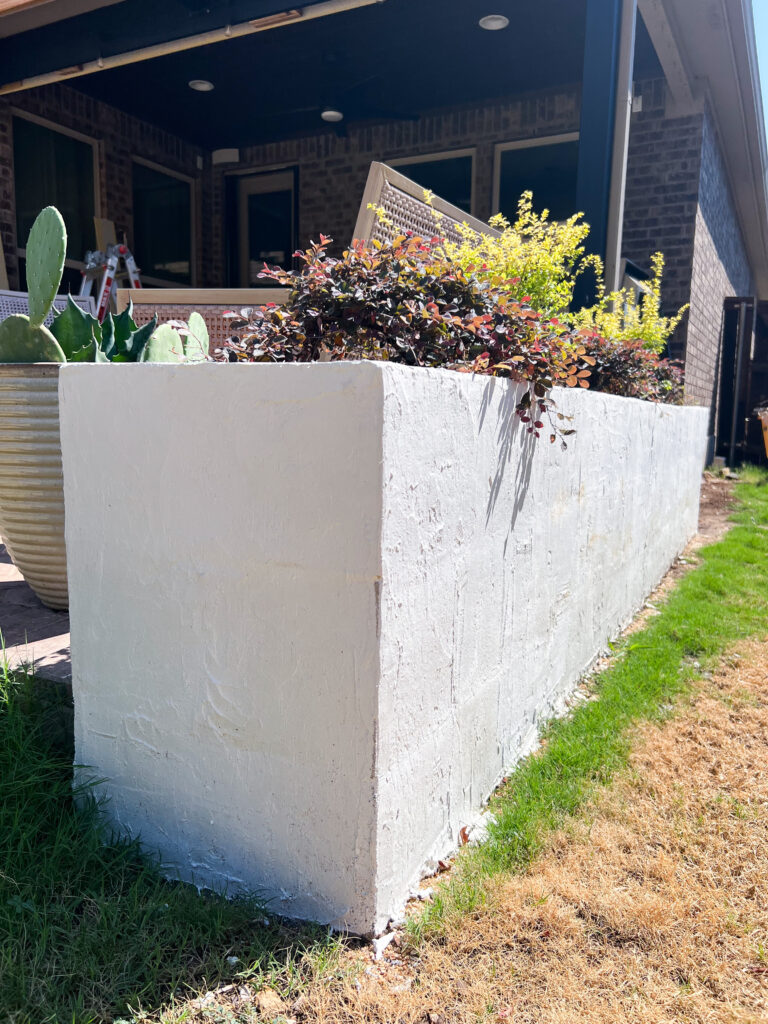
CONCRETE CHIC: HOW TO BUILD A RAISED GARDEN BED WITH CINDER BLOCKS
If you’re looking for something a little more personalized than the wood boxes you can buy in the store, this post is for you. I’m going to show you how to build a vegetable garden out of concrete cinder blocks! These cinder block beds can be arranged in all different shapes and sizes to work in whatever garden area you have at home.
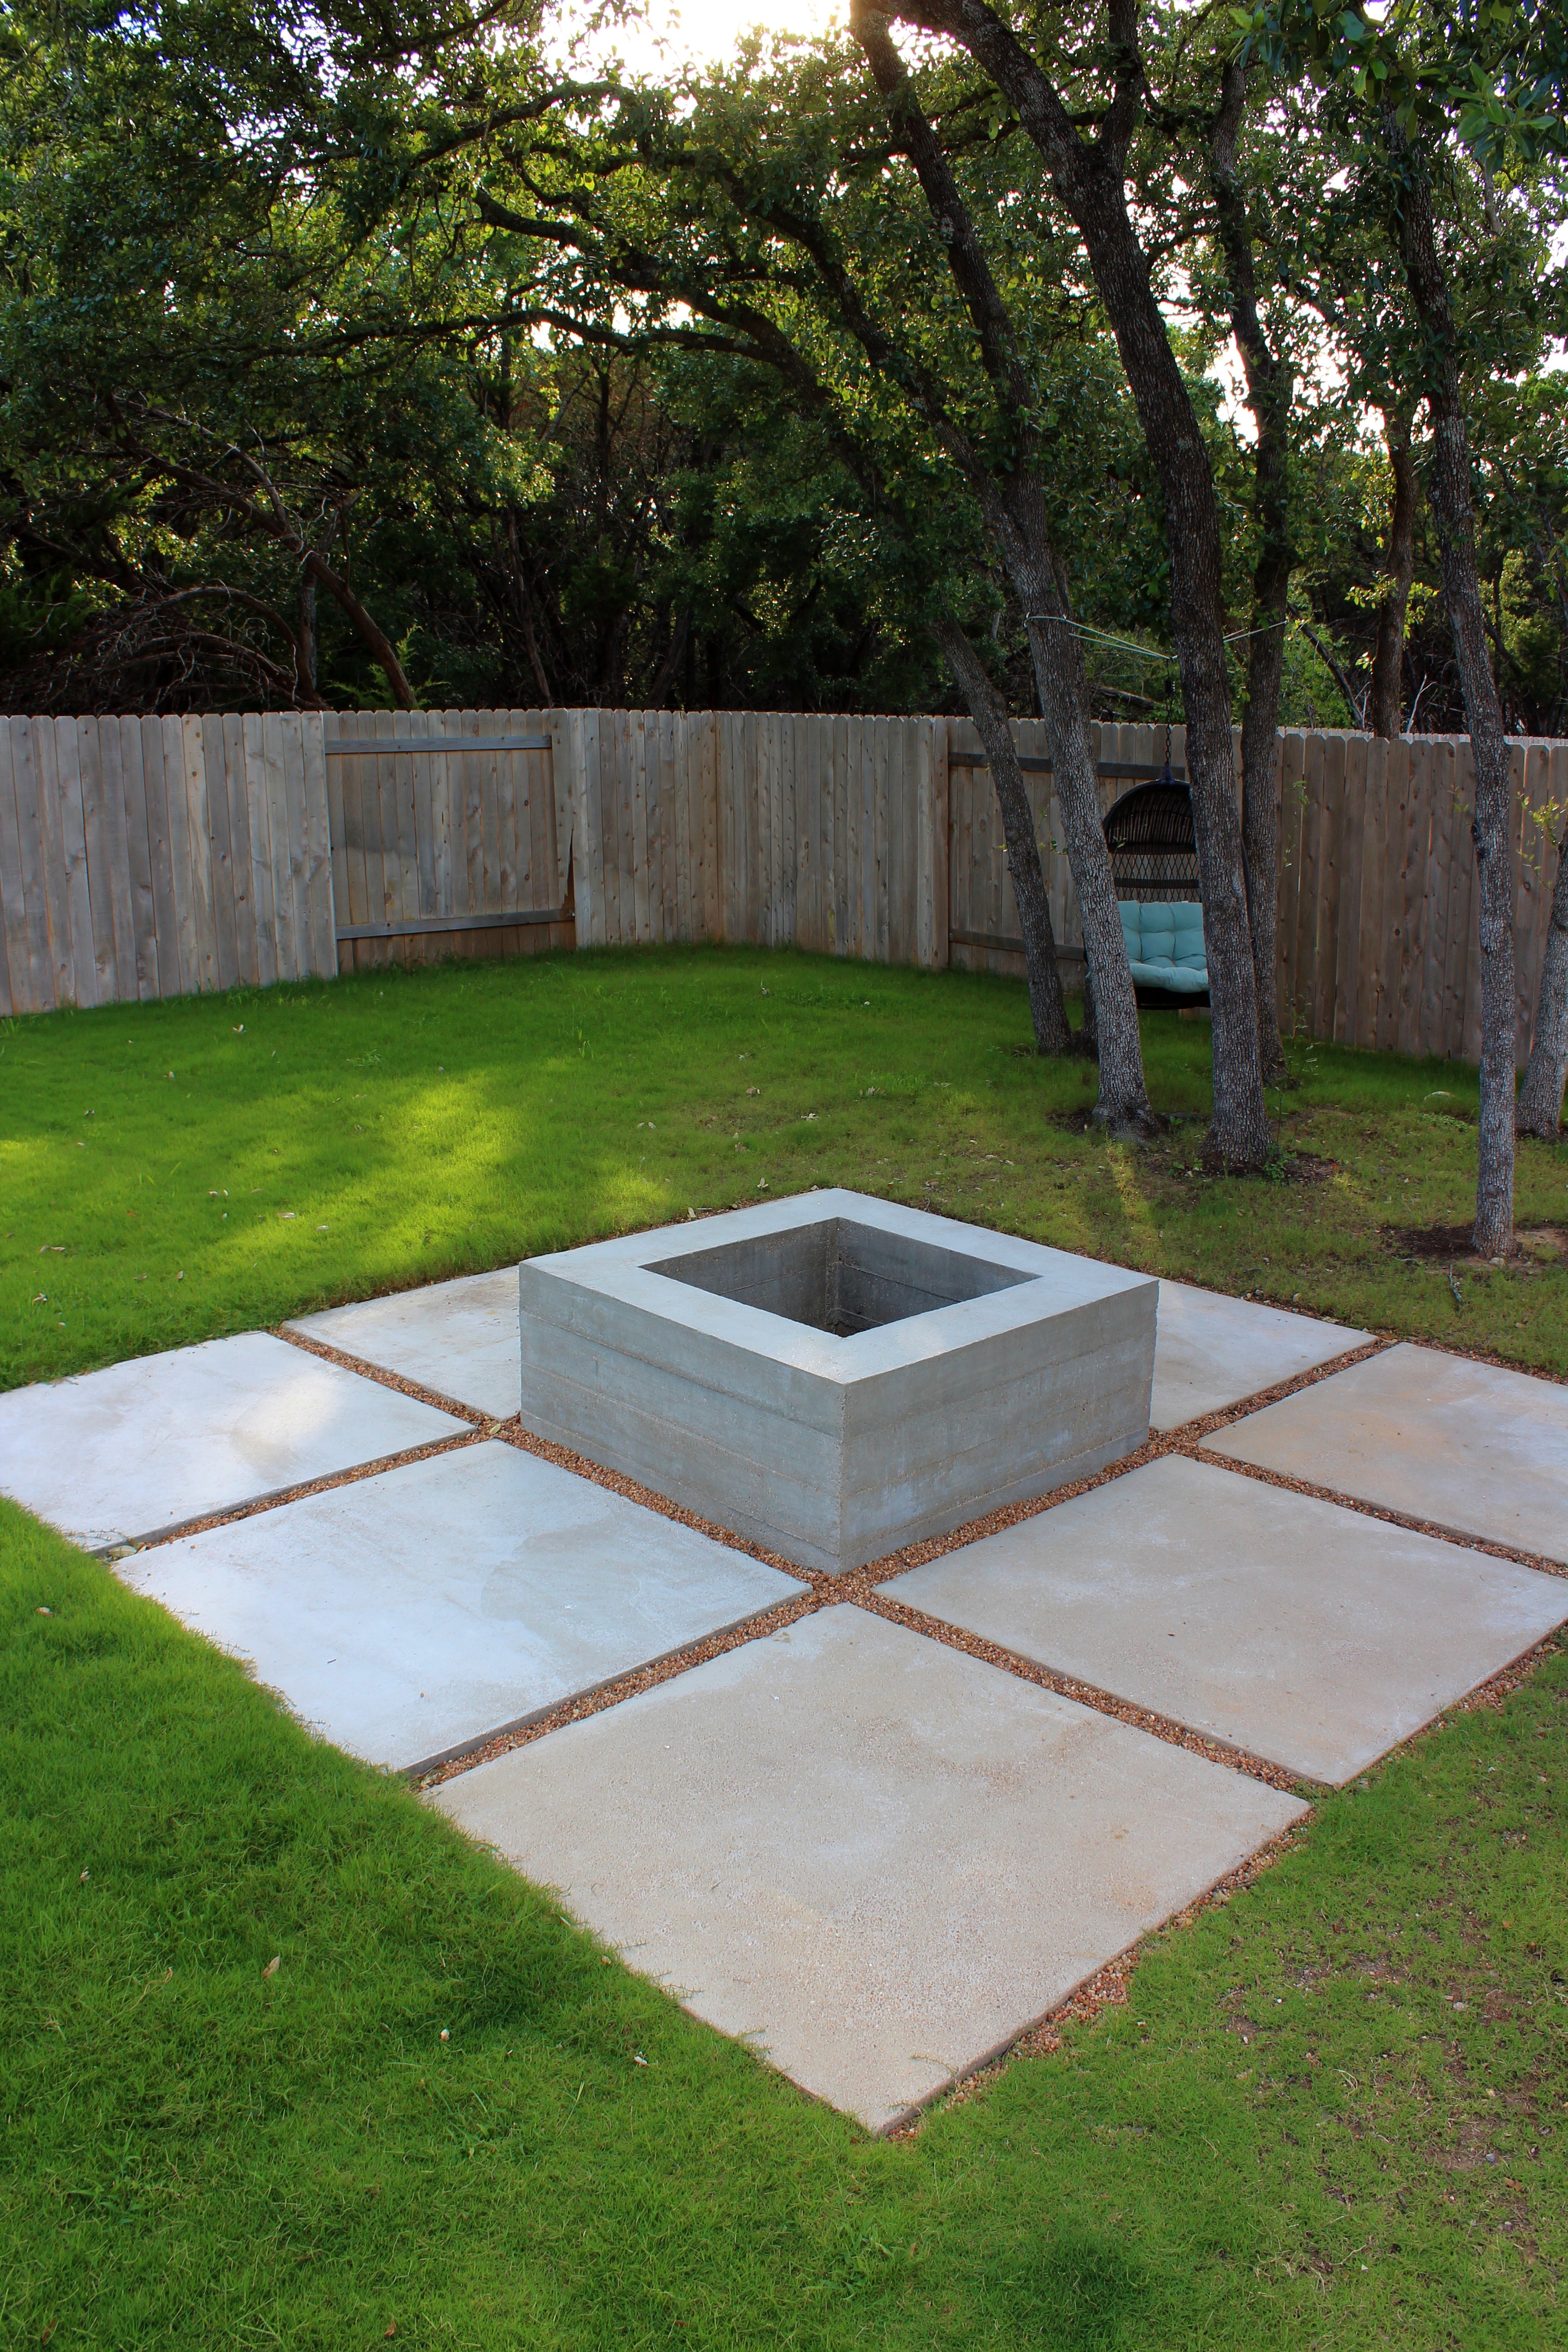
DIY CONCRETE FIRE PIT AND PAVERS
Making your own 12′ x 12 concrete pavers and fire pit may be difficult, but it will be worth it in the end. Come see how I did it and find out what I learned along the way.