


How to Build a Raised Garden Bed with Cinder Blocks


Are you interested in container gardening? Are you wondering the best way to build a raised bed to create a little garden space for all your gardening needs? If you’re looking for something a little more personalized than the wood boxes you can buy in the store, this is for you. I’m going to show you how to build a garden out of concrete cinder blocks! These cinder block beds can be arranged in all different shapes and sizes to work in whatever garden area you have at home. And, if you aren’t sure you love the look of the concrete blocks, I’ve got a great hack to make your bed look solid and modern. Let me show you exactly how I made mine!
This post contains affiliate links. I make a small commission if you choose to buy any of the products I’m endorsing. The opinions in this post are my own, and I really do love all the tools and products I’m using for this project!
How to Build a Raised Garden Bed with Concrete Blocks – FAQs!
Let’s get these questions out of the way first!
What is the difference between a cinder block and a concrete block?
If you google “how to build a raised garden bed with concrete blocks”, you will see both options. (Also, cement blocks aren’t a thing. You’re looking at either concrete or cinder blocks.) If you’re wondering what the difference is, here’s the info.
Concrete blocks (or CMU)
- Made from cement and aggregate (true concrete)
- Stronger than cinder blocks
- Heavier than cinder blocks
- Longer-lasting
Cinder blocks
- Made from cement and cinders or ash for aggregate
- Less durable and more likely to break under pressure
- Lighter than concrete blocks
- Most importantly, they haven’t been made on a large production scale since the mid 20th century.
Can you use concrete blocks for raised garden bed?
So, can these blocks be used to create a raised garden space? Yes! Concrete blocks are perfect for a project like this. I’ve gotten lots of questions about whether chemicals leach into the soil from the blocks. Since cinder blocks aren’t made with fly ash anymore, it’s not a concern. It’s the same thing as planting next to a sidewalk or driveway. Those don’t contaminate soil just like the concrete blocks do not. Concrete blocks are perfectly safe to use around raised garden beds whether you plant an edible garden, shrubs or flowers.
Ready to take the plunge into raised bed gardening? Follow along with my step-by-step tutorial for how to build a raised garden bed with concrete cinder blocks and see how easy it really is!
How to Build a Raised Garden Bed with Concrete Cinder Blocks
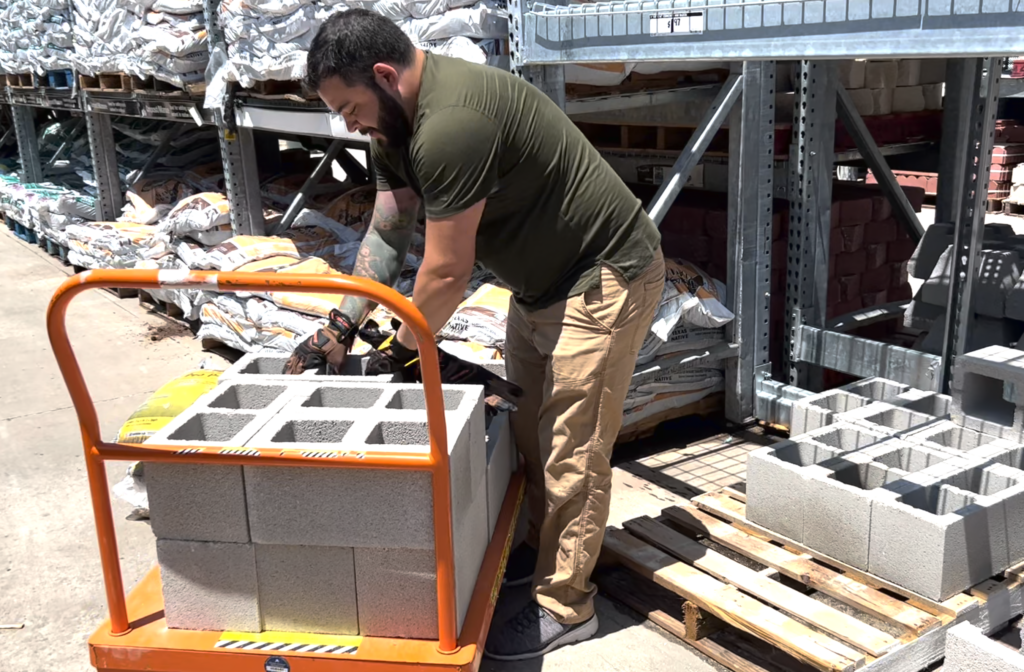
Now that we know it is in fact possible to use these blocks to construct a raised bed, it’s time to start! The first thing I did was plan out where I wanted my raised garden bed. Then I took some measurements and headed to Home Depot (any local home improvement store will do) to pick up the right amount of cinder blocks. We got mostly rectangular ones but I also picked up one square block that is half the size. I will tell you why in a moment!
Supplies We Used
Preparing the space
The first thing we had to do before we could get to the fun part of building was some demo. In the space where I wanted to put my new garden bed was our first attempt at a raised bed. It was made of wood and just wasn’t working the way we planned. Why, do you ask? Well, we didn’t reinforce it properly and the weight of the dirt warped the boards. The entire front was bowed and starting to sag, so it had to go.
We cut the boards with a circular saw so we could remove them in smaller sections. We also used a drill to remove screws and a hammer to bang it all apart. Other than the lack of proper reinforcement, it was really well built (go us!) which meant it was a bit of work to get it all apart. Once that was done and all the dirt and debris were moved to the side (that’s a problem for another day), I could get started on the new boxes.
Leveling the ground
The next step after deciding where your boxes will sit and getting rid of anything in the way is preparing the ground. It is really, really important that you make the ground level so that your finished boxes will be level too. I’m going to level each block as I go, because I found that easiest.
For this step, I would forget the usual base layer of wood chips and landscape fabric and go with gravel and sand. This will make leveling as you go much, much easier and will also provide stability for the bottom of the bed. Lay the gravel down and then add sand. This will fill in the spaces between the larger gravel pieces for extra stability.
Confession: I forgot to add the sand when I put the gravel down and ended up pouring the sand in after the blocks were all set. Don’t be like me, do both at the same time!
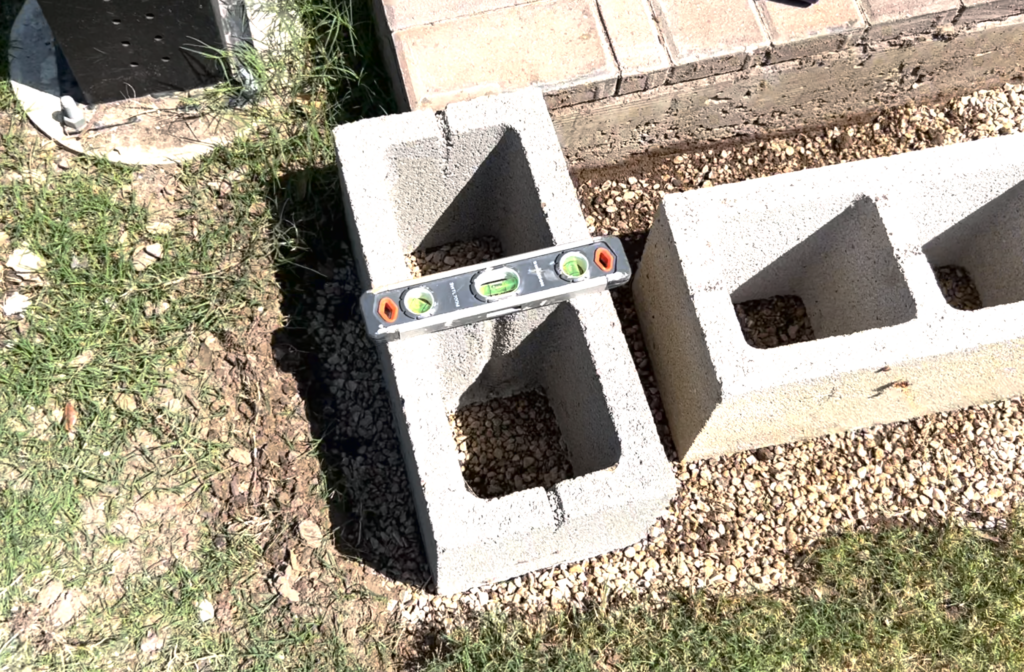
How to lay your cinder blocks for a raised garden bed
So, once you have put down your gravel and sand mixture, it’s time to lay the first block! This block MUST be level or your entire garden bed will be off, so take the time to get it right. Lay the block down where you want it to sit and put your level on top. The air bubble needs to be in the center of both the vertical and horizontal vials. Once it is level, place the next block down next to it. Ensure it is really close, as you don’t want any gaps between your blocks. As soon as I put that block down next to the first one I could see it was lower at the back corner. I didn’t even need a level to see that! So, I built up that corner by adding a bit more gravel under it and then trying again.
It was so close!
Just a little bit high. Before I took the block out again and started removing gravel, I hit it with my mallet first. That corner was now level but it was a bit high on the opposite corner now. So, I moved the block and took a bit of gravel out from where it was high. As you can see, leveling this first layer of blocks took some time. But block by block I was able to get every single one leveled out in a straight line. It is just a bit of a process.
A word about block placement
Do you remember that I purchased a single square block as well as the rectangular ones? You don’t want to line up the blocks perfectly with one another. This would have made a single line of weakness where the blocks all butted up against each other. Instead, I put a square block in the lineup in the second position so the ends were staggered. I also put the first block down in one direction and the rest that followed were the opposite direction.
These tricks are something easy you can do to increase the stability of your final structure.

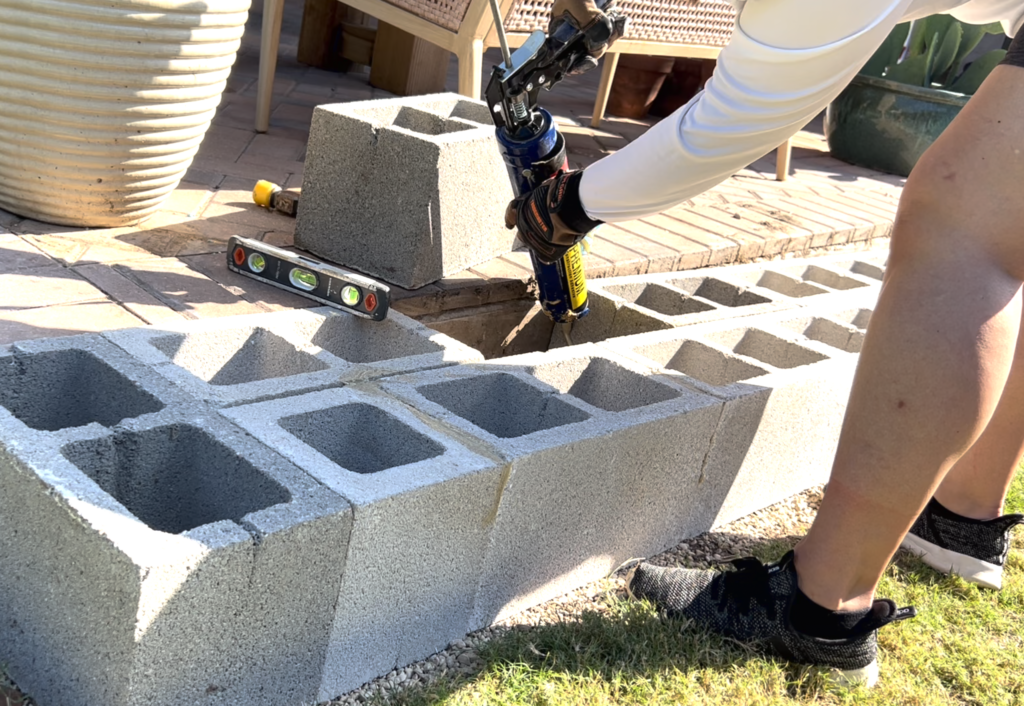
Add the glue
Once the base layer of blocks was down and leveled out, I made it even stronger by adding Loctite construction adhesive. I simply removed the blocks one at a time from their set position, added the adhesive to the ends, and then put them back in place. And of course, after I put each block back in place I checked that it was level again, making little adjustments here and there with my trusty mallet. I highly recommend this step, as it will make your garden boxes into one solid piece and help prevent your blocks from settling separately over time.
Add your second layer
Now that you’ve done the hard work of leveling each and every block for your first layer, the second layer is going to be so easy! Because I knew the base layer was completely level, all I had to do was put the next layer on and glue them together. I placed the first block of the second layer in the opposite direction as the one underneath it. This continued my goal of making sure the weak butted-up ends of the blocks don’t all line up with each other. Once this is done, you are finished the main construction of your cinder block garden beds!
Add your third layer
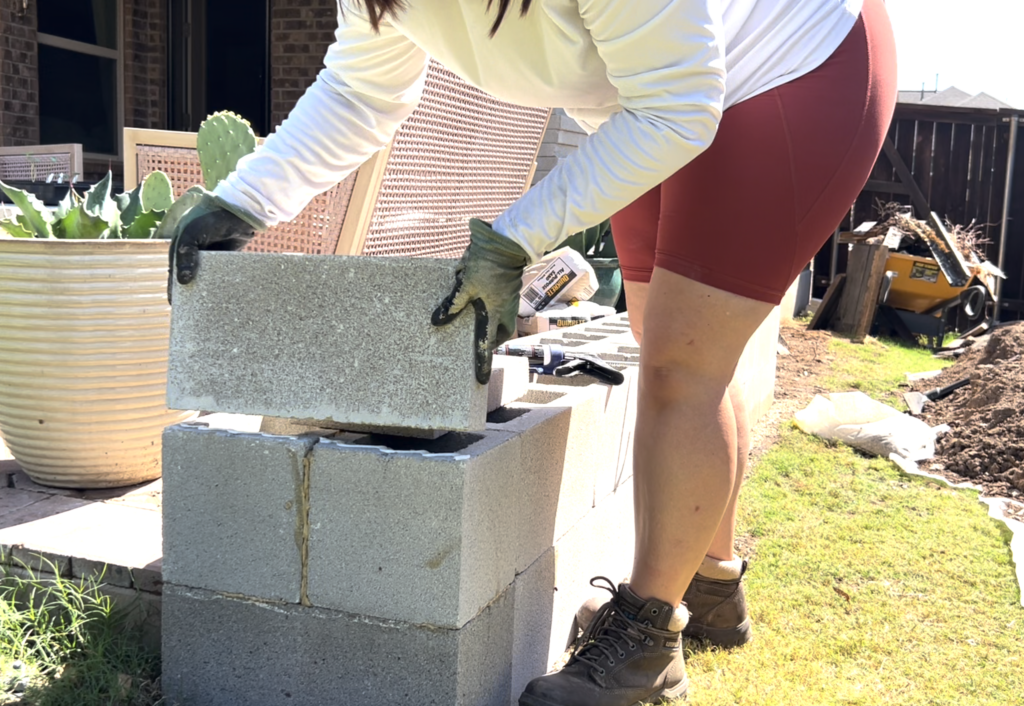
Now that the main structure is built, it’s time to add the third layer of blocks. I used a different kind of block this time: top caps! These are still made of the same concrete material, but they are a different shape. They are solid and measure 8 x 2 x 16″.
I wanted a big space for plants instead of the small space that a third row of regular cinder blocks would create for planting, and this was a great way to do it. Plus it helps hide the fact that these are cinder blocks. They are the same length and height as the cinder blocks, so by gluing them together with construction adhesive I was able to create a border “wall” on top of the second layer of cinder blocks that is exactly the same length as the rest of the planter box structure. I just put glue on the top of the second layer and on the sides of already-placed top caps where I wanted the new block to sit. Then, I used my mallet to bang it gently into place.
I did have to cut one (remember I used one shorter block for structural stability reasons?), but that wasn’t a big deal. I didn’t need any power tools or anything fancy. All I needed was my:
- Brick chisel
- Hammer
- Speed square
- Sharpie
I used the speed square to make sure the line I was drawing was perfectly straight, and marked it with my sharpie. Then, I placed the brick chisel on the Sharpie line and tapped it gently with the hammer on both the long and shorter side of the block where I needed it to break. Just a few taps and it broke in exactly the right place! It couldn’t have been any easier.
Finishing touches
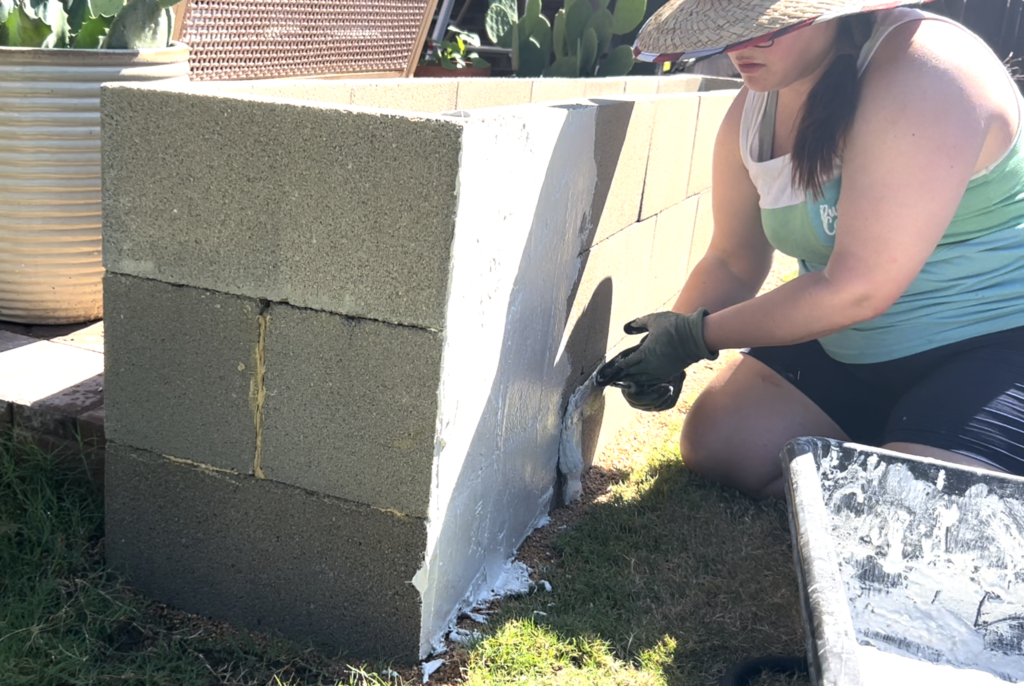
I didn’t want my planter box looking like a pile of cinder blocks. So after the main construction was done, I finished it off with a layer of surface bonding cement to hide the lines of the blocks and give it a more full-concrete look. This was a bit stressful because I only had half a bag left over from another project, and the store didn’t have any more in stock!
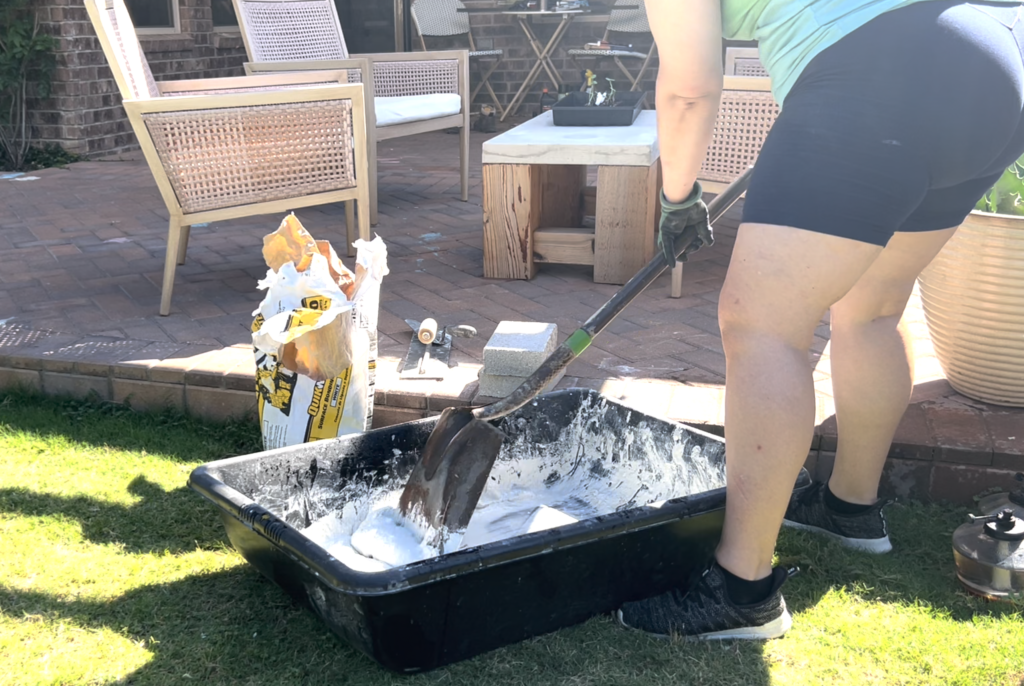
When you mix your cement, make sure you wear a mask because it produces a lot of dust. Mix it according to the package instructions, or add just enough water until it feels right to work with. I used a small trowel to put it on because I didn’t have a lot to work with. This meant I had to be very precise and not waste any. I didn’t smooth it too much as I was going for a textured look, so the trowel lines were exactly what I wanted!
Once the cement was all dried, it was time to fill the planter with dirt! I used some of the old clay soil to fill in the bottom. For the top where my plants would be growing, I used new, nutrient rich top soil (the best soil for planters).
How close to top of raised bed should soil be?
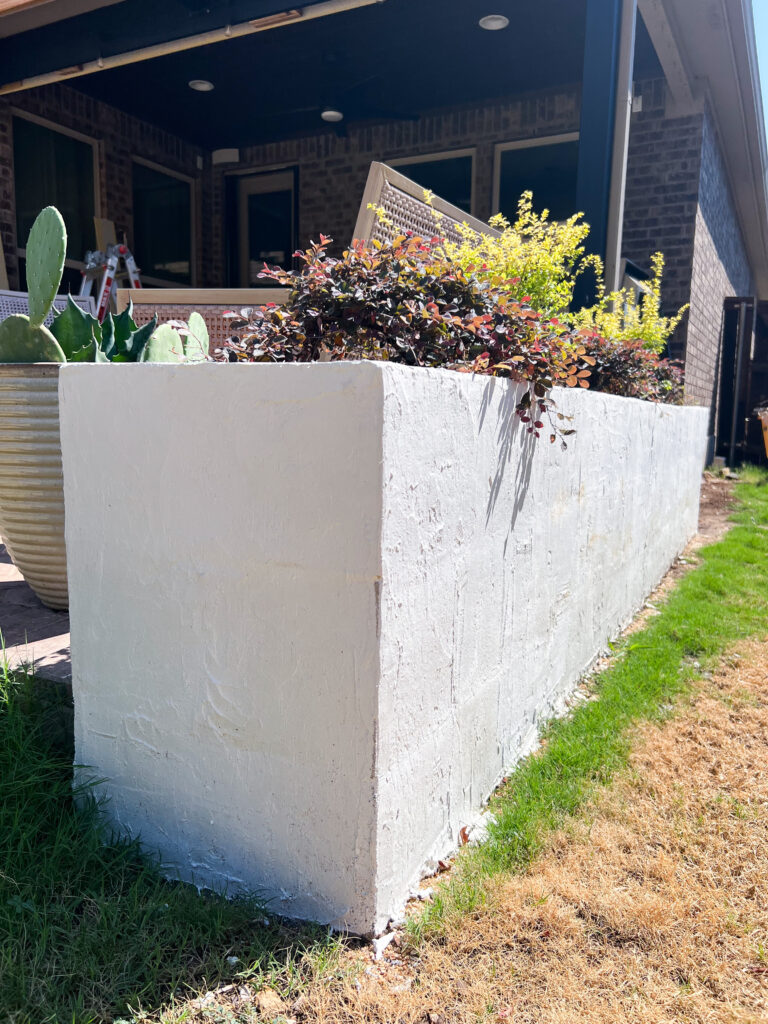
The soil can be a few inches below the rim of the planters as long as it is about 18-20″ deep. This gives your plants room to stretch out their roots and allows for good drainage too. I decided to plant shrubs instead of vegetables in this raised bed and I just love how it turned out!
I did run out of the cement. So, there are some touch-ups to do later on down the road when I can find it in stock again. But for now, it’s just fine. I also love the natural color of the cement! I think the white looks sleek and really sharp. If you want to paint yours, you can add dye right to the mix! And if I find out that the white doesn’t weather well outdoors and starts to look dingy and dirty, I may paint it.
It’s amazing what you can accomplish using the two hours a day your baby naps, isn’t it? Now that you know how to build a raised garden bed with concrete blocks, it’s time to tackle another project! Here is another fun gardening project you can tackle in a weekend: How to Build a Stone Garden Border! Have you done any garden DIYs you’d like to share with the class? Post a pic in the comments or tag me @olivegreyavenue on Instagram, I would love to see them!


