


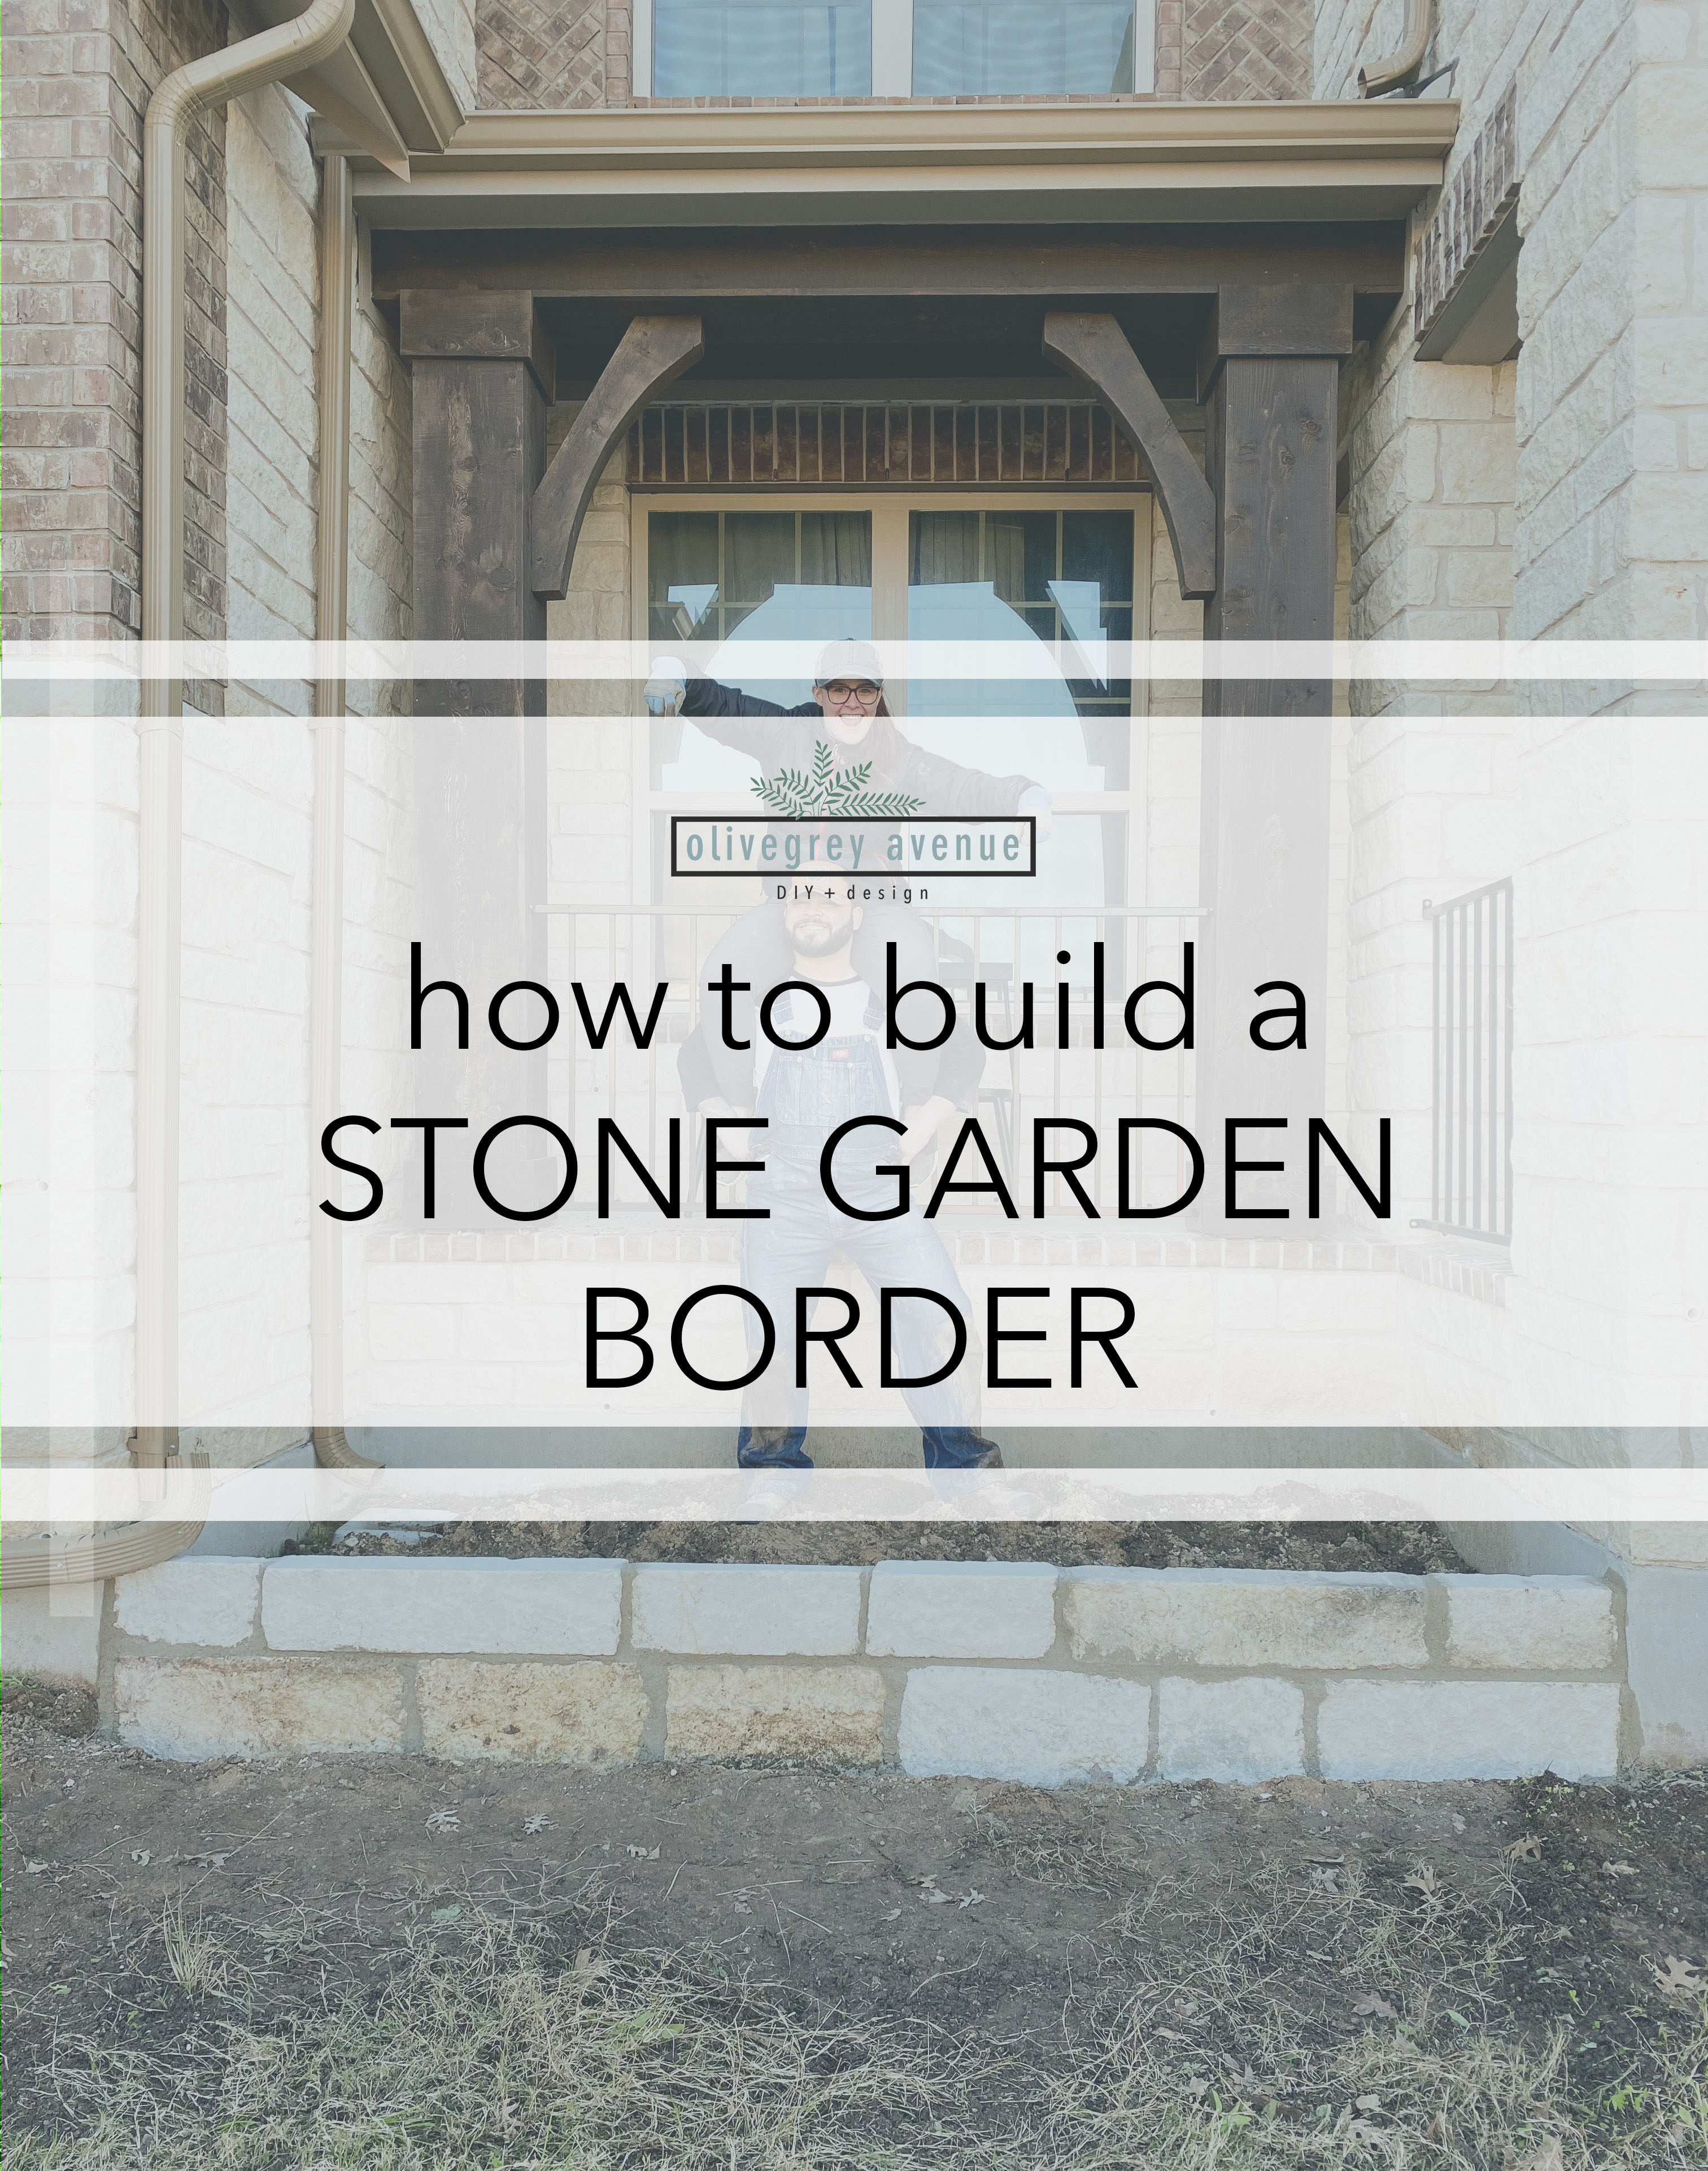
How to Build a Stone Garden Border


Reasoning
The main reason I wanted to make this tutorial is because when we were researching how to build this, there was no information about it. Like none. Usually when we start a project we can find someone somewhere explaining how to do it or portions of it. To this day, I still have only been able to find one video slightly close to what we were looking to do, but they built a retaining wall with a cement base. That’s not what we wanted. Everything we found was either the outdoor garden edging blocks from Home Depot or flat dry stacked stone which is not what we were looking to do.Back Story
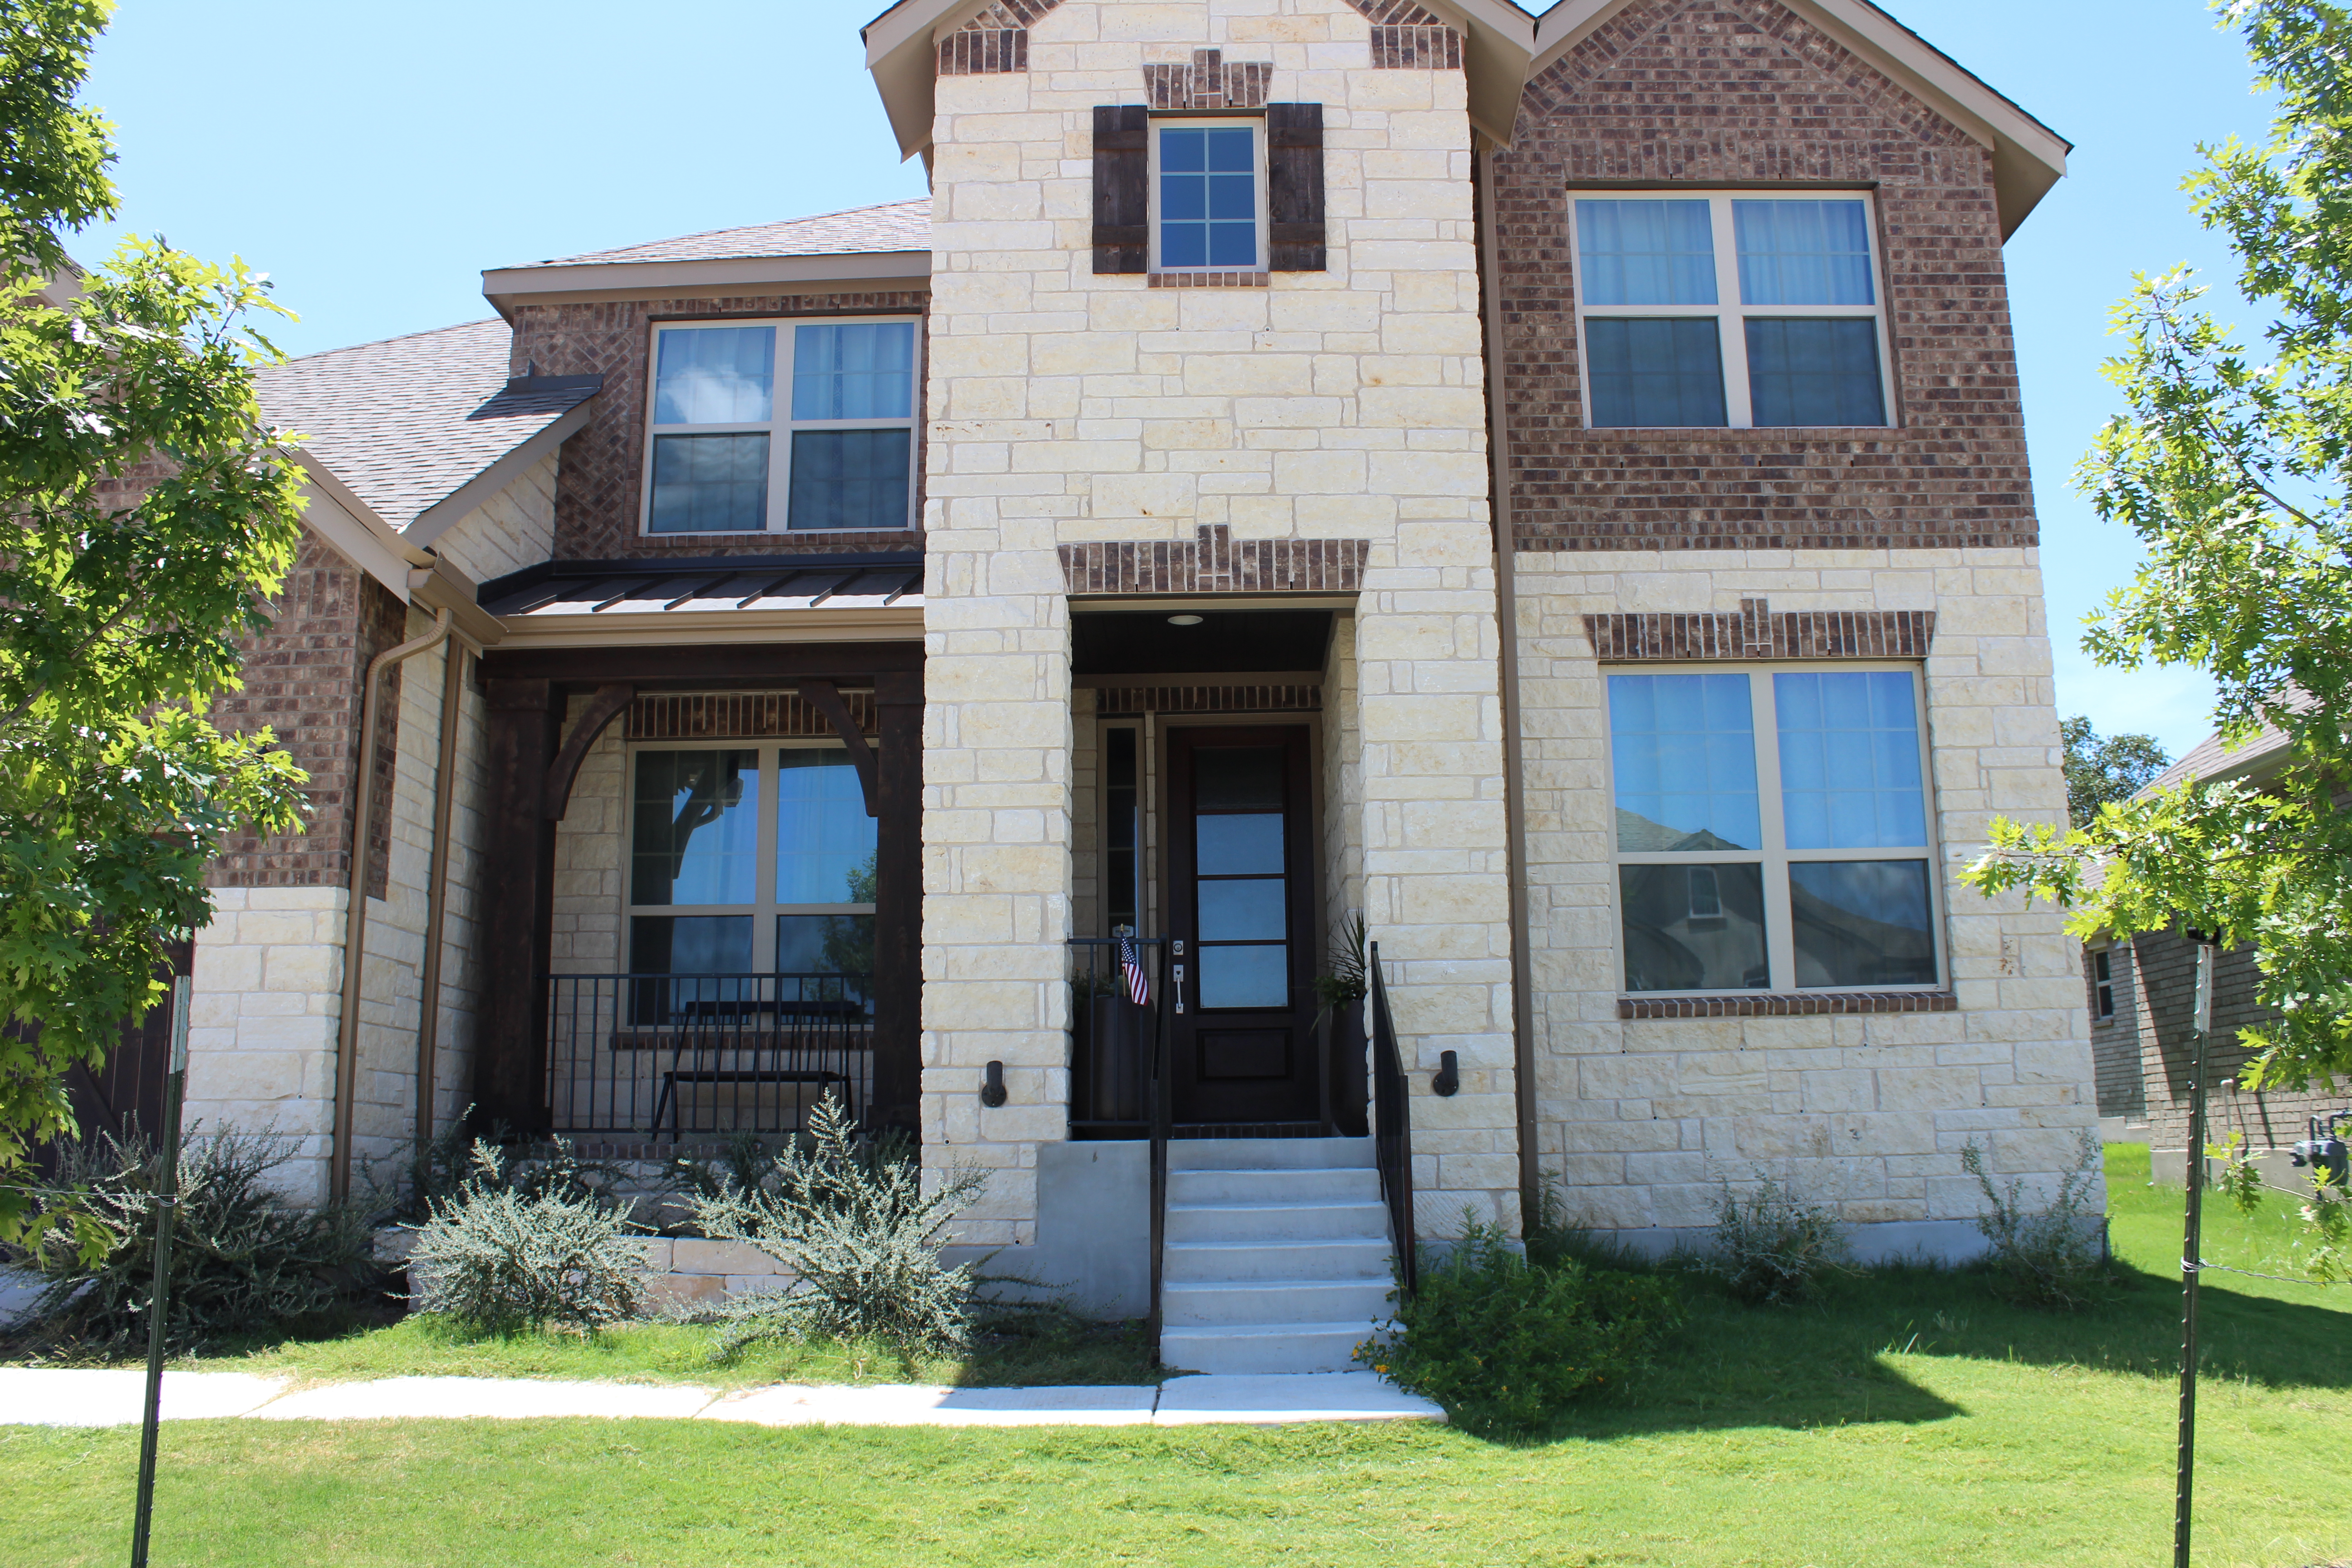
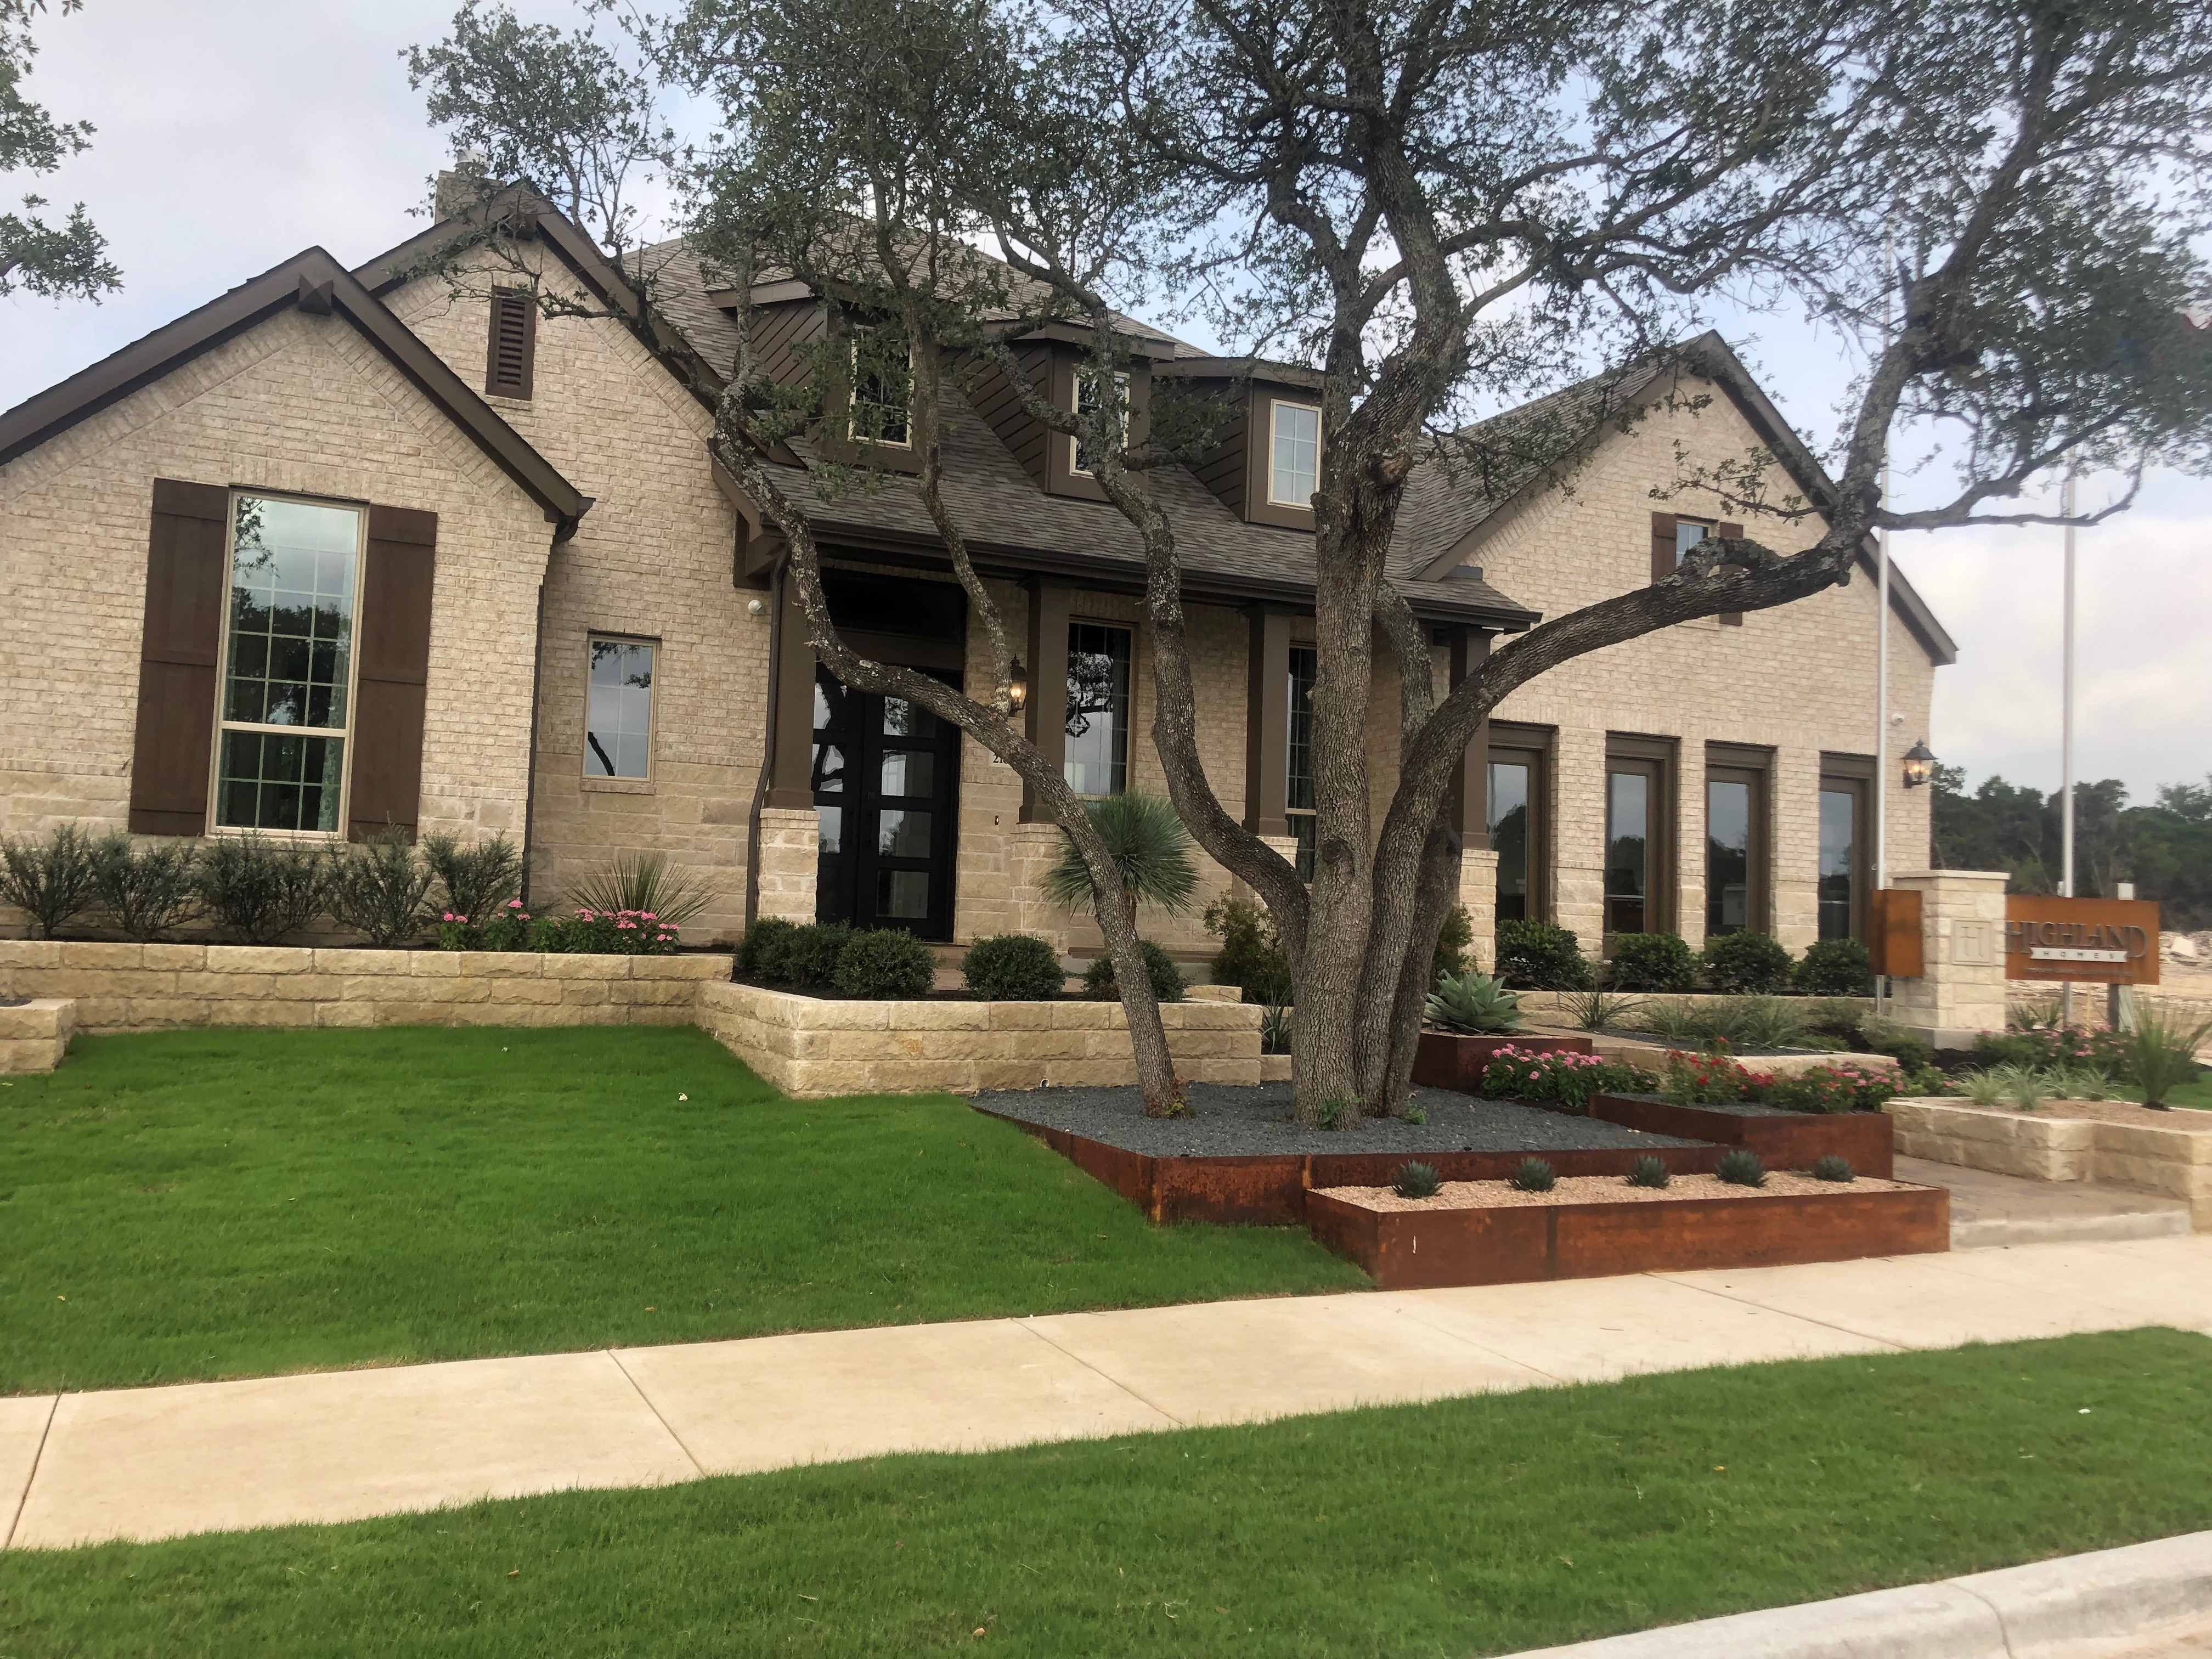
My husband and I bought this house 2 years ago this month. Since we moved in, we’ve been obsessively thinking about how we want to do the landscaping here. Ok, that’s probably just me because all I do is obsess over an idea I have until I make it come to life. It just vividly lives in my head and sometimes it changes and develops into something different but the more I’m set on something, the clearer I can see it in my head.
The Nerves
I’ll be honest, this is something that has been very intimidating for me, mainly because it’s so dang hard to find any information about how to do it! Normally when we begin a project, we have at least a good idea of how we’re going to do it but with the stone borders, we’ve had to take bits and pieces from different sources and make up the rest. So, we’re saving you the trouble of trying to figure out this process like we had to do and by the end of this video you will have all the information you need to build your very own diy stone garden border.How to build a Stone Garden Border
SUPPLIES:- Stone
- Mortar Mix (Alamo Masonry Cement)
- All purpose Sand
- Gravel
- 5 gallon bucket
- Smaller bucket like a 1 quart bucket
- Grout mixing paddle
- Drill
- Trowel
- Shovel
- Tamper
- Level
STEP 1: PREPARING THE SITE
We prepared the site by pulling all the weeds and pulling out the bushes that we were replacing. This won’t be necessary for everyone but we’re starting new with these garden beds. If you don’t need to clear what’s existing, then you will go straight to digging a trench where you want the border to go. We dug ours the size of the stone plus a couple inches on each side. You only need the trench to be 2-3 inches deep. Make sure the trench is flat and leveled. If the ground isn’t fairly level where you are putting your border, you will need to dig some places deeper than others in order to make the stone lay level.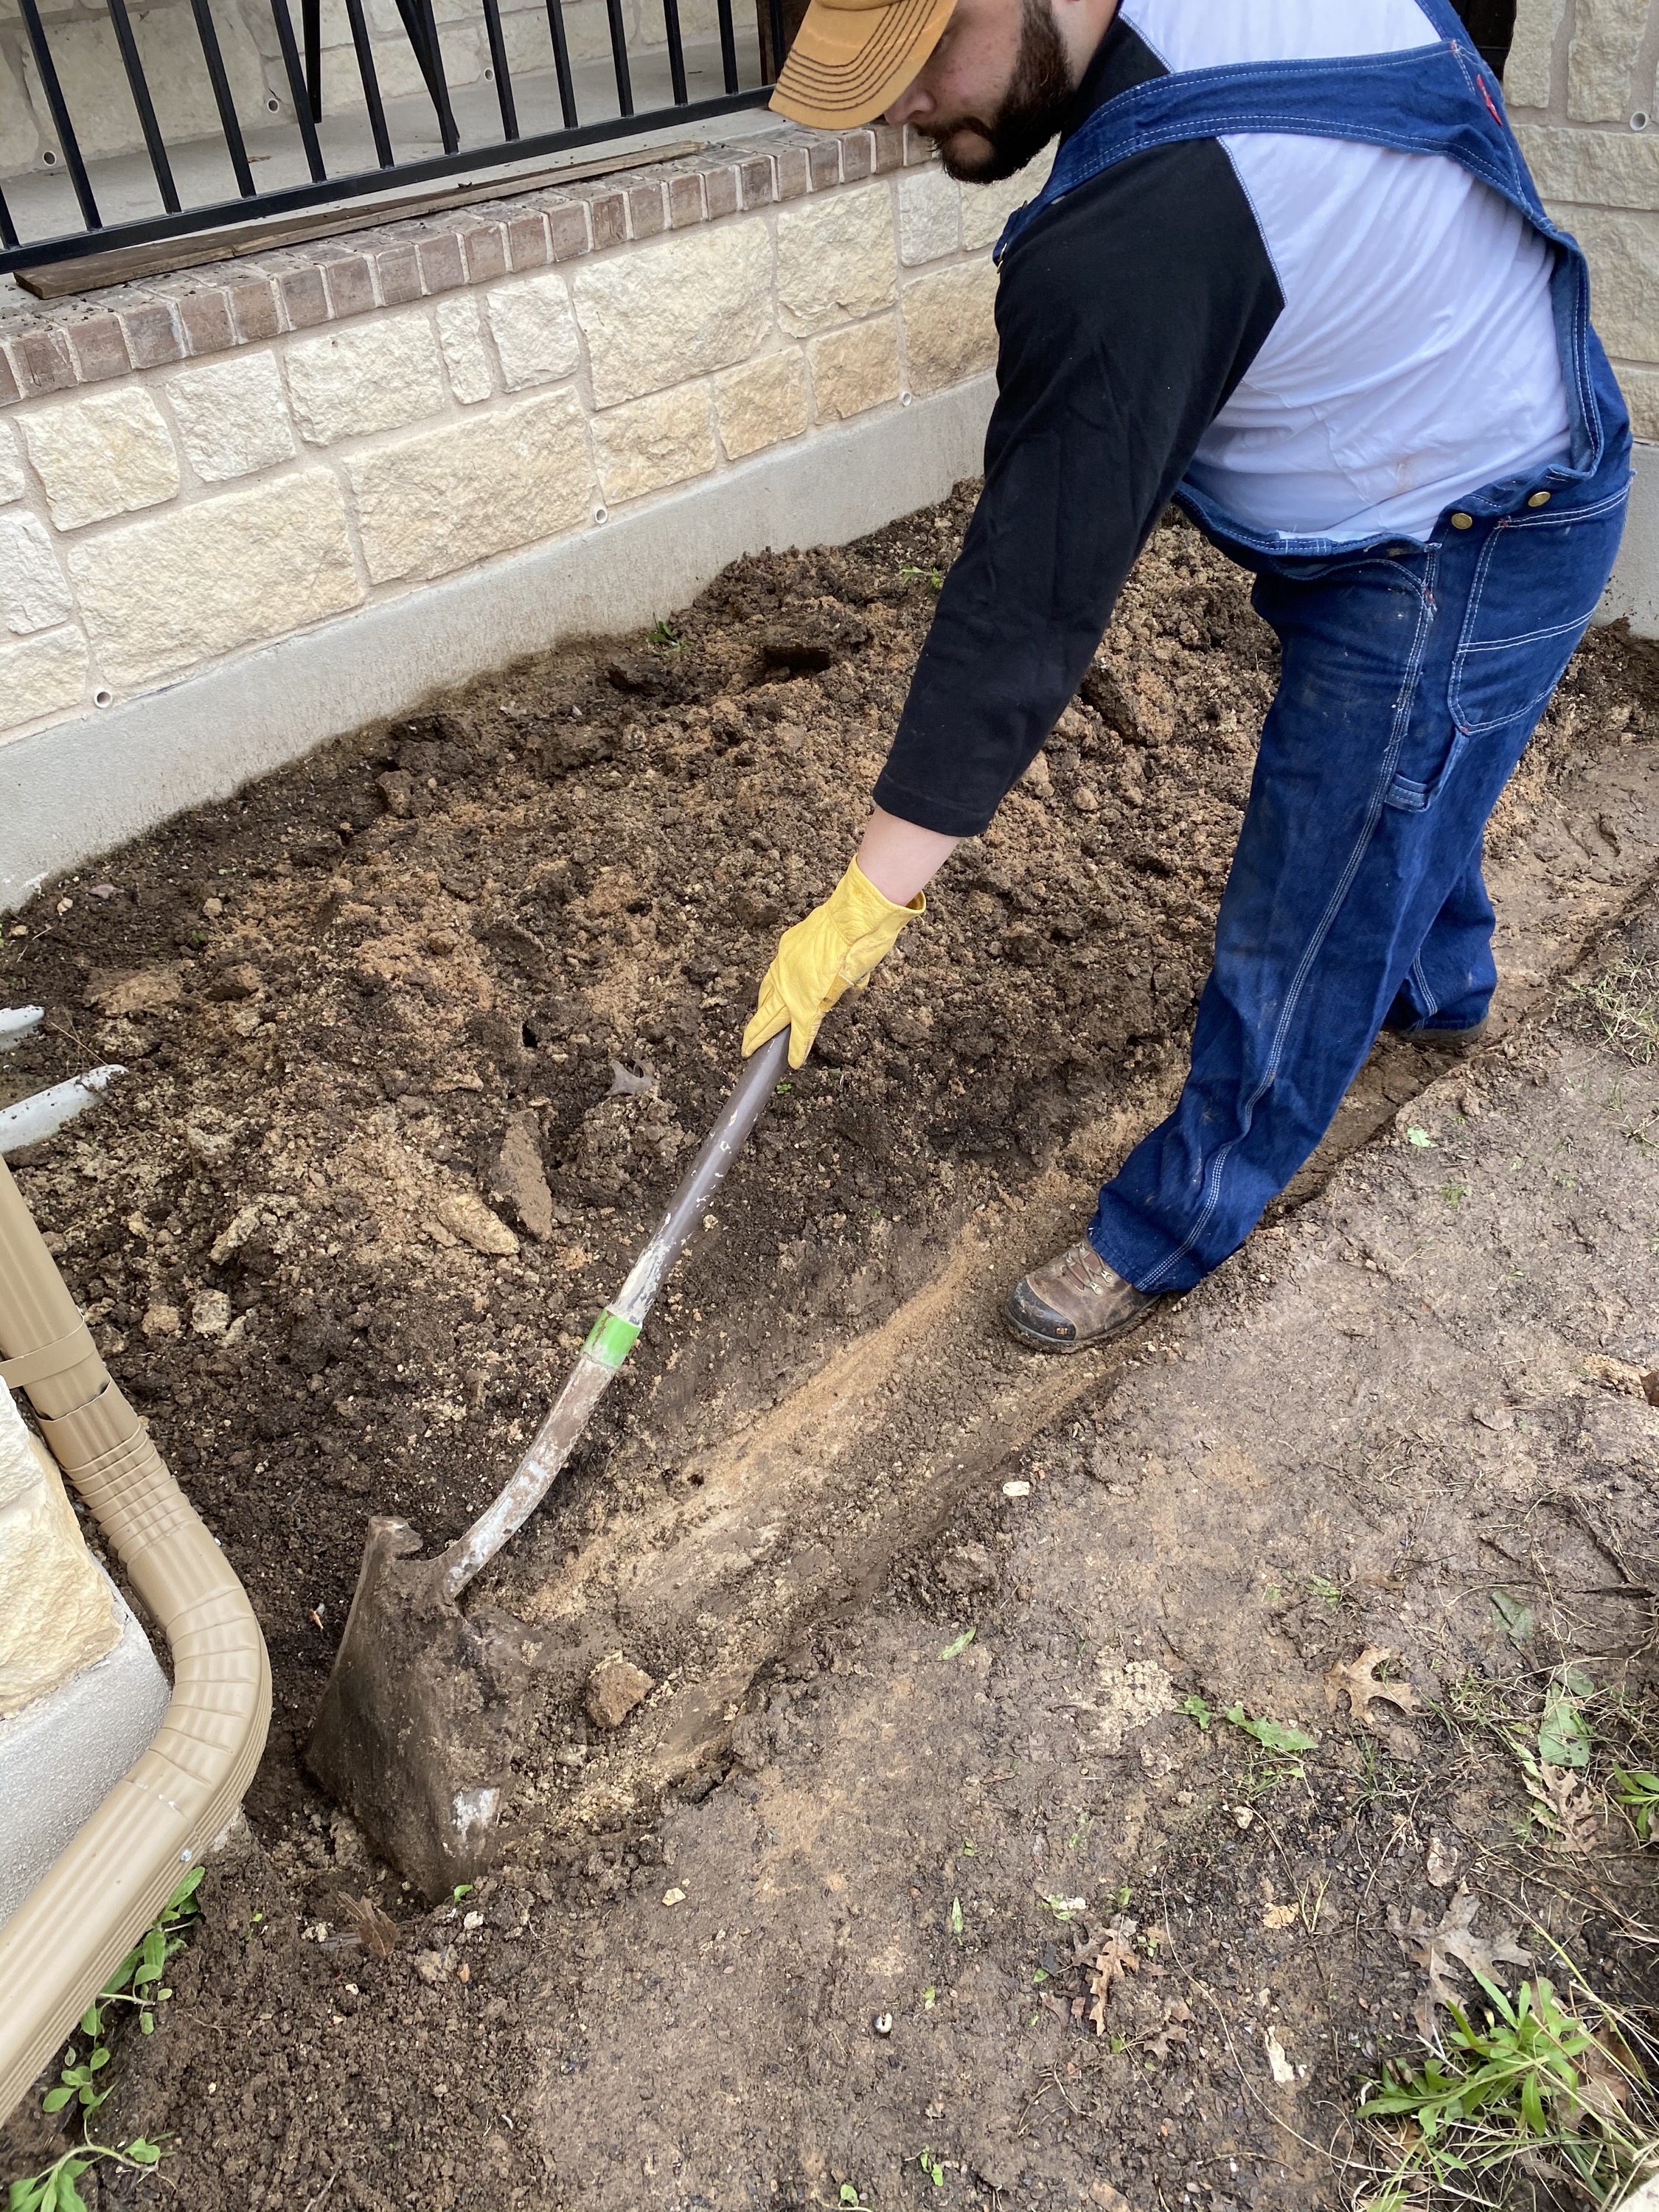
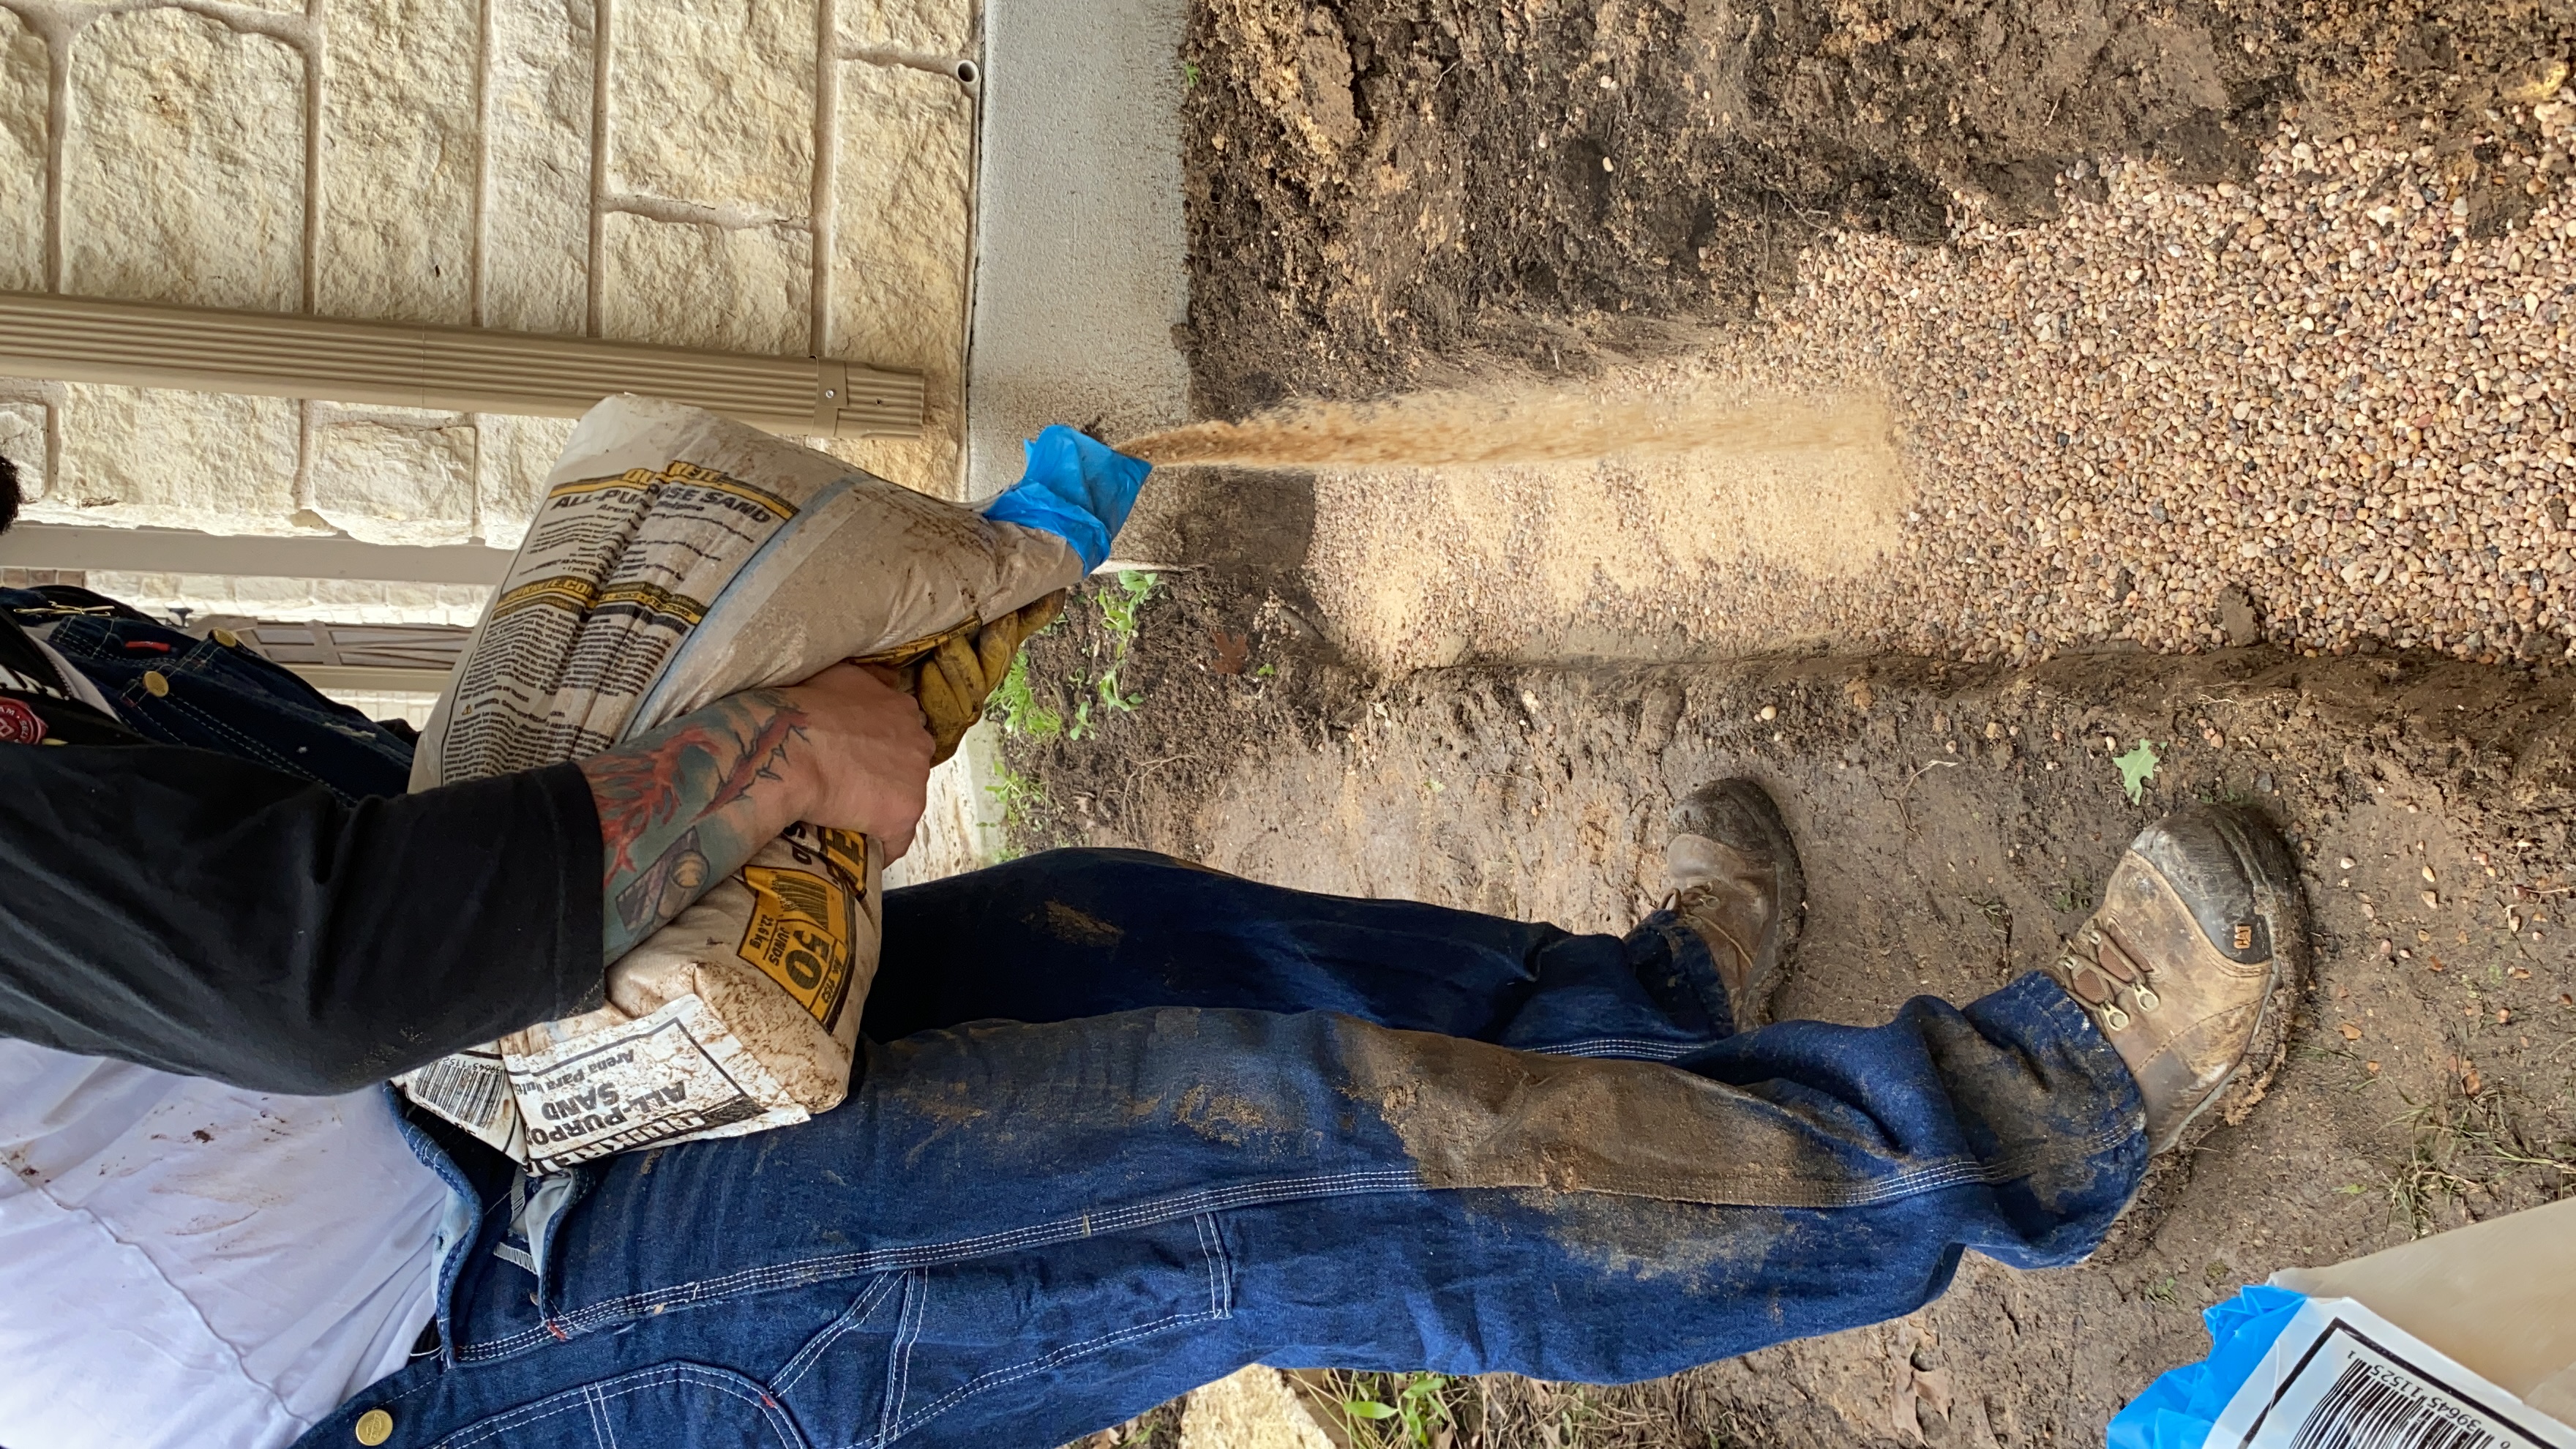
STEP 2: CREATE THE BASE
The base for what the stone will sit on is going to be comprised of two things: gravel and sand. The reason we’re using these two things is to create a sturdy base for the stones to sit on while still being porous enough for water to drain under the wall and not through it. First you will pour a layer of gravel about an inch deep along the entire trench. You will want to tamp it down and level it. We actually used pieces of heavy boards that we had on hand because we didn’t want to rent or buy a tamper for this project.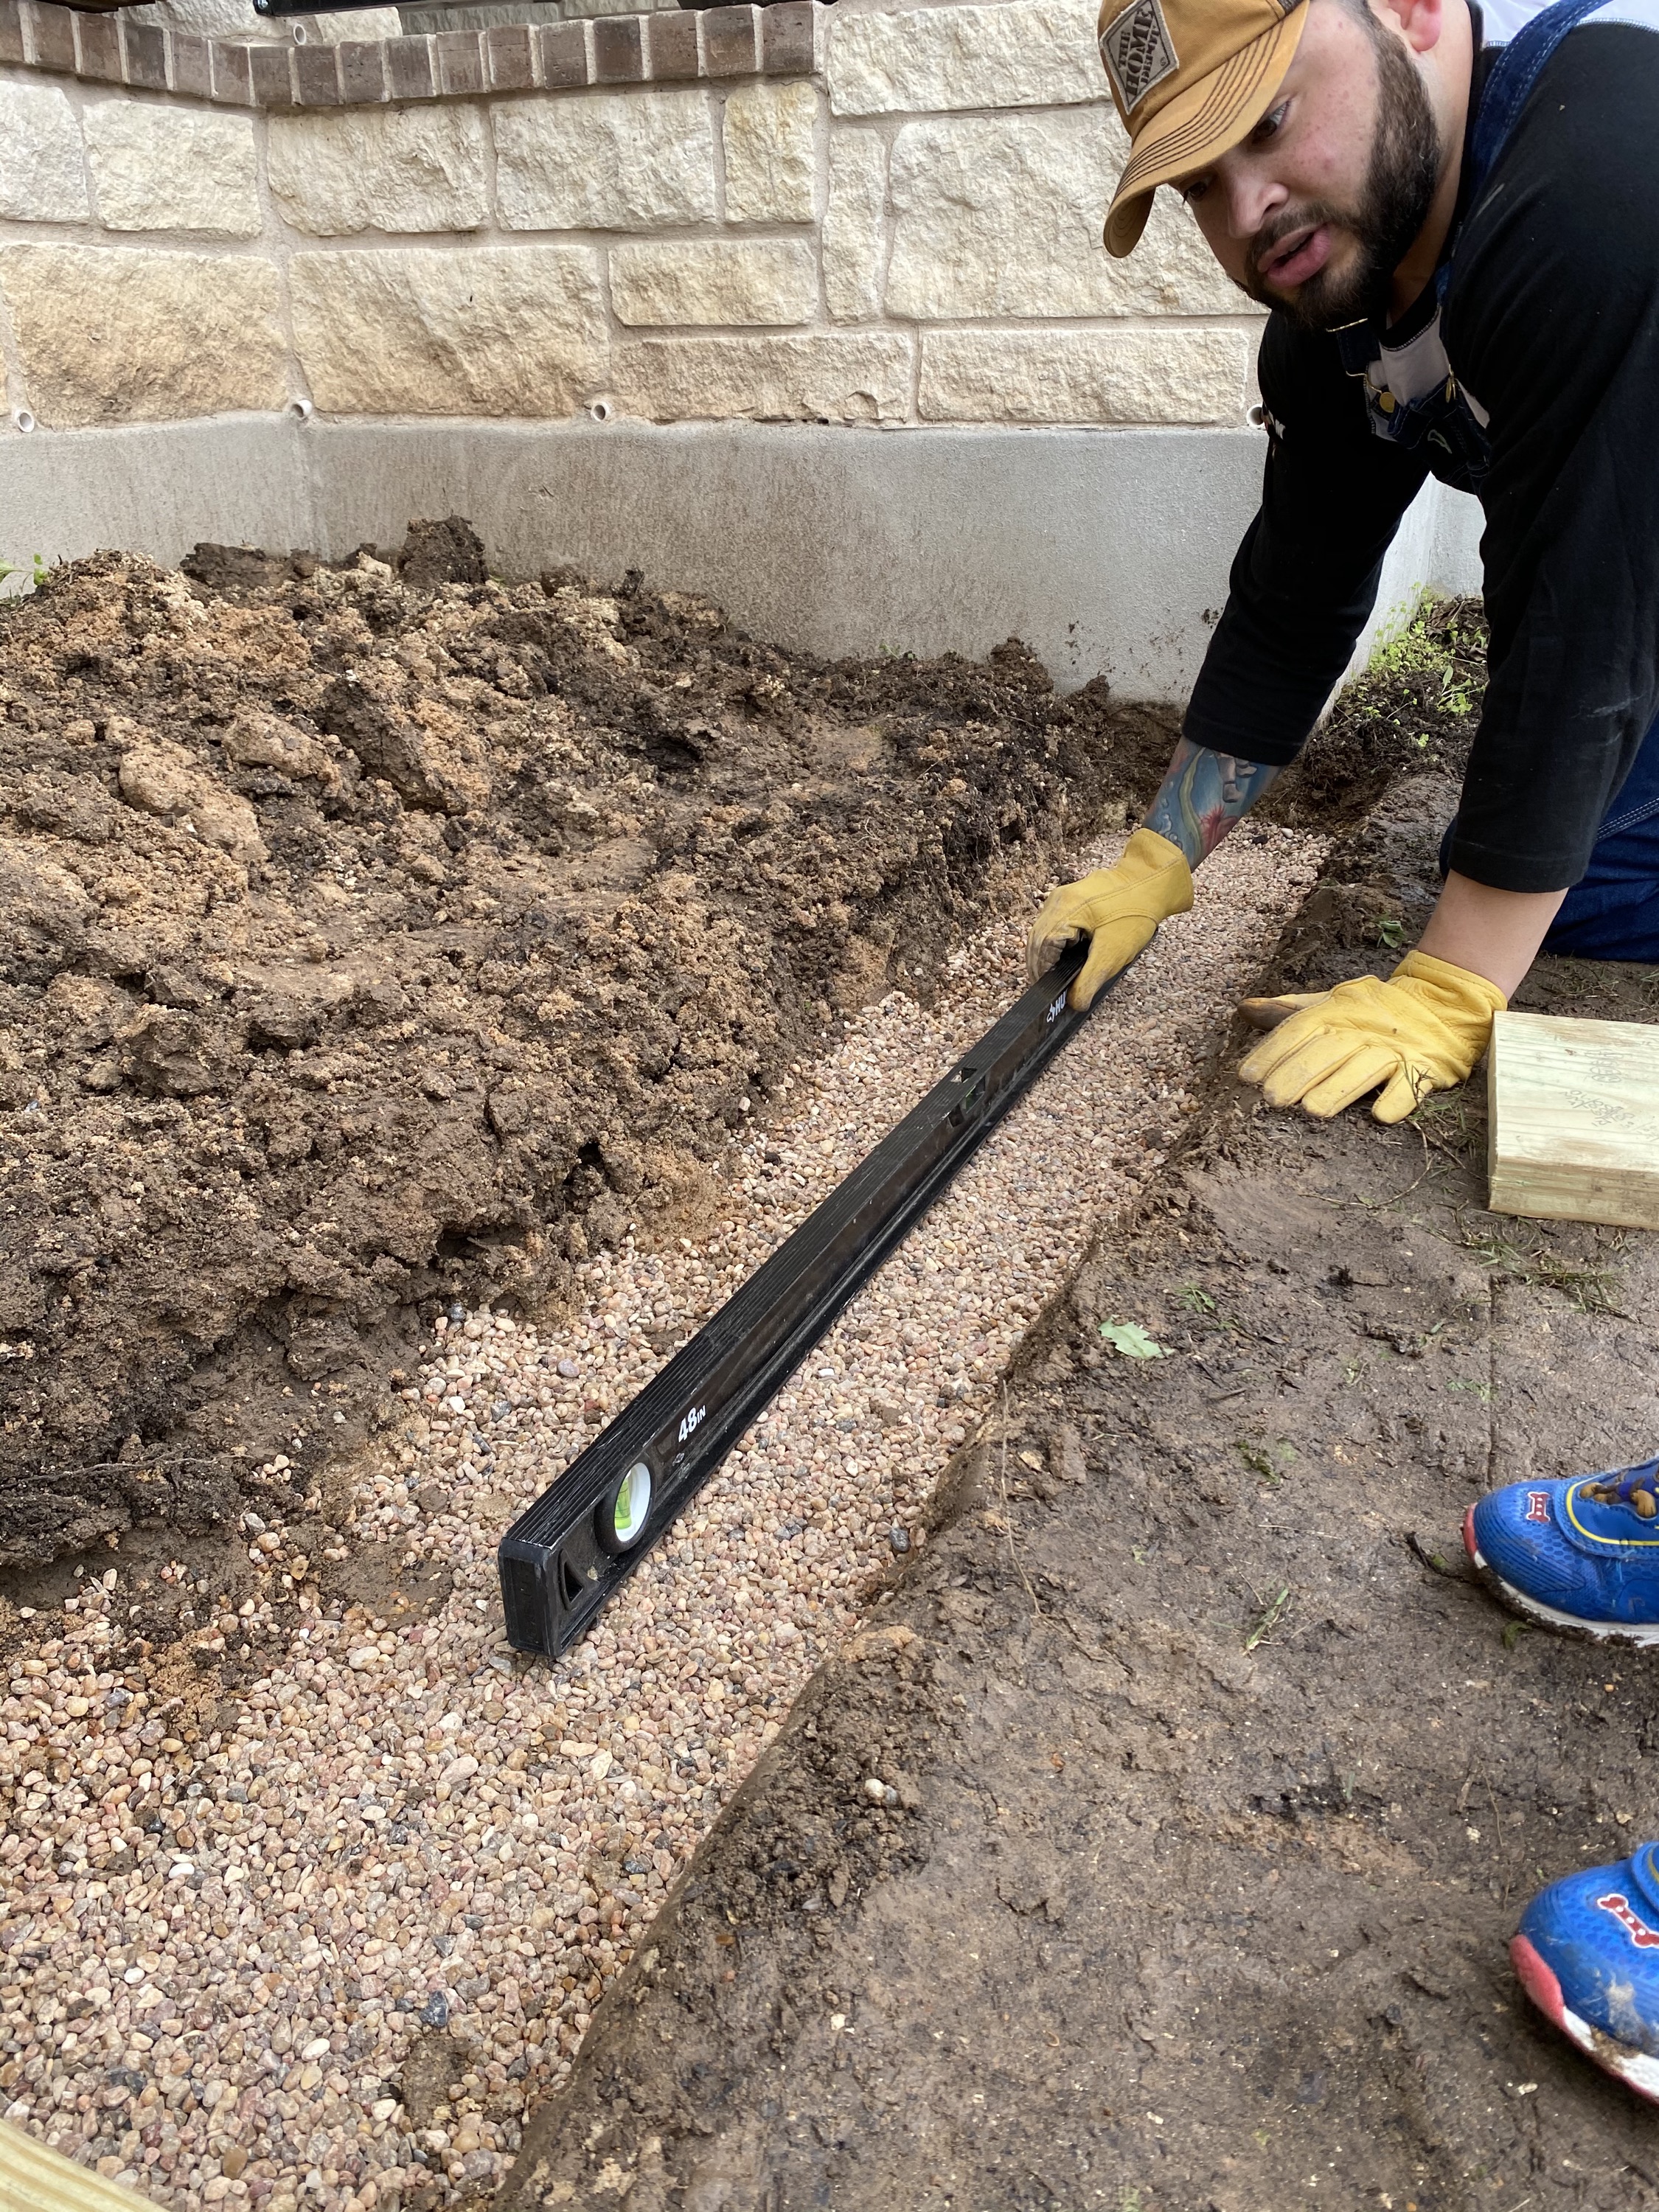
STEP 3: DRY STACK THE STONE
Stack the stones where they will go to build your boarder. You want to dry stack them so that you are sure of the stones you will use and that they will fit where you want them.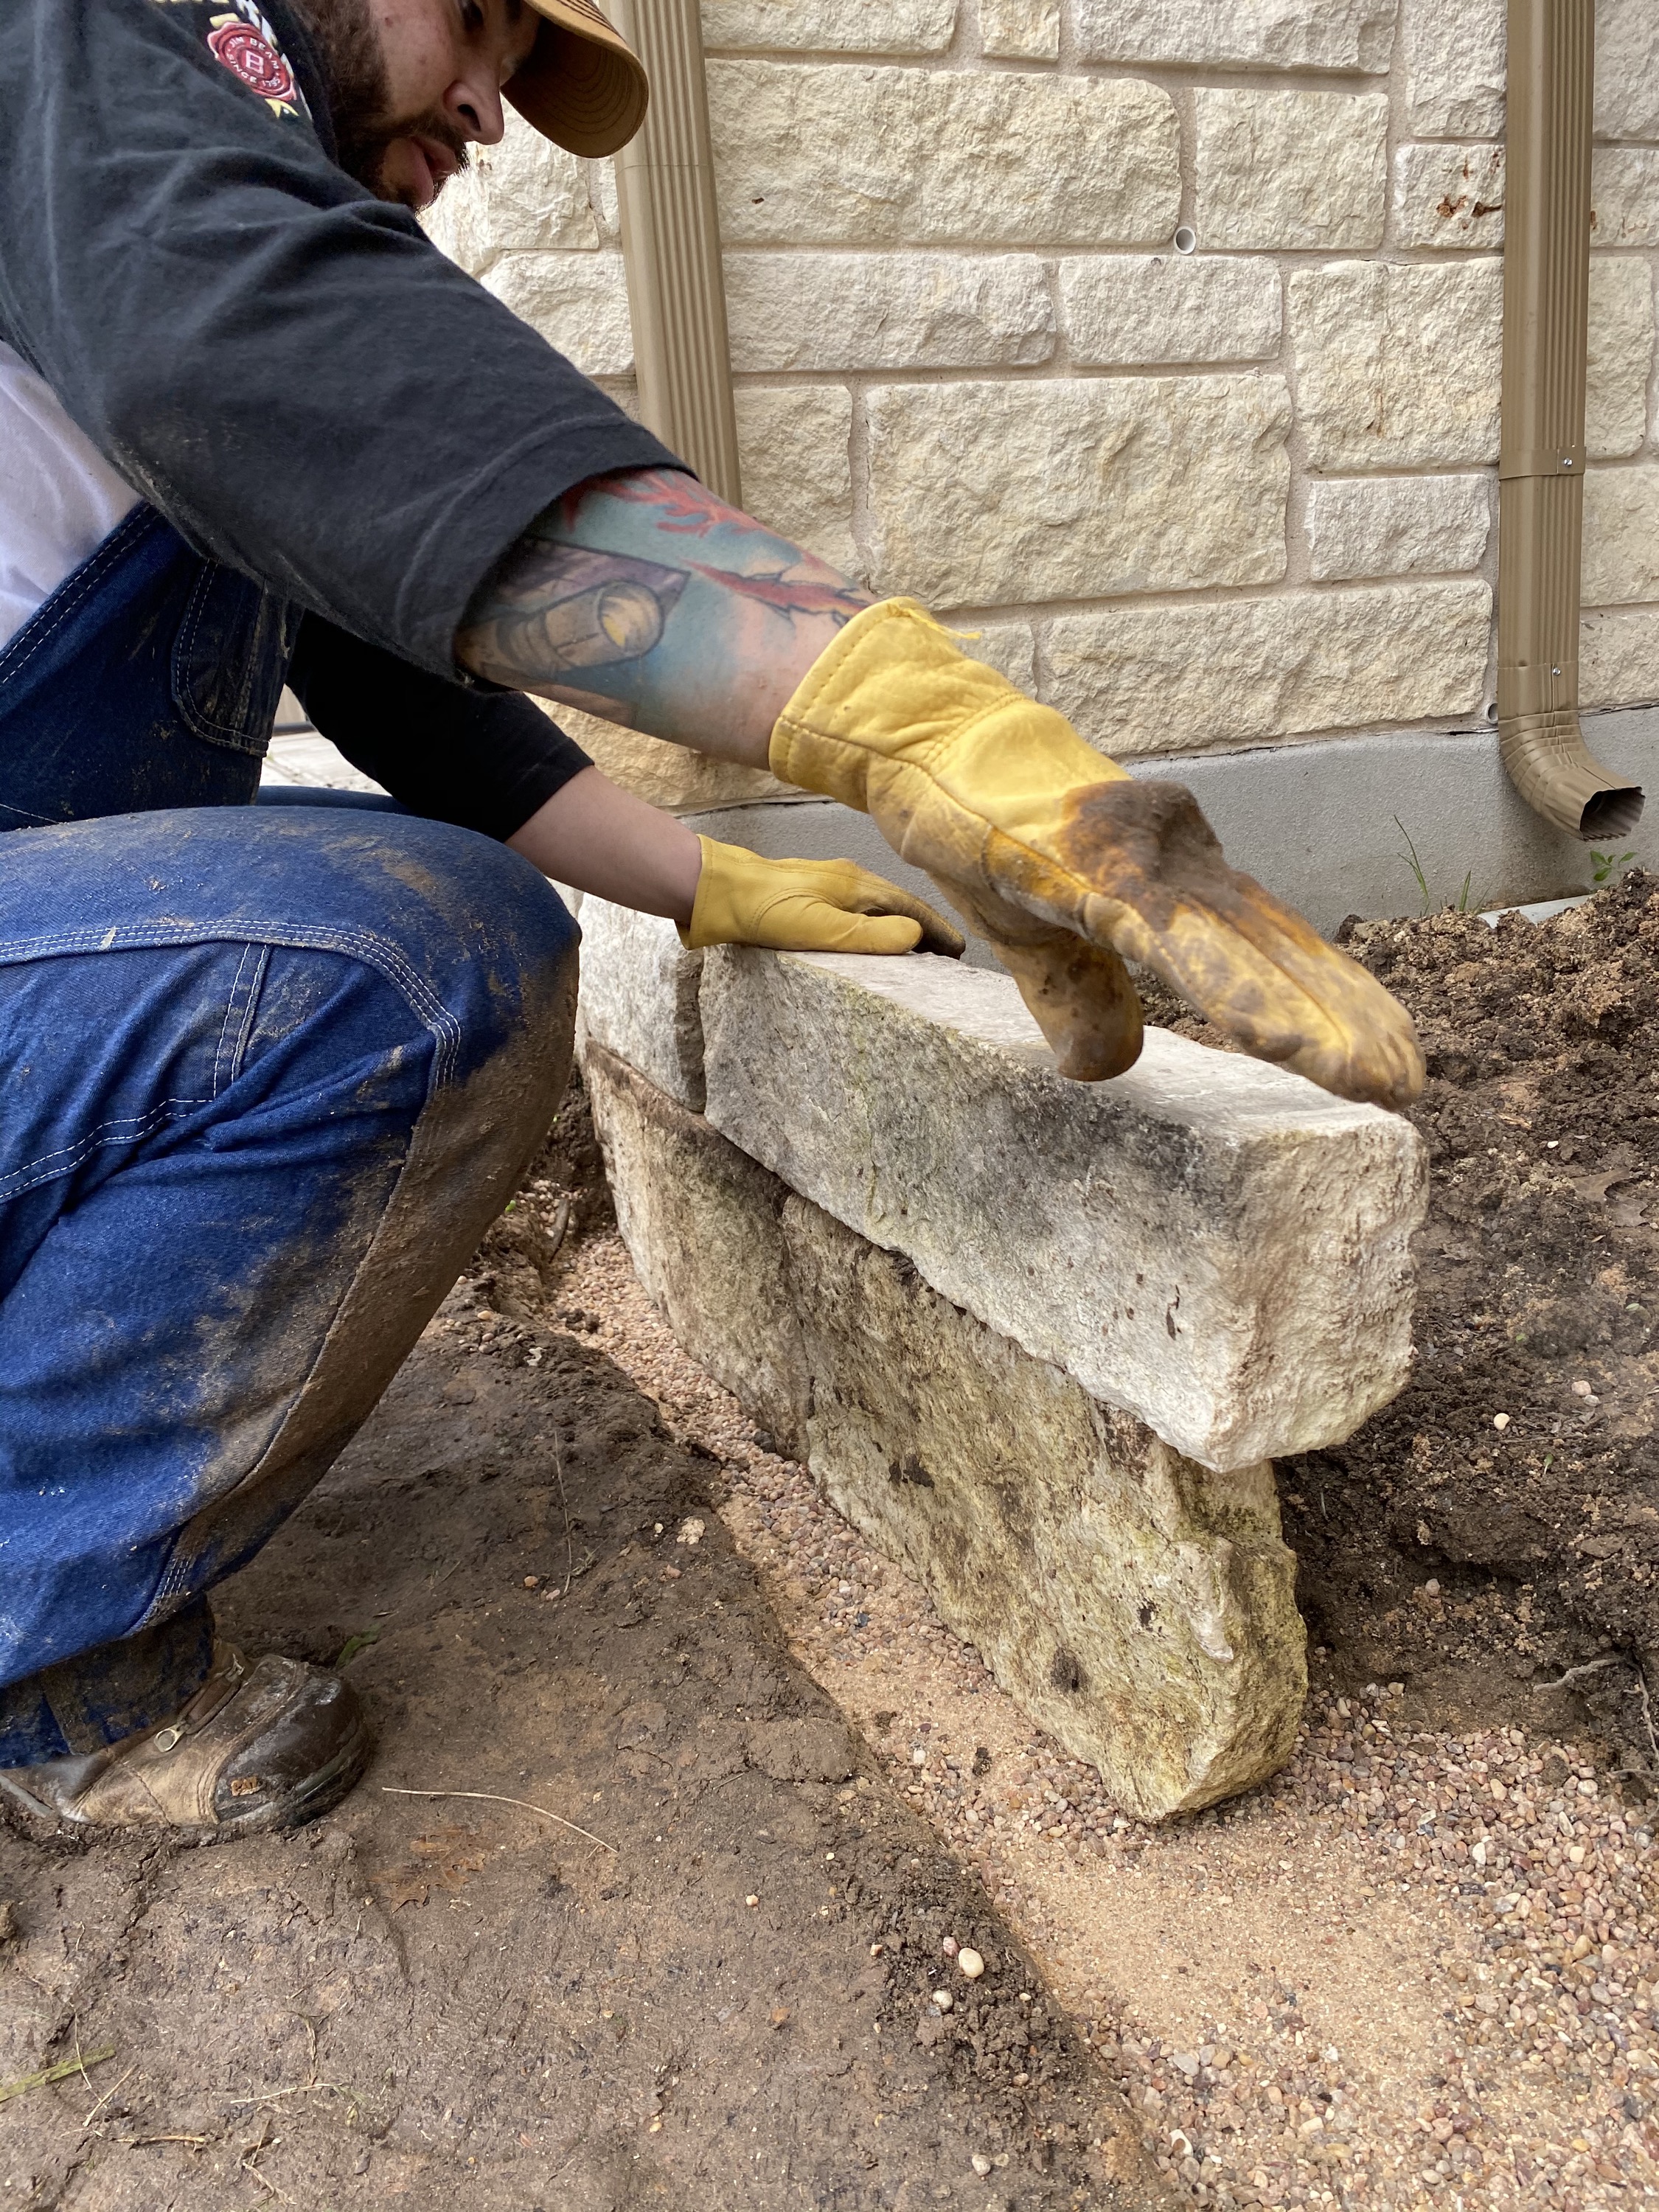
TO CUT STONES:
If you need to cut the stone, all you will need is a brick chisel, a 10 pound hammer and something like a door mat for the stone to sit on. The mat shouldn’t be damaged in this process, it’s just to minimize the shock of hitting the rock and keep it from breaking somewhere besides where you are cutting it. Take the brick chisel and make a line where you want the stone to break. Then hit the back end of the handle with the 10 pound hammer. You will do this over and over, all the way around the stone to score it. It doesn’t need to make that deep of a line for it to eventually break along the line you made.STEP 4: MIX THE MORTAR
To mix the mortar, I used 1 part Alamo Masonry Cement, 3 parts all-purpose sand and about 1 part water (or a bit less because this can vary). Put the dry ingredients into a 5 gallon bucket and mix with a mortar paddle and drill. You’ll want it to be a firm consistency, like thick peanut butter, to have structure for the stone to sit on but be moist enough to smooth and work with on the stones.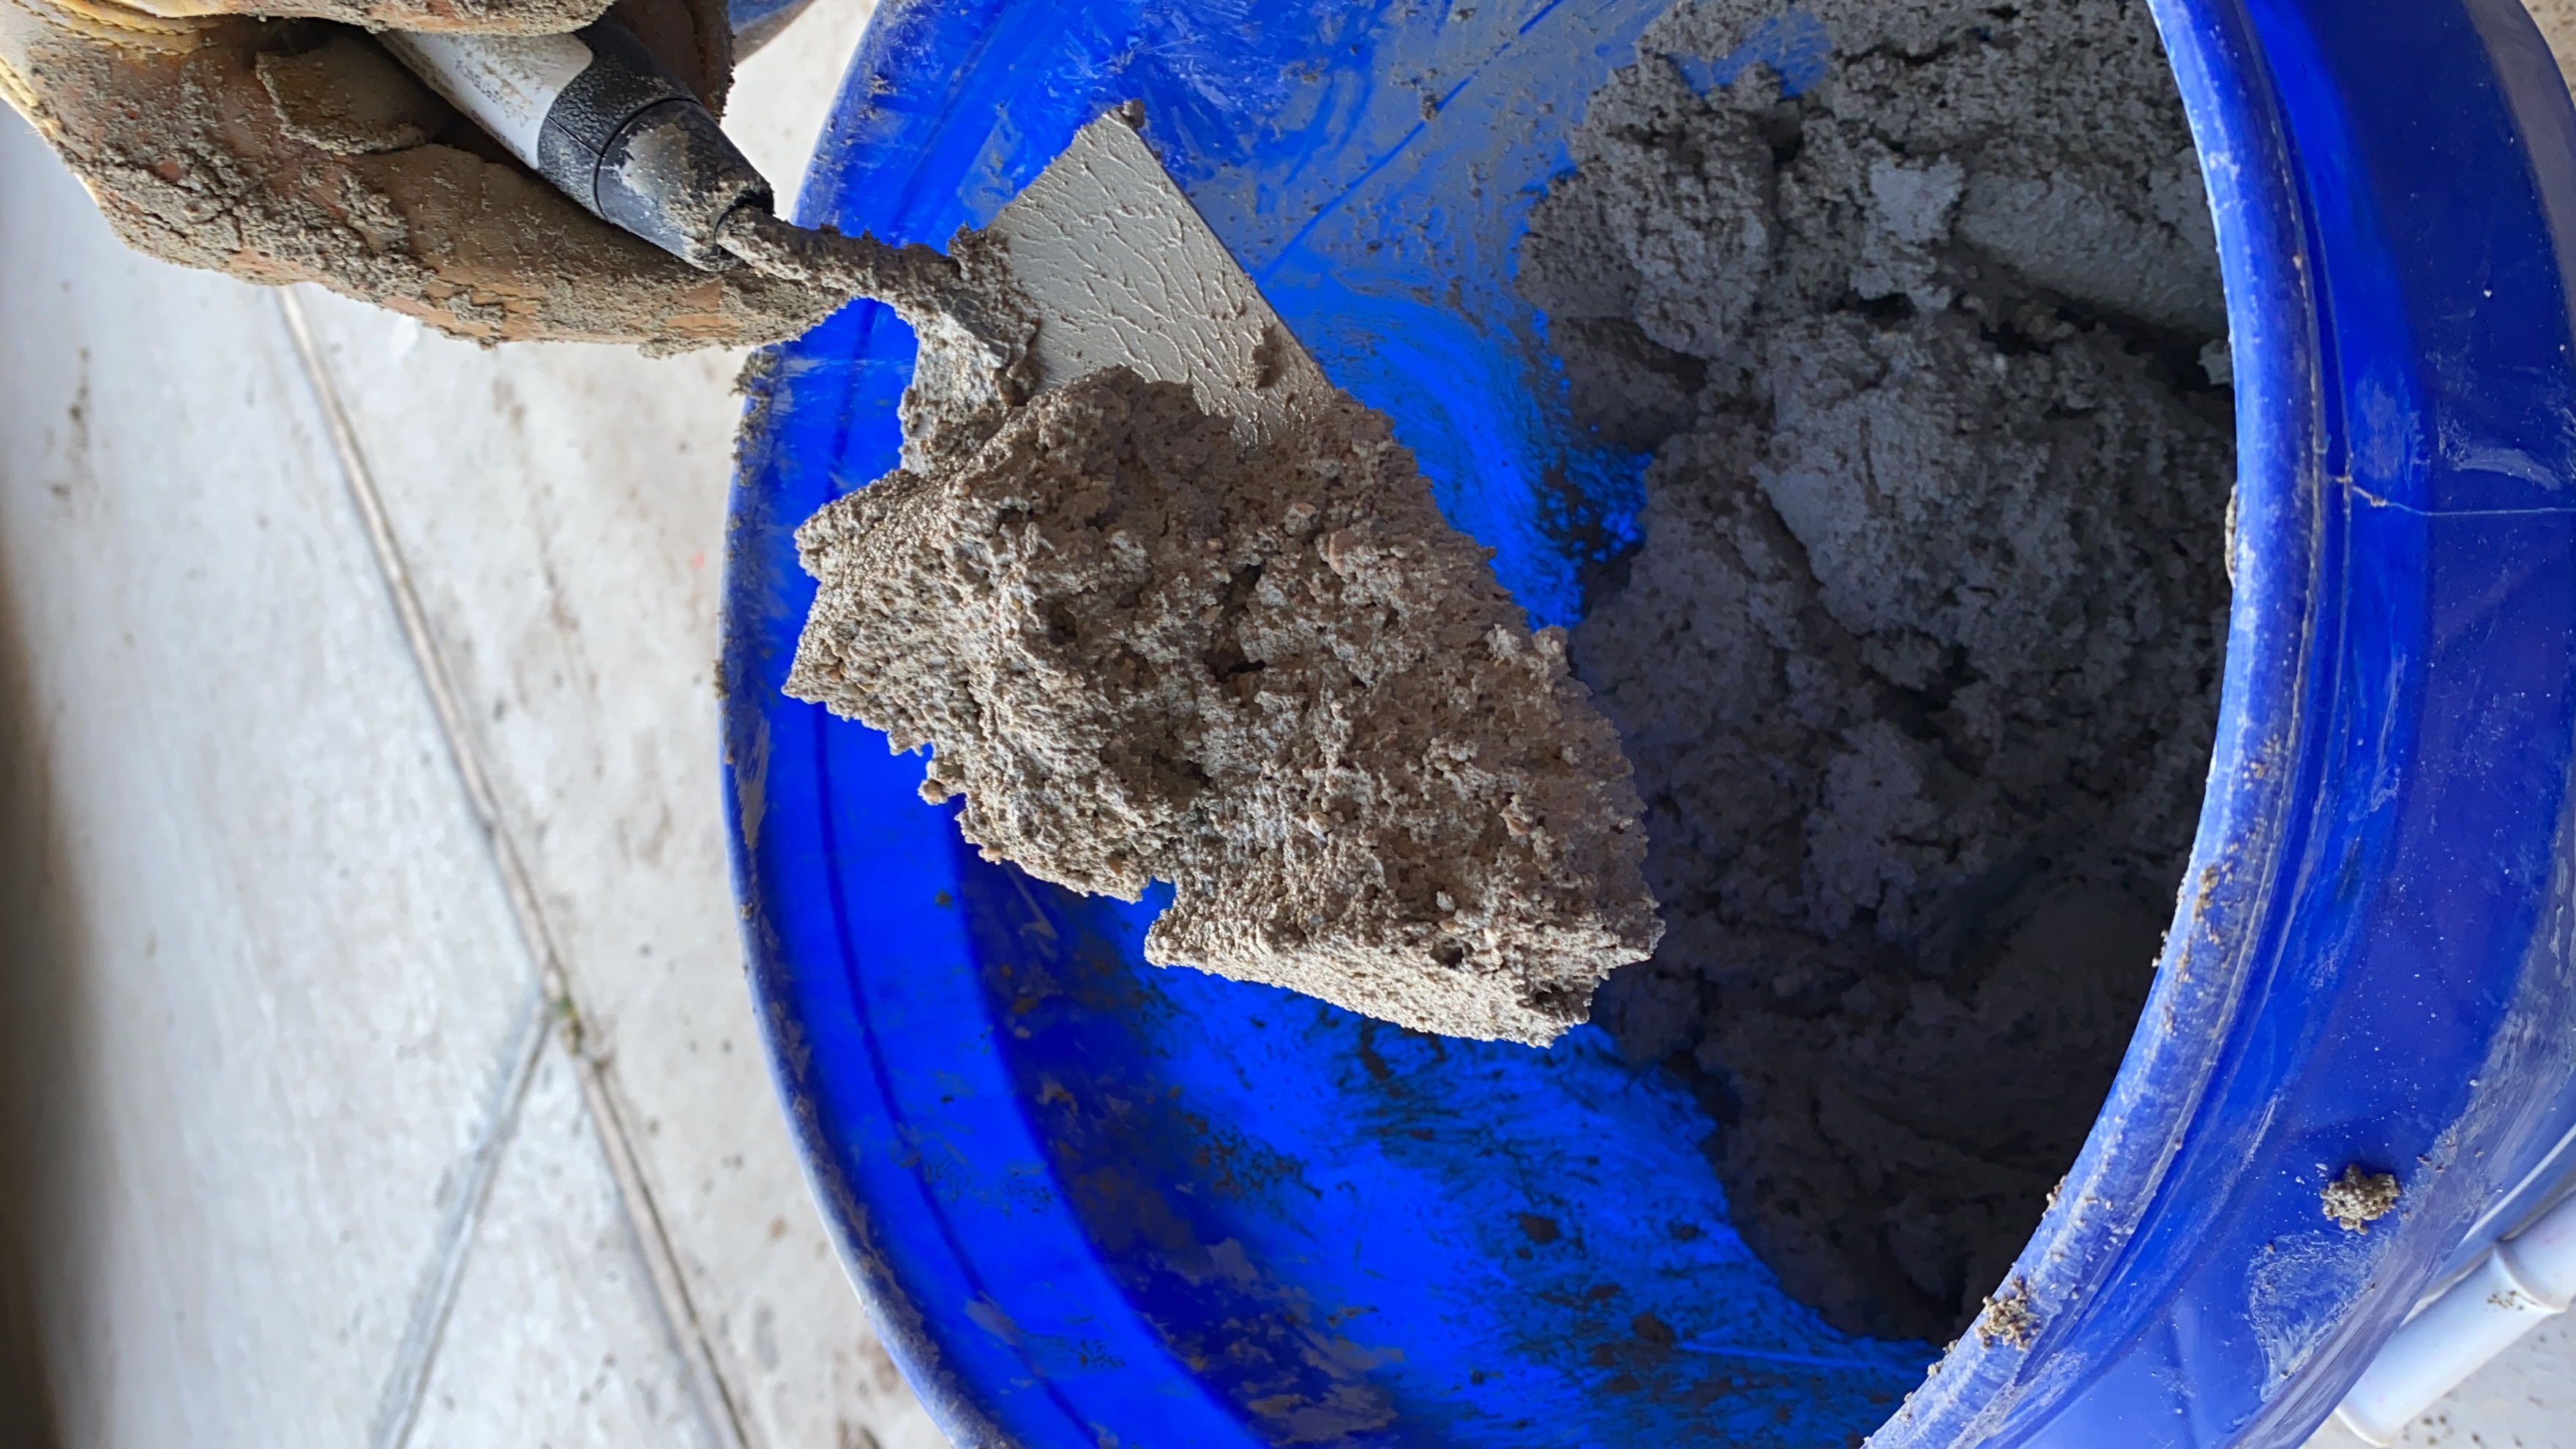
STEP 5: ASSEMBLE THE STONES AND MORTAR
Begin by placing your first stone down starting at one end of the border. Place it directly onto the gravel base (no mortar) and make sure it’s level. Throughout this process you have to level, then level again and level again. The first layer of stones will only have mortar between the stones but not beneath them. They don’t need mortar on the bottom because that won’t help secure them. This is the reason we dug the trench so that the stones sit into the Earth and won’t shift or move.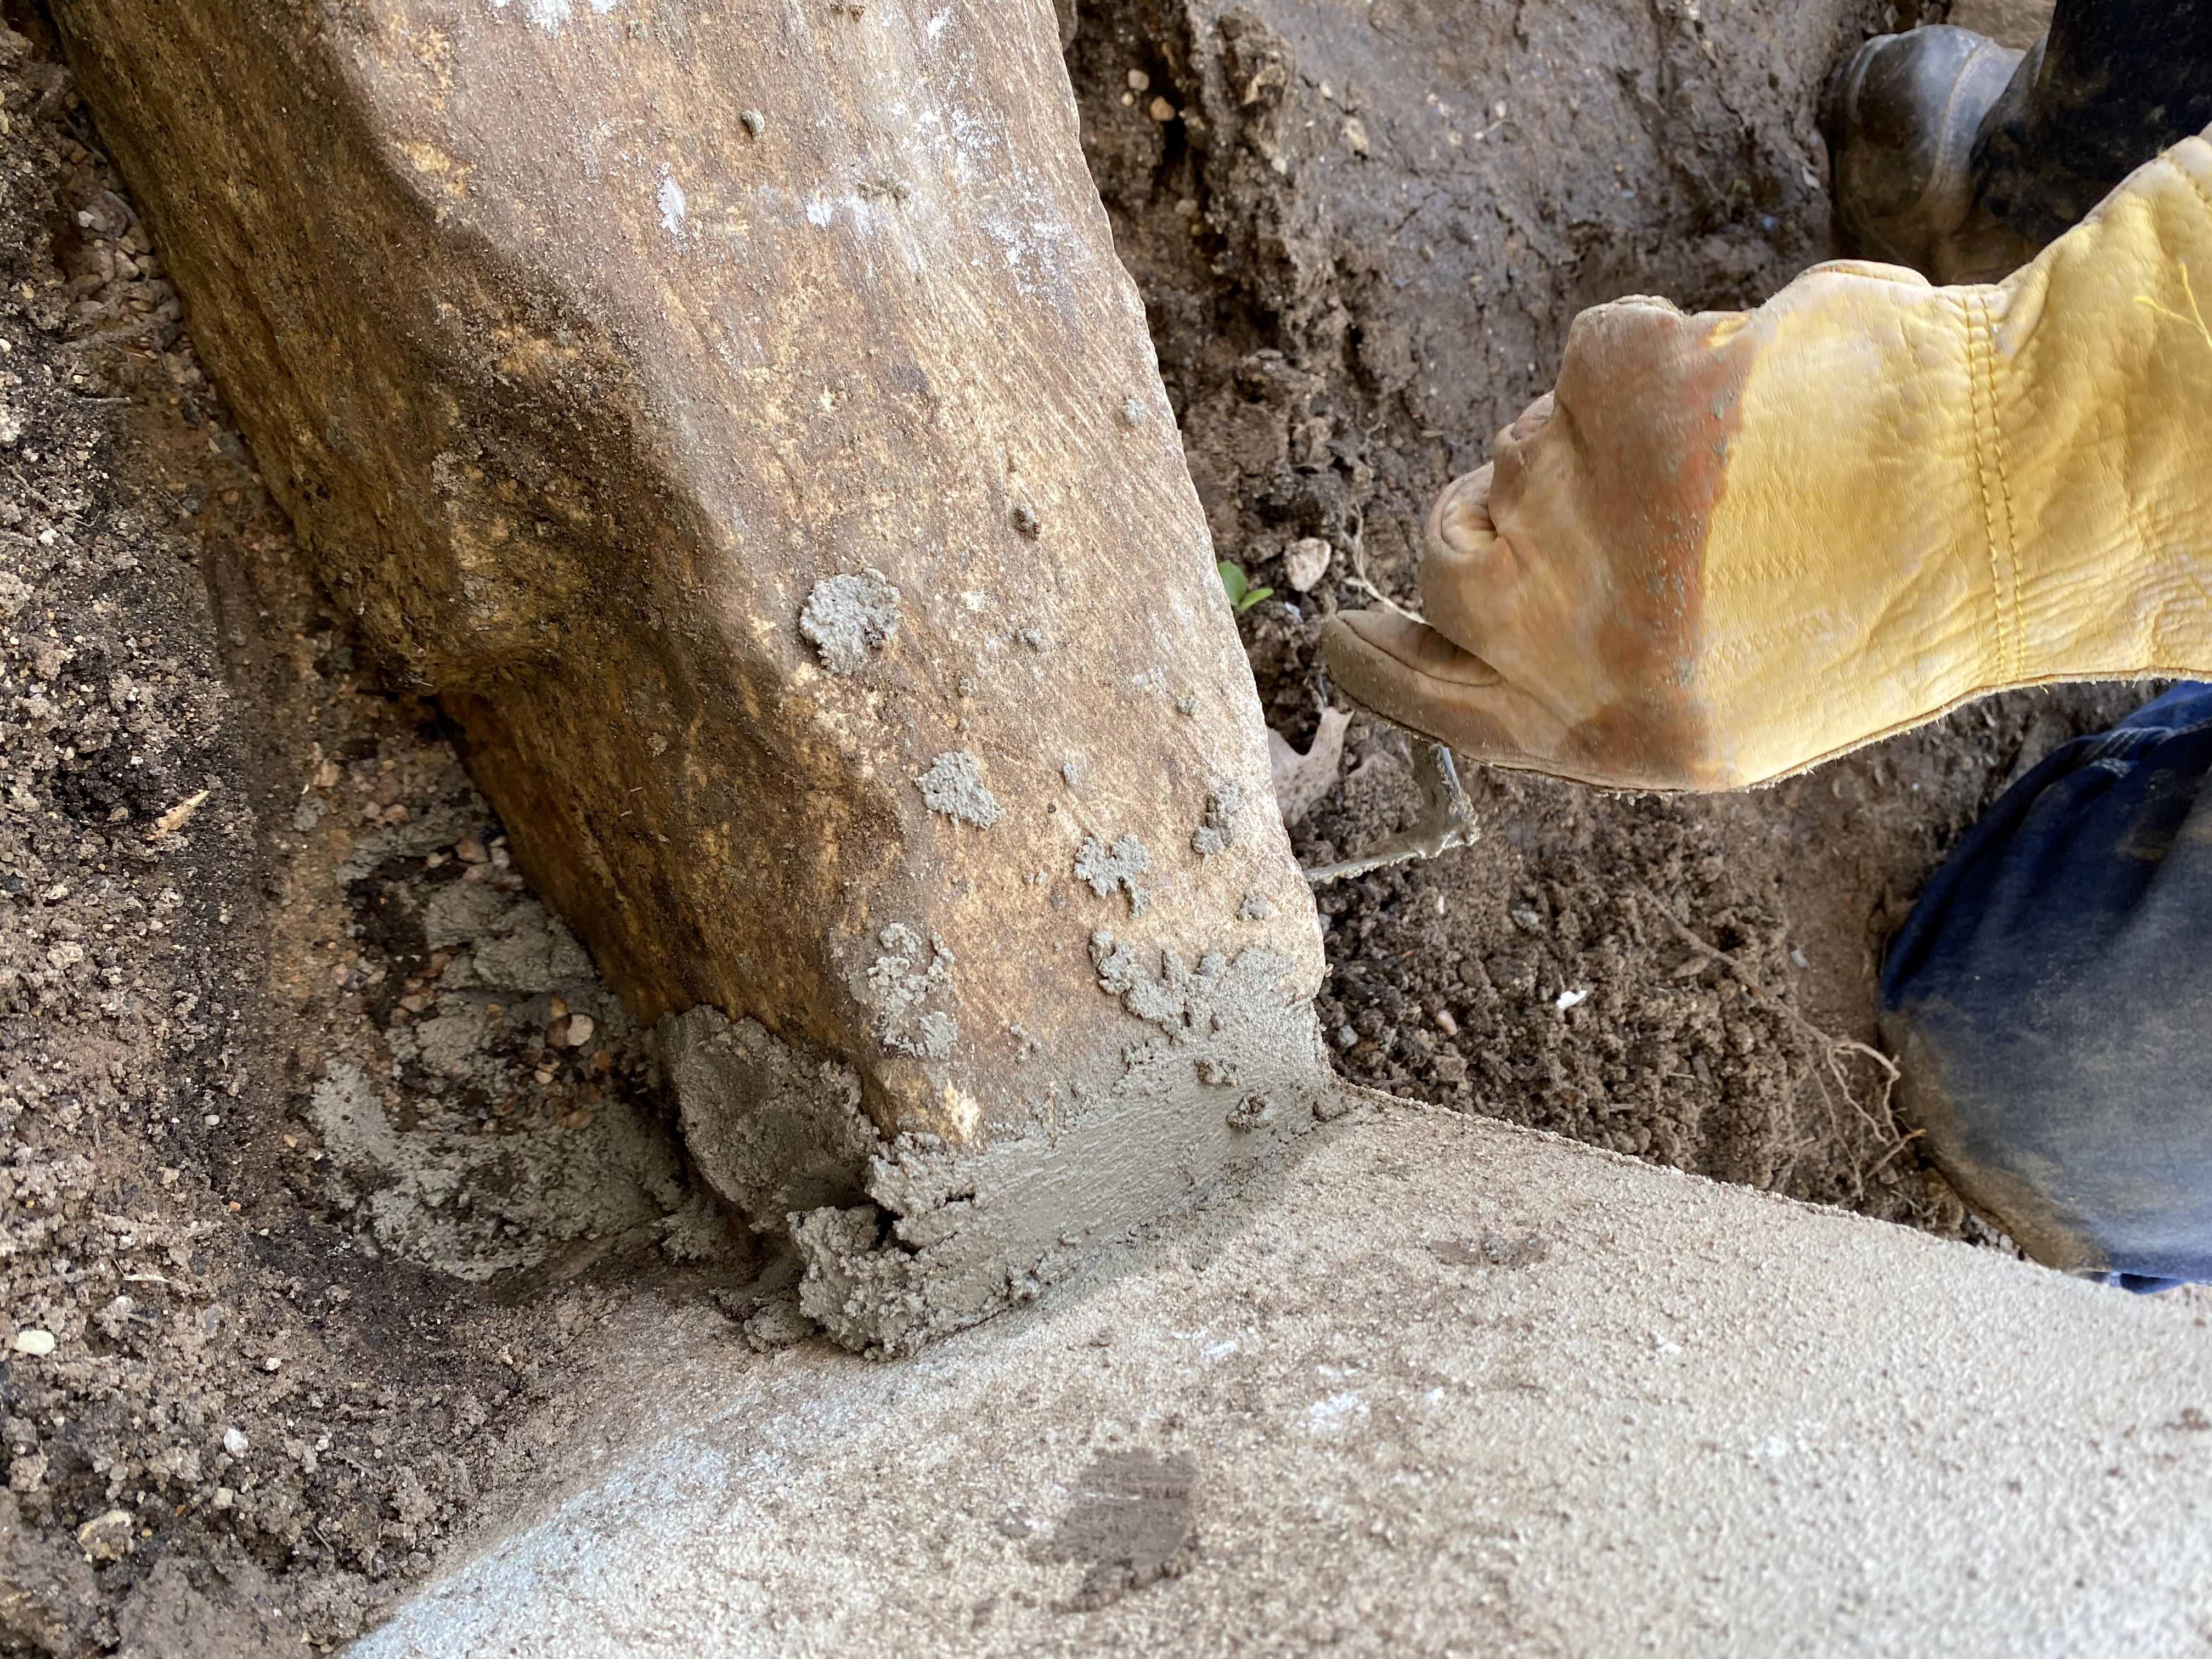

ALL DONE!
I hope that seems as easy as it is. That was actually the first project that we’ve finished completely in only one day! I was so shocked at how simple, easy and inexpensive it was to make. Now with this one under our belts, I feel confident in our ability to create the other stone boarders that I have planned around the house.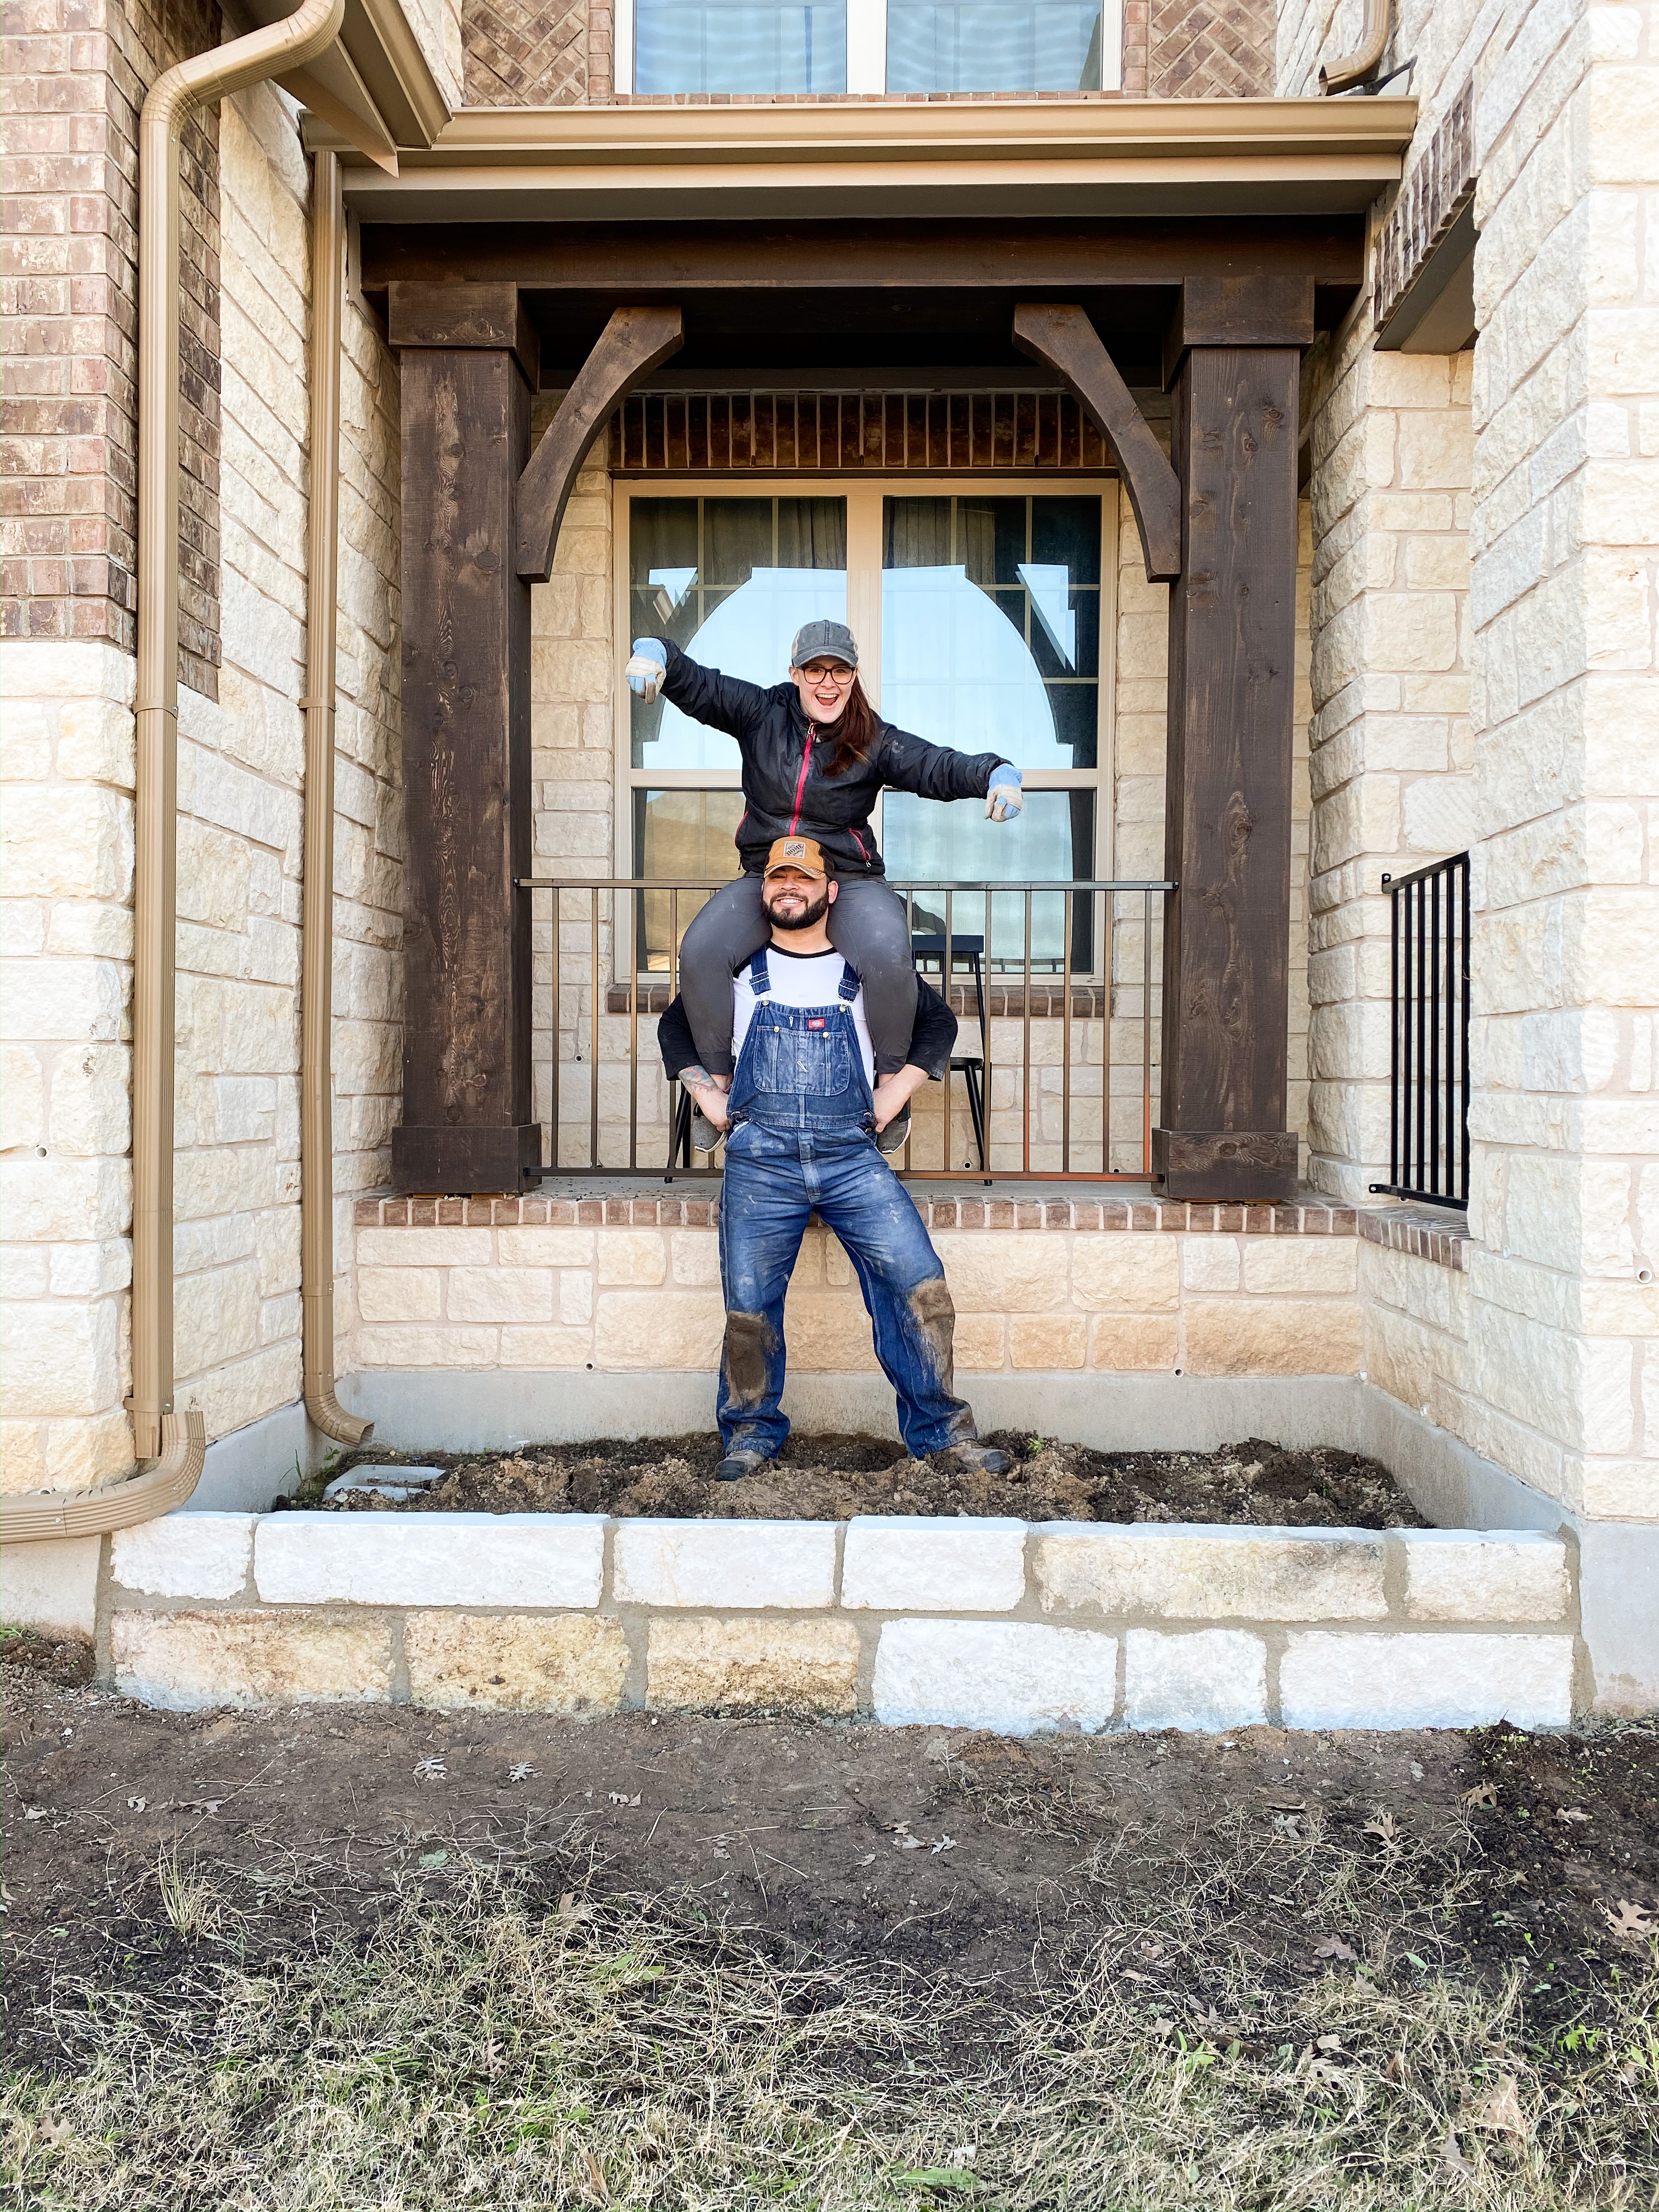

Leave a comment
Close comments


