


DIY Pegboard for Home Gym Storage


This pegboard journey started long before the One Room Challenge. Last year, when the pandemic locked down the world, I started creating this pegboard for my son’s room. Everything started off really well and then the struggles began. This was a time that everyone was making a pegboard and it looked like the easiest thing in the world. Let me tell you, it’s not! So if you tried and gave up or want to make a pegboard, read on and I’ll tell you all the wrong ways to do this and finally what ended up working for us.
I started with a 2’x4′ piece of birch plywood. I planned out my peg hole design by marking dots every 4 inches. Staggering the holes was the best option for us. So, on one row I’d start the fist hole 2 inches from the side and the next I’d start at 4 inches.

Look closely to see the dots marked for each hole
Now for the first lesson learned: Always tape plywood!
I have since discovered that whenever you cut plywood, you should always tape it where you are cutting. For this, you can cut little pieces to put over each place that there will be a hole (or just a line of tape that covers all the dots). This is the biggest issue I had with the plywood is the tear-out. Since plywood is made of layers of wood, it can very easily be ripped up when cutting.
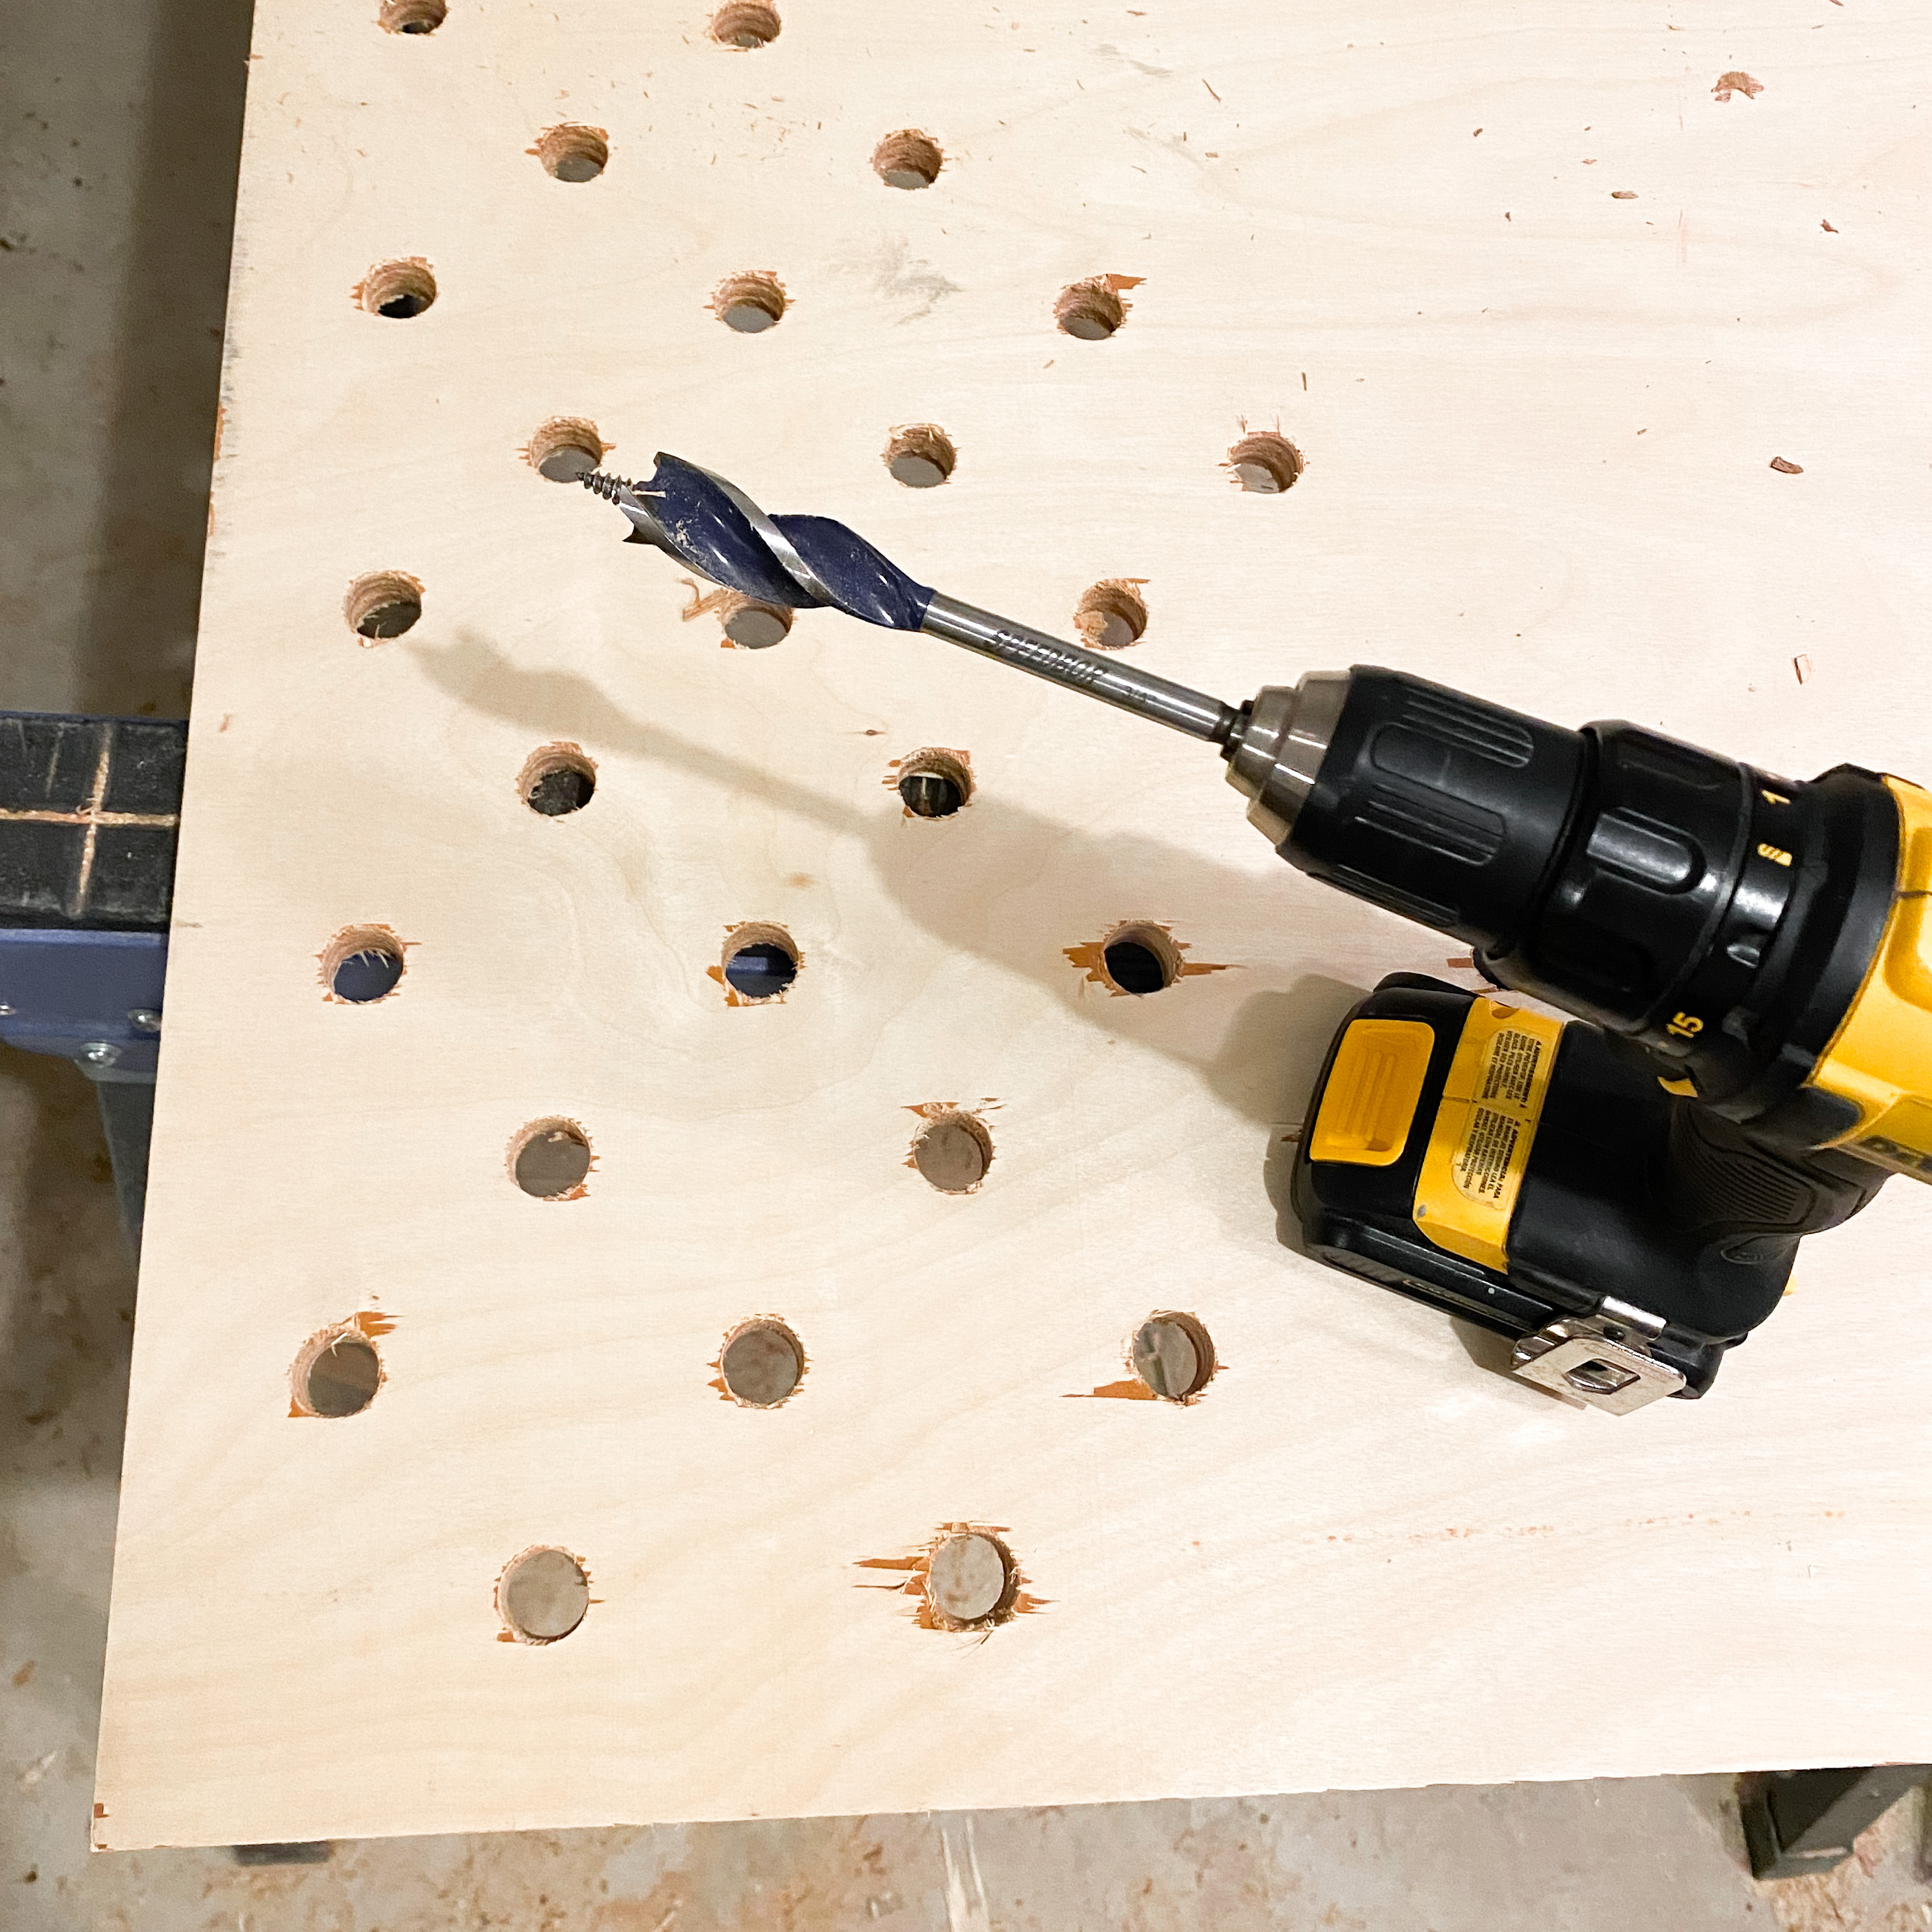
The drill bit matters!
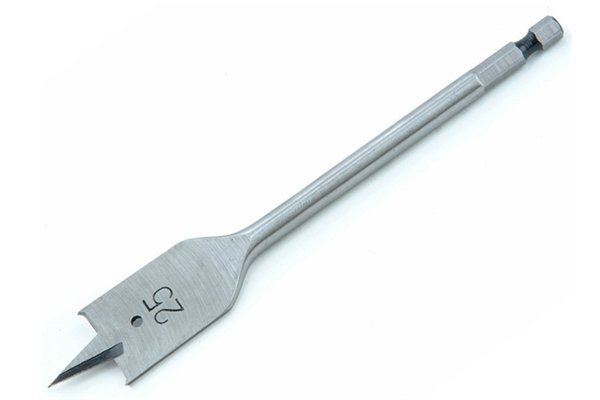
I used a couple different drill bits. Some worked better than others. I first got a spade bit to drill the holes which is a flat bit with a sharp point at the end. I do NOT recommend using this type of bit. Maybe someone has had luck with it, but it did not work well for me.
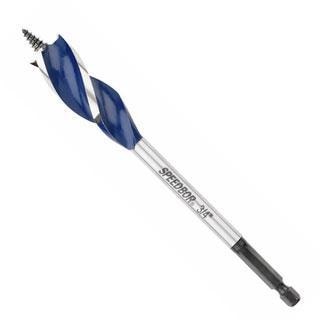
The bit that ended up working best for us was a tri-flute drill bit (see below). Our pegs are going to be 3/4″ so that’s the size drill bit you need.
The kicker: a drill guide!
The tape and the right drill bit are super important, but the final piece to this puzzle working well is a drill guide. I had seen others use one but since I didn’t have one, I tried doing this without it. I didn’t want to buy a drill guide that I never saw myself using again for just one project. Don’t get me wrong, it’s possible to do this without a drill guide but, for the best outcome, use a drill press. It will also help with the tear-out. It also will make sure your peg holes aren’t crooked so you don’t have wonky pegs all over the place.
One more thing: a backer board
This is a recommendation that I didn’t try but I’ve heard it works really well. When drilling the holes, put the plywood on top of a scrap piece of wood, this helps with the tear-out on the back of the board. All of the above tips will give you the cleanest cut.
On to week 3 of the One Room Challenge- pegboard edition
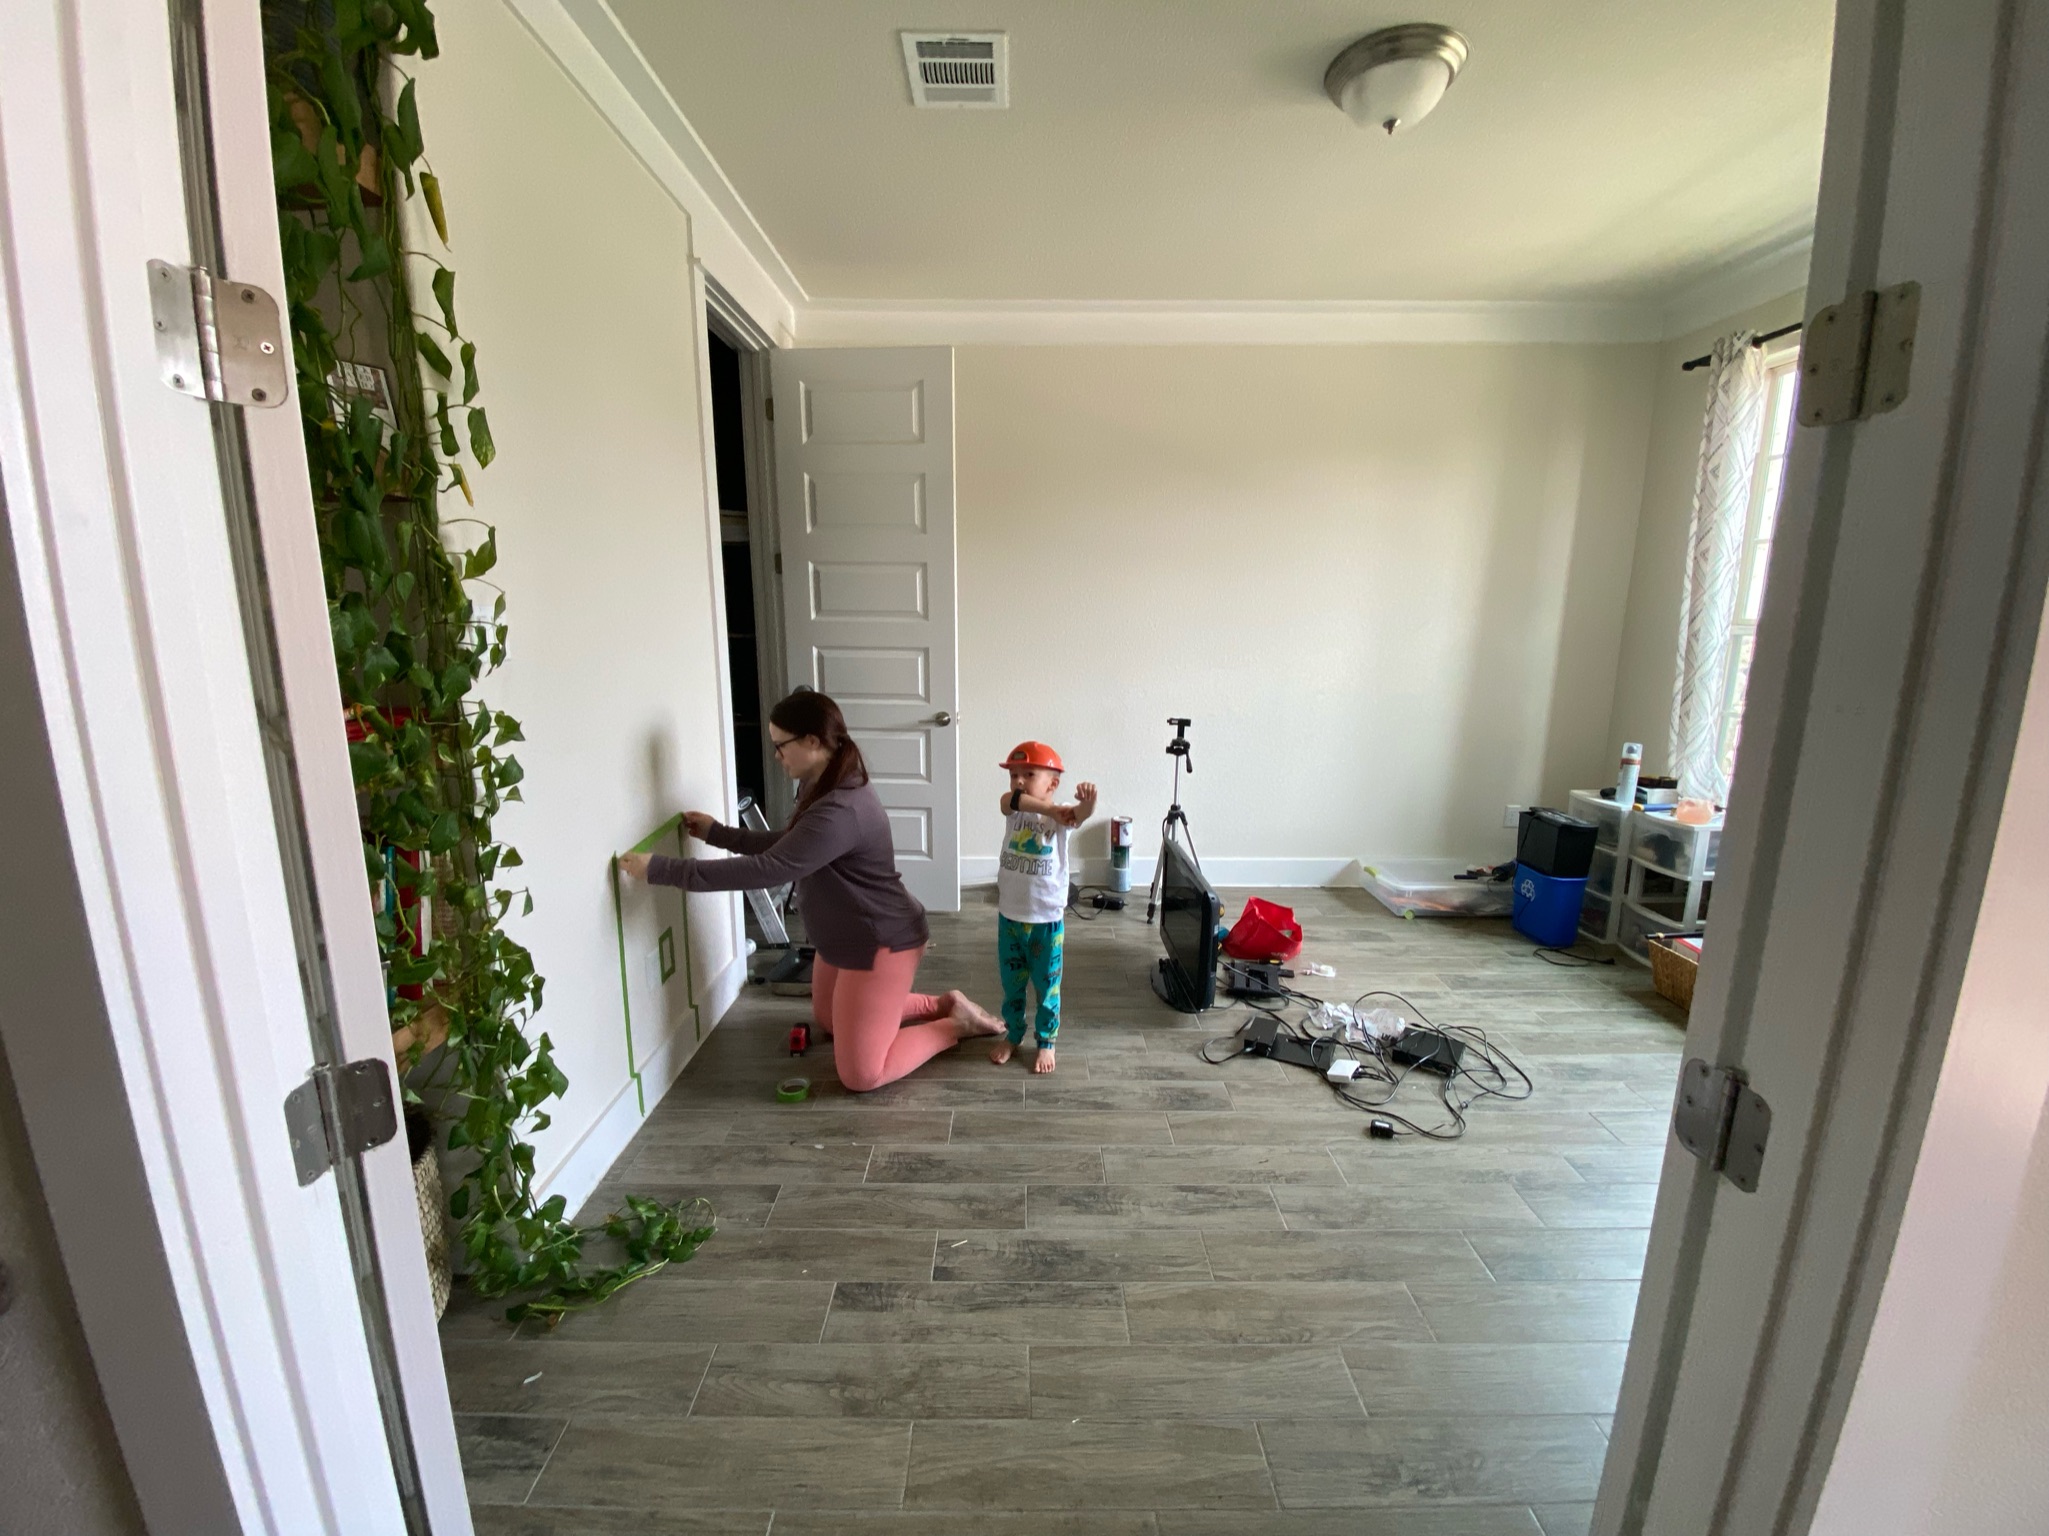
The next order of business is beginning the gym part of this room. This wall will be the hub for all of our gym equipment. It will also hold a tv for us to play workouts on. So the pegboard will go in the middle, we’ll get to utilize an old tv that we’ve had laying around for a few years and we’ll put our weights down below to clear out a coat closet that has also been under utilized with the gym equipment taking up so much space!
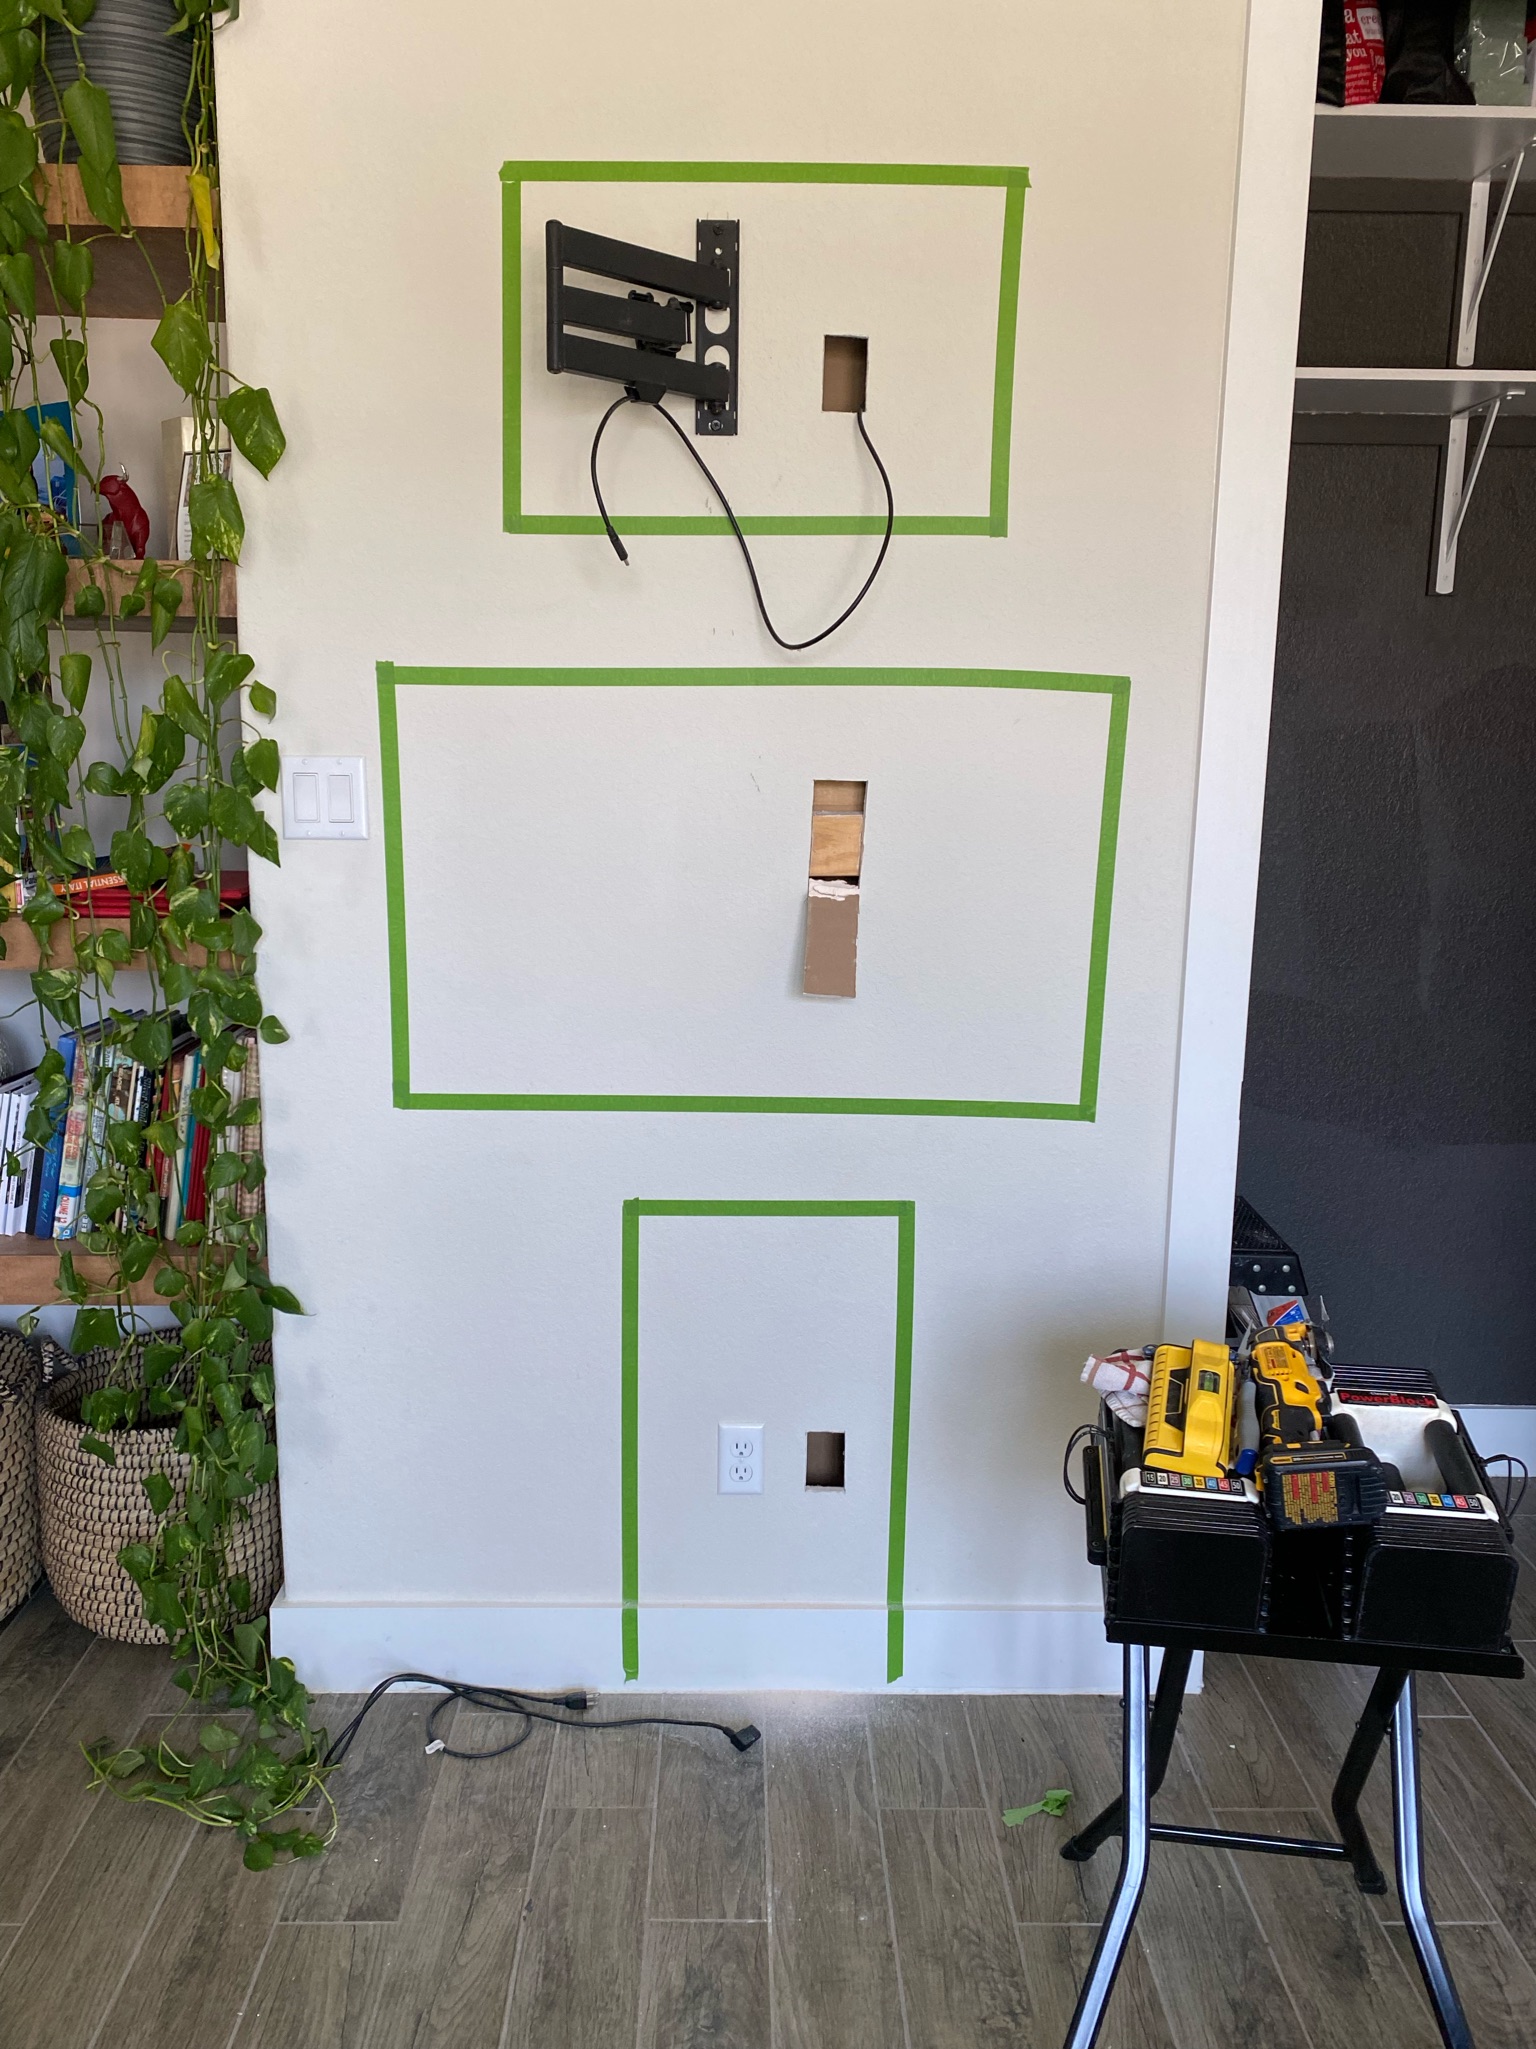
Taping your placement out like the above picture really helps to visualize the setup and to make sure everything is going to work where you have it. Had we not taped this out and placed the tv too low, then that would be a much bigger problem since we had to do wiring to hide all the cables.
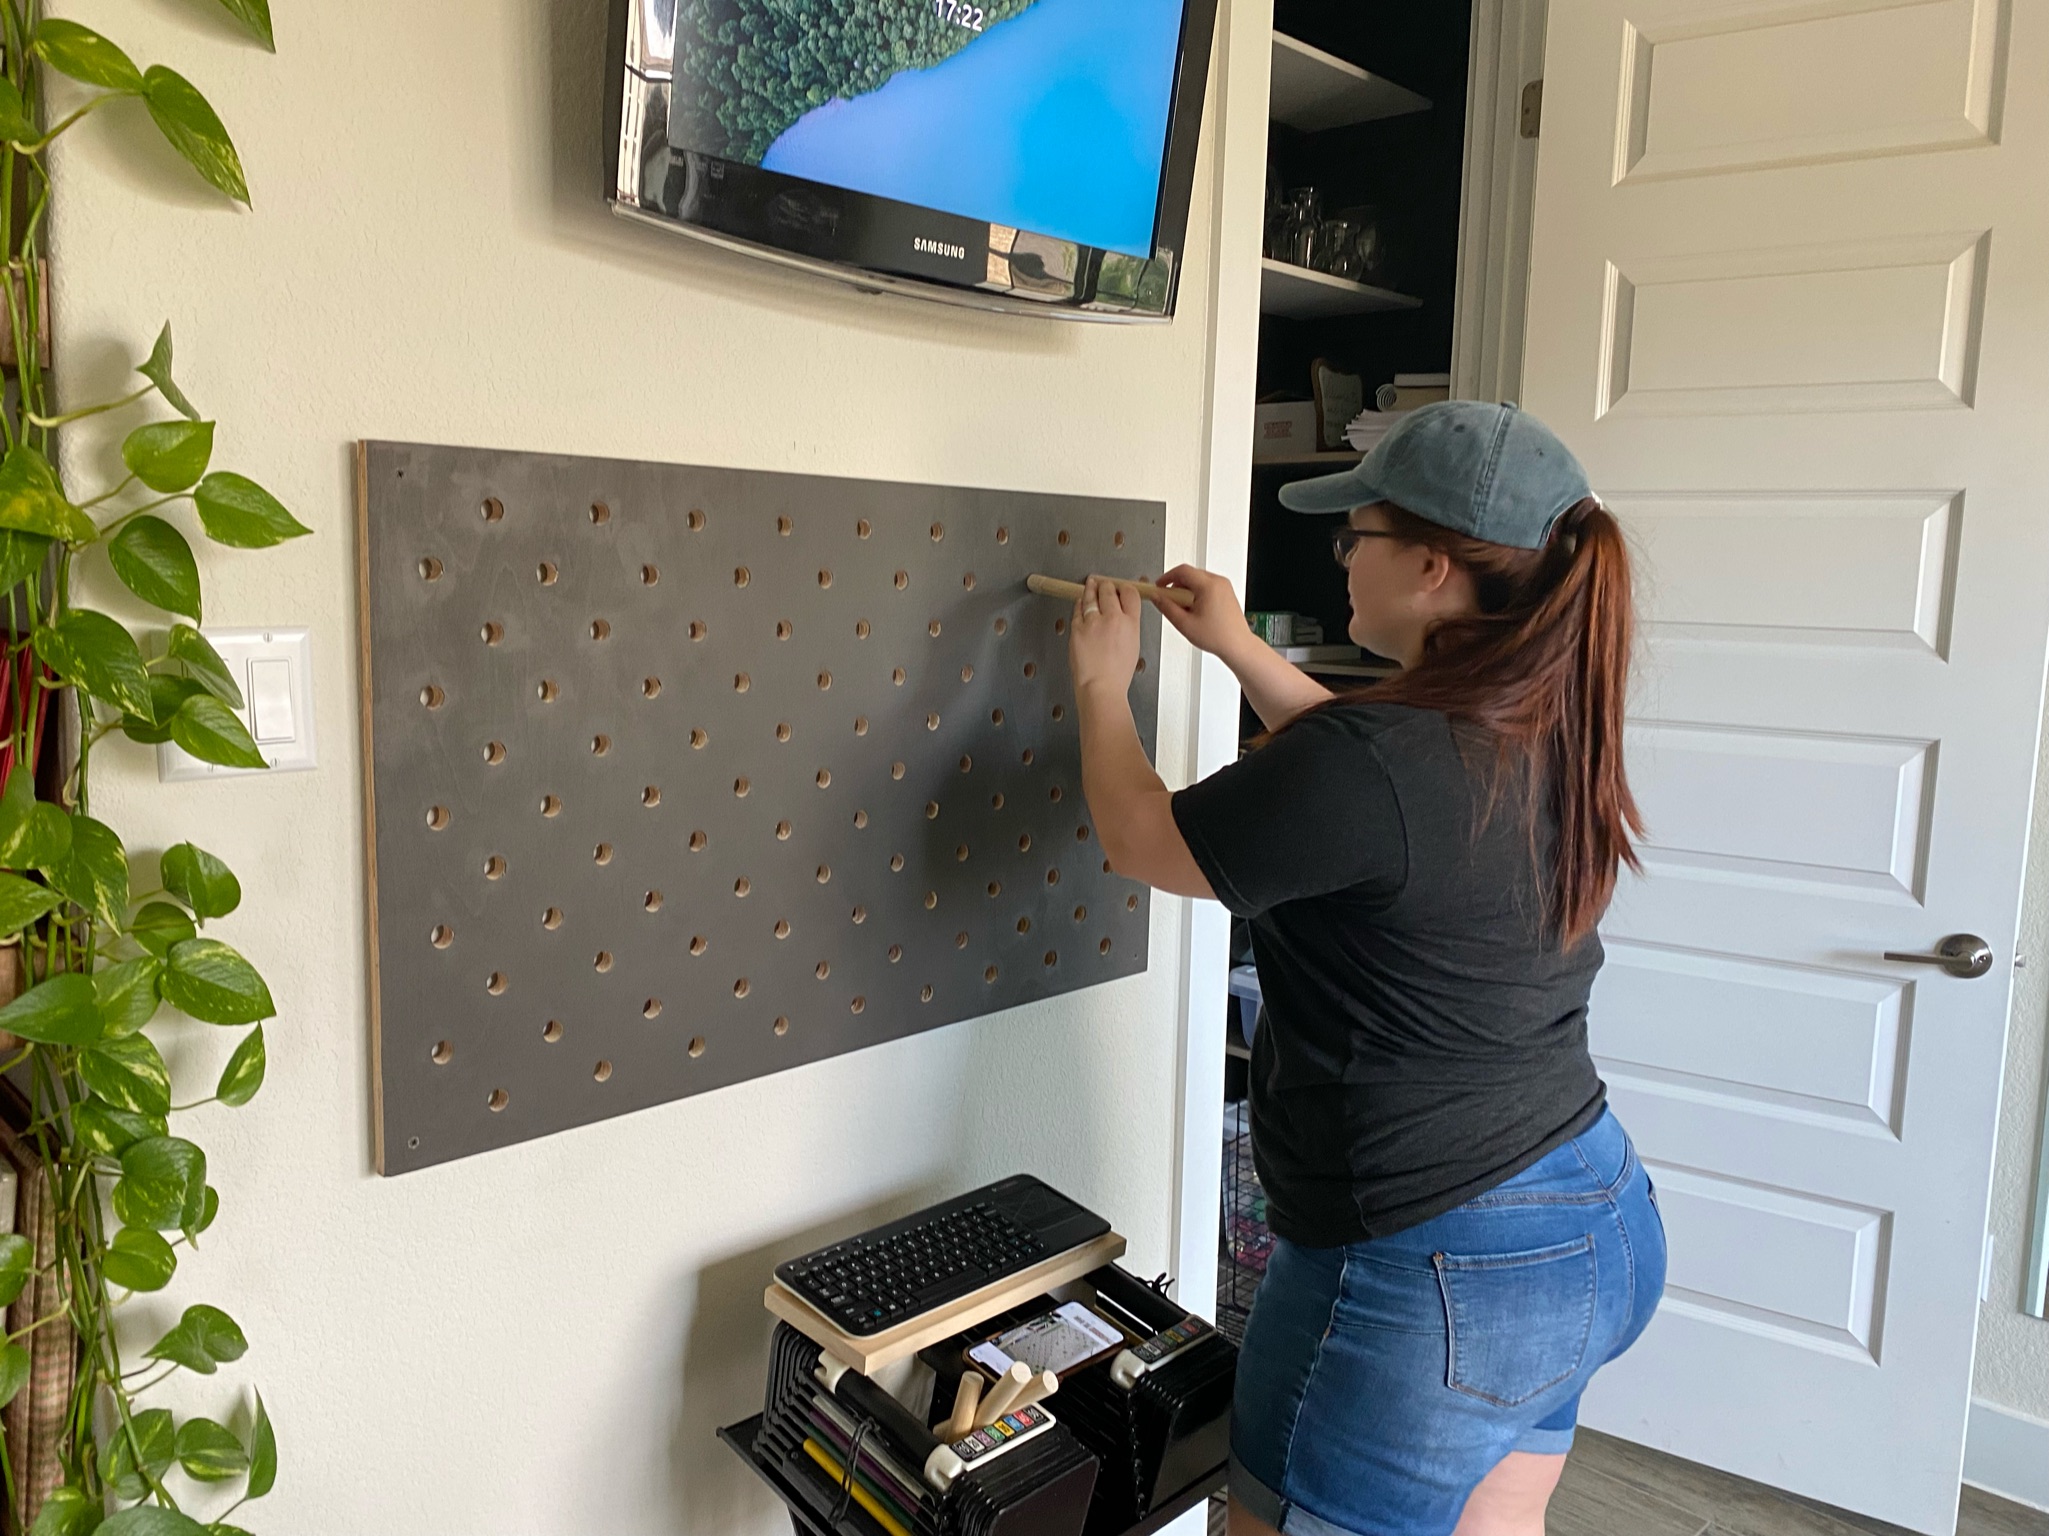
Spy our favorite color? Yep, the pegboard is Urbane Bronze! Since there was so much tear-out on the peg board, I was able to fix it with wood filler but I decided that it would look best painted. I really wanted to see the wood though. So, I just painted the face of the peg board and left the peg holes and the sides raw. I also left the pegs raw wood as well. Might be sealing the pegs later, but I don’t see a need to do it right now. I also got a piece of scrap wood that was actually the perfect size for this all-in-one keyboard that will be able to control the computer that we have hidden in the closet on one of our new shelves! So the wood will go on two pegs for a perfect little shelf.
Finished look of the pegboard!
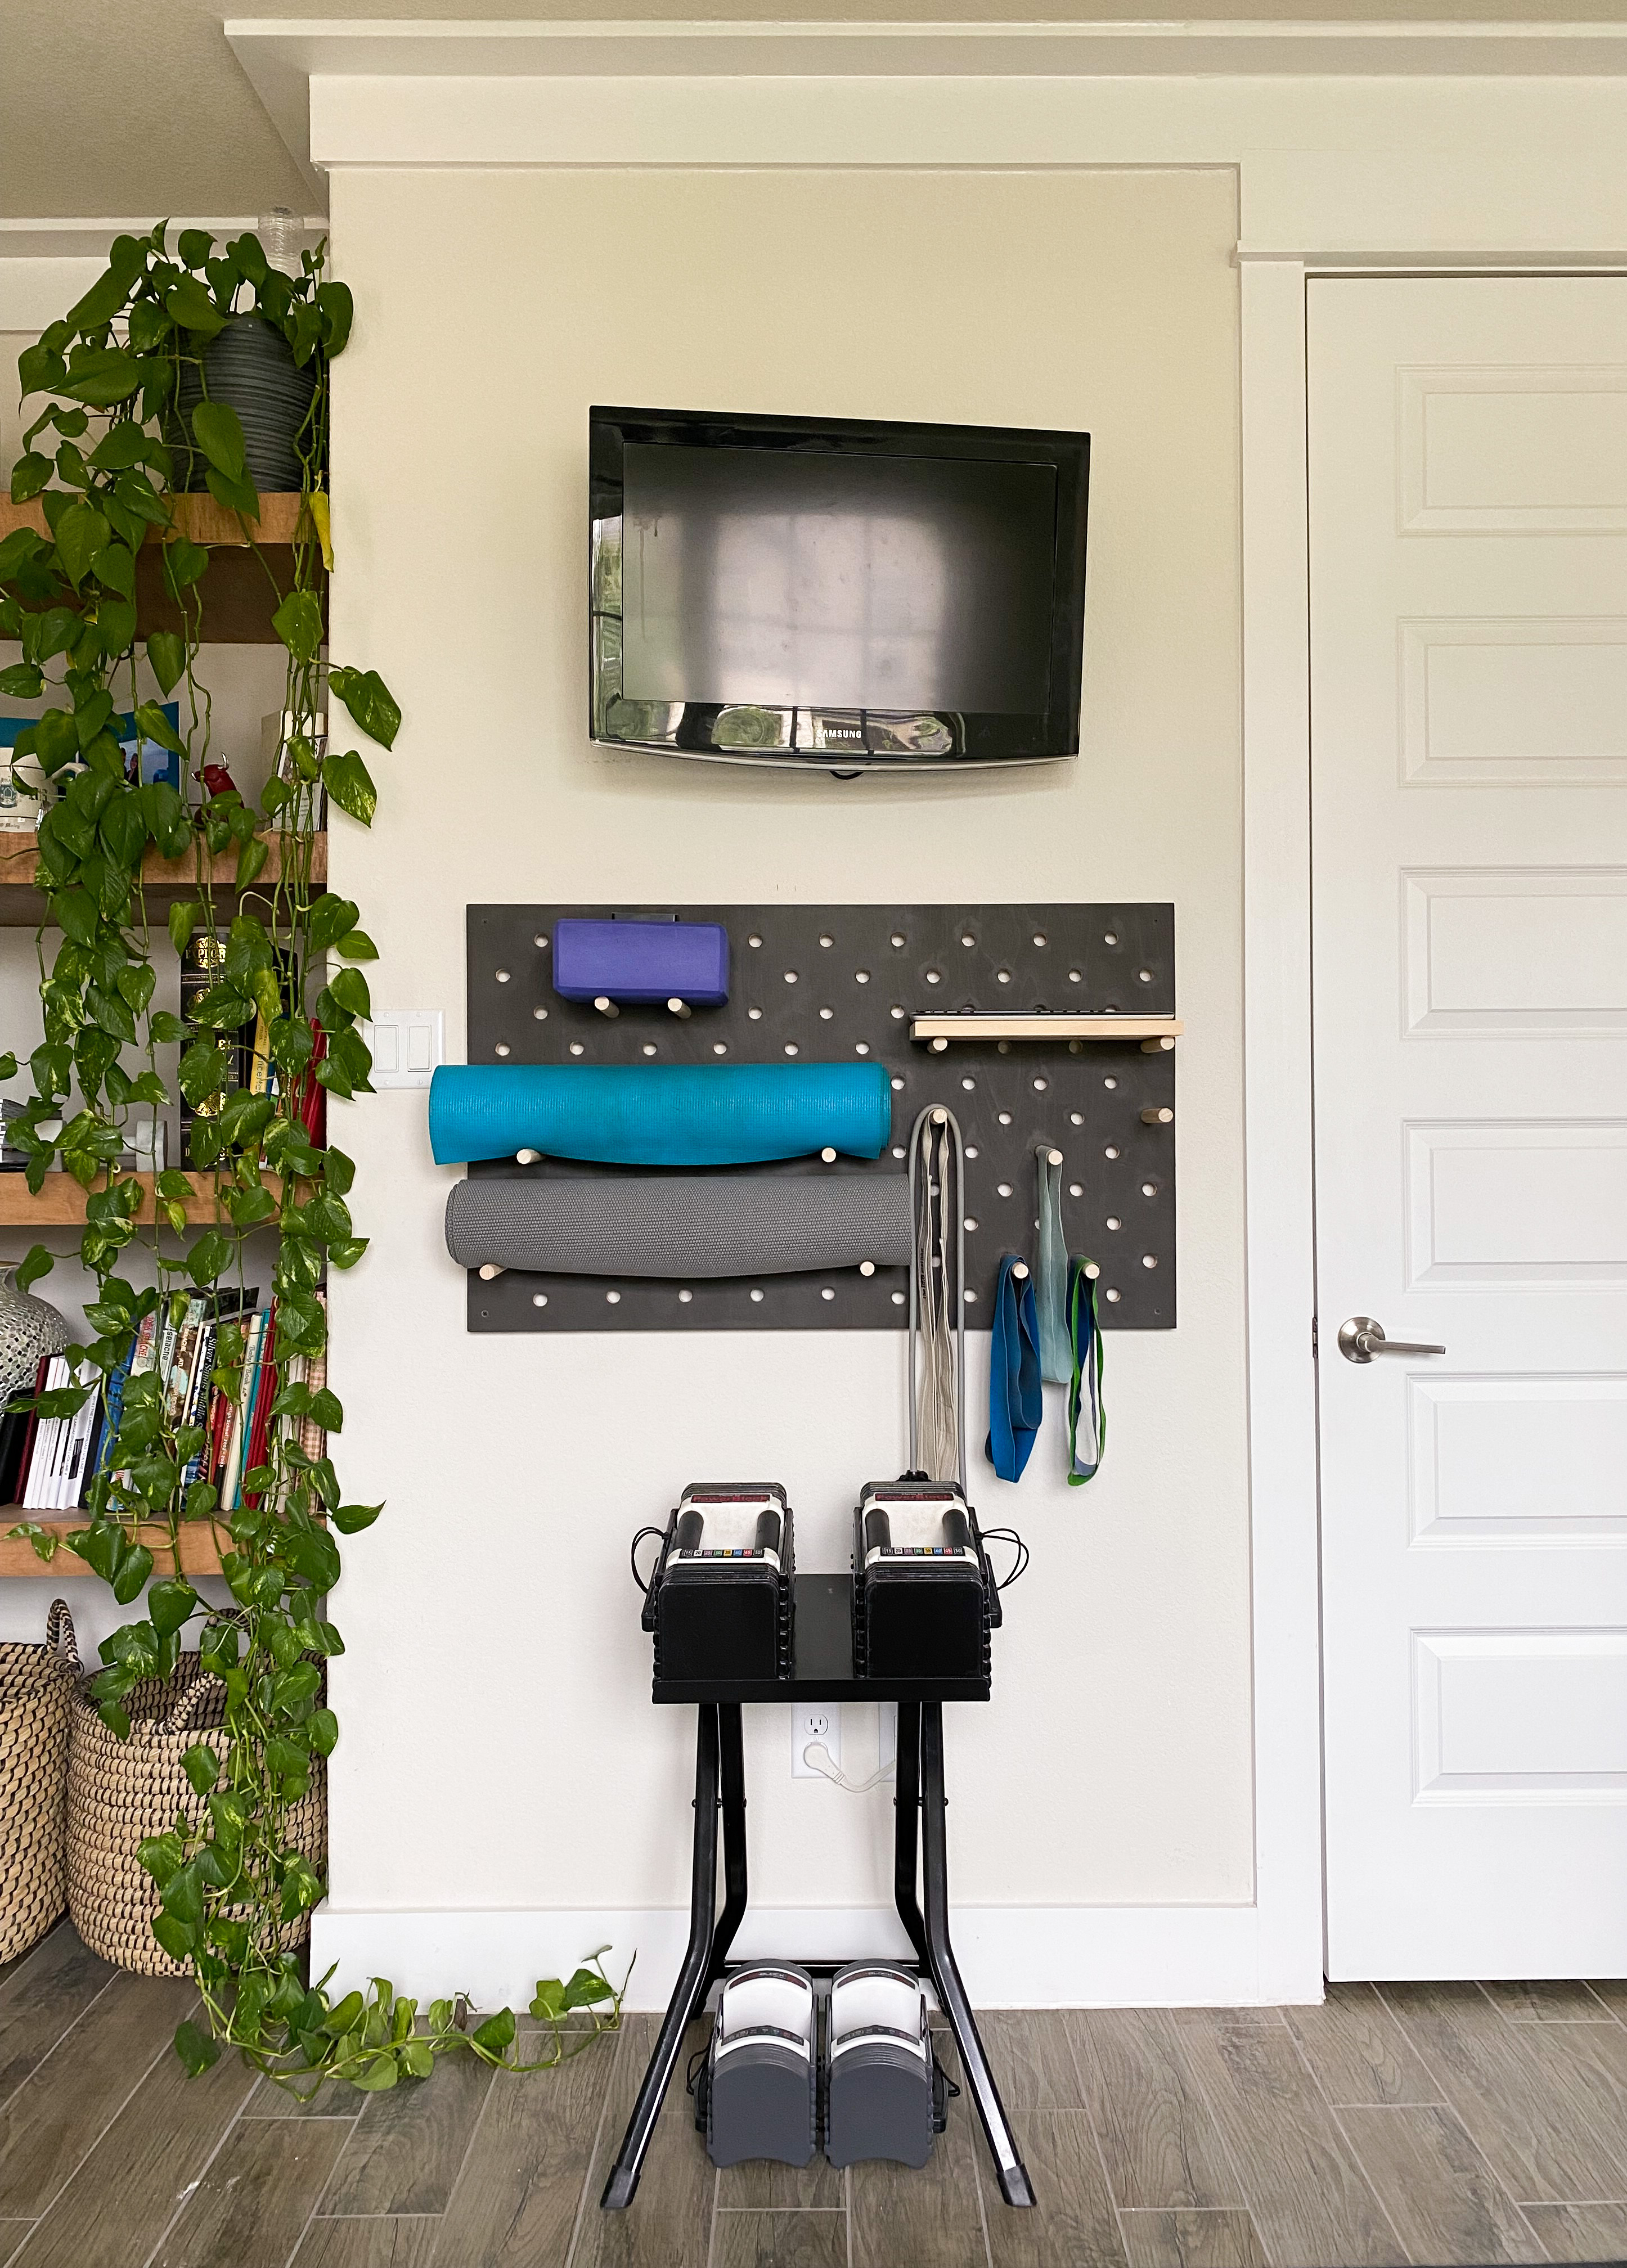
Now, we have this beautiful little space in our office-gym that is purposeful and functional. With all of our weights, bands and mats conveniently located at arms distance from our dedicated gym space so I’m not hauling it all out to the living room every day like I have been for the past 4 years.
There will be a new YouTube video about the pegboard coming soon so make sure to subscribe to our channel so you don’t miss it!
See you next week for week 4 of the One Room Challenge.
Find us on social HERE!


