


How to Build a Floating Deck with the Level Up Decking System


You know that feeling when your outdoor space just needs a little more? That’s exactly where I was with the patio at our project house. It wasn’t bad — just small, and if you know me, you know I love entertaining outdoors and a challenge. So, naturally, even though we aren’t even living here, the next step was obvious: build a deck.
We decided to extend the patio using the Level Up Adjustable Decking System, and honestly, it made the whole process so much easier than a traditional deck build. If you’ve ever dreamed of adding a deck to your home but don’t want to deal with digging, concrete, or a full-scale construction project, this is your sign to try it.
Supplies

The Plan
The existing patio was 8 feet deep by 12 feet wide, which didn’t leave much room for furniture or much of anything. I wanted to extend it another 8 feet, giving plenty of space for seating, a grill, and that perfect “gather around and hang out” outdoor entertaining vibe.
The Level Up Pedestal Joist Supports are designed for exactly this type of project — a freestanding floating deck that can sit on just about any stable surface without major prep work. The kit includes adjustable pedestals that make leveling simple (even if your ground isn’t perfectly flat) and is beginner-friendly enough that you can easily build it in a weekend.
Framing + Setup
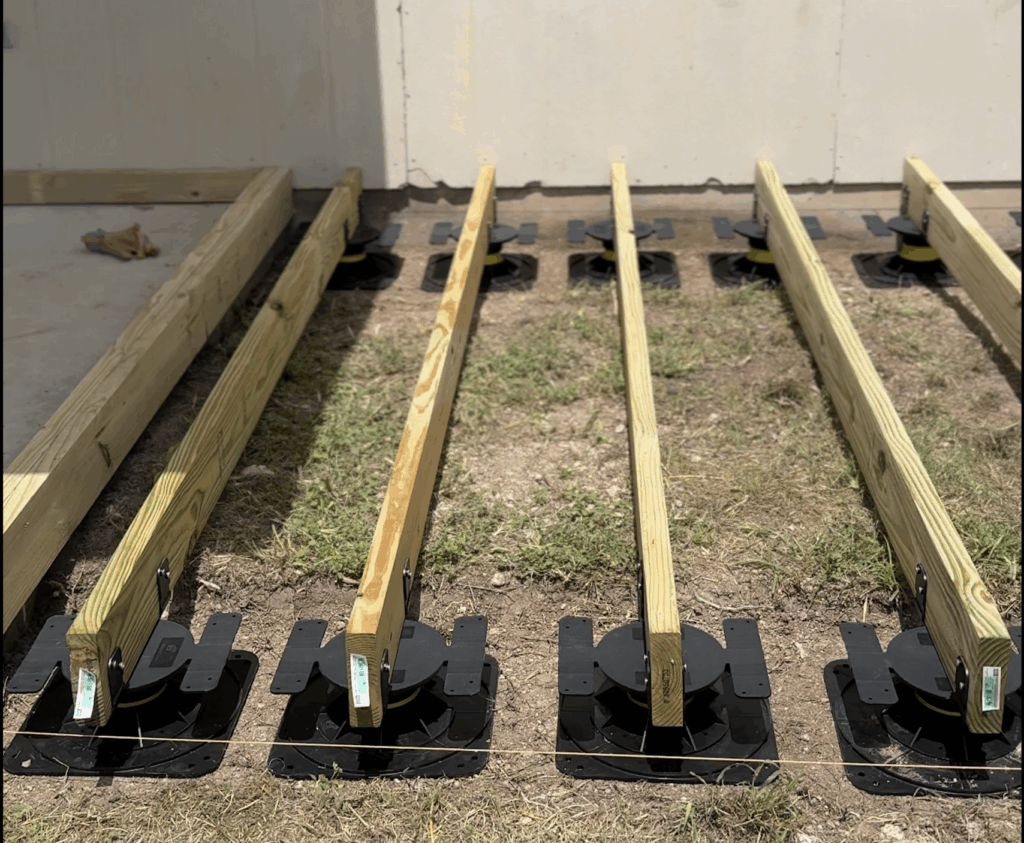
I started by laying out the deck perimeter and marking where each pedestal would go. Then came the least glamorous part — digging. Well not really. I just removed the grass to get to the compacted dirt. We used the pedestals to set the foundation for the frame using 2x6s. I didn’t go into it too much but I built a frame similarly over the concrete slab but with 2×4’s to bring it all level.
The Level Up Decking System comes with clear instructions and even specifies which screws to use. Once the pedestals were in place and leveled with one another, I put all the 2×6’s in place ready to attach. Screwing in the joists went surprisingly fast. I did run into a slight issue when I forgot that I needed a hangar on the back side of the frame. It was ok though because I was able to scoot each joist a couple inches away from the house so another 2×6 would fit behind and I just attach it from the inside with L-brackets. They’re specified which ones you need in the instructions. Then I was able to attach the hangar on the front and the side edge. Finally, I cut down 2×6’s to fit in between the joists and rest on the pedestals. This really locks the joists together and makes the structure feel very solid and secure. So, don’t judge the wobble until you get to this point. (It will feel even MORE solid by the end, too!)

Laying the Deck Boards
This is the part where it started to feel real. As I laid the deck boards across the joists, everything came together perfectly — solid, level, and so satisfying to walk on. I used pressure treated deck boards and staggered them across the joists all the way down the deck. I screwed in the board on every joist to make sure it was very secure. If they didn’t line up perfectly with a joist, I cut it down to make sure the end and beginning of each board was on a joist so there was no bowing. Just trust me on this one. I usually didn’t have to cut much off or I could use it to start or finish a row so it all worked out in the end and I had very little waste.

By the time I reached the edge of the deck, I ended up needing to rip a board (cut it length-wise) because I didn’t plan it out from the beginning). So, I trimmed the final deck board and put the cut edge on the inside instead of the outside so the edge still gets the nice bull nose finish from the deck board finish.
It’s one of those small details that makes a huge difference in the finished deck look.
The Reveal
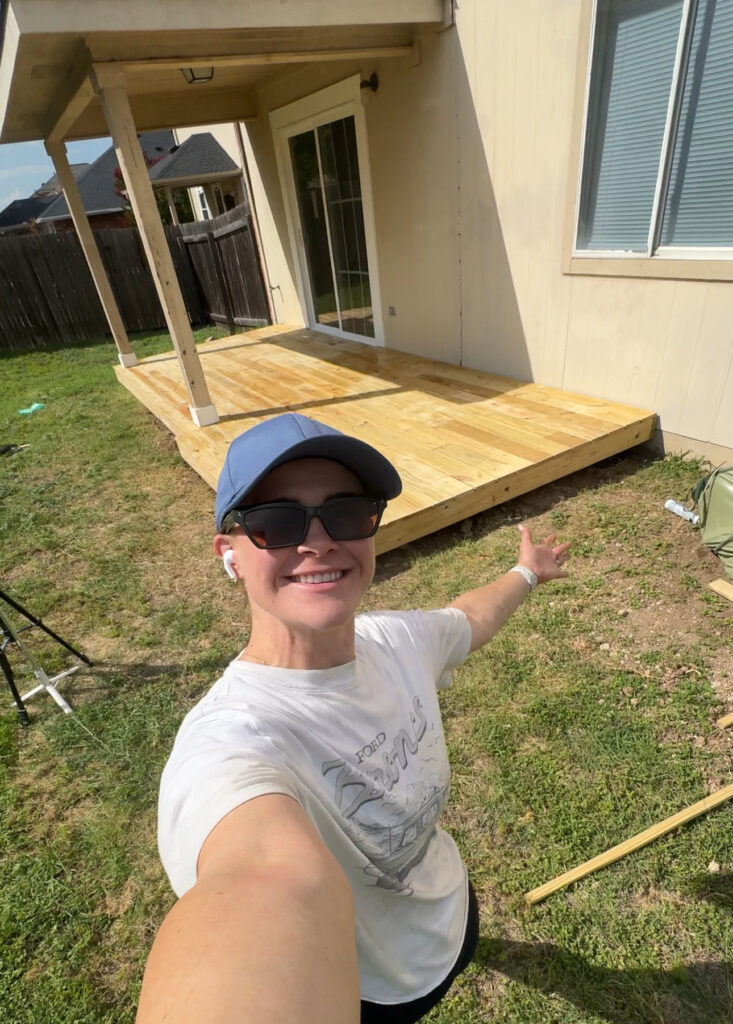
Just like that — we built a deck!

It’s sturdy, stable, and completely freestanding (besides the places it’s not, ya know, but it could be). The new deck extends seamlessly from the existing concrete patio, creating one cohesive outdoor space. It’s wild how much more usable the backyard feels now.
There’s still work to do (I need to stain the wood and paint the surrounding trim), but this project completely transformed the backyard and added major value to the house.
I’m so proud of how it turned out — and even prouder that we built it ourselves in just a matter of days.
FAQ
How much time did it take to build the floating deck from start to finish?
15-20 hours total. I have short periods of time that I’m able to work so that was spread over several days and it’s an estimation but a pretty close one.
Do I need a permit?
I’ll tell you this–I did not get a permit for this deck. When we built our patio extension at our house, Steve called the city asking if we needed a permit and the city basically said, no we don’t care about that. It’s not attached to the house structure so go ahead. We even extended the concrete patio slab and did way more permanent things than this so I didn’t even bother asking about this. That being said, you know when you read a health blog and they say “this is not medical advice, talk to your doctor”? Look up local building codes, call your city, things can be different in different locations.
Why I Love the Level Up System
If you’ve ever wanted to build a deck without the stress and intimidation, the Level Up Decking System is the way to go.
- No digging or concrete needed — it’s a floating system
- Beginner-friendly — perfect if you’re a learning DIYer
- Adjustable pedestals — make leveling easy
- Durable and sturdy — it feels completely solid underfoot
Whether you’re upgrading your backyard, building a poolside deck, or adding outdoor space to a rental property, this system makes it possible to create something beautiful and functional without a massive construction project.
Since the deck is made of pressure treated boards I have to wait a few weeks until the coating wears off fulling and starts absorbing water before I can stain so until then, it’s going to look like this. Stay tuned for the reveal coming soon.
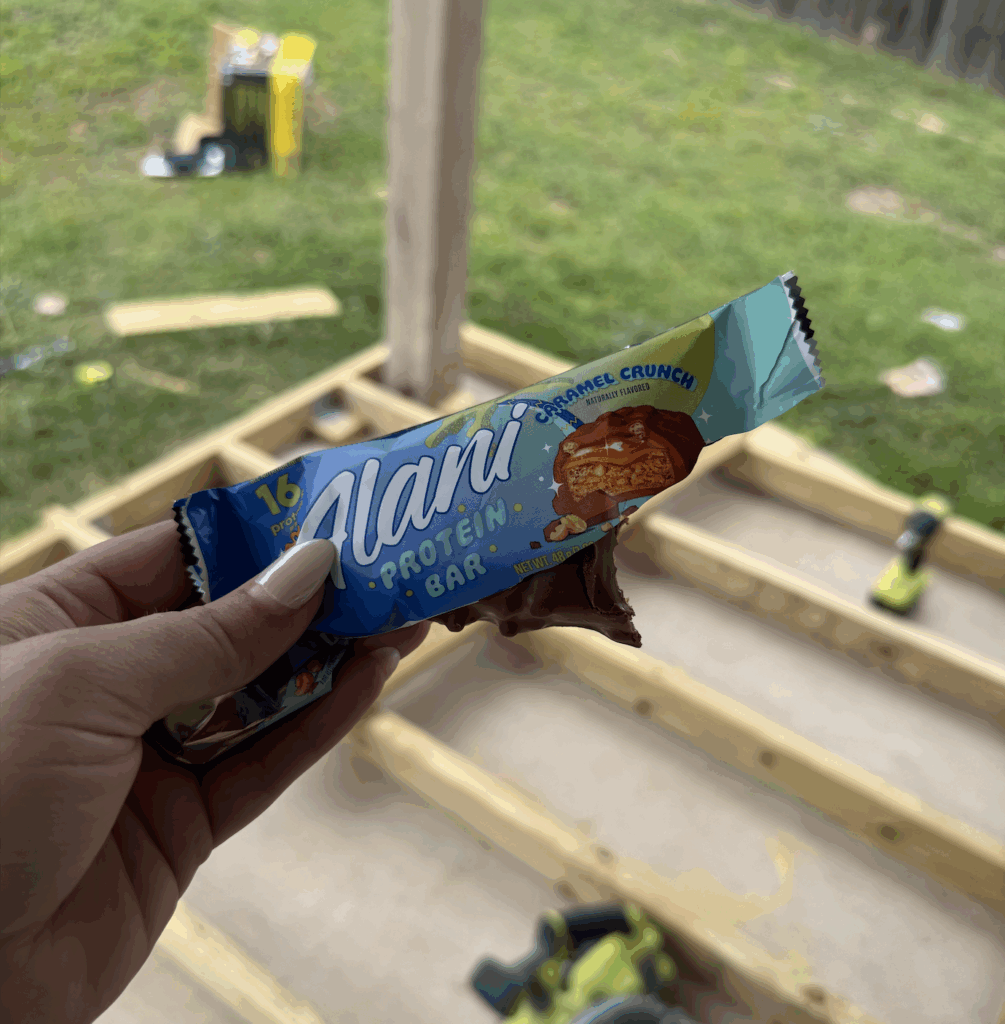
P.S. I was living off my all-time favorite protein bars that taste like straight up chocolate bars while building this thing. I probably would have passed out multiple times had I not had these on hand. I’ve barely had protein bars I even liked and I keep my pantry fully stocked with these so do yourself a favor and try these.
Check out some of our other back yard projects like How to Build a Raised Garden Bed with Cinder Blocks and Repairing Bare Spots in your Yard with Seed Mats.


