


DIY GIANT Wall Art


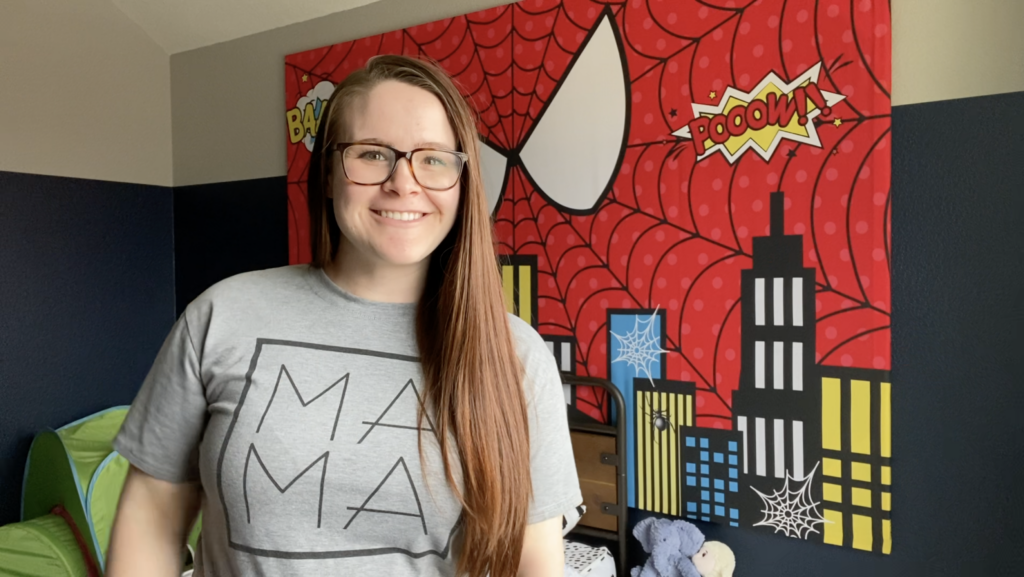
This project is the center piece of my son’s modern Spiderman big-boy room. We painted his entire room a color block of grey and navy with small red accents around the room. We are using the backdrop I bought for his birthday party last year as a DIY canvas.
SUPPLIES:
– Fabric of choice: I used this backdrop off Amazon
– (4) 1x2x8 wood (I bought poplar but regular pine would work just fine)
– (24) 1″ pocket screws
– Kreg jig
– Circular saw (or miter saw)
– Drill (and driver if you have one)
– Wood glue
– Staple gun
– 1/2″ staples (anything less than 3/4″ really)
– Corner clamp (comes in super handy but not necessary if you don’t have one)
STEP 1: MEASURE AND CUT
I first laid out my piece of fabric to measure it’s dimensions. As long as you cut your wood about an inch shorter than your fabric, it should wrap around the frame just fine. My fabric was 8′ x 6′ so I cut my 2 longest top and bottom pieces to 94″ (2″ less than 8′ for the top and bottom) and my 2 shorter side pieces to 67″ (2″ less than 6′ to give 1″ on either side and 3″ less to butt up against the top and bottom pieces which are each 1.5″).
Make sense?
You should have two scrap pieces of wood from the sides that you cut. Make sure to cut those in half and at a 45 degree angle like so \__/.
STEP 2: POCKET HOLES
You’re now going to drill a lot of pocket holes.
Drill 2 pocket holes in either end of your side pieces of wood
Drill 2 pocket holes in either end of of the 45 degree pieces of wood
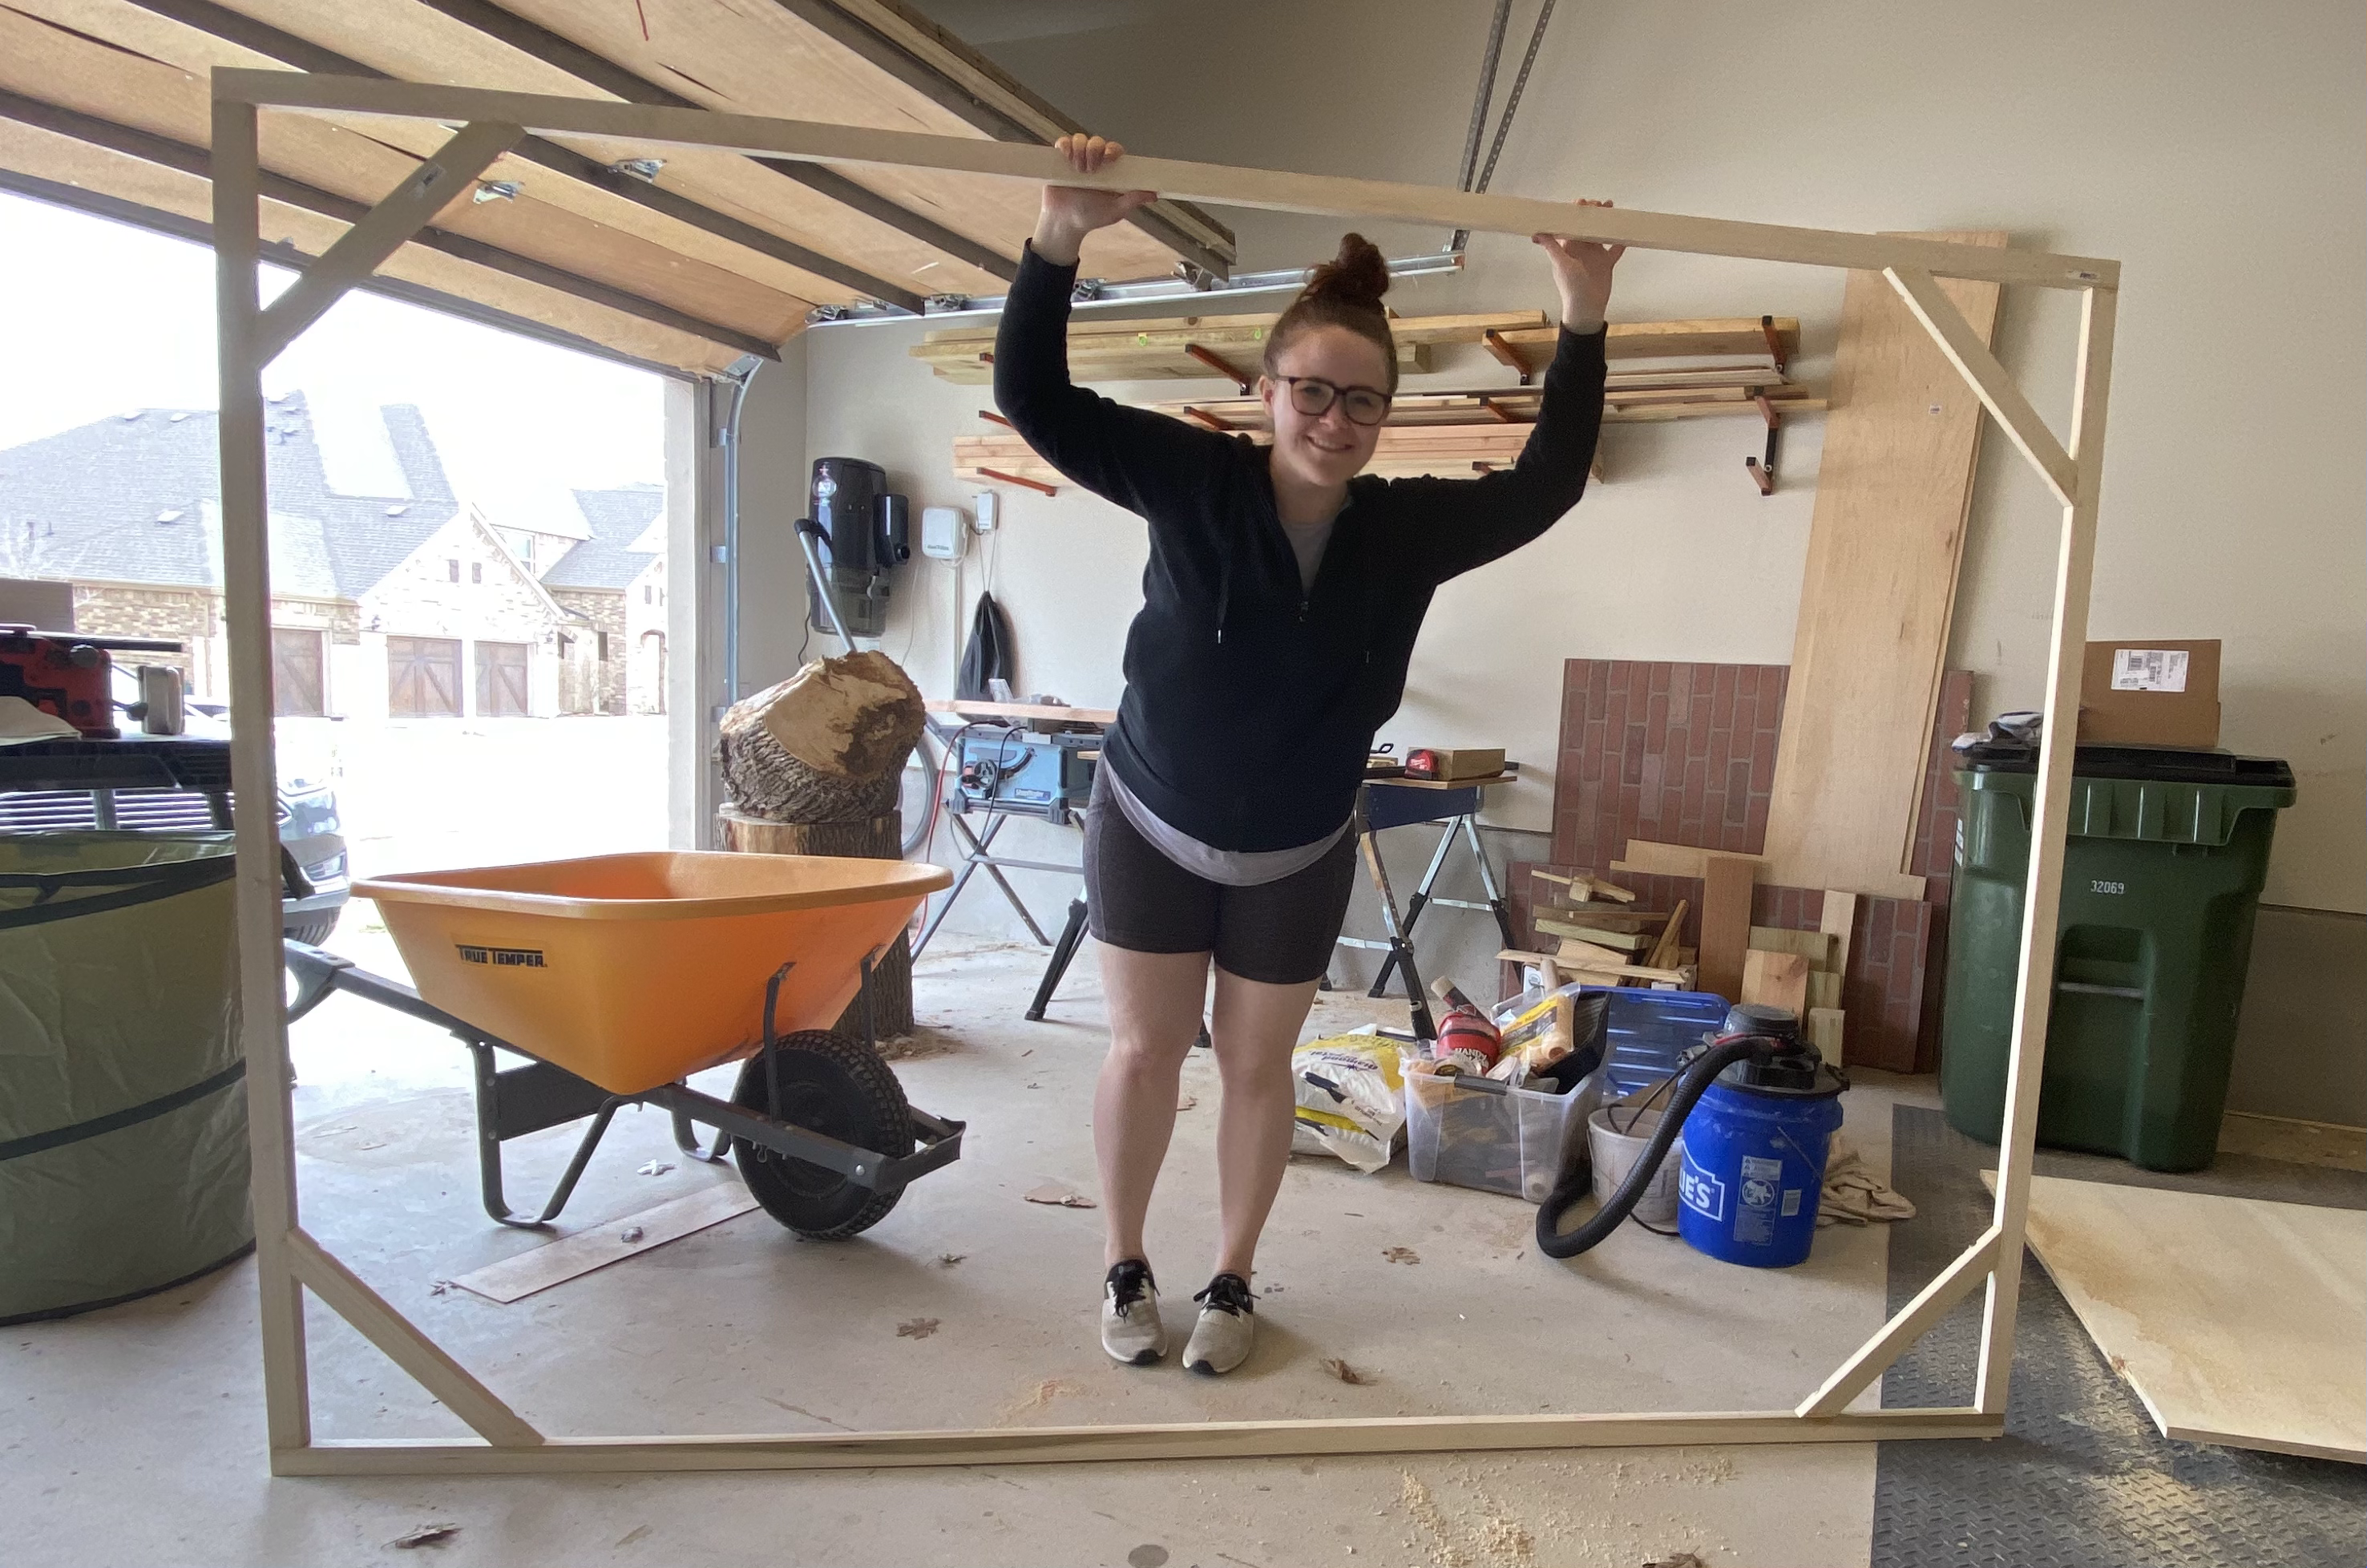
STEP 3: ASSEMBLE YOUR FRAME
You have all of your pieces cut and the pocket holes created so now it’s just the assembly.
I laid out my frame where all the pieces go. You will want to connect the outside frame pieces before adding the corner supports (45 degree angle pieces). But the side pieces agains the longer top and bottom pieces. If everything was done correctly, your pocket holes will be facing the long piece with no pocket holes. Put wood glue on the end of the wood where the two pieces meet and secure together with pocket screws. Repeat all the way around the frame.
Once the frame is assembled, connect the corner braces by putting wood glue on either end of the 45 degree angled pieces and connect to each inside corner with pocket screws.
Let this dry fully. Dry time will vary depending on the wood glue you use.
STEP 4: ATTACH YOUR FABRIC
The final step in this project is to attach your fabric to your frame. Lay the fabric face down on the floor and place your frame over top of it. If done properly, your fabric should be about an inch larger than your frame on all four sides.
Pick your starting point. I decided to start at the bottom of my frame because the buildings on my fabric were the only straight lines so I wanted to make sure those were well placed. Wrap your fabric over the frame onto the back and staple to frame. Make sure the fabric is pulled taut as you go. Next move to the opposite side of your frame. For me this was the top. I started at the center of the fabric and worked my way to either side, stapling every 4-6 inches. Finally I moved to stapling either side.
The corners of the fabric should be folded like a wrapping paper around a present and pulled tight to give a clean and professional finish.
Now you are done! You have yourself a DIY extra large canvas custom made!

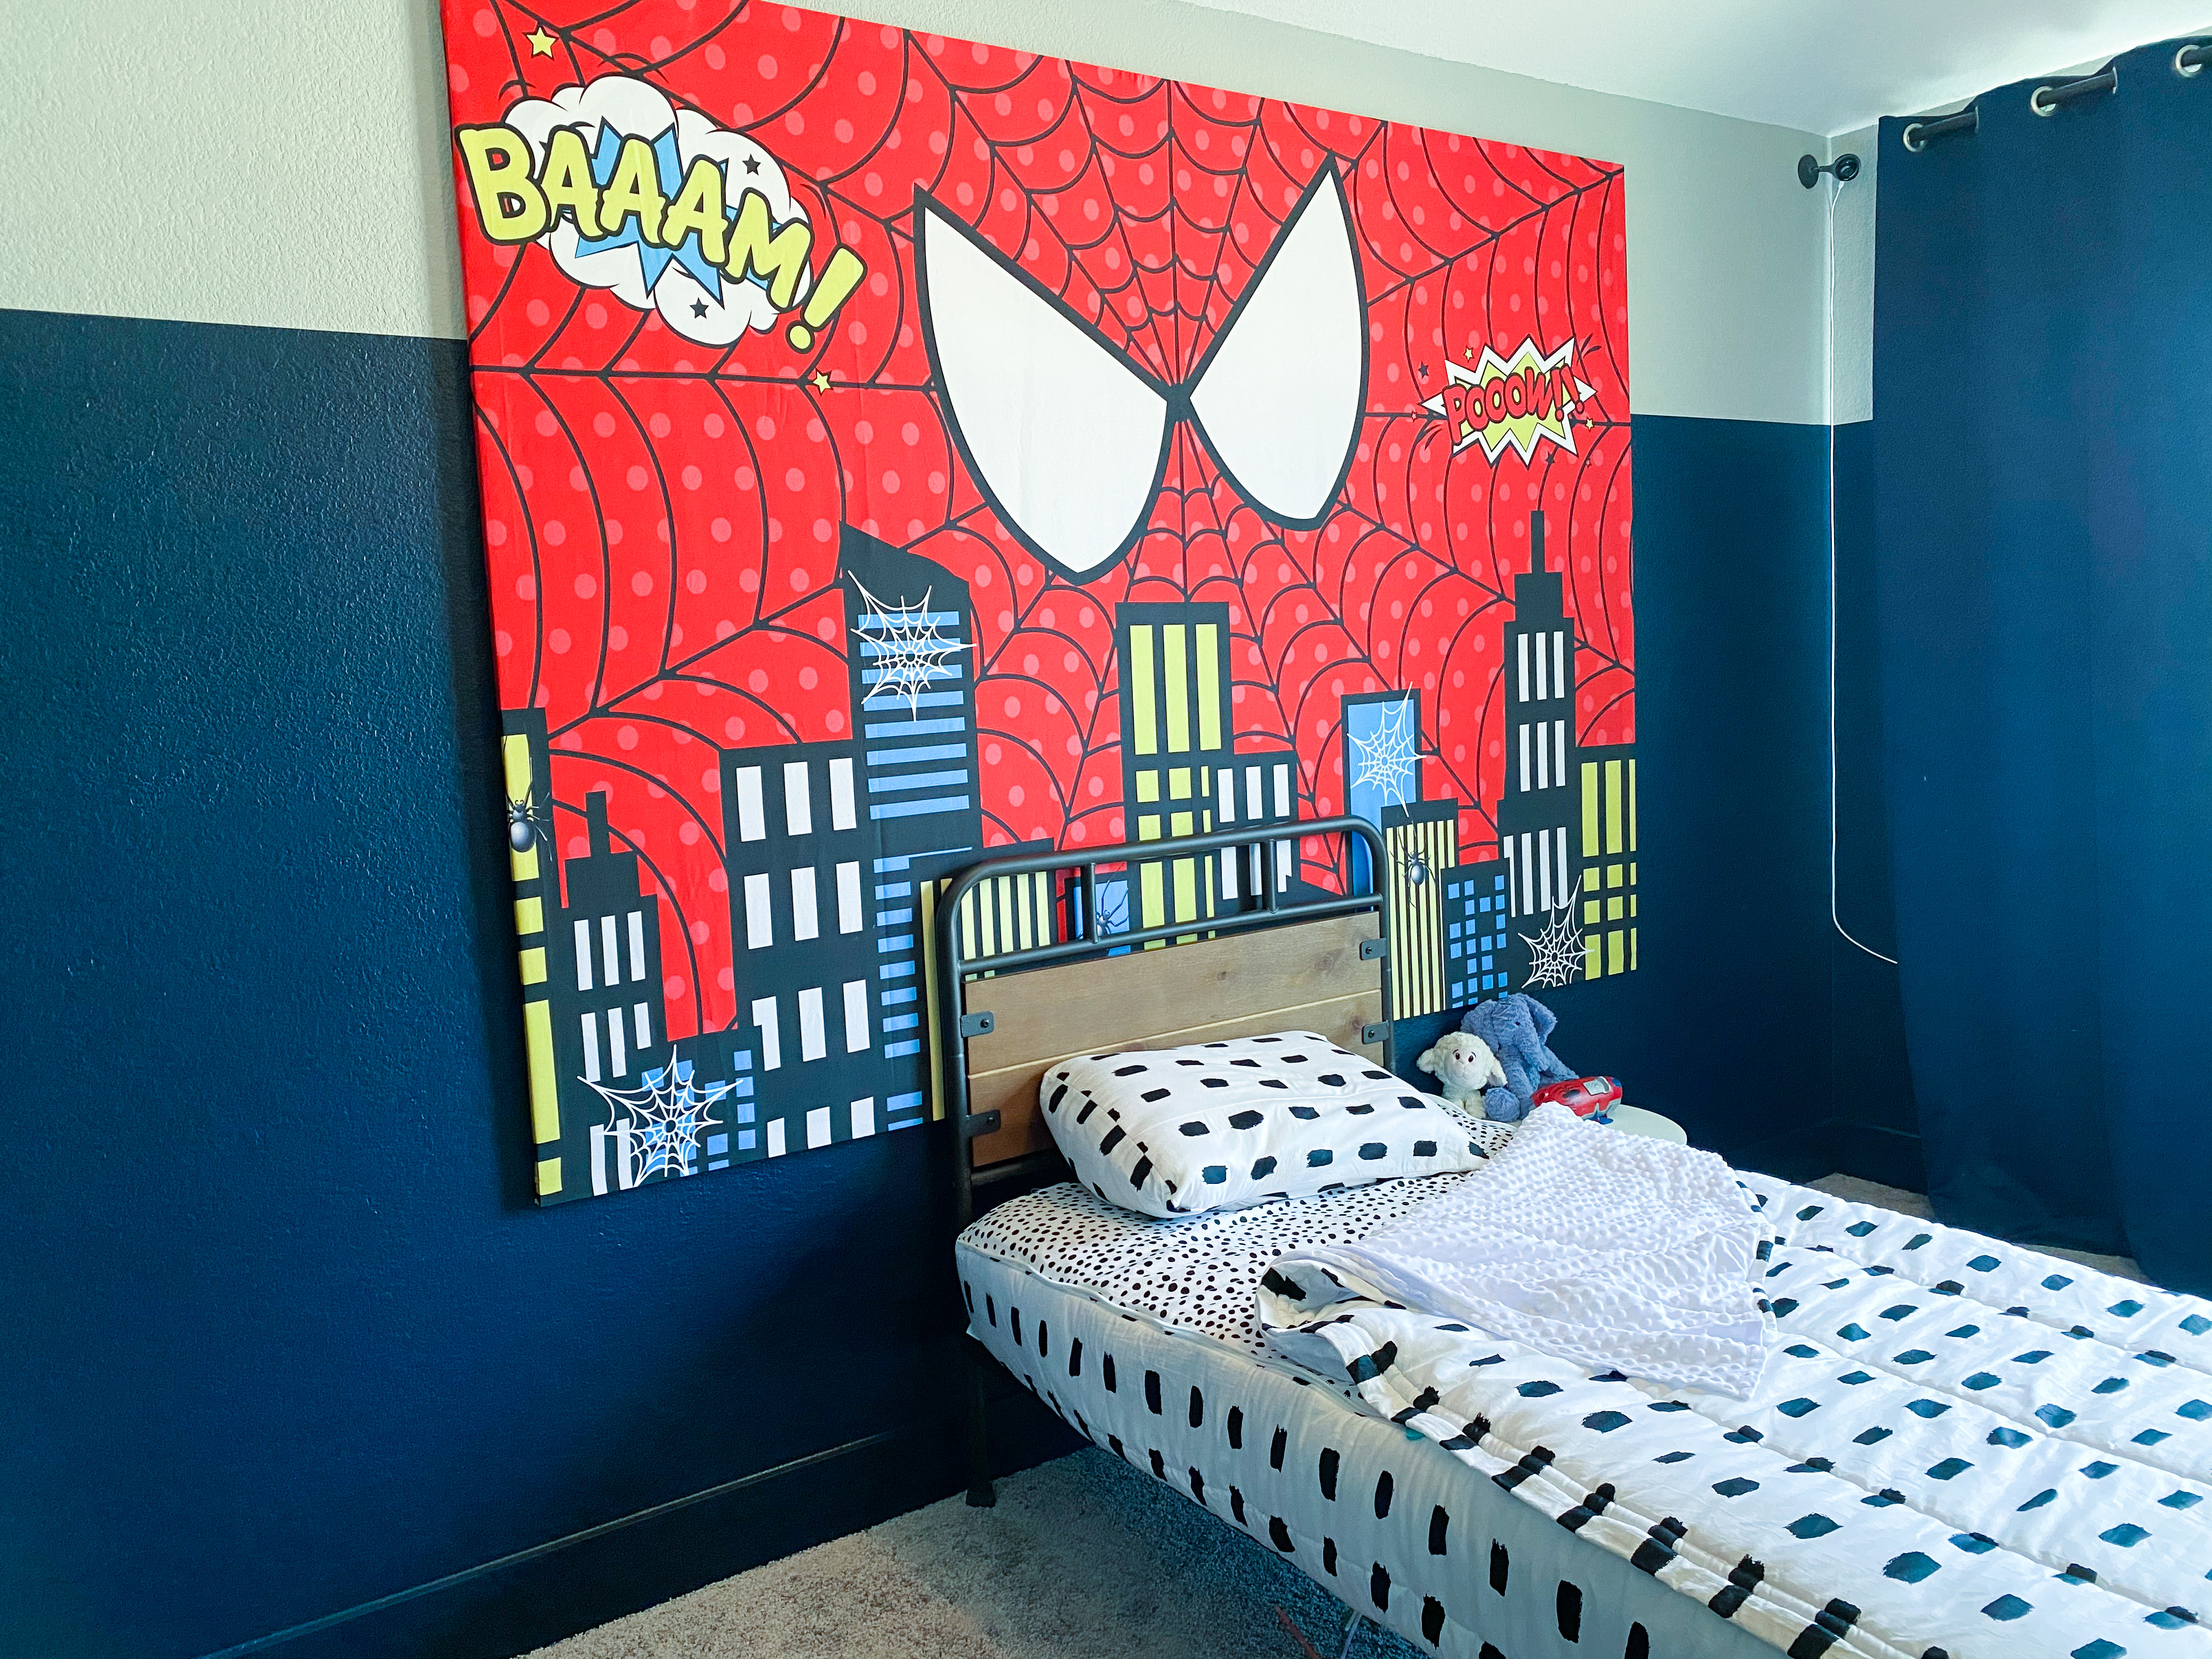
You can really do this with anything, even a fabric shower curtain (which I may or may not be doing in the near future). It was so simple and can be customized to fit exactly what you’re looking for. Large canvas art (not even half the size of what we just made) can easily go for $500 or more and we created this custom piece of art for less than $40!
Thank you for reading! Leave a comment if you have any feedback or questions. Don’t forget to follow us on instagram and YouTube as well!
Find us on social HERE!


