


Easy DIY Photo Mat


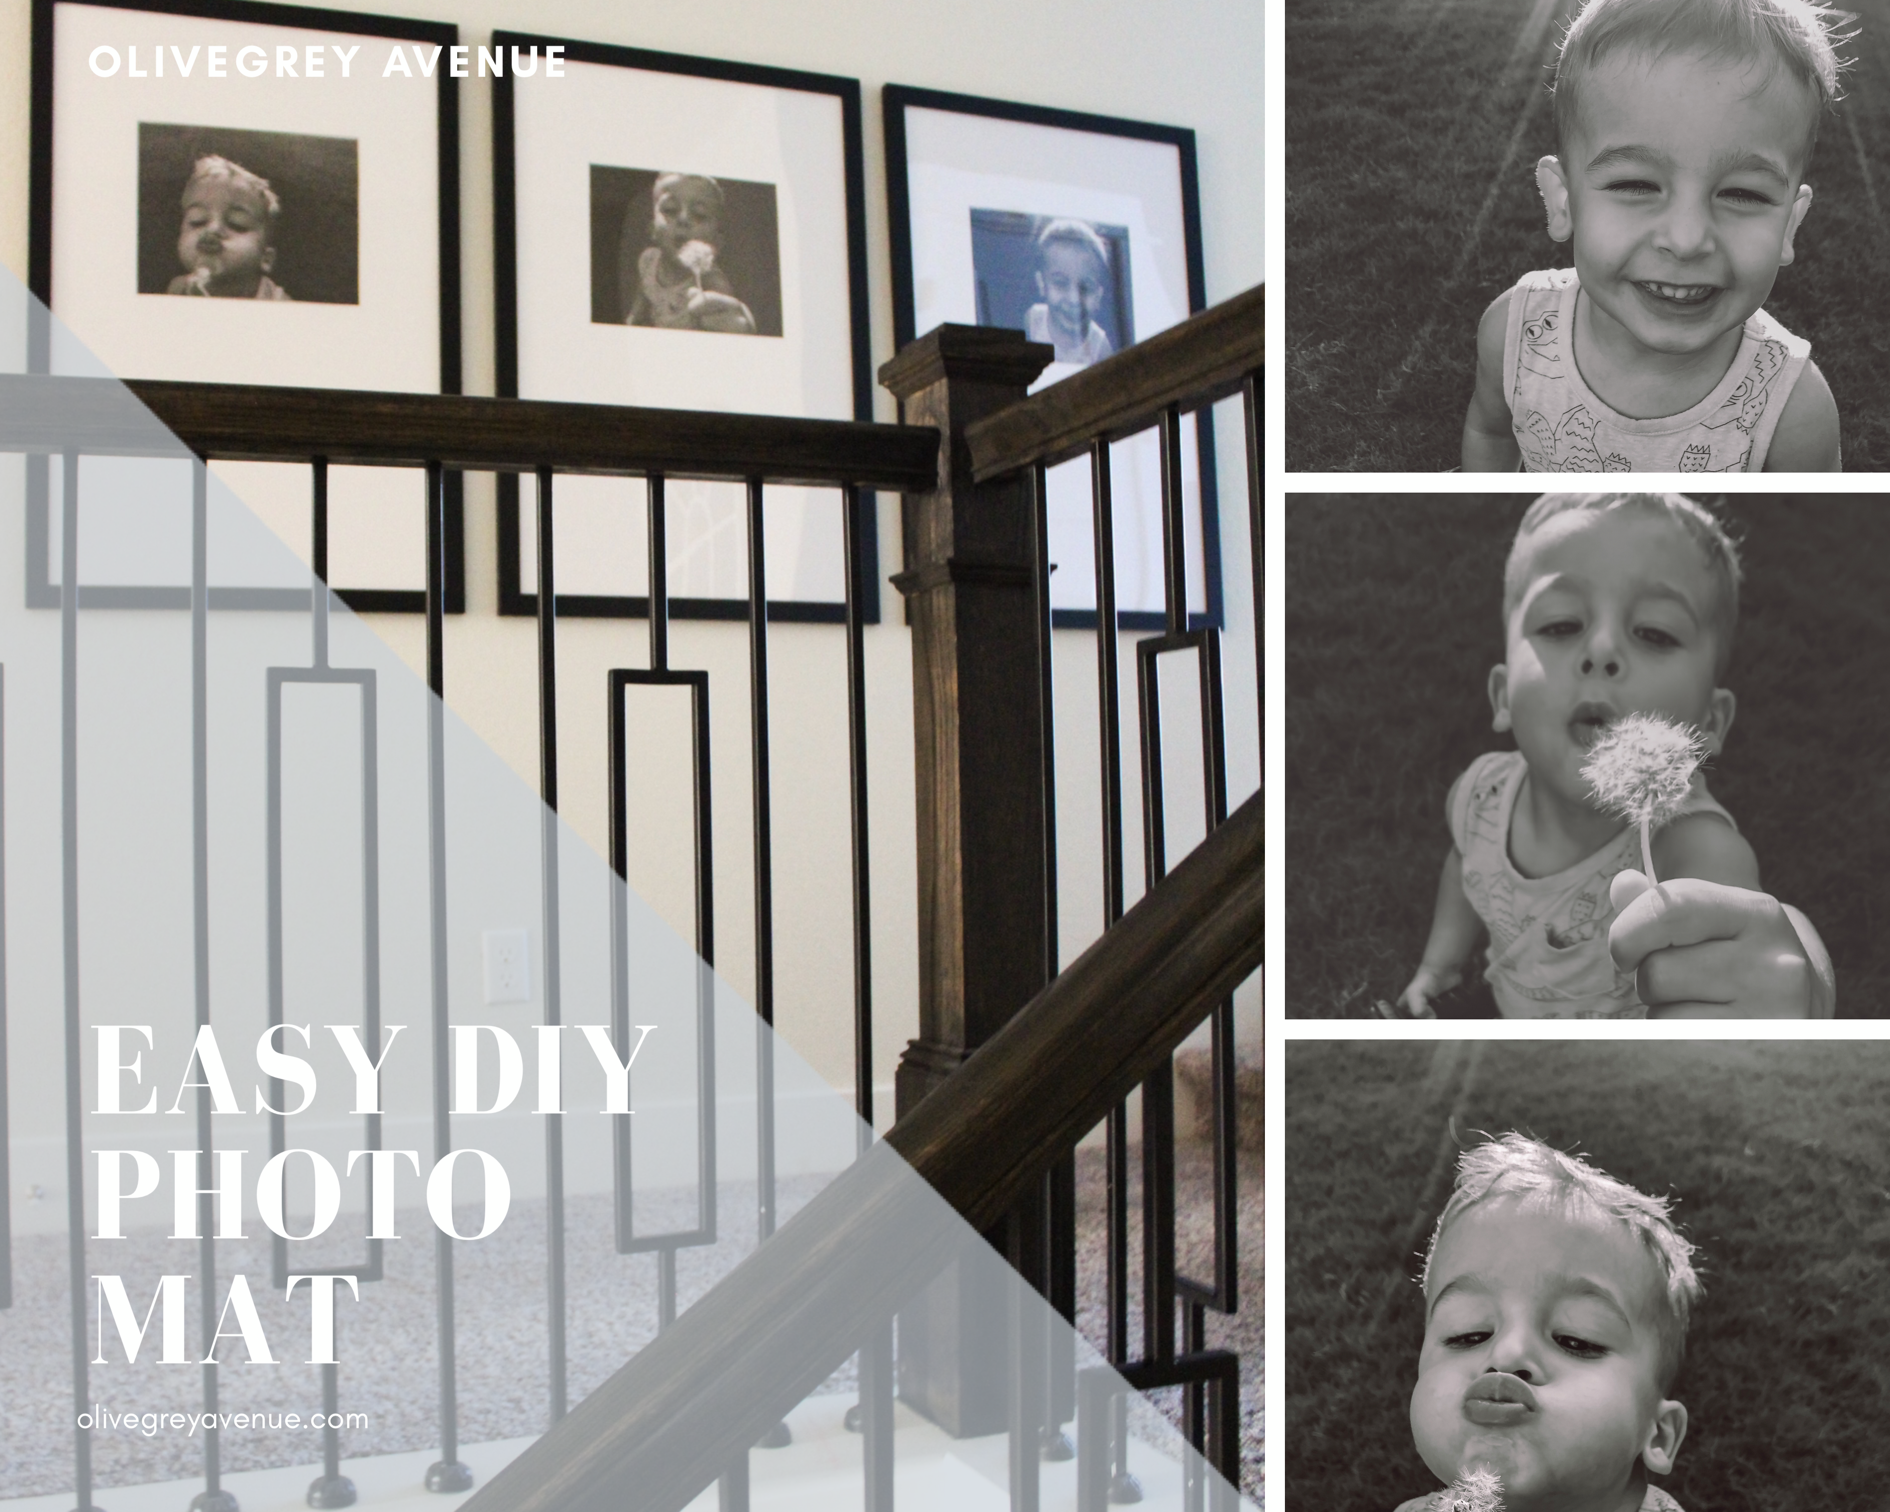
After my last project, the Raised Garden Beds, I was ready for an easy one. So, the stars aligned and I was finally able to complete this photo mat project. I’ve loved the look of the bottom-weighted photo mat for a few years. I have never been able to find one in production until recently. I found a beautiful set of 3 frames that were exactly what I was looking for on frambridge.com but for $450 which is way out of my budget for this project. So, I started looking up some way to diy the photo mats which lead me to Ashley’s tutorial from Bigger than the three of us on cutting your own photo mat. It was exactly what I was looking for so I went to her sourced materials and actually found them for an even better deal than I was expecting.
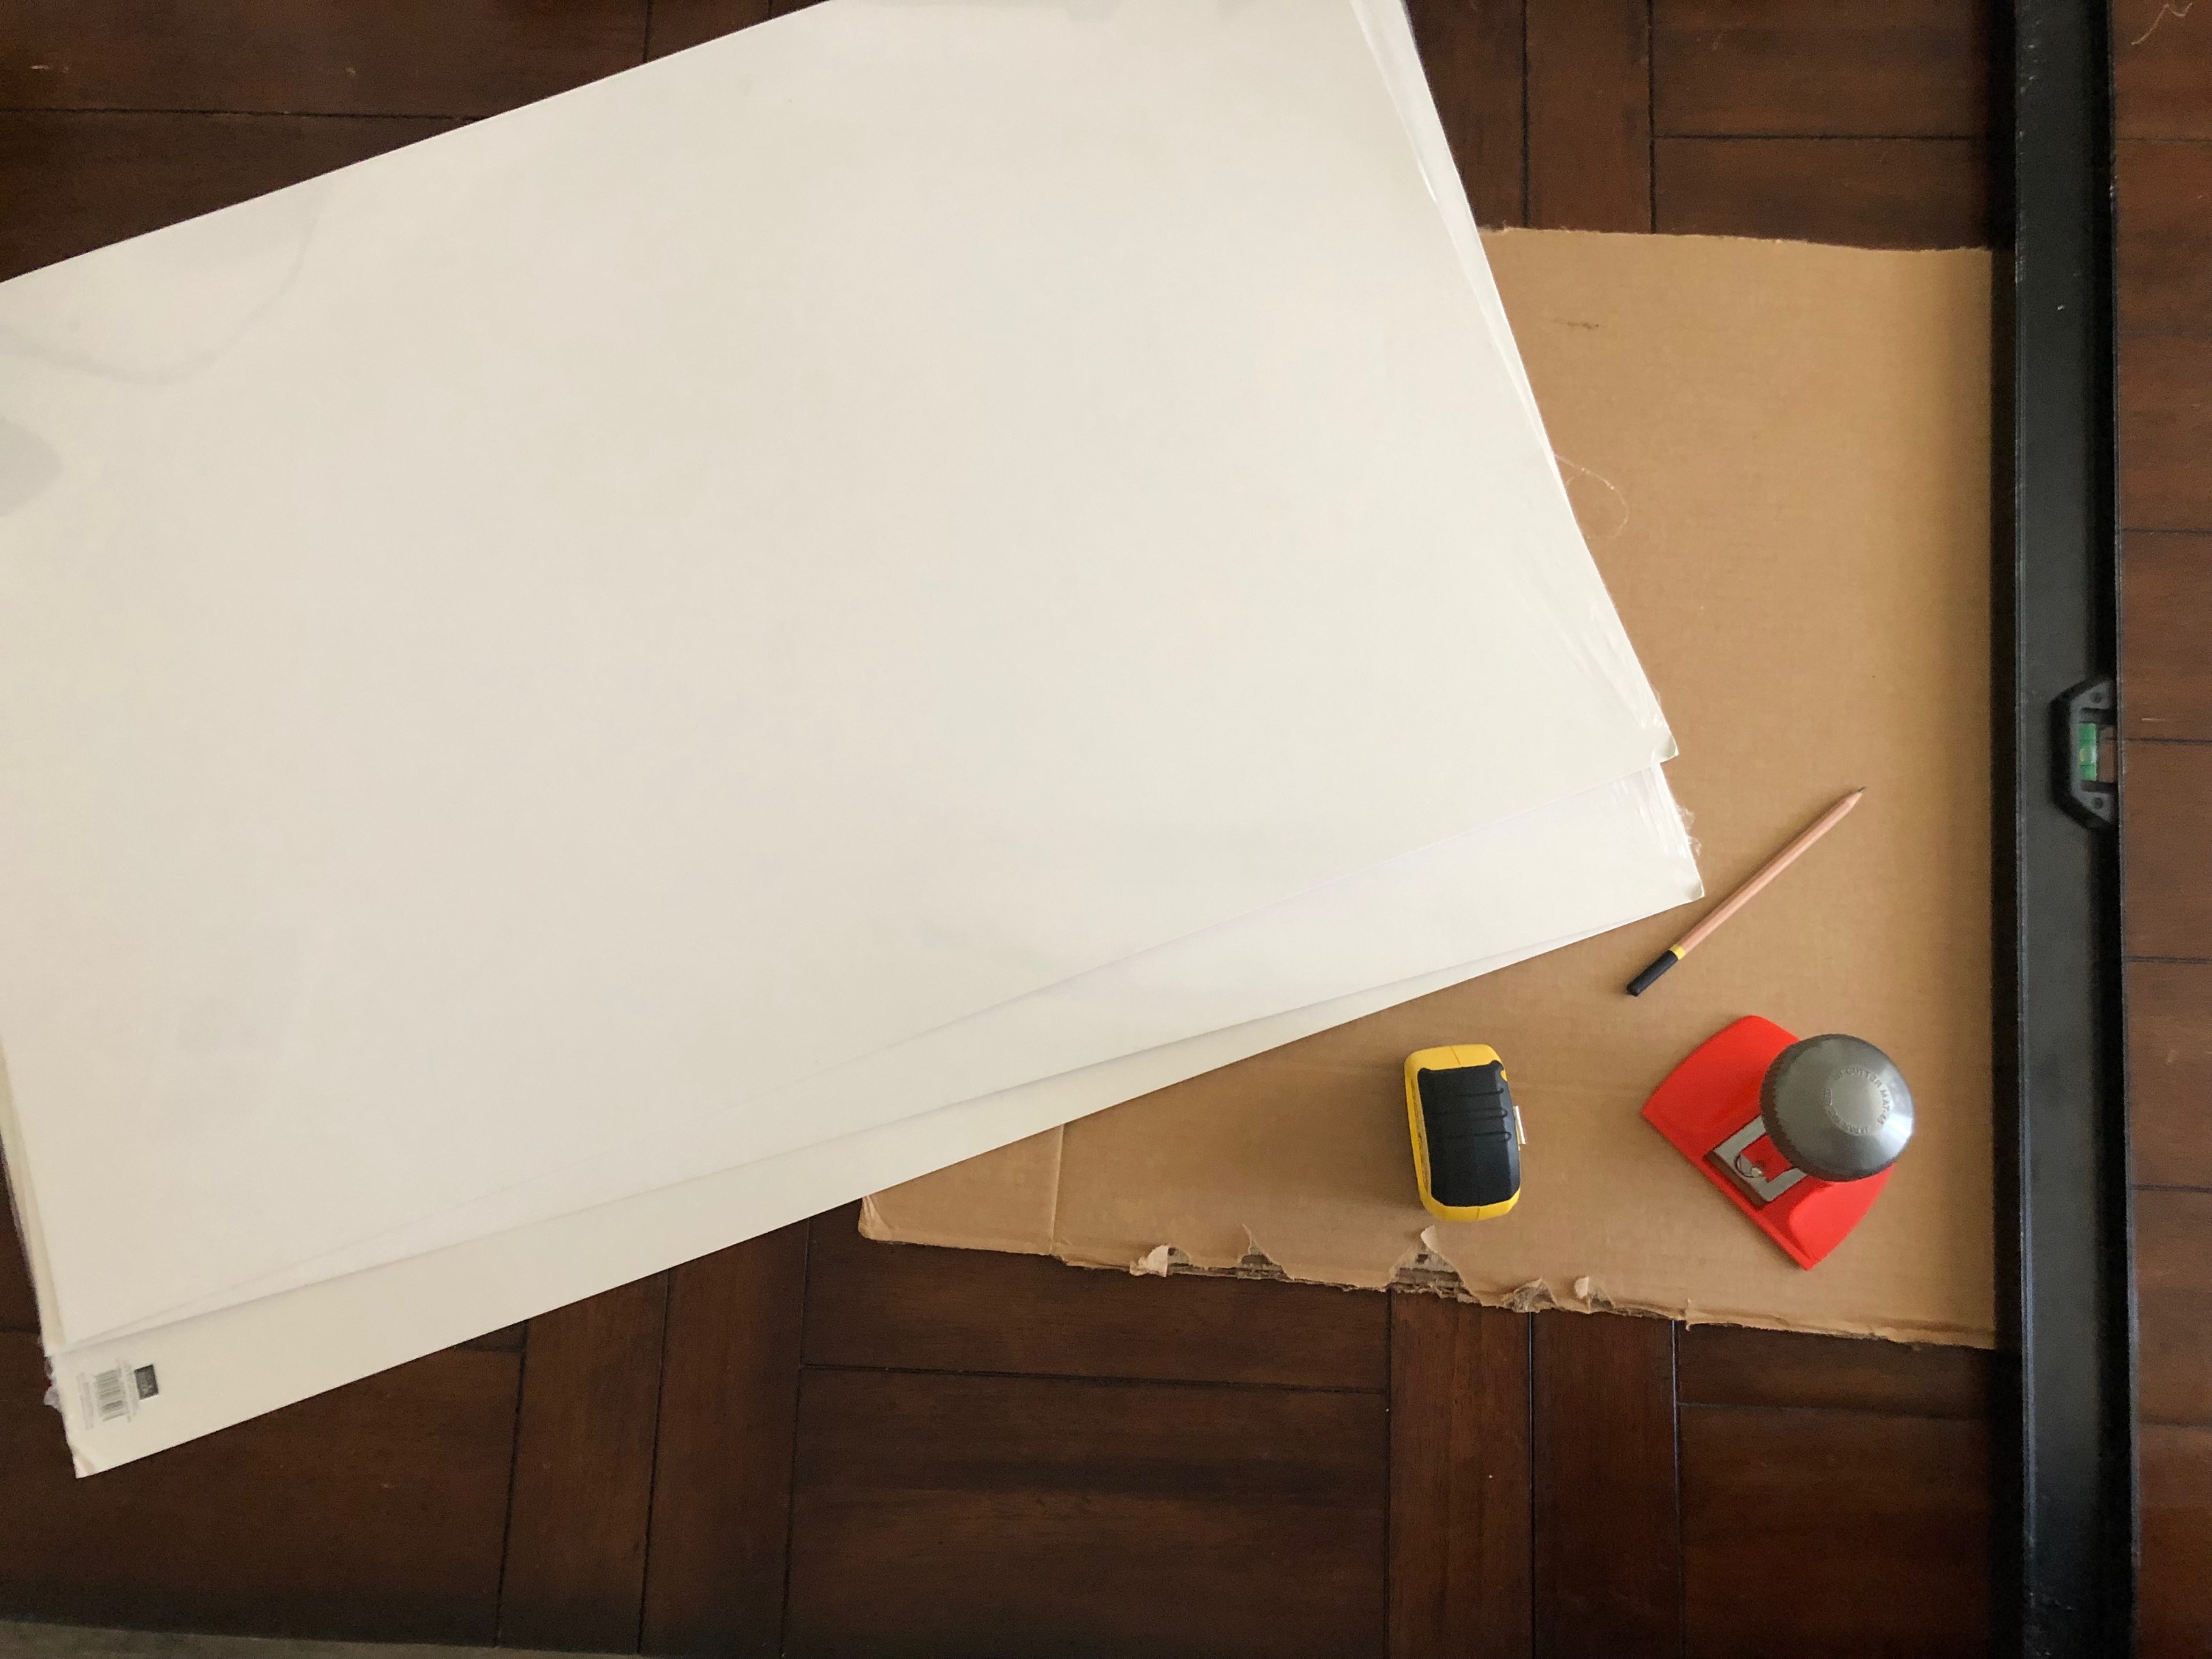
SUPPLIES
– (3) 24×36 black frames
*originally $49.99, on sale for buy 1 get 2 free
– (3) 24×36 Uncut Mat board
*I ended up buying 4 because the first one I cut didn’t turn out so well
– (3) 11″x14 photo prints from Office Depot
– long straight edge (I used my big level)
– pencil & eraser
– measuring tape
TOTAL COST: $108.74
TIME: Less than an hour
SKILL LEVEL: Beginner
I have a confession. I don’t read instructions. So, even though I did follow Ashley’s tutorial, I’ll admit that I didn’t make it much further than her list of materials. Hopefully you can make it further than I did with the instructions so you can avoid the mistakes I made.
1. FITTING & MEASURING
The first mistake I made was early on. I assumed that by buying frames that are 24 x 36 and uncut mats that are 24 x 36, they would just magically fit together; that was not the case. I already had cut 2 of the 3 mats before I realized this.
My first step for you (so that you may be better than me) is to ensure the fit of the mat into the frame. What I did was take out the sample paper that comes with the frame, lay it on the uncut mat and mark how much to cut off.
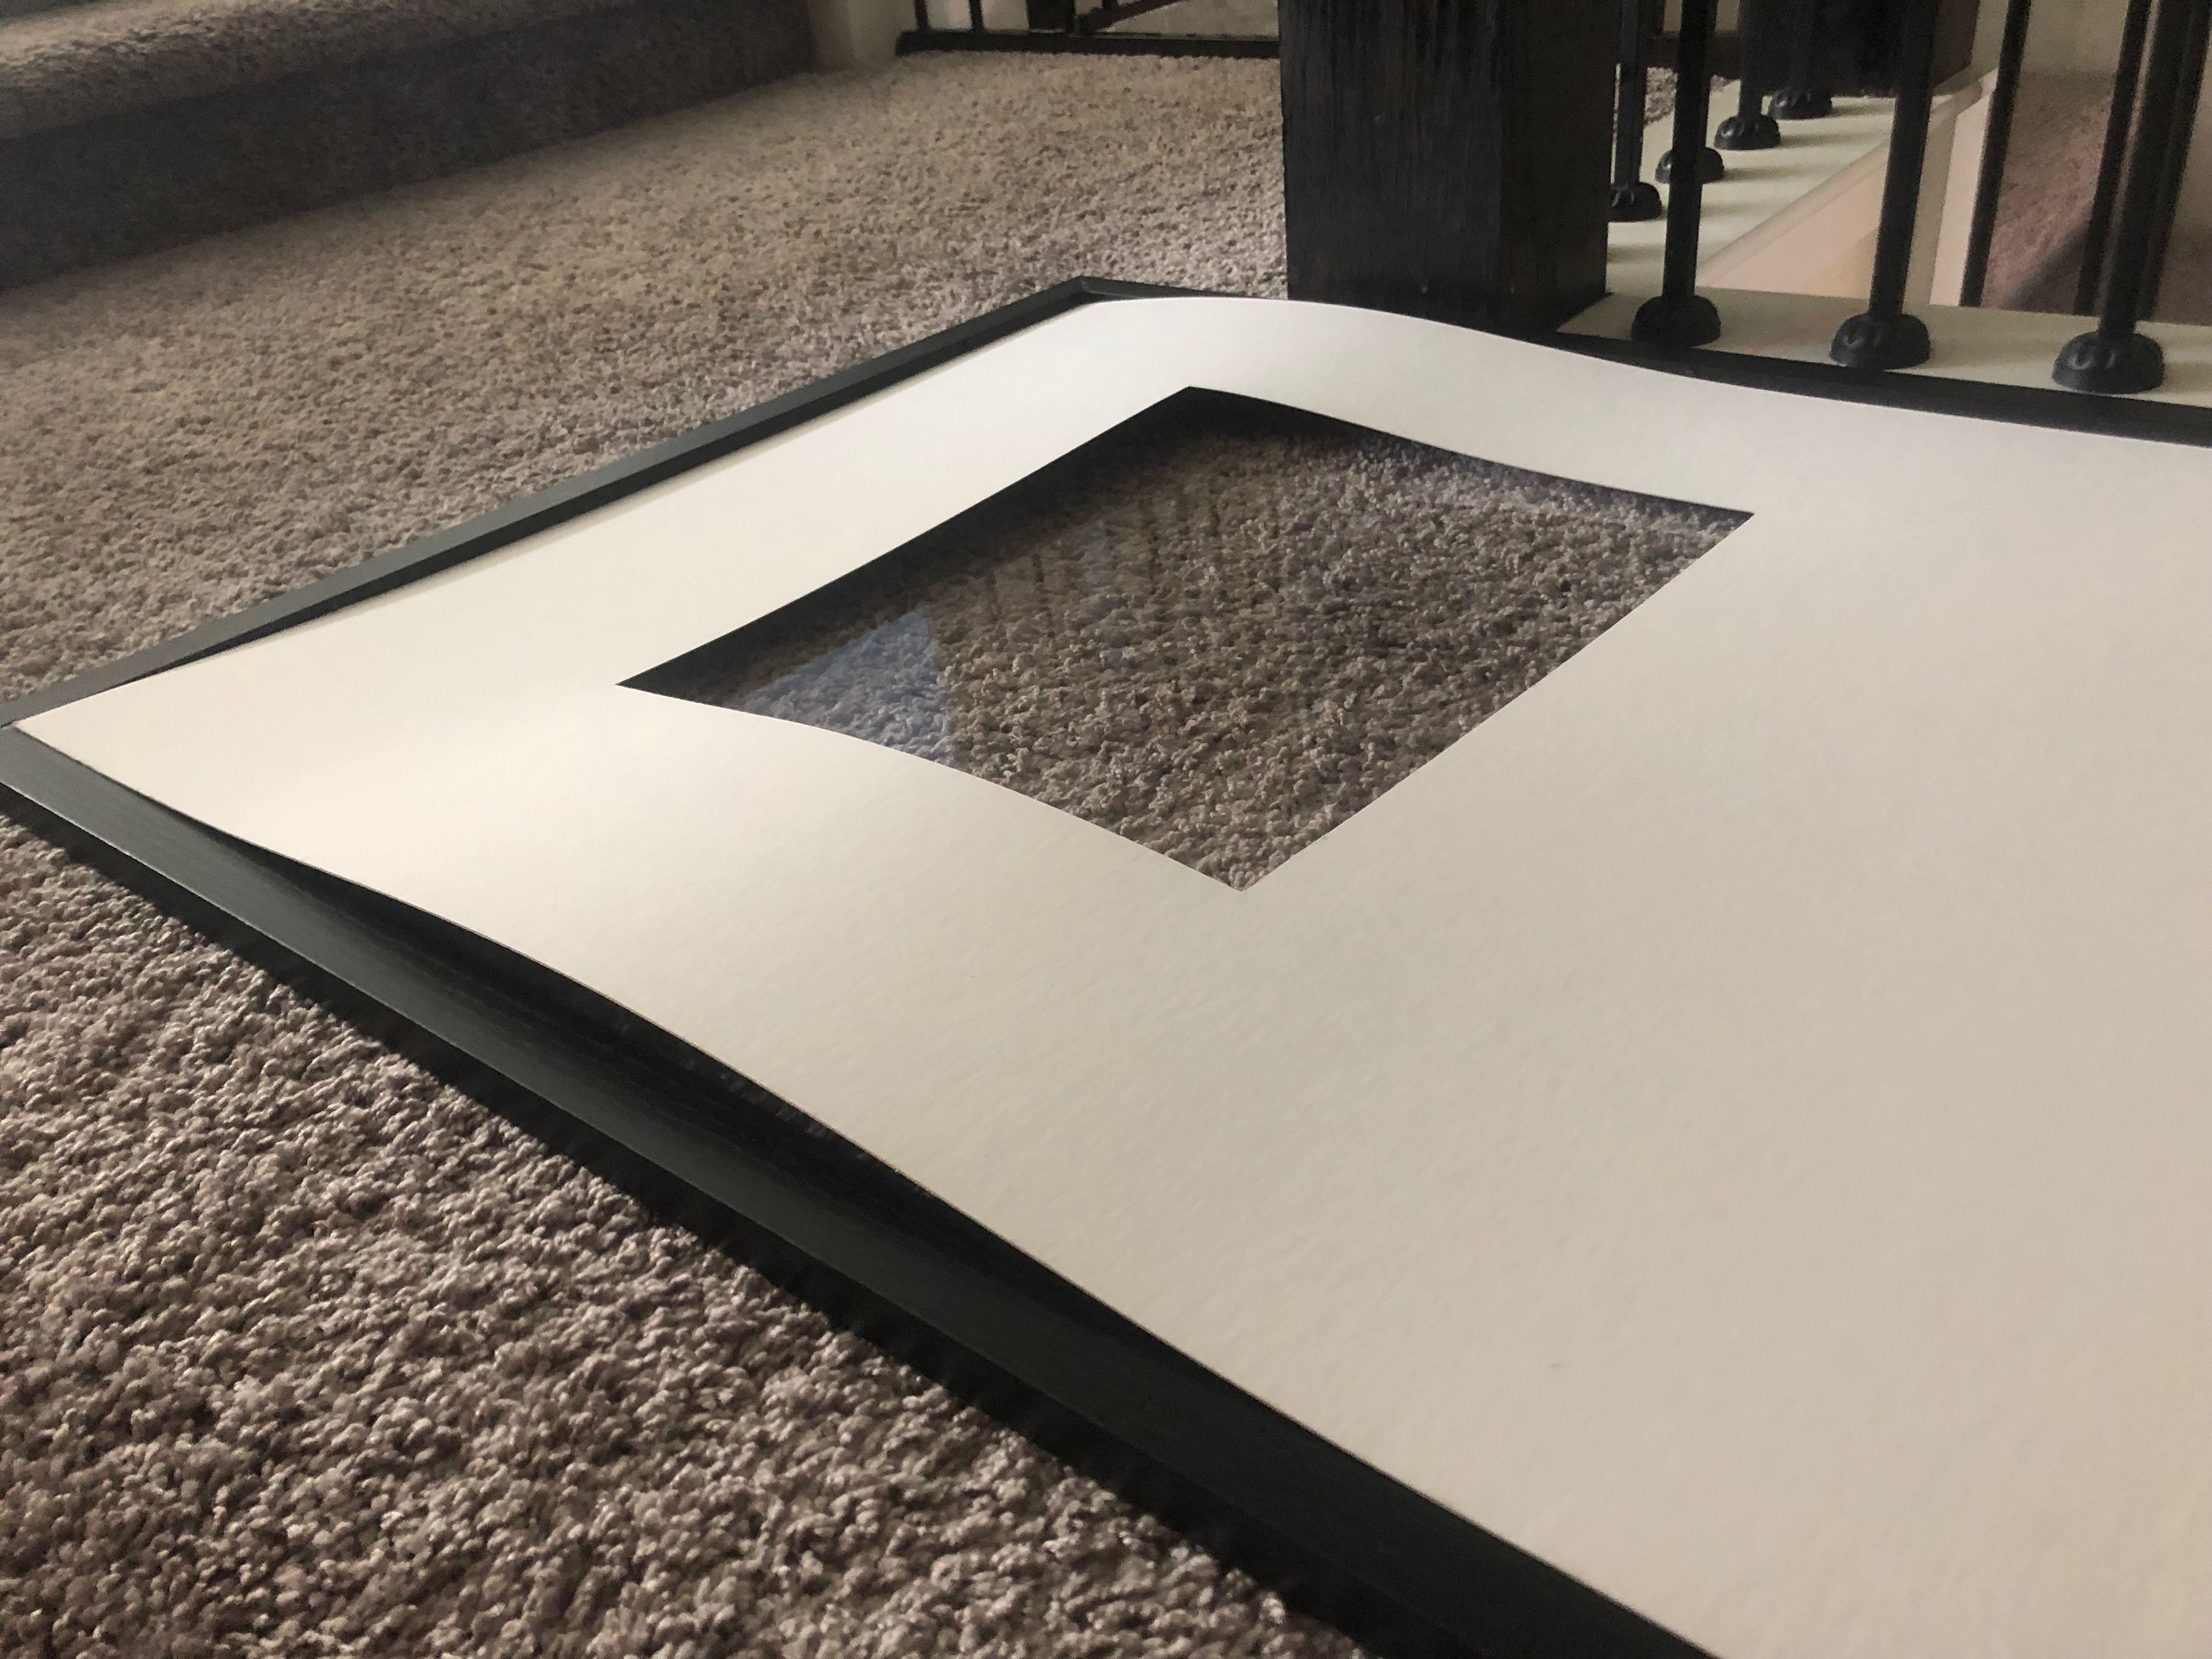
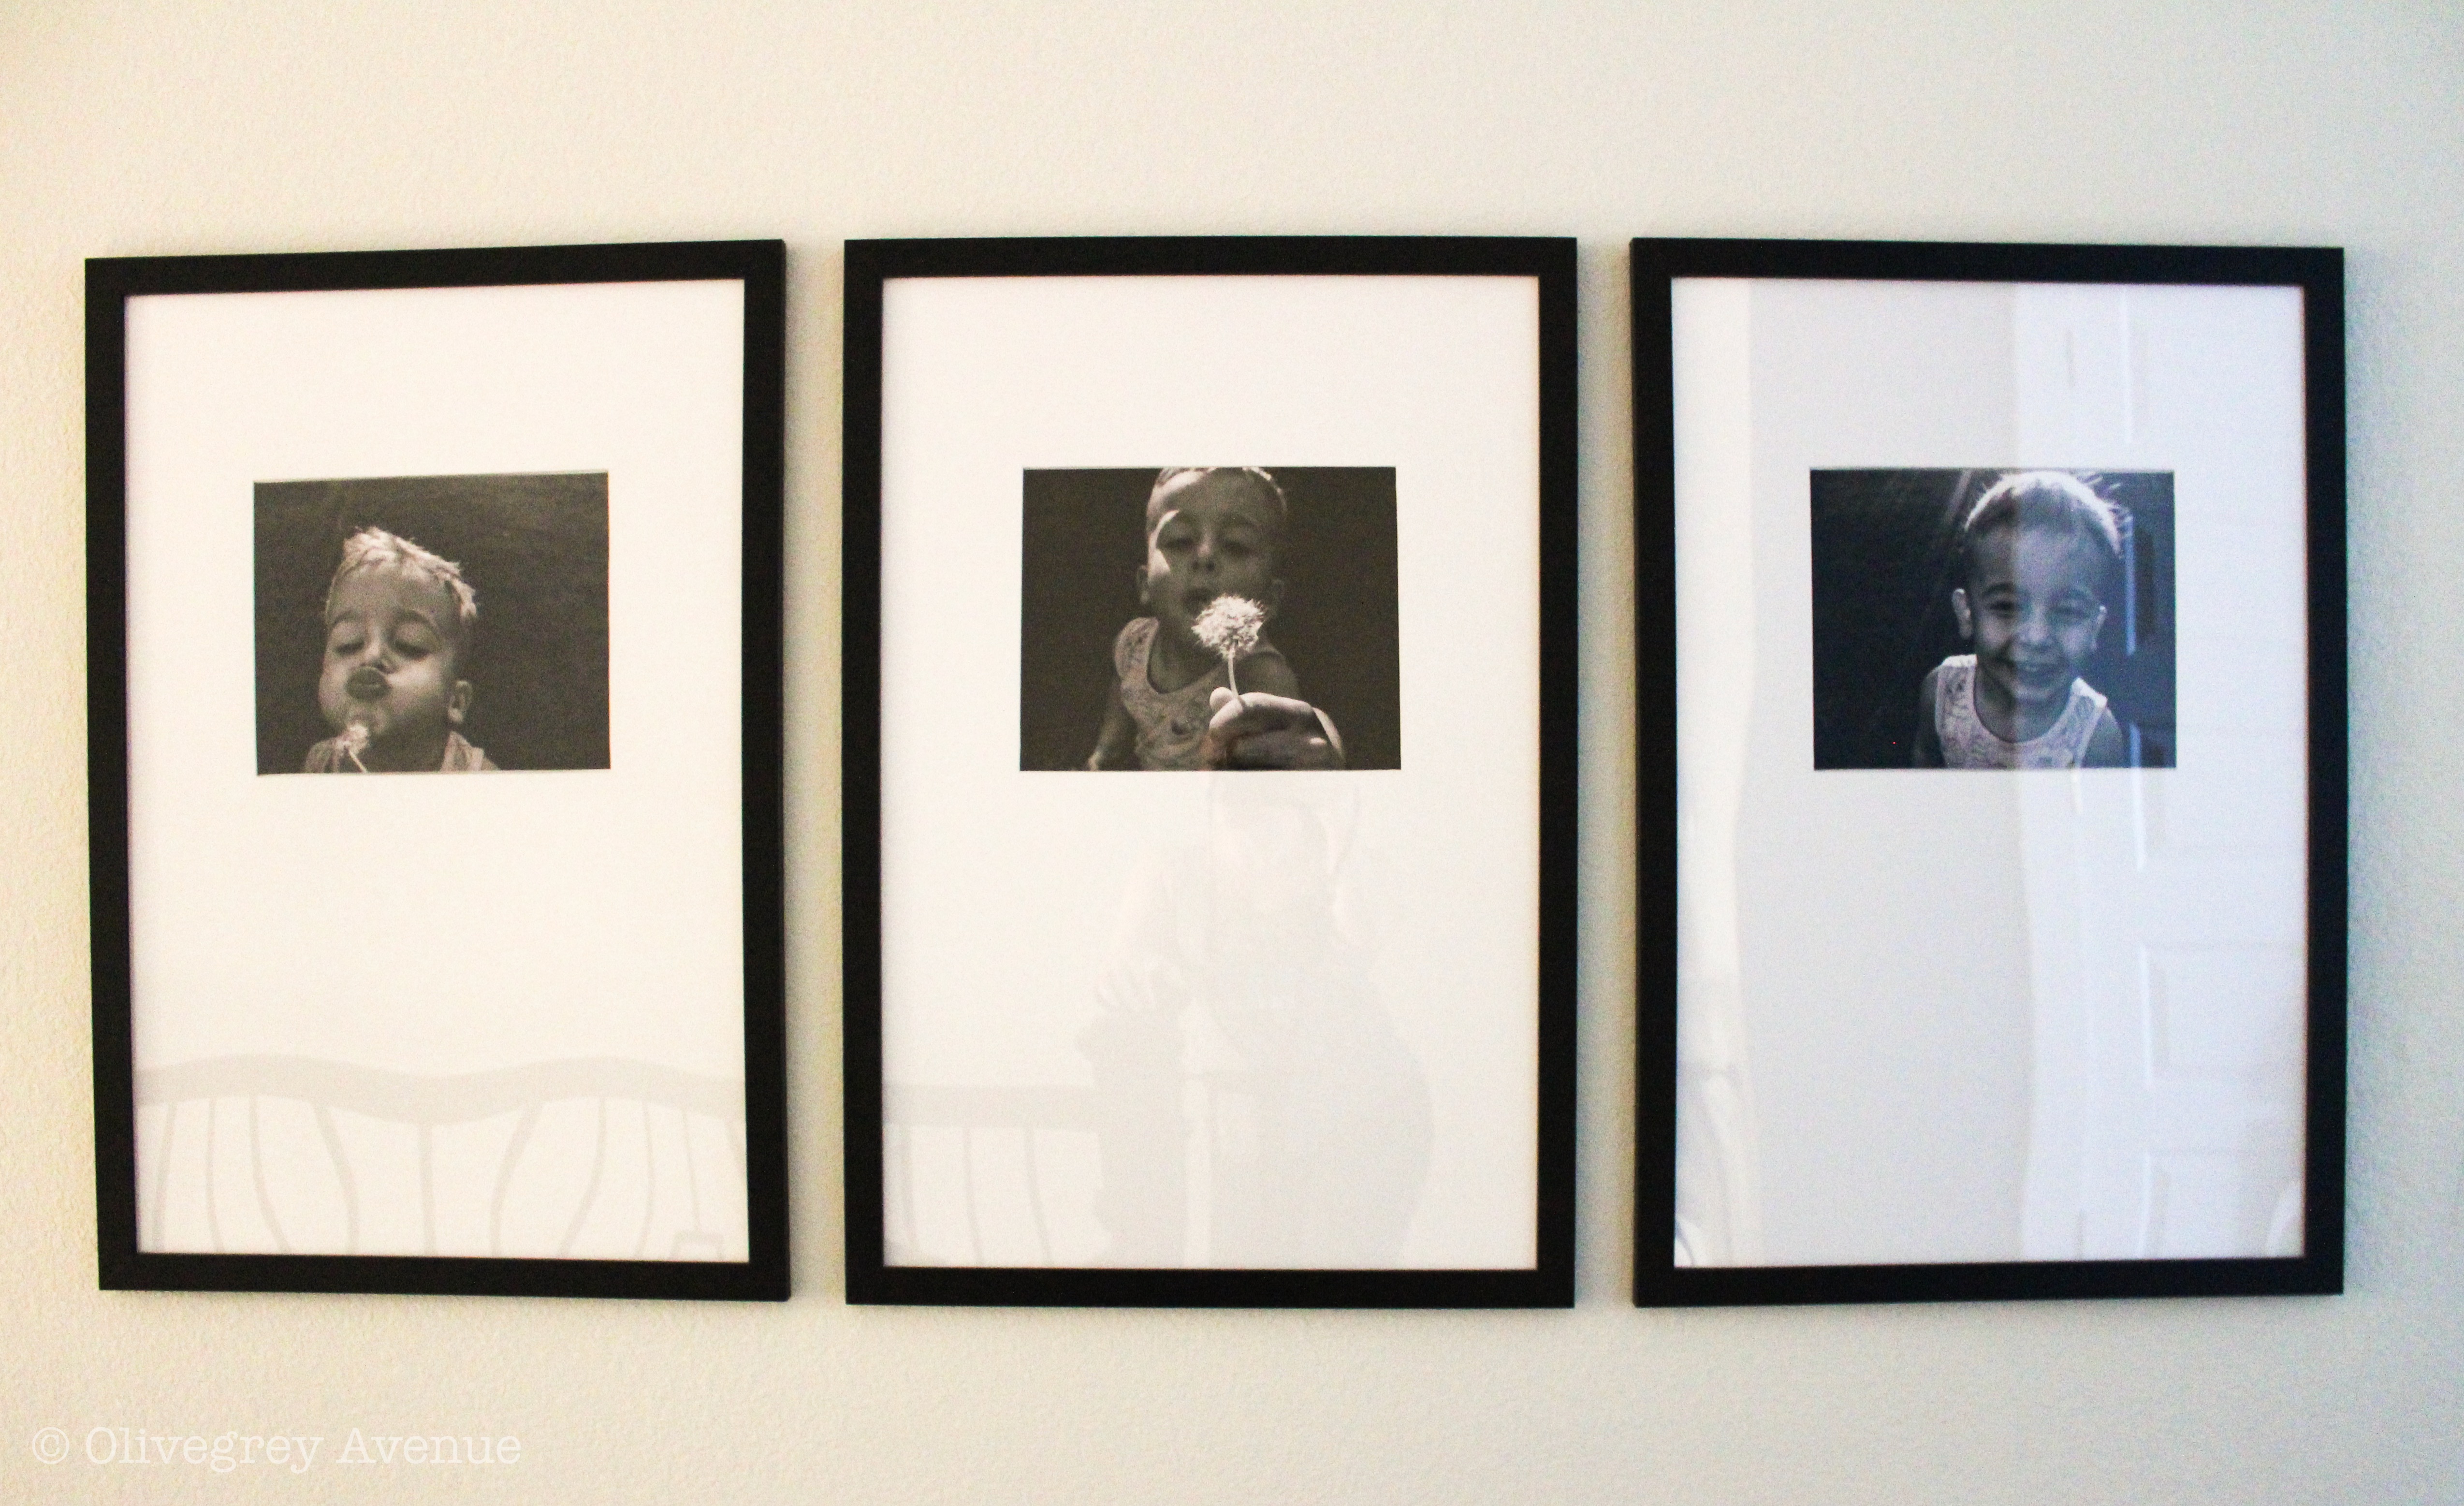
Once you make sure the mat is the right size, then you can measure out where and how big you want your picture. I used an 11 x 14 sized picture and I wanted the mat to be bottom-weighted. If you aren’t familiar with that term, it simply means that the picture is not centered in the frame but that there is more mat on the bottom than the top.
To measure the cut out for the photo, I measured 7″ down from the top of the mat to start the cut. Then, since the mat was about 24″ wide and my photo is 14″ wide, I measured 5.25″ from each side, leaving about a 10.5″ opening.
The next mistake I made was measuring the height of the picture. Since I was measuring the sides “over” the size, I did the same for the height and measured the opening to be 11.15″ instead of what my intention was which should have been 10.75″. Cutting the opening for the picture smaller ensures that the mat covers all edges of the photo. So, I ended up having a small amount of space left on the top and bottom of the picture. It’s really hardly noticeable, but I will probably go back eventually and re-do all the mats to make sure the pictures fit perfectly.
2. CUTTING
I actually trimmed the sides of the mats and cut the center with the angled mat cutter. My utility knife wasn’t sharp enough so I just used the mat cutter and it worked just perfectly.
When you begin cutting the center opening, make sure that the blade faces in, toward where the picture will sit so that you get the beautiful bevel you want. I drew out my straight line, then lined up my level to run the mat cutter along for a super straight line.
Make sure that when you’re cutting the corners of the opening, go just a little further than you think you should, like 1/16″-1/8″ over so that you get a nice crisp edge without little paper ‘boogers’.
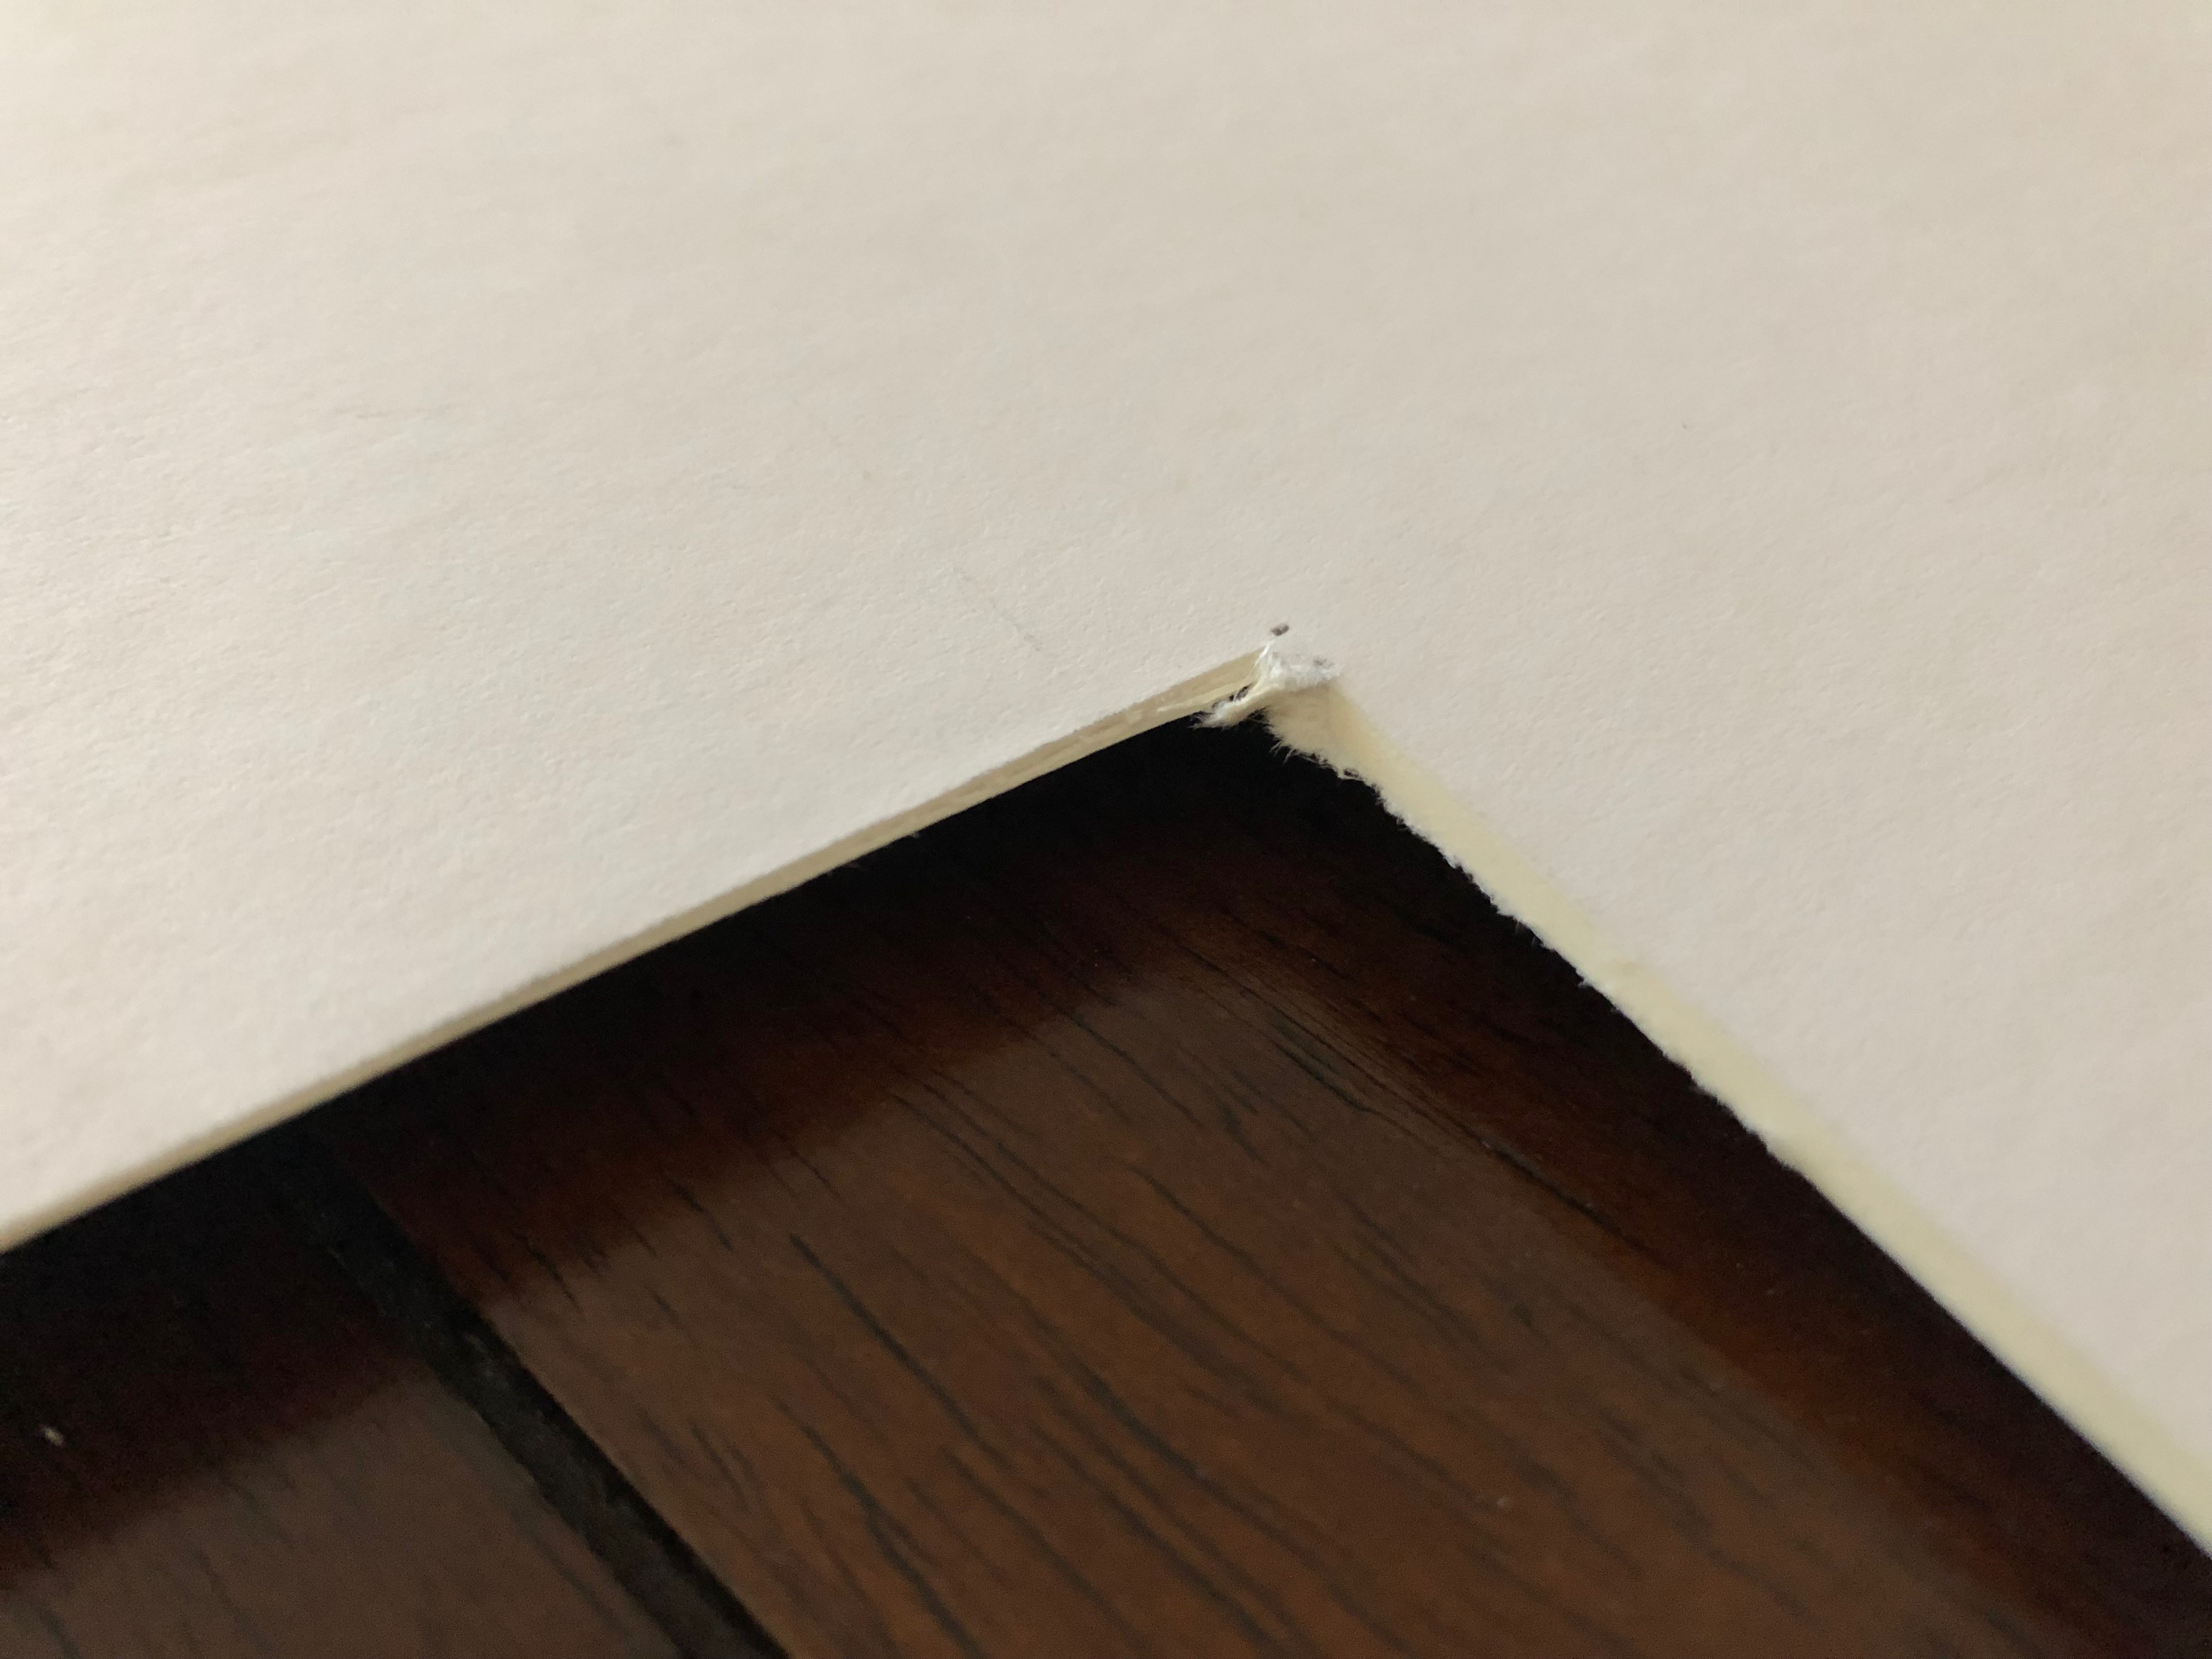
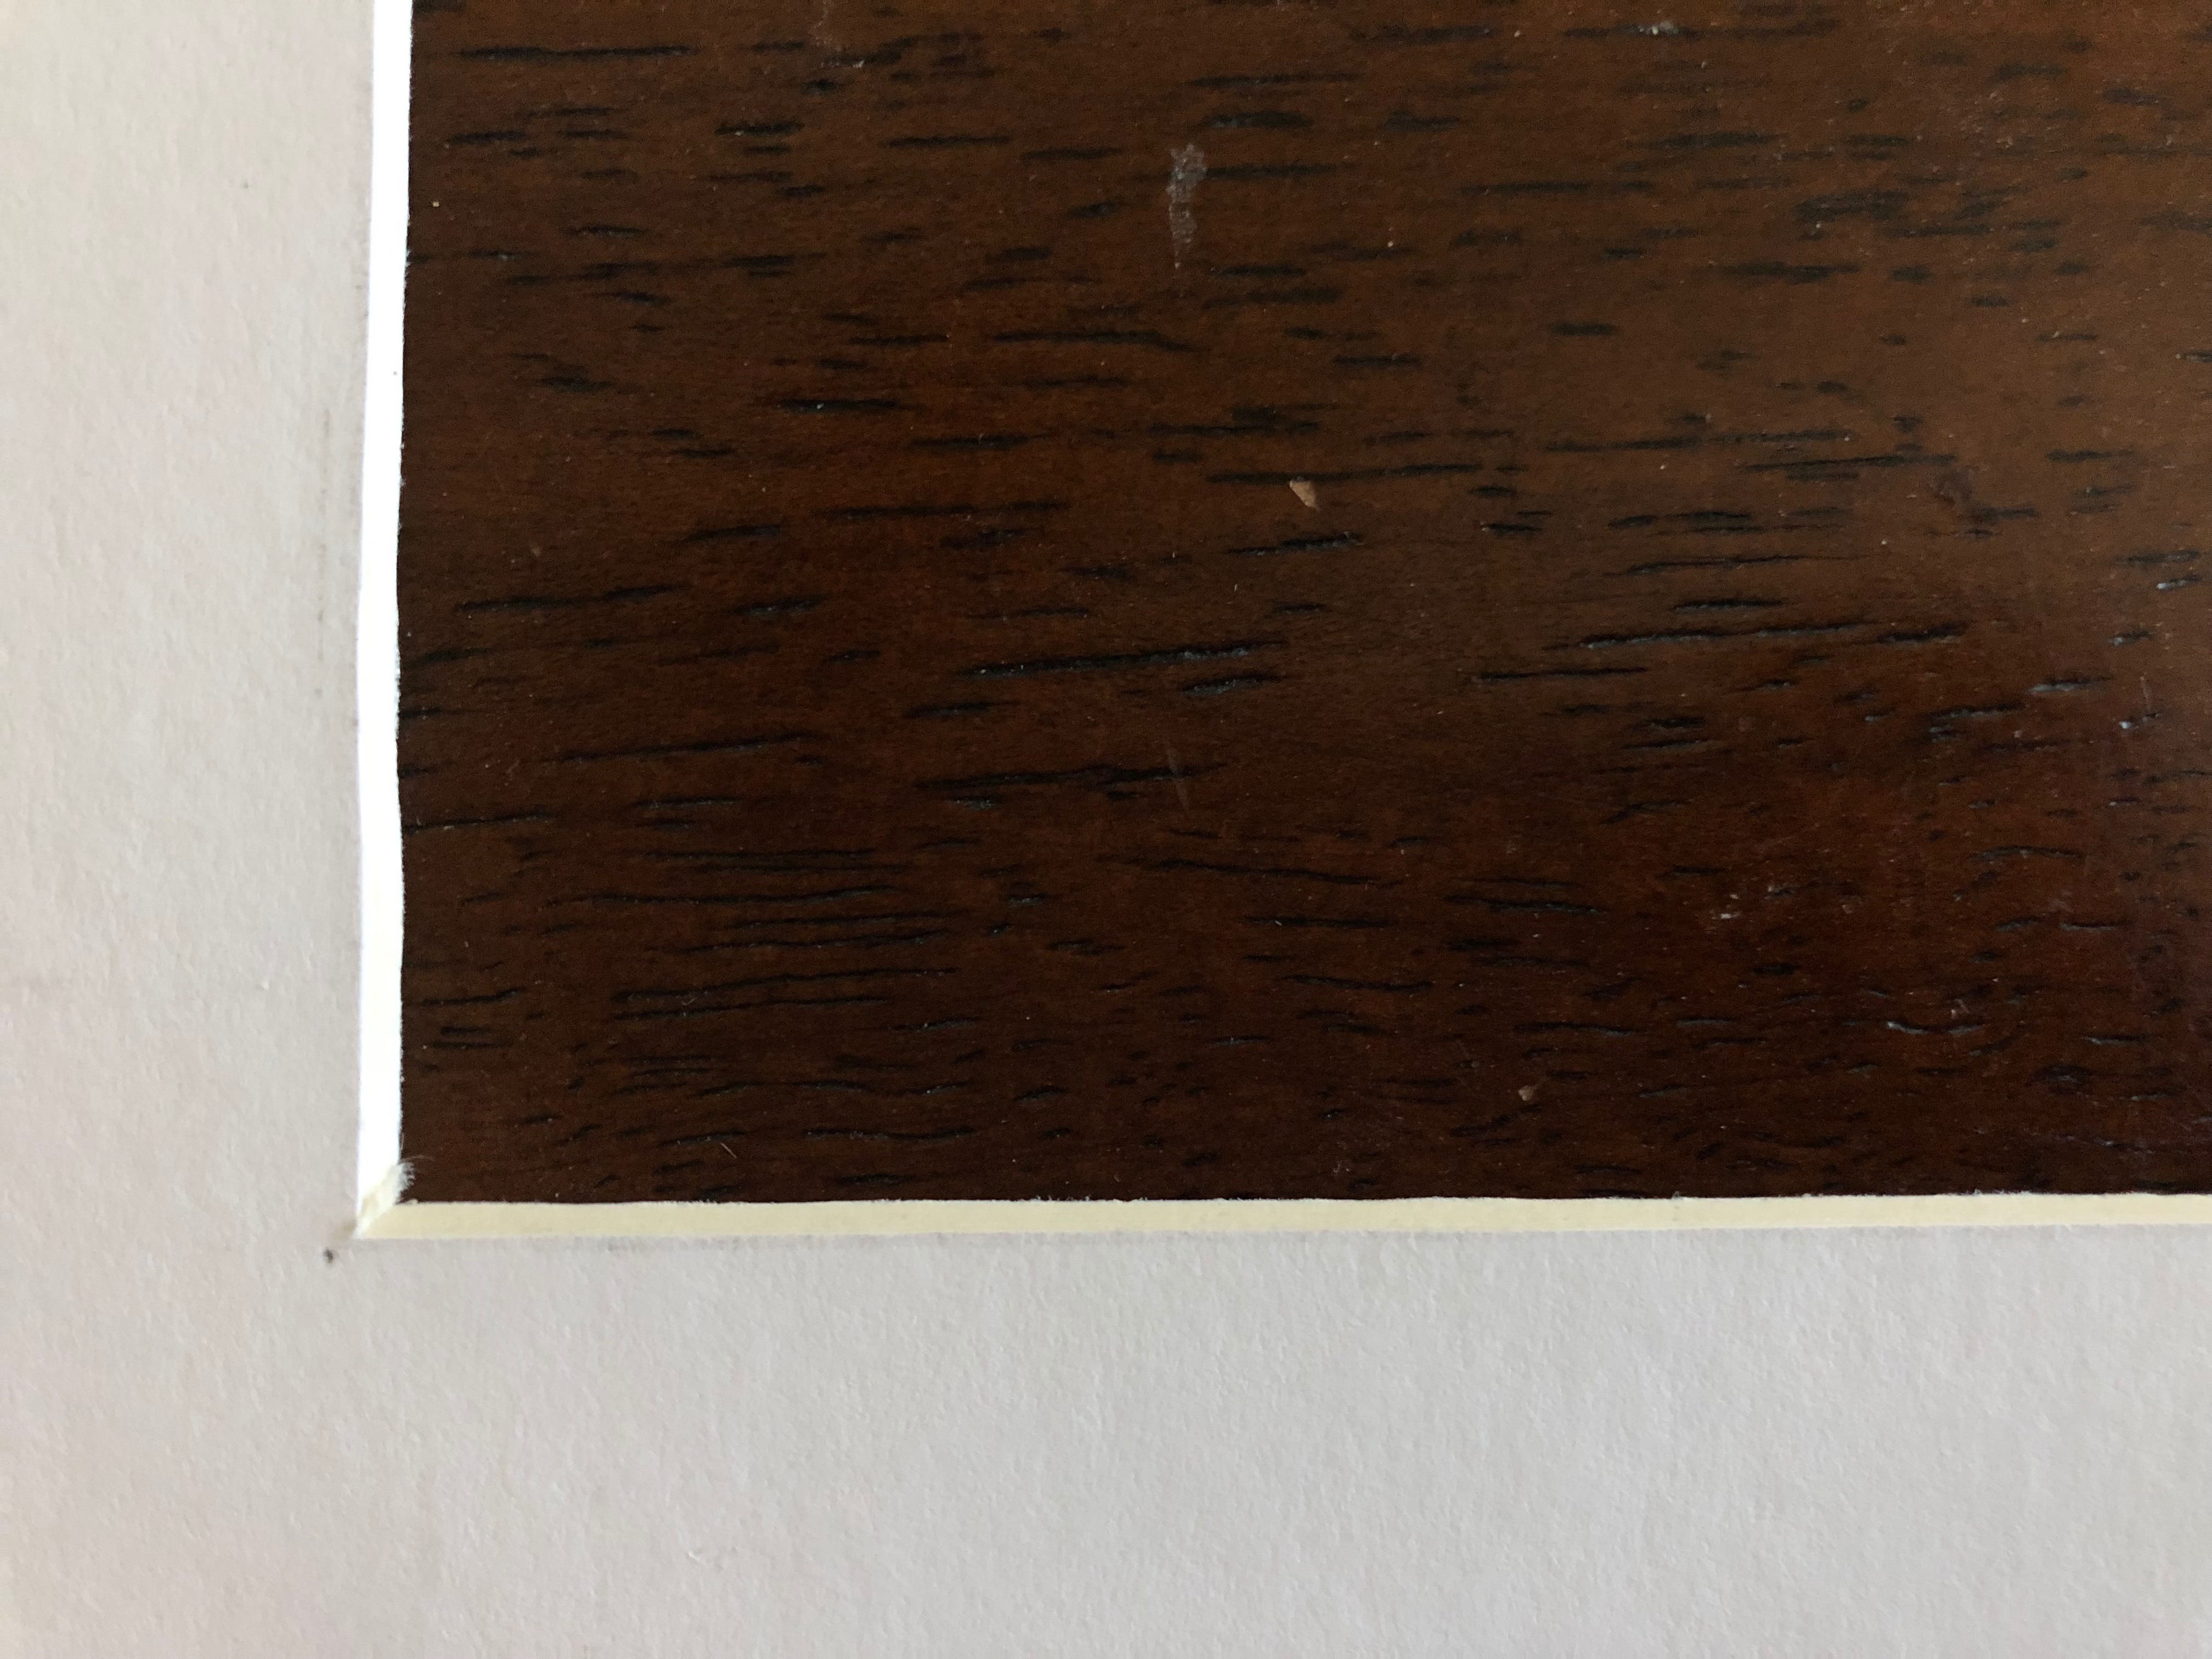
First picture: paper booger, Second: no booger!
3. ASSEMBLE
Put the picture in the opening, close up the frames and you’re done! See wasn’t that easy!
Next week I’ll be finishing the Raised Garden Beds. So, I can FINALLY share the final product with you (if all goes according to plan). Well wish me luck and keep an eye out for part 2 of the raised garden beds!
Follow along with the progress of all my projects on instagram @olivegreyavenue.
You can find us on social HERE!


