Semi-Custom Office Shelves
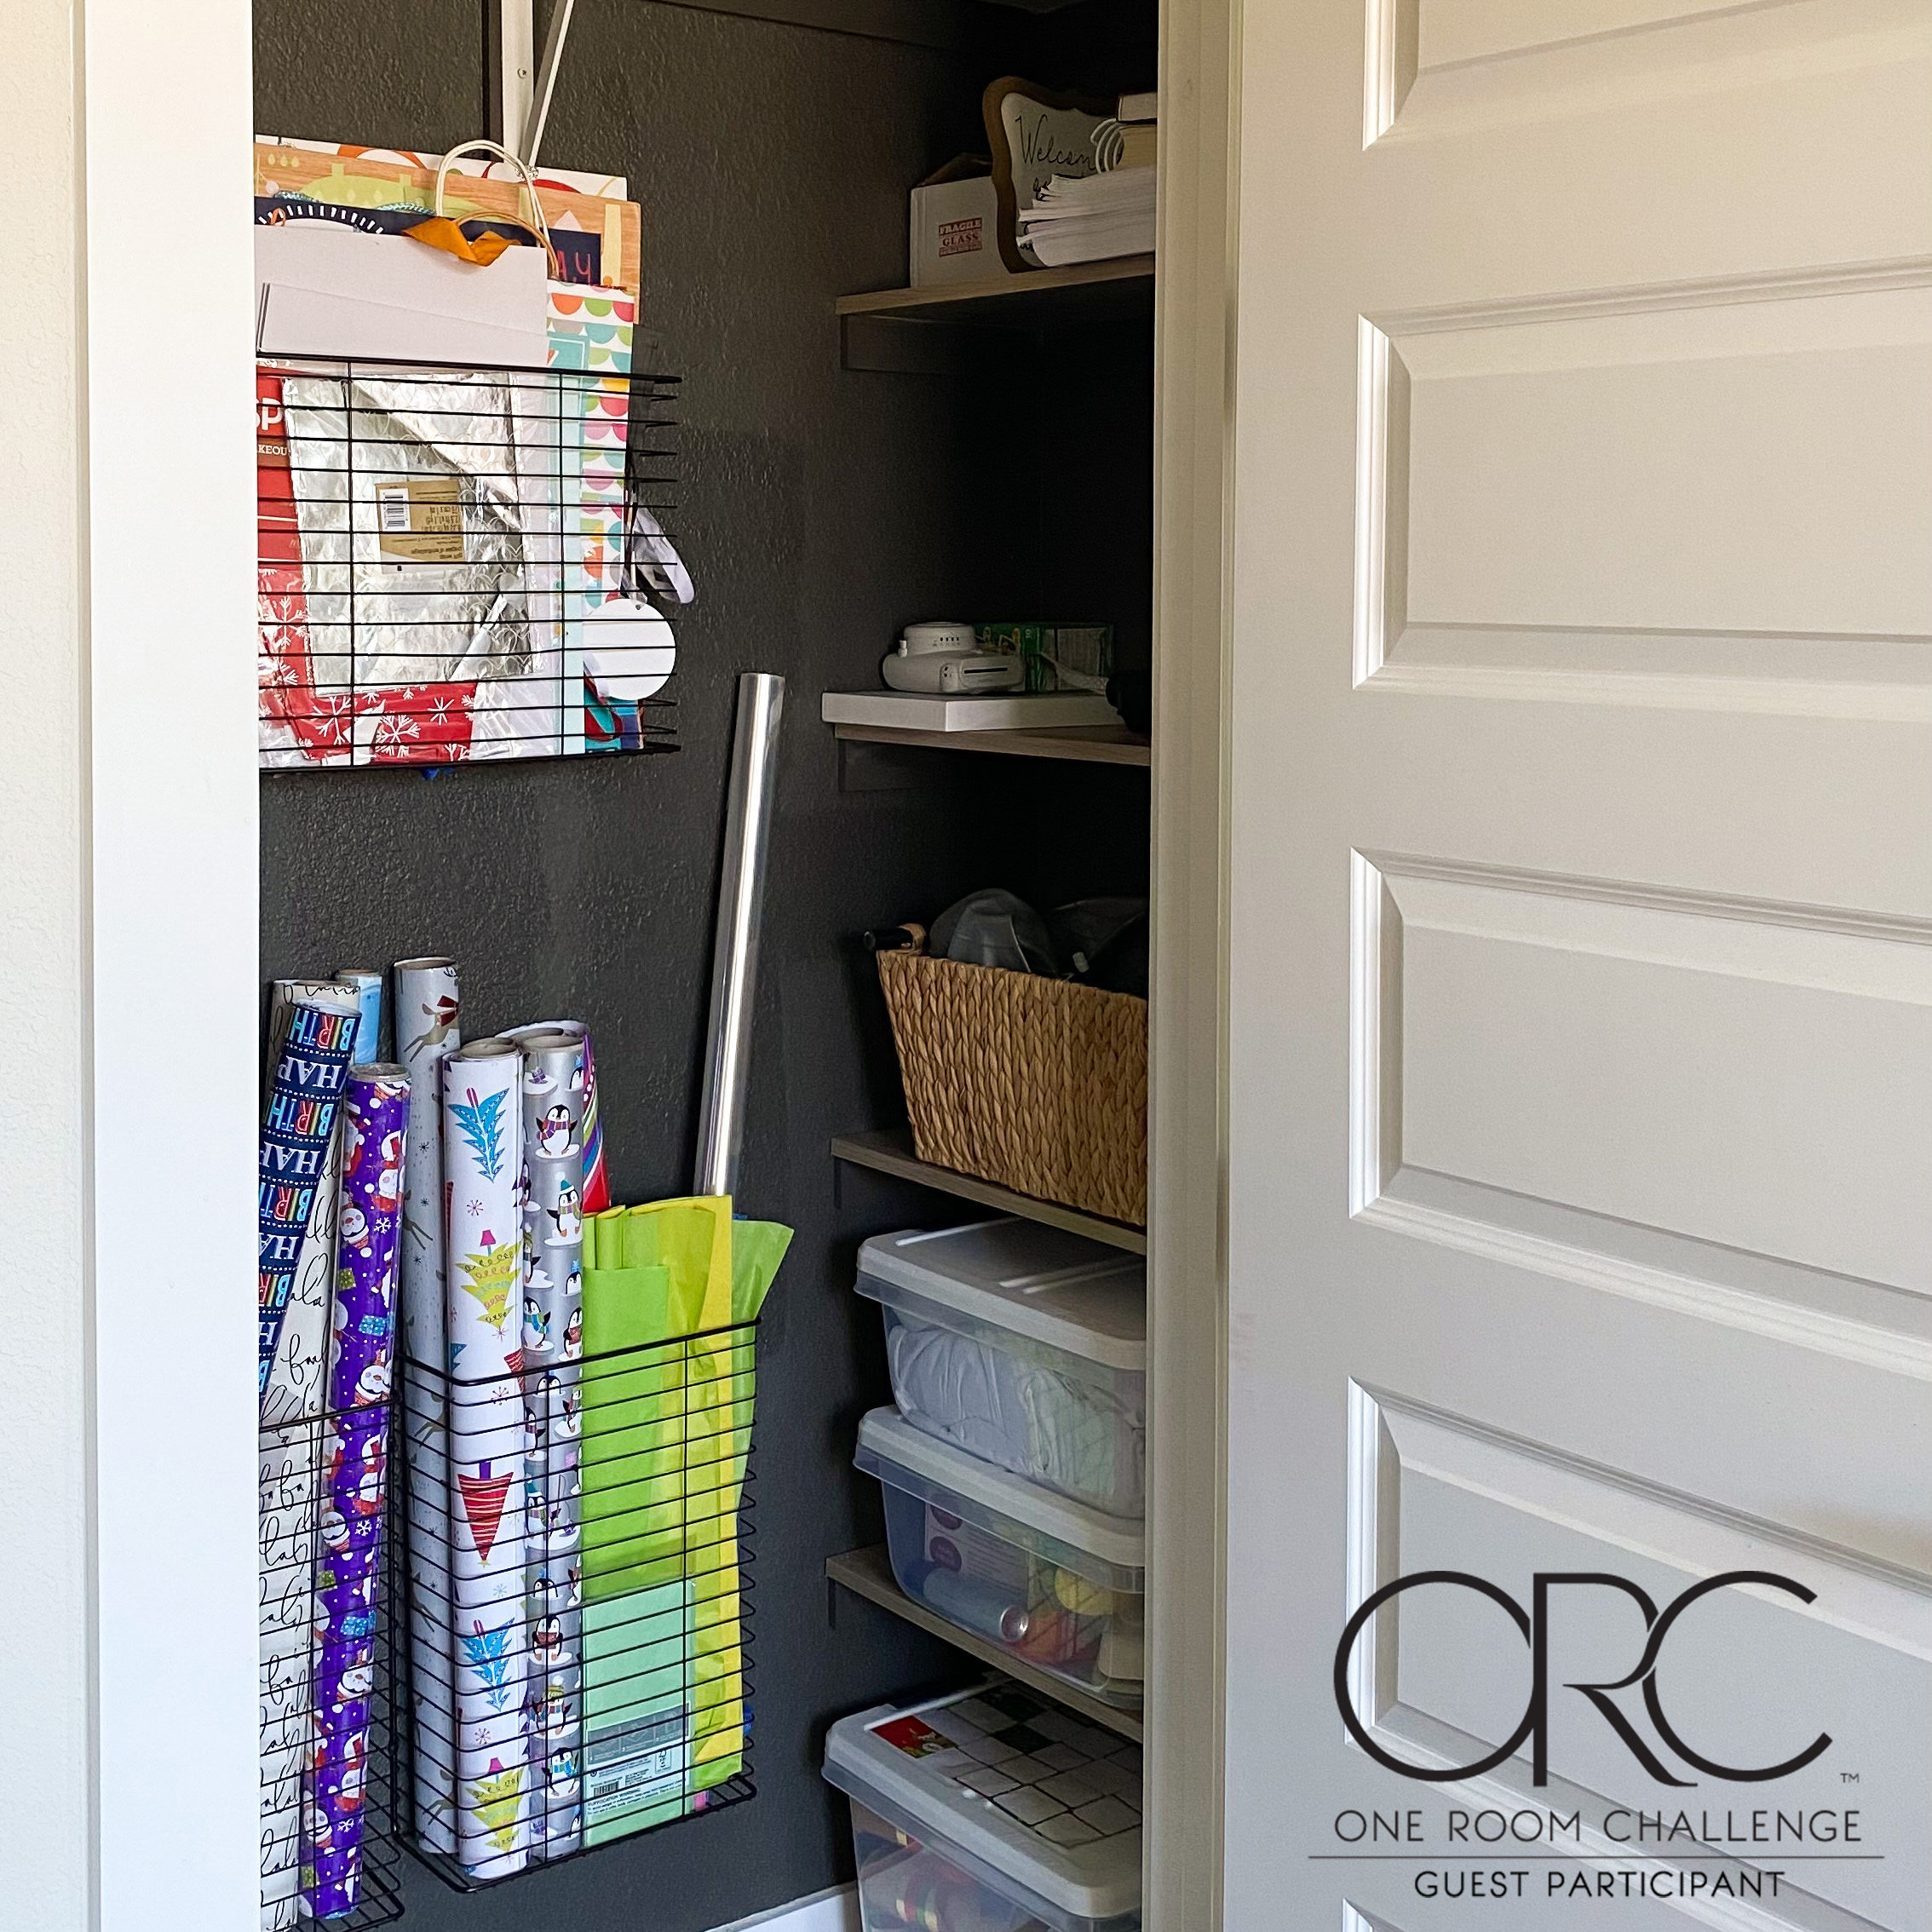
Let’s start the first project of this One Room Challenge Office Makeover to be function-centered. The Office was such a disaster. In order really to be able to do anything in there, I needed to clean, organize and find a home for the stuff that’s just accumulated in here because it had no other place to go. The natural place to start is with the closet. Before I did anything to it, I had to declutter. It felt like it was packed full and we had no more room in there. The problem is that the space wasn’t being utilized properly. The closet had the basic builder shelf and rod like for clothes, but this is an office so why they built it that way is beyond me.
I got excited to start a new project after months of not being able to do much while pregnant. So, I forgot to snap a ‘before’ of the closet with the shelf and rod, but I got one right after.
Demolition of the office closet
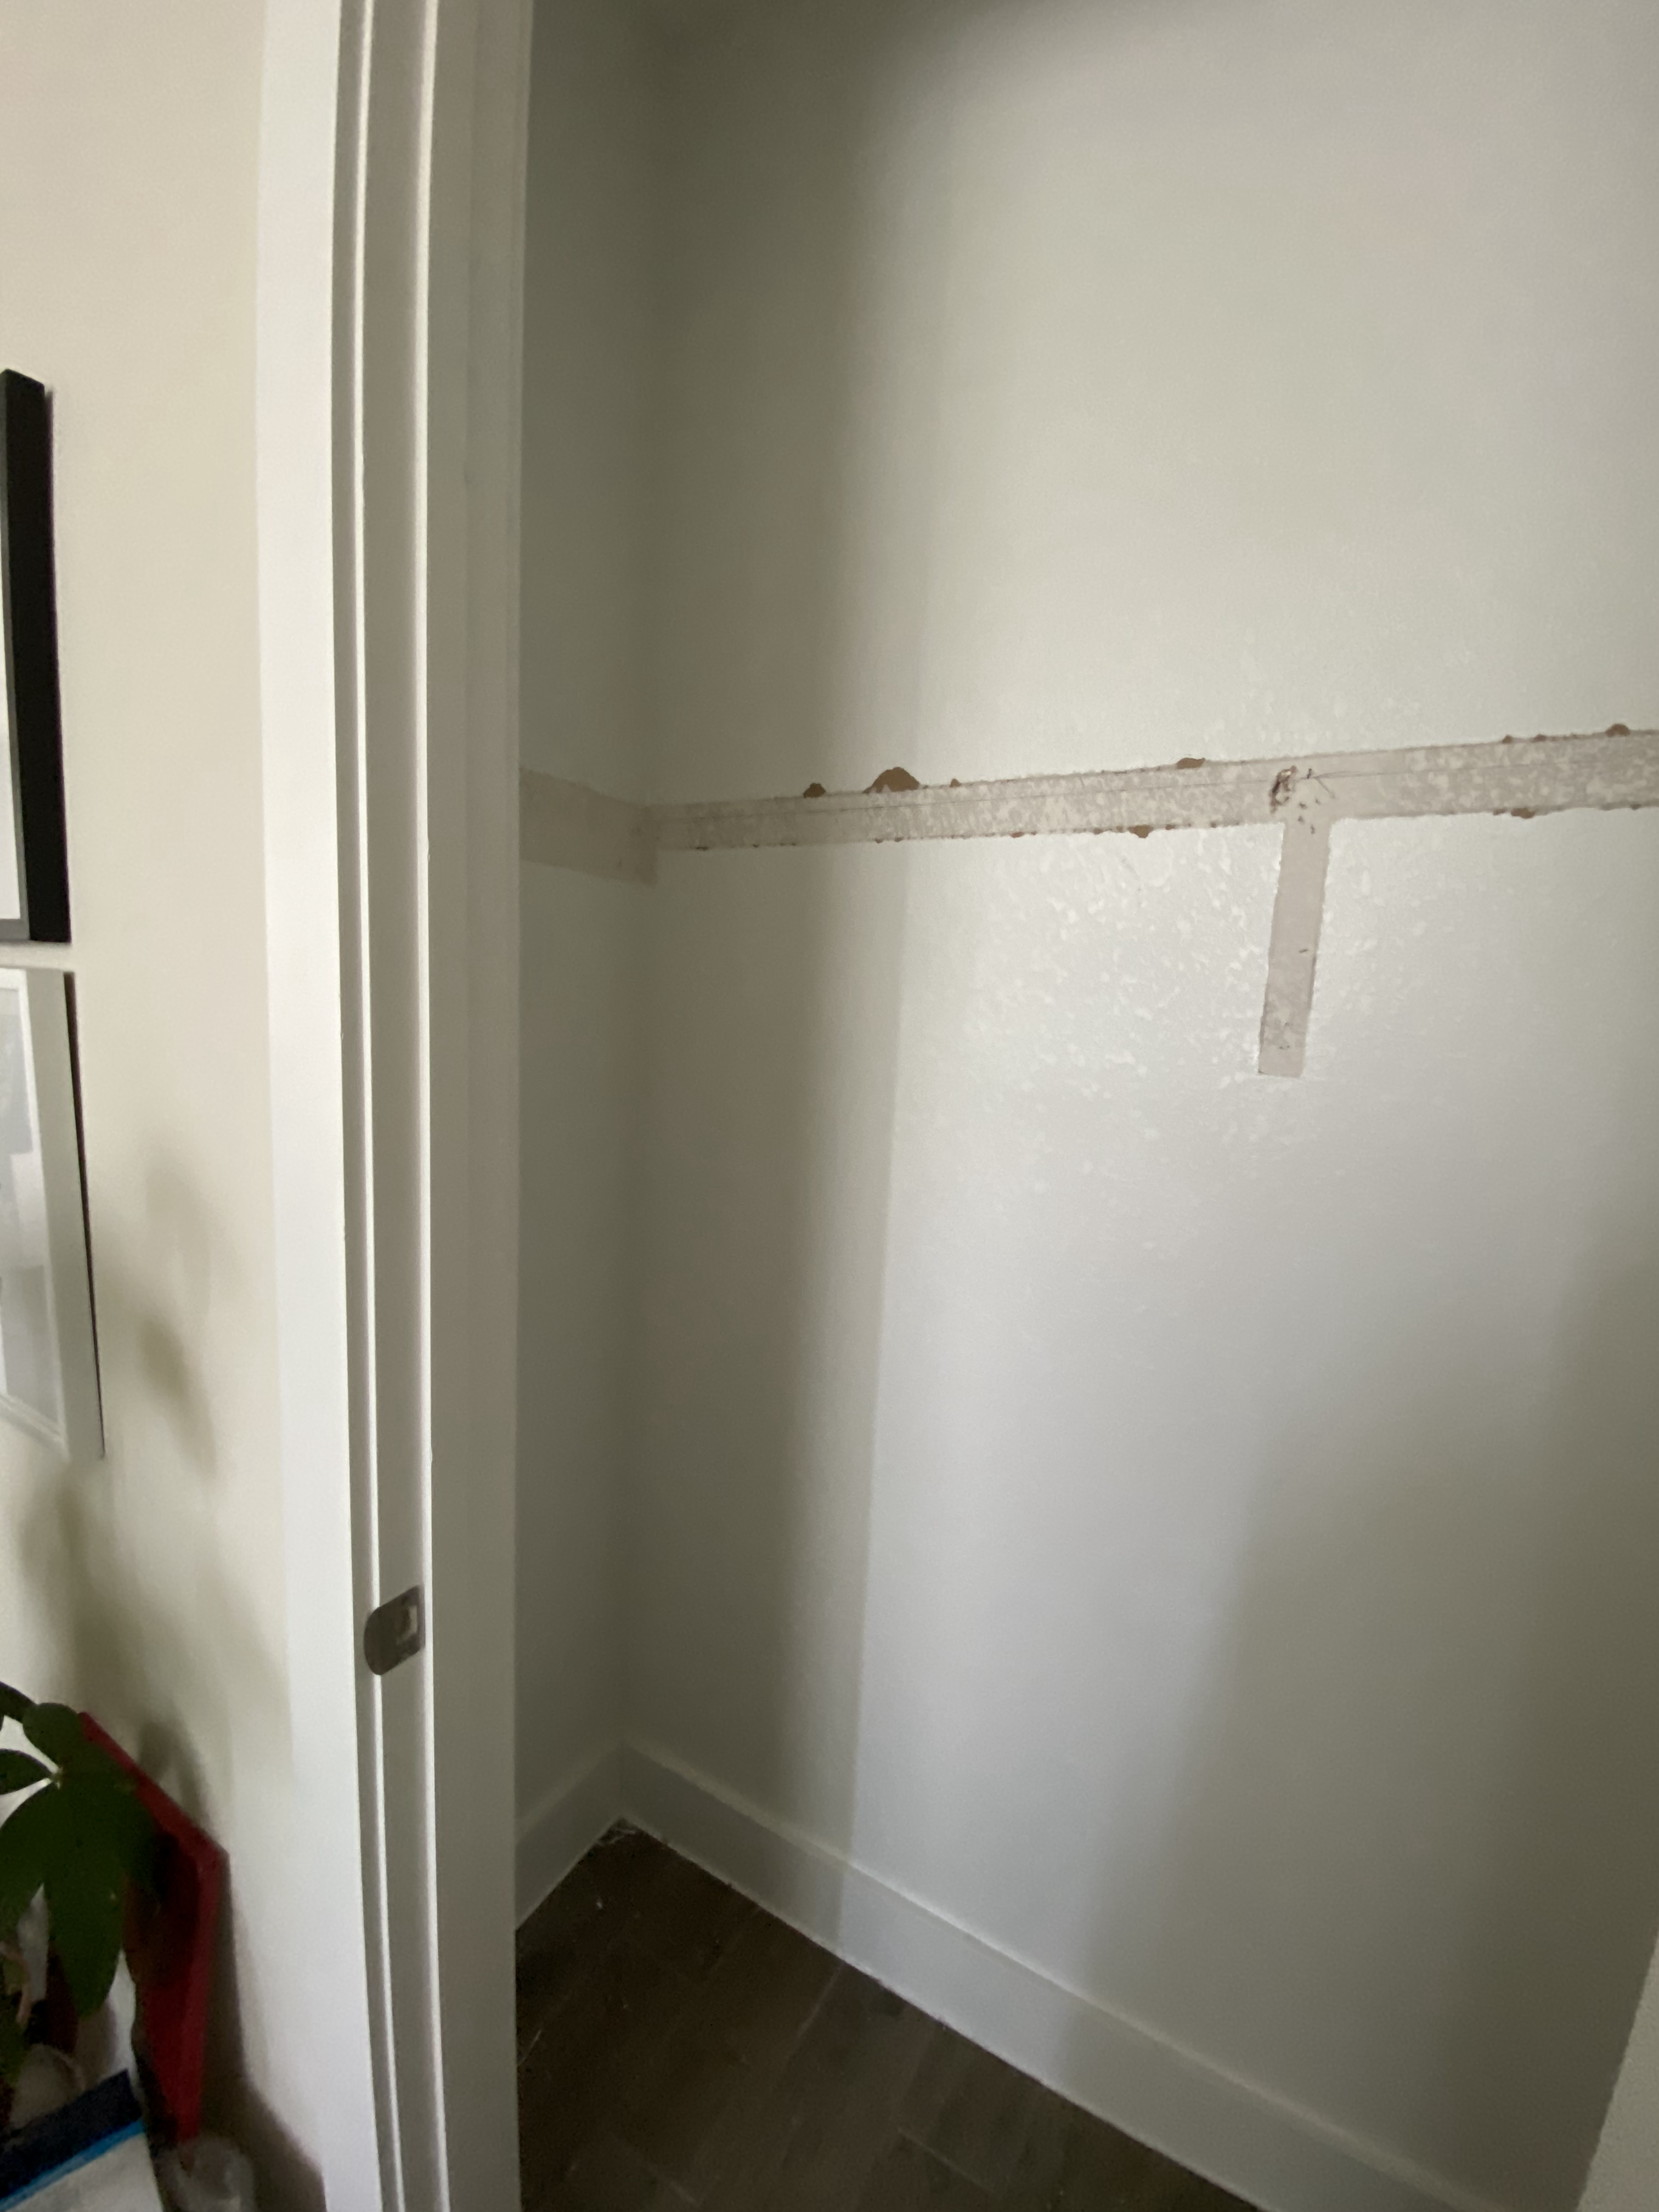
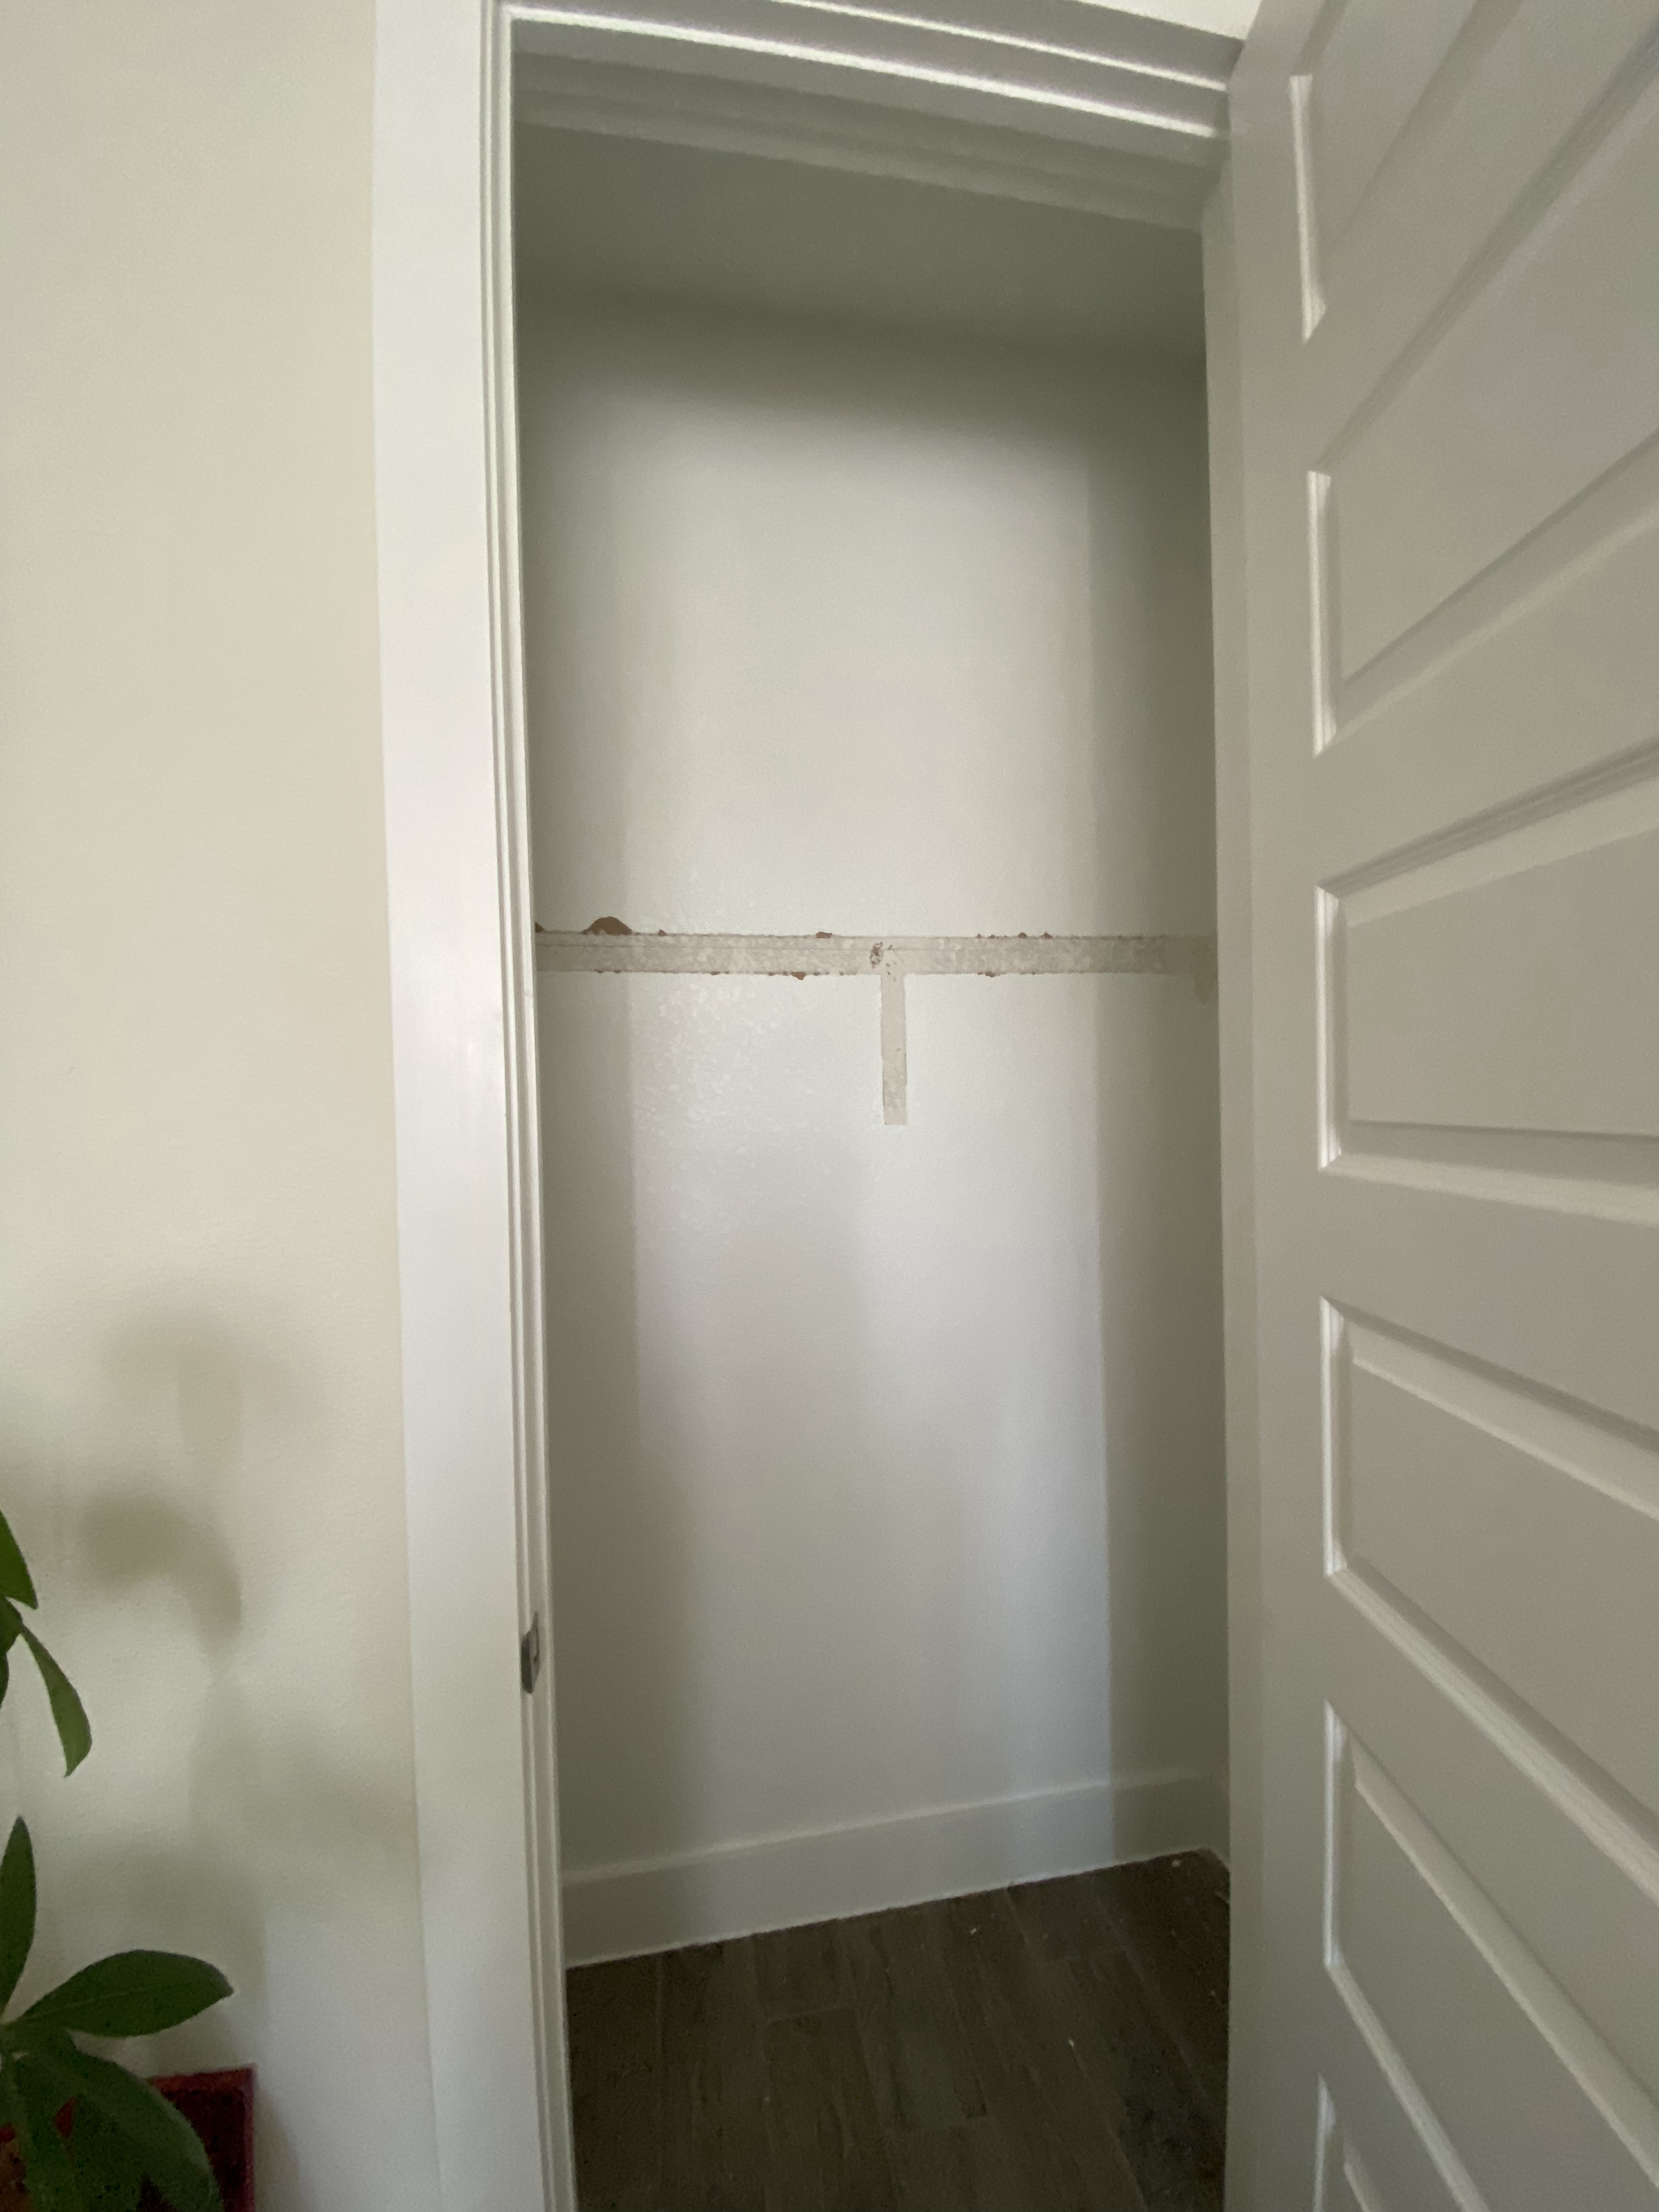
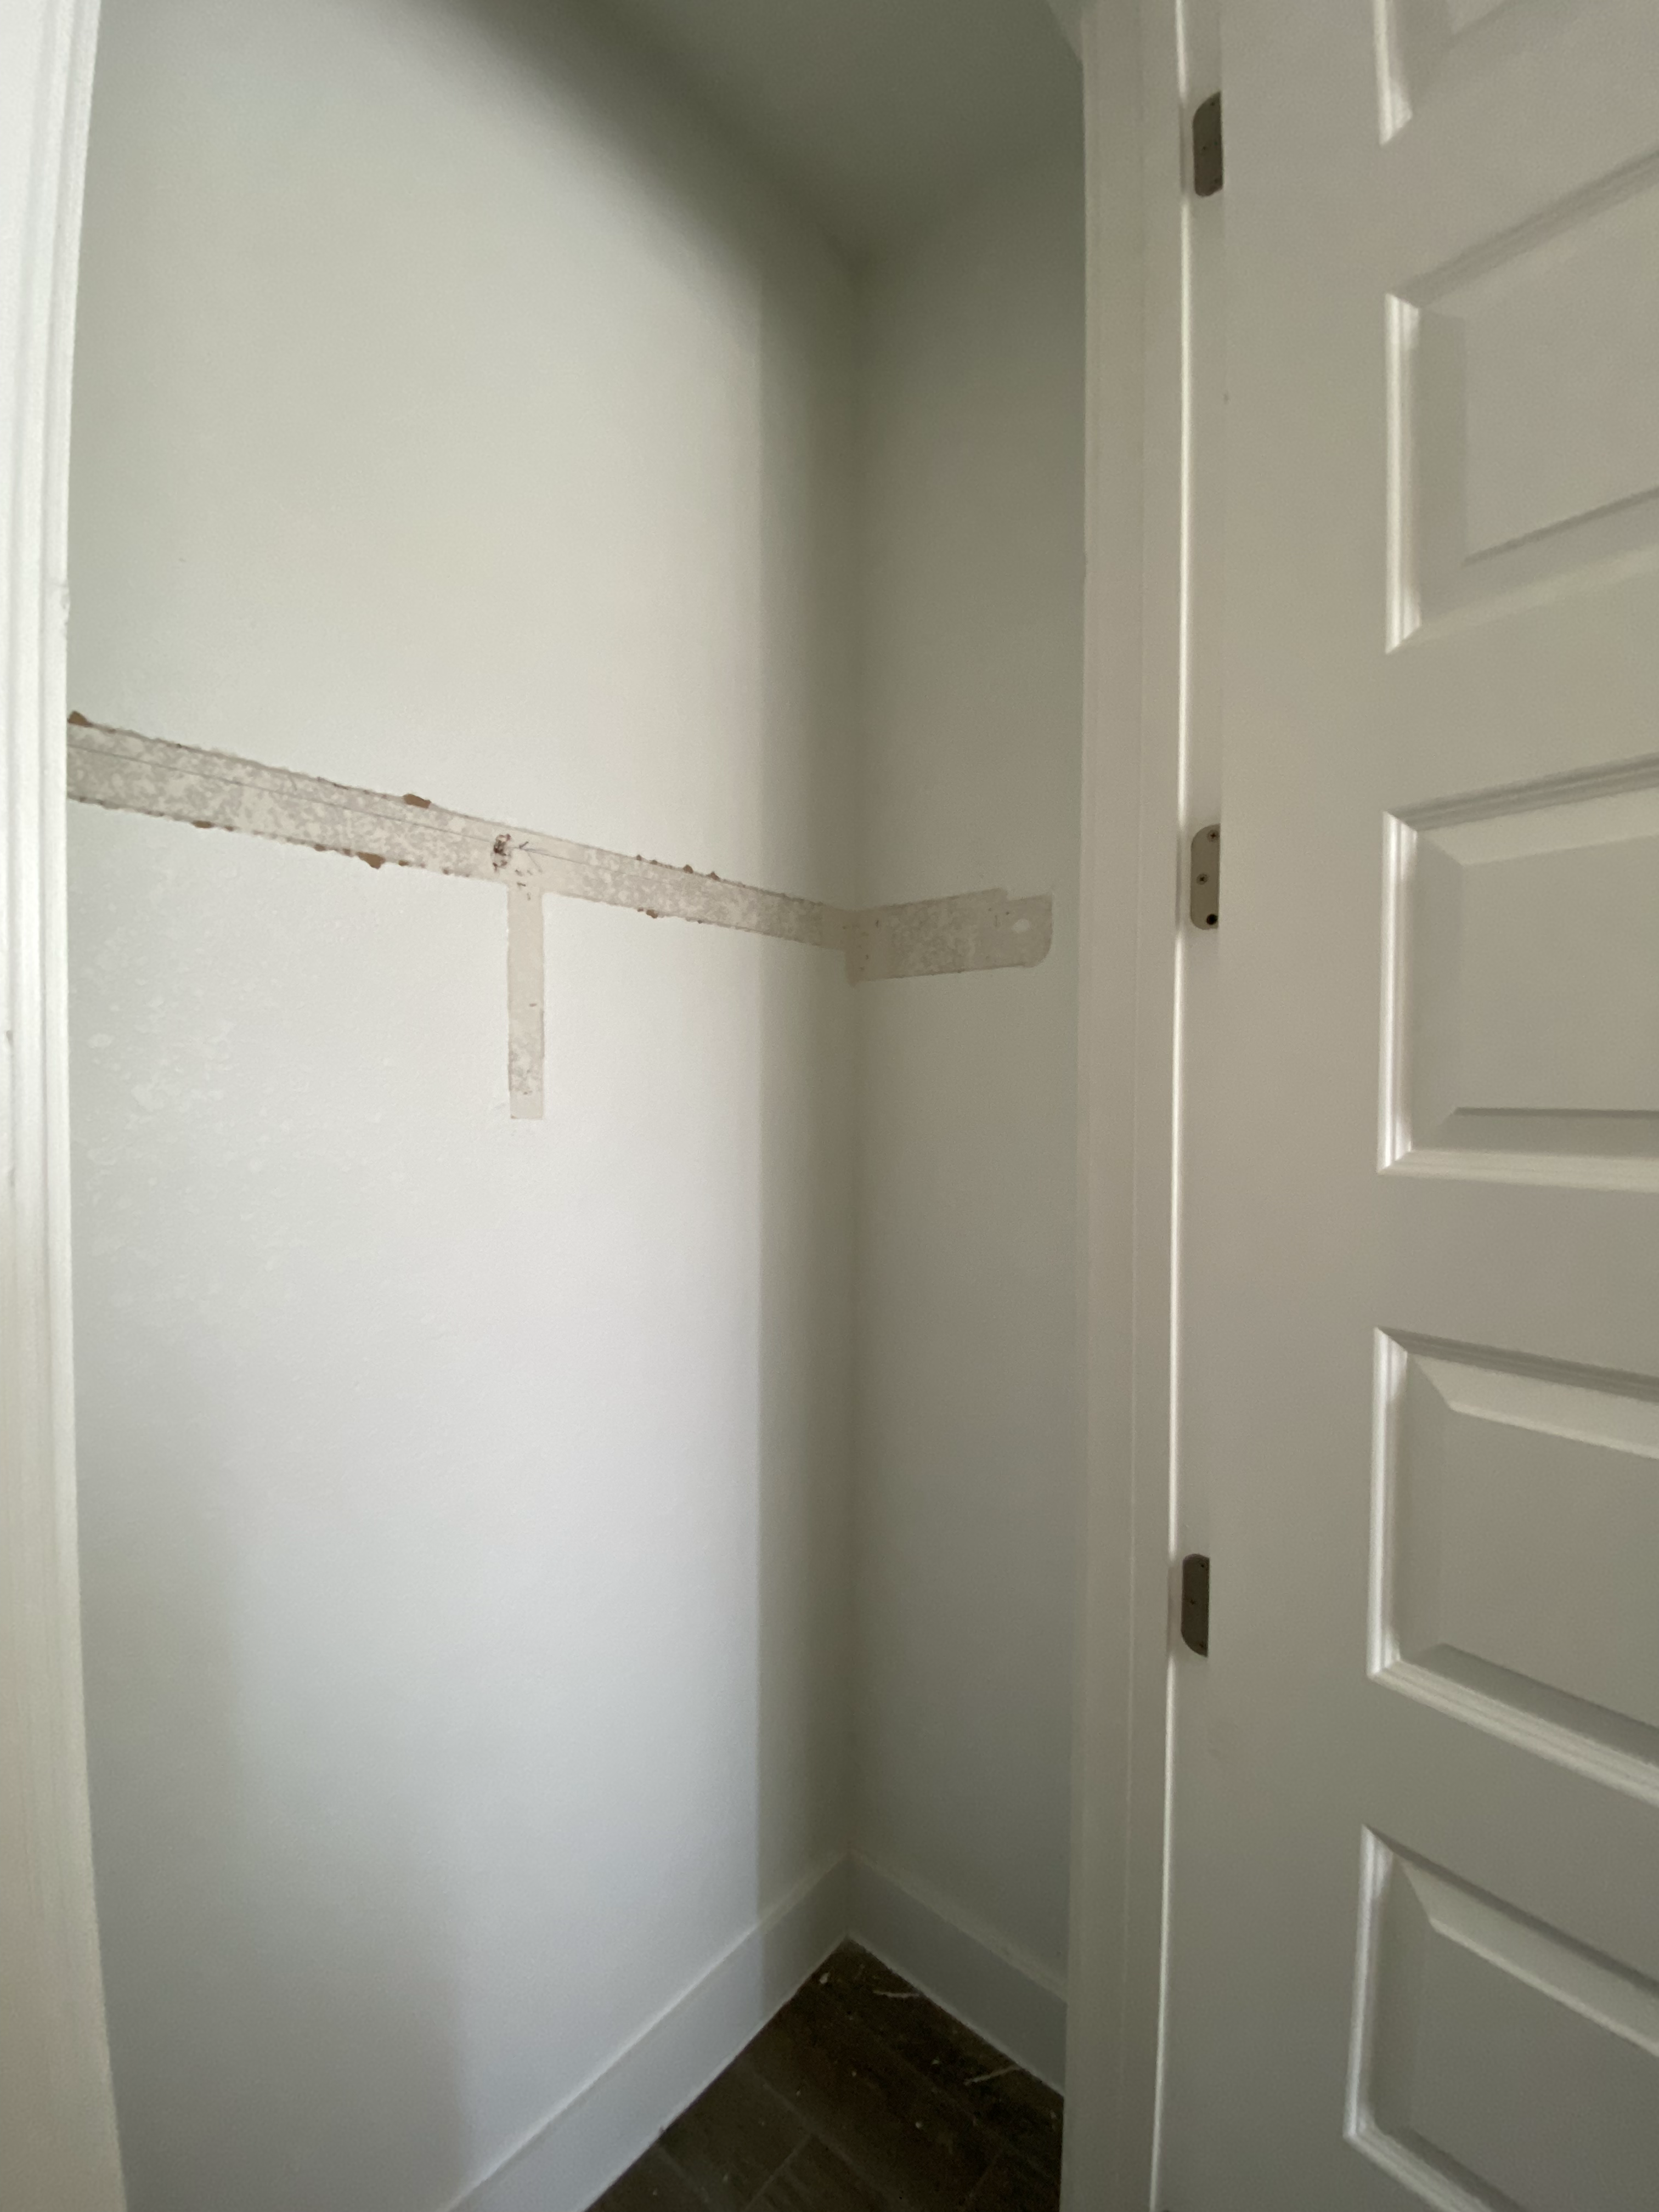
This shelf was just nailed up so it was easy to remove. You score the caulk and then wedge a hammer underneath and pry it off. Just be careful to not destroy the drywall! There was a hole behind part of the shelf. I had to patch that up since it would no longer be covered by said shelf.
Adding shelves
Since the closet was so wide, I decided that the best way to utilize this space with all of our office things was to build shelves in those pockets on either side of the door. It was a very simple design concept I decided on because why complicate things? So we took some leftover MDF and cut them down to size. So, they border the 3 walls where the shelves will sit. Since they are pretty narrow shelves, we didn’t add any brackets to the MDF. To attach the MDF, we used construction adhesive and brad nails.
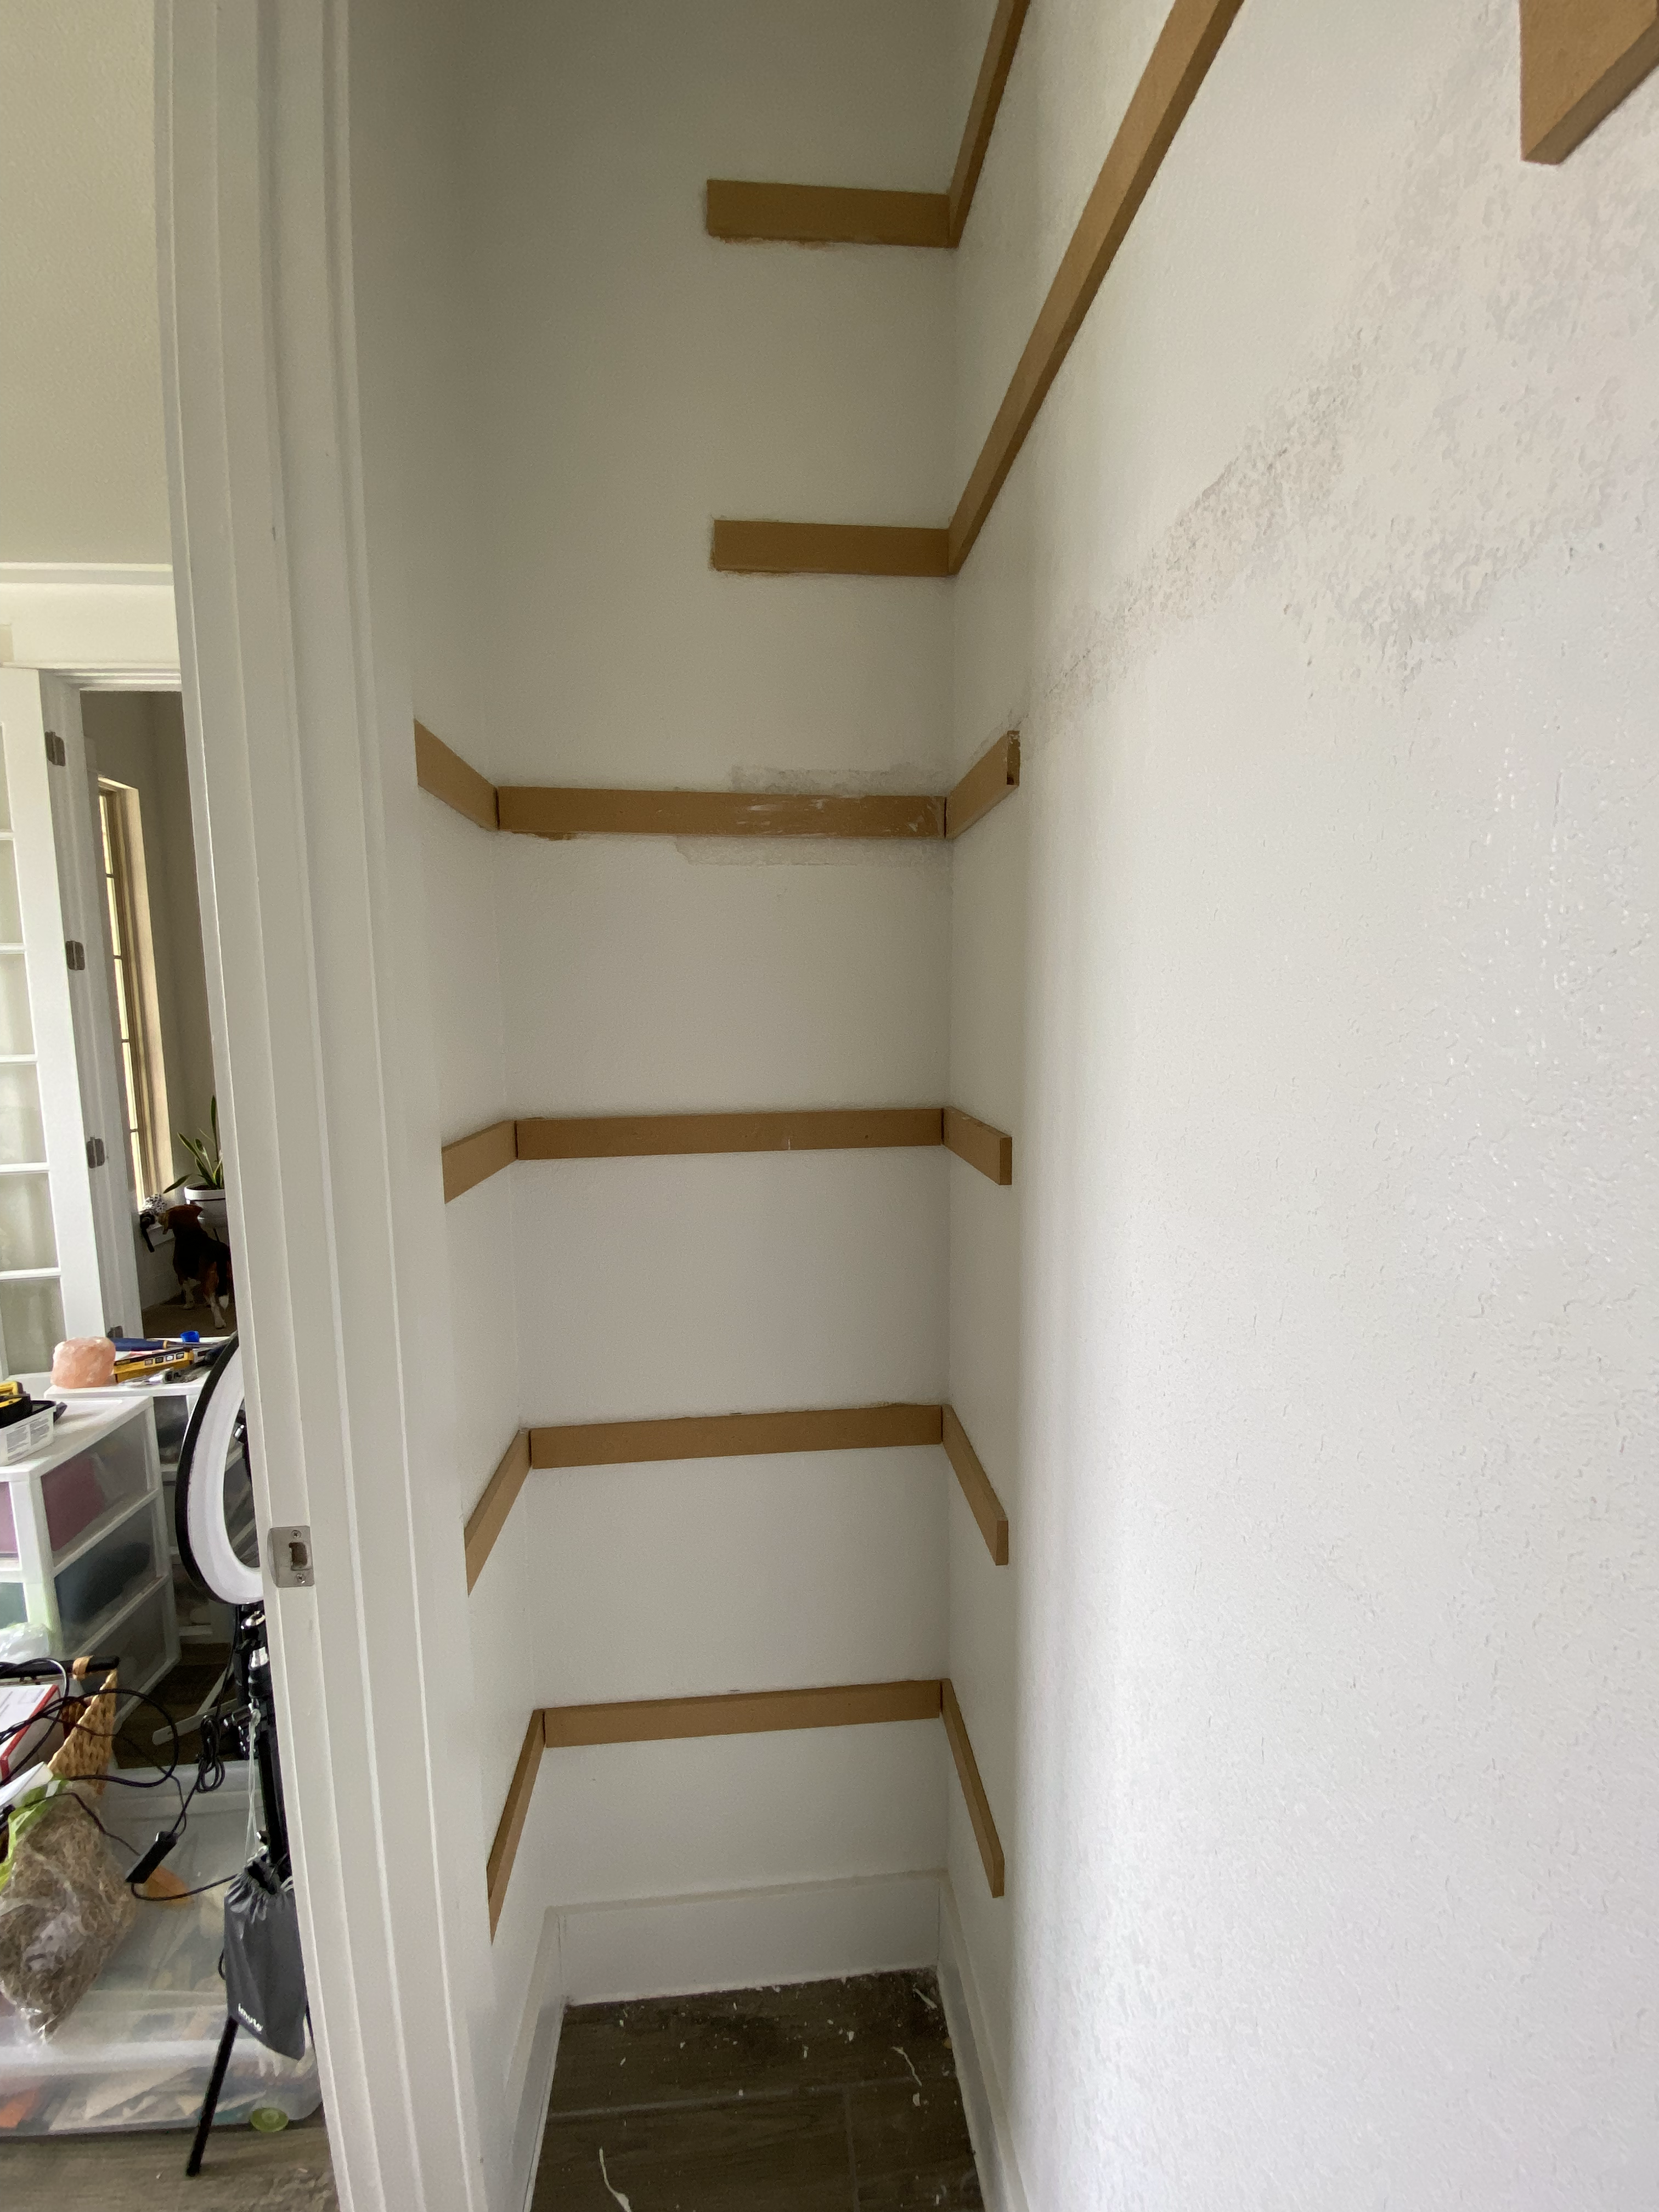

Now to paint! I went back and forth on keeping the white or going with one of my favorite paint colors right now. Well since I couldn’t find any of my white paint to match, I’d have to repaint the whole closet anyways. Of course I decided to go with Urbane Bronze. It’s such a good color! Lastly, we cut down the shelves to size and used a bead of construction adhesive around the top of the MDF to glue them into place.
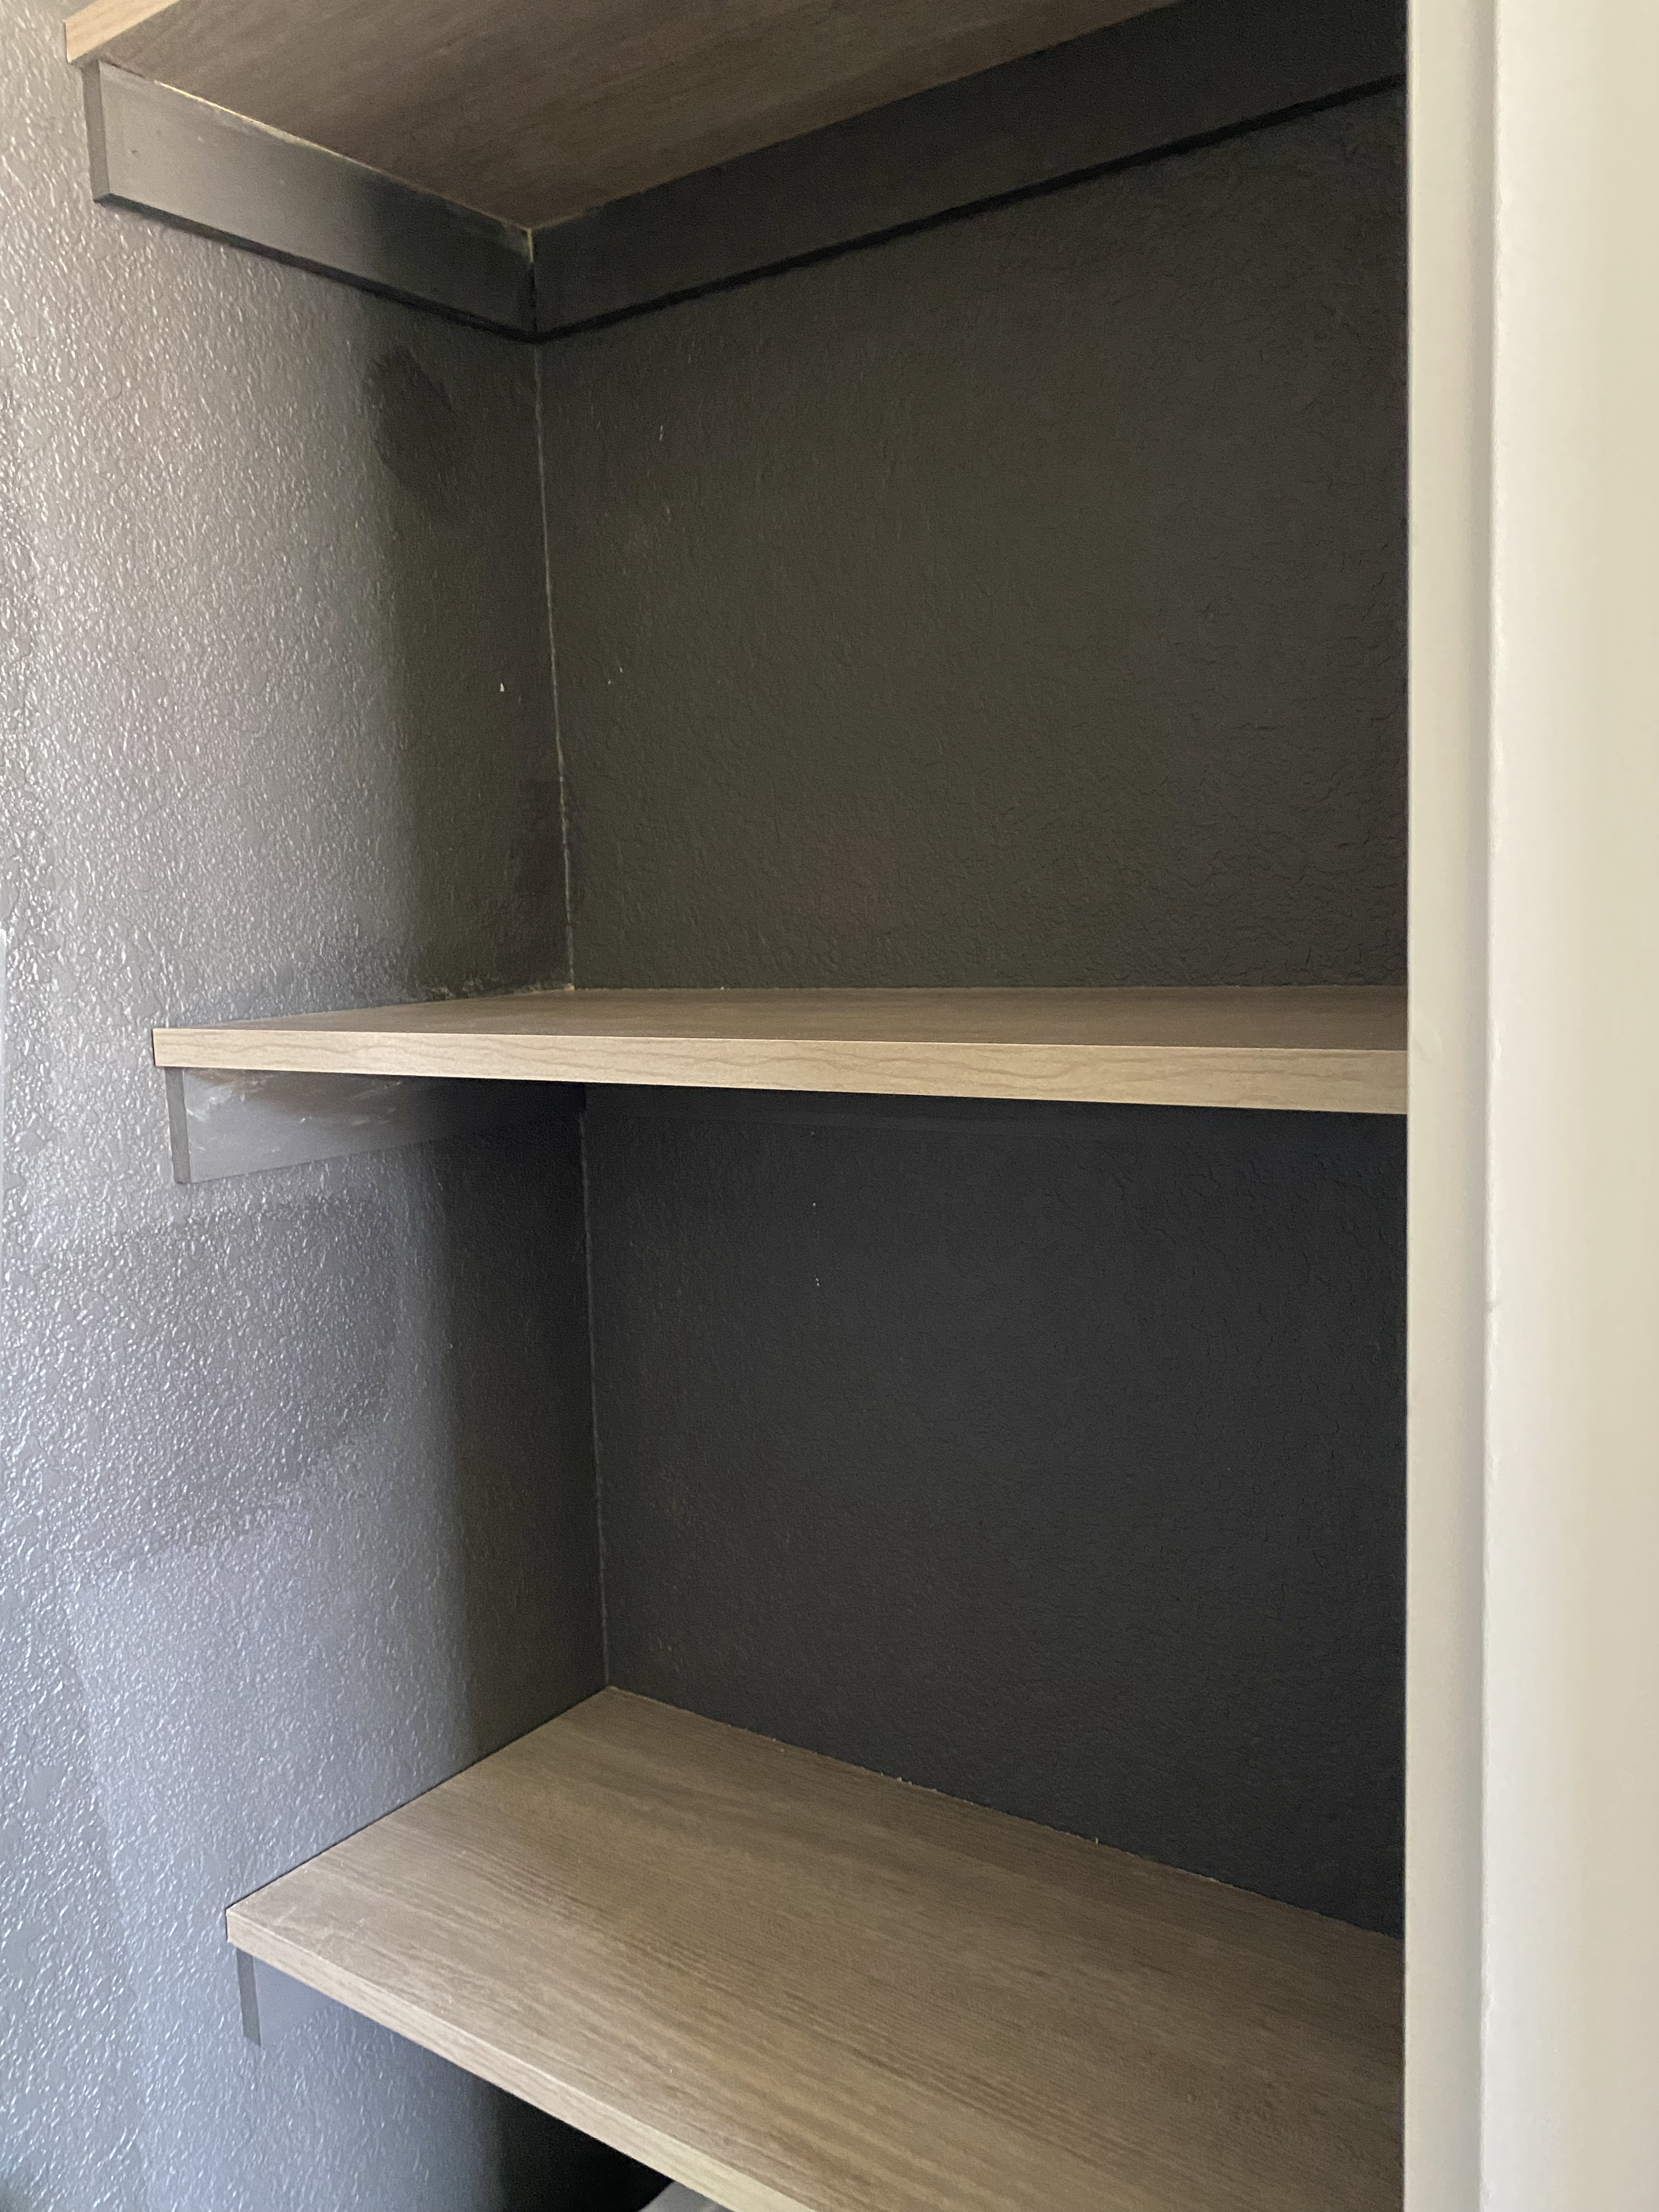
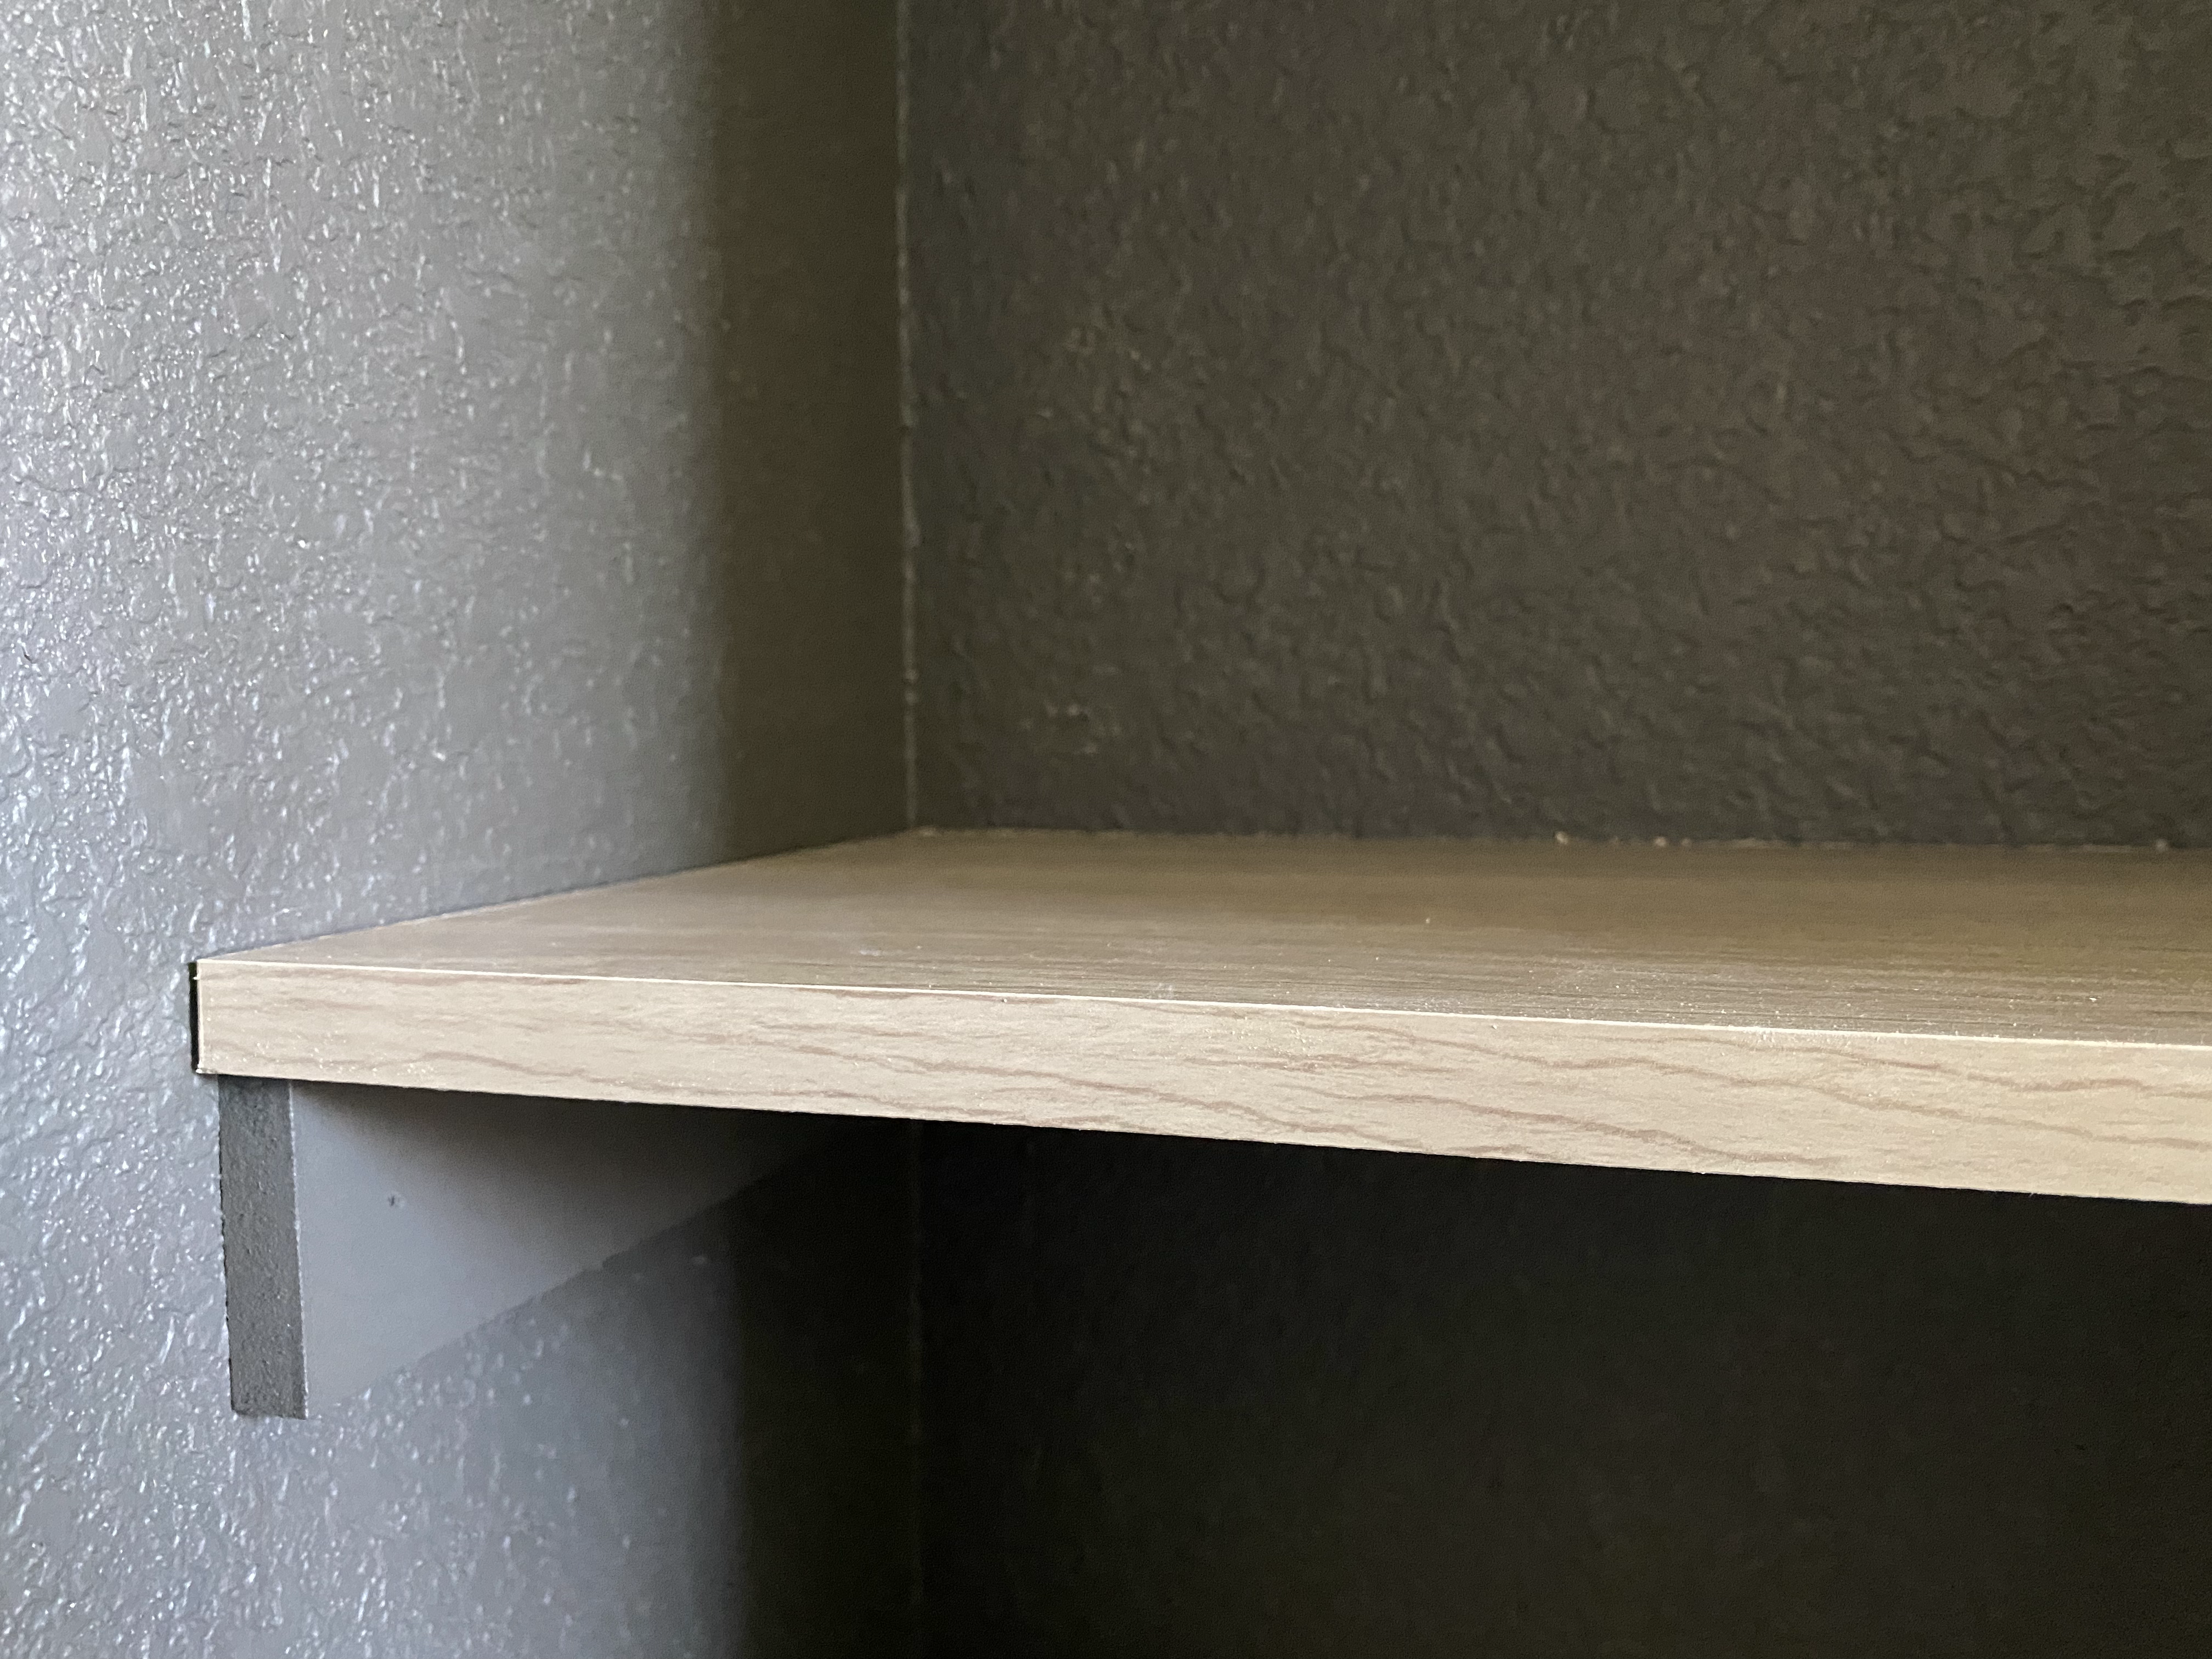
The shelves are just laminate Rubbermaid shelves and how beautiful are they?! Oh my I love them so much. I was going to the store to buy white laminate but I couldn’t resist these babies for the exact same price: why not? I usually love using real wood but this isn’t really a place that most people will see and the cost of these shelves can’t be beat. Remember our theme? Functional: and these check all the boxes while not skimping on the style either.
Story time!
So, funny story about the paint: I was using the leftover paint I had from repainting my breakfast nook. I almost had enough, but ran out with a little touchup left. So I went to the store and got the same color, sheen, and type of paint that I had BUT it wasn’t the same. Why? Great question and I wish I had the answer. Well alas we finished painting with this new paint and didn’t notice the difference until it was all dry, hence the visible difference in color in the above picture. We were literally done with everything at that point and I didn’t want to repaint the whole closet for a second time, so this is how it remains today. Maybe I’ll fix it one day, but not today.
Finishing touches of the custom office closet
Finally, we had this big space on the wall now with the shelves on either side of the door and I figured out the perfect use of this space without blocking the shelves. So, I found these perfect wall mounted wire baskets to store wrapping paper and gift bags in. It’s a slim design so it doesn’t take up too much room but it helps to utilize every square inch of this closet! Now we can fit SO MUCH more in this closet and still have room to spare.
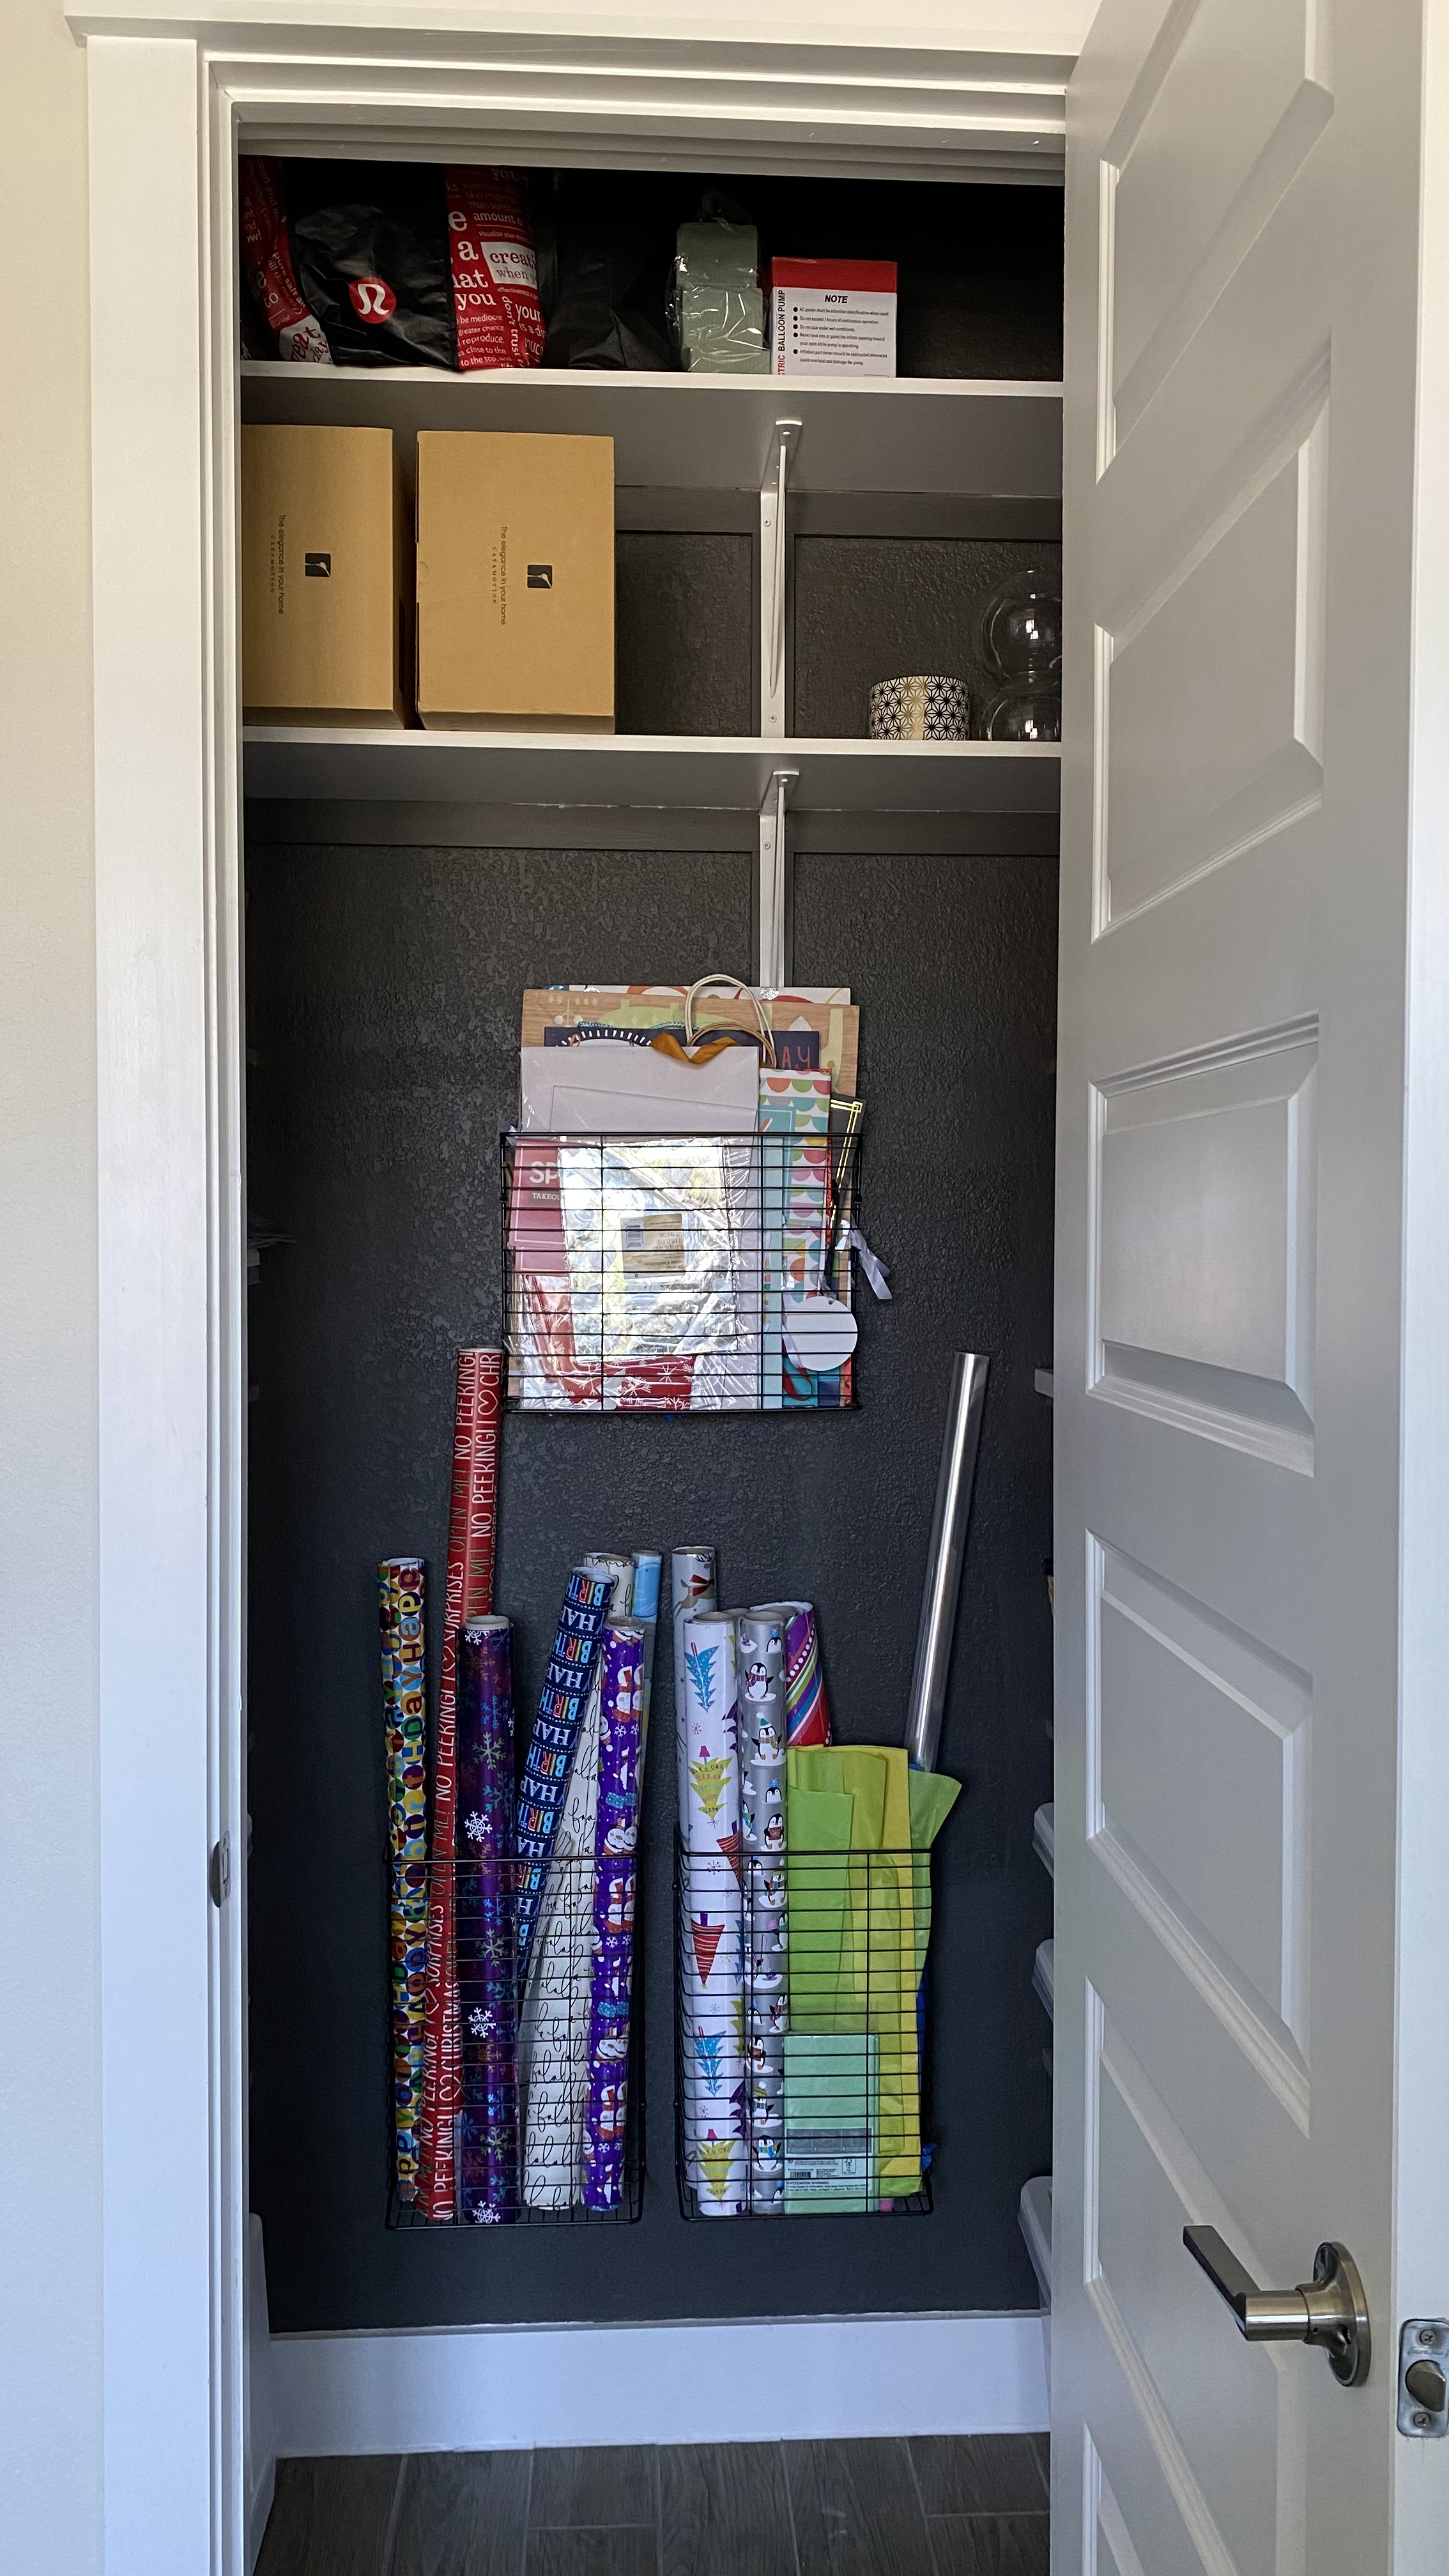
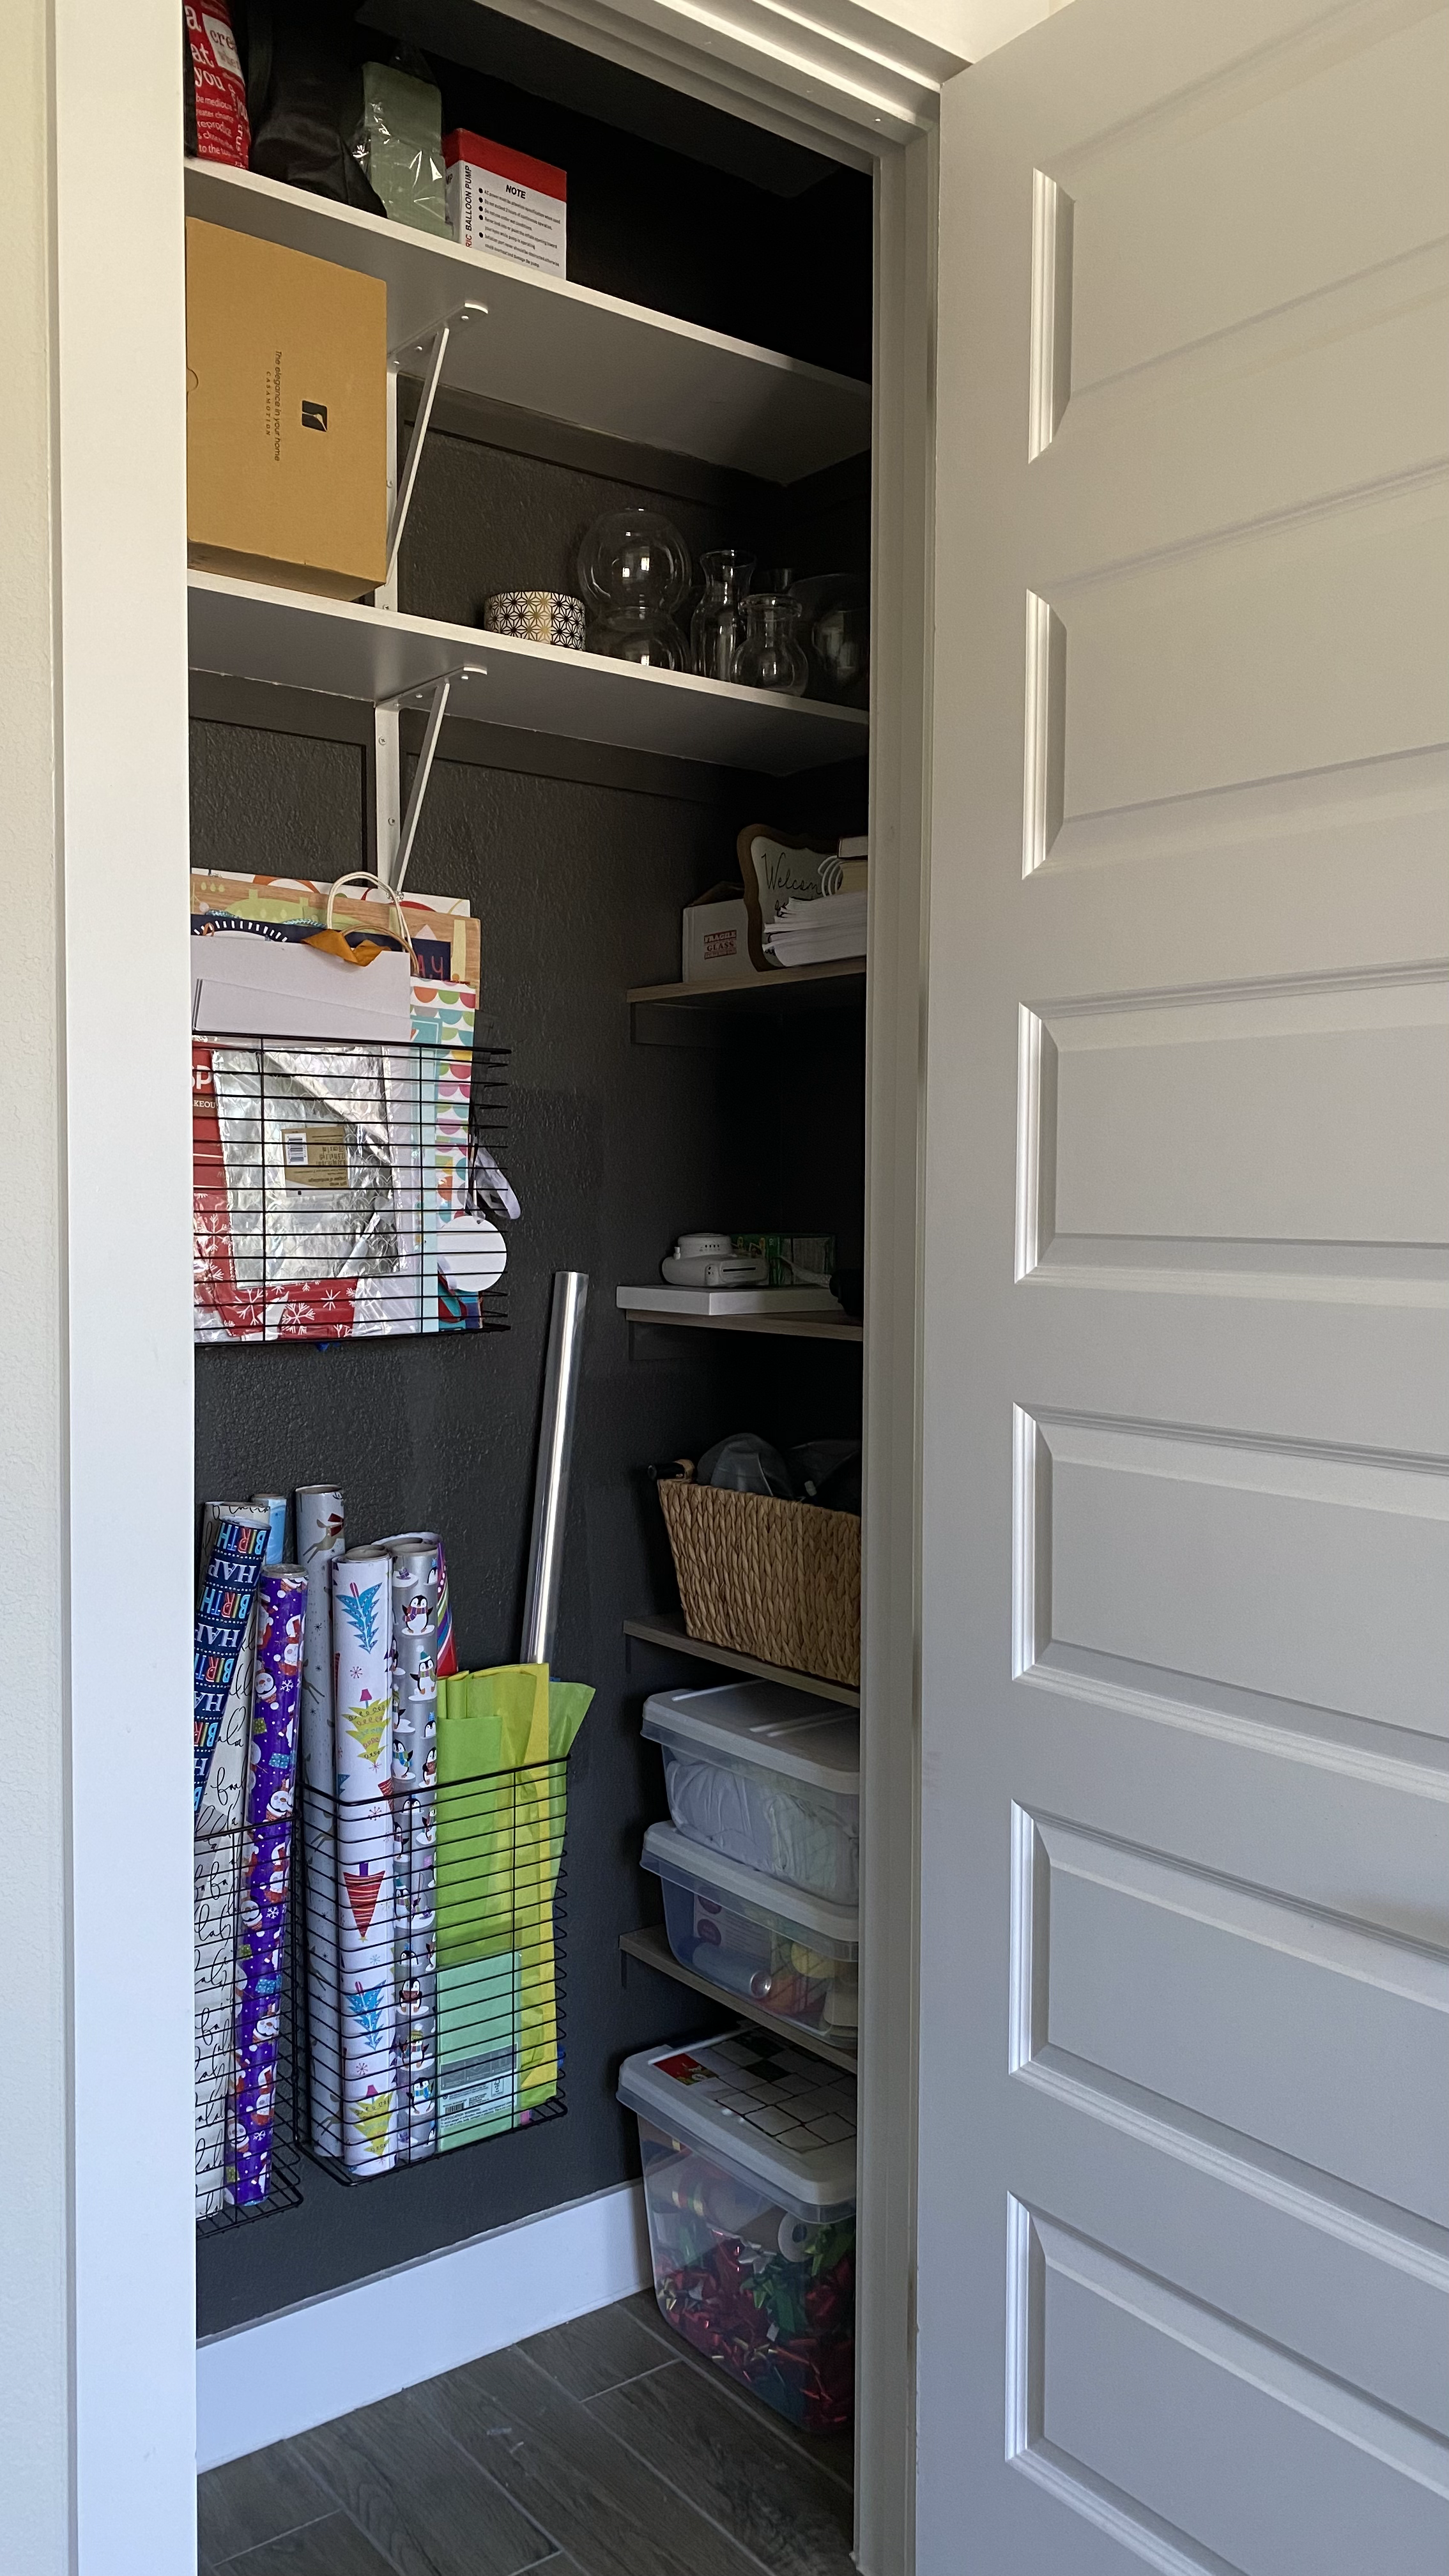
The closet shelves and organization may be done but we’re not quite done with this closet…make sure to subscribe to our blog so you get first access to the next ORC post next Thursday!
Subscribe to our YouTube
Find us on social HERE!


