


Easy DIY Halloween Window Display for under $80


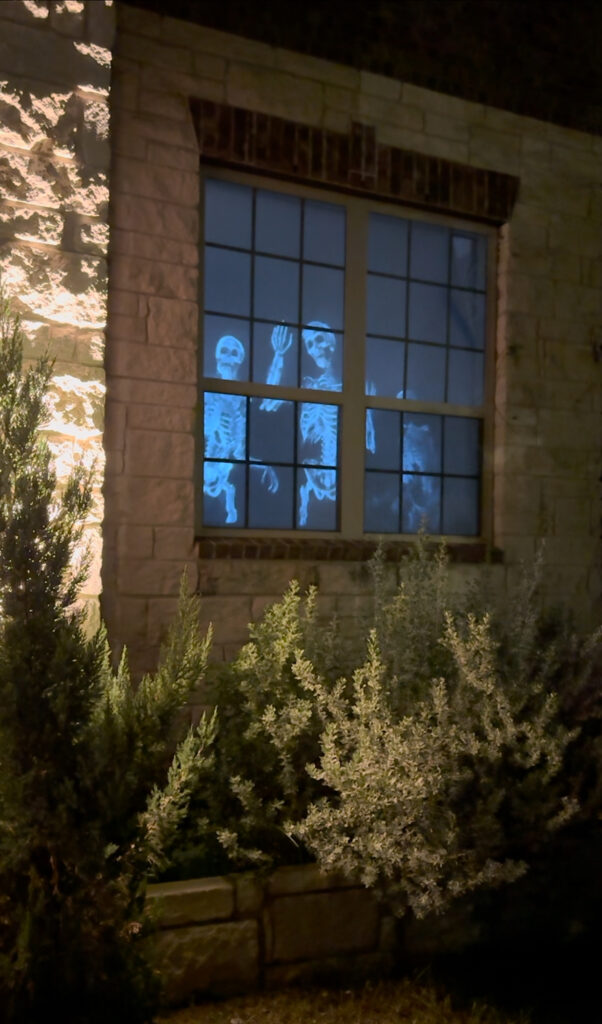
Last year around this time, I was very pregnant but I didn’t want the magic of Halloween to pass my two boys by. So two weeks before halloween I bought a little projector and created some Halloween Magic!
Supplies You’ll Need
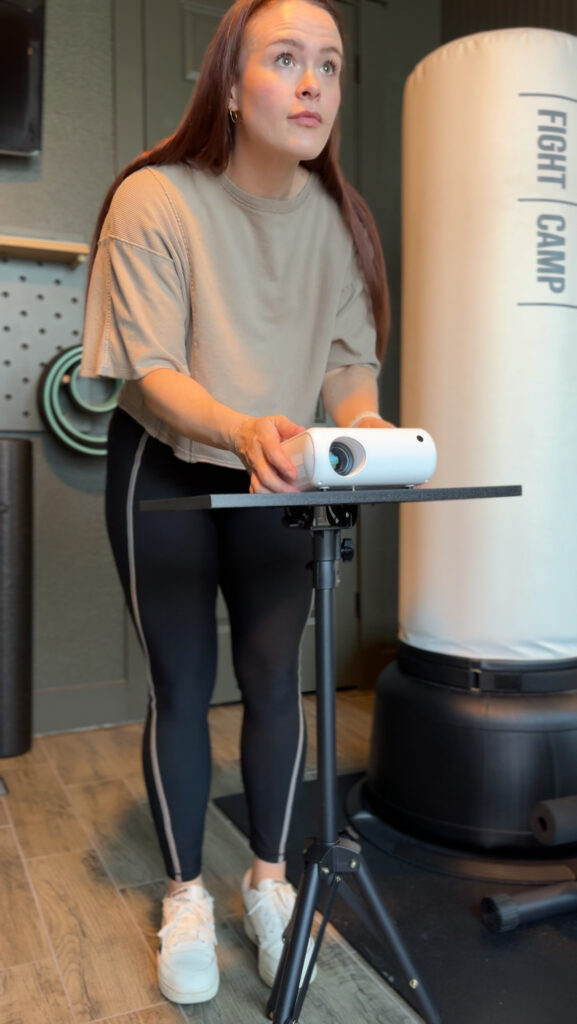
- Projector (any will work but I bought a mini one for easy storage and setup)
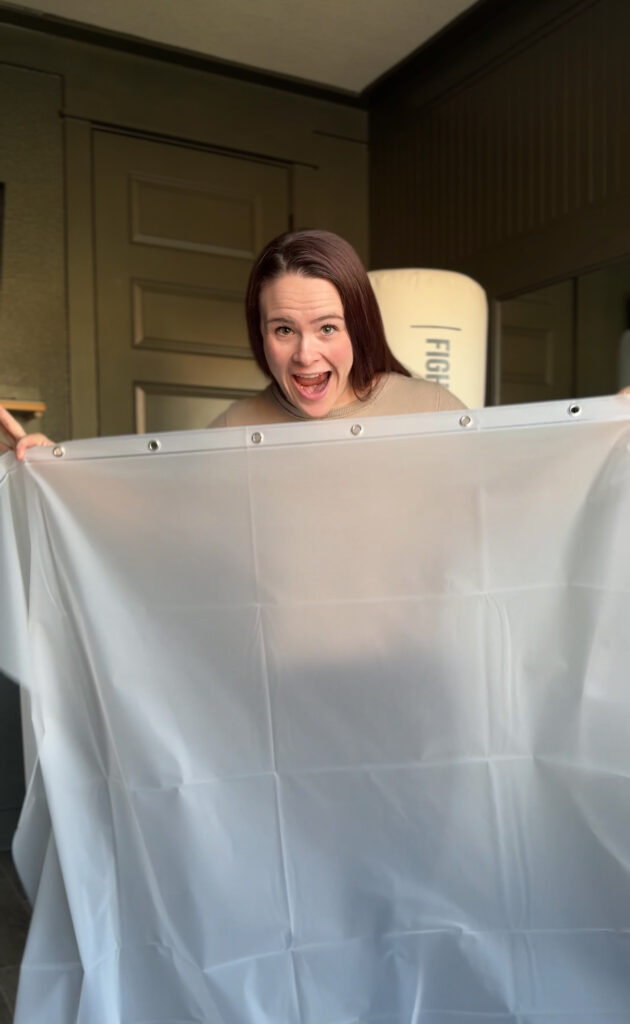
- Frosted Shower Curtain (this is a change I made this year, in the past I’ve used 3mil Plastic Sheeting which also works)
- Projector Stand (you don’t need this, you just need something to prop it up on but this makes it easily movable)
Instructions
The instructions for setting up the DIY Halloween window display are simple and quick.
Screen Setup
You take your frosted shower curtain and completely cover the window you want to project your videos on. I used the frosted shower curtain because it’s not too thick and still somewhat translucent so you can see the projected images. It doesn’t have to be pretty inside, just make sure your curtain is pulled taut over the window. I used 3M stickies to secure it.
Projector Setup
Then setup your projector facing the window from inside the house. You can move it back and forth or adjust the image size on the projector to fill the window. You’ll need to do this at dusk or nighttime so you can see it best.
Choose Display Video
You have a couple of options:
- Connect the projector to a computer to stream the video you want projected. There are free videos you can stream on YouTube, just lookup “Halloween Projection Loop” and you should get some good ones but of course I saved the ones we like HERE. I’ve done this for a couple years
- This year I decided to buy some “decor videos”. They’re literally made for stuff like this it’s so much easier to set up and it’s honestly very affordable. This is the video bundle of dancing zombies I got this year.
When you buy the video downloads, you can download them onto a usb drive and plug that directly into the mini projector. All the controls are on the projector to select the USB, and then it has a “loop” feature so the one video or multiple videos will loop over and over until stopped which is perfect for this holiday window display.

I’m so glad this project is so popular. I’ve gotten so many questions so the most common ones are answered below.
FAQ Easy DIY Holiday Window Display
Where does the projector sit?
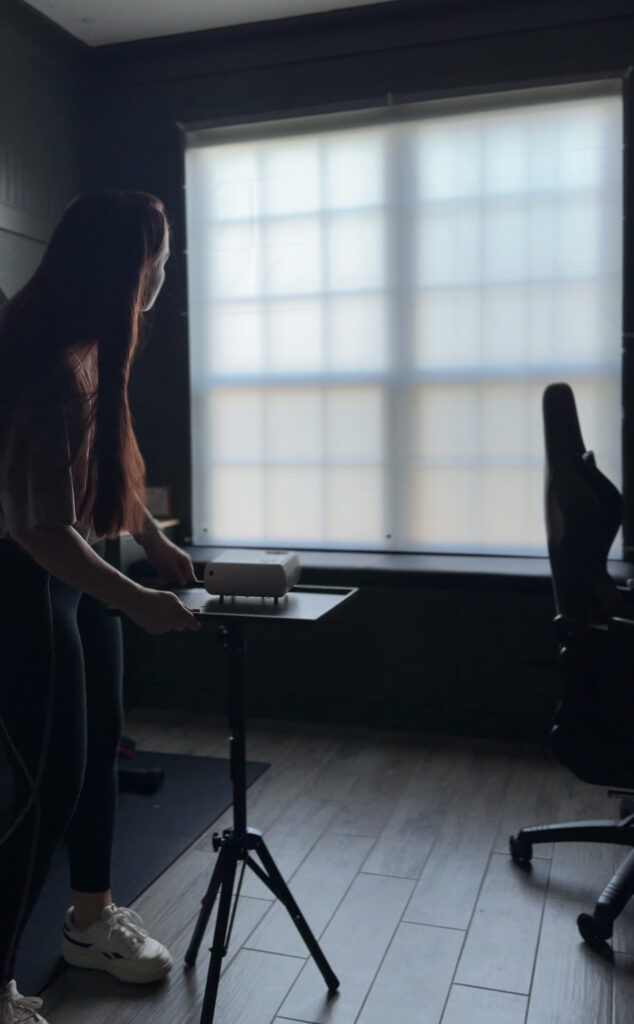
The projector is inside, not outside, in the room with a window most visible from the street. The projector is sitting on an adjustable stand to bring it to the right height but you could also use a table if you have one at the right height.
How do you choose where to put it?
I chose Steve’s office because it’s the biggest front facing window that you can see from the street. You can do any window that you can see from outside. You could even do a second story window or if you want to get fancy, you could multiply this and do it in every window. This gets more pricey but, hey, maybe this is your only decor which would be less expensive, less setup and easier to change from holiday to holiday.
I’m going to be changing this to Santa’s workshop for our Christmas display!
Let me know any other questions you have so I can include them here! Happy Spooky Season!


