How I Painted Kitchen Cabinets at the Flip House


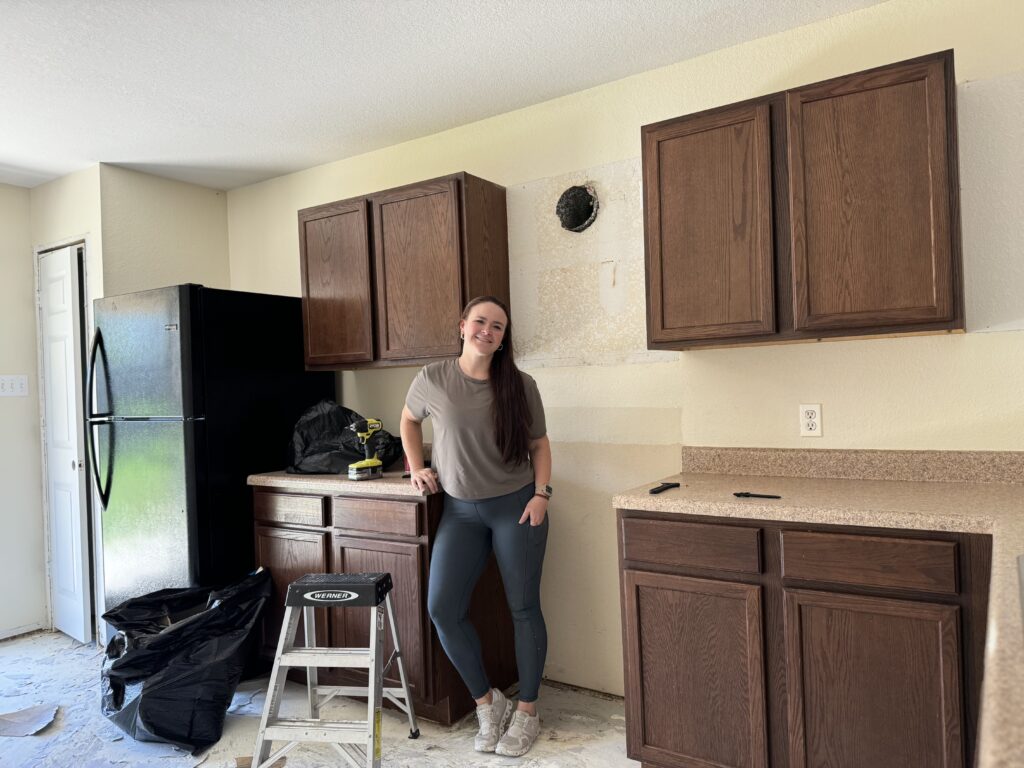
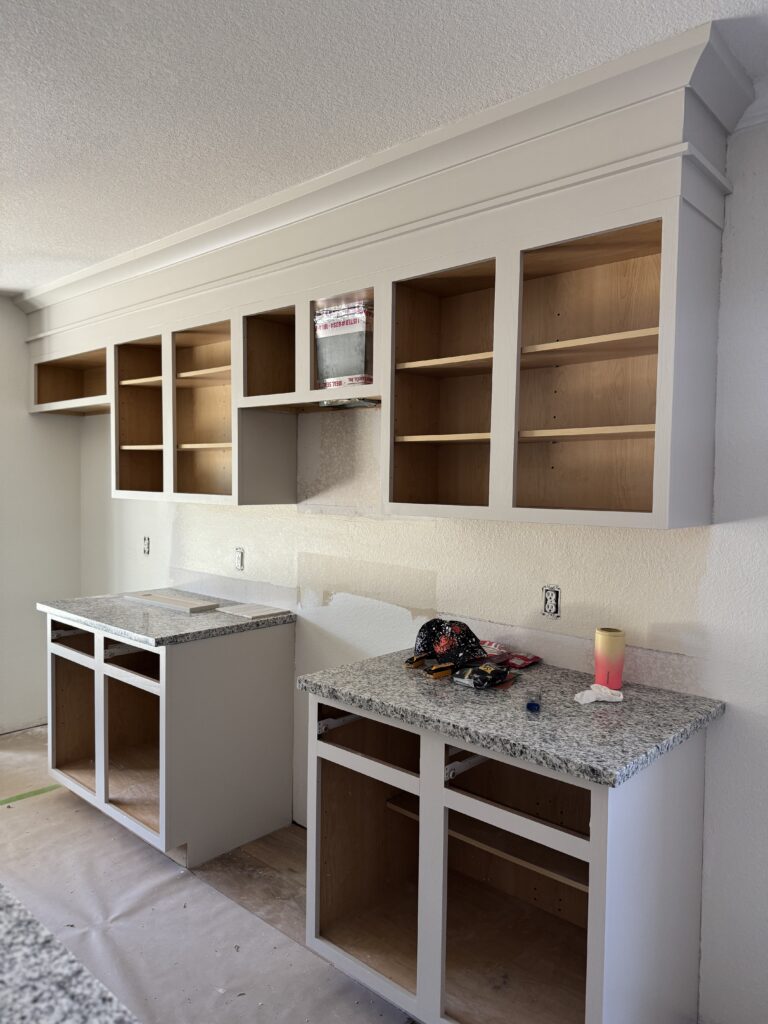
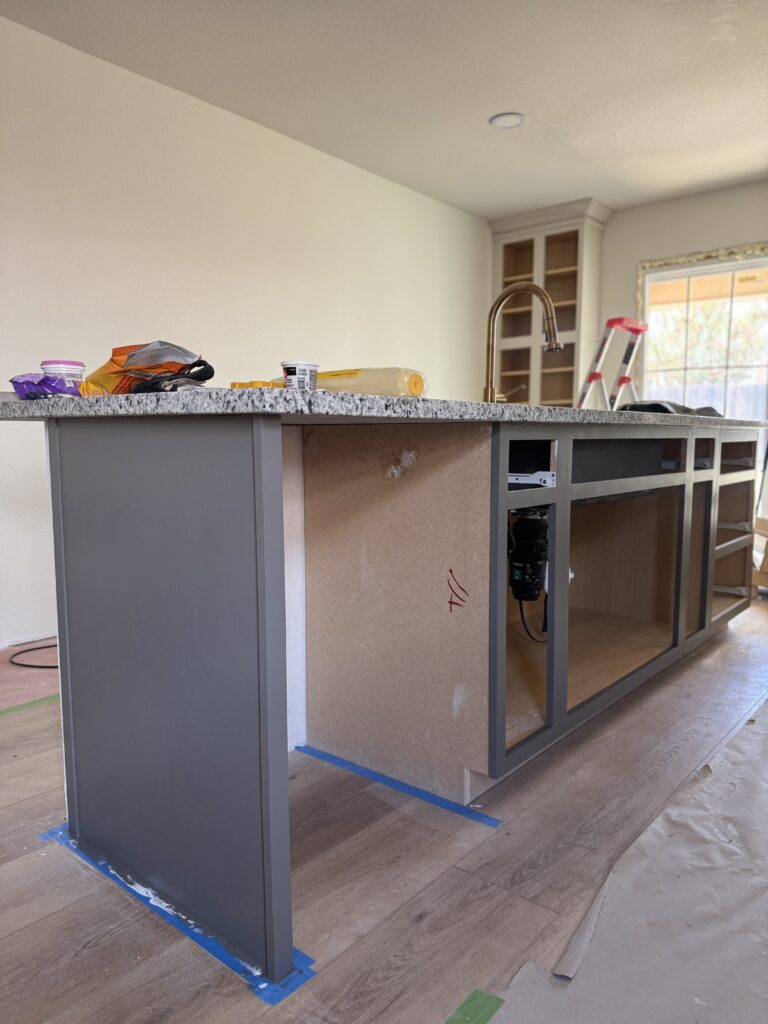
Something I was certain about from the very start of the flip house renovation was that we were going to repurpose the existing kitchen cabinets by painting the cabinet boxes and getting new cabinet doors. It’s one of the easiest ways to save money and keep perfectly good materials out of the landfill. Since we changed the floor plan of the kitchen by adding an island, I did end up needing to buy a couple new cabinets. I thought I could repurpose the bathroom cabinets but they were much lower in height so I those ended up not working. Still it was much less than buying all new cabinets.
New cabinet doors can completely transform a kitchen. Even if your cabinet boxes don’t have a factory finish, the doors will steal the show—especially if you order custom or semi-custom fronts. And if you want to paint everything yourself, you can totally do that too. It’s a great way to refresh your space without gutting your entire kitchen.
I’ve gotten a ton of questions about painting kitchen cabinets, so I wanted to answer the most common ones below while sharing what I did and what I’d do again differently.
Roller vs. Sprayer: Which Is Better for Painting Cabinets?
This really comes down to personal preference and how much prep work you’re willing to do.
If you don’t mind taping, covering every surface, and protecting everything from overspray, a paint sprayer will give you the smoothest, most factory-like finish.
But if you’re short on time or patience (hi, it’s me), a brush and roller combo works beautifully—especially for the cabinet boxes. I used a roller and brush on the cabinet frames and plan to spray the doors separately.
Since I ordered my new cabinet doors from Front + Center, I decided to roll and brush the cabinet boxes only. It gave me a smooth finish without all the extra prep work I really didn’t want to do.
Do You Need to Prime Cabinets First?
Yes—but don’t overthink it. I’ve tried several primers over the years, and honestly, I haven’t noticed a huge difference between them. For this project, I used KILZ3 Primer simply because that’s what the store had—and it worked great.
The goal with primer isn’t perfection—it’s adhesion. You just need a light, even coat to help the paint stick. Don’t panic if you can still see the cabinet through the primer—that’s totally fine.
What’s the Best Paint for Kitchen Cabinets?
I recommend using an enamel paint because it dries hard and gives you that durable, easy-to-clean finish. My personal favorite is Emerald Urethane Trim Enamel by Sherwin-Williams, but for this flip, I also used the HGTV Home by Sherwin-Williams Cabinet & Furniture Enamel—partly because it fit the budget and was easy to grab locally.
Step-by-Step: My Painting Process
- Lightly sand everything with 120-grit sandpaper. You just want to scuff the surface so the primer and paint adhere properly.
- Fill and caulk before priming. I added crown molding, so I filled nail holes with wood filler and caulked seams before priming.
- Prime everything with your chosen primer and let it dry fully—mine sat for 24 hours.
- Paint with a brush and foam roller. I use a small angled brush for corners and edges, then roll over it with a 4-inch foam roller to smooth out brush marks.
- Apply 2–3 coats for a durable finish, following the dry times listed on your paint can.
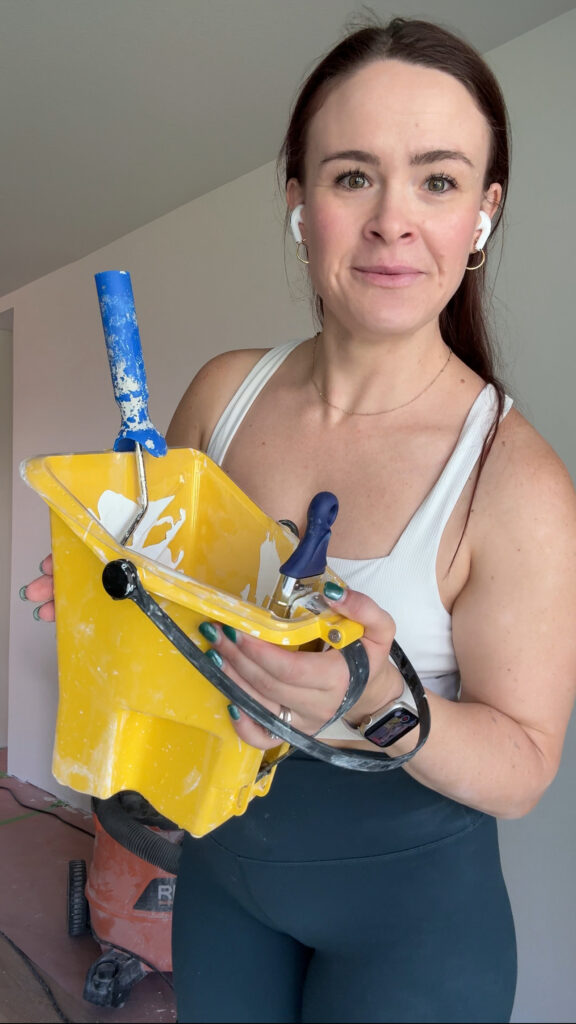
My Favorite Tools for Painting Cabinets
- Paint Pail – It’s honestly one of my favorite tools ever. It has a liner (perfect for lazy tool cleaners like me), a magnetic brush holder, and a flat edge for mini rollers.
- 4-inch foam roller – Gives that smooth, professional finish.
- Small angled brush with soft bristles – Perfect for precision and keeping brush strokes minimal.
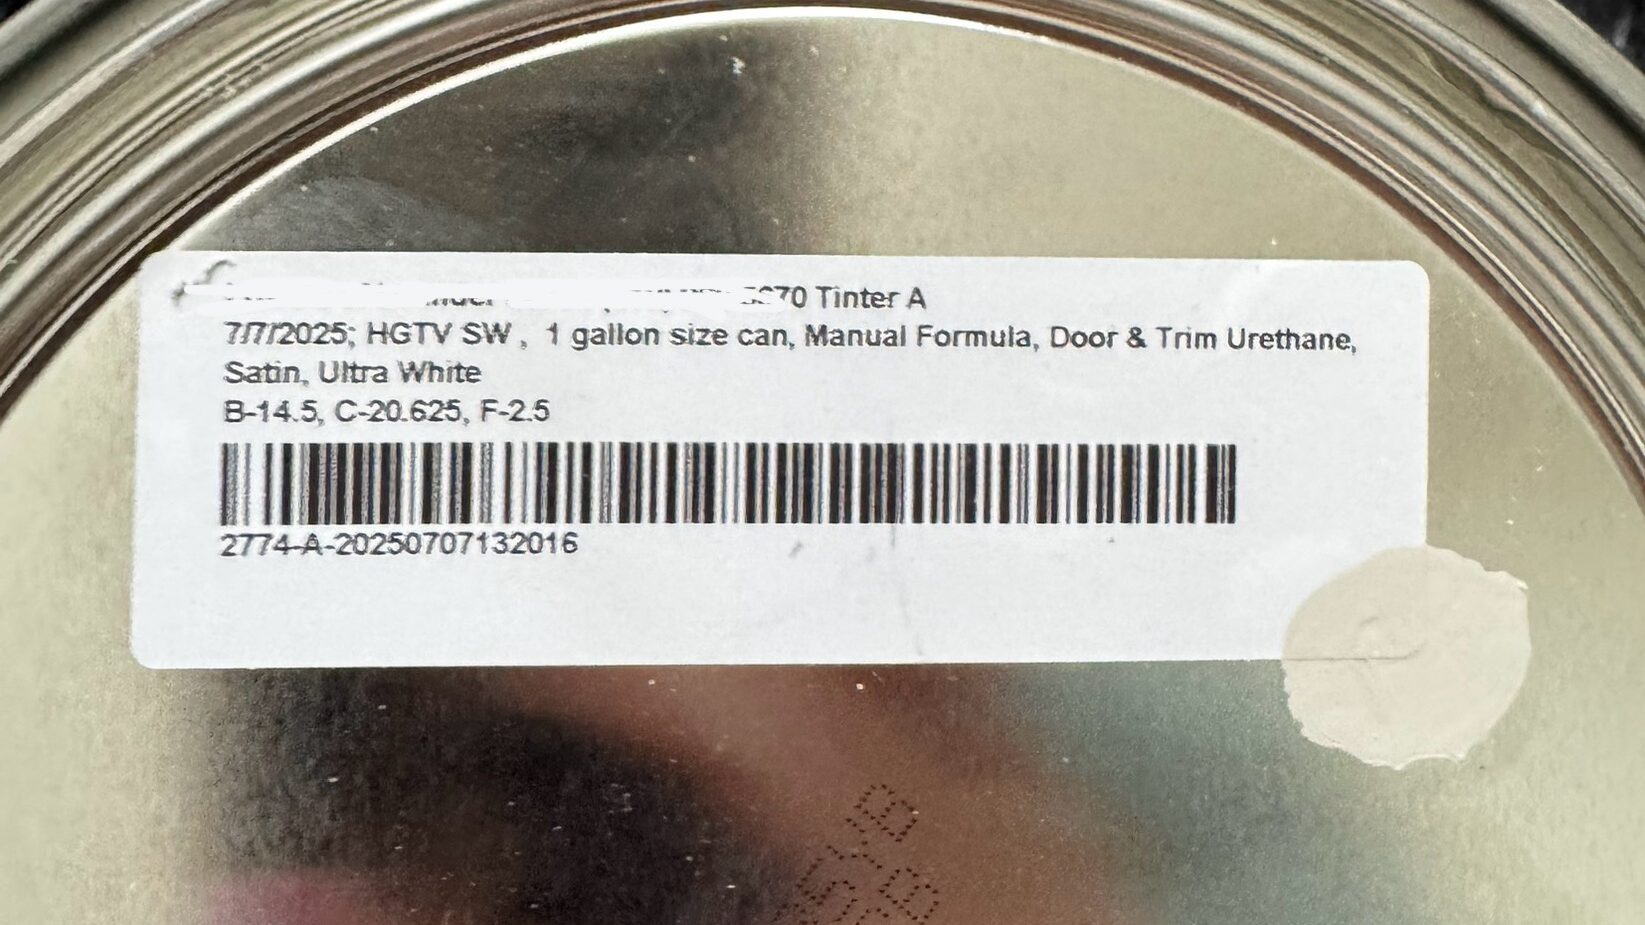
The cabinet color is color-matched to the Front + Center doors, so check out the photo below to grab the exact color match formula I used.
Painting your kitchen cabinets is one of the most budget-friendly ways to transform a kitchen—whether it’s a flip house, rental, or your forever home. It’s not a quick project, but the results are so rewarding.
Now that the paint’s dry, I just need to install the hardware, backsplash, and pendant light, and then mount the new microwave. We’re so close to the finish line in this kitchen, and I can’t wait to show you the final reveal. Stay Tuned.